
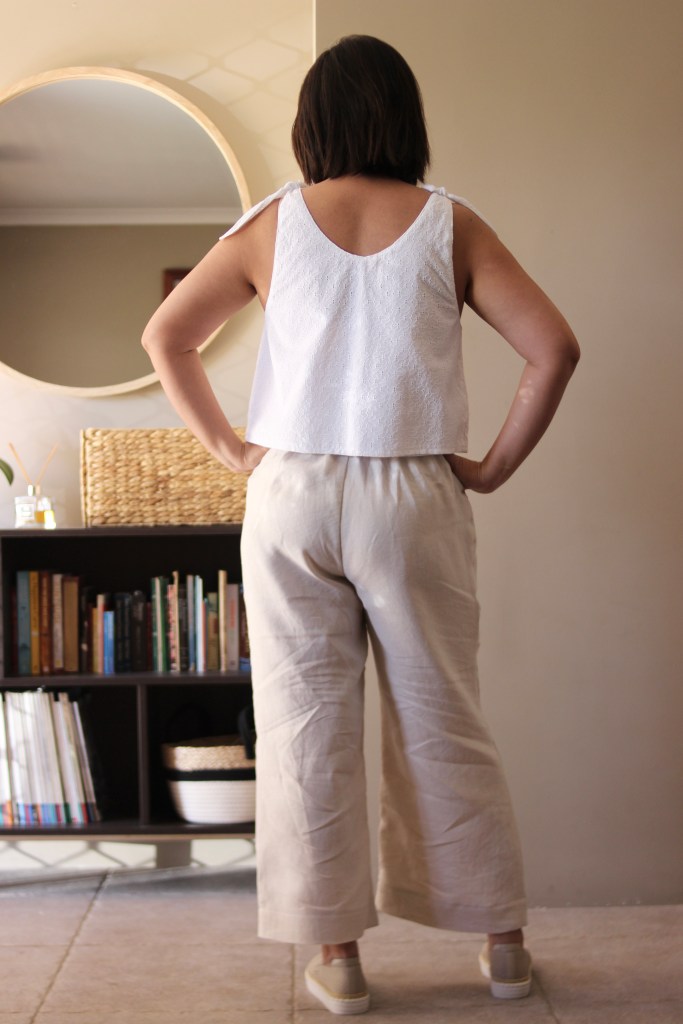
Just for something different, I thought I would write about my sewing process. I first came across the Pietra Pants by Closetcore Patterns last year and hadn’t really tackled sewing any trousers. Sewing pants is intimidating because of some of the fit issues that I’d read about but it was recommended to me because it has a fitted flat front look but fit issues are less of an issue because of the half elasticised waist. This is Version A and is the cropped version.
So, the sew starts with the interesting pocket construction. When I sewed this last year, I felt like it was a bit of a puzzle or origami but seemed straight forward in this sew. This is about the fourth time I’ve made this pattern so I should’ve worked it out by now.


Once the pockets are attached then it’s a simple matter of attaching the two front panels together.


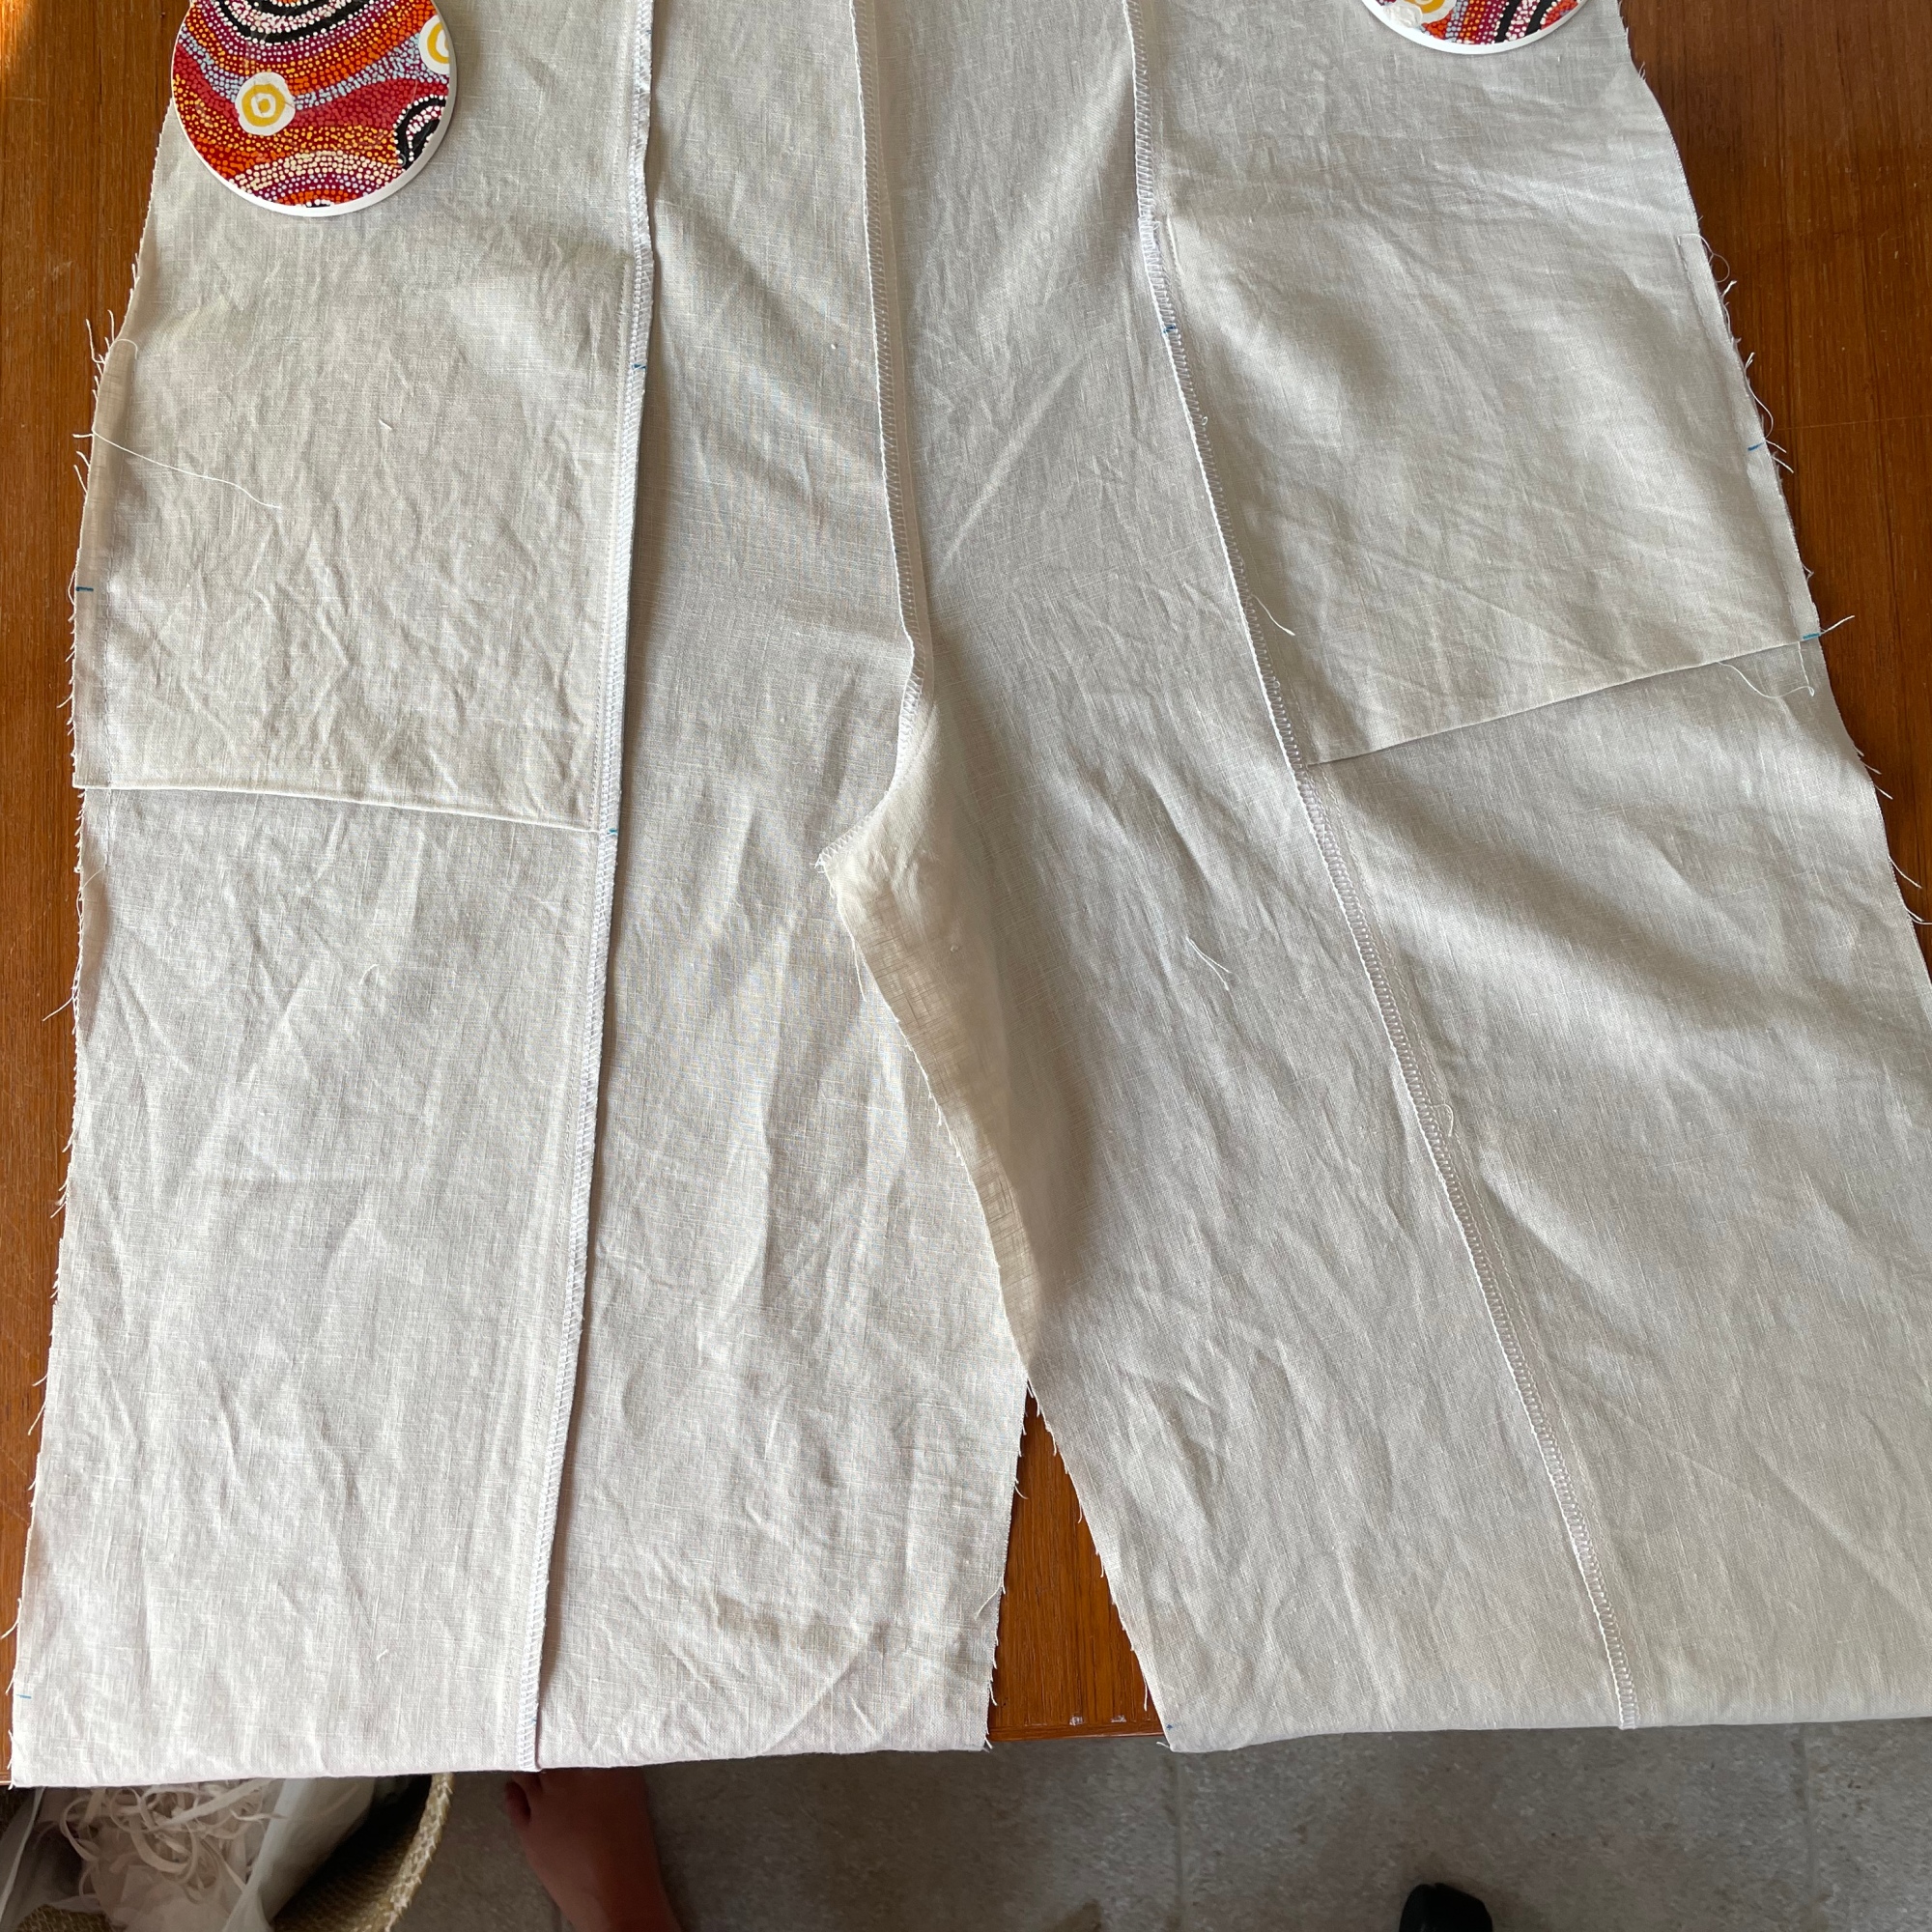

This is then added to the front waistband which is made up of three pieces.


We now then move onto the back panels and sew them together and then attach this to the back waistband. At this stage, I was a bit panicked thinking that I had chosen to sew the wrong size as it looked rather large but just remembered that it is elasticised so most of the volume will disappear!

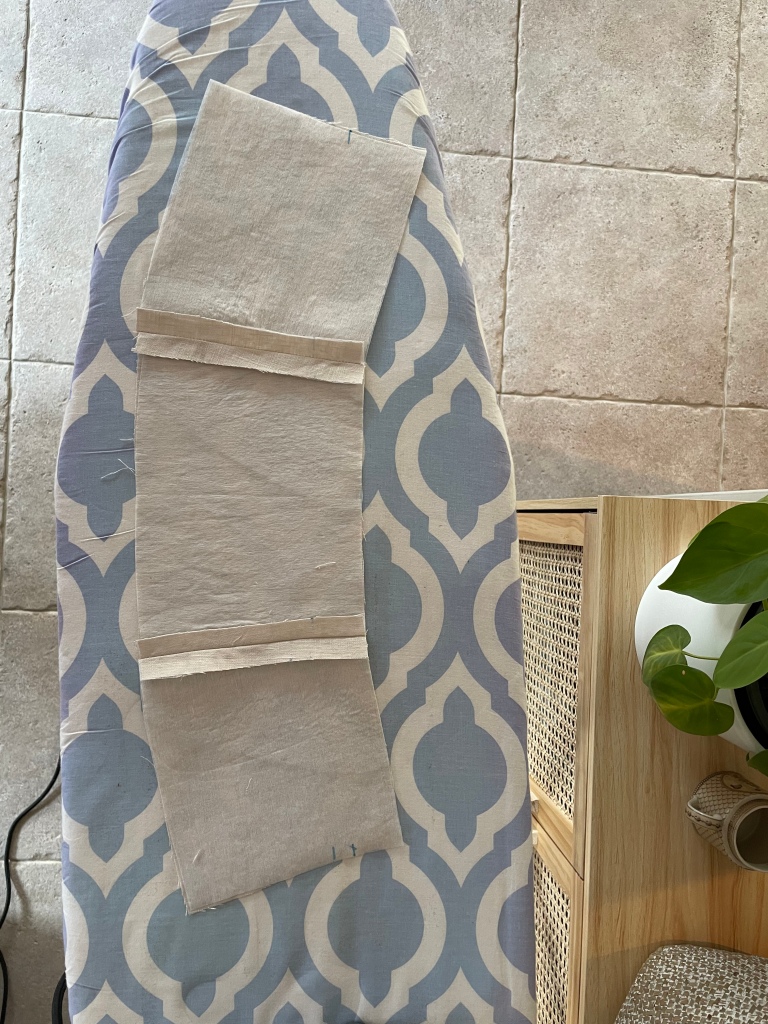
The next part is to attach the front panels to the back panel. I’ve taken a few more pictures of the waistband here because when I first sewed this, I had to read the instructions about ten times. I’m still not sure I have it exactly correct but it worked out so I’m happy. Also, when you attach the elastic on, just remember that to check that you haven’t accidentally flipped it causing a twist in the elastic.


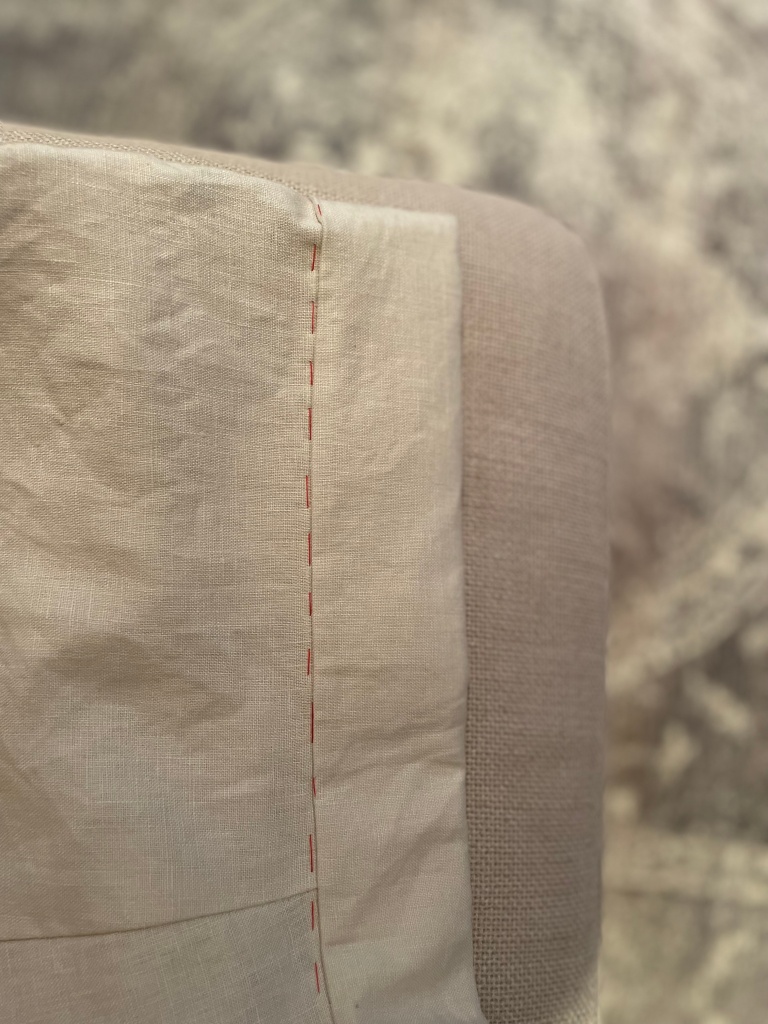
The elastic is then encased in the waistband with some blind stitching. This used to freak me out because when I first started sewing I had a very basic machine without any speed control. So, I would line up the seam and hang on and pray for a straight line. Now, I’m blessed with a new machine my husband bought me for my birthday (that I dropped about a hundred hints for) which comes with speed control so I just take it very slow here. To help get a neat finish I also hand baste the waistband.
Finally, before hemming the pants, I sew up the elastic as pictured. Definitely not something to skip because it helps to shape the back of the pants.

So excited to have this in my Spring/Summer wardrobe! I’ve paired it here with my Frankie Tankie. It’s going to be a great staple especially in this neutral colour.


Thanks for reading and happy sewing!
X Em

Gorgeous, Em! I need these in my life, how perfect for summer?!
LikeLike
This is perfect for a beginner if you ever want to sew pants! Great for summer!
LikeLike
This is a great outfit ! Also really good pics of construction- sometimes I need to read instructions dozens of times and still don’t grasp it – I much prefer pics that I can relate to
LikeLike
So glad that the pictures were helpful Janie! I’m the same with my sewing, I’m more of a visual learner too.
LikeLike