I know tee-shirts aren’t the most exciting item in the wardrobe, but they are probably the hardest working item. When I first started making tees, I realised that there are so many designs and there’s also such a variety of knits to make them with. I’ve also come to realise that there is a difference when a good quality knit fabric is used. It makes it so much more enjoyable if the fabric is great quality and fun to look at.
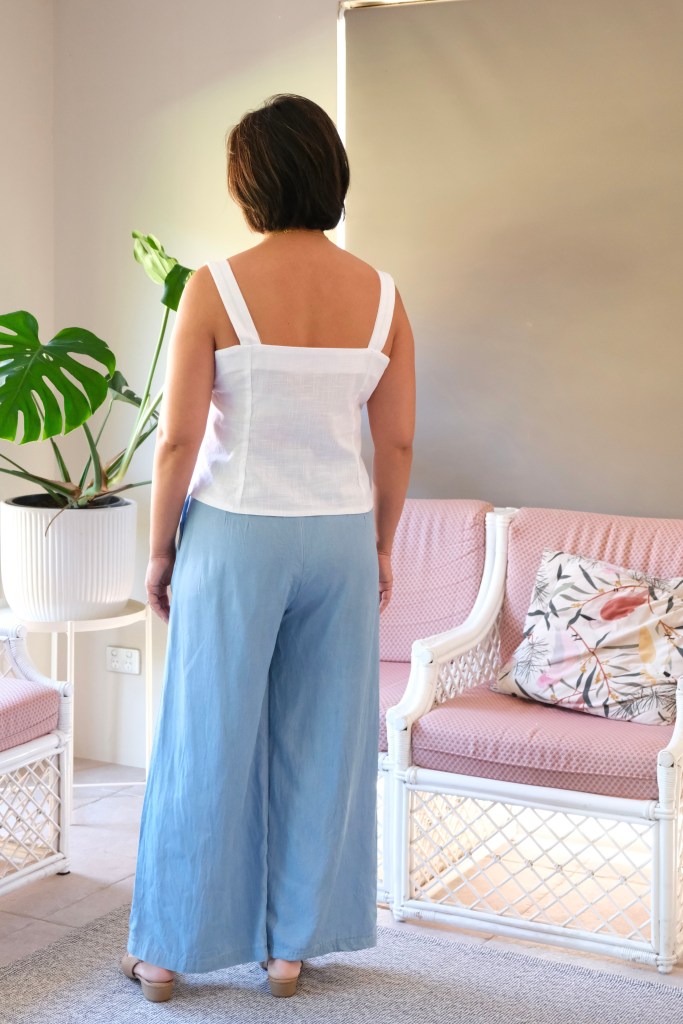
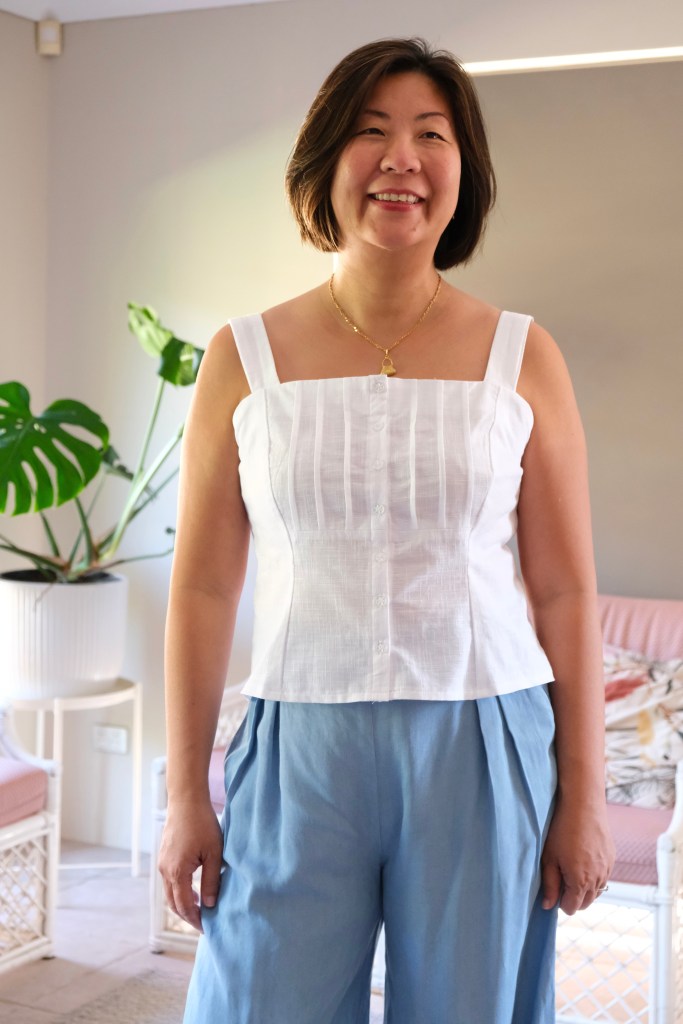
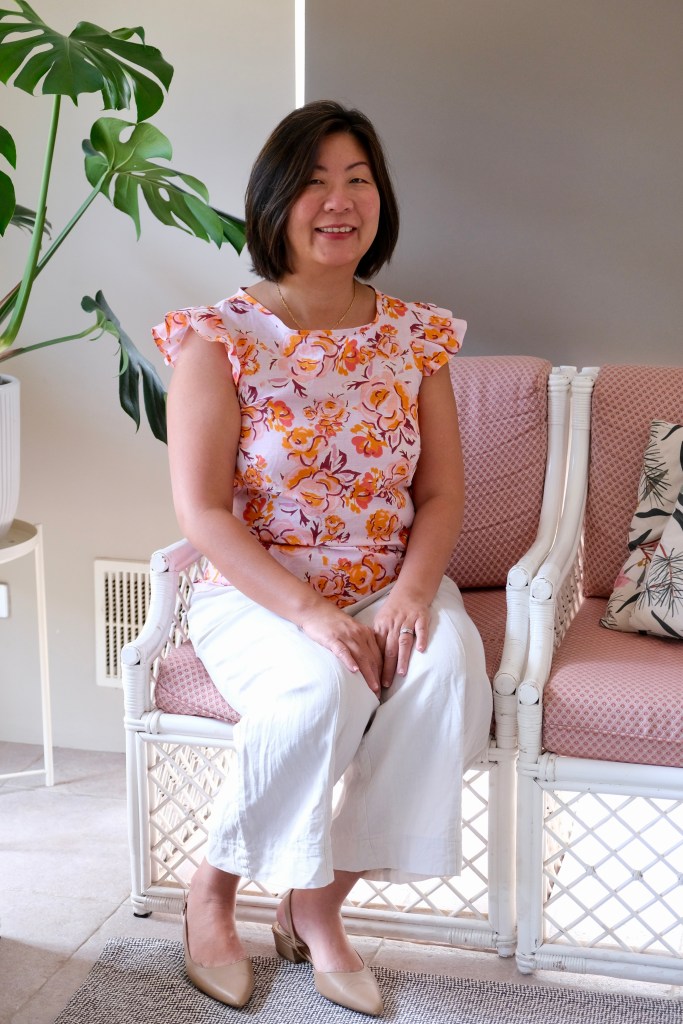
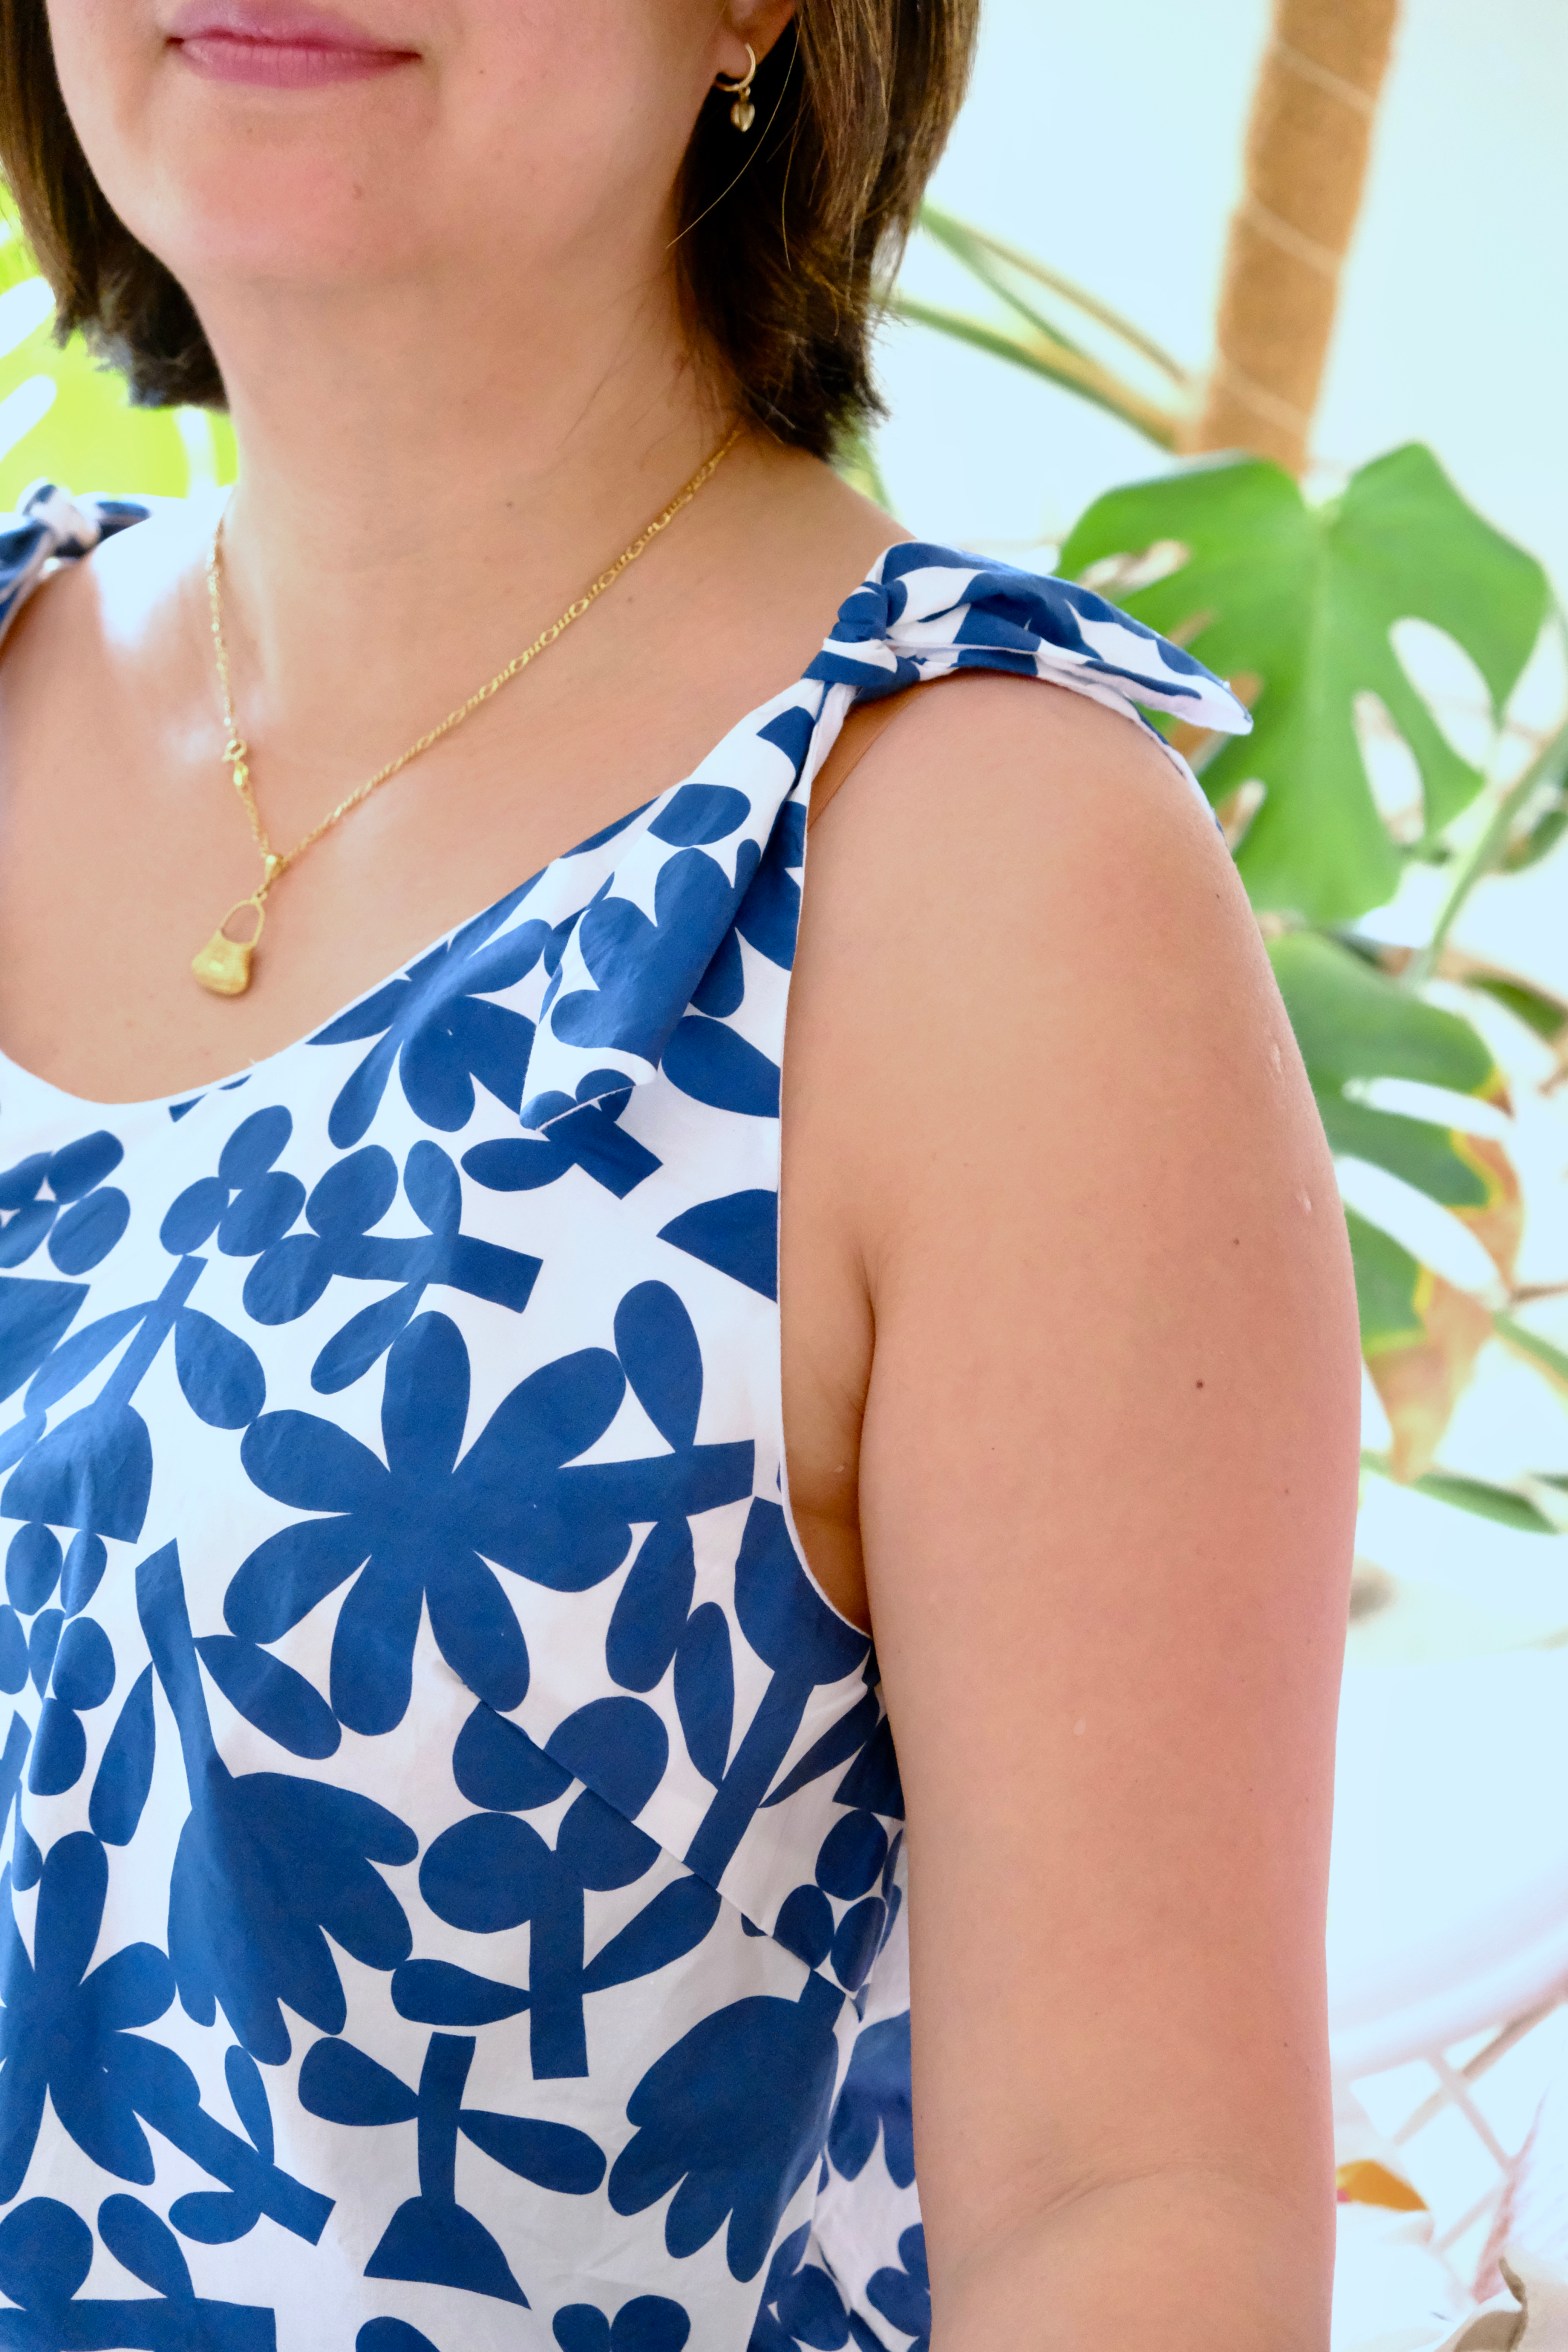
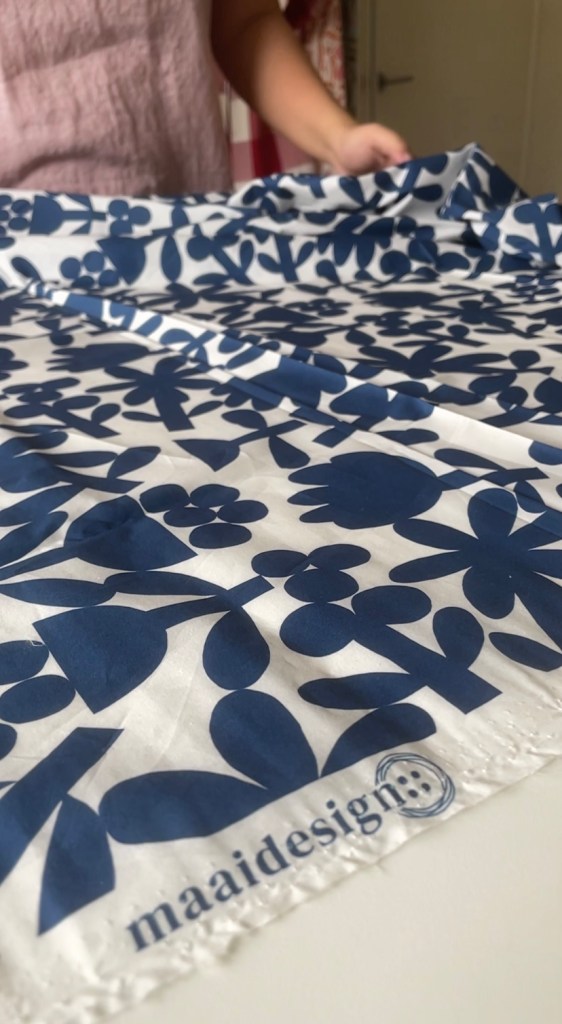
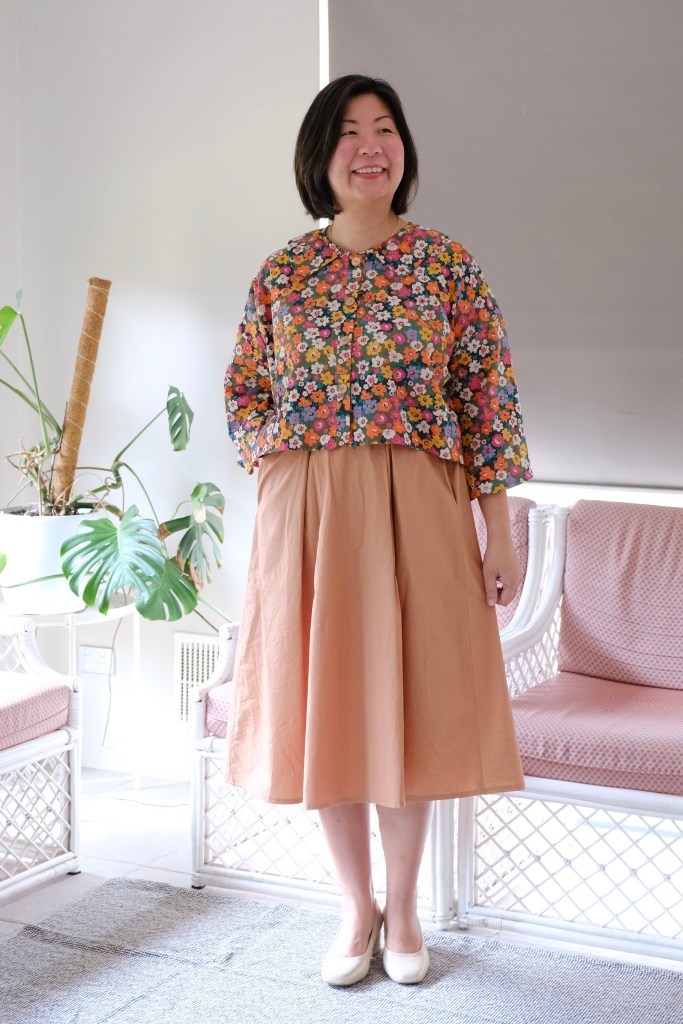
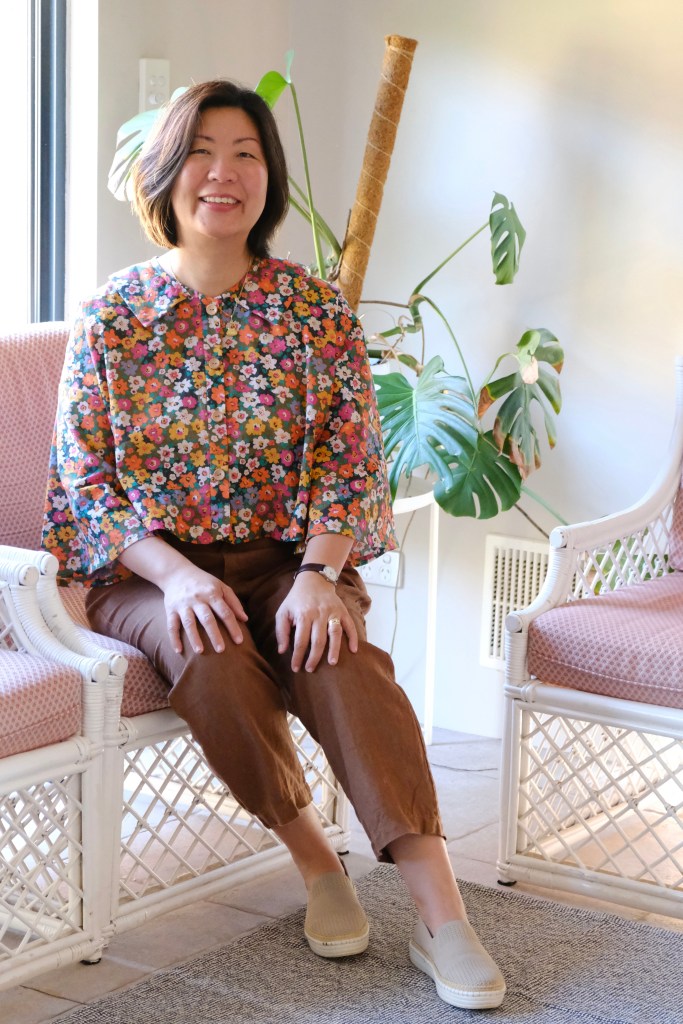
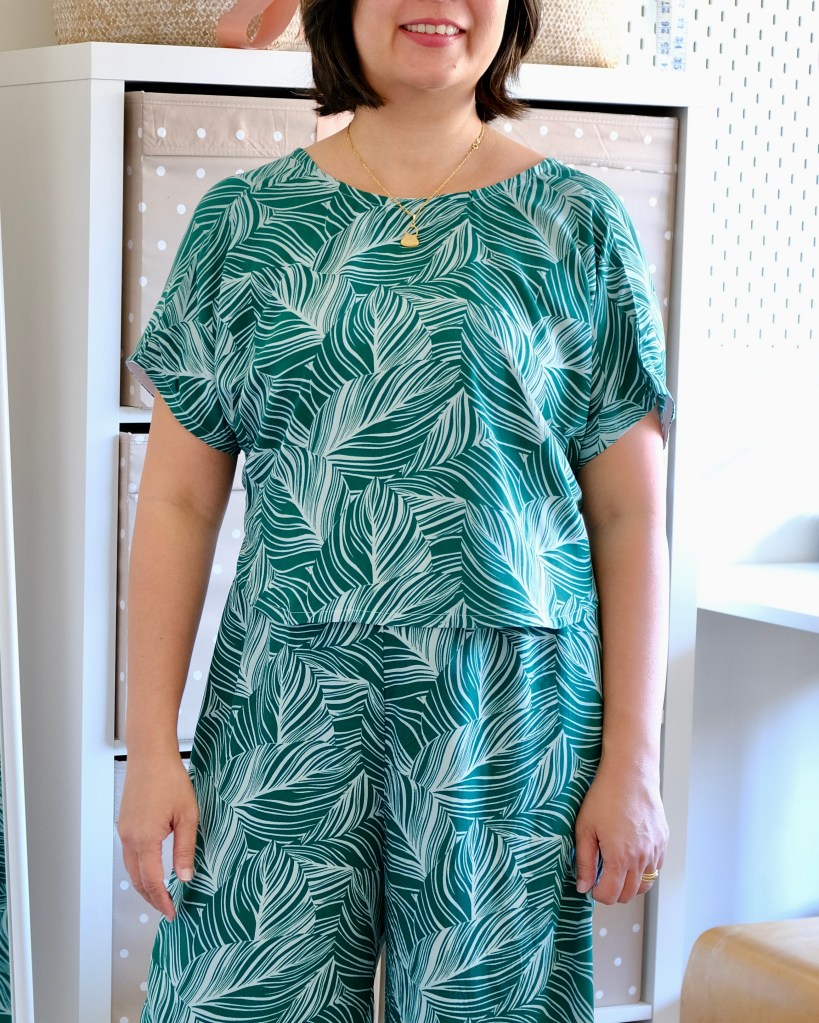
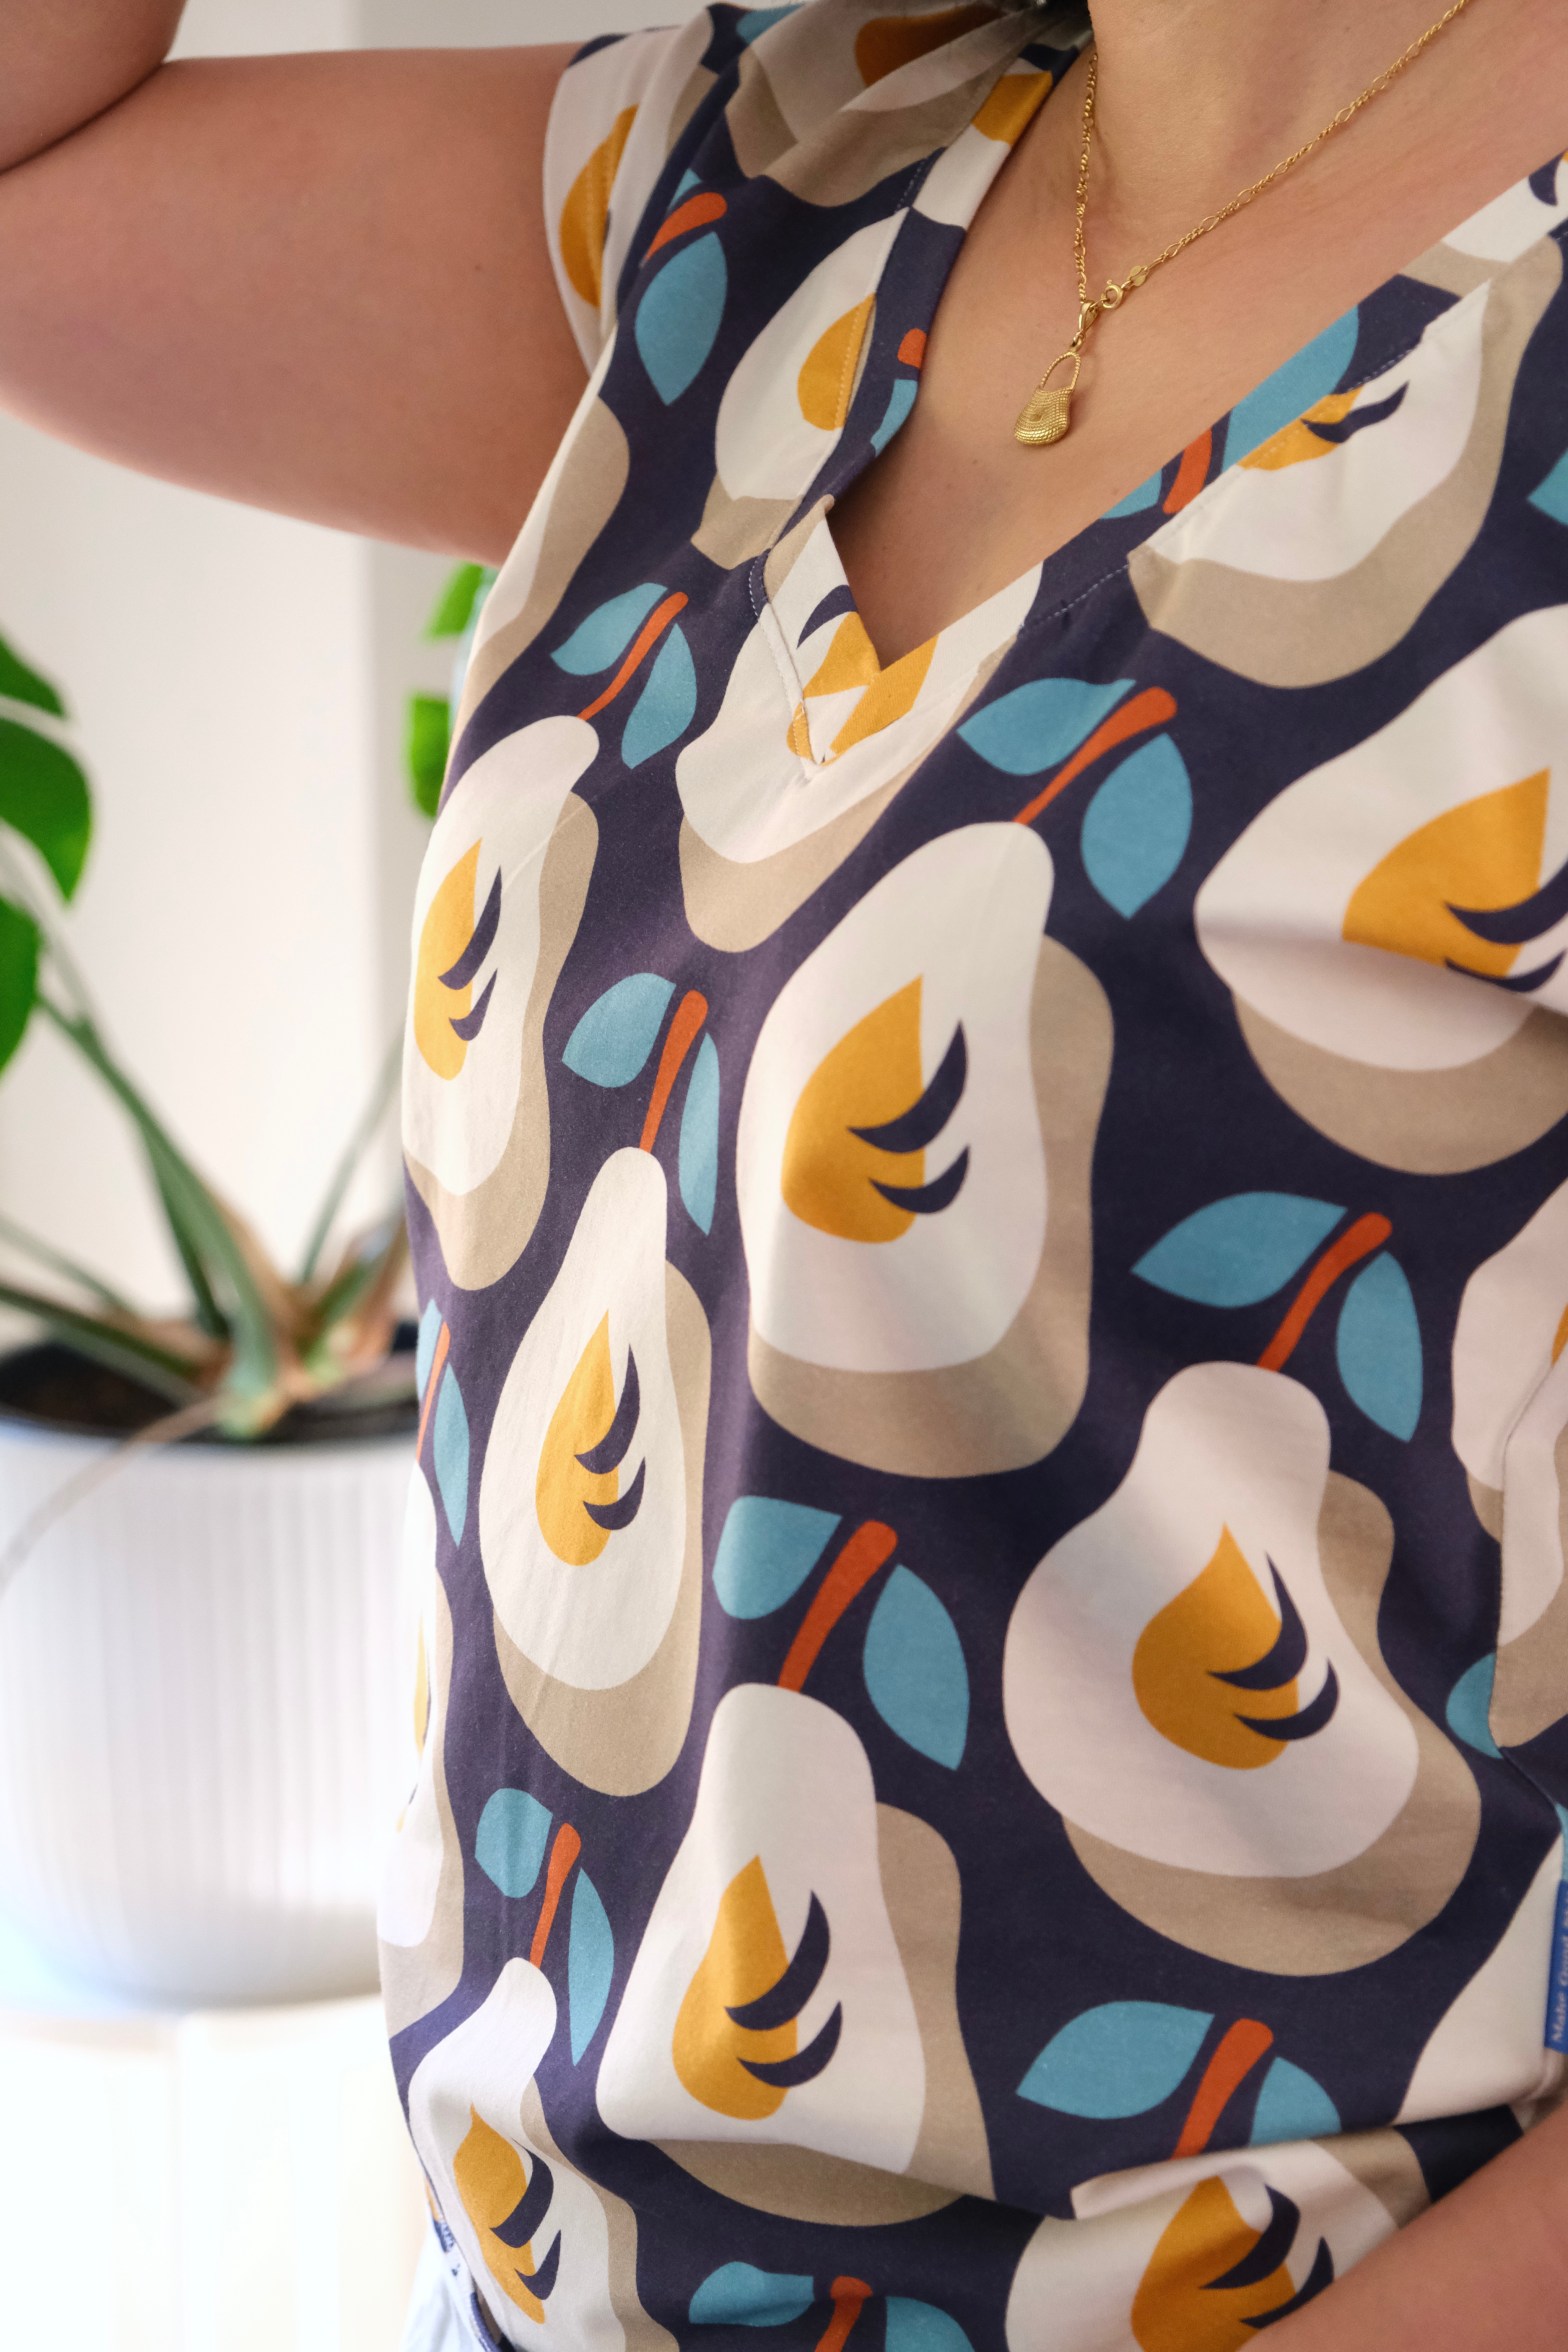
In this post, I thought I would review some of the tees that I’ve made, starting with my new Swimstyle Velma Top in the Rou Cou Cou Retro Pears which I bought from Maai Design. I have sewn the Velma Tee, but this is the V-Neck version. I’ve made the Size L for my measurements of 38-inch bust, 33-inch waist and 40-inch hips. The cotton jersey that I used is velvety soft but with a little bit of weight and structure which was easy to handle and a perfect match for this tee.
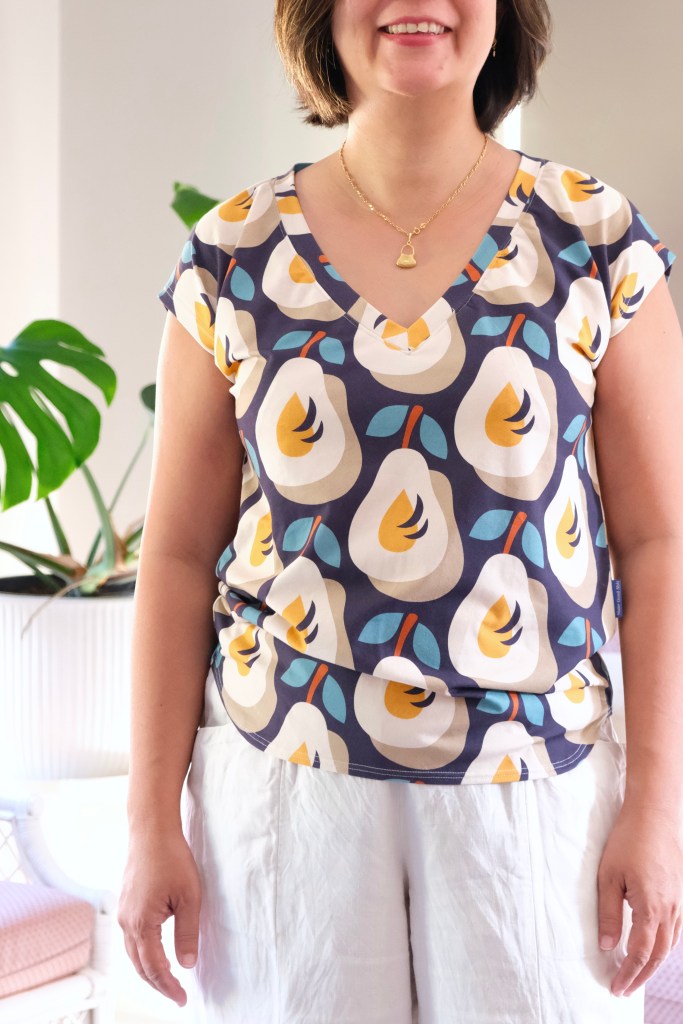
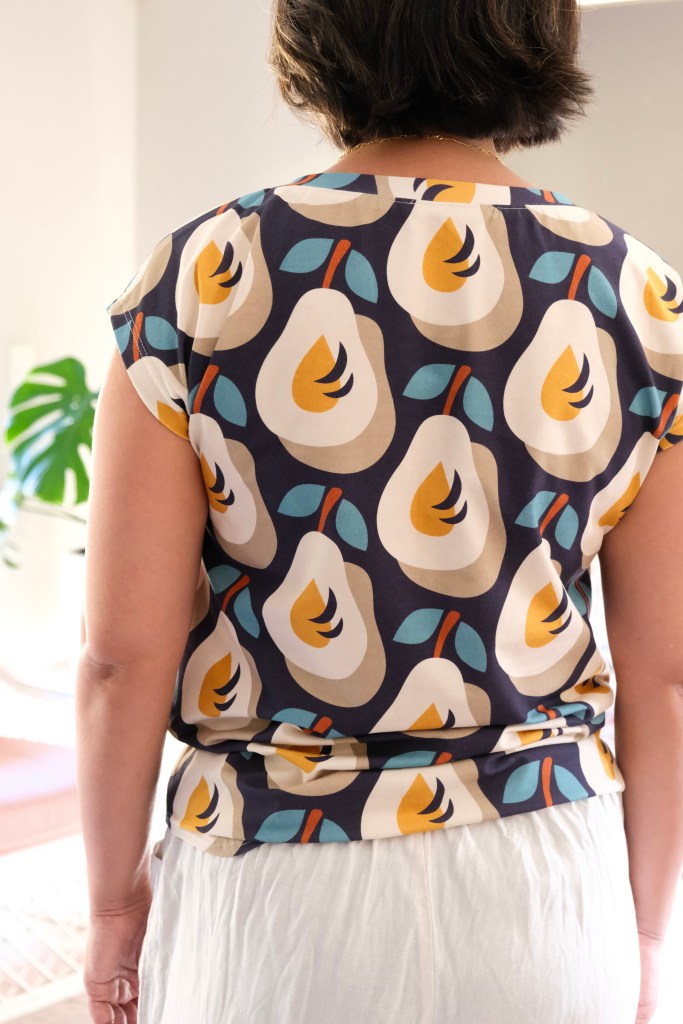

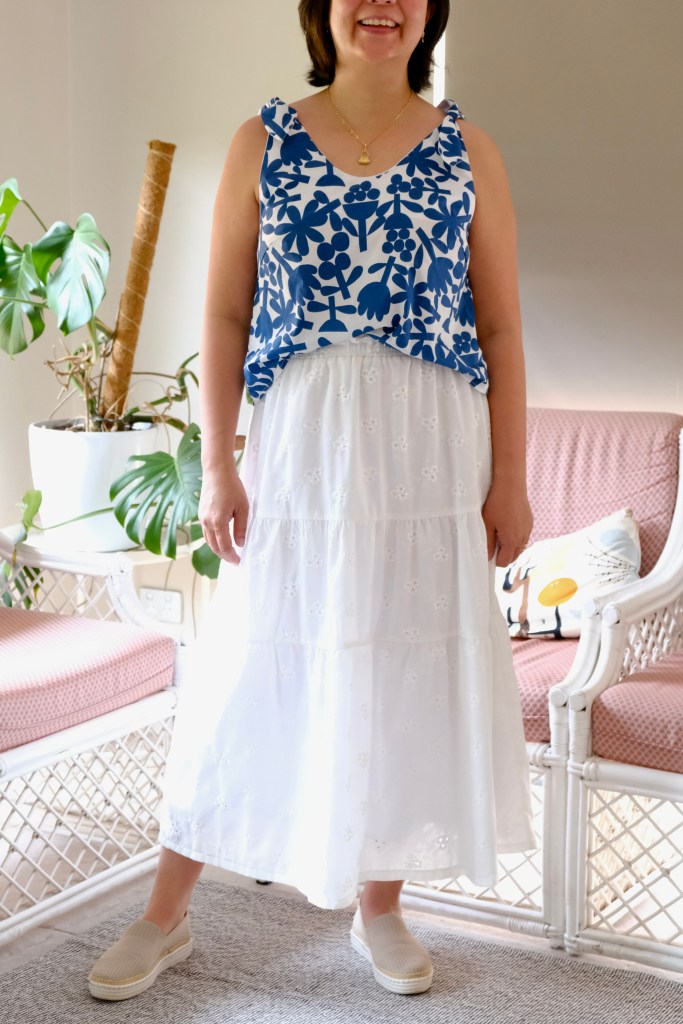
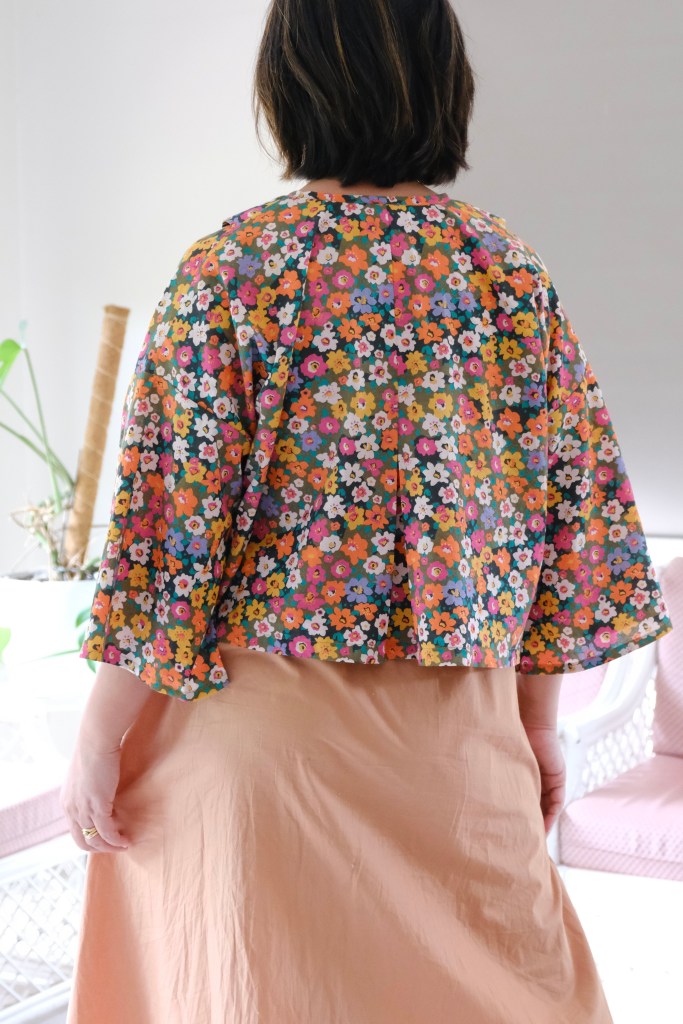
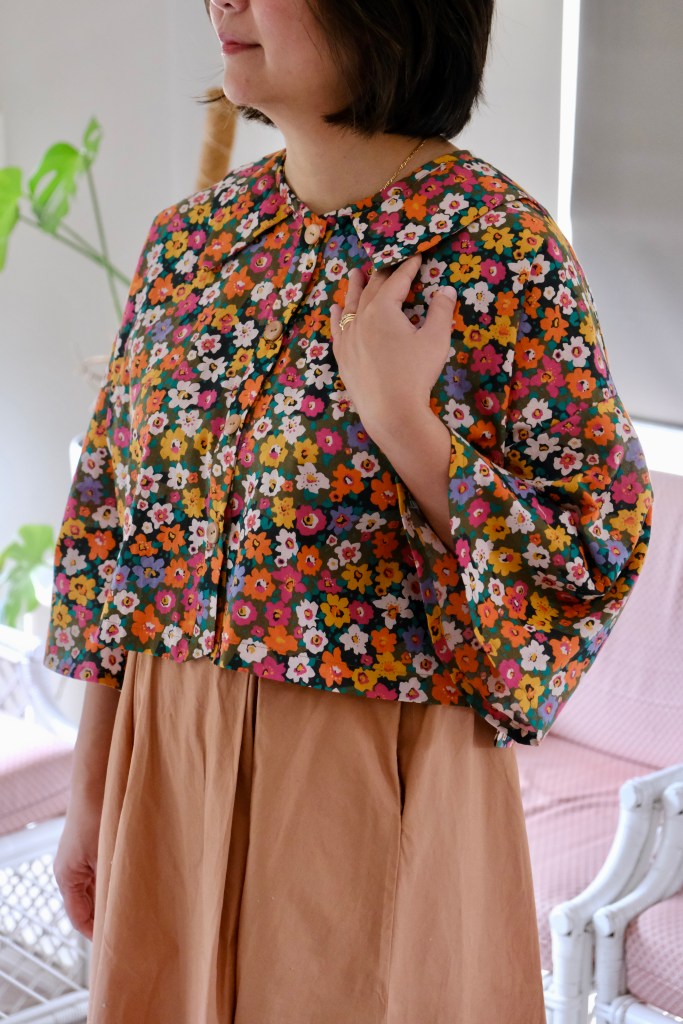
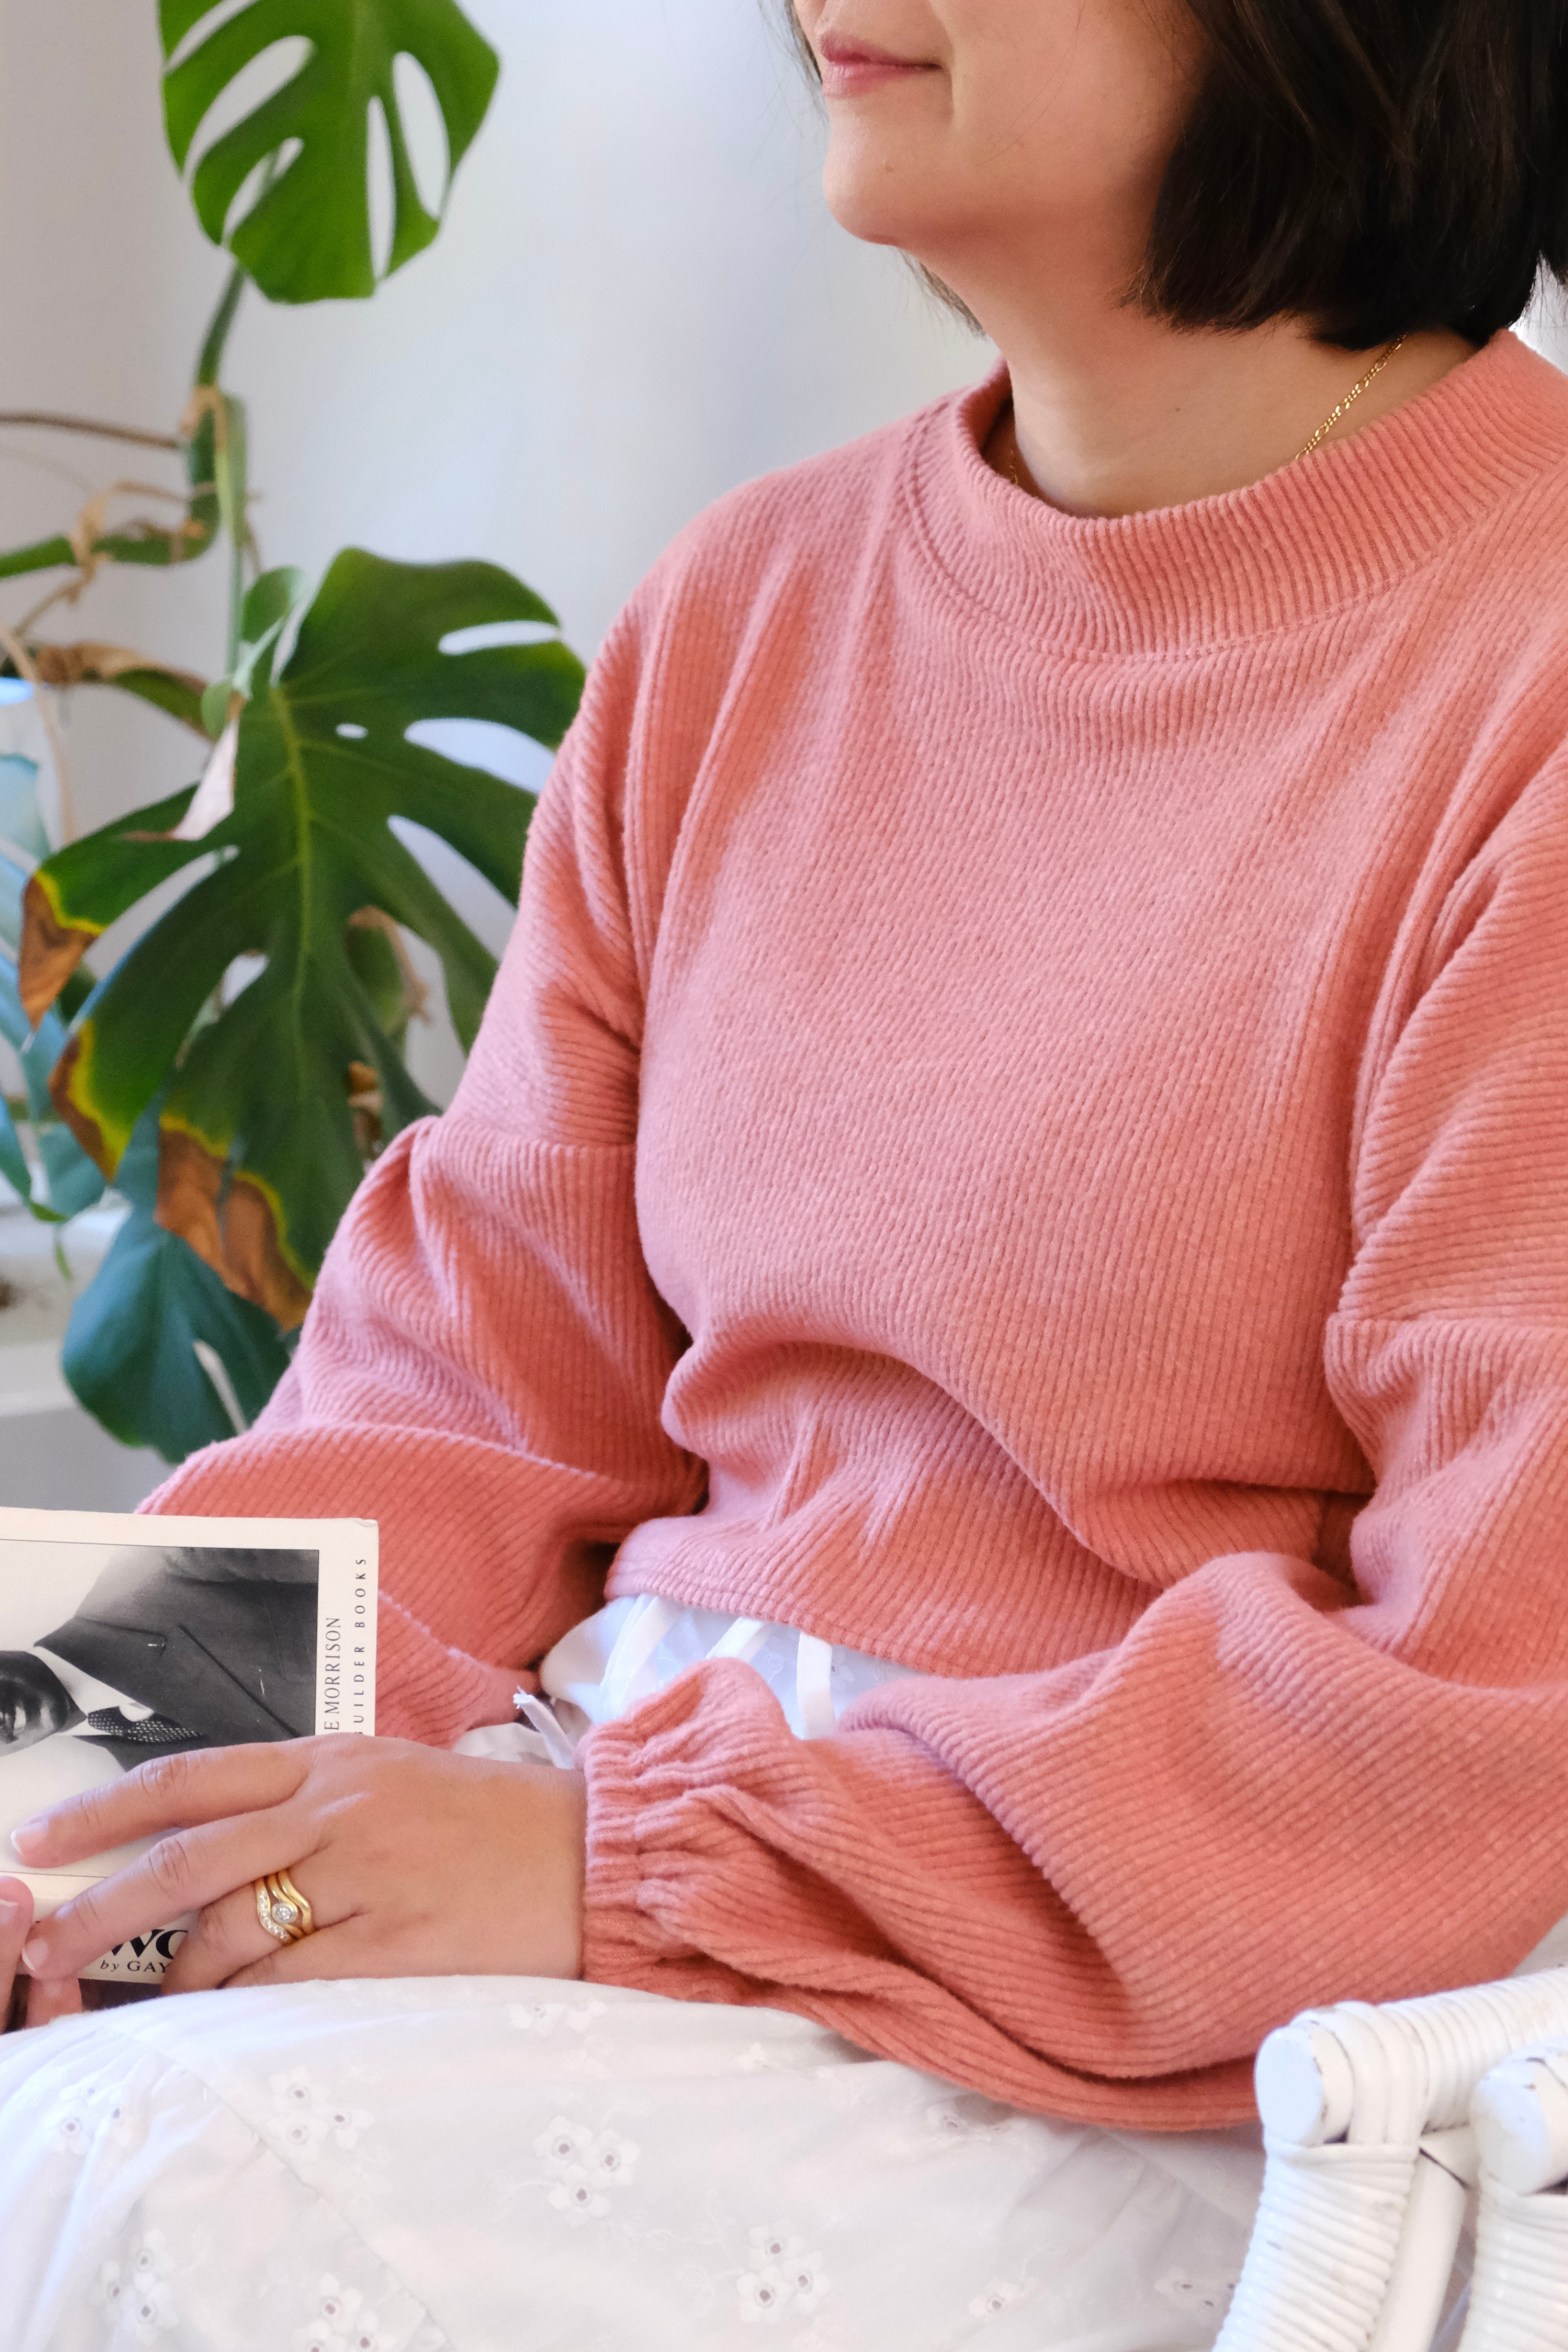
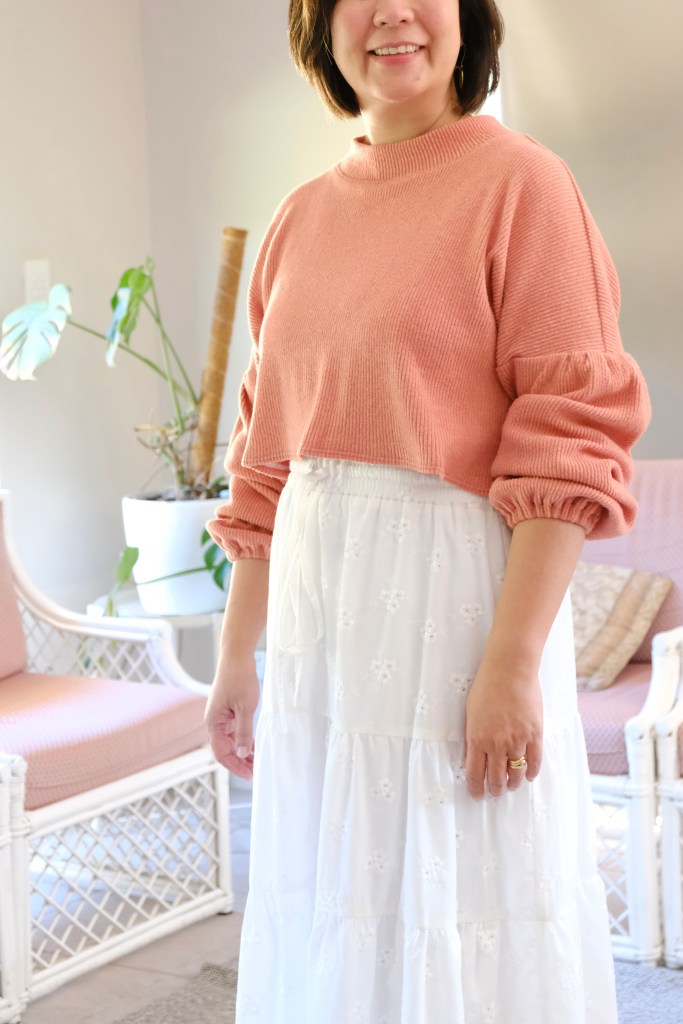
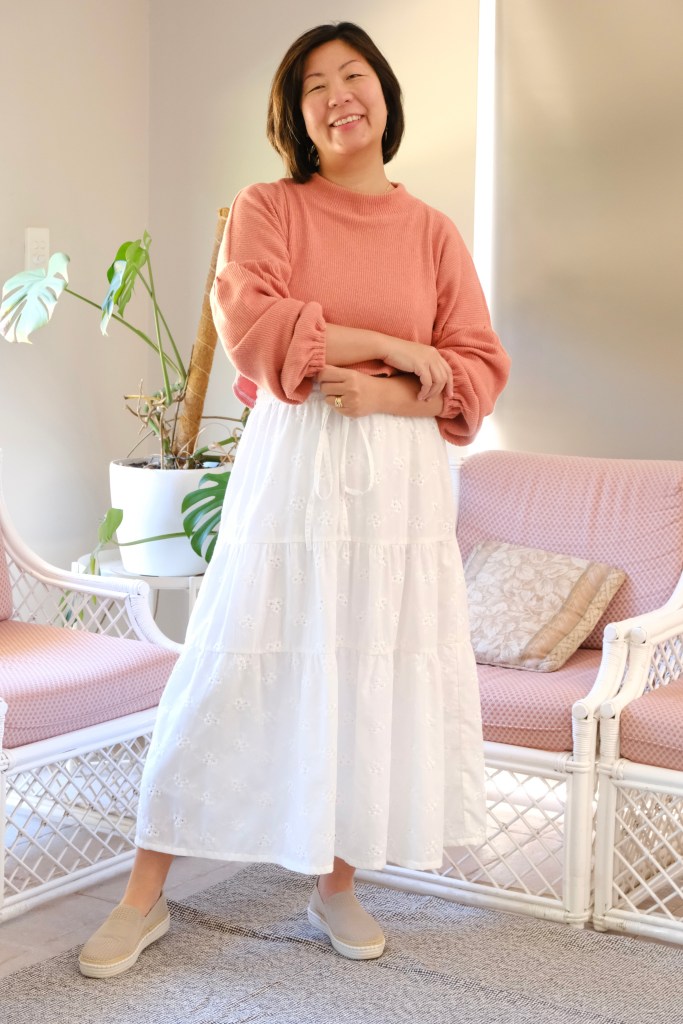
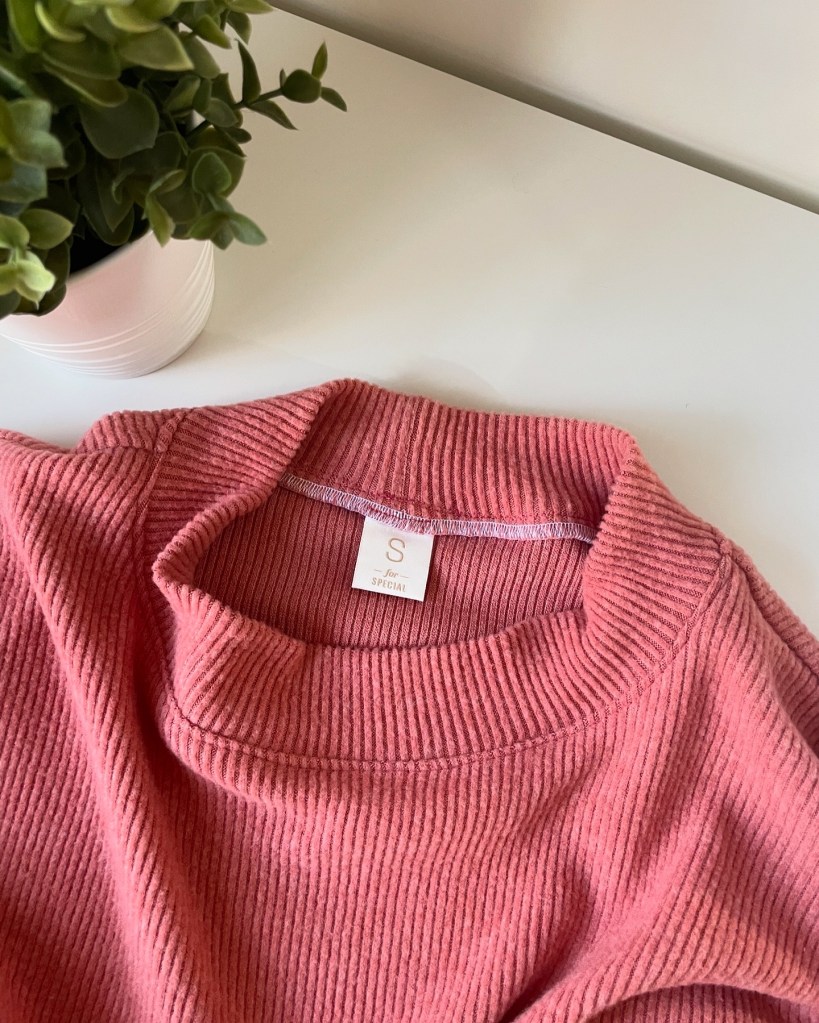
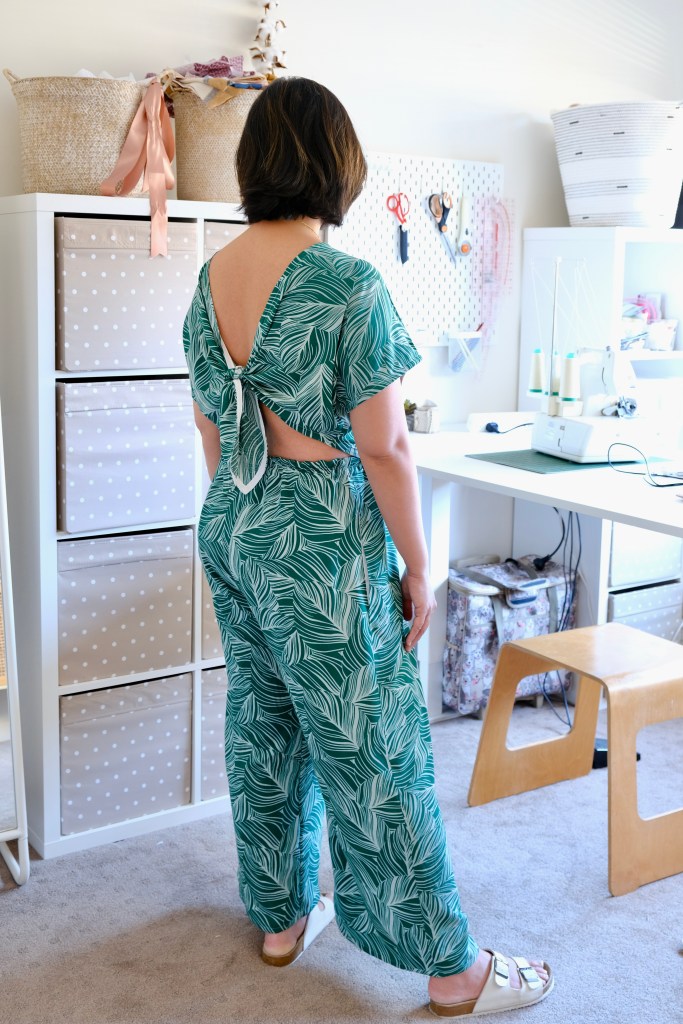
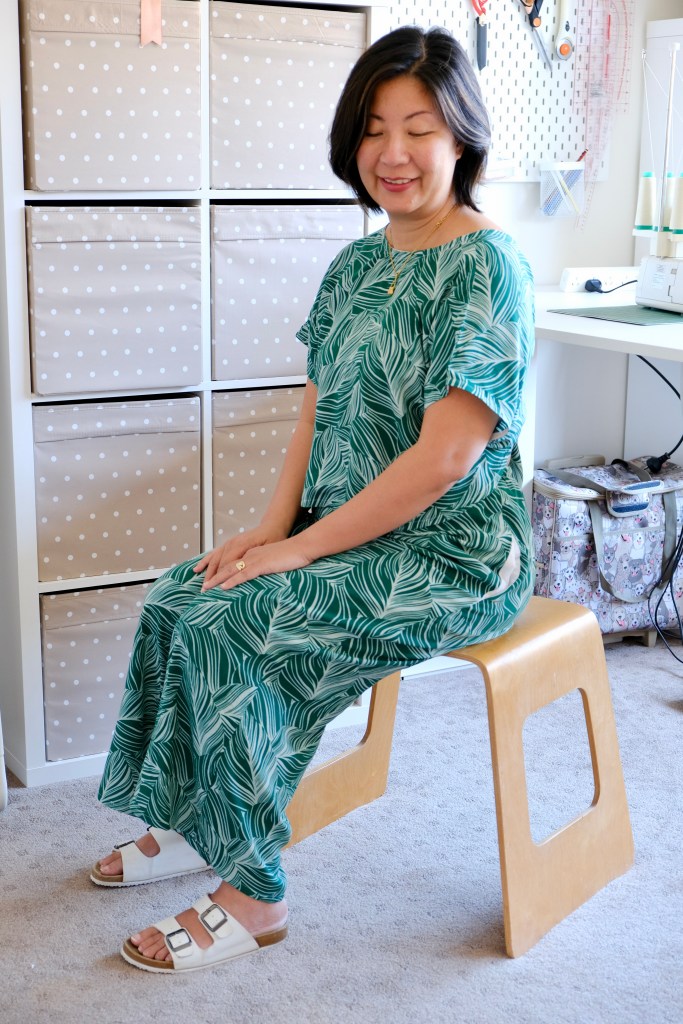
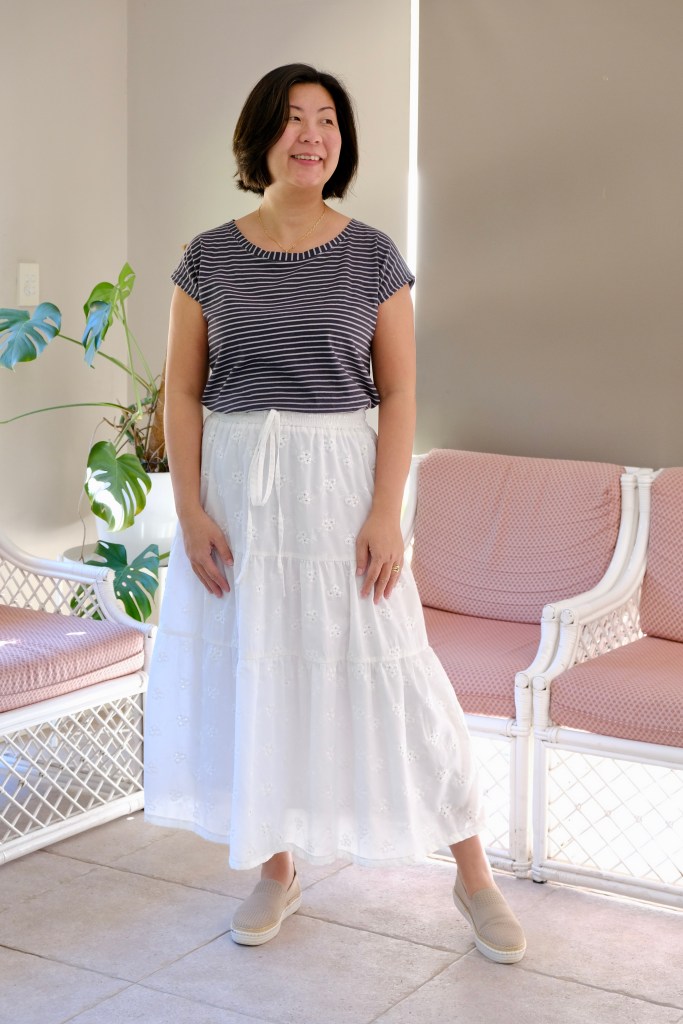
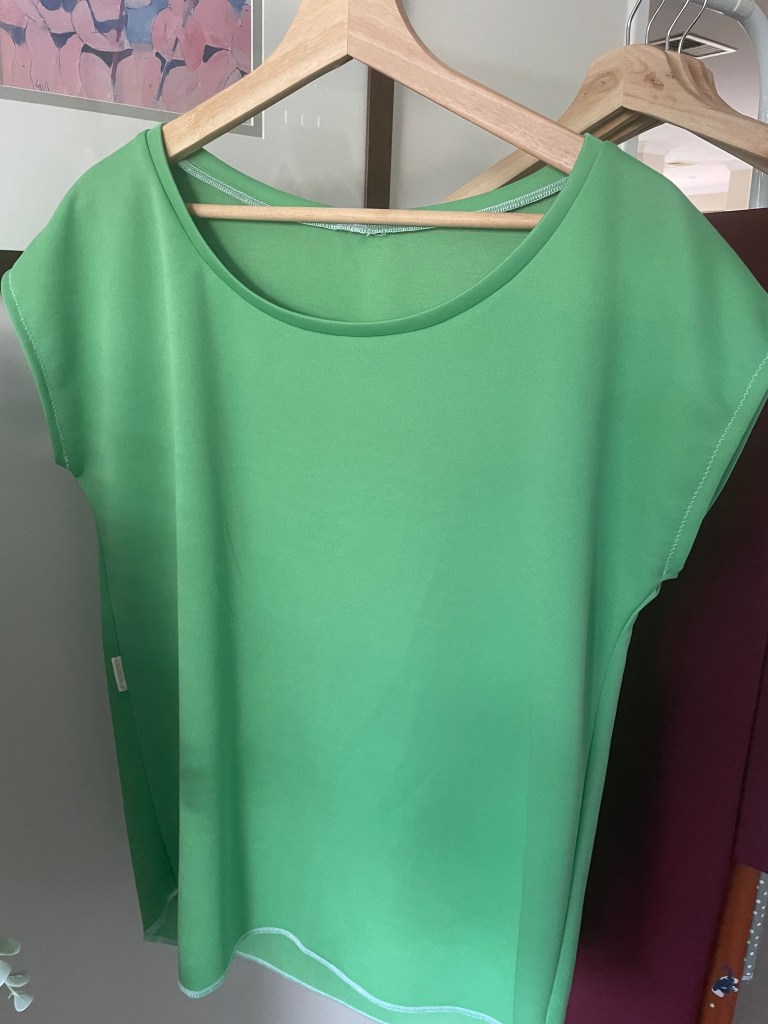
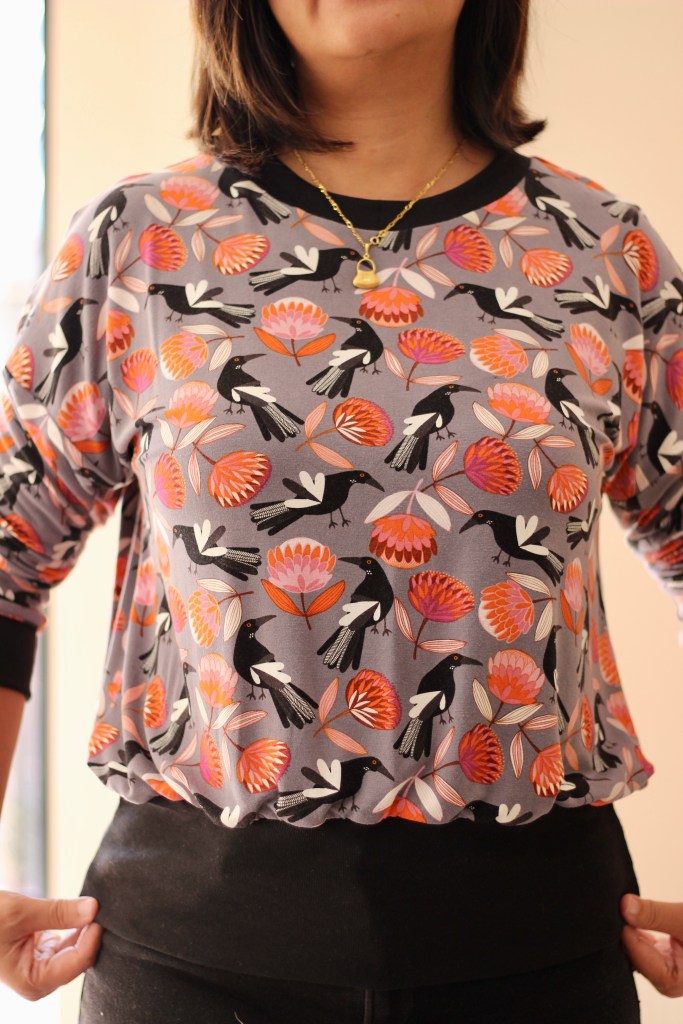
As mentioned above, I have made the round neck version of the Velma Top. I love that it has the scoop neck, and I was so happy with how the neckline sits. Instruction for both round and V-Neckline are excellent. I also like how the sleeves drop from the bodice. I loved it so much that I made three of them. I experimented with three different types of knit. I found that I liked a knit with some structure and less stretch for this like the cotton jersey, a brushed knit and a rayon scuba.

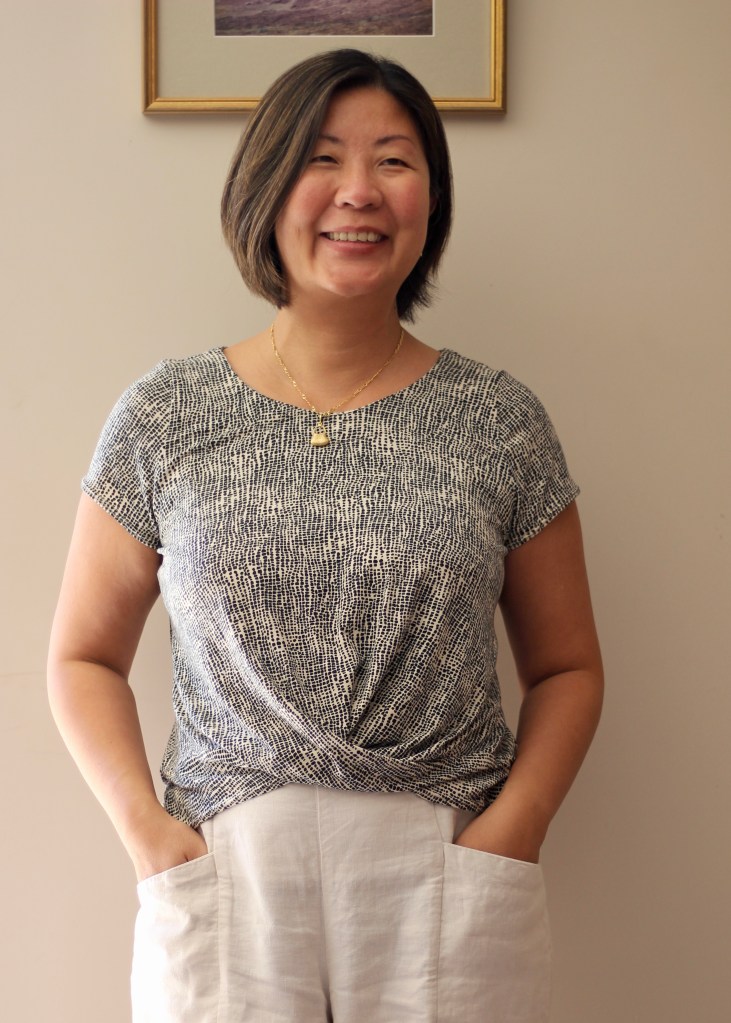
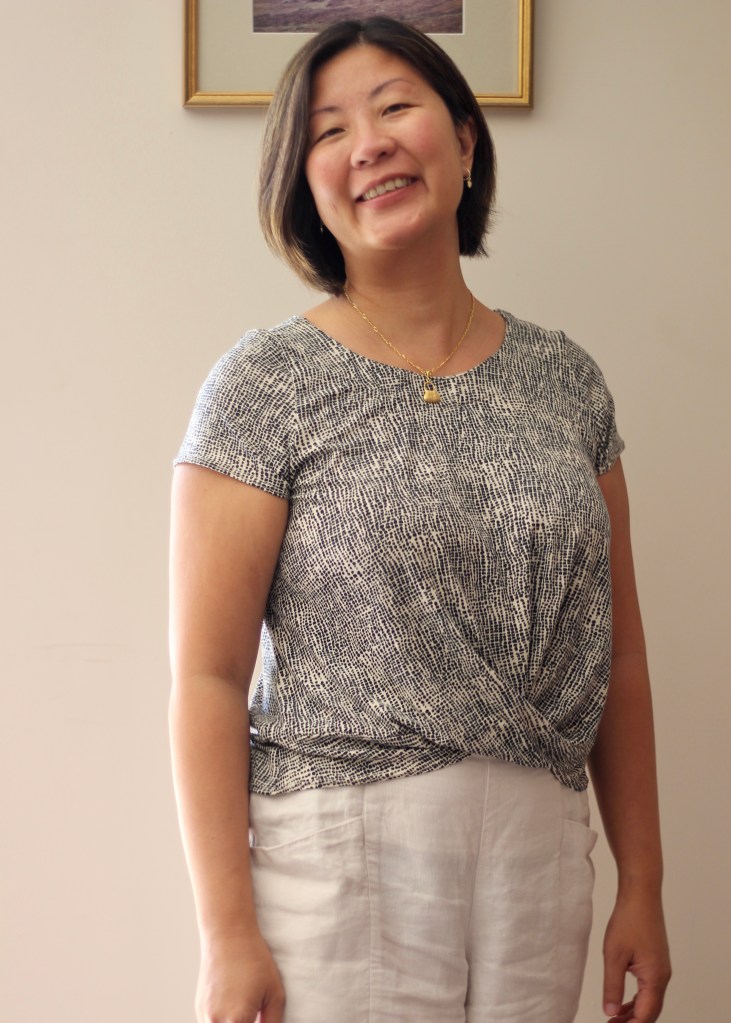
Another well-loved Tee pattern is the Cashmerette Brattle Top. I was very nervous when I was asked to sew this for Cashmerette Club. I ended up making three of these. I love the unique twist in the front. It’s a true elevated basic. I made the size 10 for my measurements. Cashmerette has a fit calculator which gives you a great estimate of the sizing. For this pattern, I used a patterned rayon spandex jersey for one and a bamboo jersey for another two. These were lightweight and had a lot of drape that suited the twist in the front.

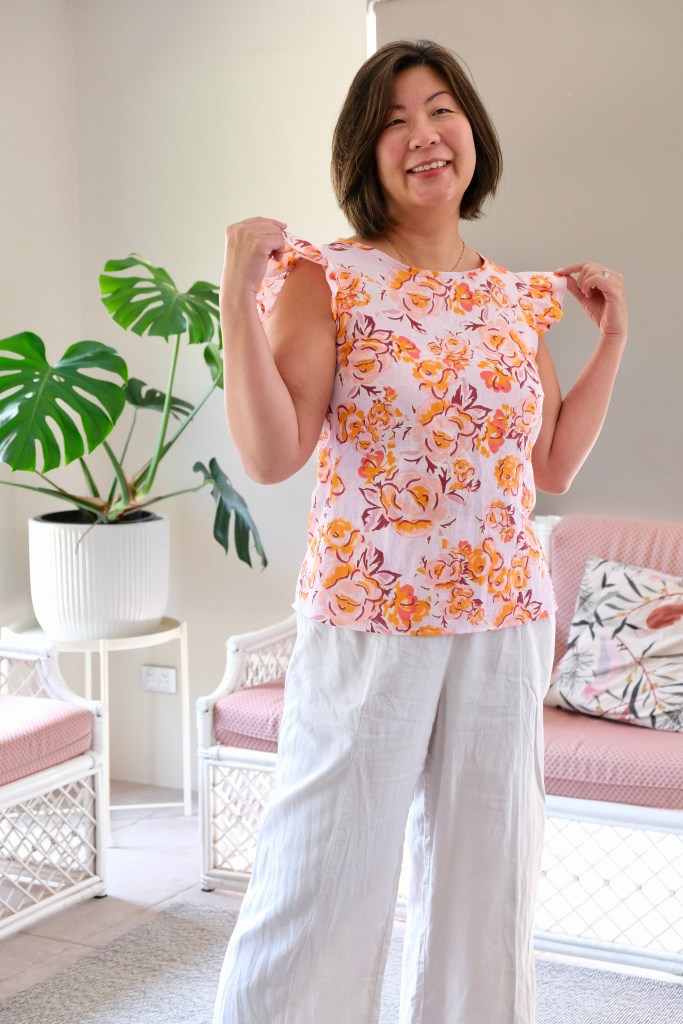
The Carlyle Tee is another unique Cashmerette Tee. It has a beautiful square neckline with puff sleeves. I used a cotton jersey for this, but it doesn’t have enough stretch, and I haven’t reached for it as much because I find it too stiff. I will probably return to this pattern with a softer and drapier knit fabric like a rayon spandex knit.


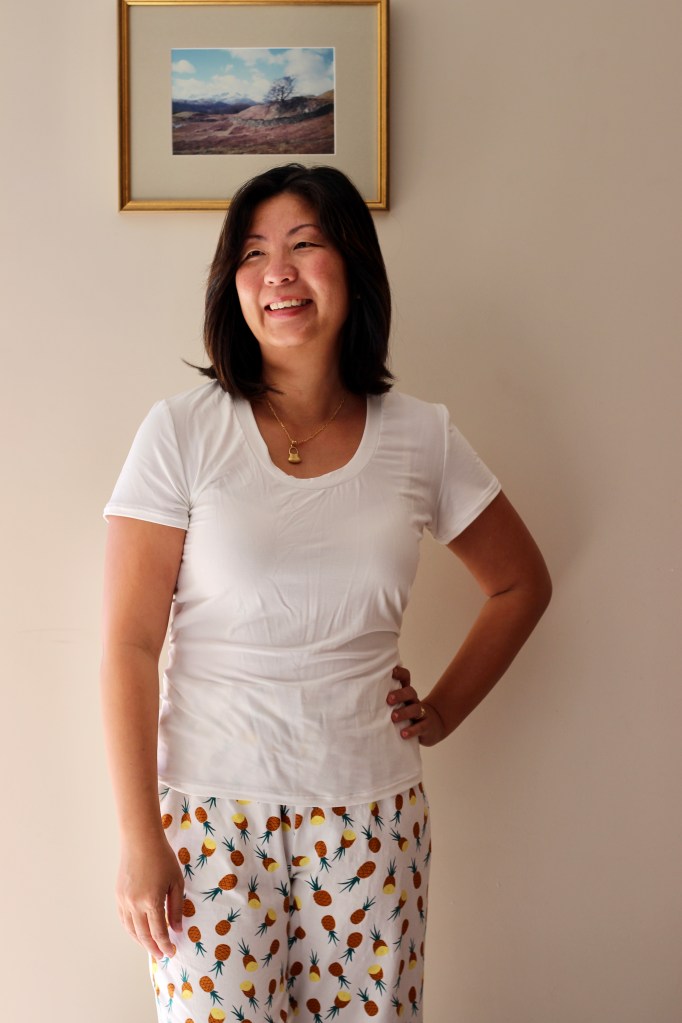
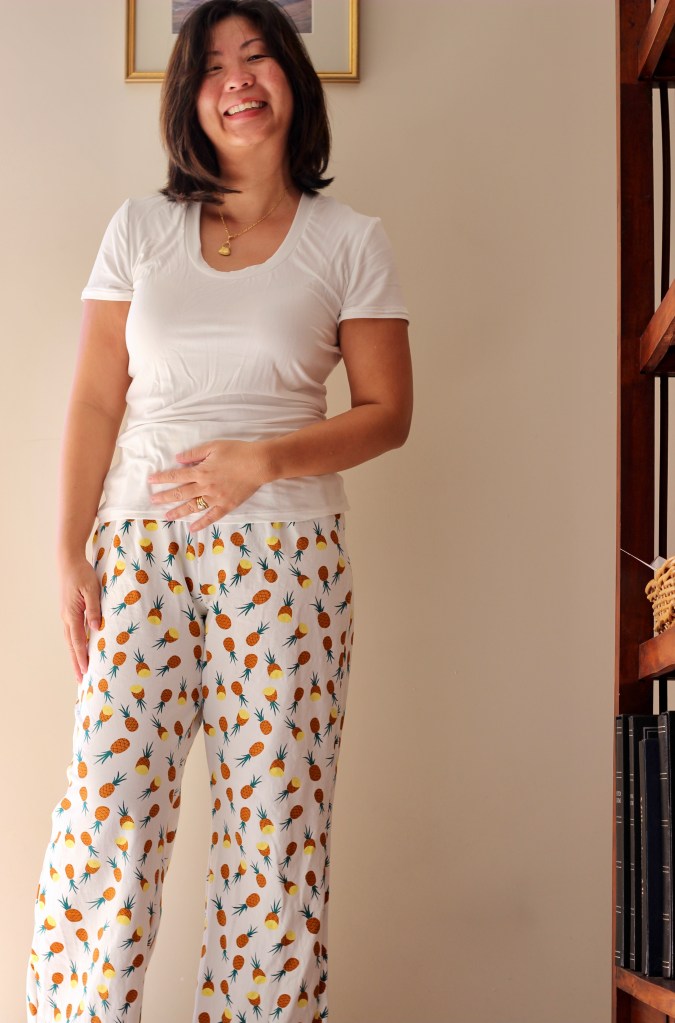
I haven’t written about the Stellan Tee on my blog which is a free PDF pattern from French Navy. It has a classic tee with sleeves. I don’t think I made the correct size, and I wish that I had sized up. I had bought some beautiful cotton jersey fabric from Megan Nielsen when she still had a store. It’s still wearable but again, I had pictured an oversized boxy tee but although it sits with all the right proportions, it’s not the comfortable floppy tee that I wanted. Unfortunately, I haven’t taken any photos but another tee that I love is the Patternscout Comfi Tee. I’ve only made one and the neckline is floppy but it’s one that I have reached for many times over. It’s a fitted tee with a round neck. I need to go back and make another one.

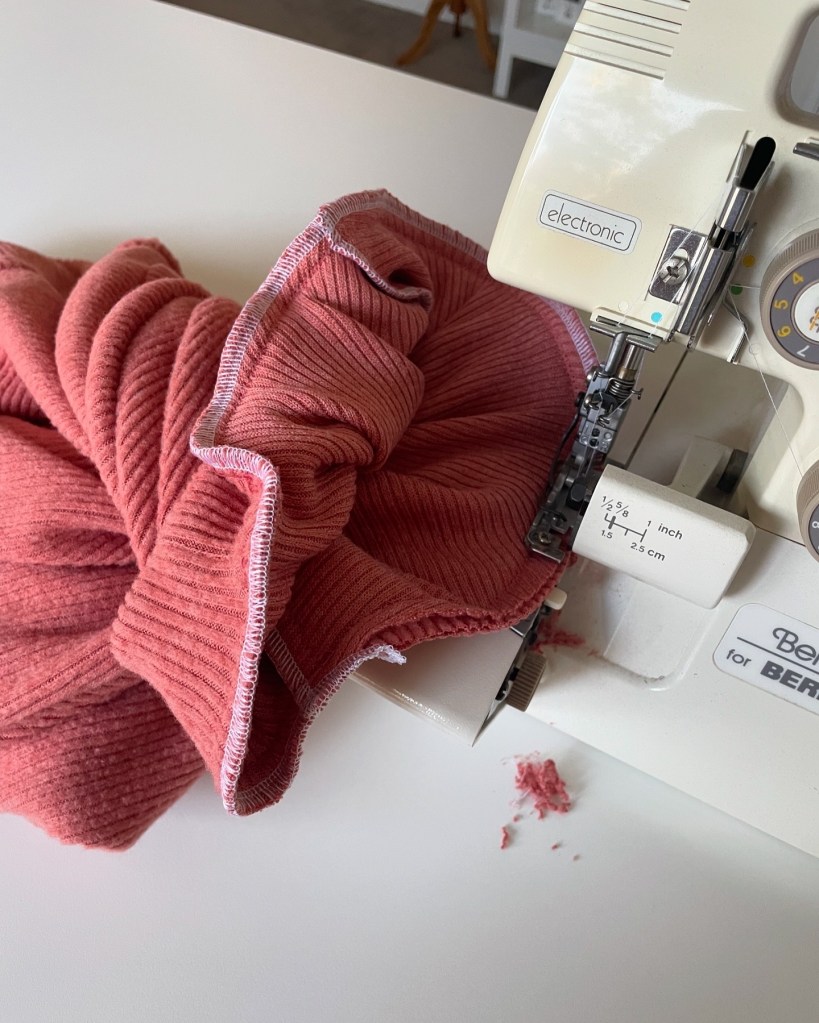
Lastly, the Megan Nielsen Jarrah Sweater was the very first knit pattern that I tried to sew. I know that technically it’s not a tee, but I learnt a lot by making these and it’s a tried and true pattern that I keep going back to every year. I think the practise helped me master a few important skills like attaching the cuffs and neckline. Learning how to control the stretch and how to use the overlocker.


So, the humble tee is one of the most used and valued items in my wardrobe. Now that I’ve used “good” fabric, I’ll be looking for more so that I can keep searching and making this most comfortable item in my wardrobe.
Thanks for reading and happy sewing!
X Em