When I first started sewing, I thought I would only sew the “special items” in my wardrobe like dresses but as I started to learn more, I realised that I really wanted the challenge of making a fully “me-made” wardrobe. Part of this is finding the perfect tee. I have made a few favourites, but I was still searching for a boxy tee when Tammy Handmade made a call out for testers for her Cloud Tee. I couldn’t sign up fast enough and I’m glad that I did because the pattern is a great fast sew.
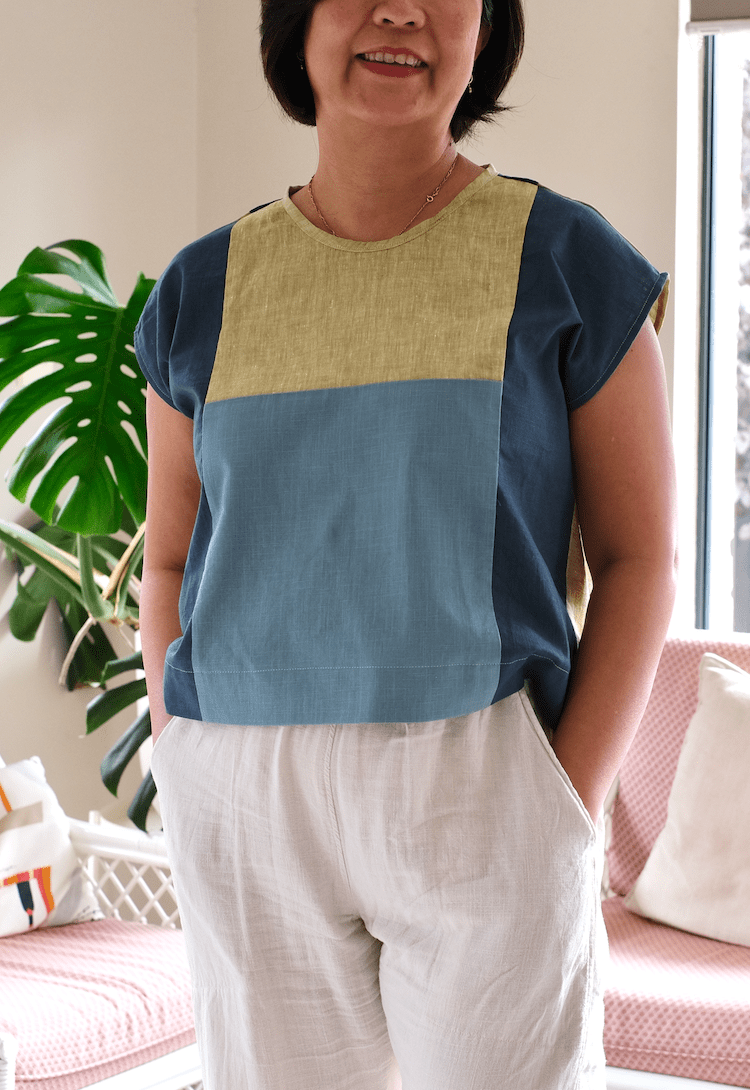
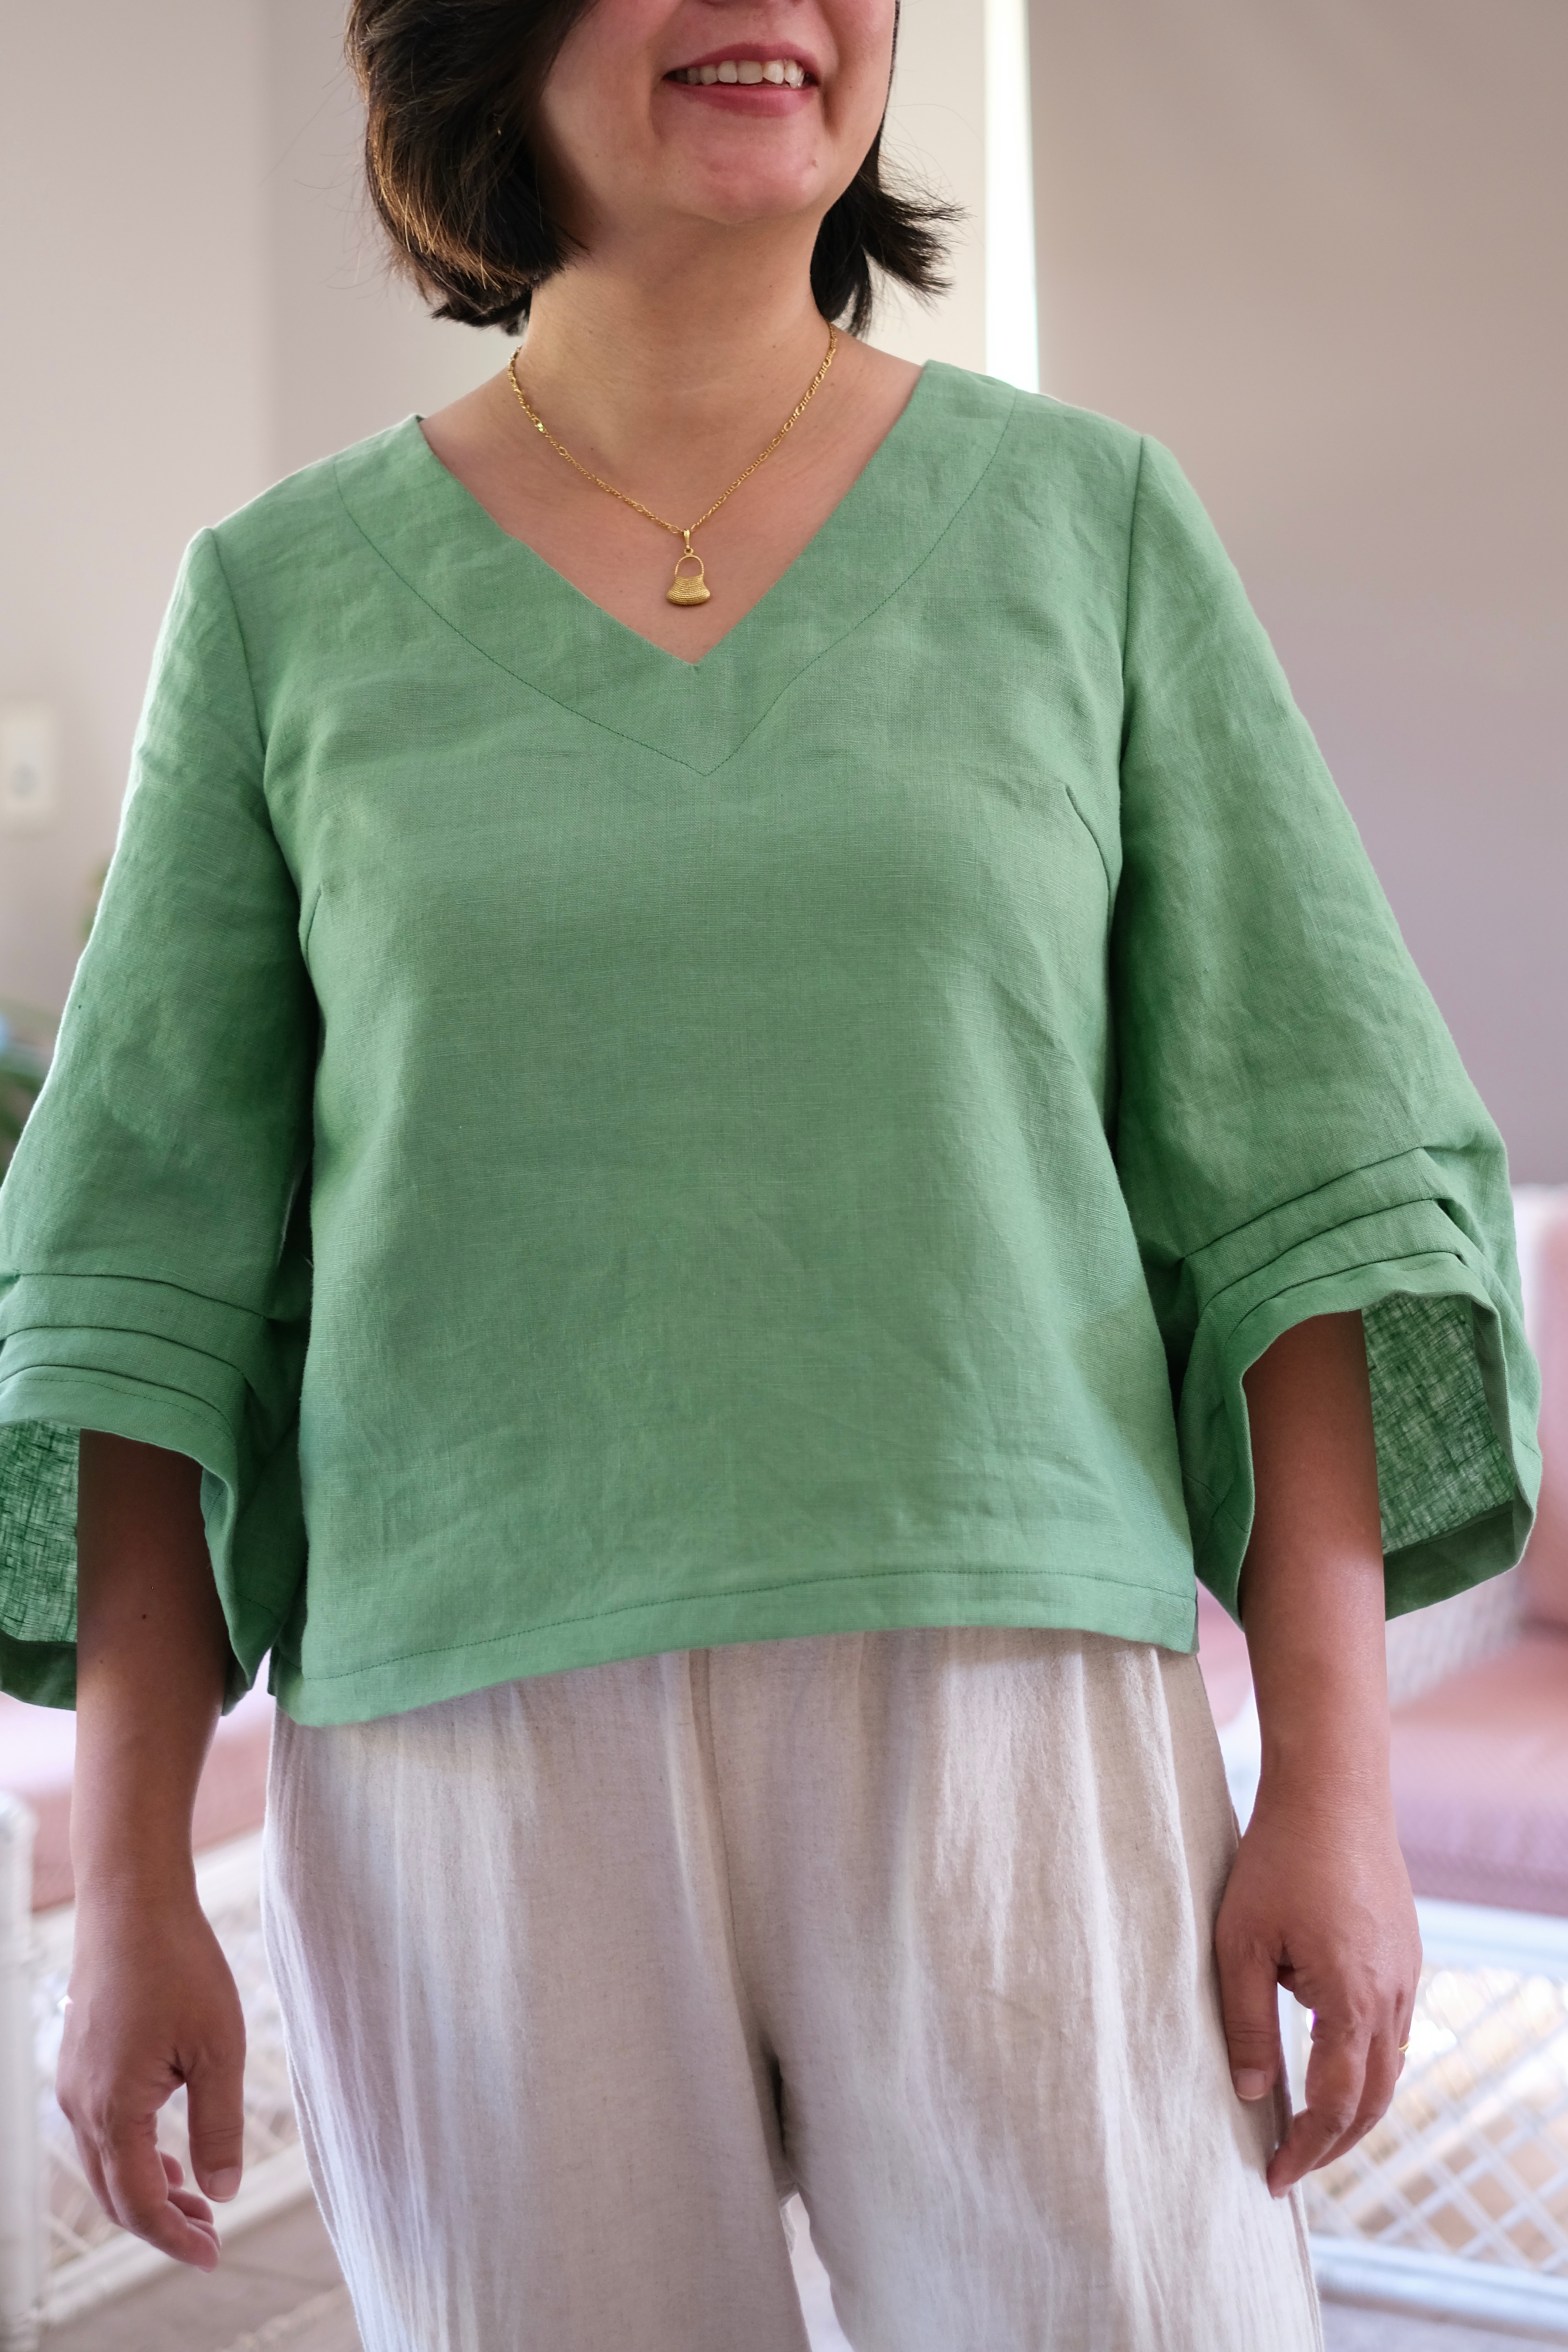
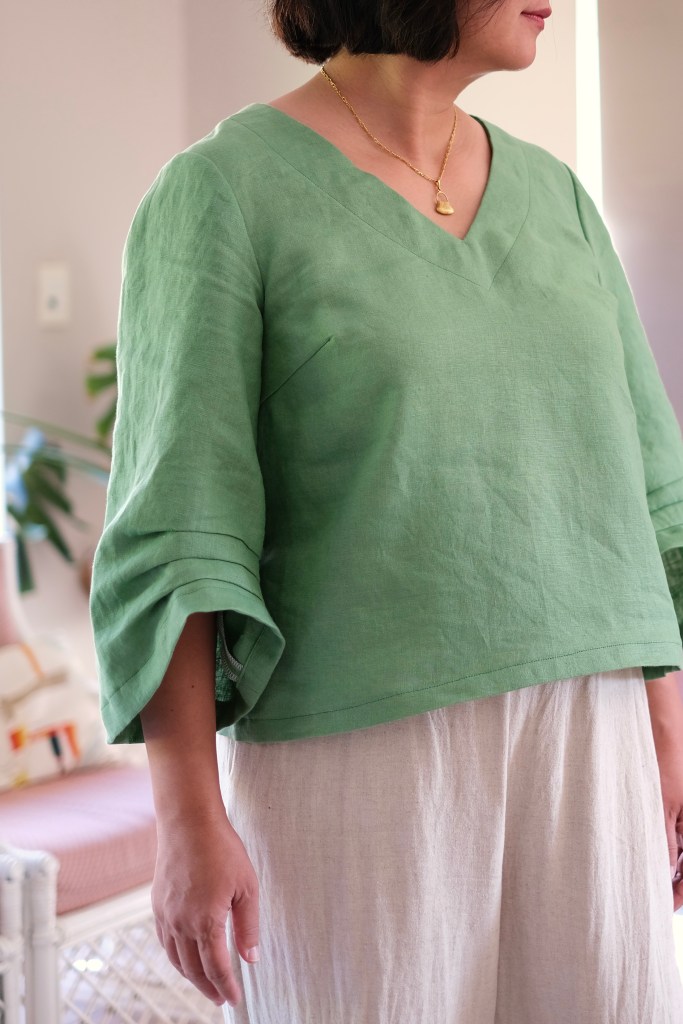
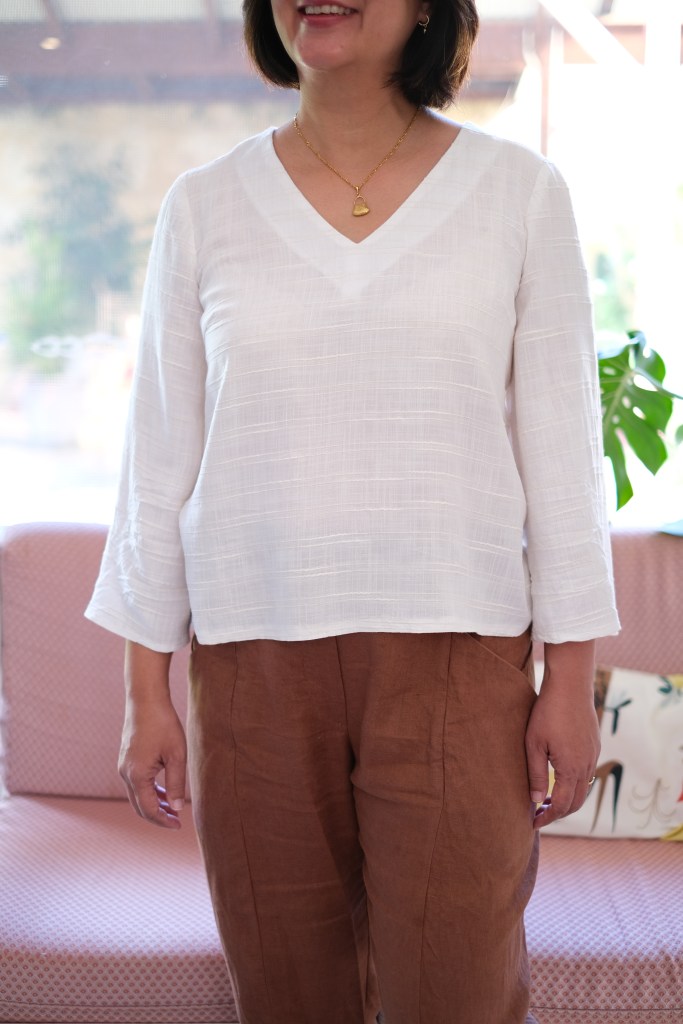
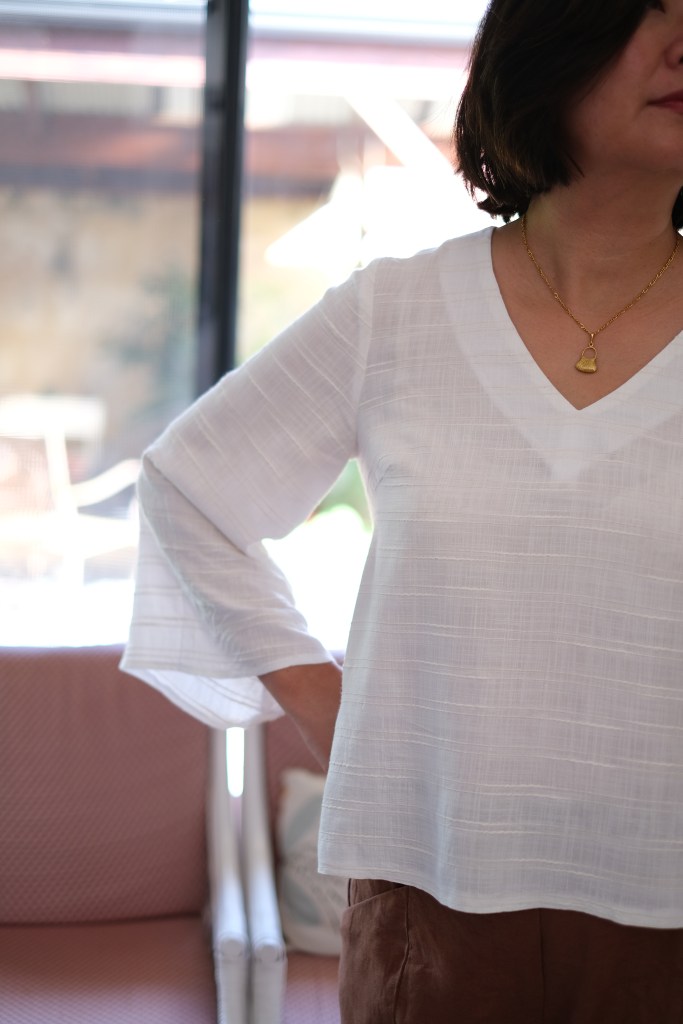
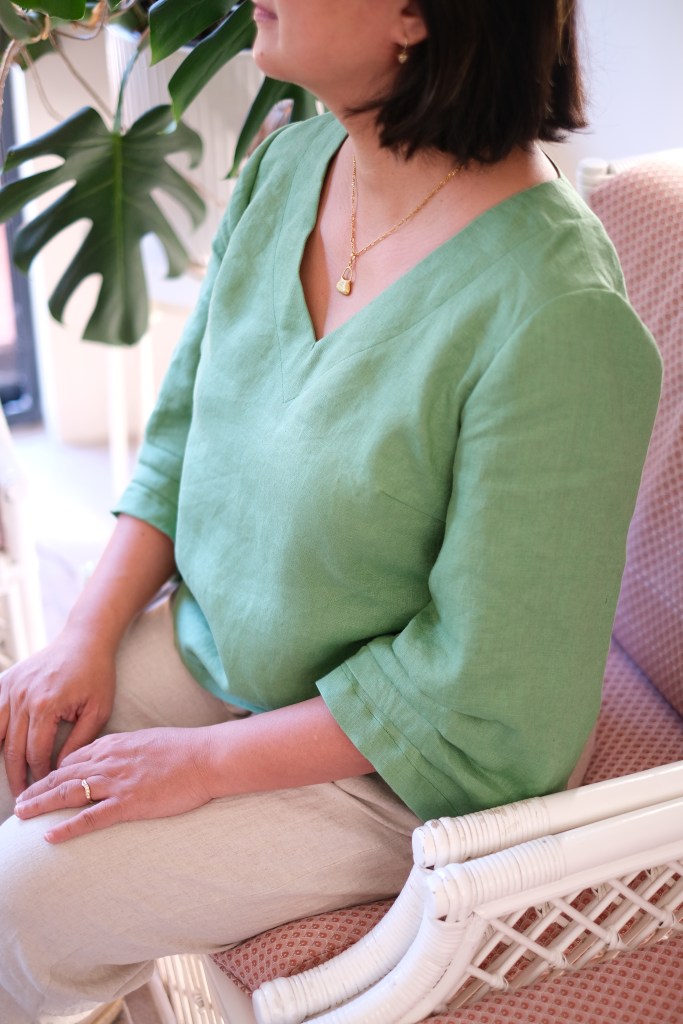
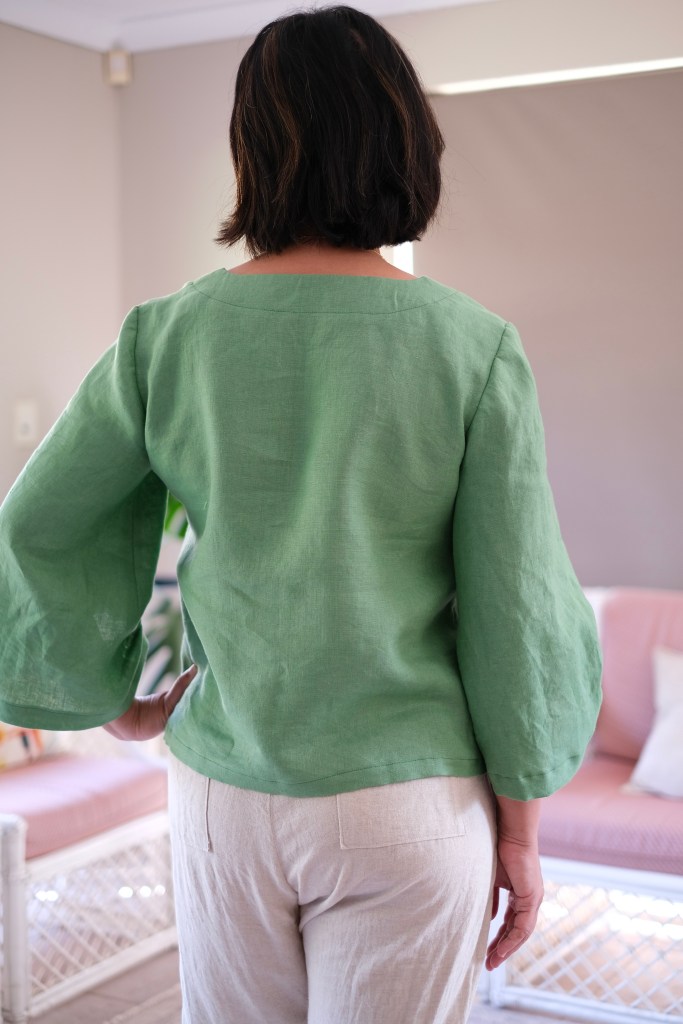
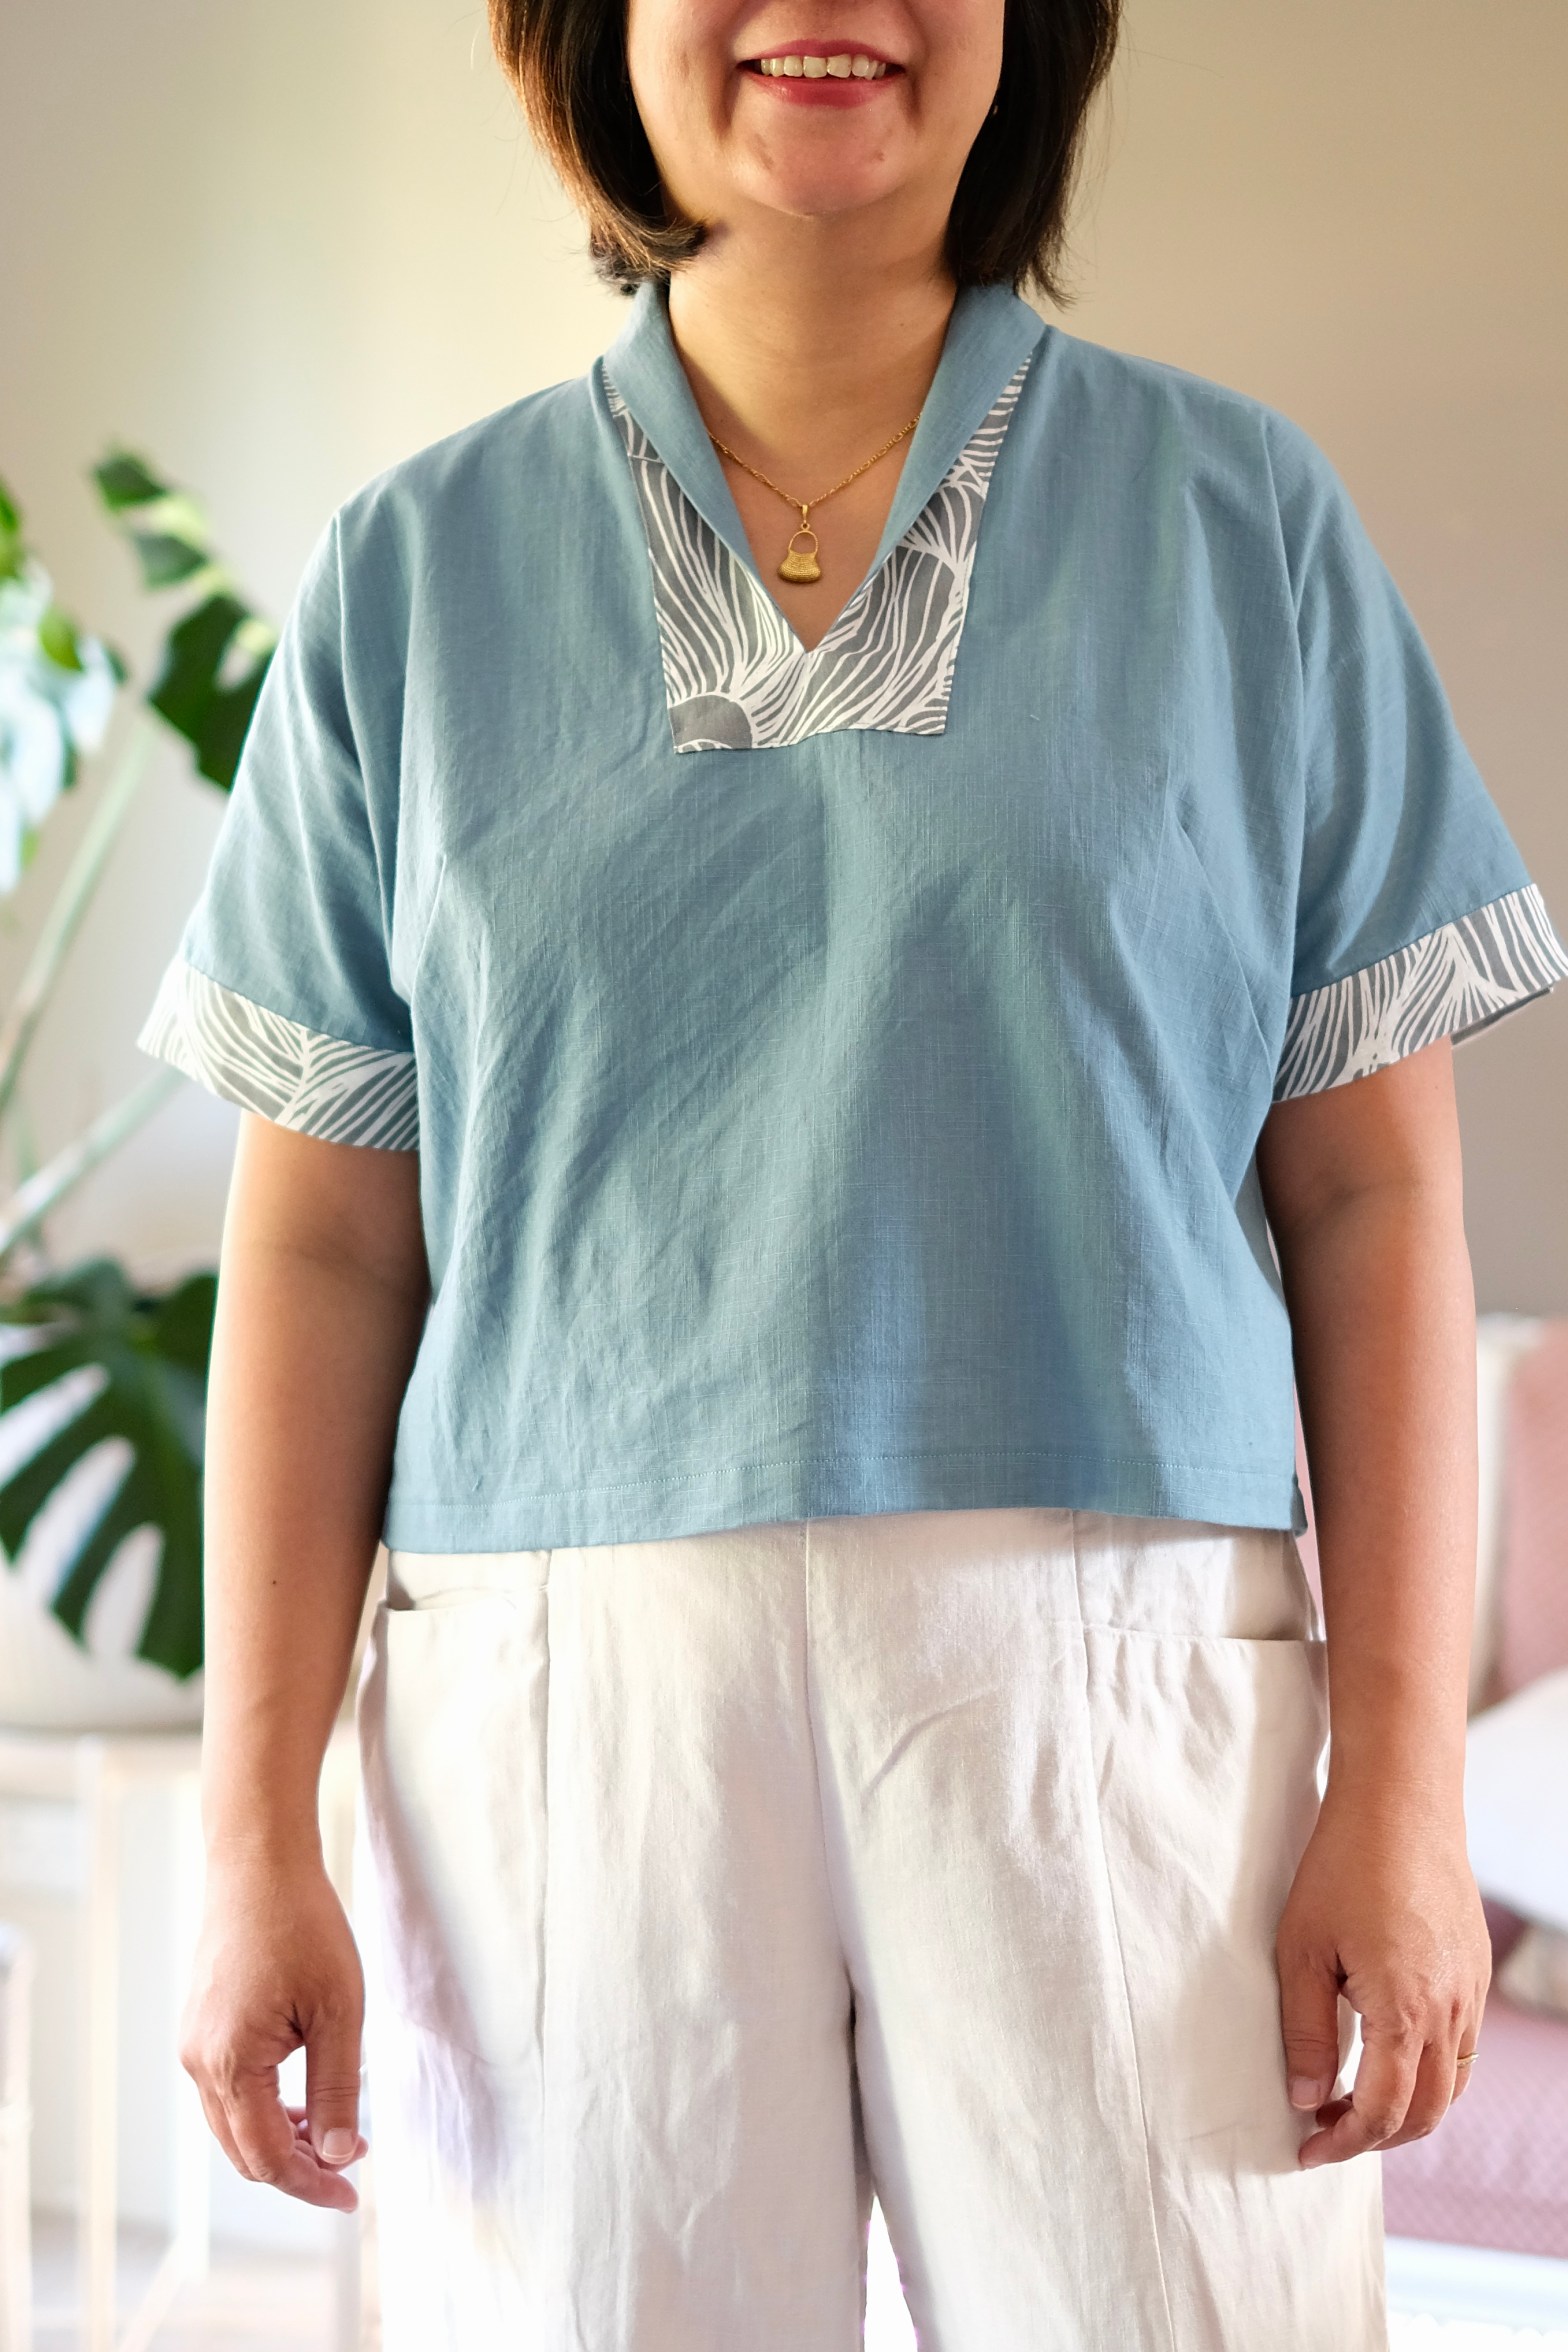
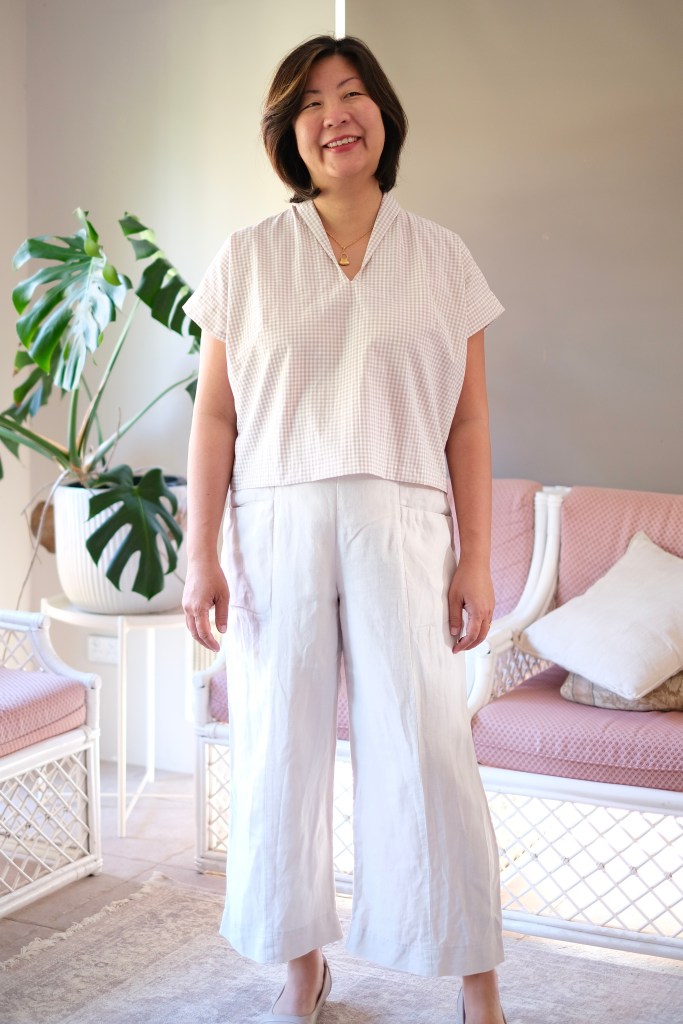
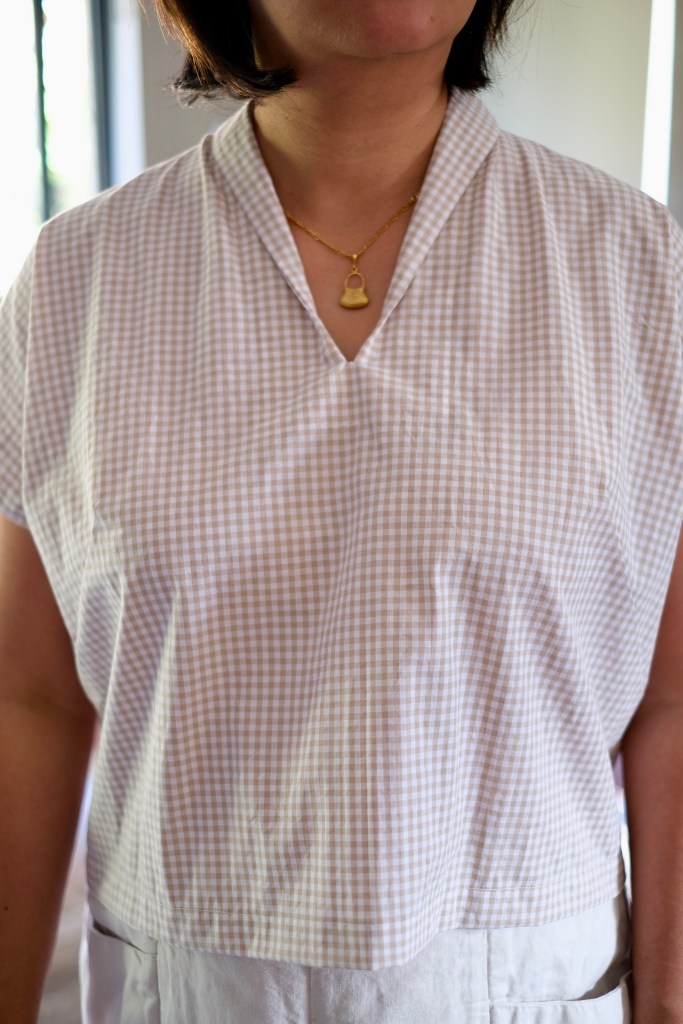
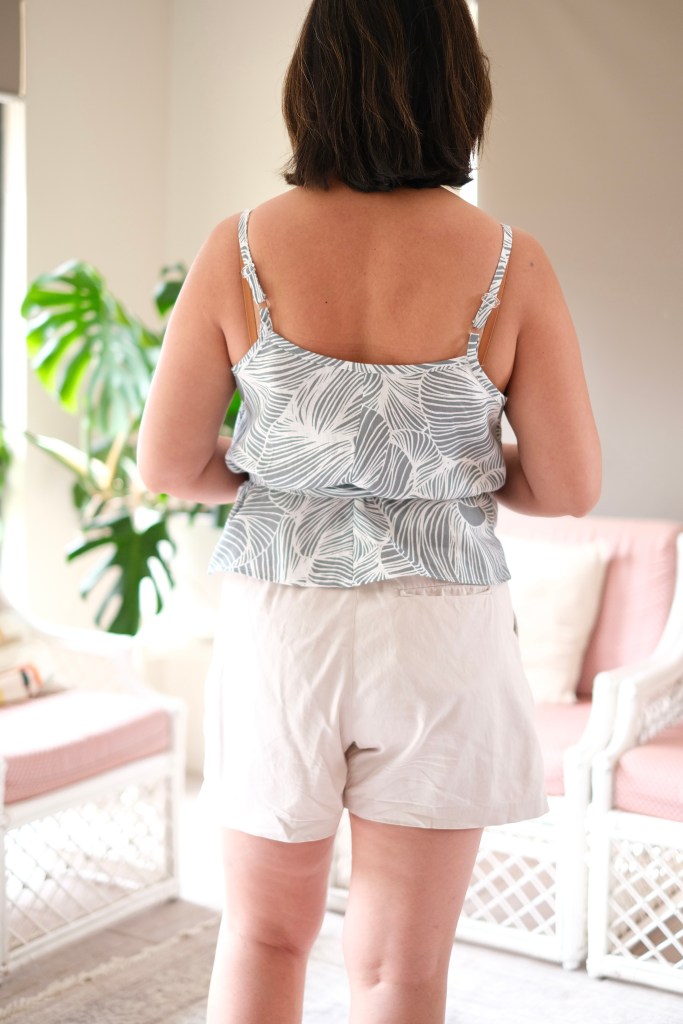
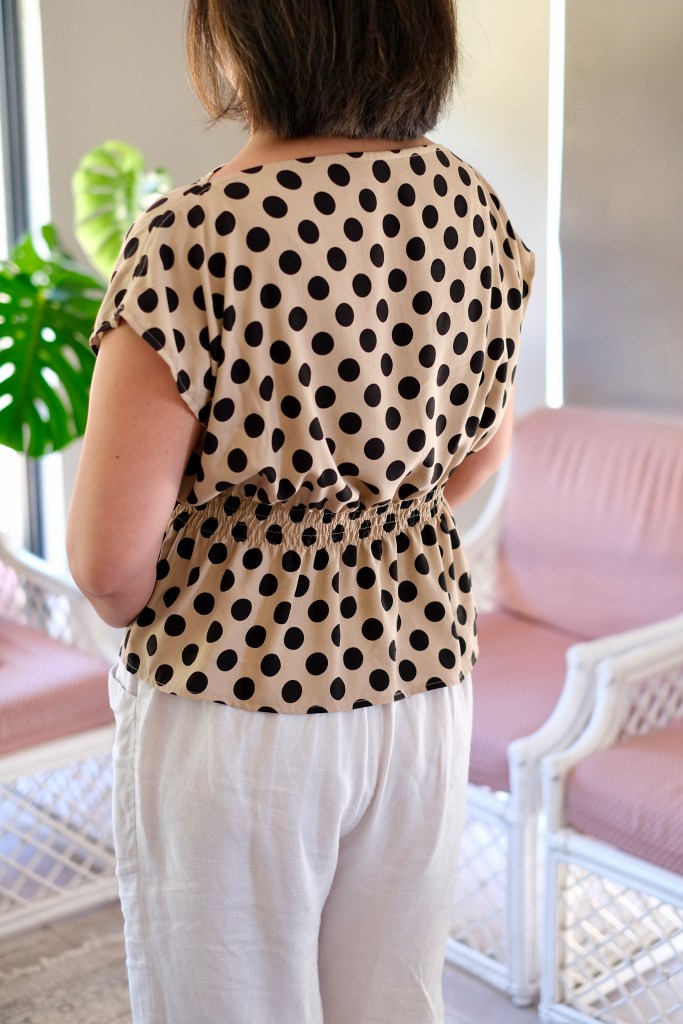
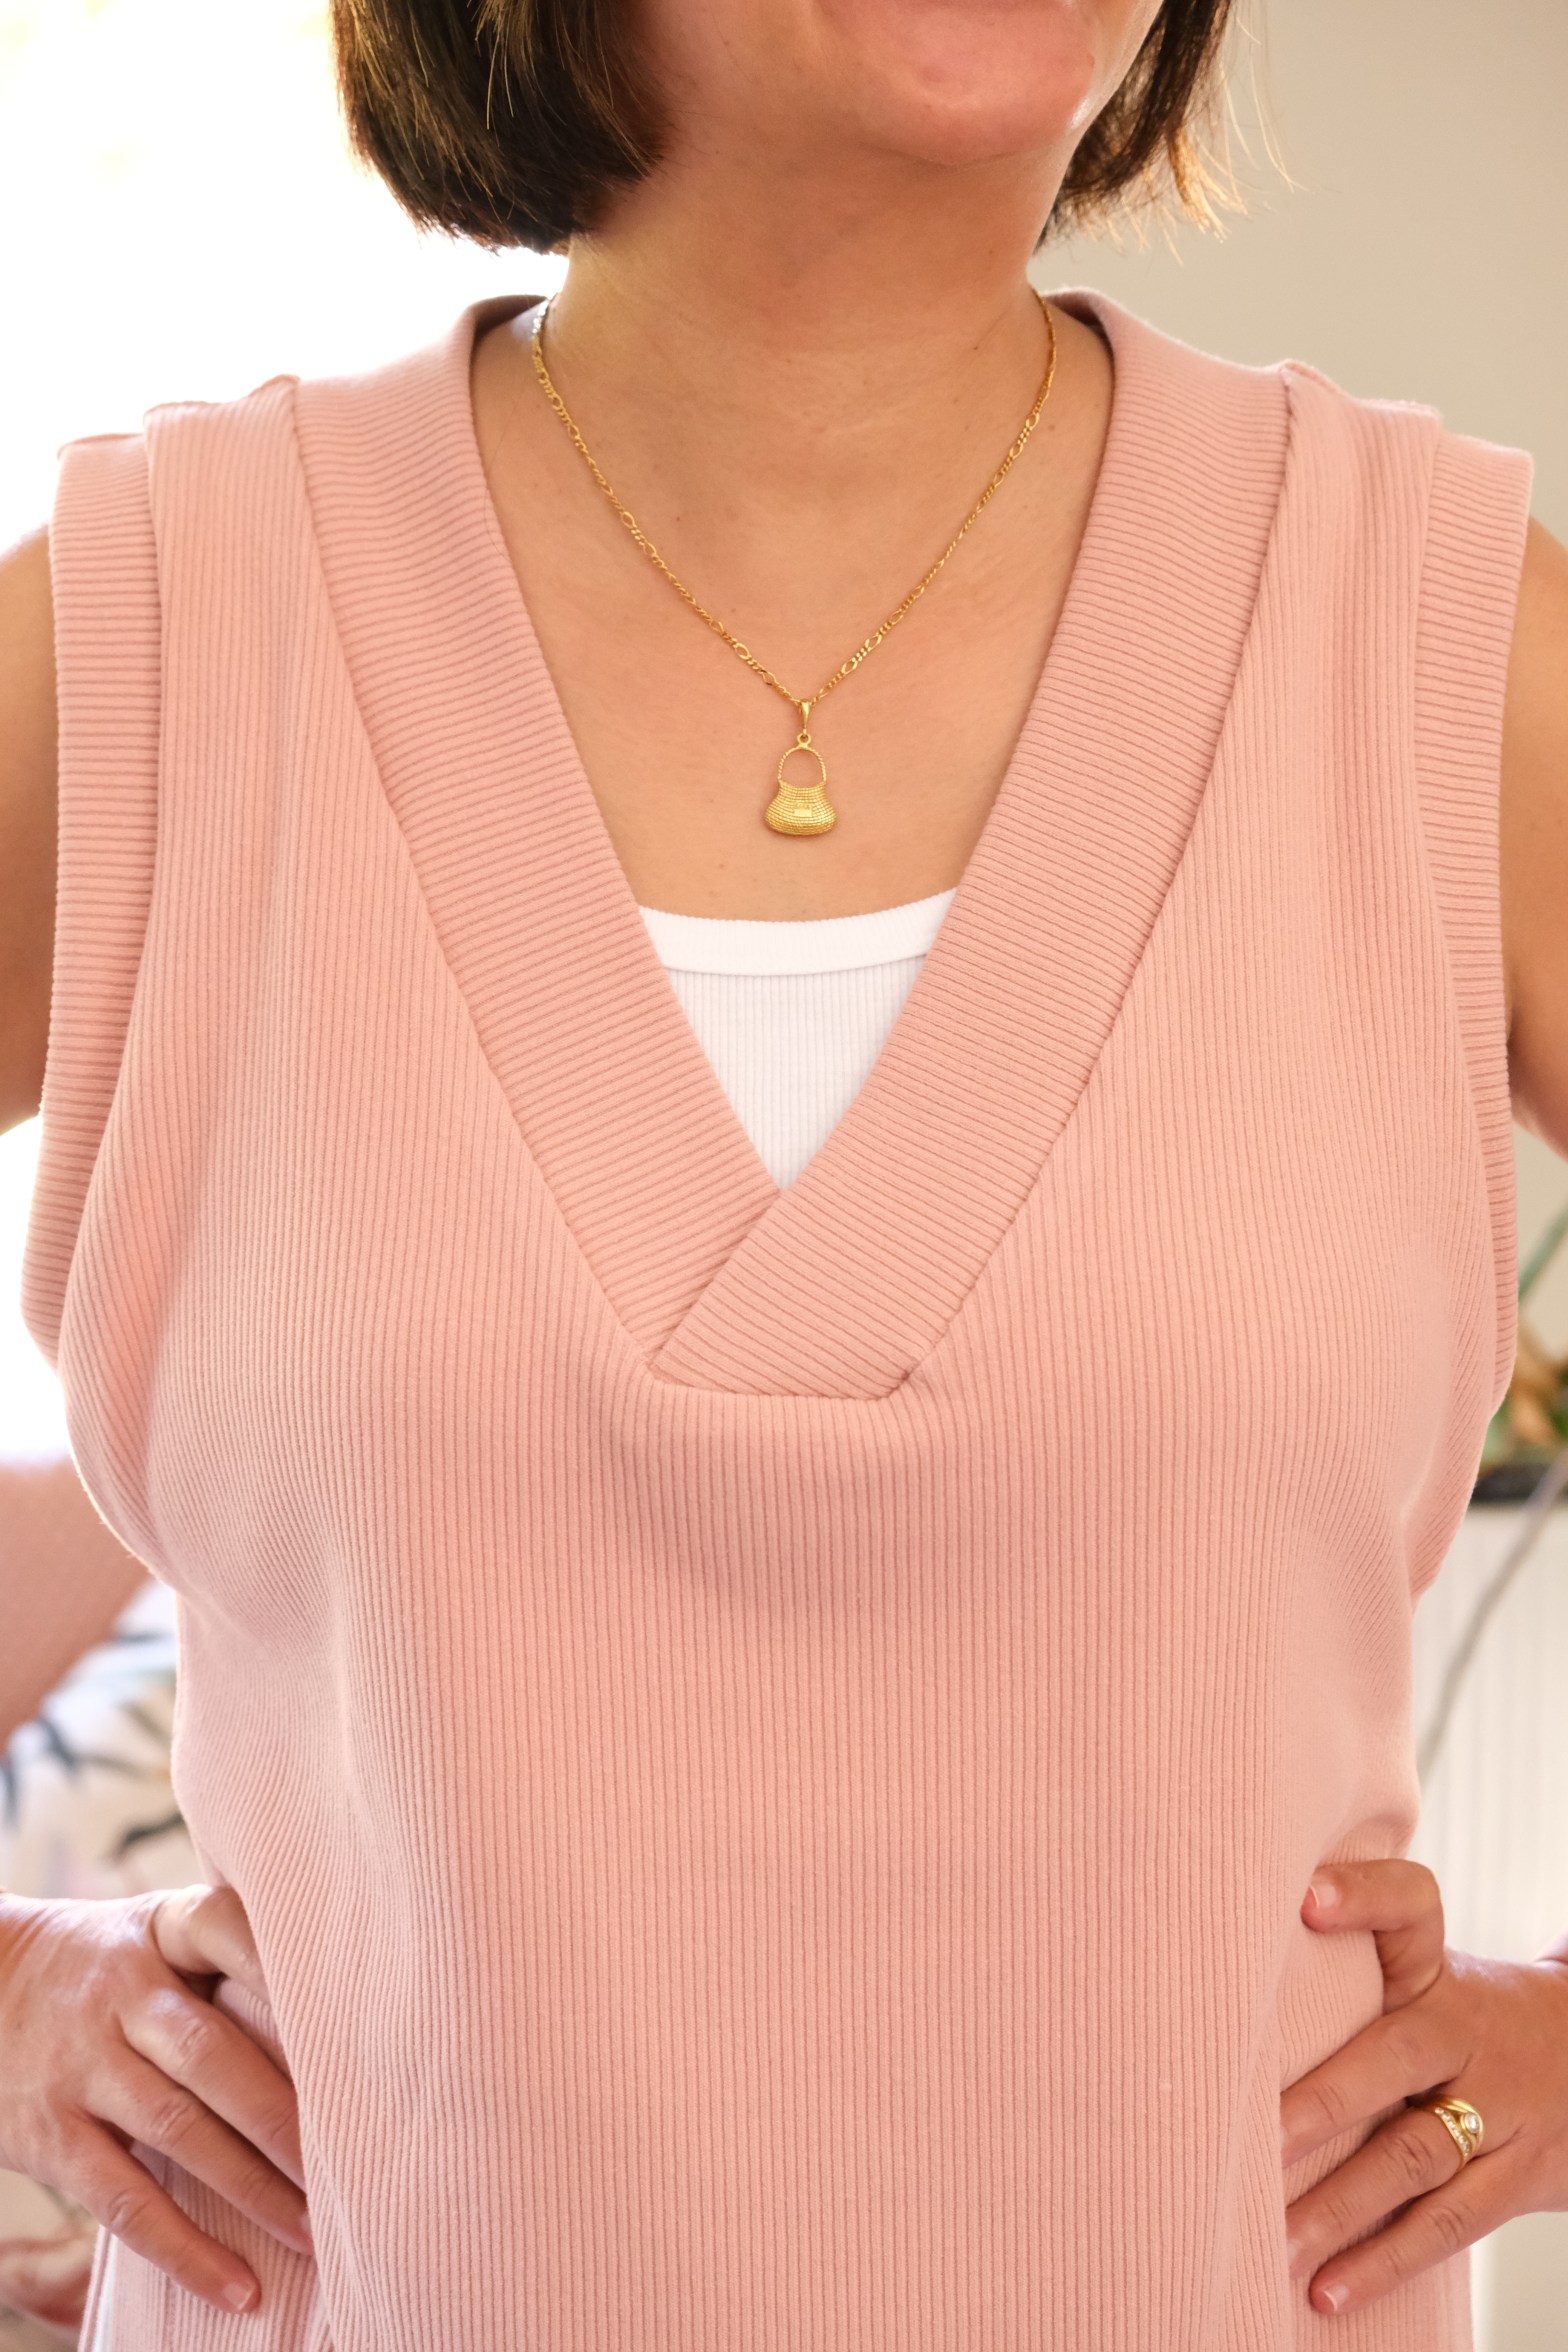
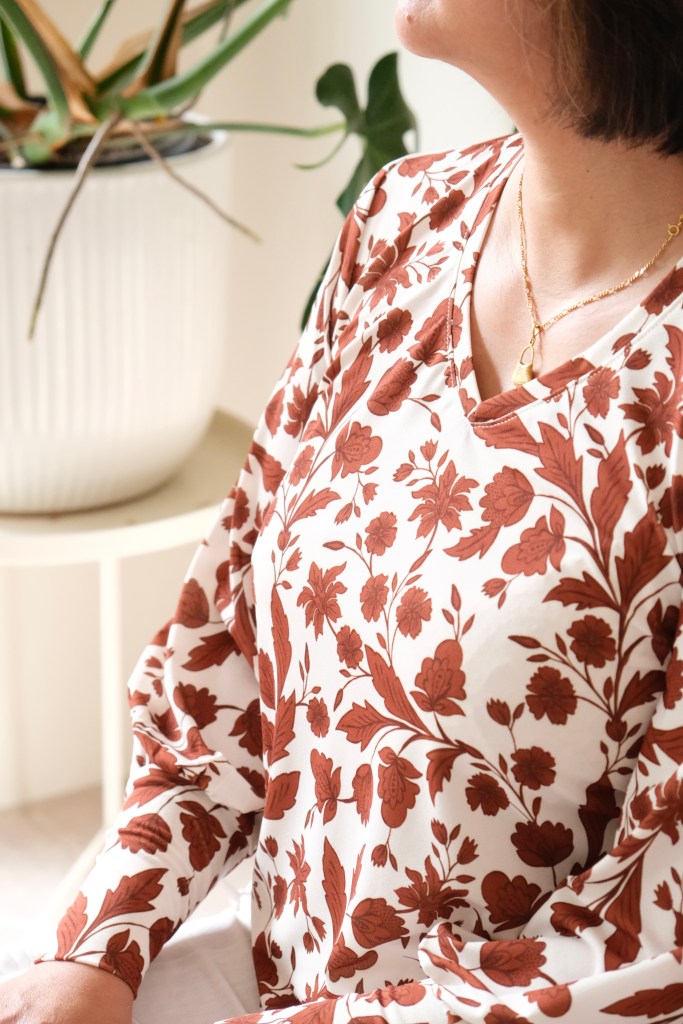
The shape of the tee is boxy with dropped sleeves. I like how the pattern includes three sleeve options. When I started the test, I thought we had to make all three sleeve options! Sorry not sorry because I’m going to be reaching for these a lot. T-shirts are such a staple in the wardrobe so I’m excited to be adding these three.
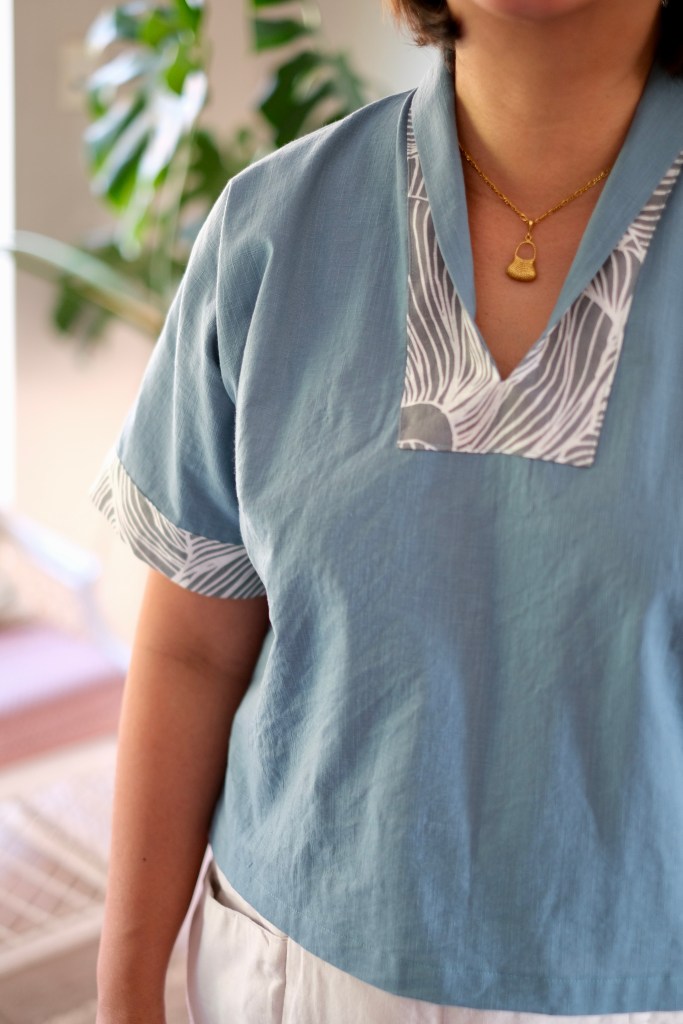
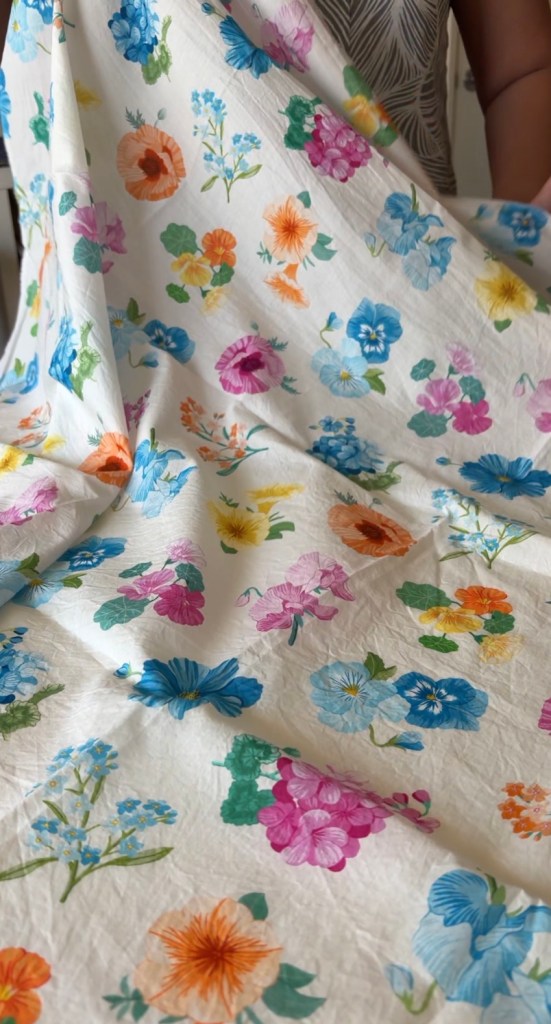
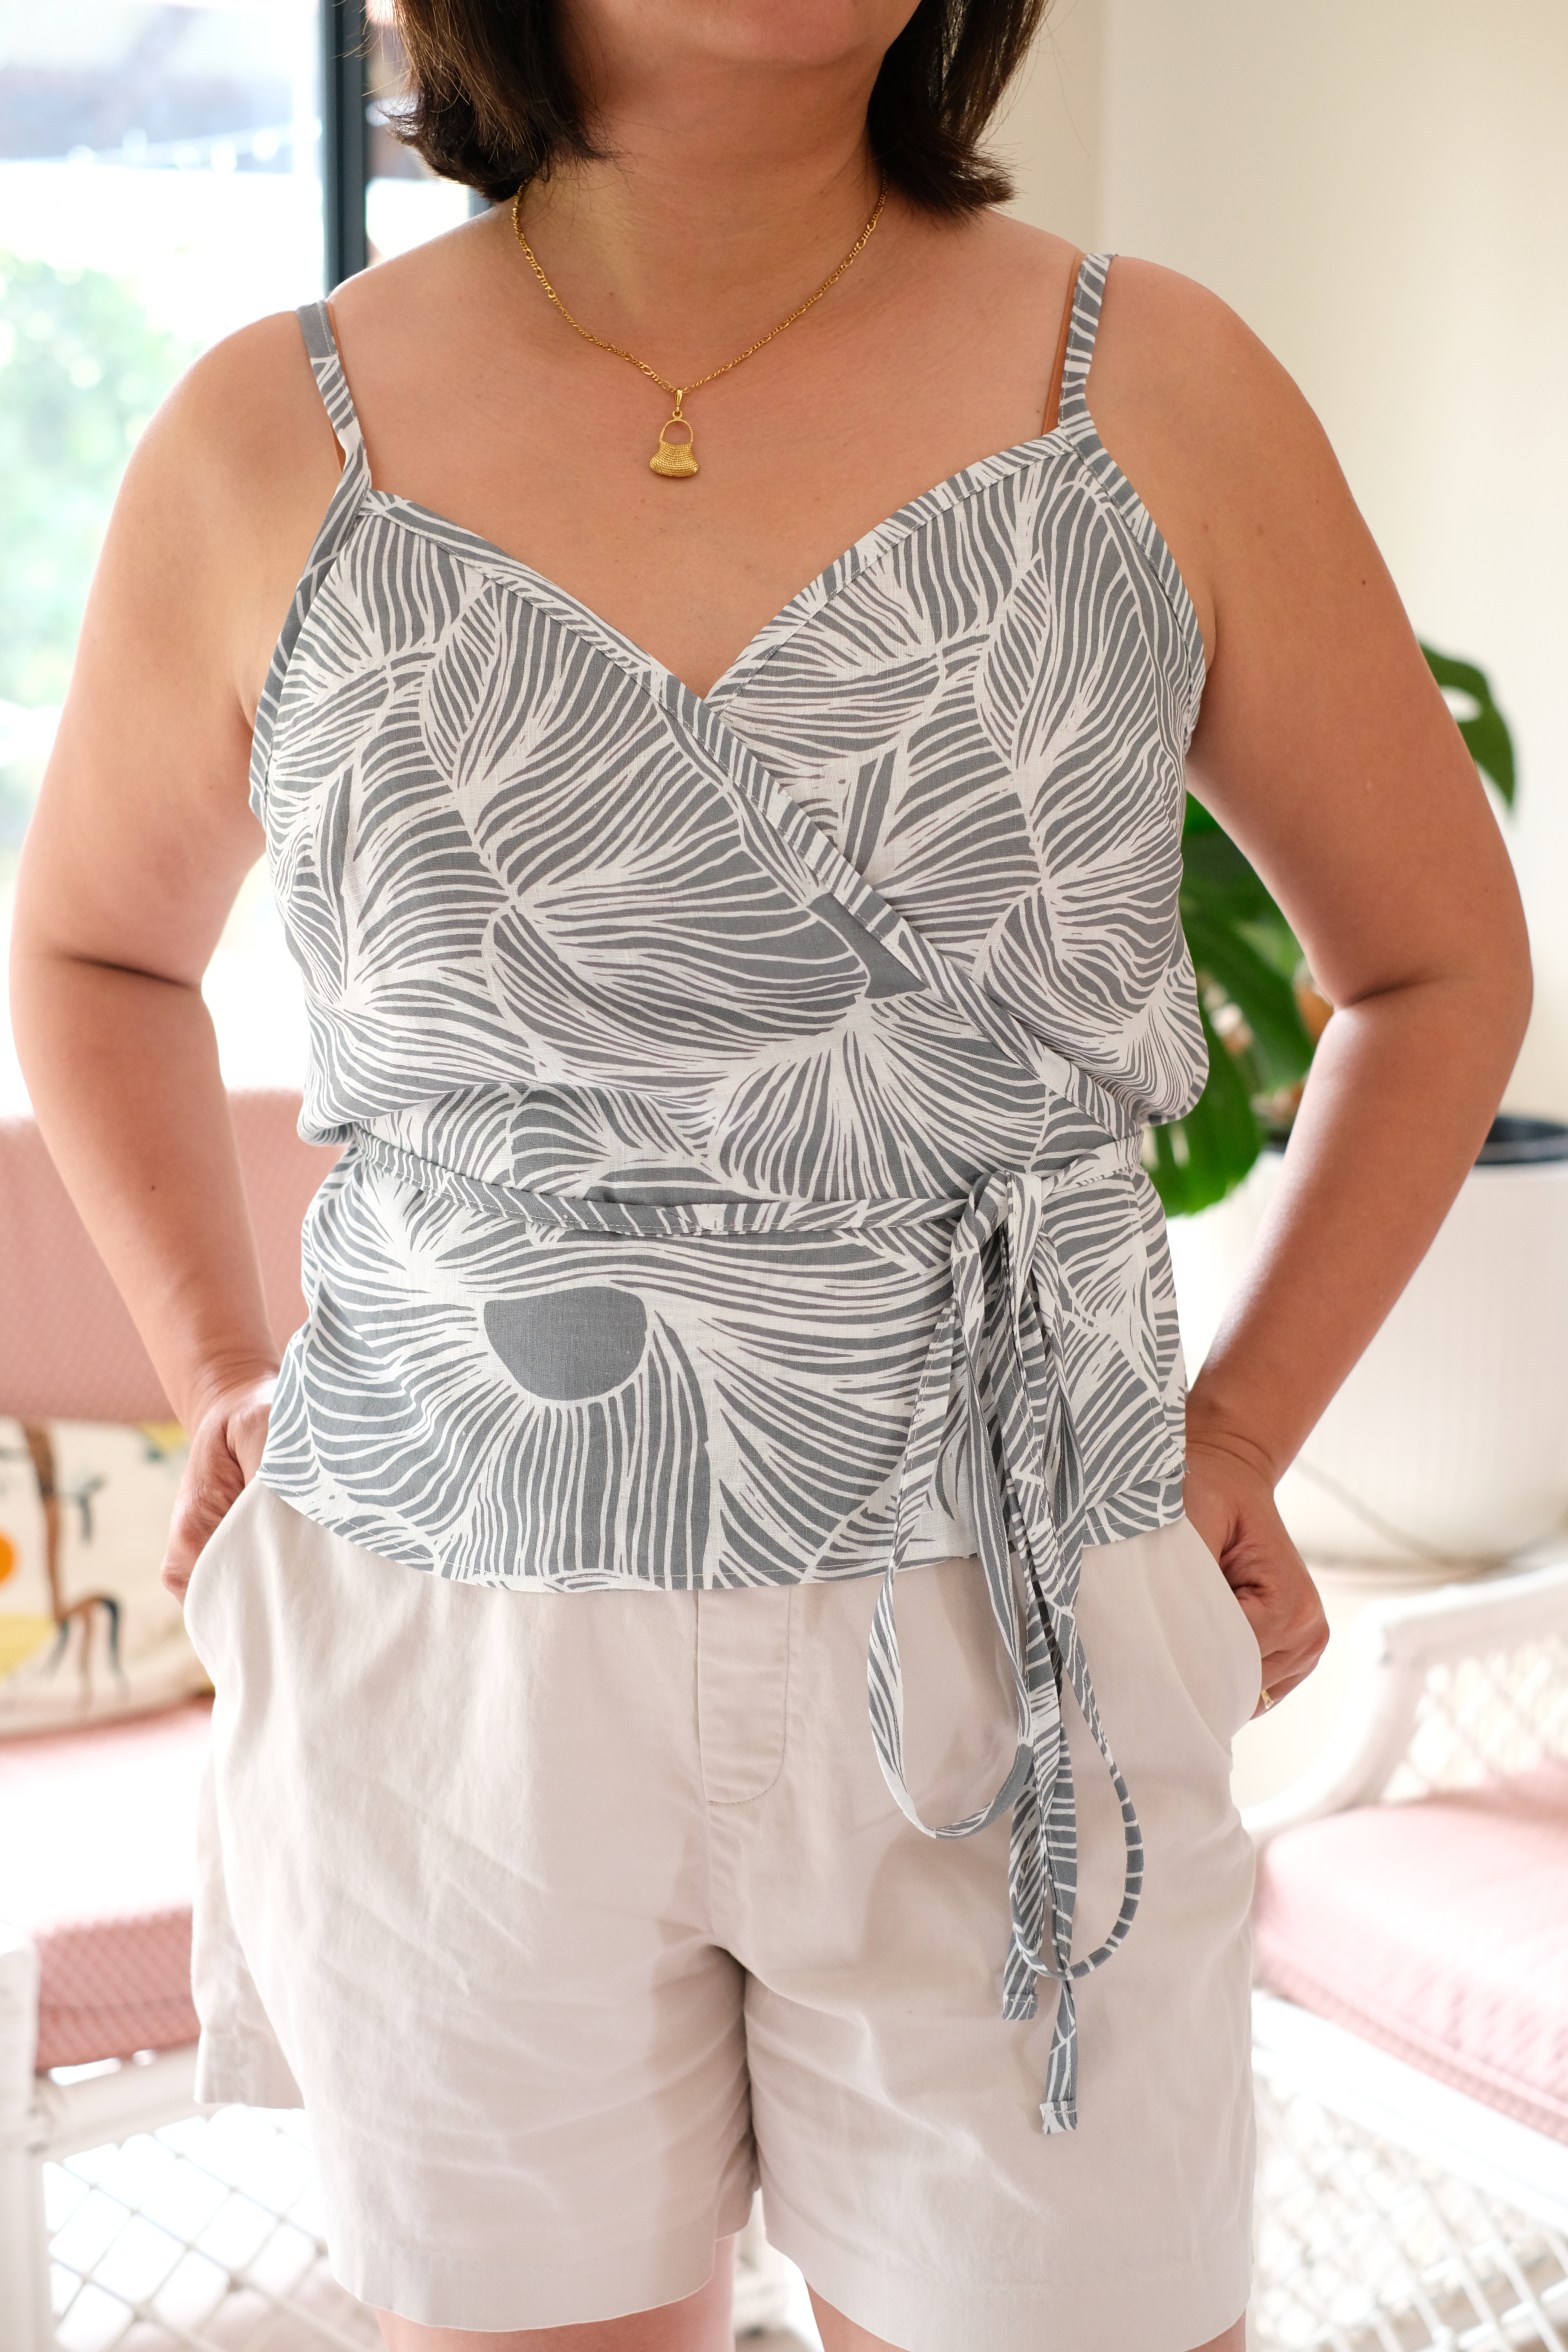
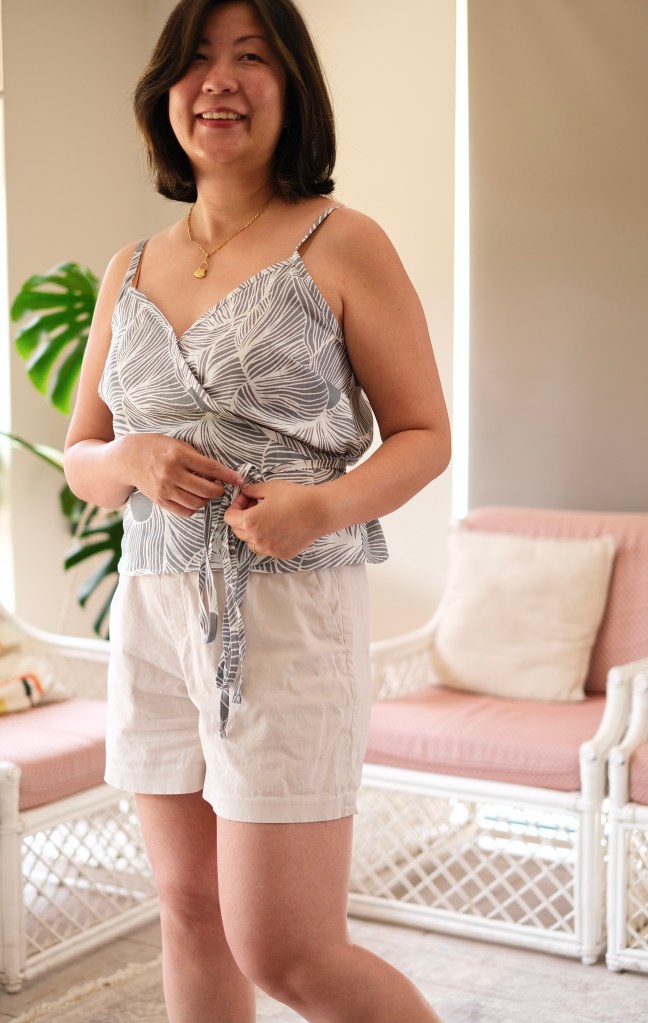
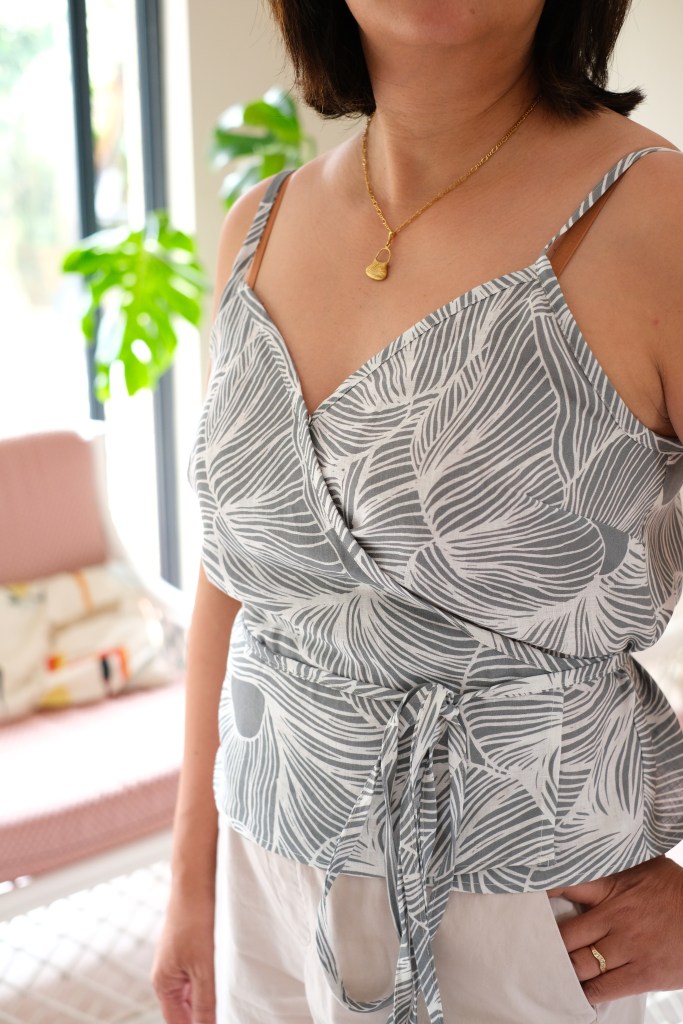
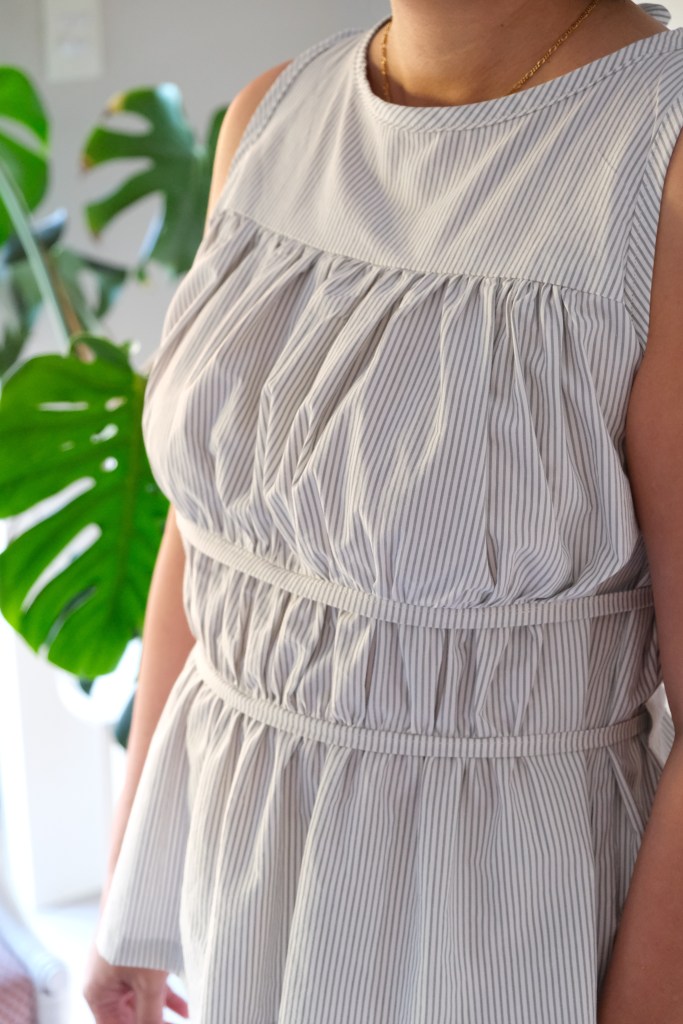
My t-shirts are all rayon jersey fabric. There is a bit of spandex in the fabric. It feels very soft to wear and although it has a fair amount of drape, it also has a bit of body to it unlike something like bamboo jersey. The pattern has great suggestions for fabric choice. I must admit that I tend to sew more with woven substrates, but you can’t go too wrong with fabric choice with this tee. My fabric was all found at my local fabric store, but I have an eye out for a few jersey pieces especially from Maai Design Artist Collection. It’s great that only 1 meter is needed for the short-sleeved versions. For the test, I’m so happy to pick up the stripey fabric. I’m loving seeing stripes everywhere!
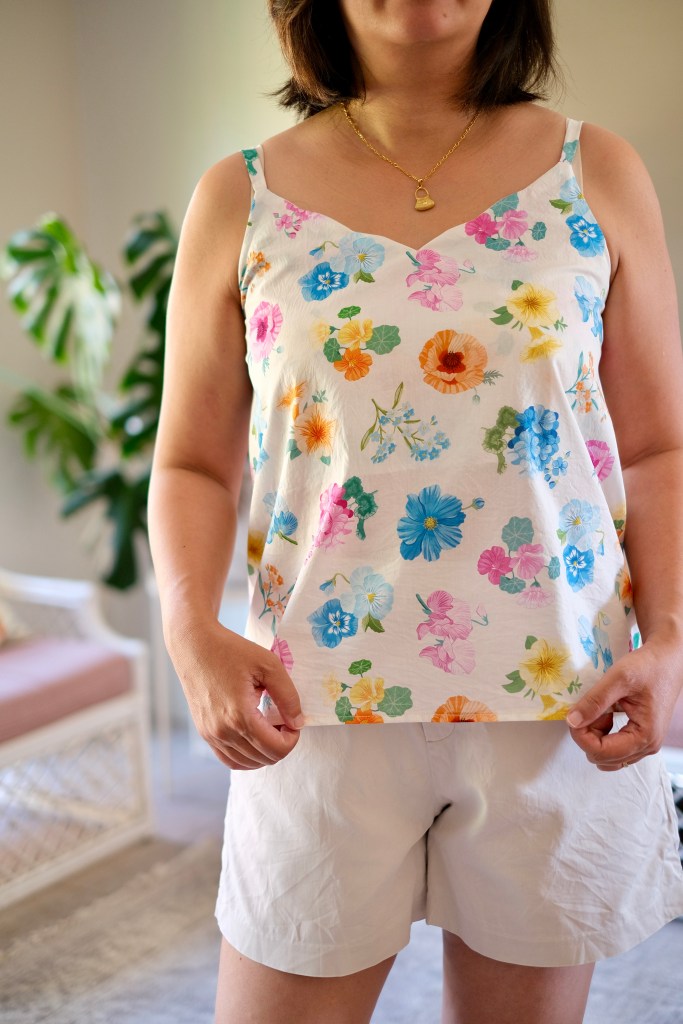
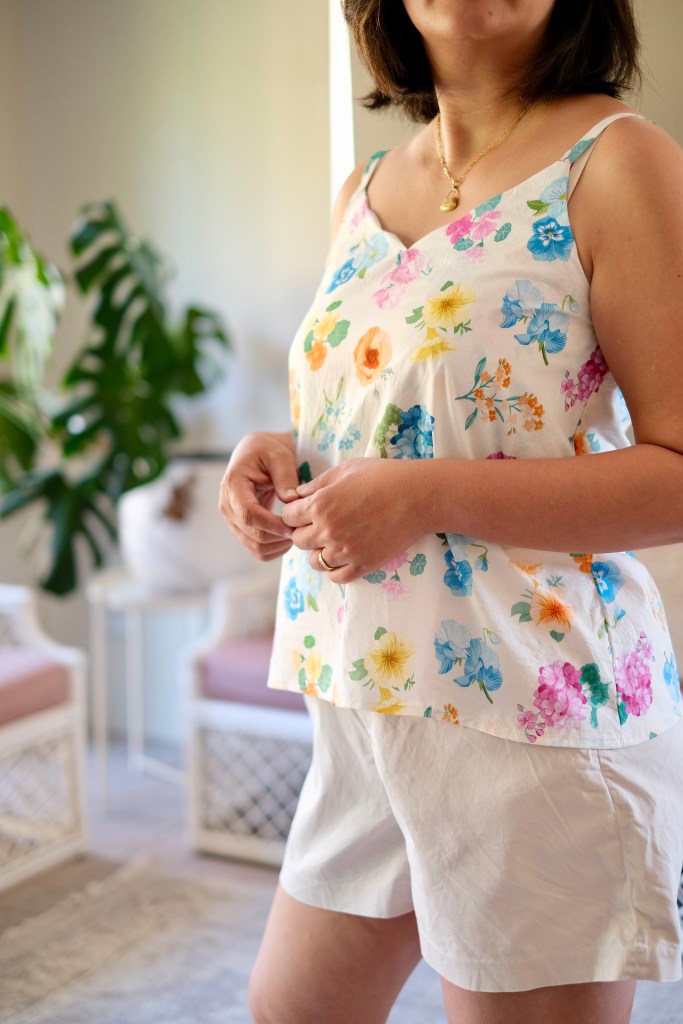
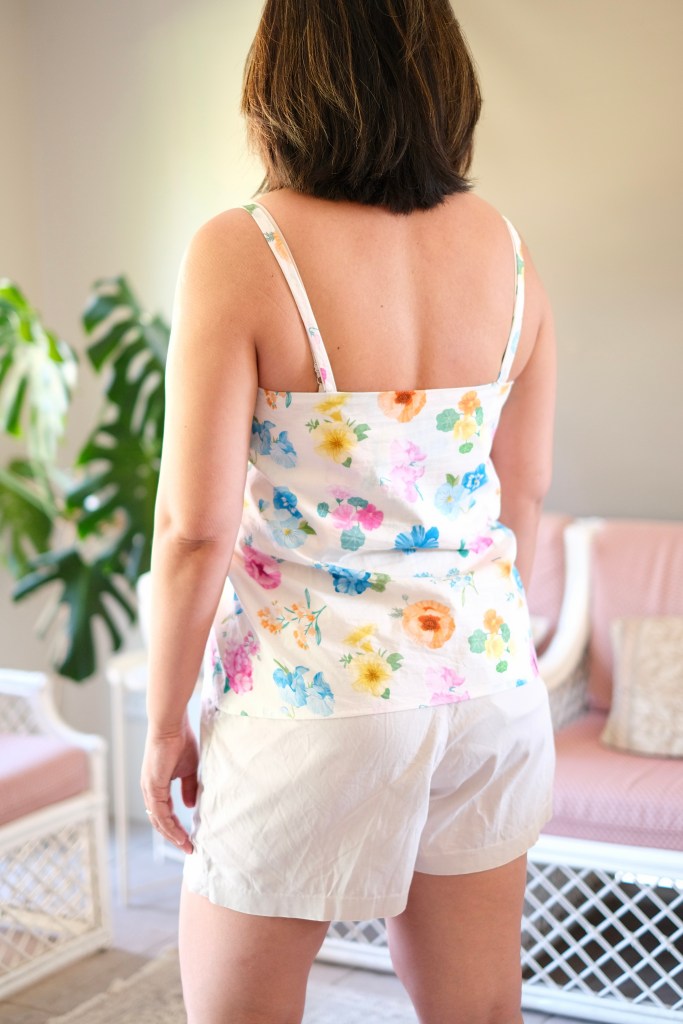
The boxy shape gives this tee a relaxed fit. I decided to make the size 14 for my measurements of 38-inch bust, 33-inch waist and 40-inch hips. I probably would have also been fine in the 12 but I like the relaxed fit. I had seen a boxy long-sleeved top at one of the stores that my daughter loves. When I finished my tee, she commented that I was very on trend with my look! The shirt has a deep hem which makes it sit well without any chance of the hem curling. No modifications were needed for my tee but I really appreciate how Tammy has detailed these in the pattern.
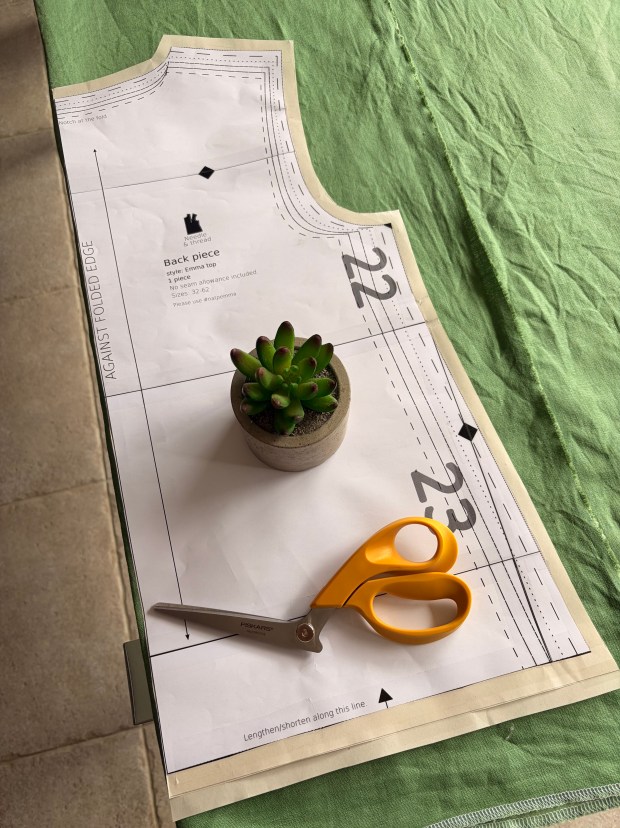
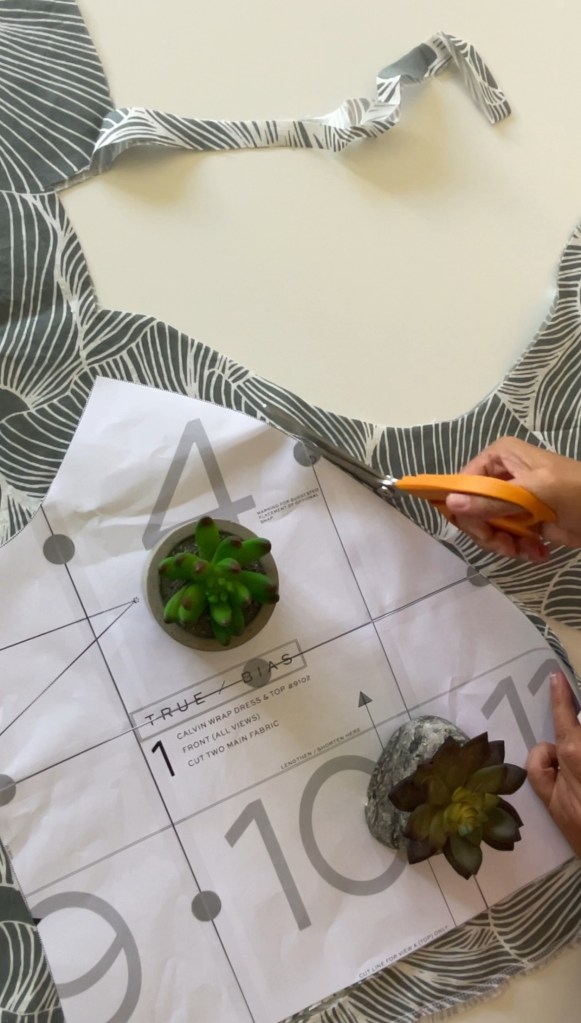
Speaking of pattern instructions, I really like Tammy’s clear written and illustrated instructions. The patterns are a great learning resource with a lot of extra explanations included. When I first started sewing, I would have to flick between the pattern instructions and google to understand the instructions but it’s all there with Tammy’s patterns.
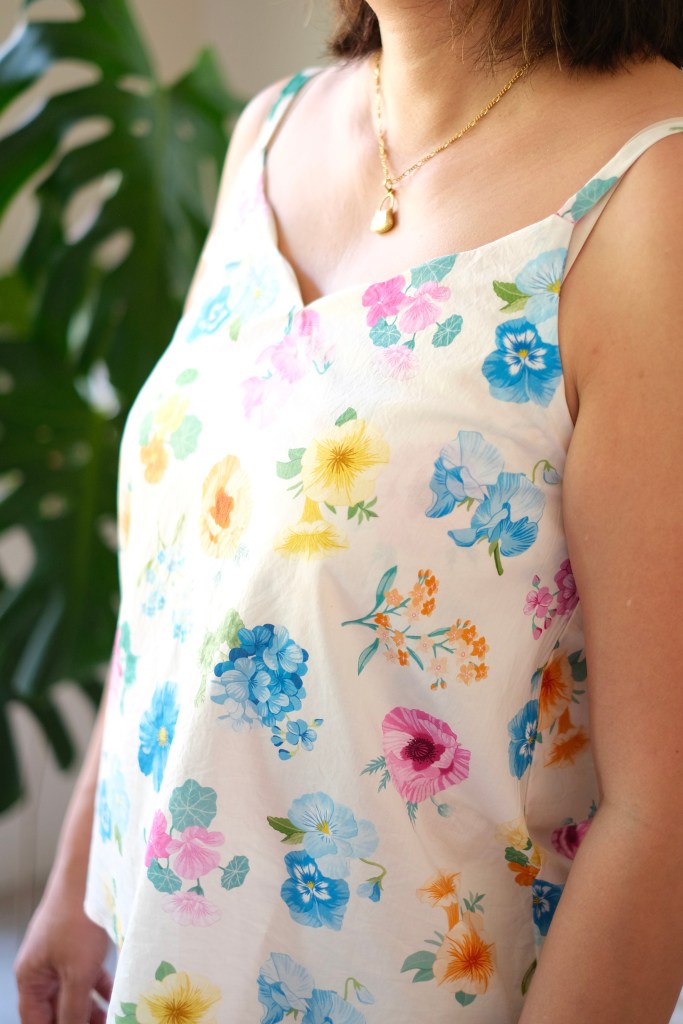
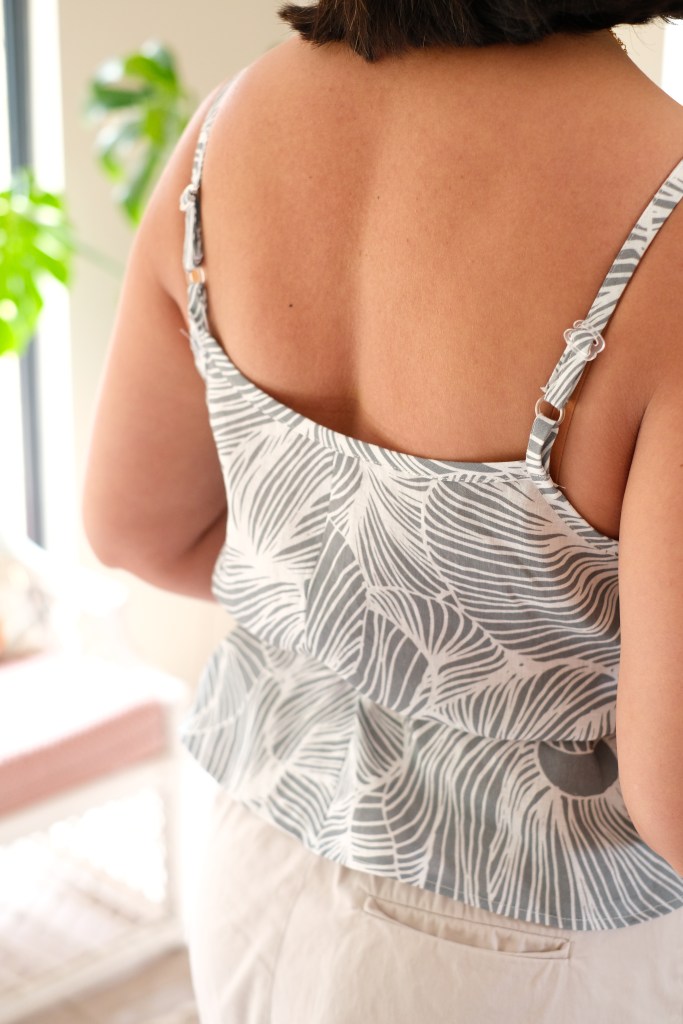
It’s great having a quick pattern to sew every now and then. The Cloud tee can be sewn on the sewing machine or the overlocker. It doesn’t take long on the sewing machine but for my second and third tees, I decided to sew majority of it on the overlocker which made it super-fast. I attached all the neckbands on the overlocker. I finished the hems with twin needles. I should mention that I used white tubular ribbing but for the long-sleeved version, I decided to use the same fabric.
Happy to be adding a few core items to my handmade wardrobe. I have a feeling that I’ll be returning to make a few more from this pattern. Tammy kindly provides the pattern for testing and a stipend to her testers for fabric. It’s much appreciated and all opinions remain my own. It’s truly a great pattern and I really enjoyed being part of the sewing team.
Thanks for reading and happy sewing!
X Em