Life has been a bit hectic, and I felt like I missed out on summer this year. I usually love it when Christmas carols start playing in shops. Where I live, it means beach days, icy cold drinks and living in shorts. Instead, this year was filled with cold hospital waiting rooms. By chance, a Facebook ad popped up with ‘secret cabins’ and I decided to press on the link. A charming little cabin called Sylvie’s Hut popped up and I couldn’t book fast enough.
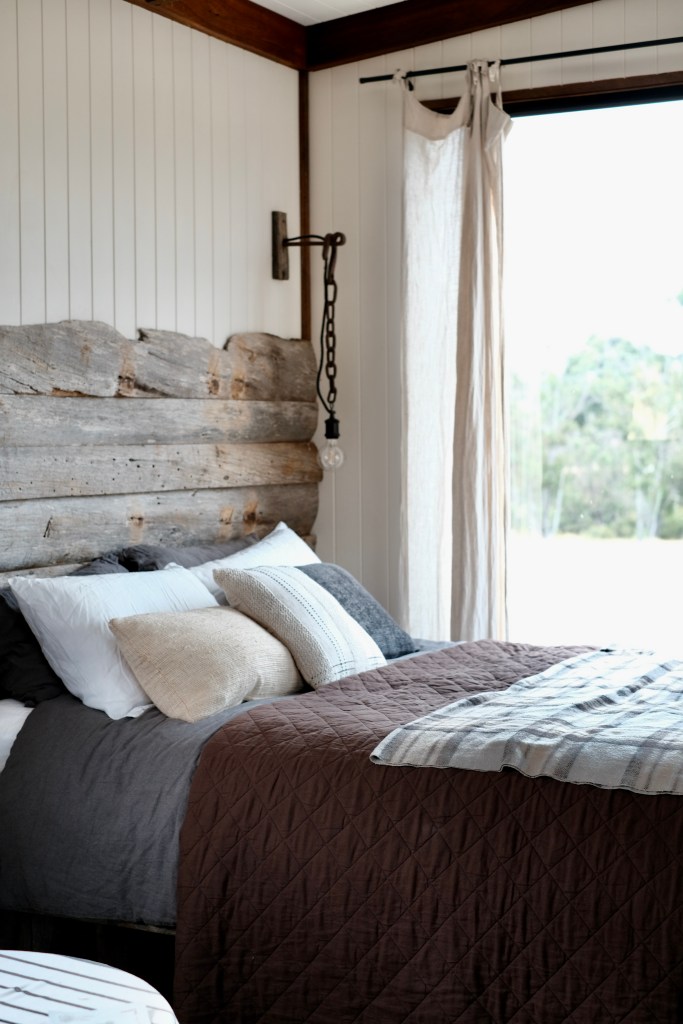

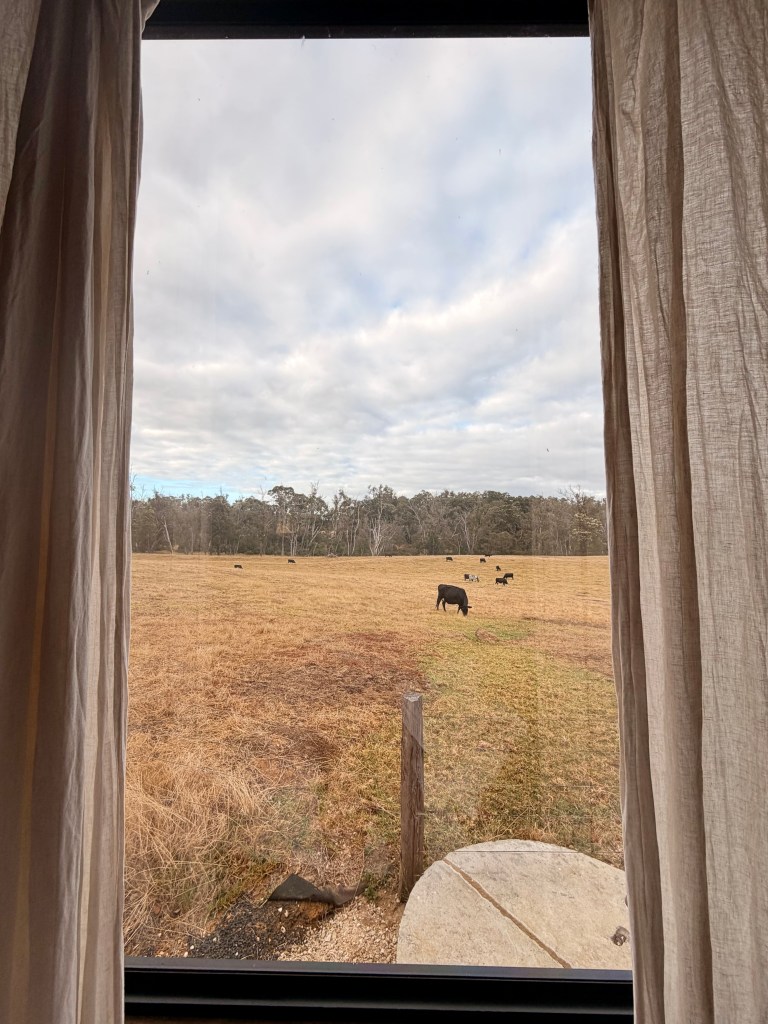
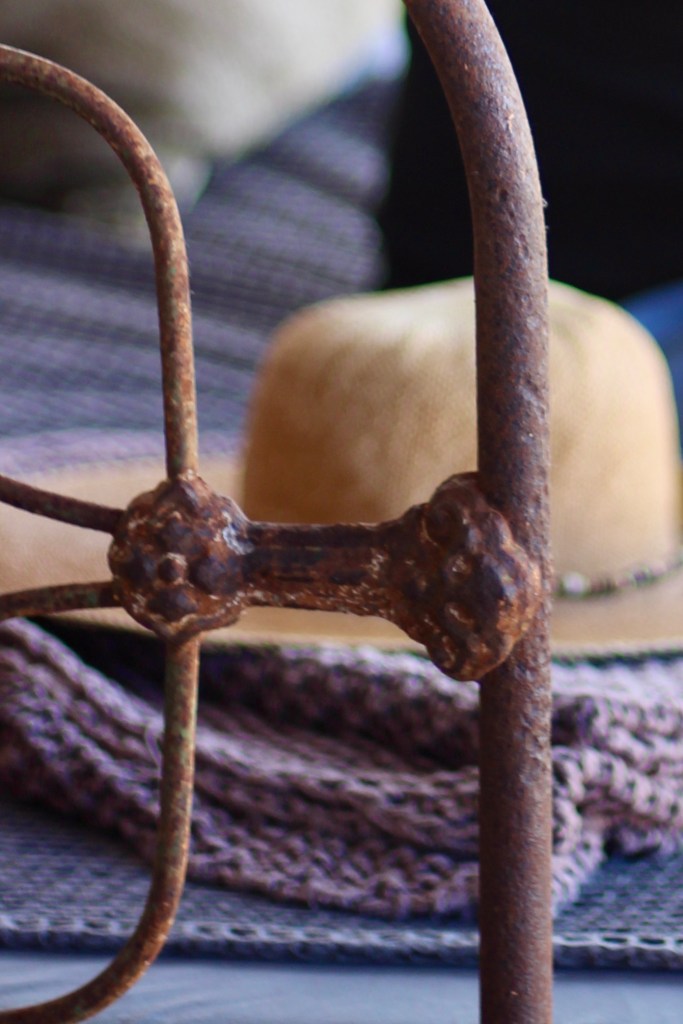
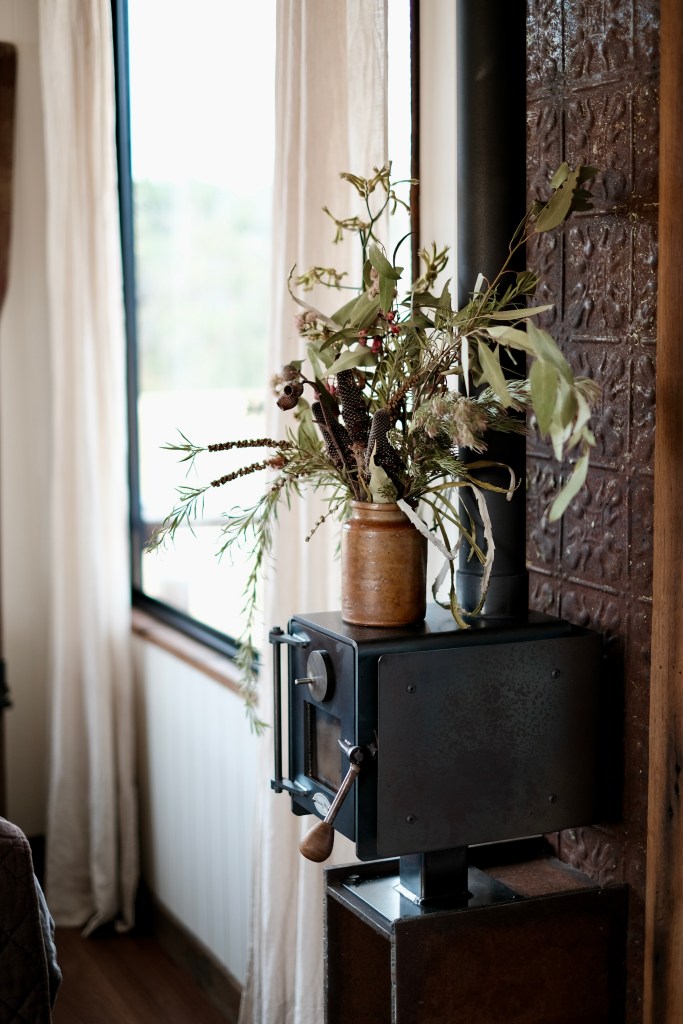
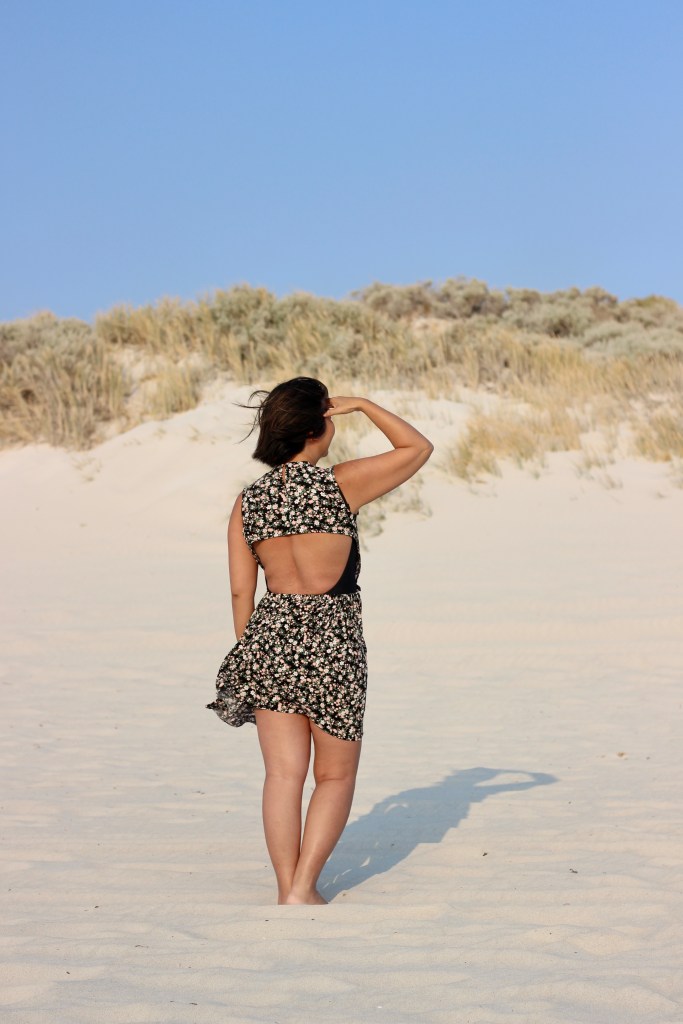
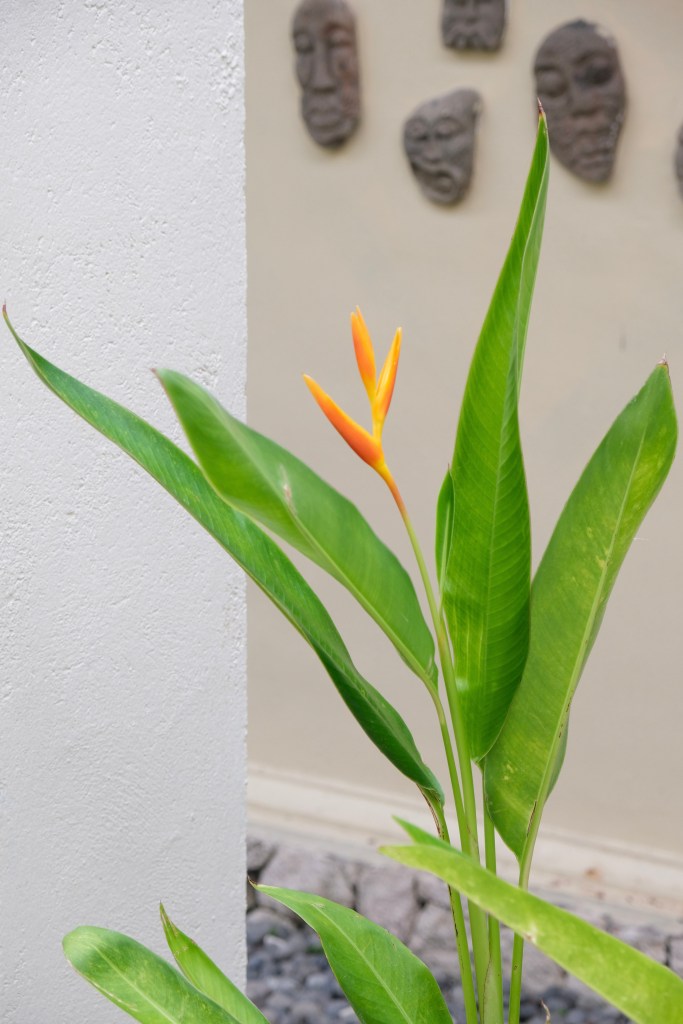
Now, it might seem easy to pack for a three-day getaway, but the weather has been a bit fickle this year. Also, most people don’t realise how vast Western Australia is. The hut is situated in the quaint tidy town of Nannup. The three-hour drive south from Perth can see a change in climate. The temperature usually drops especially nighttime. Talking about nighttime, the stars were amazing. Sylvie’s Hut is plonked in the middle of a paddock without any other buildings around so there was no light pollution to dampen the bright night sky. If you visit, make sure you turn off the lights and look up.
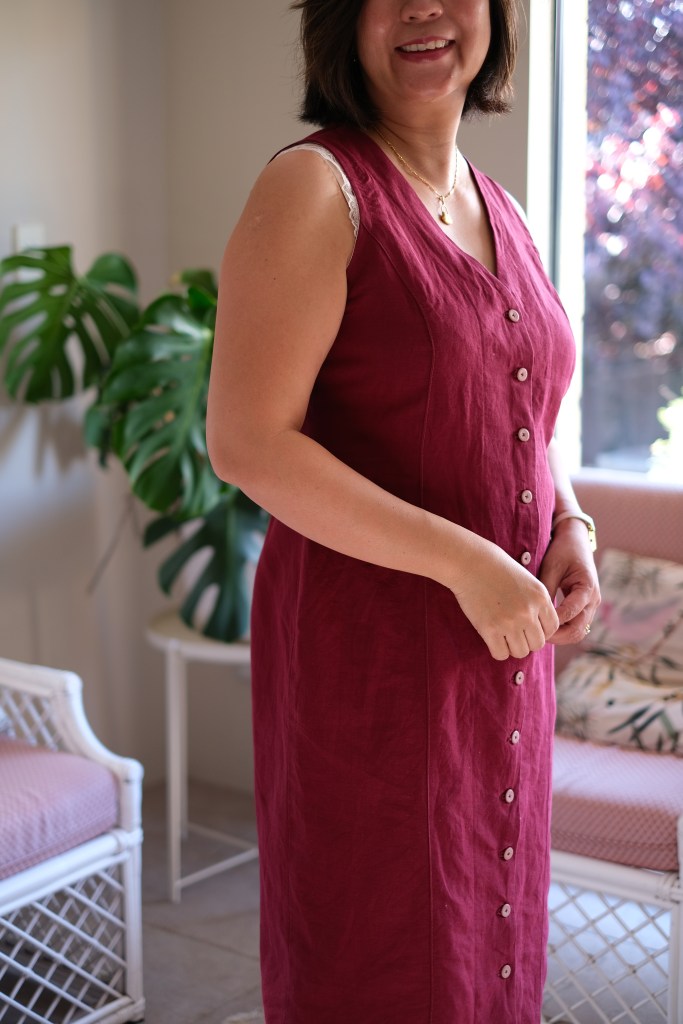
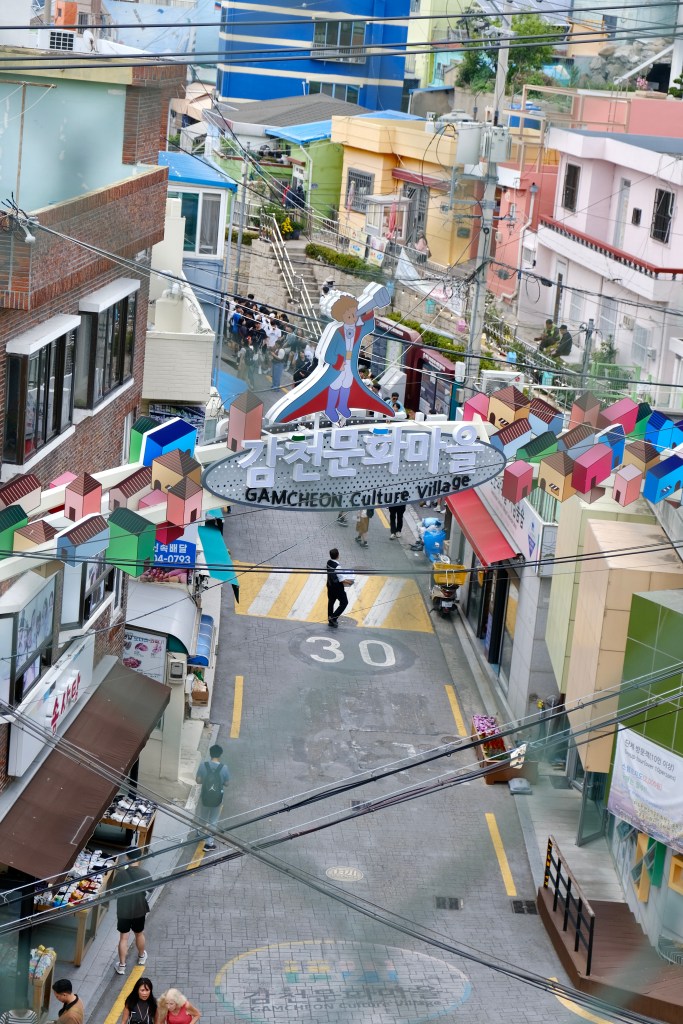
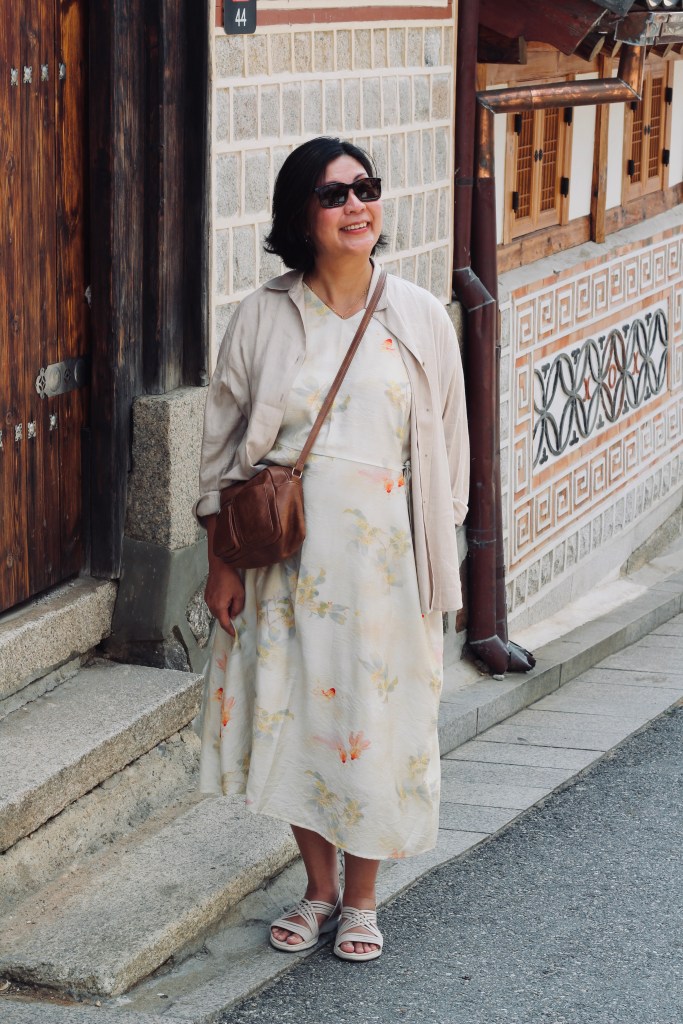
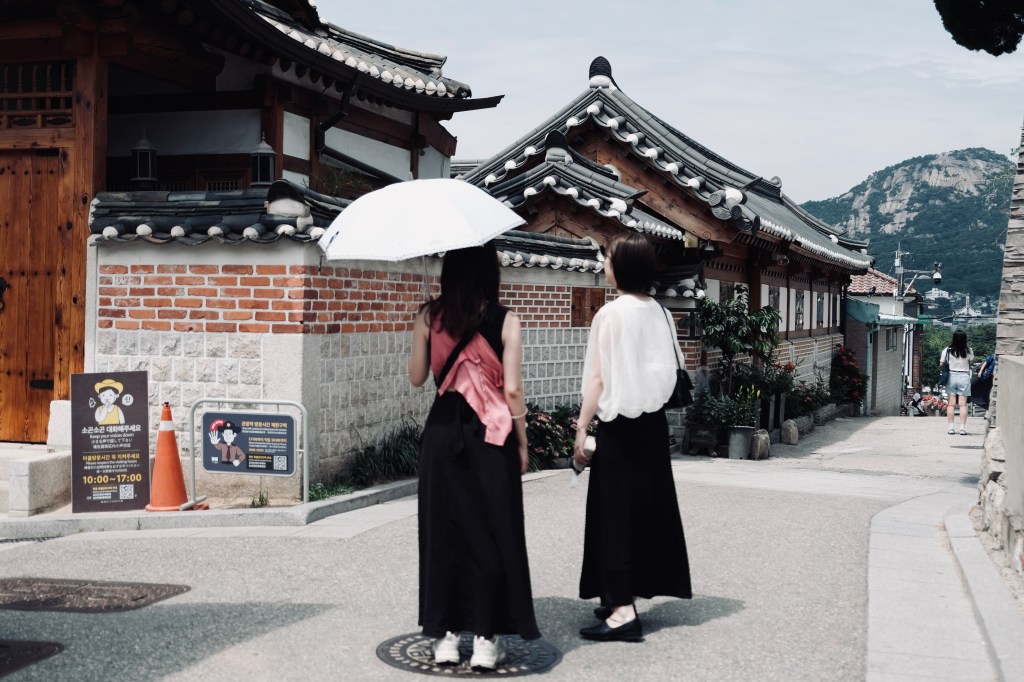
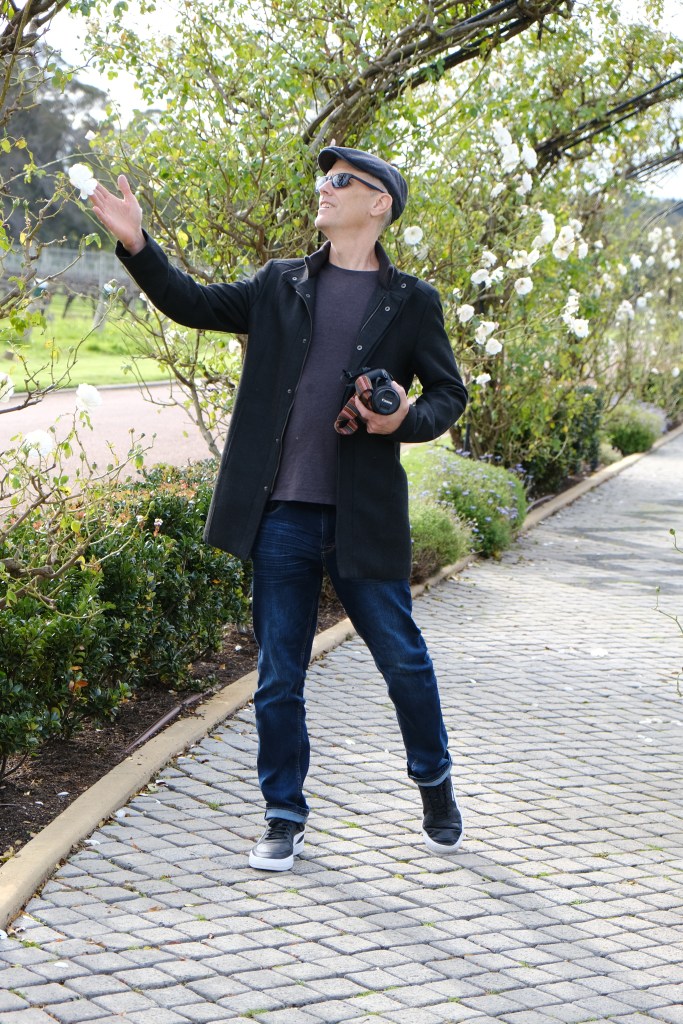
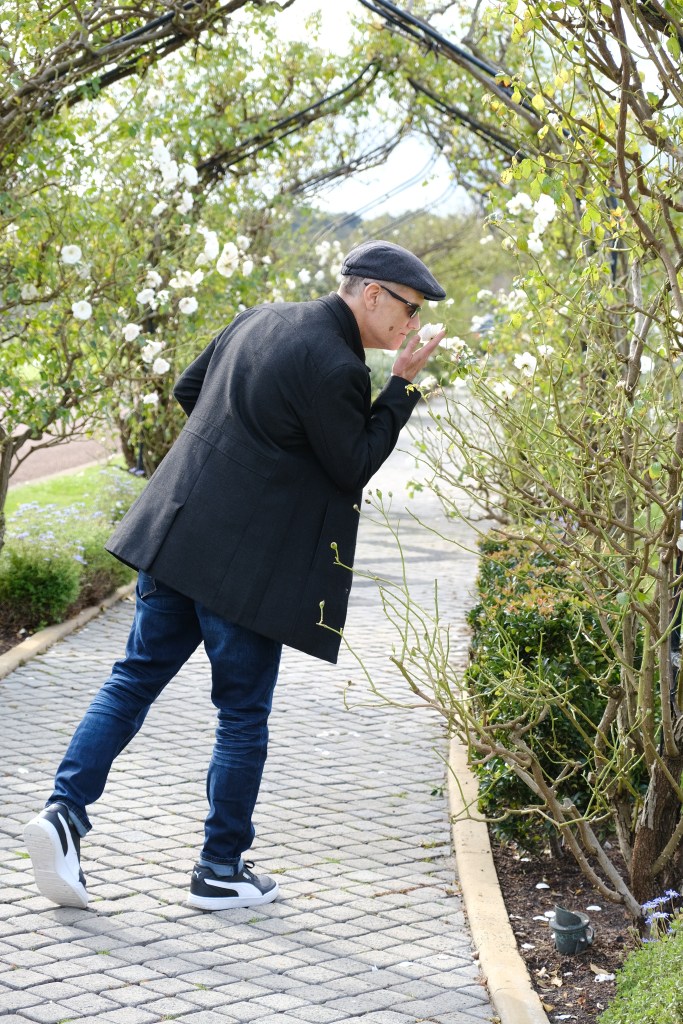
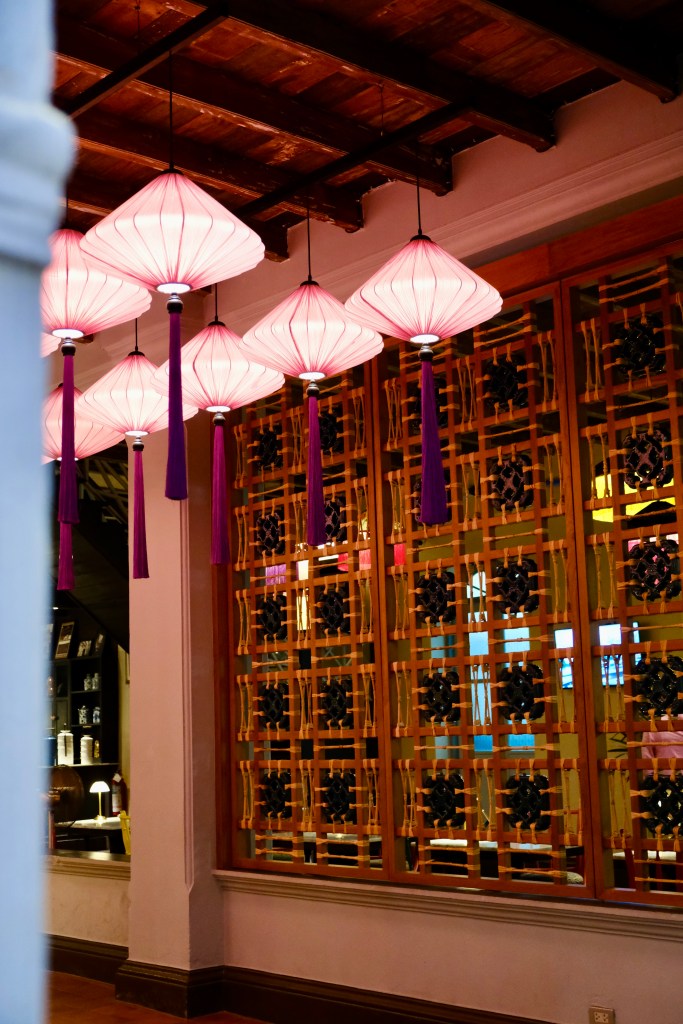
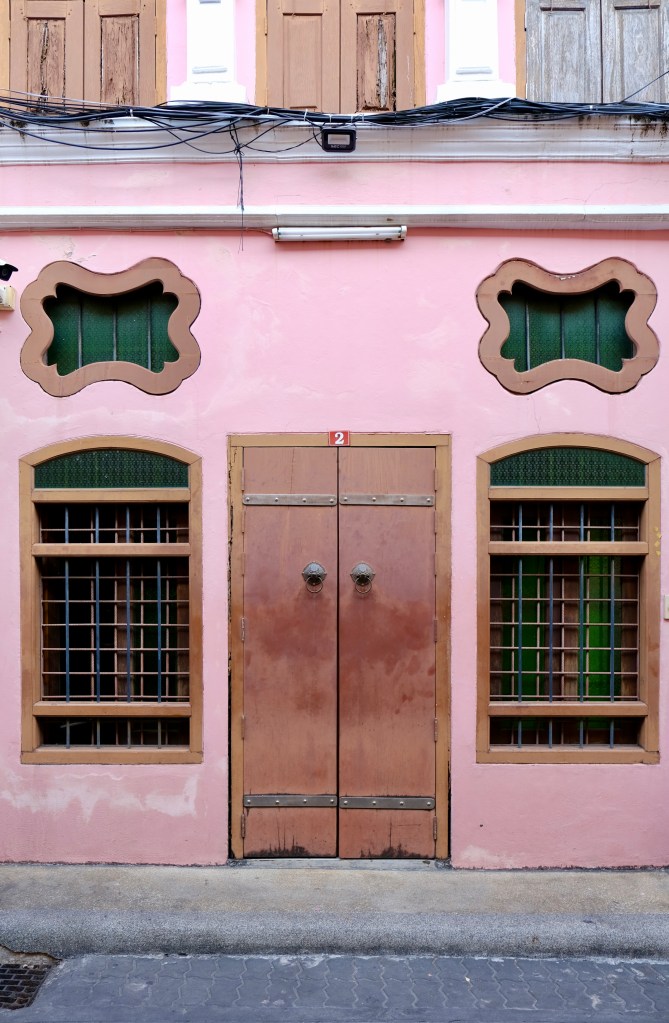
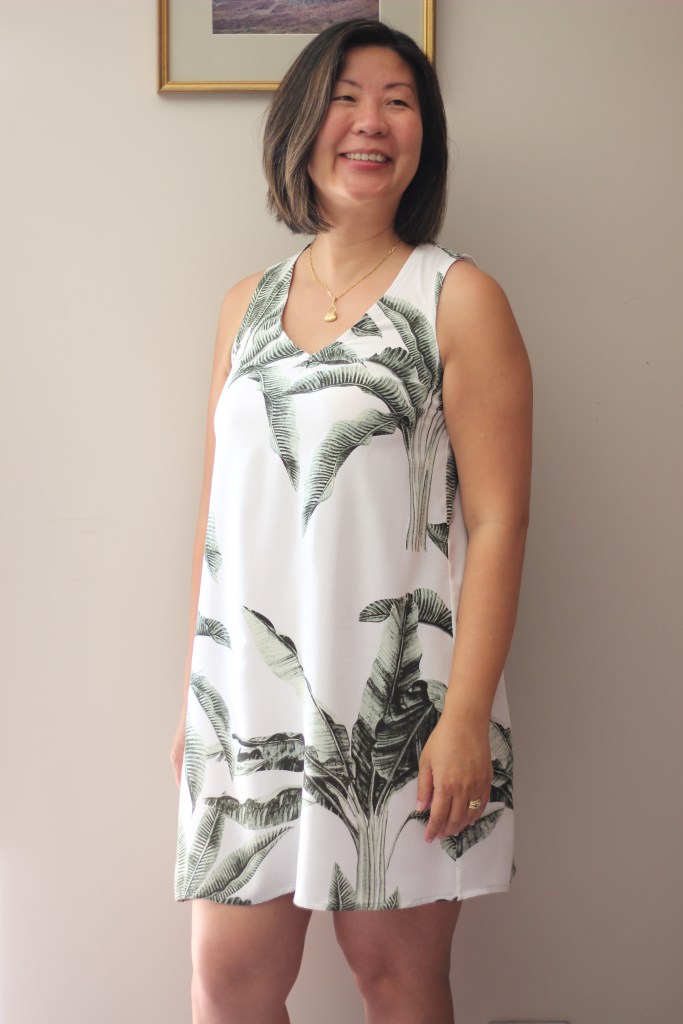
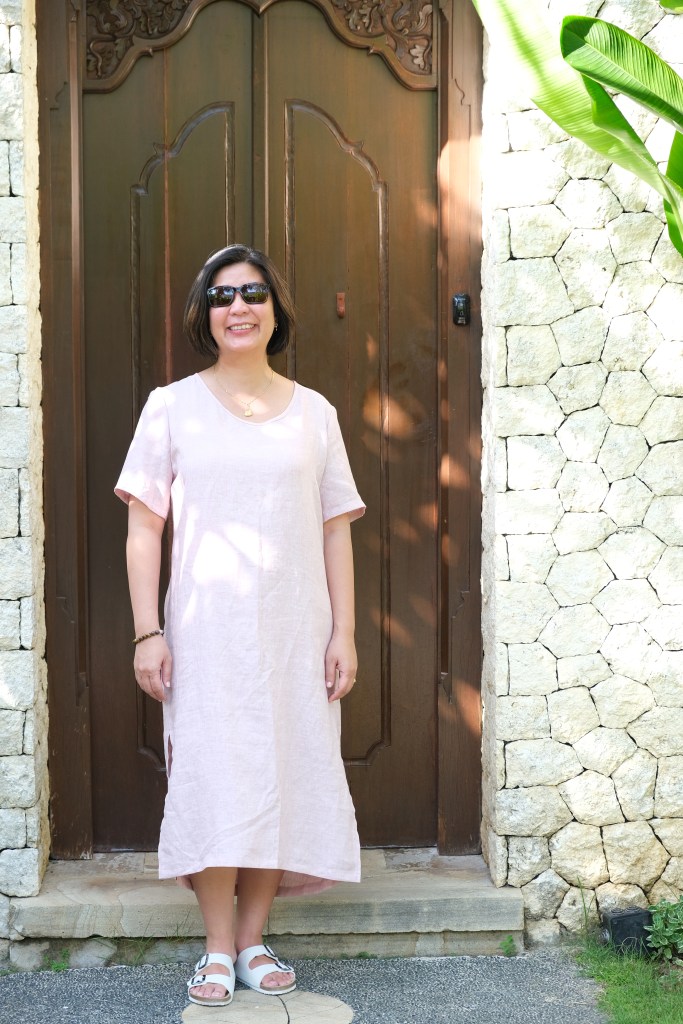
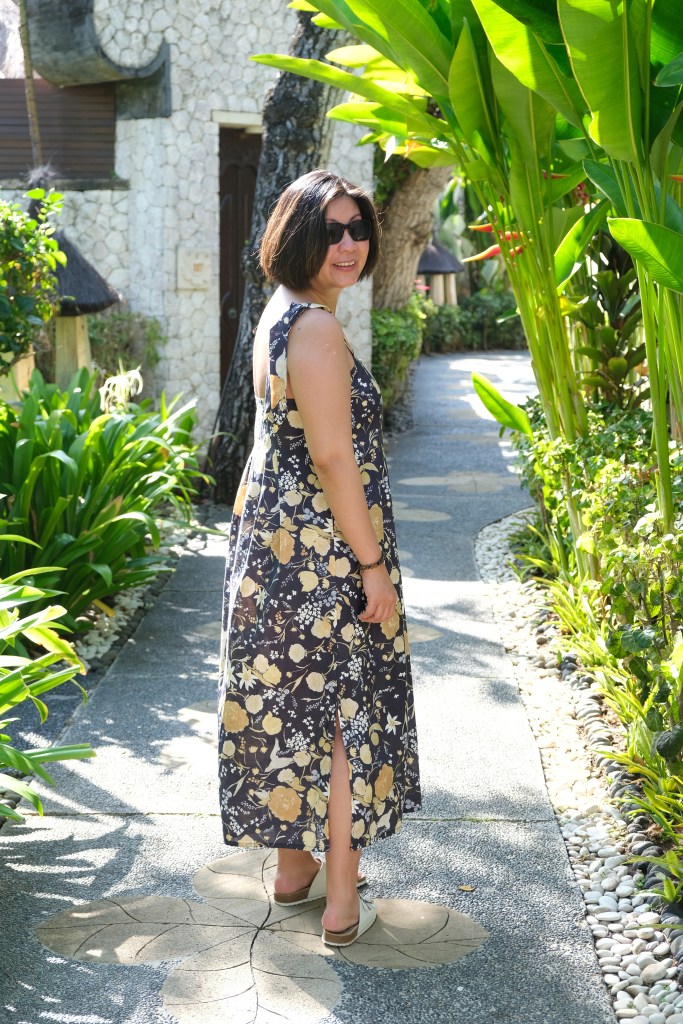
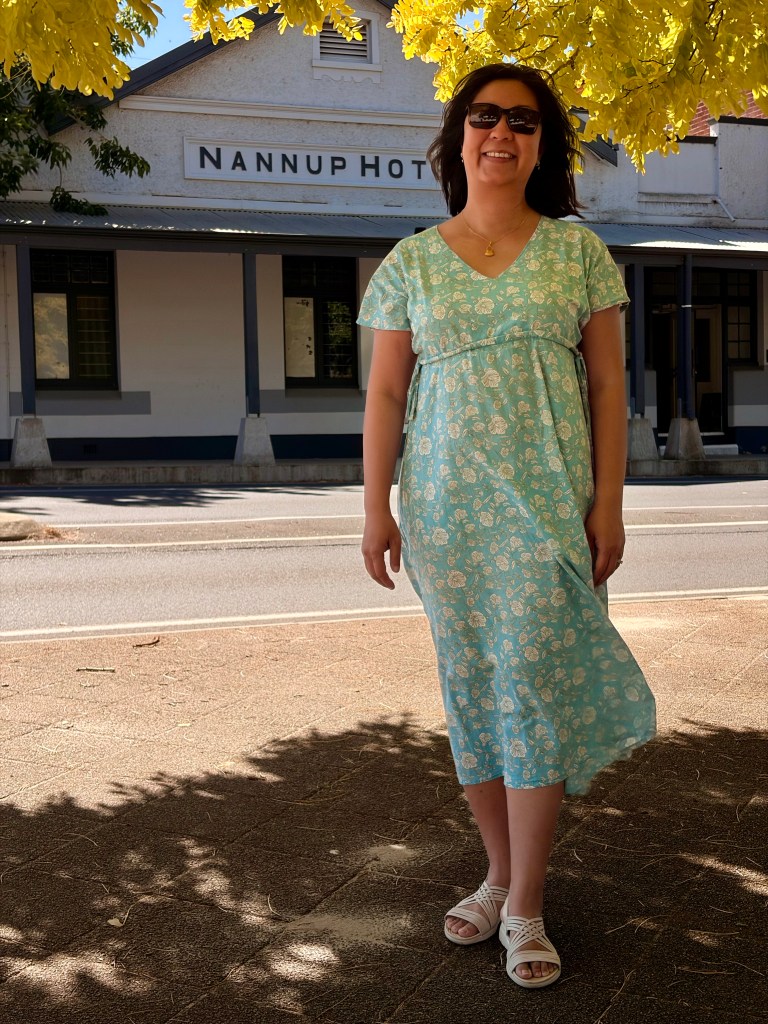
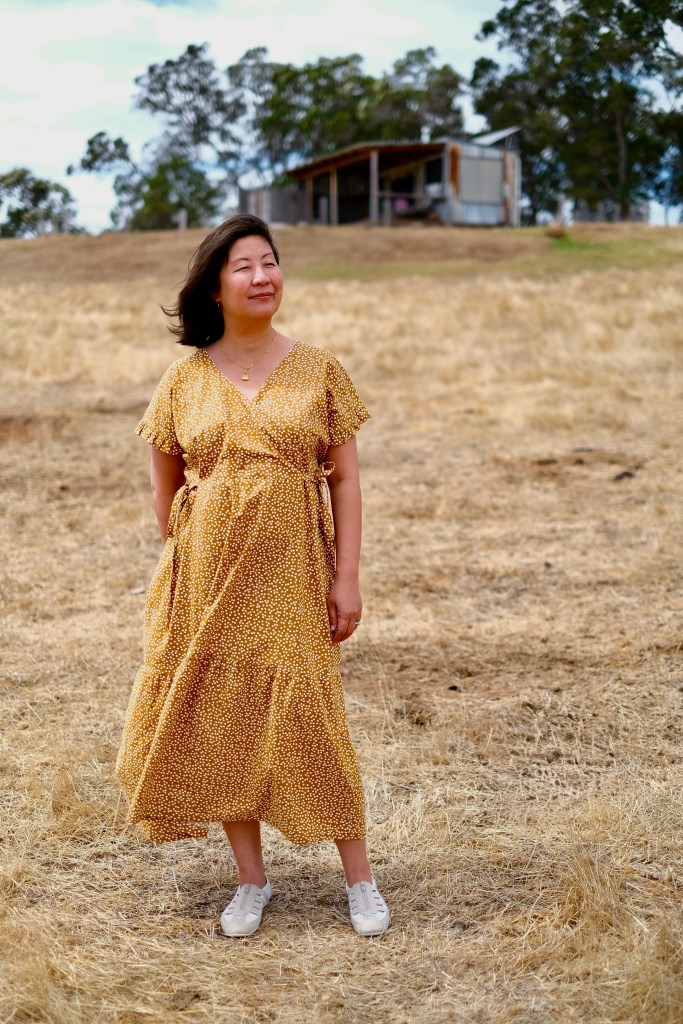
For a small town, Nannup is packed full of character. For the drive down, I decided to wear my Monsterfabriken Vanja Dress which is a lightweight cotton dress. It was very comfortable to travel in with a long skirt and the adjustable ties which I kept loose for the trip. We stopped in town on the way to Sylvie’s Hut which you can find on Instagram under @cleveshut and we were immediately charmed by the historic buildings.


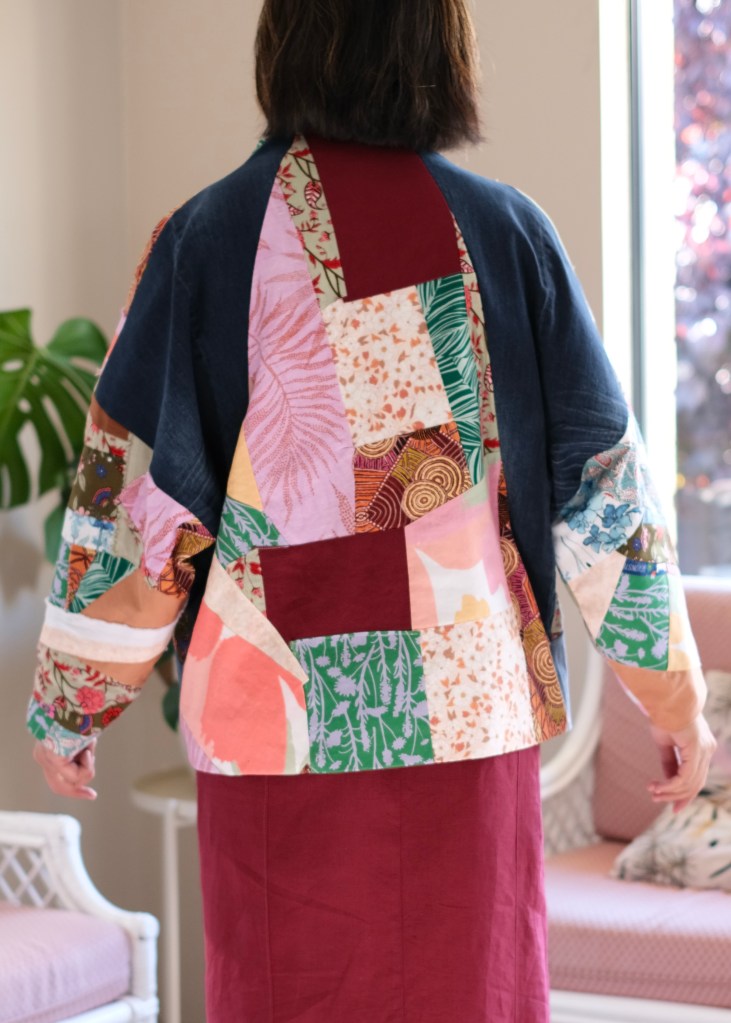
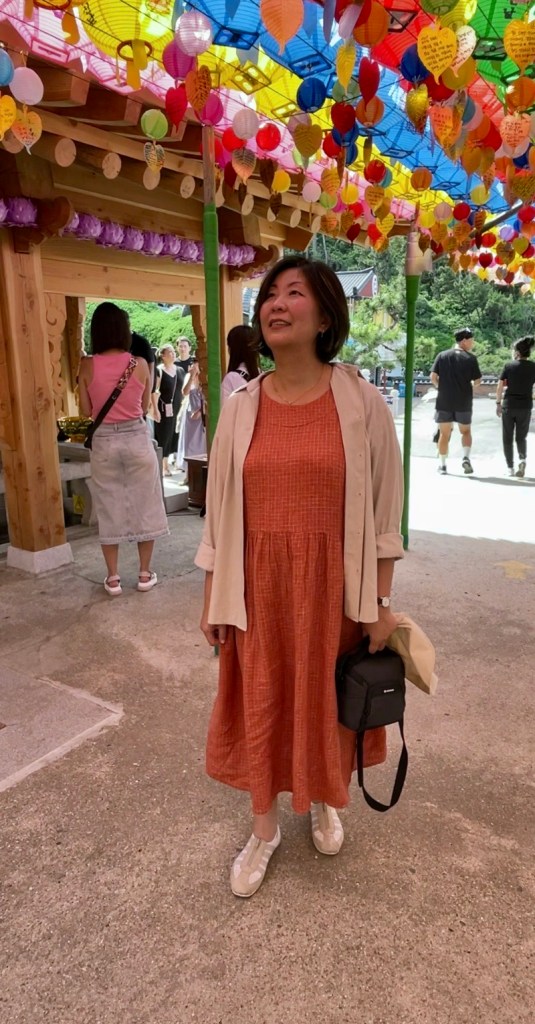
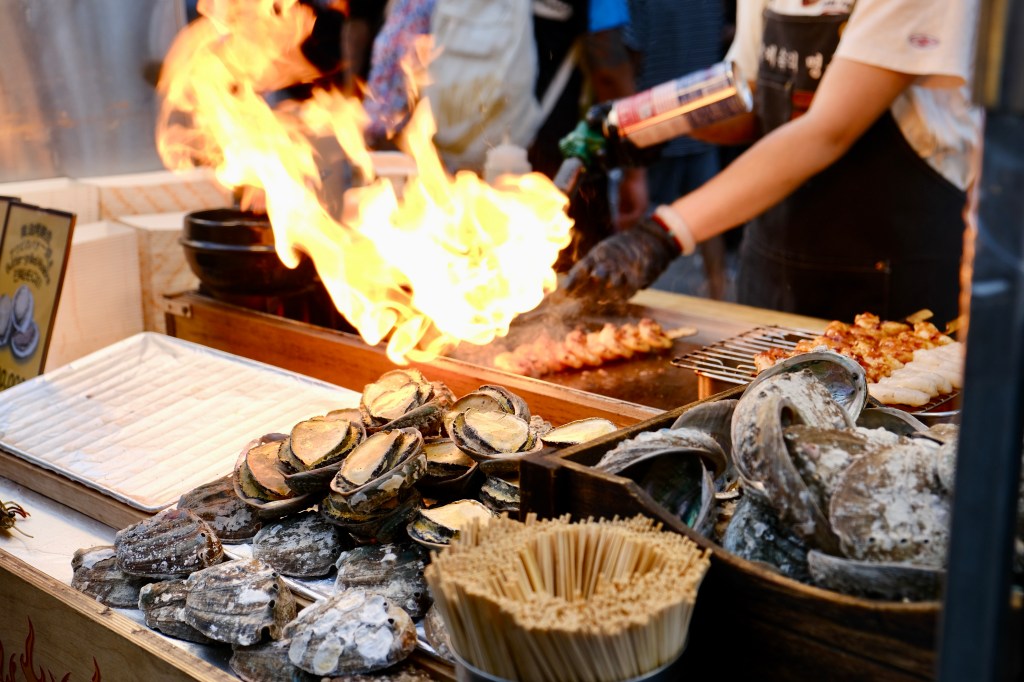
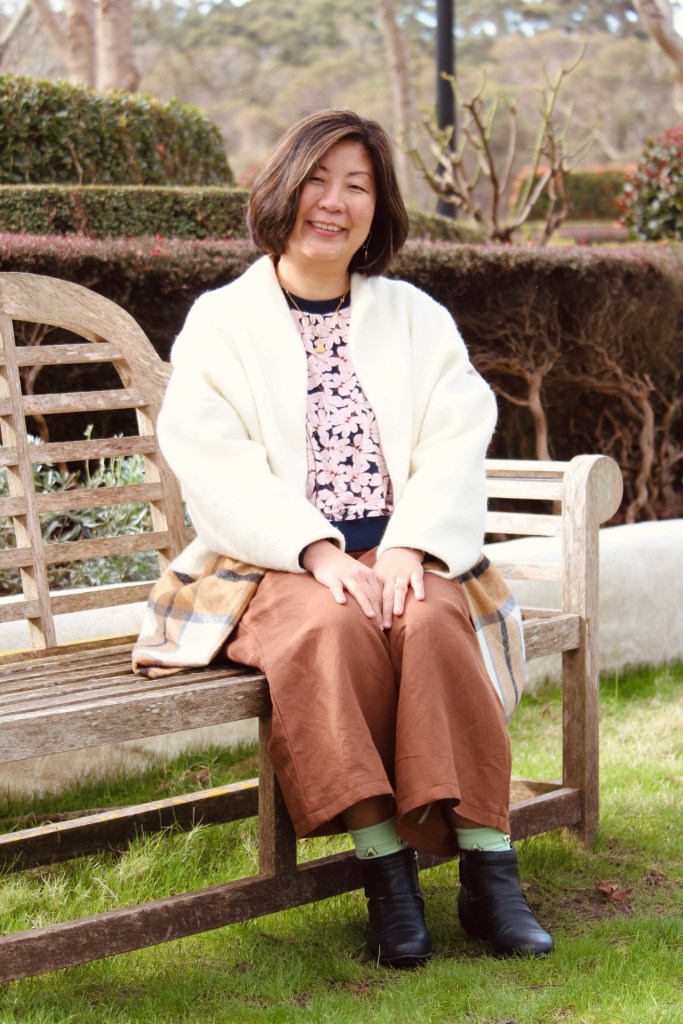
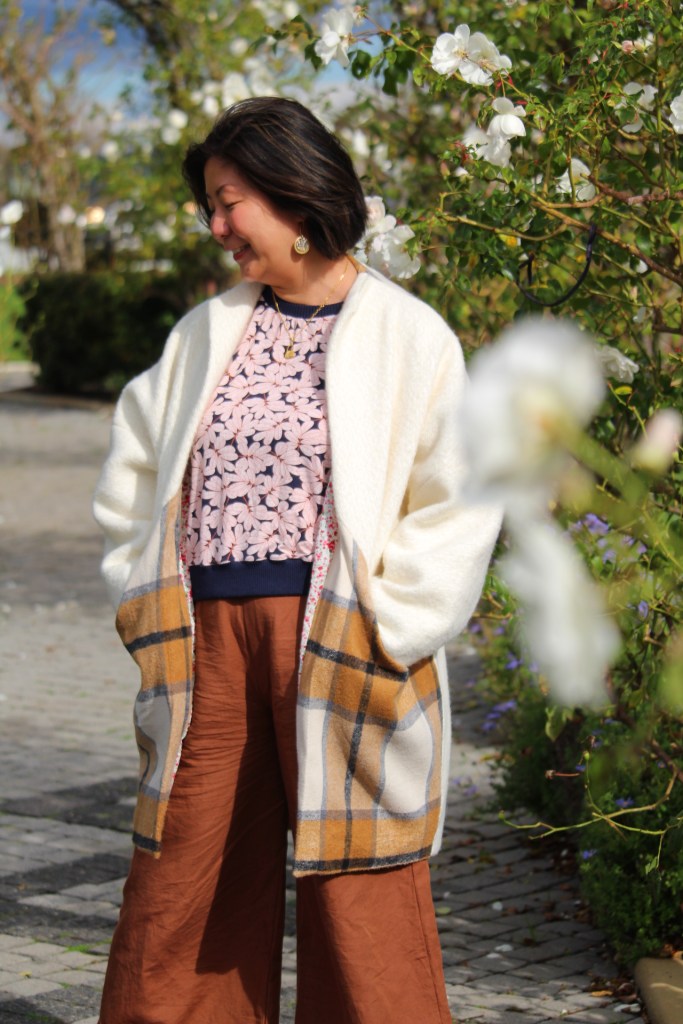
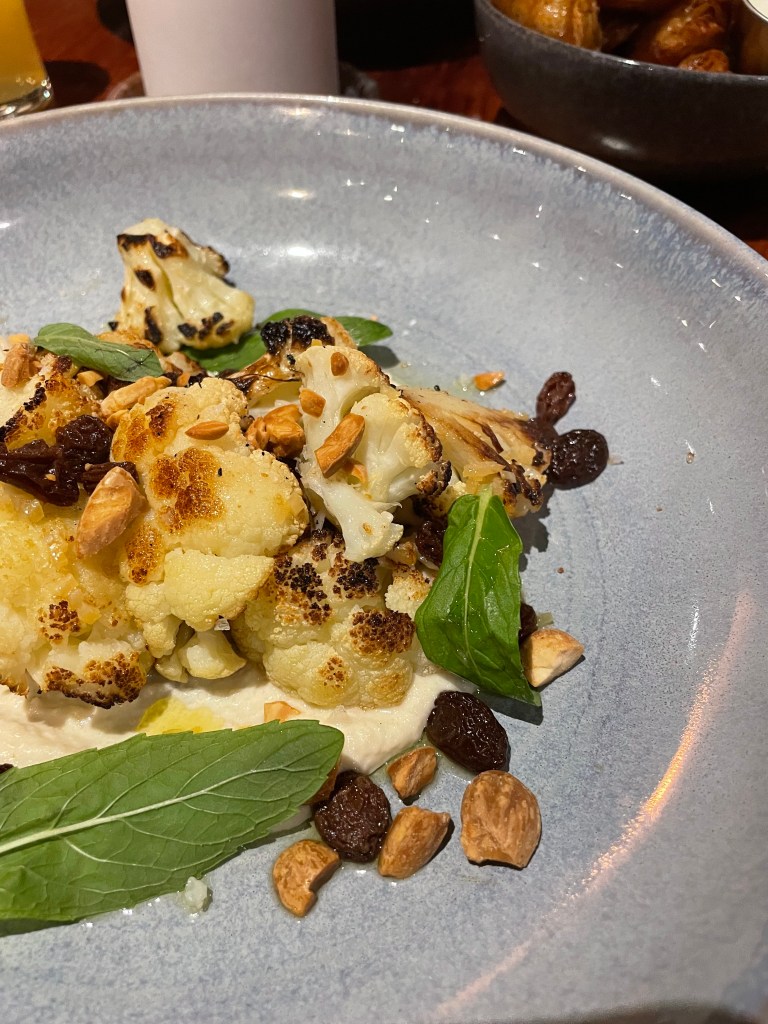
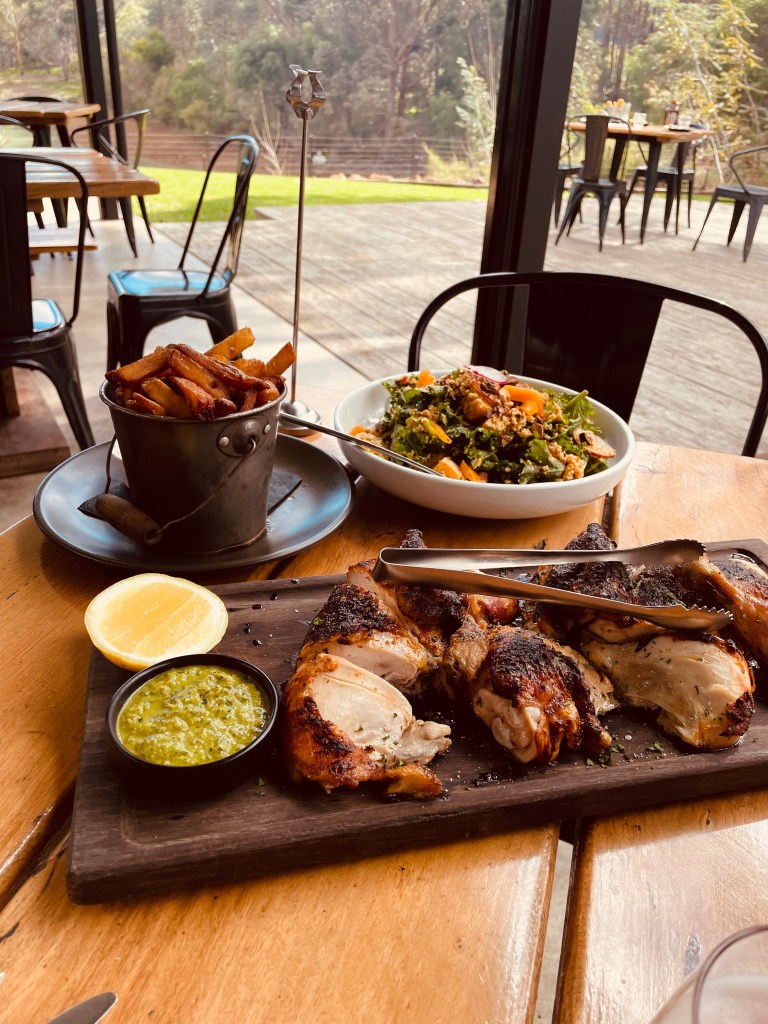
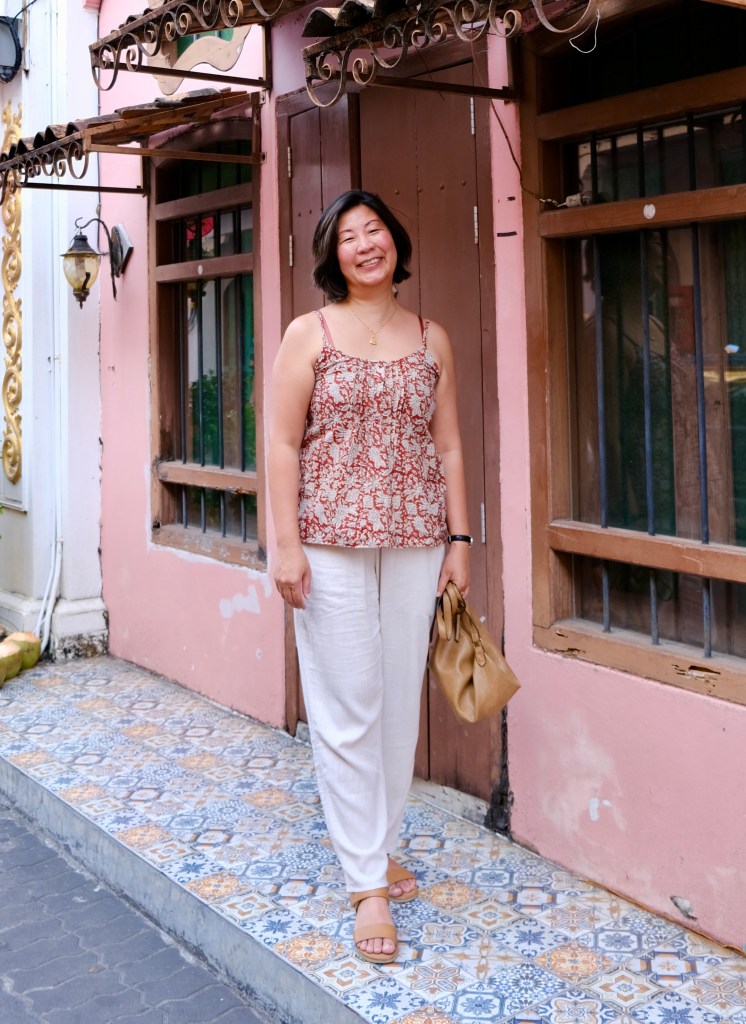
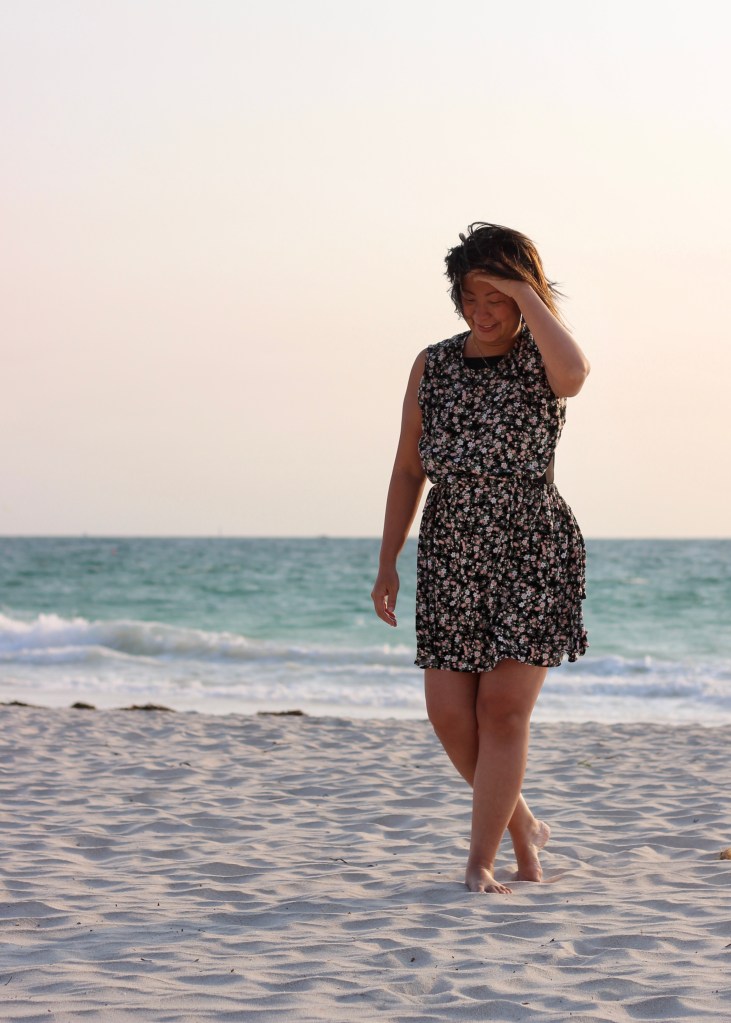
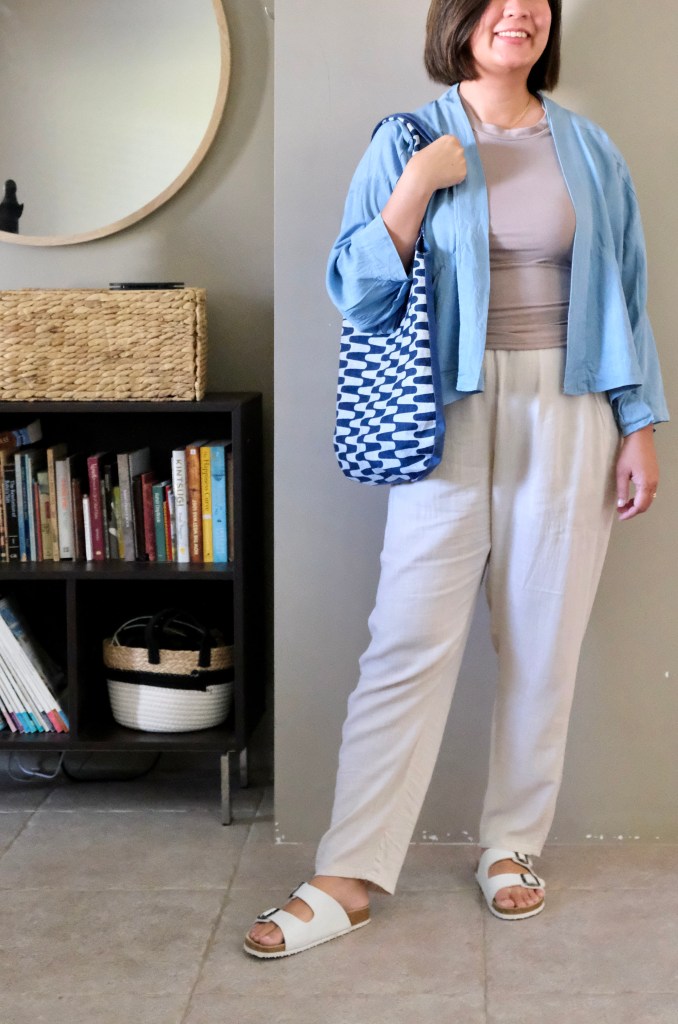
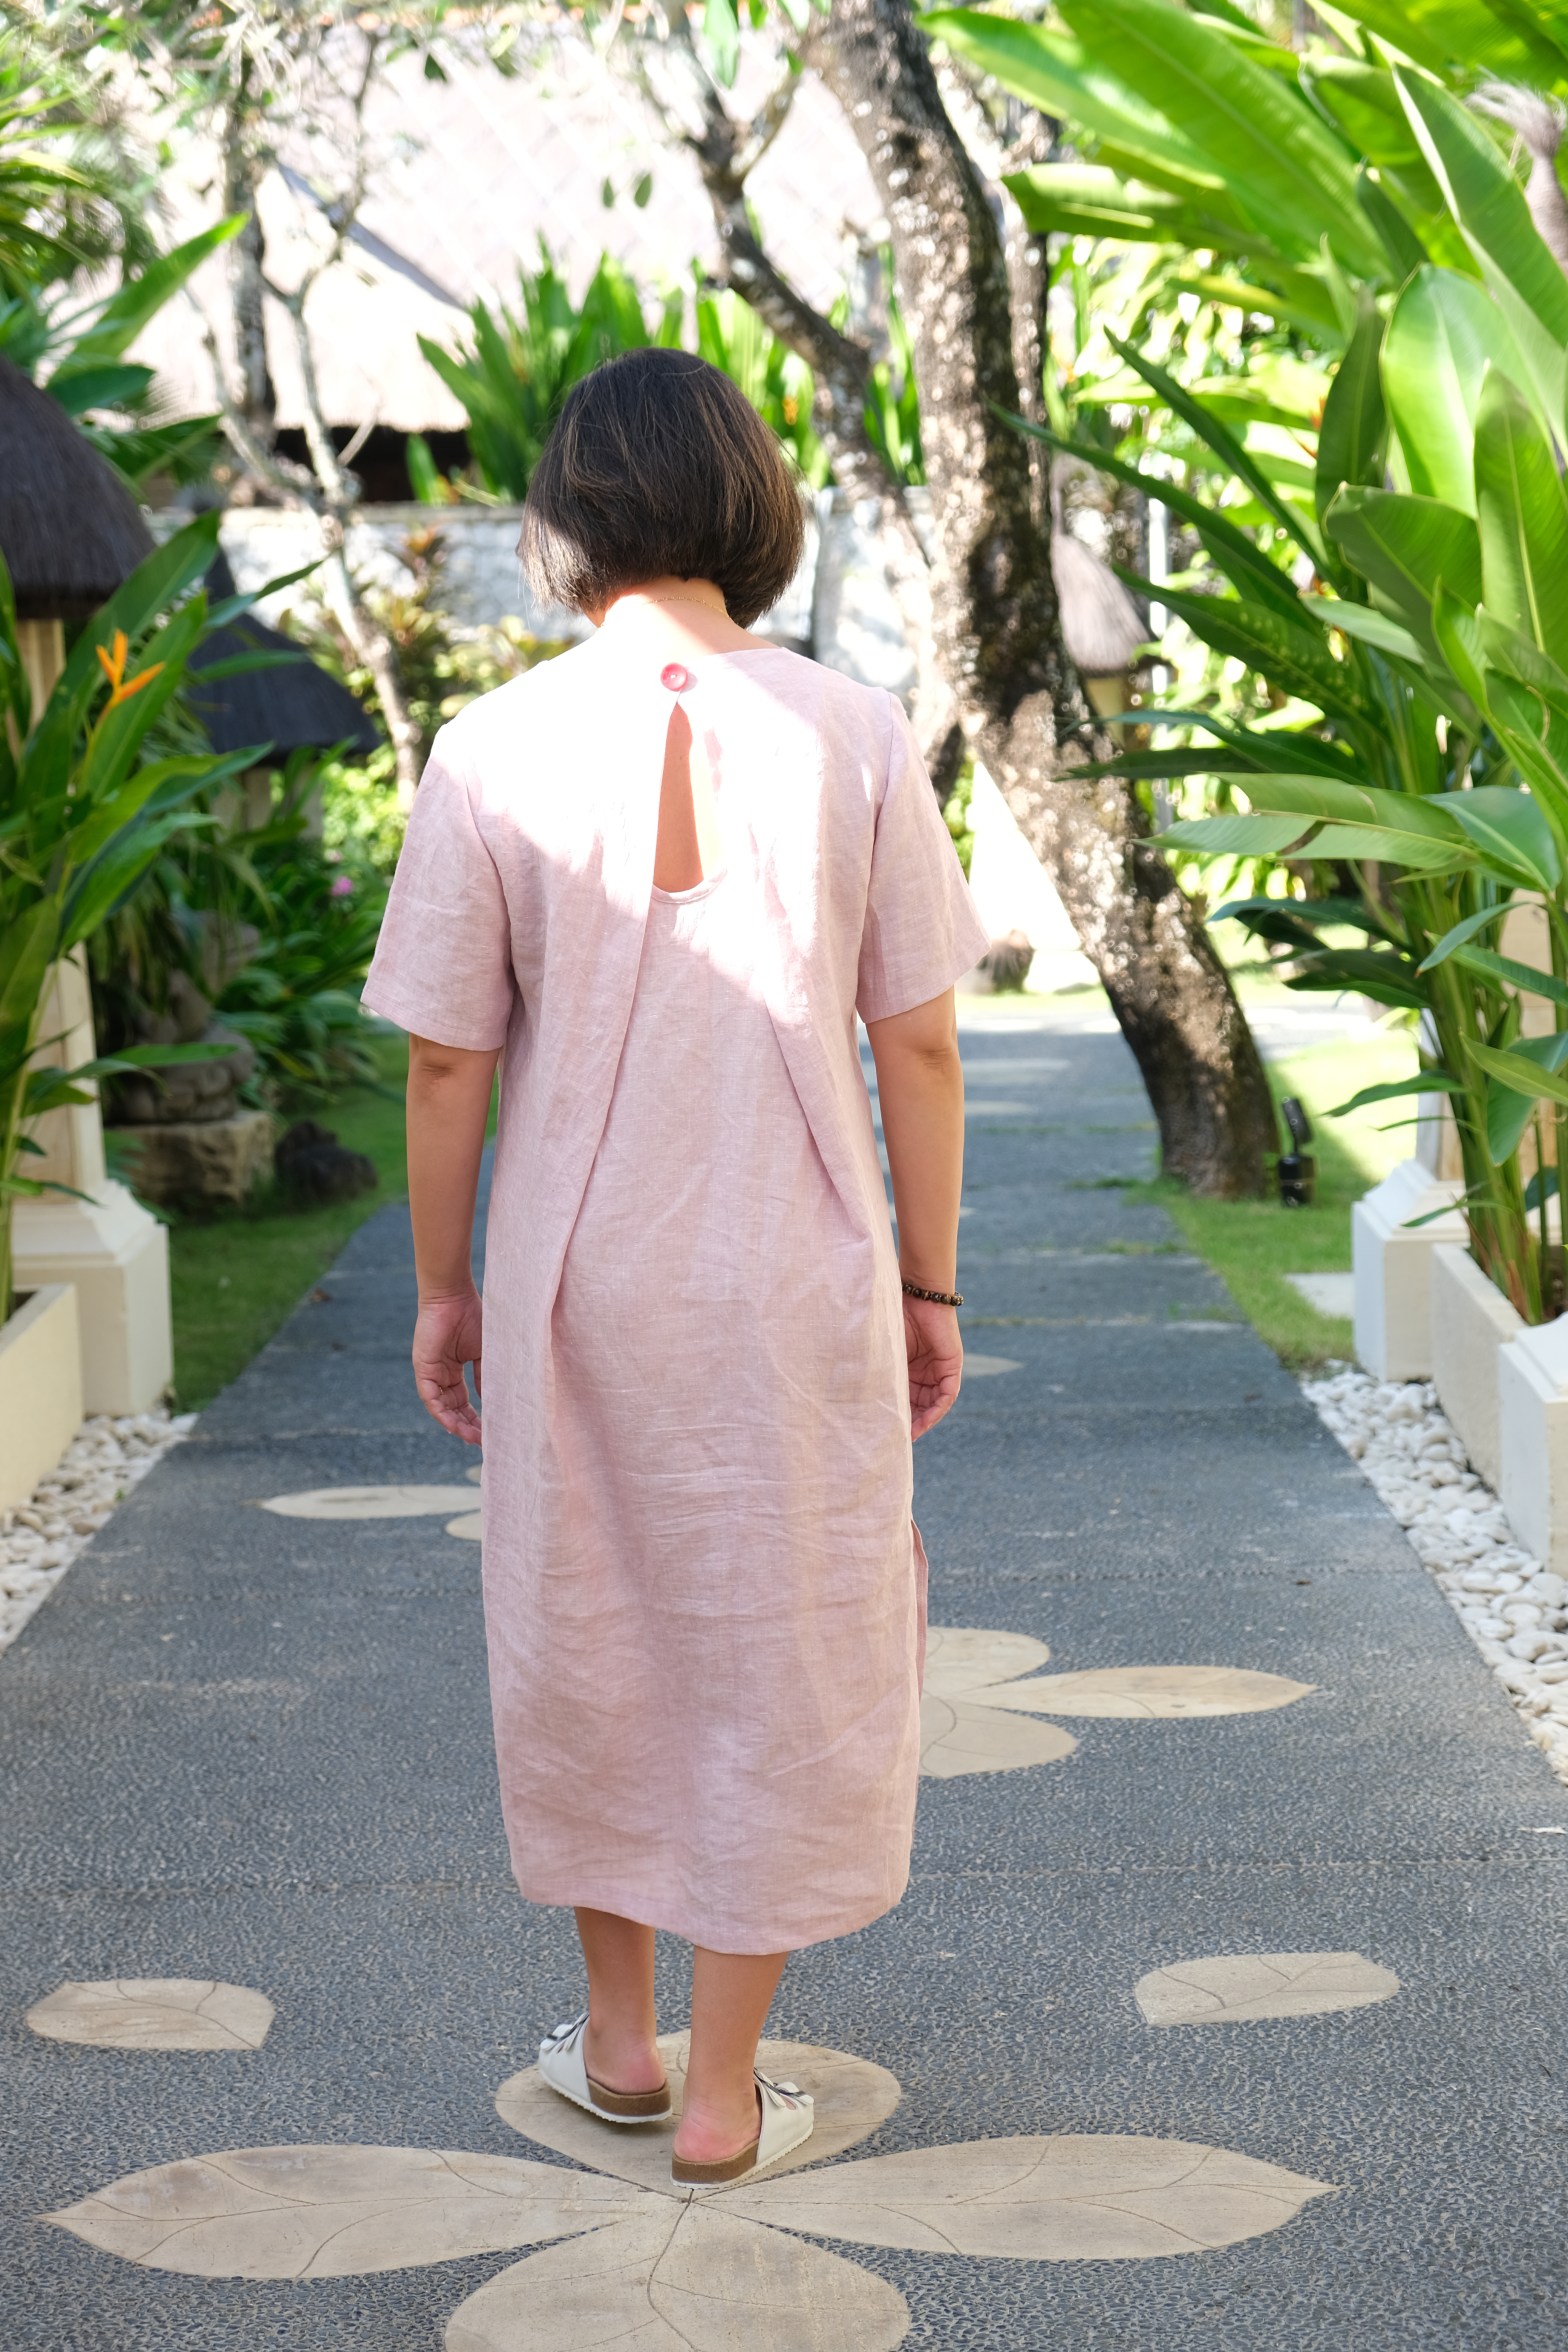
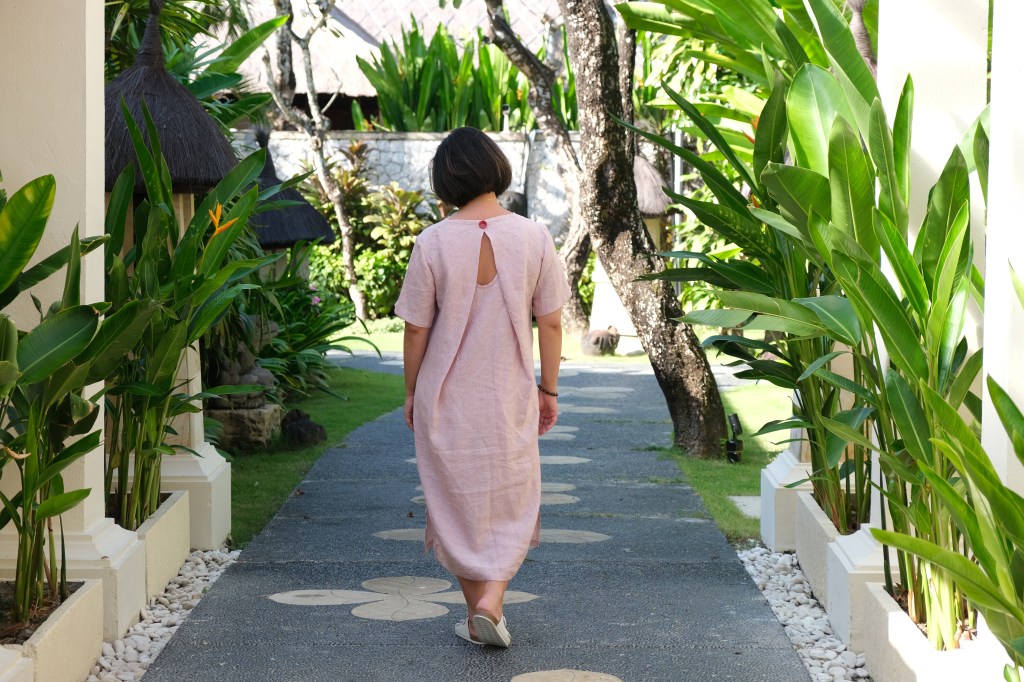
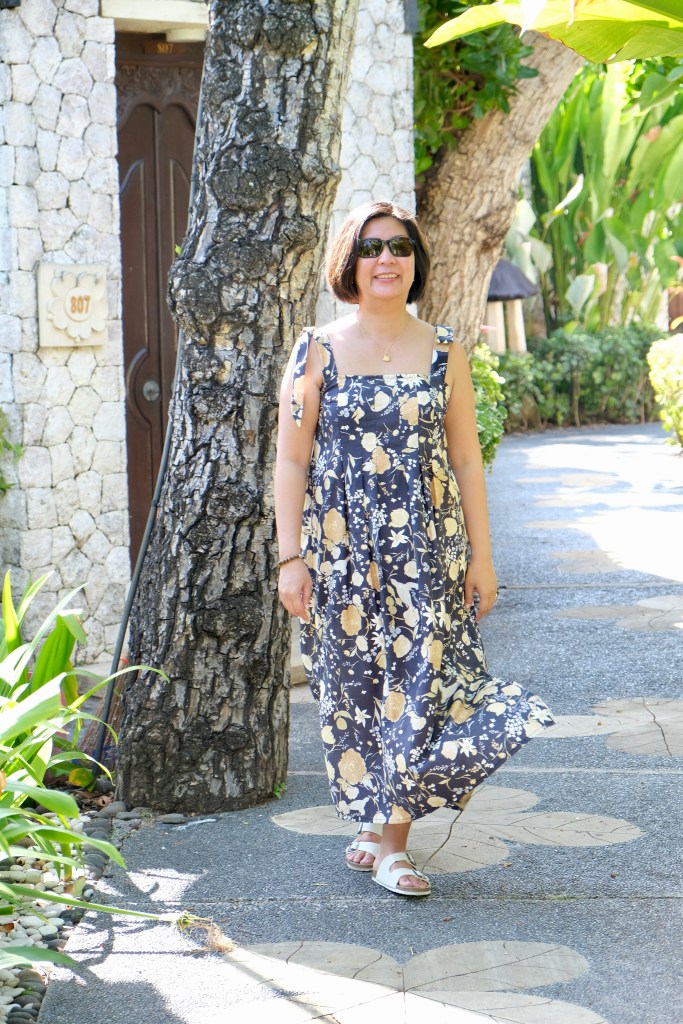
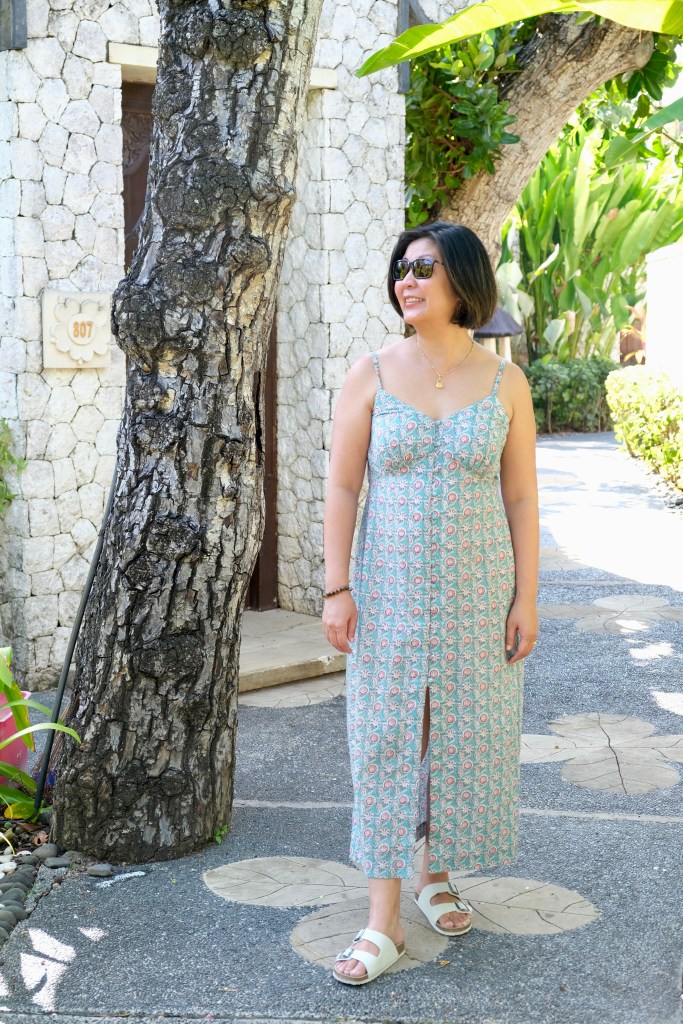
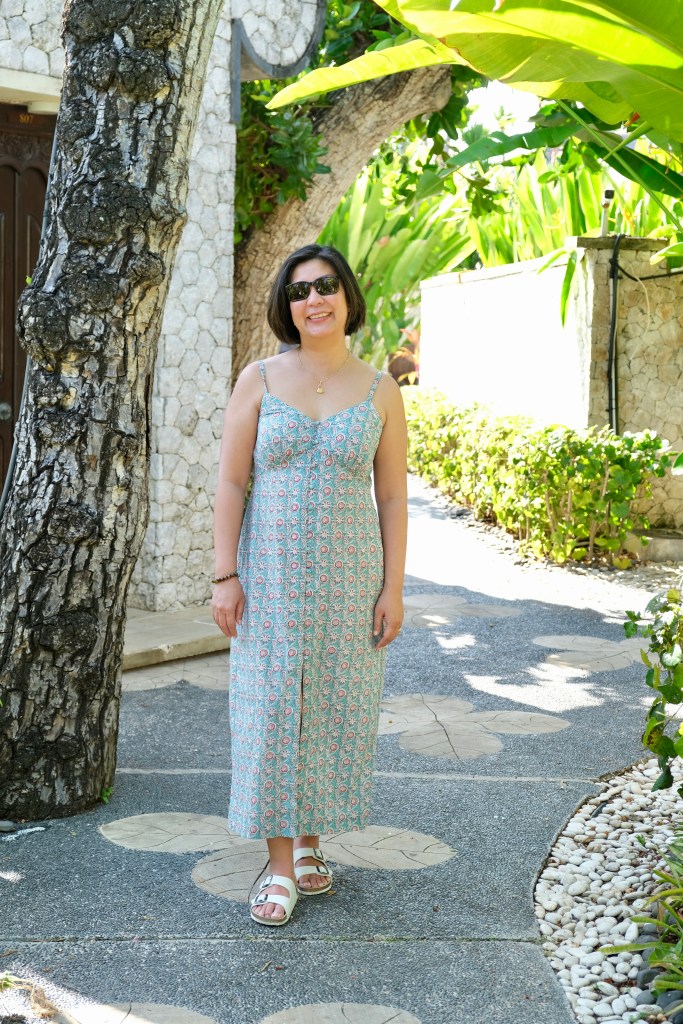
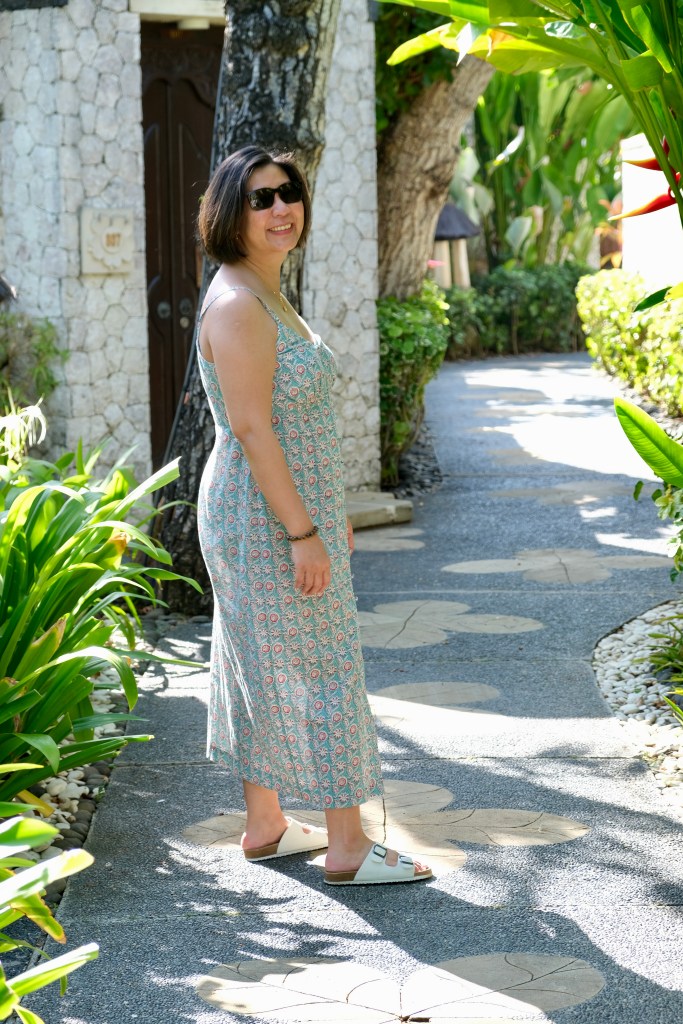
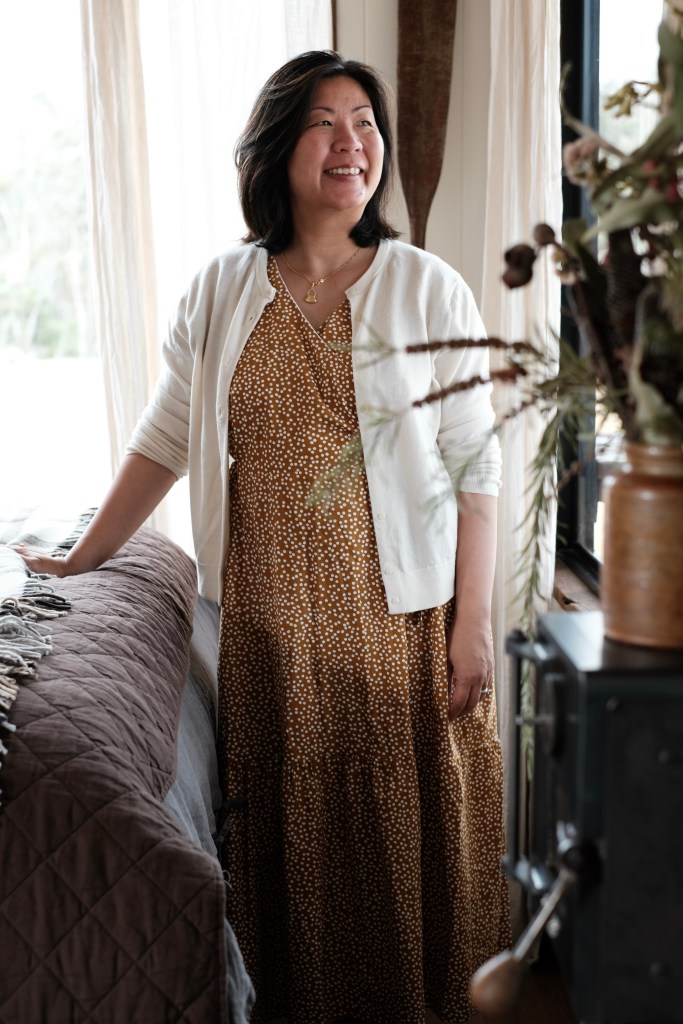
There really wasn’t much on the agenda except to relax but we were so taken by the variety and number of eateries in this little town. We were blown away by the meal we had at Pickle & O which featured a solid vegetarian menu with some non-vegetarian offerings like the chicken burger that we had. Unfortunately, we couldn’t sample some other cafes that we had hoped to because opening times were limited to certain hours. Understandably, this town has a small population which swells with weekend visitors so opening times cater for this. We loved visiting the art gallery and the local stores which had beautiful handmade items. We aim to make another trip where we can visit all the various galleries. For the day of exploring, I’m glad that I packed my Sewing Therapy Tie Dress No 2. I had made a long version in anticipation of the weather cooling down for autumn and I was glad that I packed my white cardigan which was perfect when the sun dipped behind the clouds.

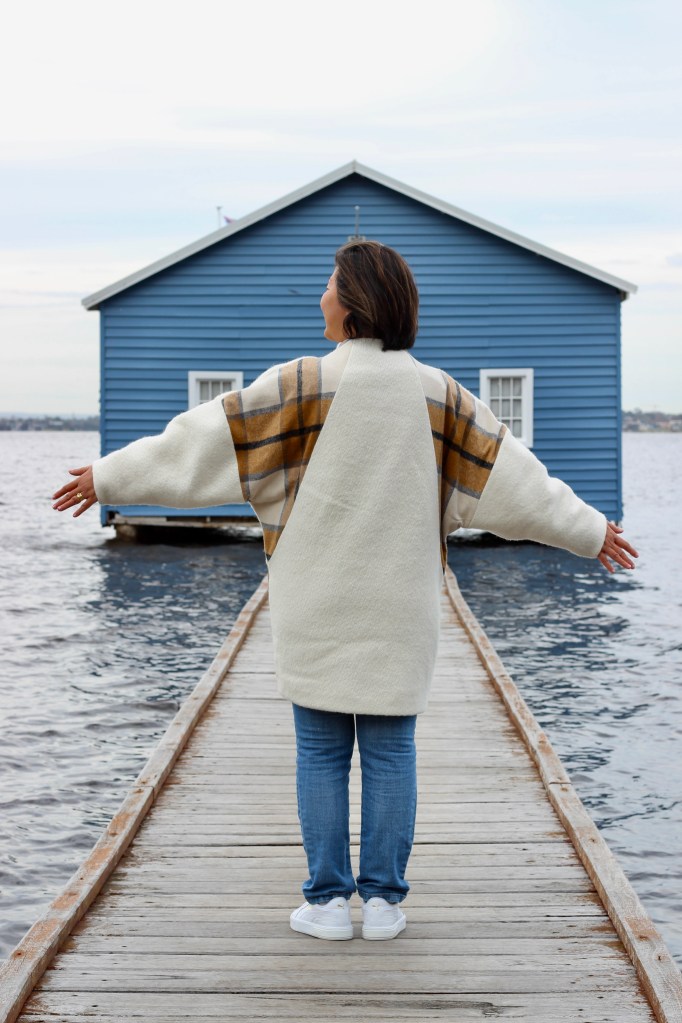
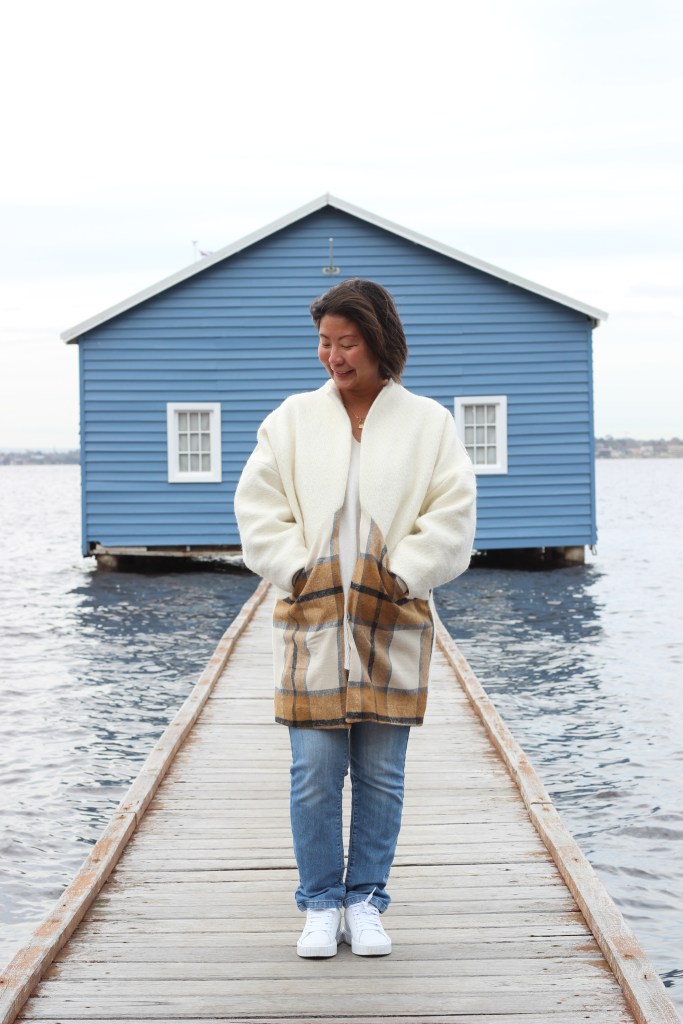
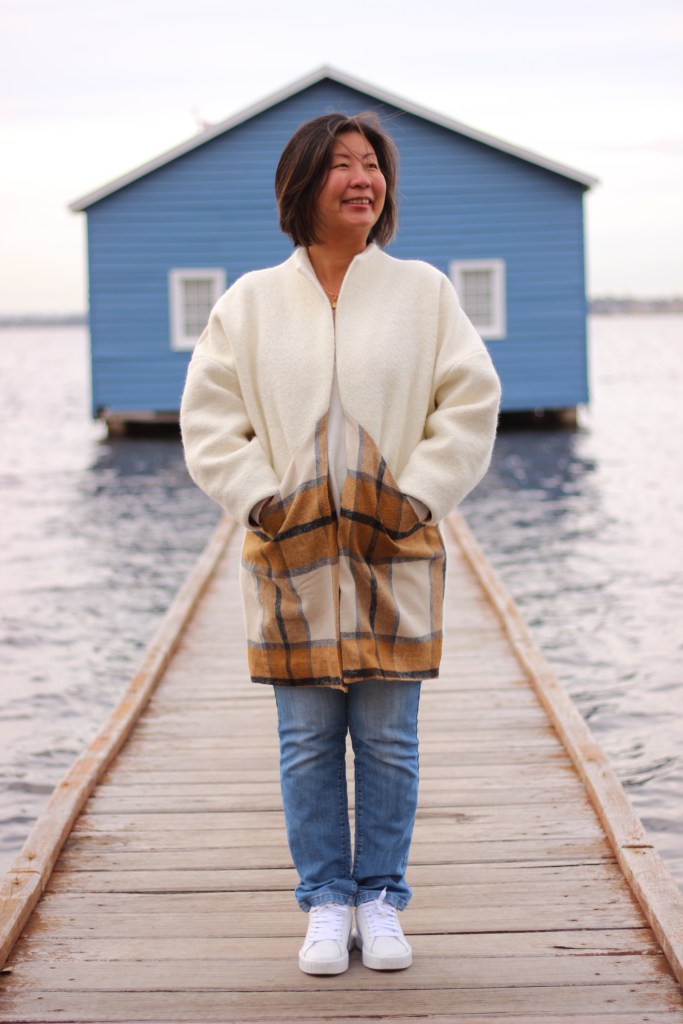
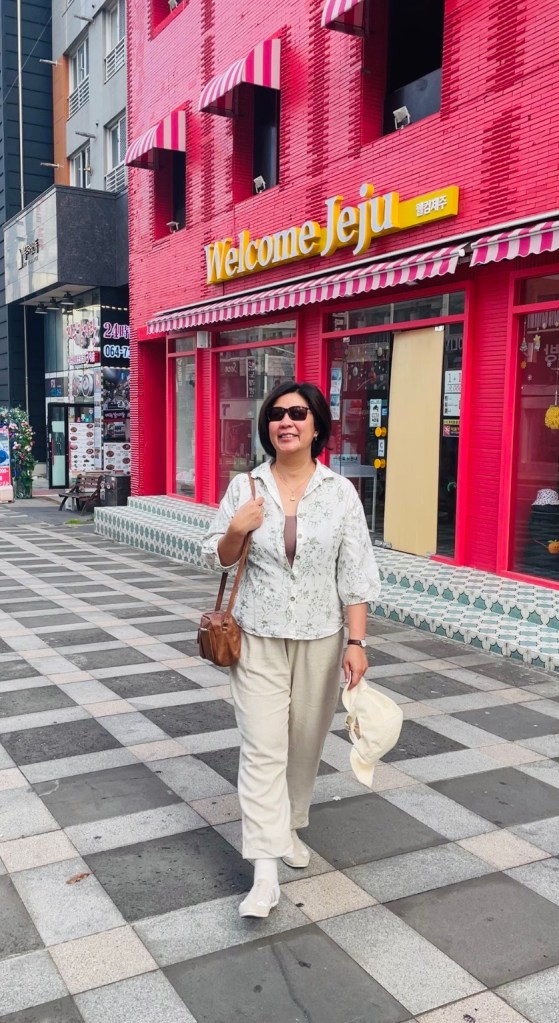
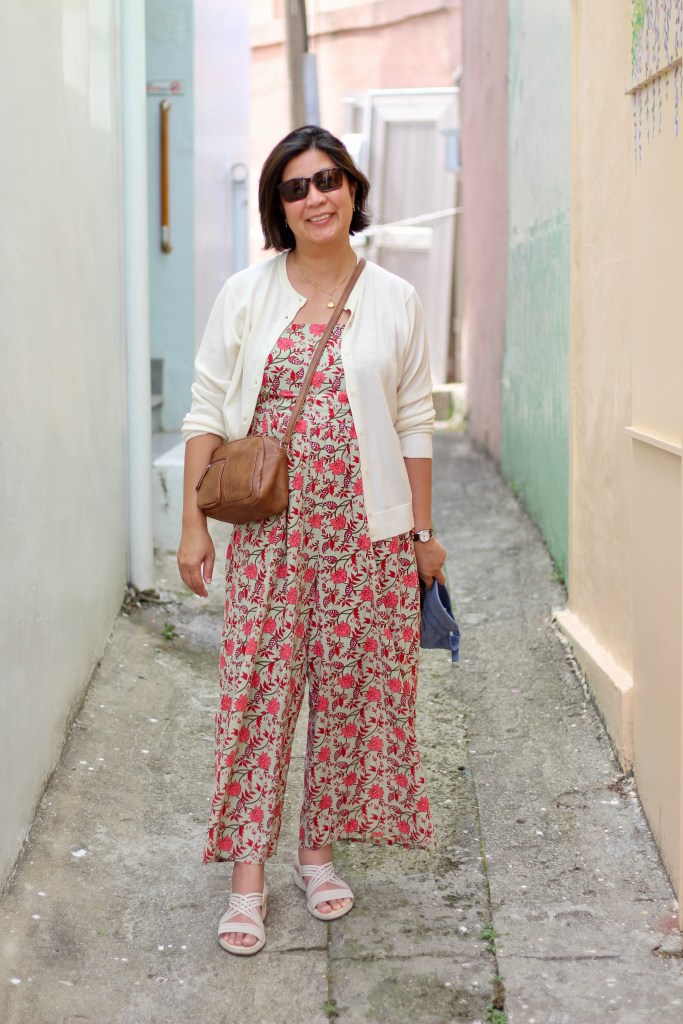
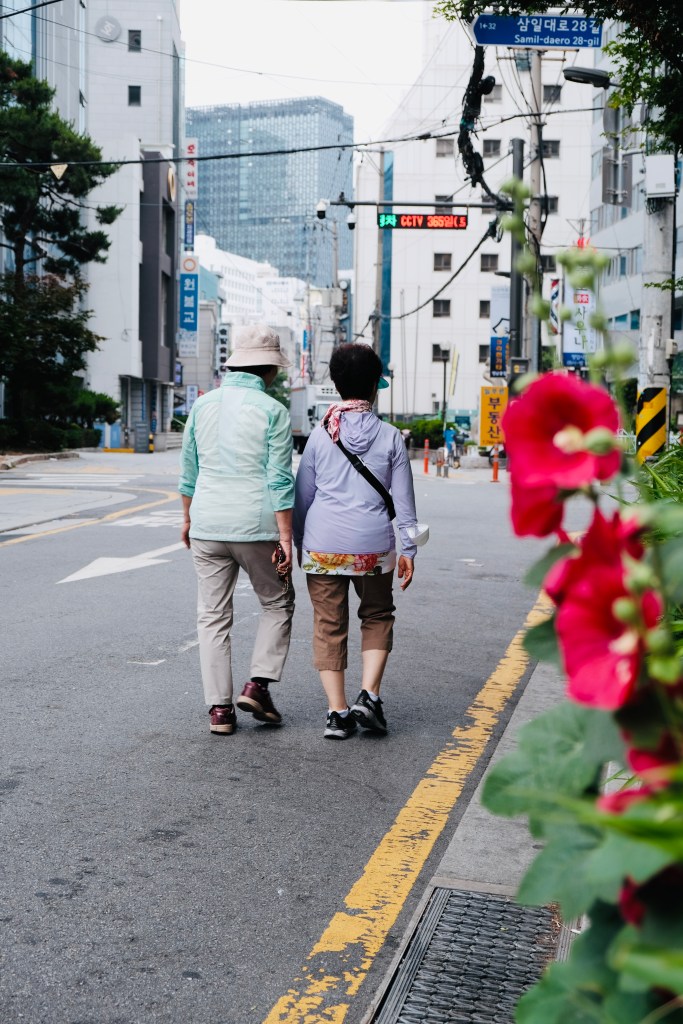
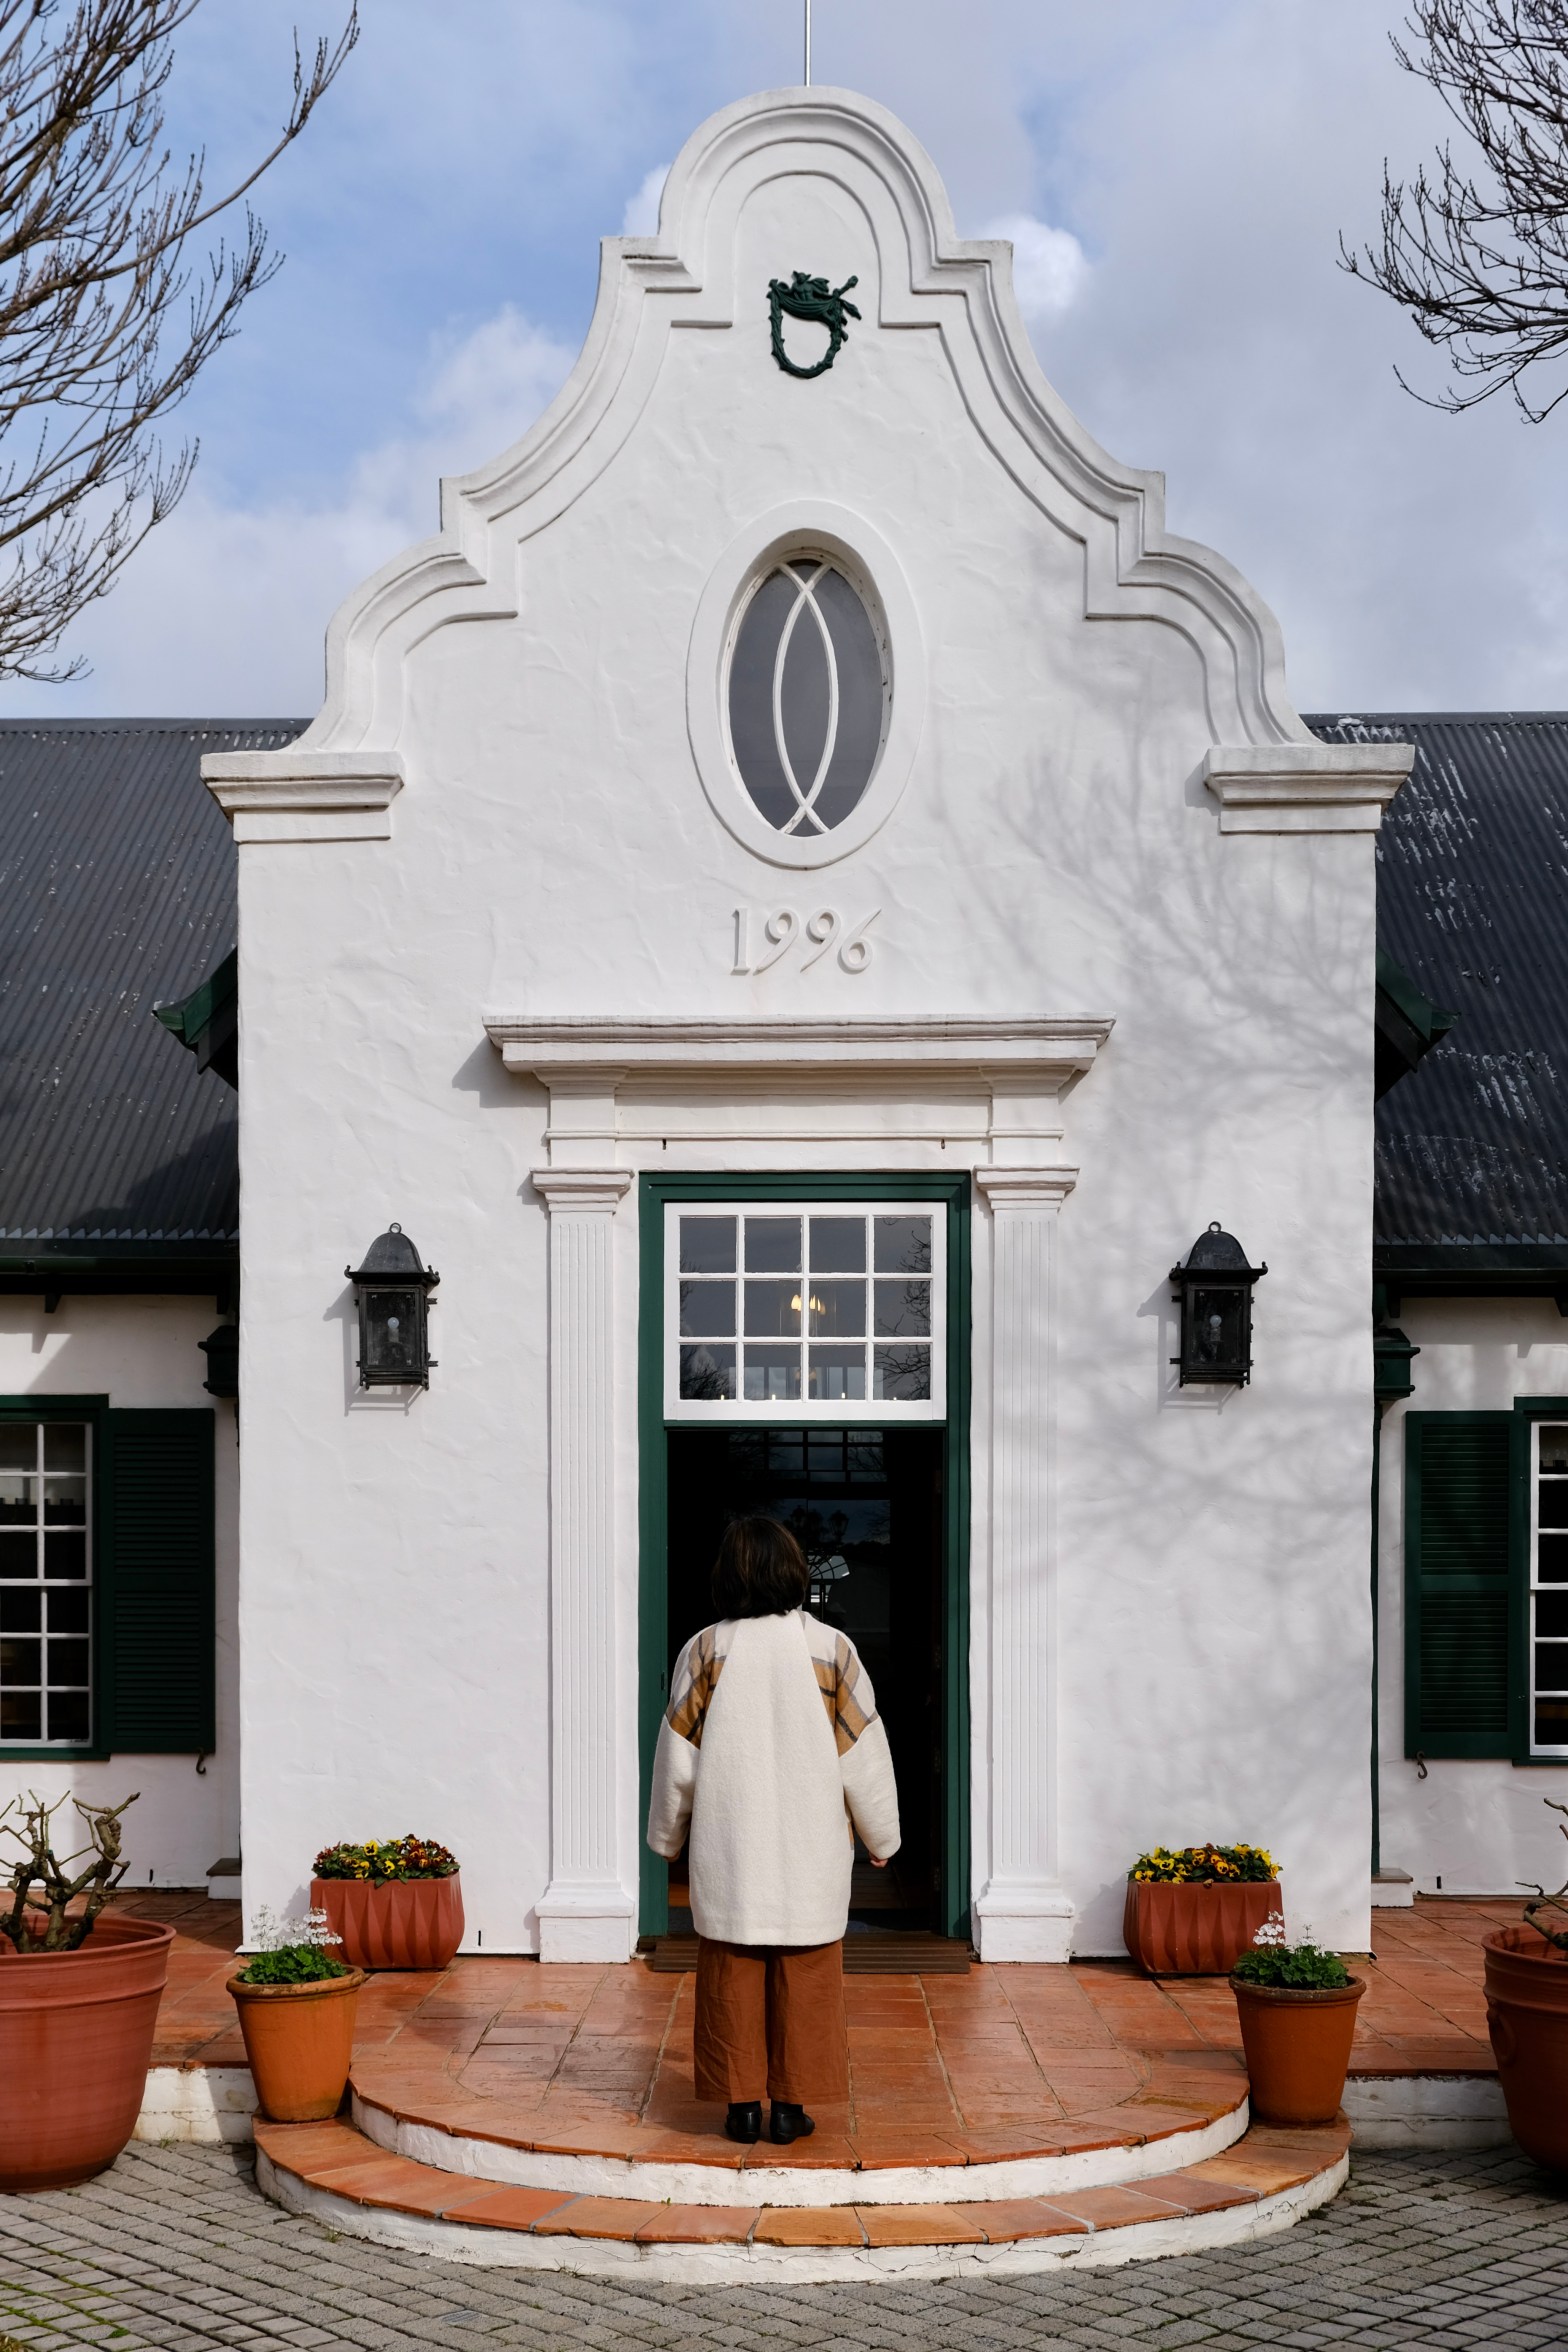
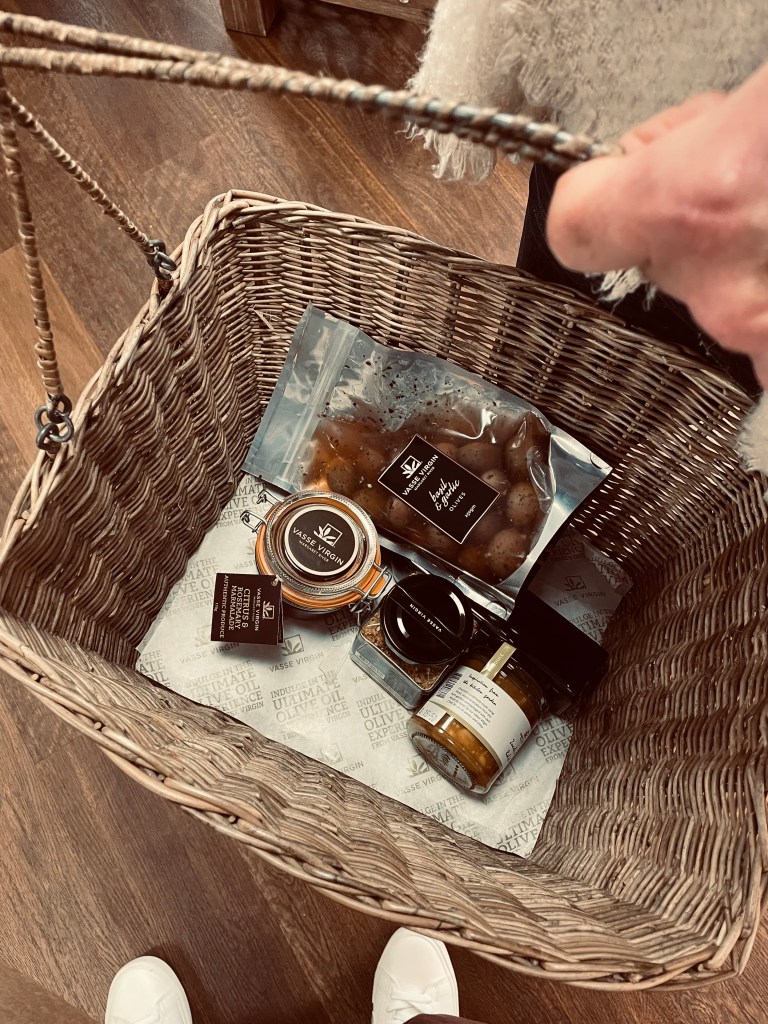
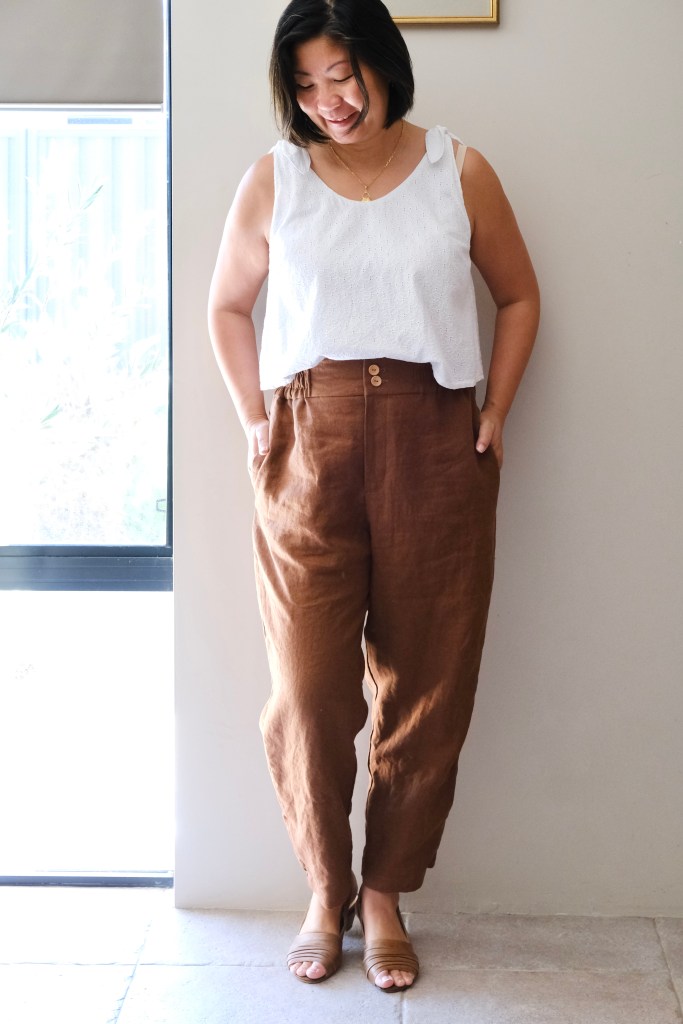
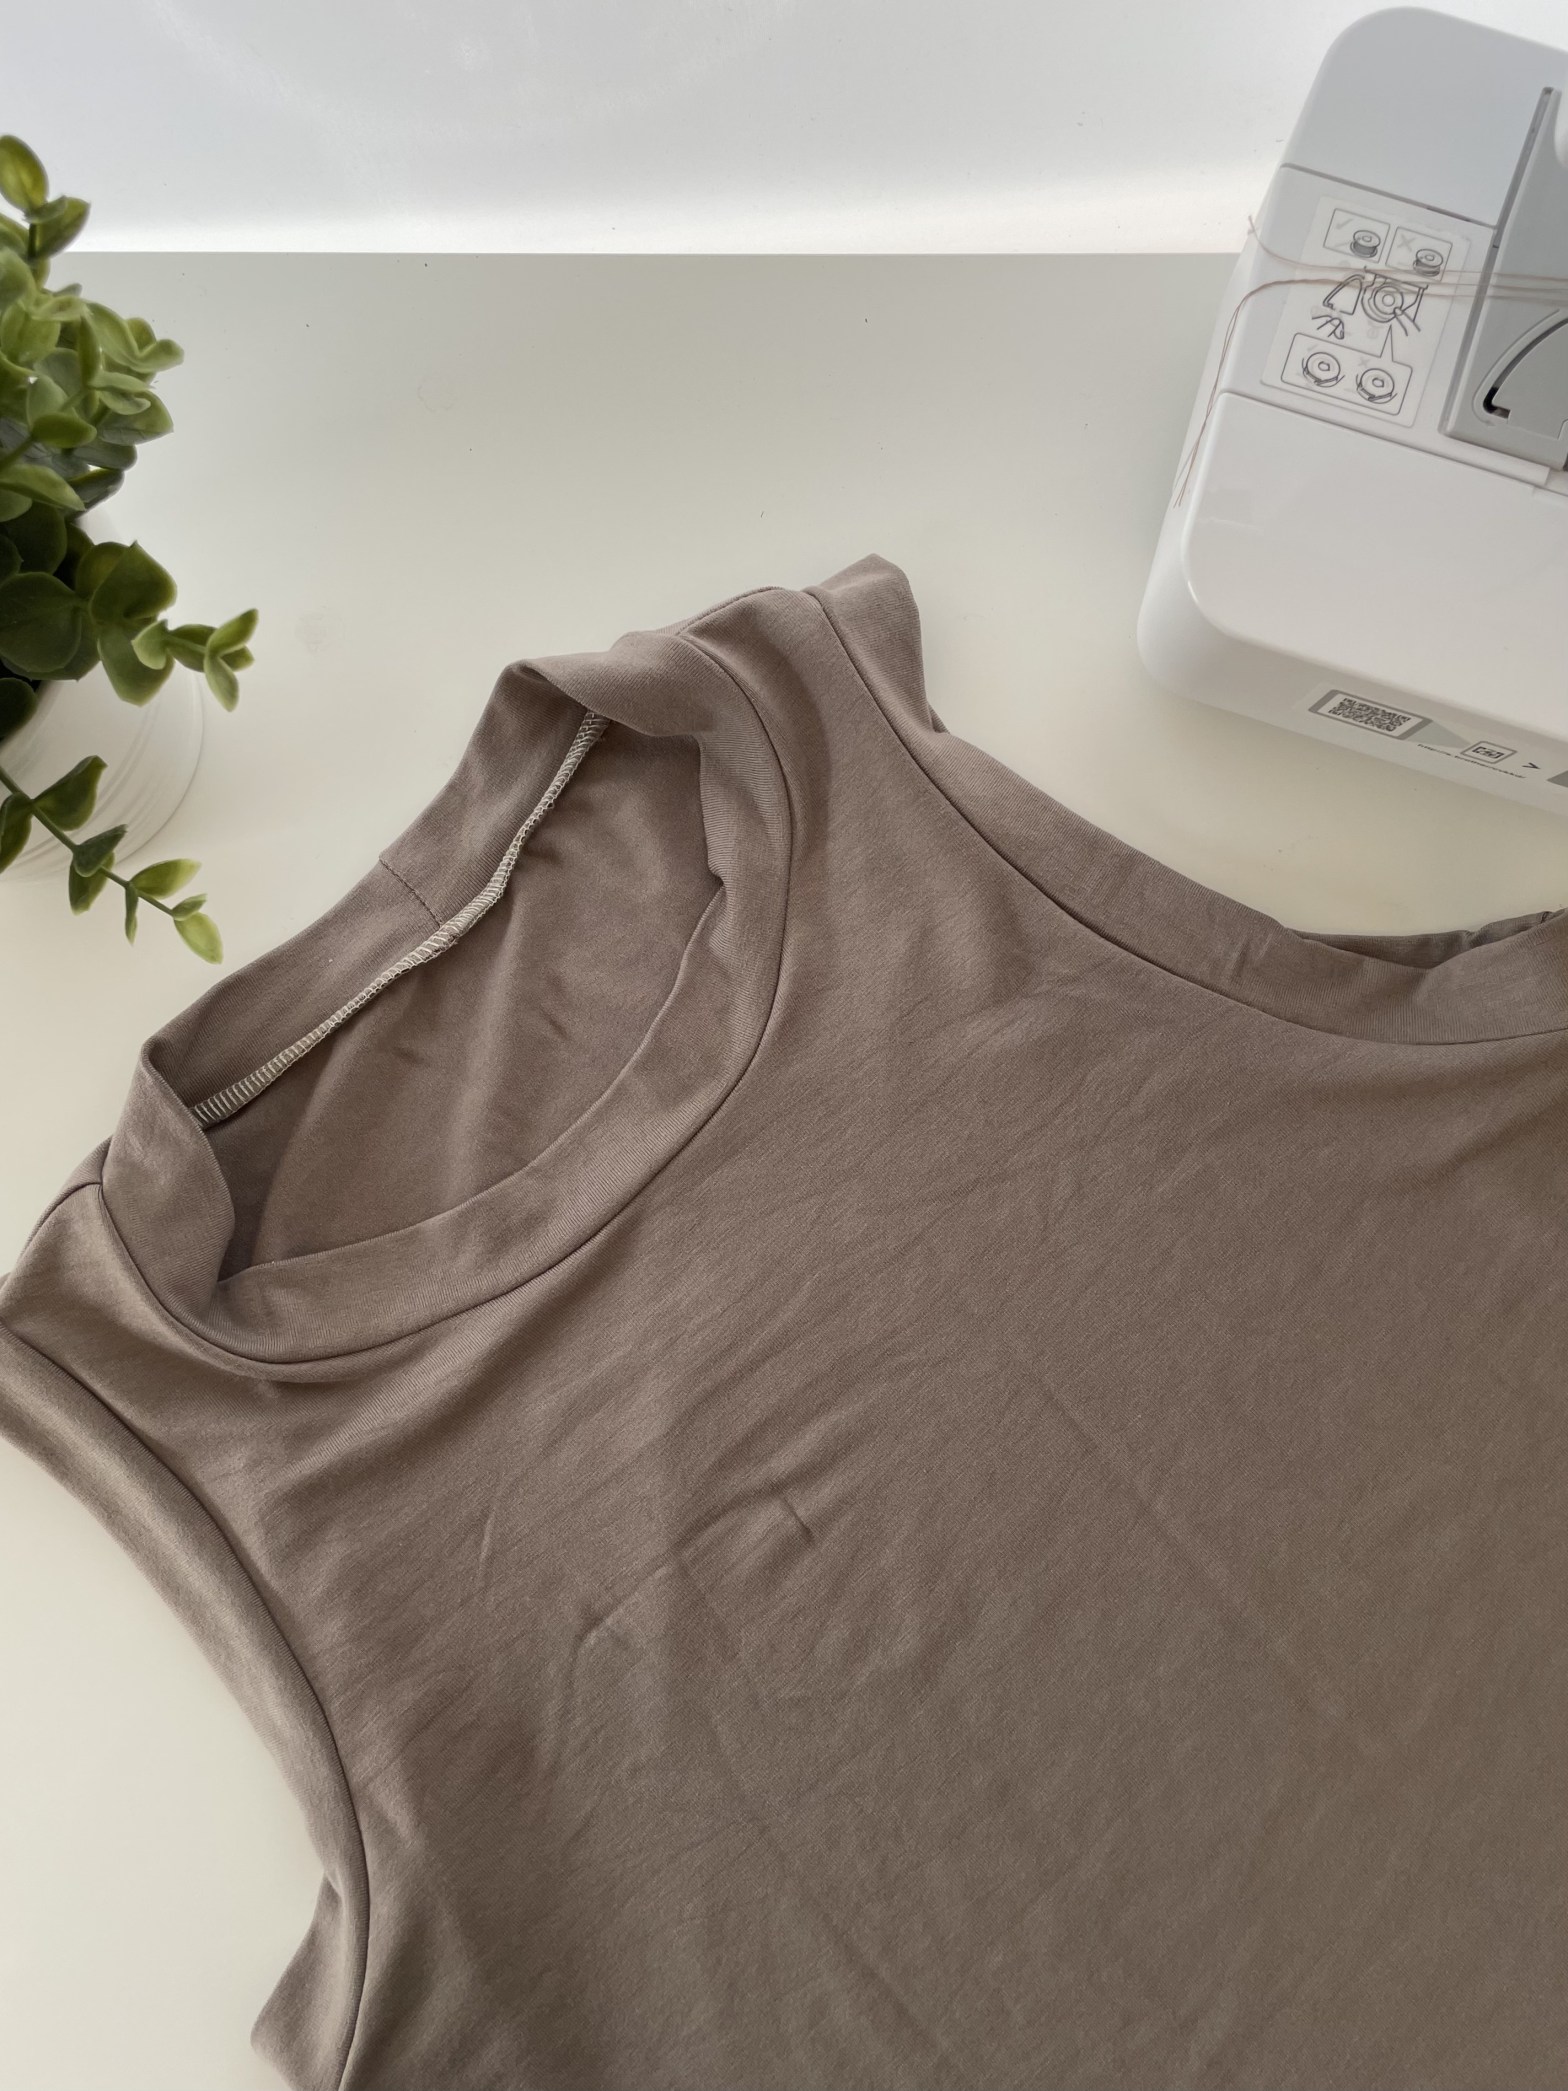
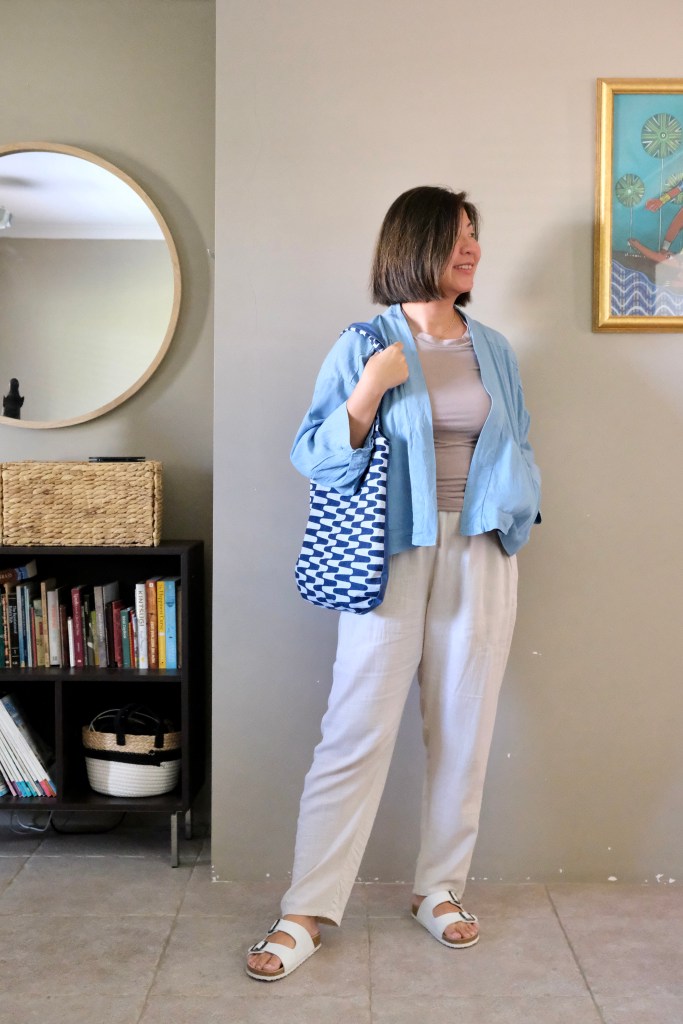
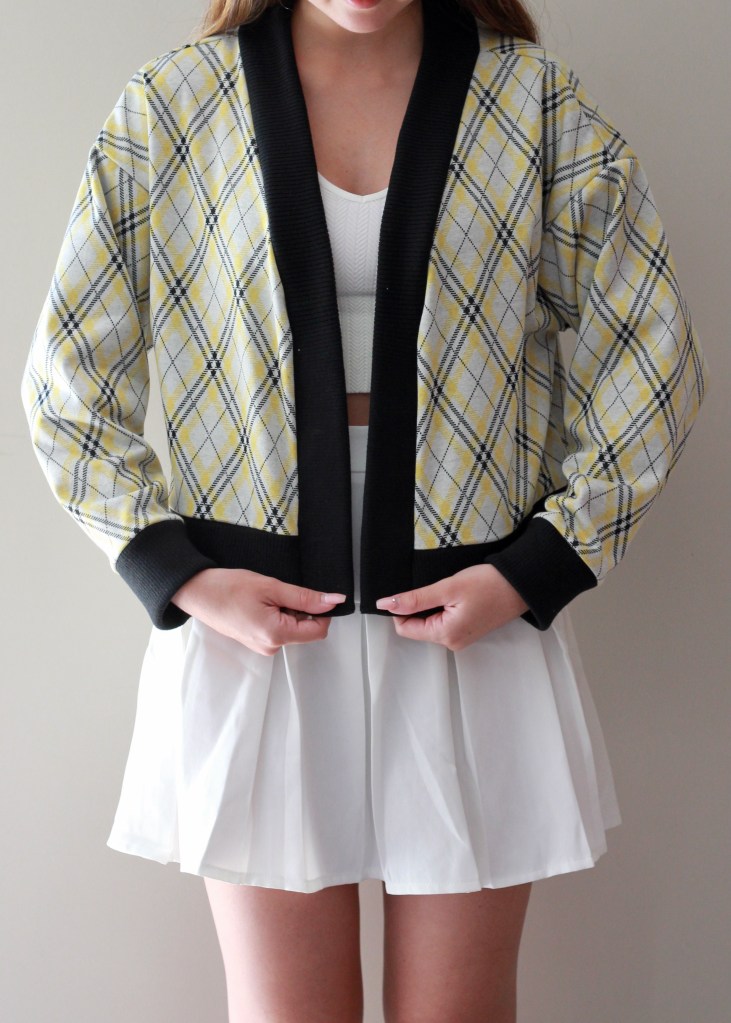
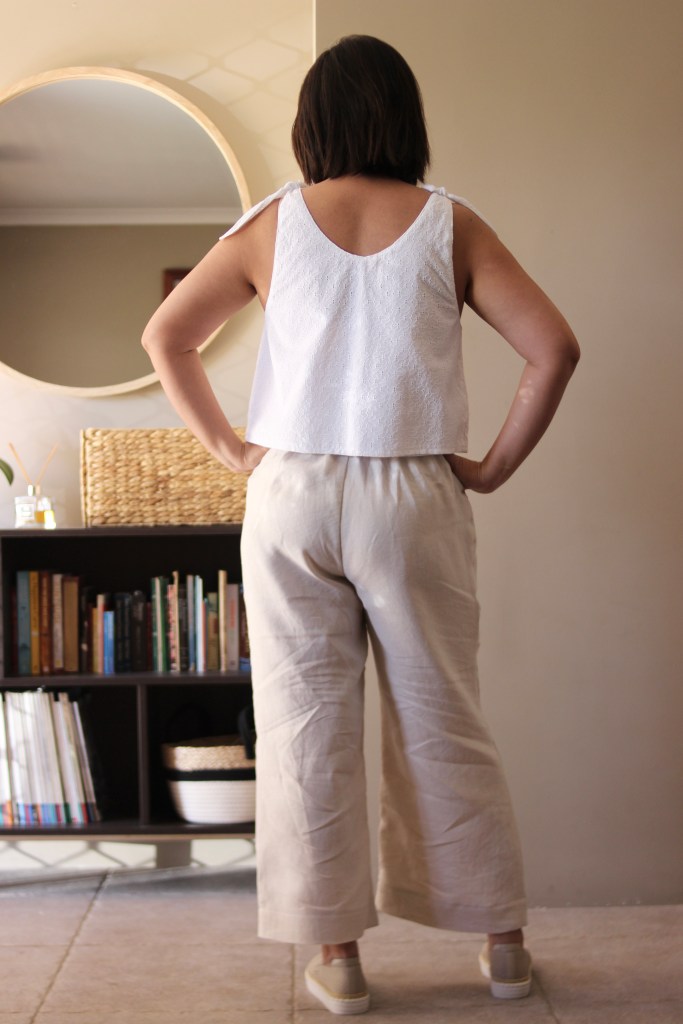
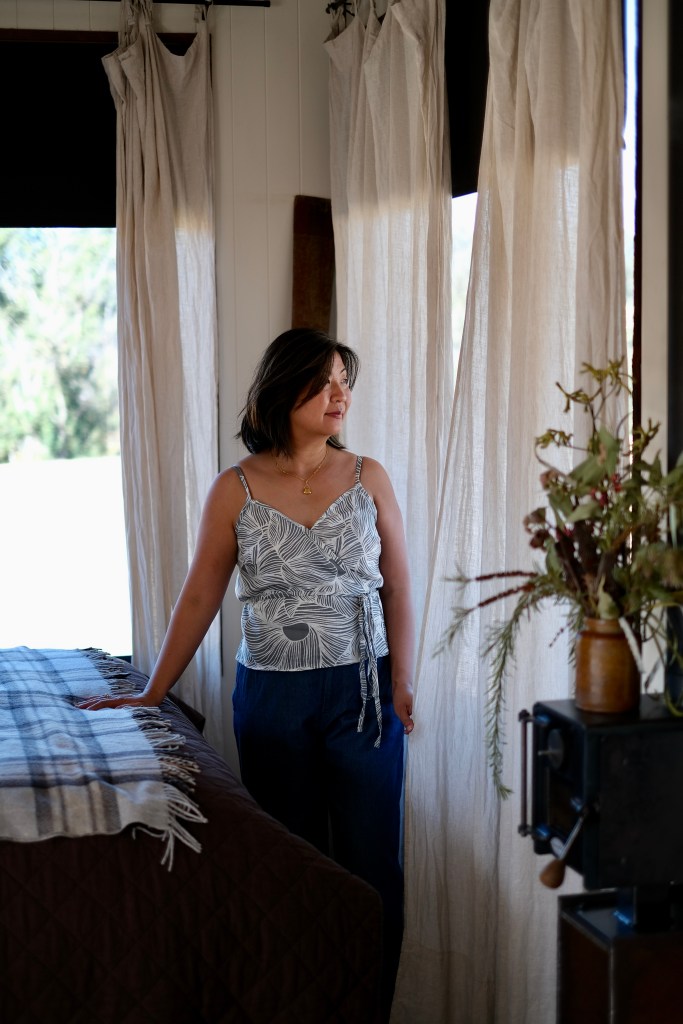
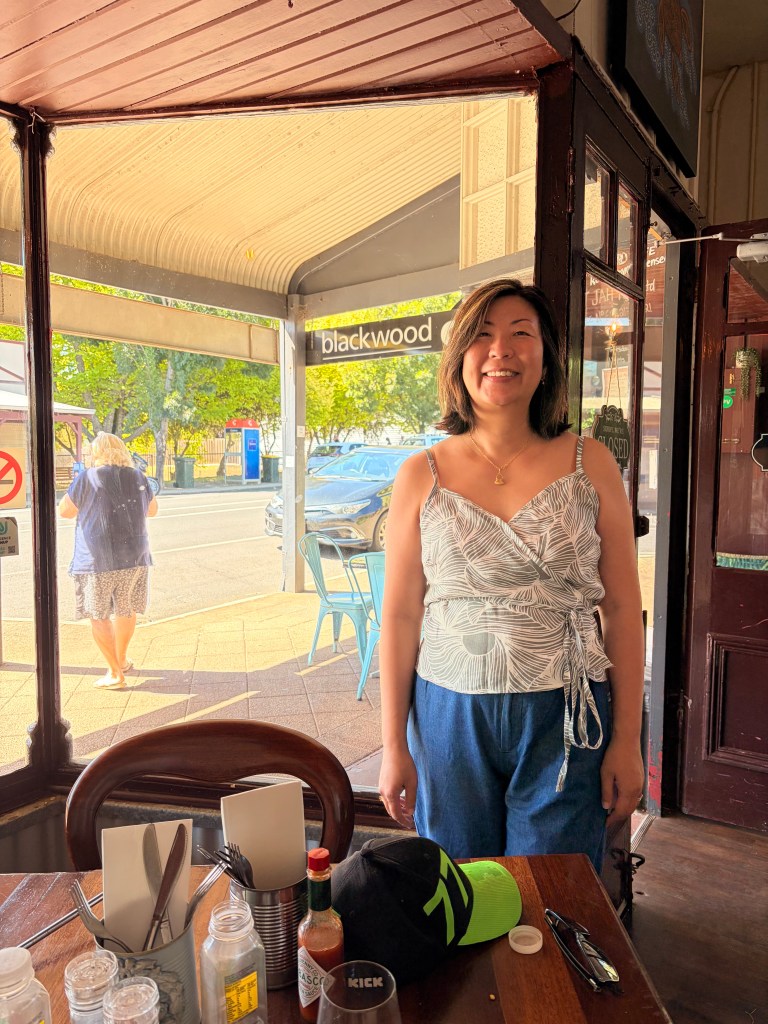
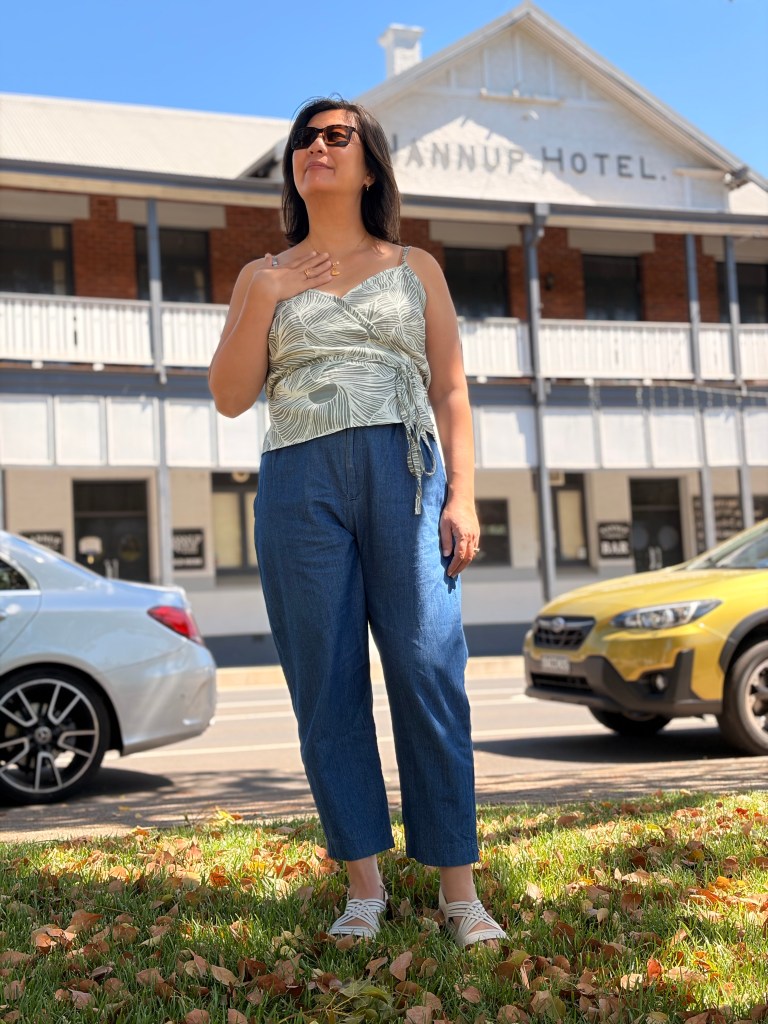
On the final day when we were travelling home, I wore my True Bias Calvin top with my True Bias Dani Pants. I have travelled extensively with the Dani Pants; I made and wore three pairs when I went to South Korea last year. I packed the lightweight denim version and matched it with my Calvin Wrap Top. I purposely left my ties long for my top. Just for the look of it and the security of having the ties doubled over. The outfit was perfect for our stops on the way home. The highlights were the delicious brunch at the Blackwood Café and then we made a stop at the famous Cambray Cheese where we sampled their traditional handmade farmhouse cheese. This little family run dairy blew us away with their sheep dairy and farmhouse cheese factory. We came away with a big bagful of cheese including their Farmhouse Gold.
It was a very successful trip. For a trip where we planned to do nothing, we actually came away feeling very rested but fulfilled. It was a much-needed respite. We will definitely be returning to visit the charming character filled town of Nannup.
Thanks for reading and happy sewing!
X Em