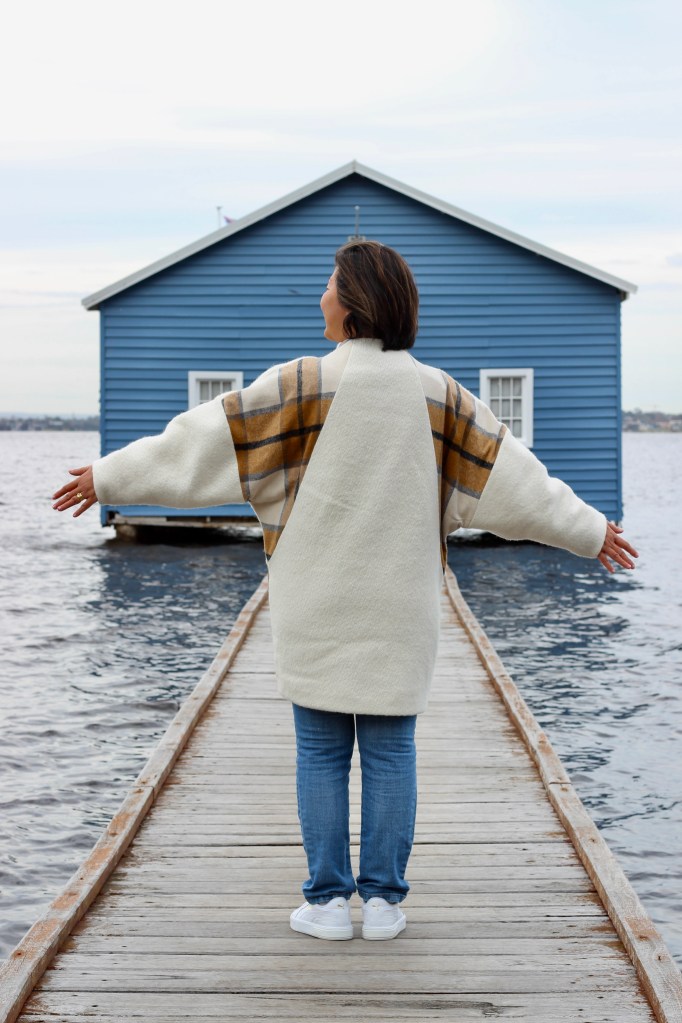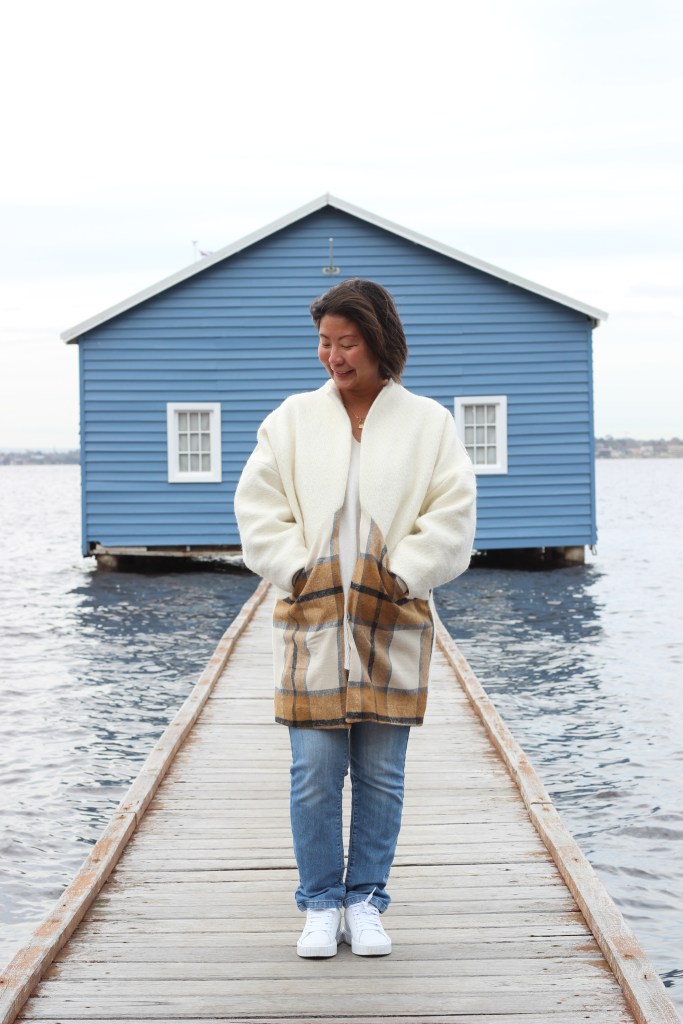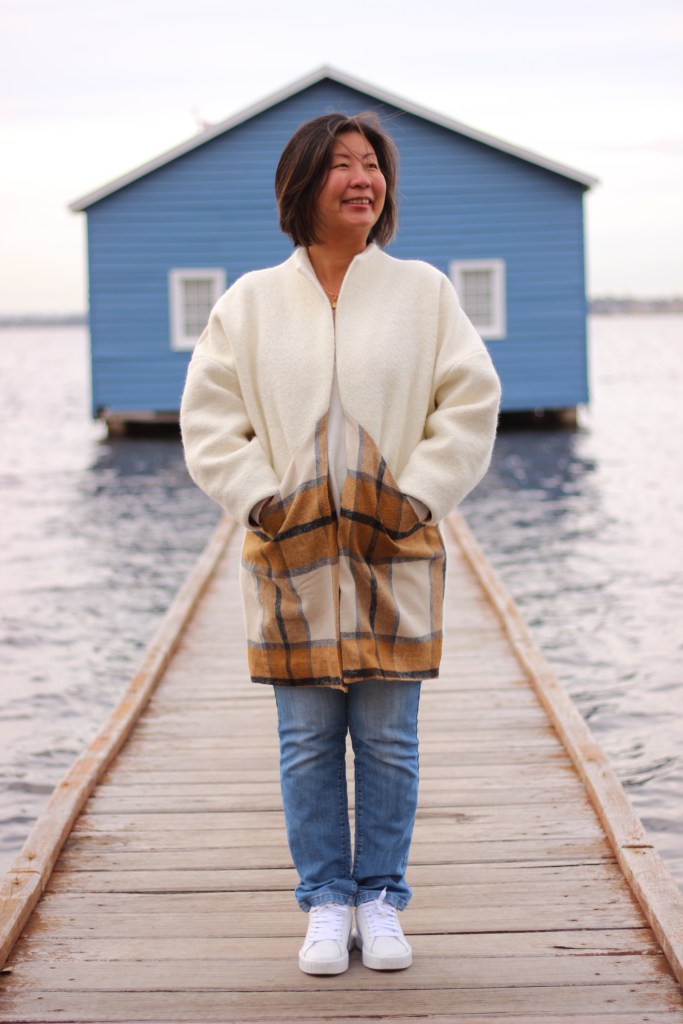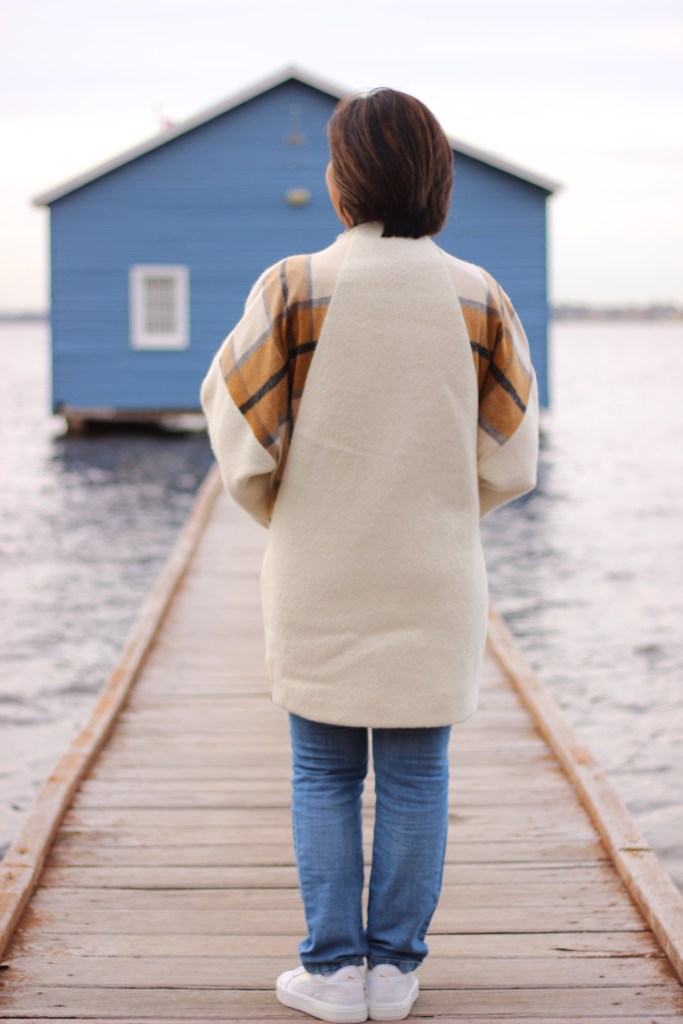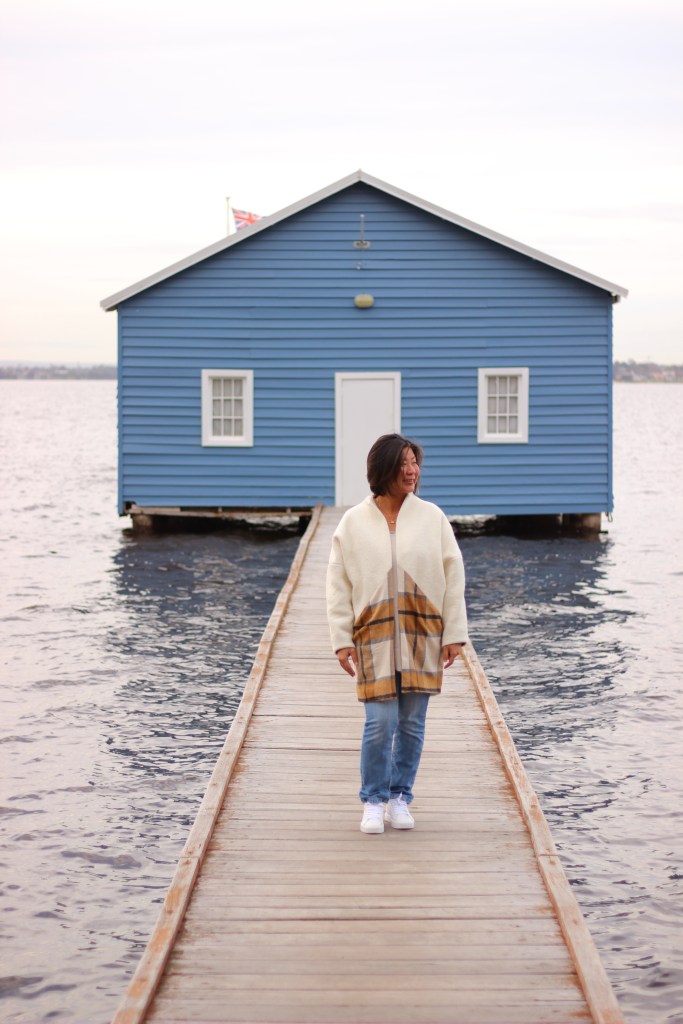
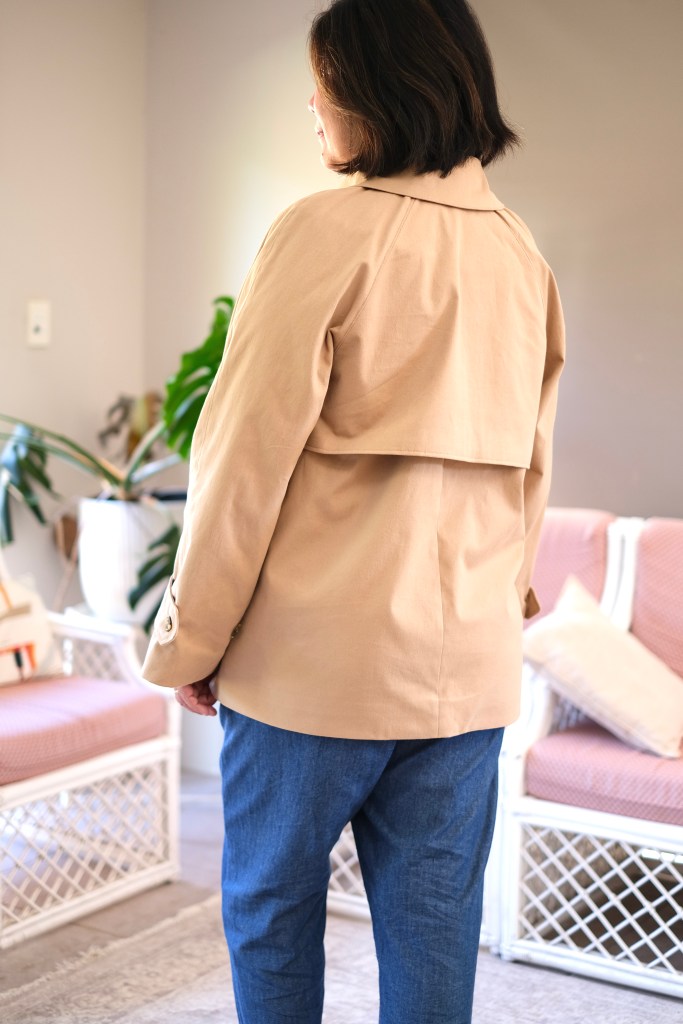
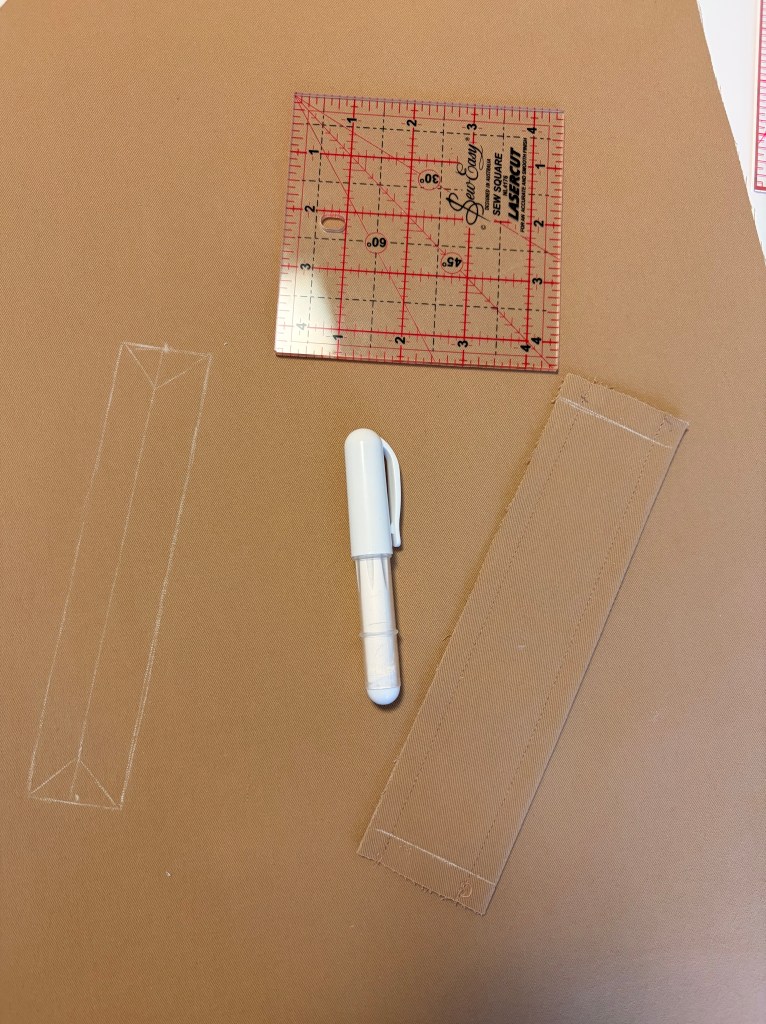
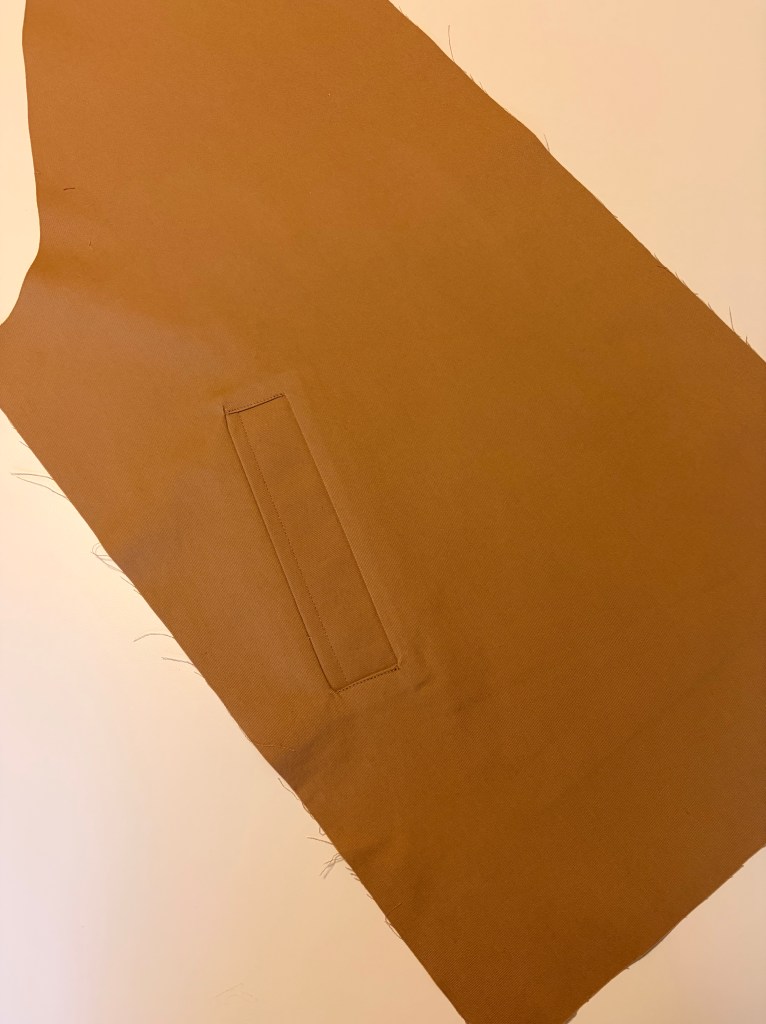
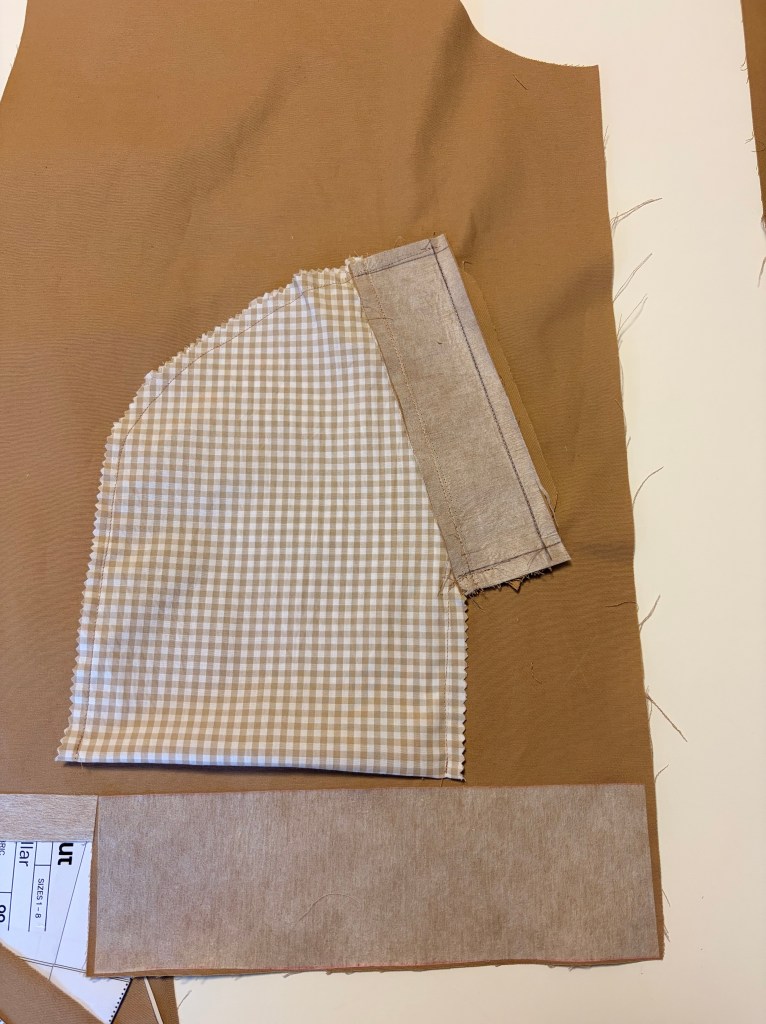
Here in the Southern Hemisphere, the weather is cooling down. Although we don’t get the freezing temperatures that bring snow, it does get cold enough to need a jacket. I’ve really wanted to challenge myself to making more outer wear and gaining more tailoring skills, so I thought the Papercut Patterns Eliza Trench Coat had all the elements I wanted to try. It can be made into a long trench coat, but I feel that I would get more wear out of the short coat. It has two choices of pockets, the welt pocket and the patch pocket. Of course, I’m choosing the welt pockets because I’ve never sewn those before. It also has the cool feature of the storm flap and is fully lined. It also has the belt, but I don’t know if I’ll be worrying about using that.


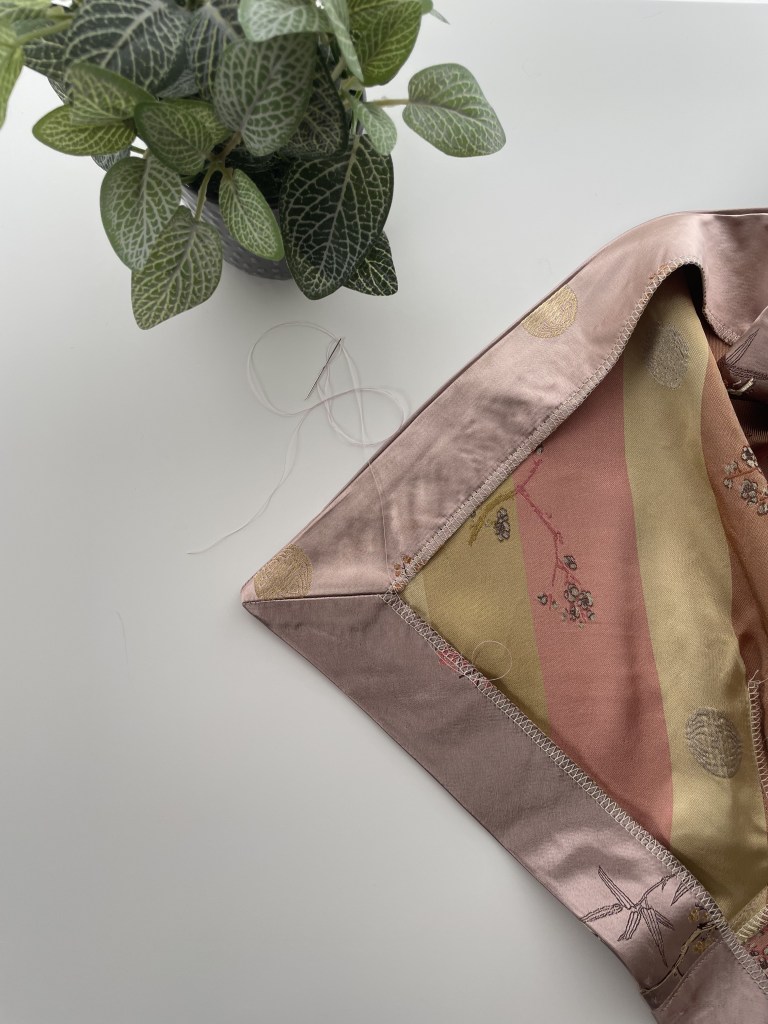
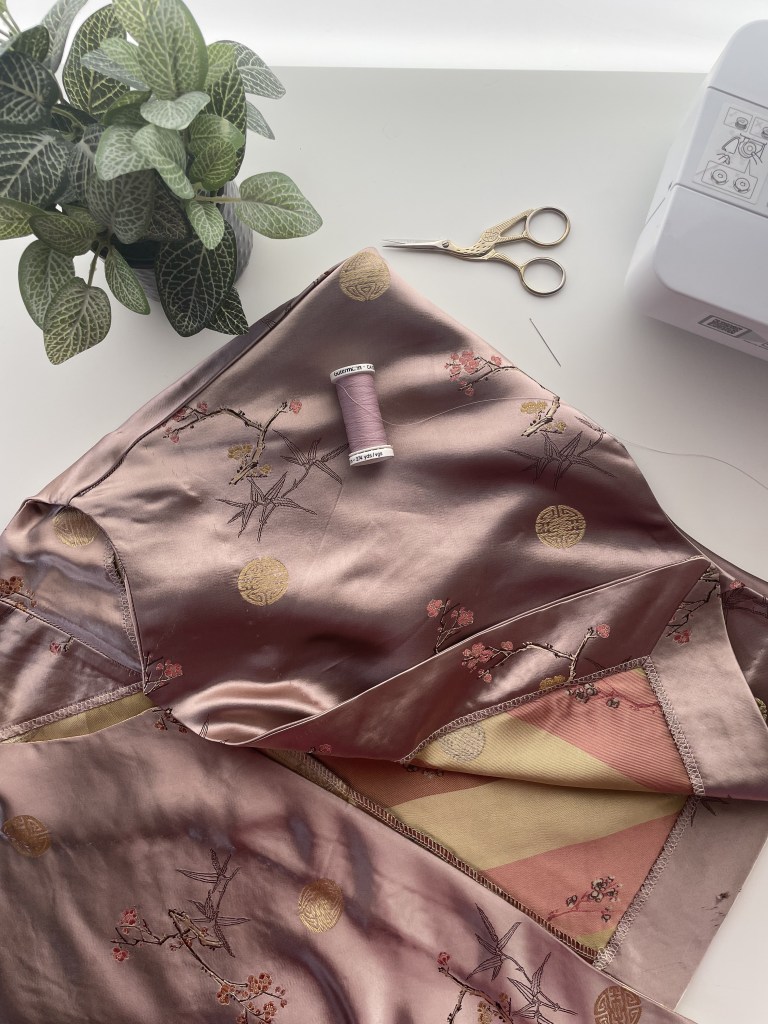
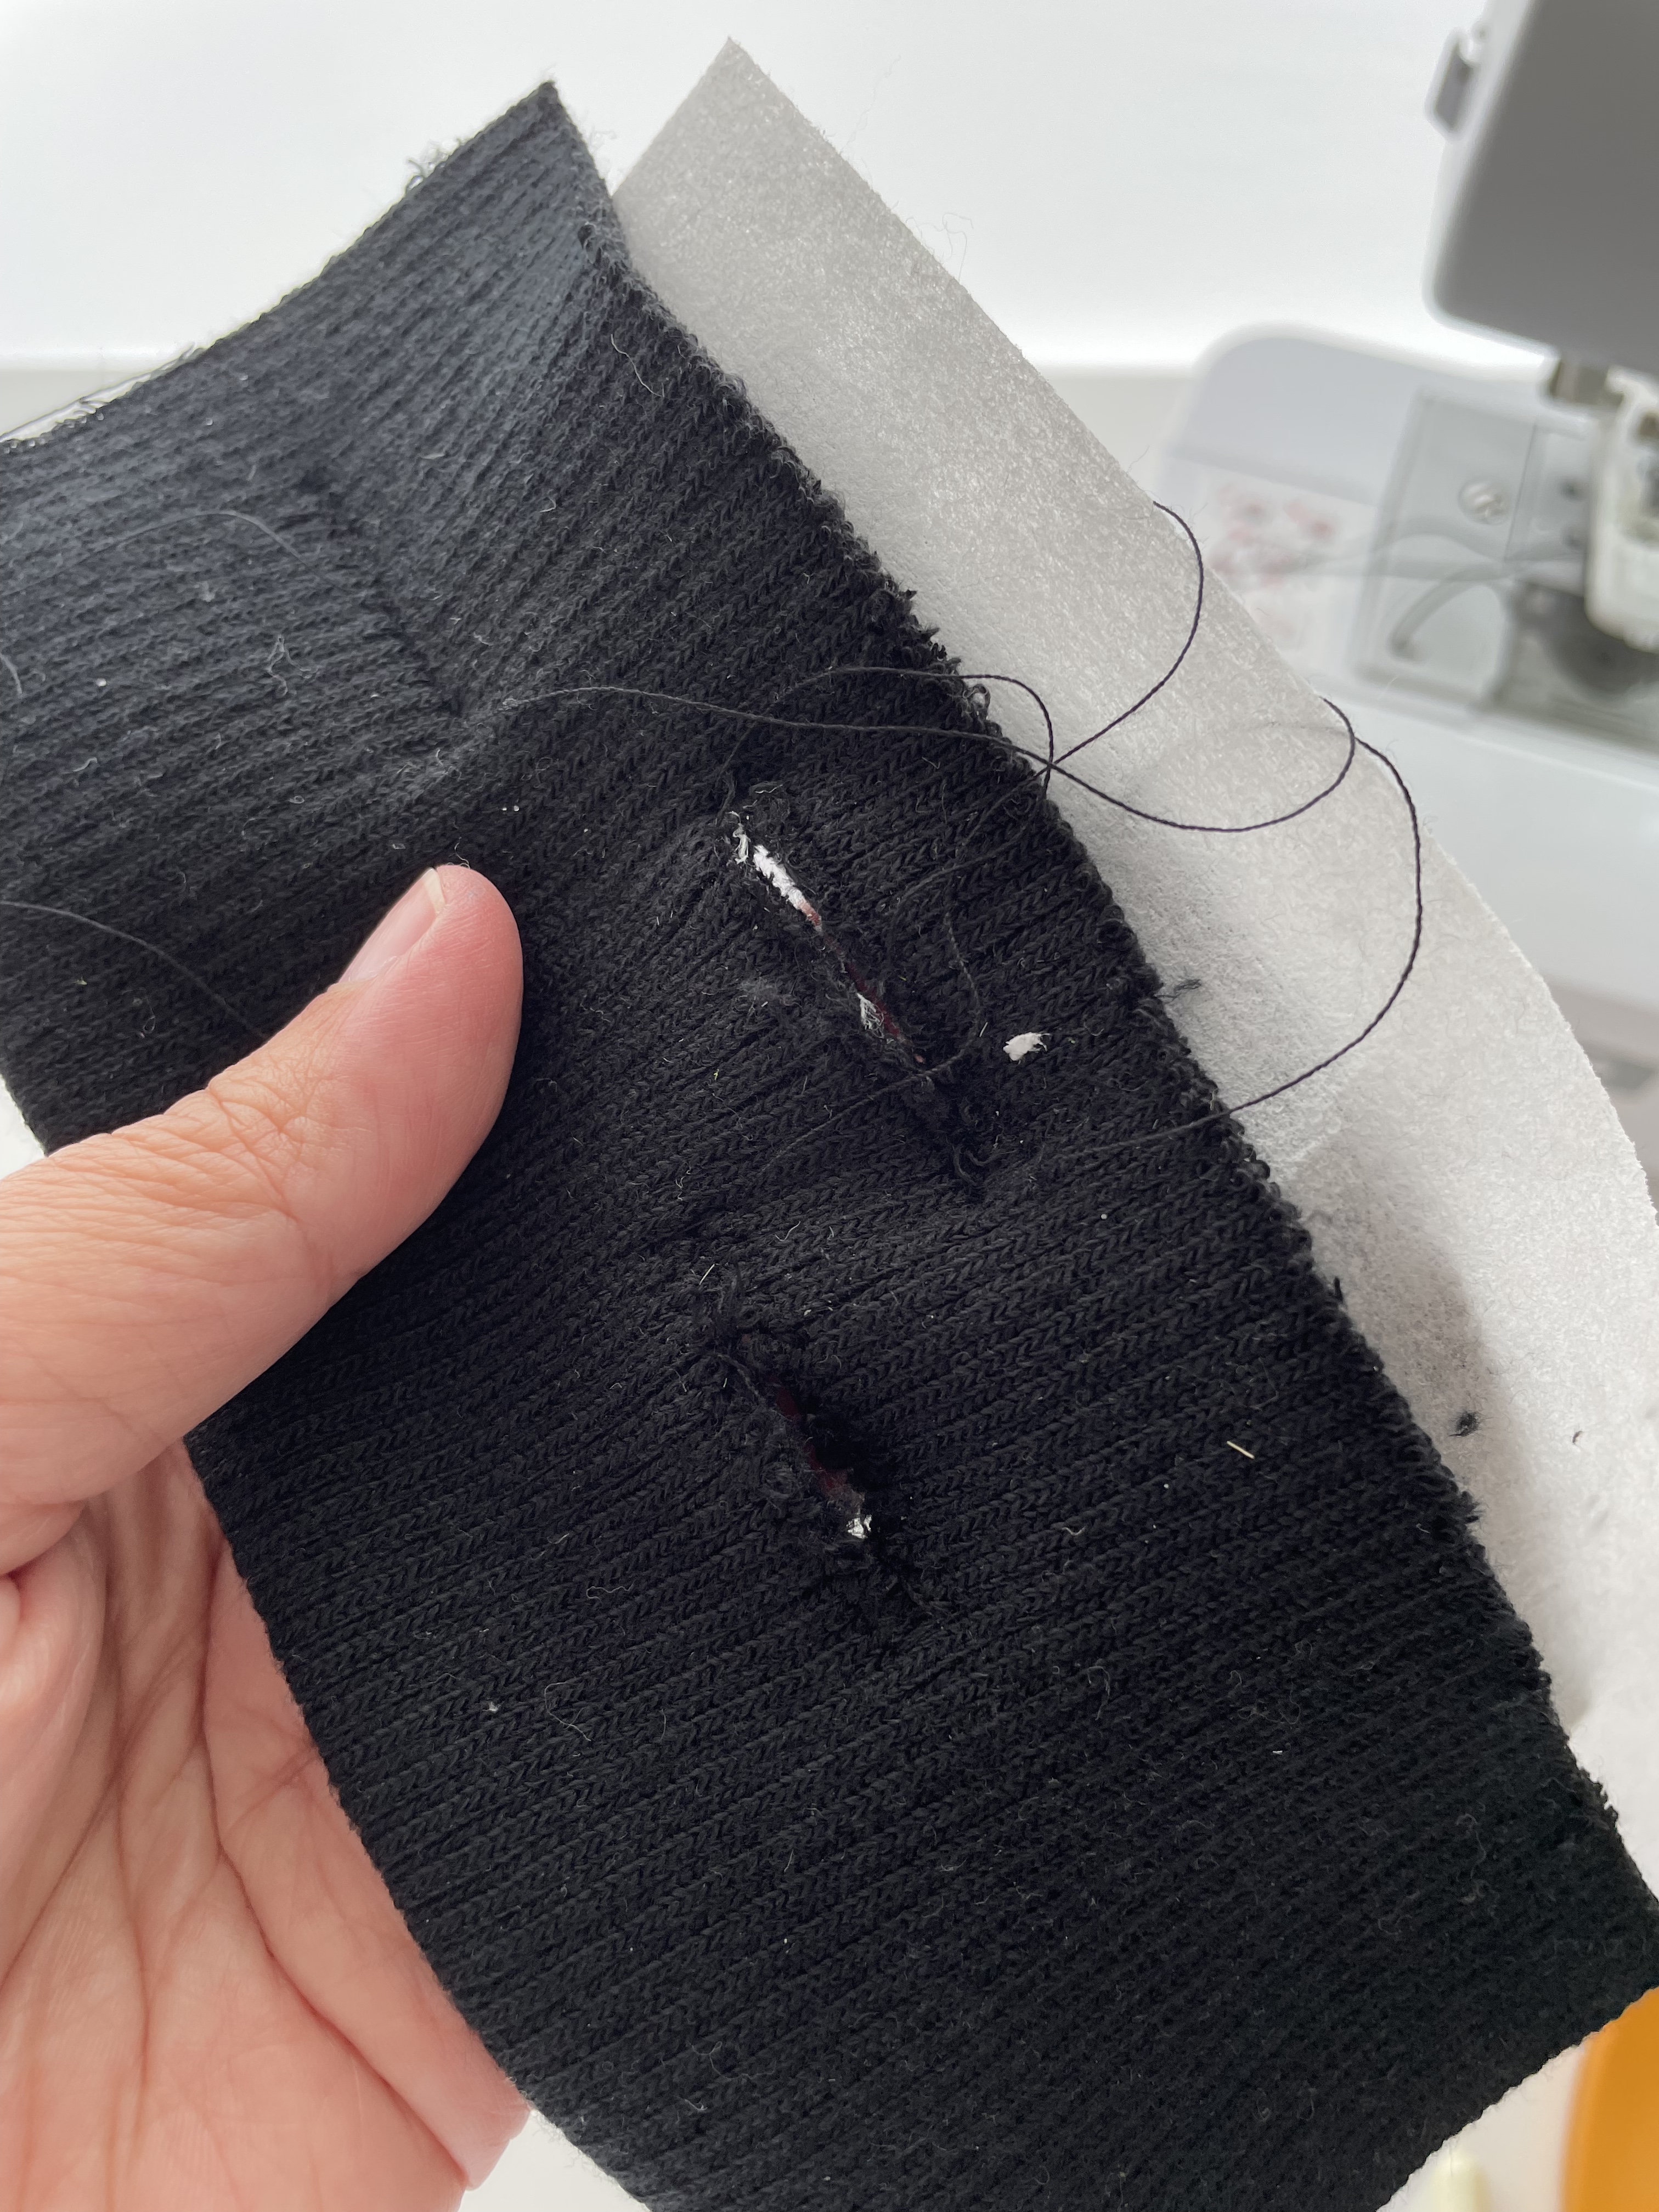
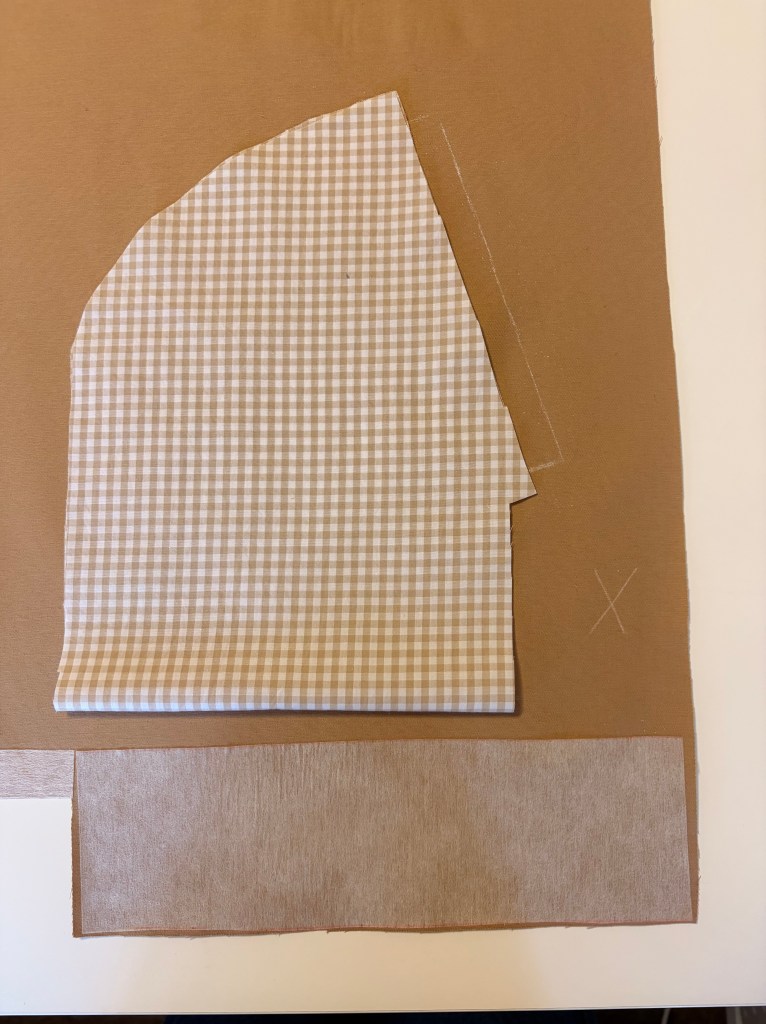
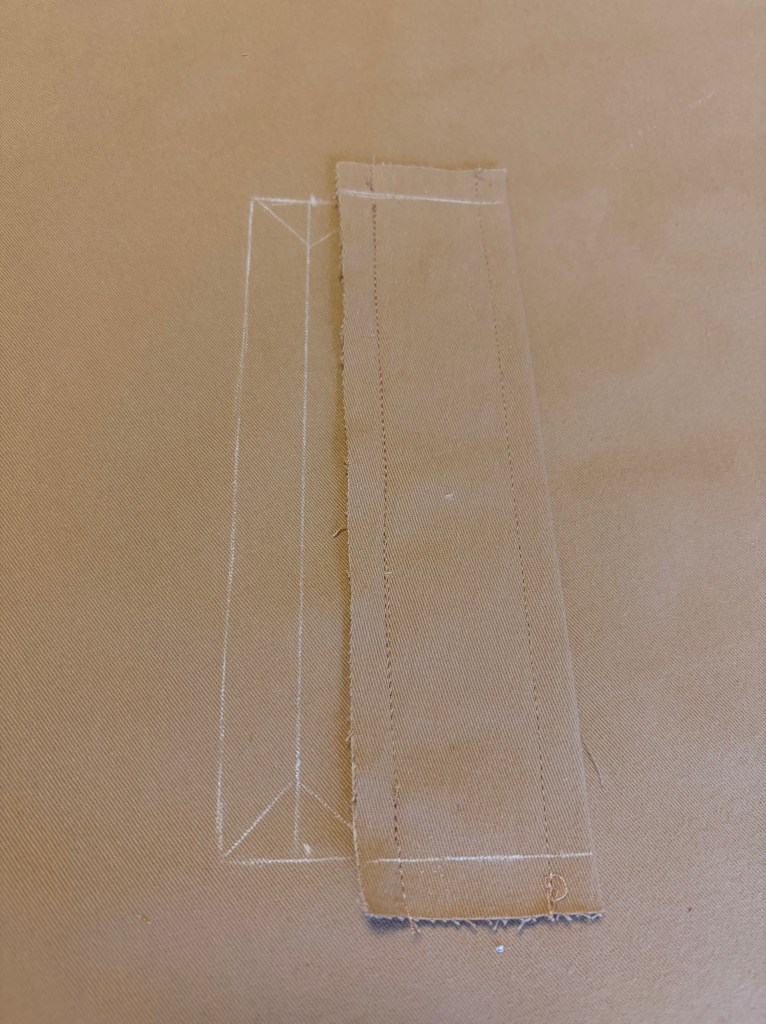
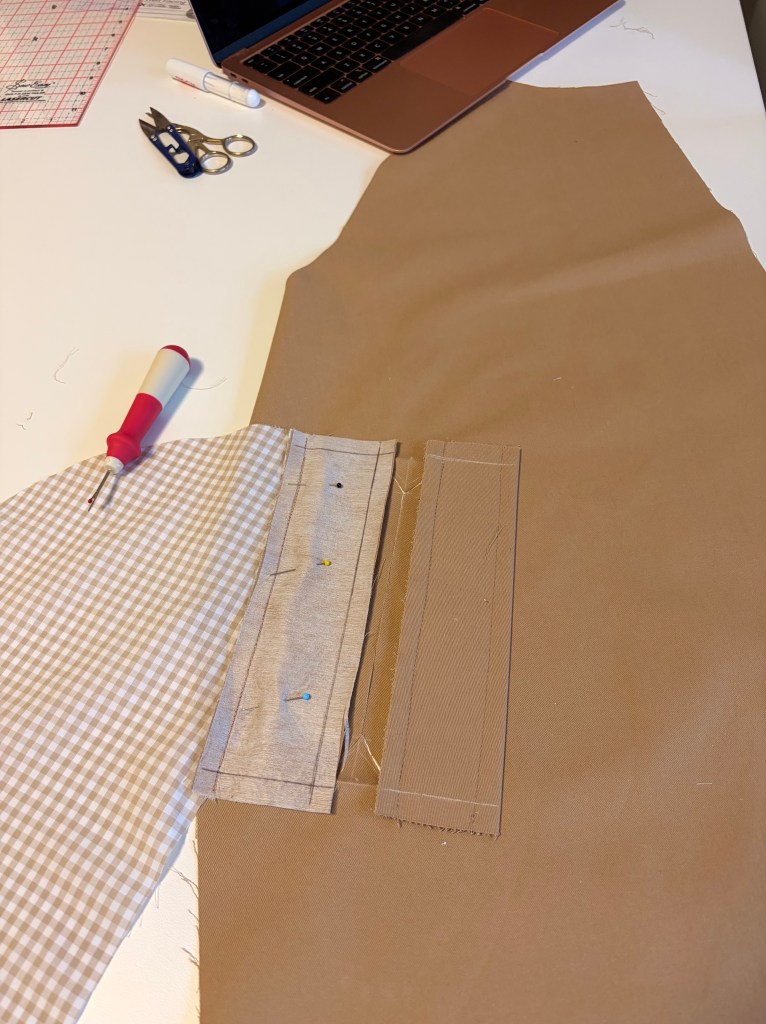
This pattern is for intermediate sewers, and I must admit that it did stretch my limits. Mainly, in the sewing of the welt pockets! I think it me two hours to sew one. The instructions were excellent and there were illustrations, but I would have loved a photographic tutorial. But like anything you learn the first time, it was much easier, faster and I didn’t make the same mistakes with the second pocket. Practise makes progress! I’ll try put my pictures here if anyone else is attempting the Eliza Trench.
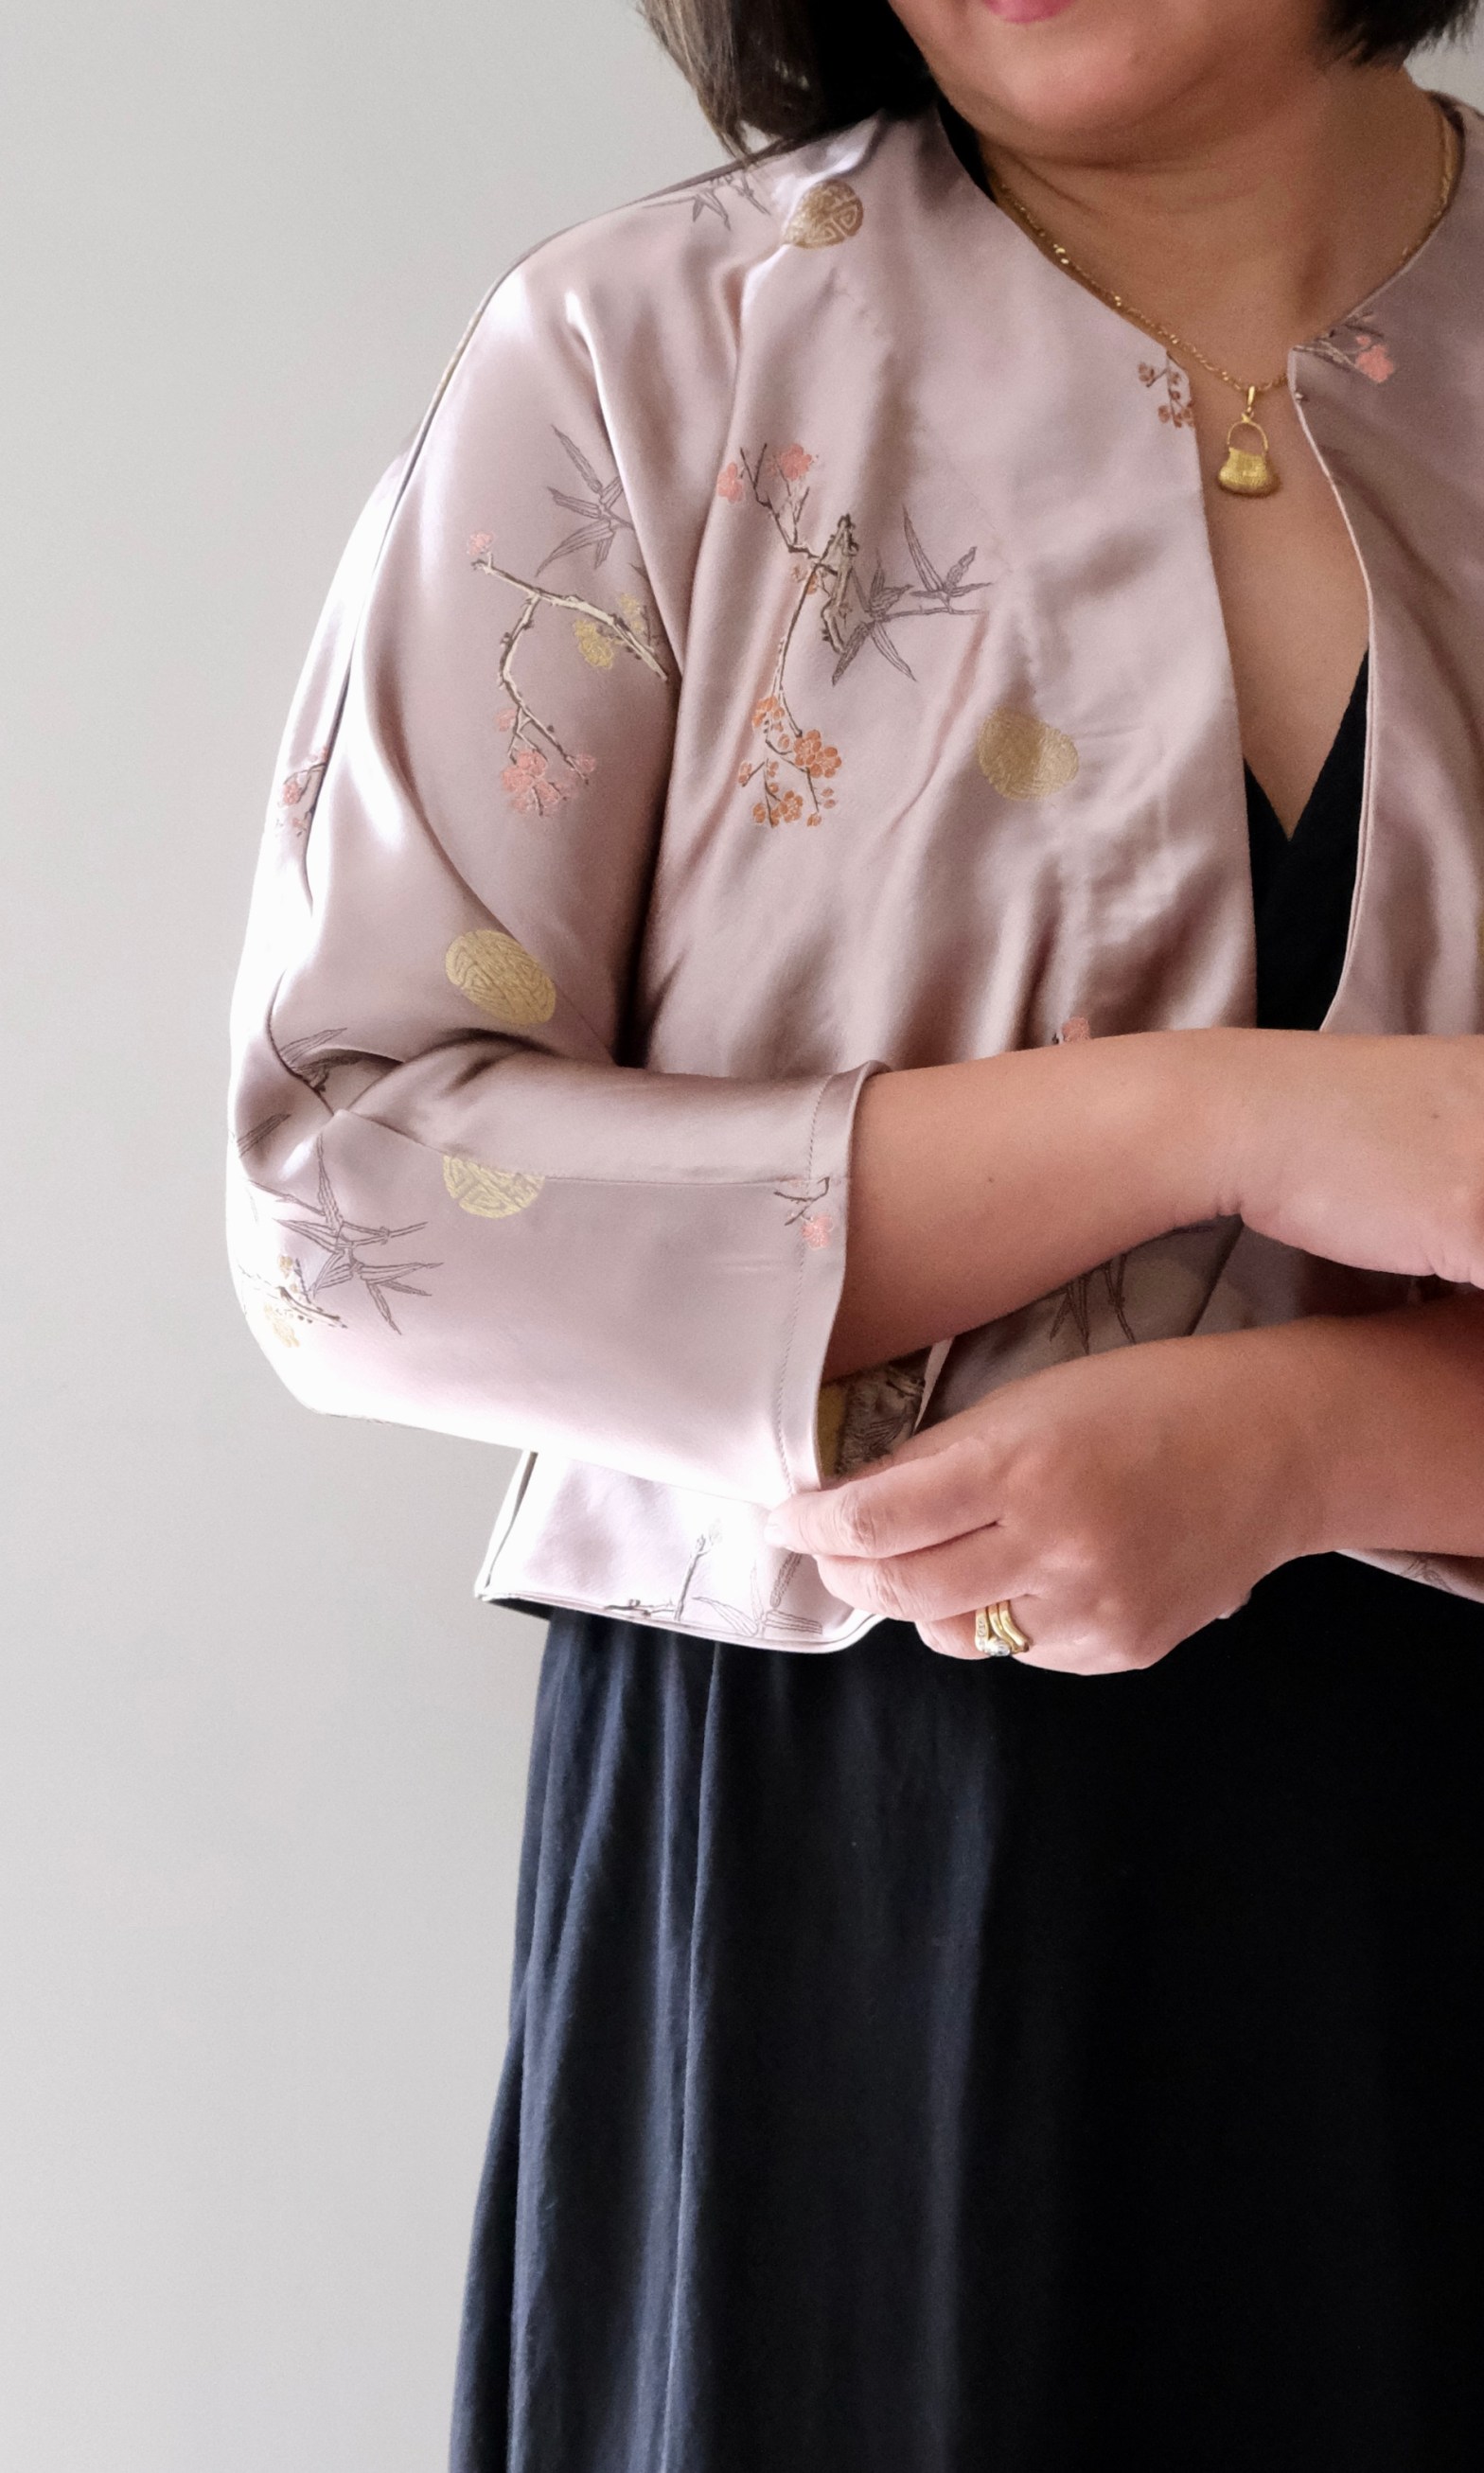
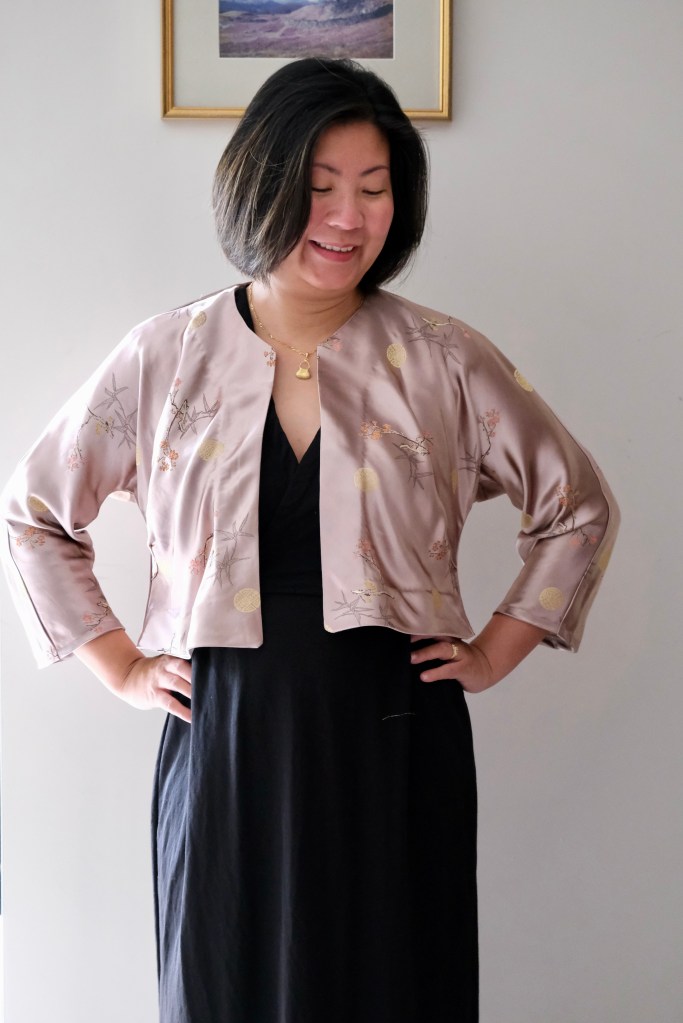
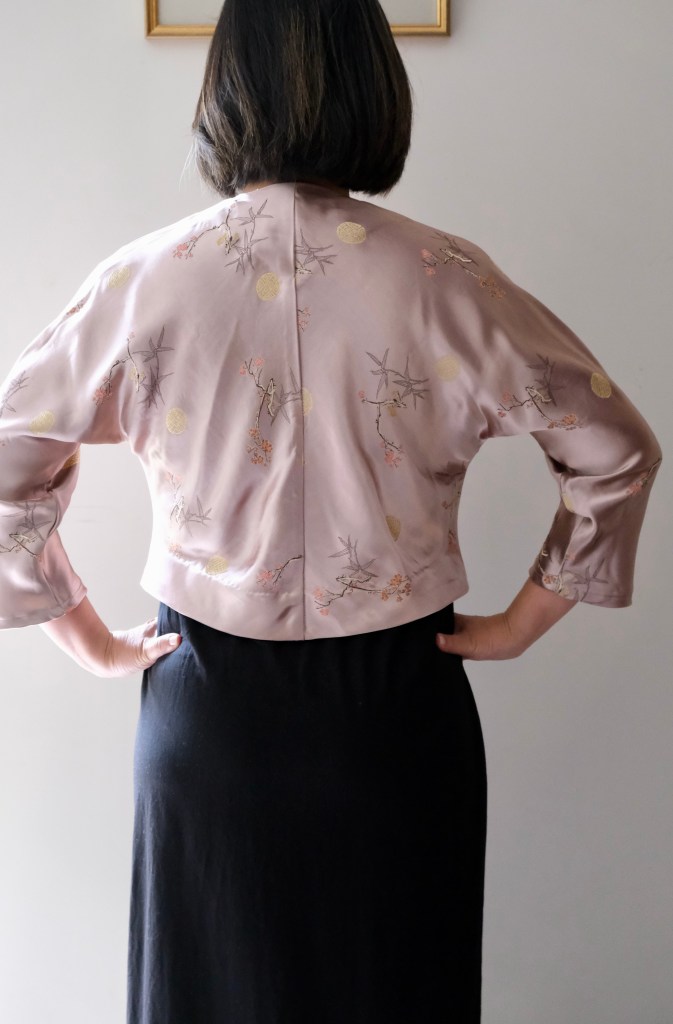
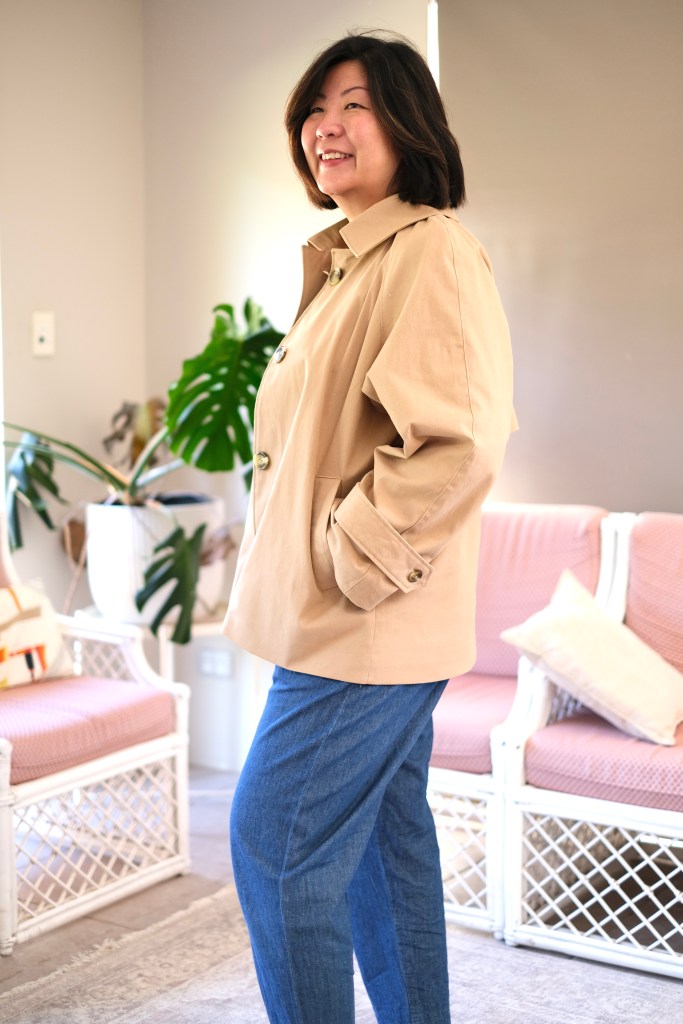
The shape of the coat reminds me of the Nova Coat. It has the same sleeve profile which is so comfortable to wear. I made the size 4 because my sizing fell between the size 4 and 5. My measurements are 38-inch bust, 33-inch waist and 40-inch hip. I just remembered sizing down with the Nova Coat about 2 sizes, but I wouldn’t do that with the Eliza Coat. I think this feels very comfortable for me. I’ve styled it with a jumper for my photos just to test what the bulk would feel like, and I still have the degree of movement needed to be functional.
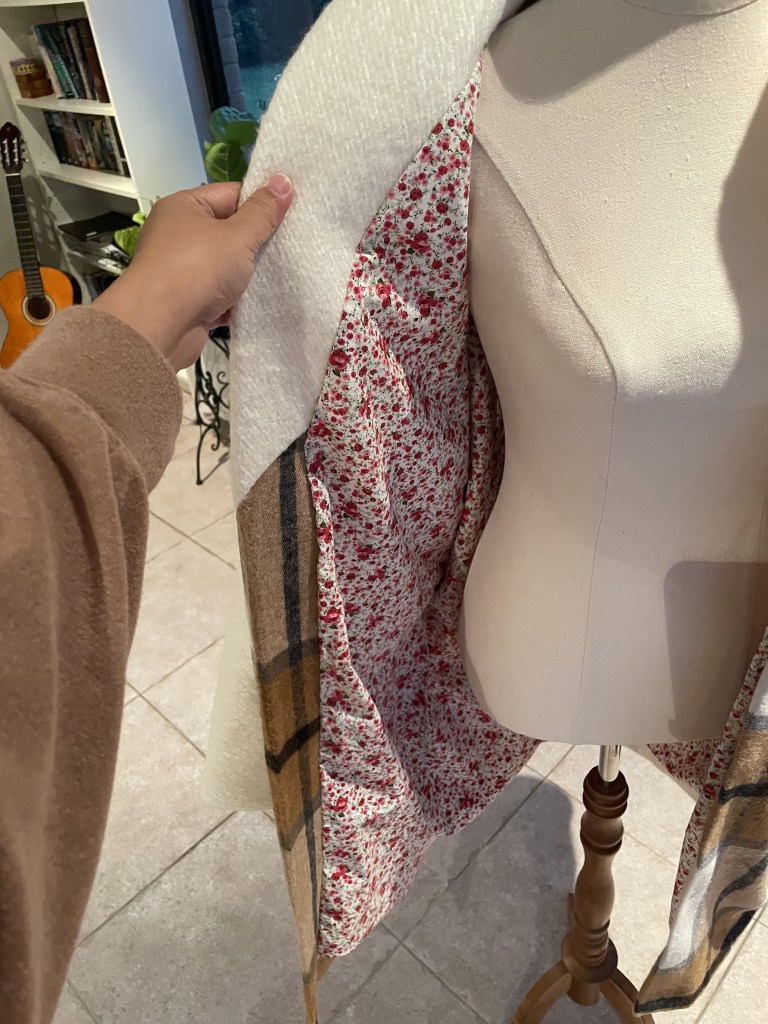
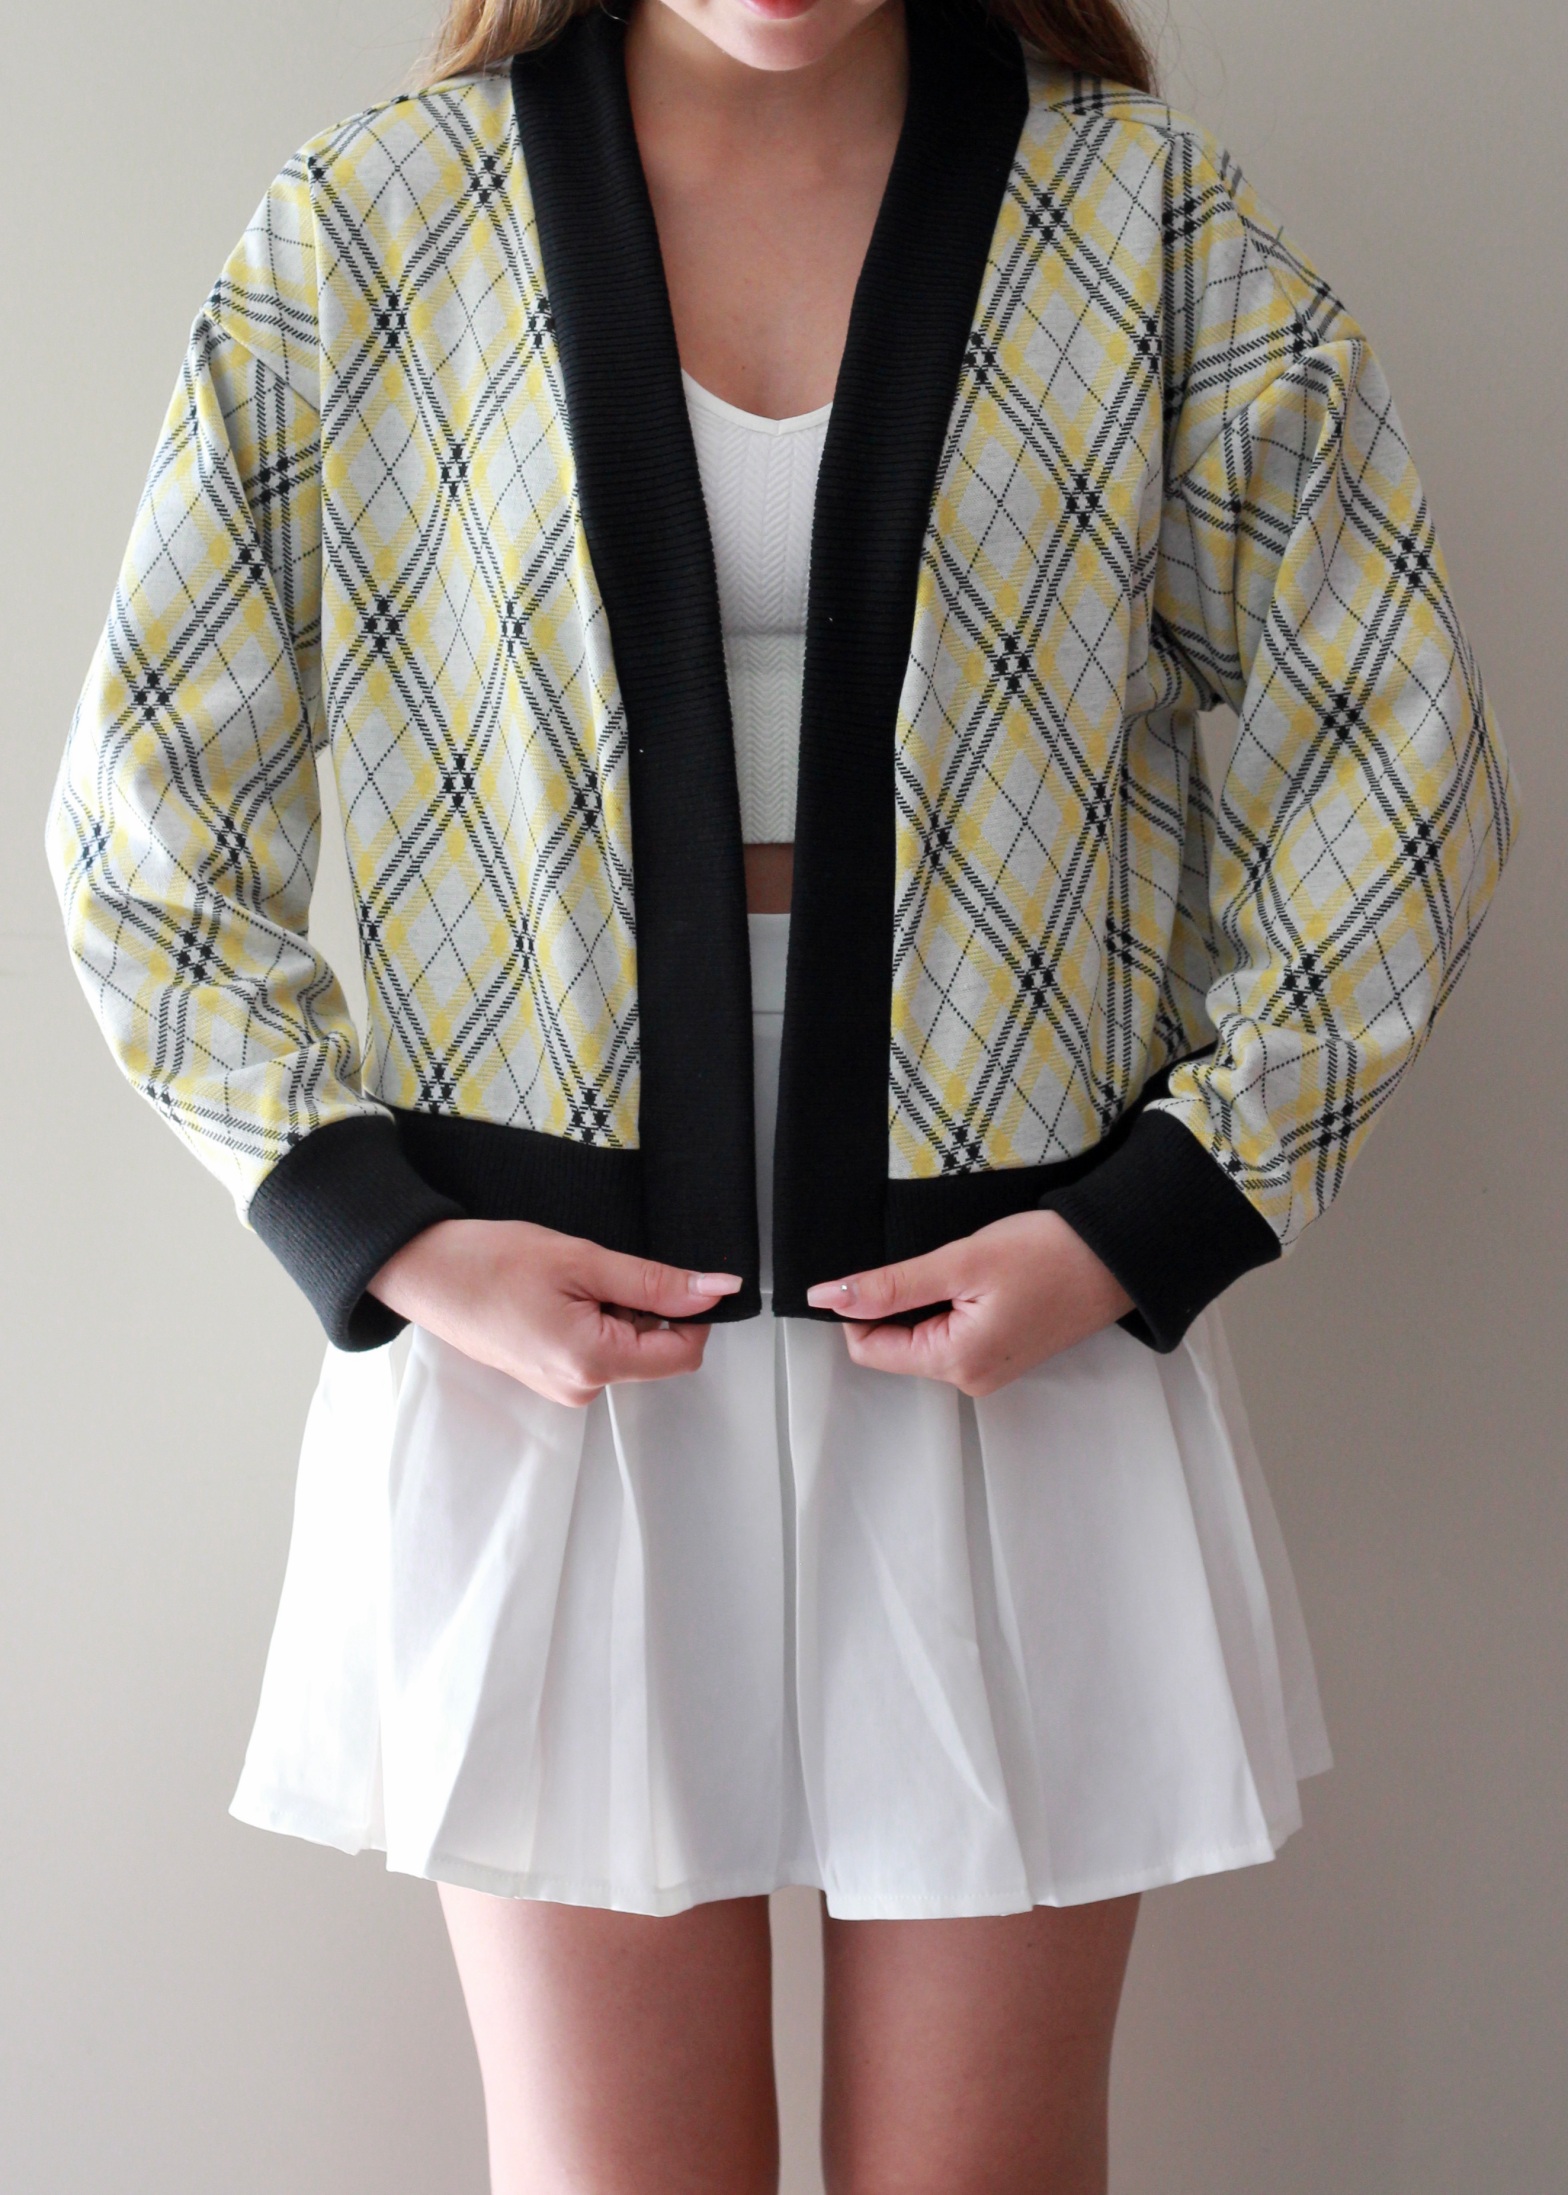
Fabric choice was easy! I was going for the classic camel coloured trench coat with a lining inspired by a certain brand you think of when thinking trench coats. Hint, it starts with B and ends with berry. The outer fabric is a beautiful soft drill that I found at Spotlight Stores. It has the slightest stretch to it but not too much. It hasn’t got the usual coarse feel of a drill so I’m so happy with it. I’ve lost my receipt so I can’t put the exact description here. The lining is a classic tartan suiting fabric. I chose it for lining because it has enough drape to move well. I think the choice for lining really makes a difference to the feel of a coat. Something stiff in this would just feel restrictive and may even change the way the coat sits.

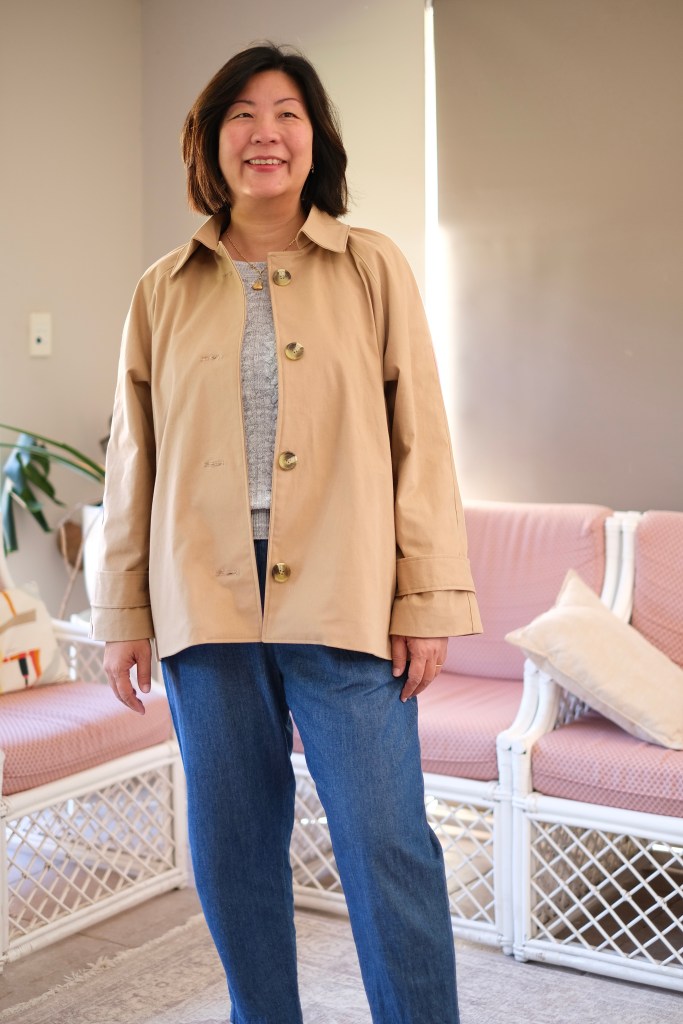
I’m so happy with the pattern. I think I made a mistake with the tuck in the lining going the wrong way at the bottom, but it was the only bit in the instruction I couldn’t figure out. The rest of the instructions were superb. To clarify, I’m self-taught and there were no sew-along videos for this coat so I’m so proud and happy to have made this with only the instructions in front of me (they really were excellent). Very excited to add this to my handmade wardrobe!
Thanks for reading and happy sewing!
X Em