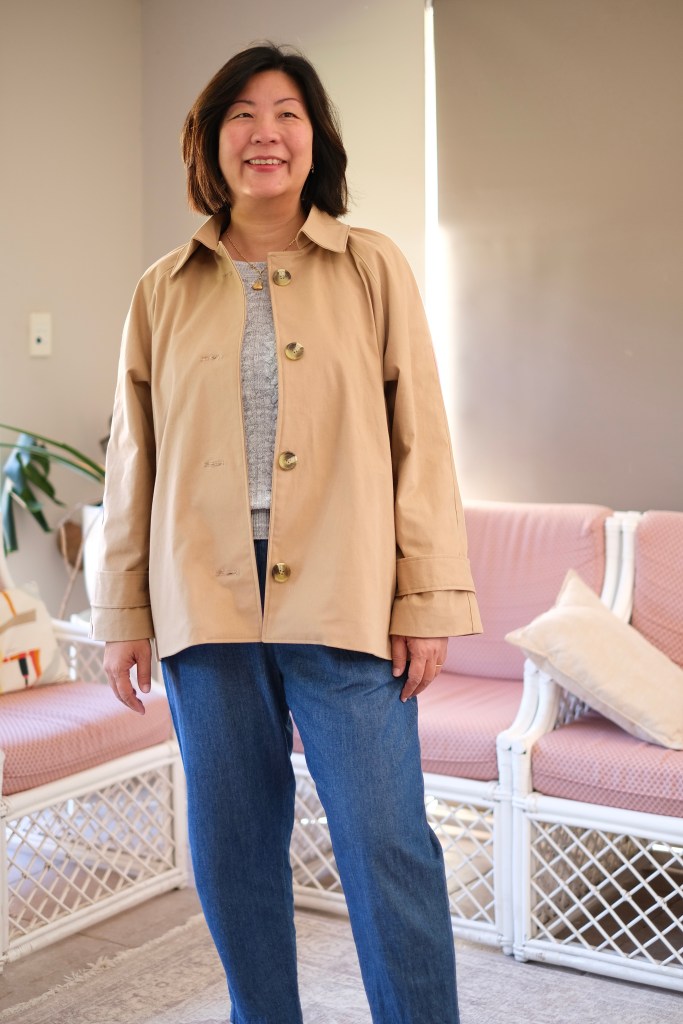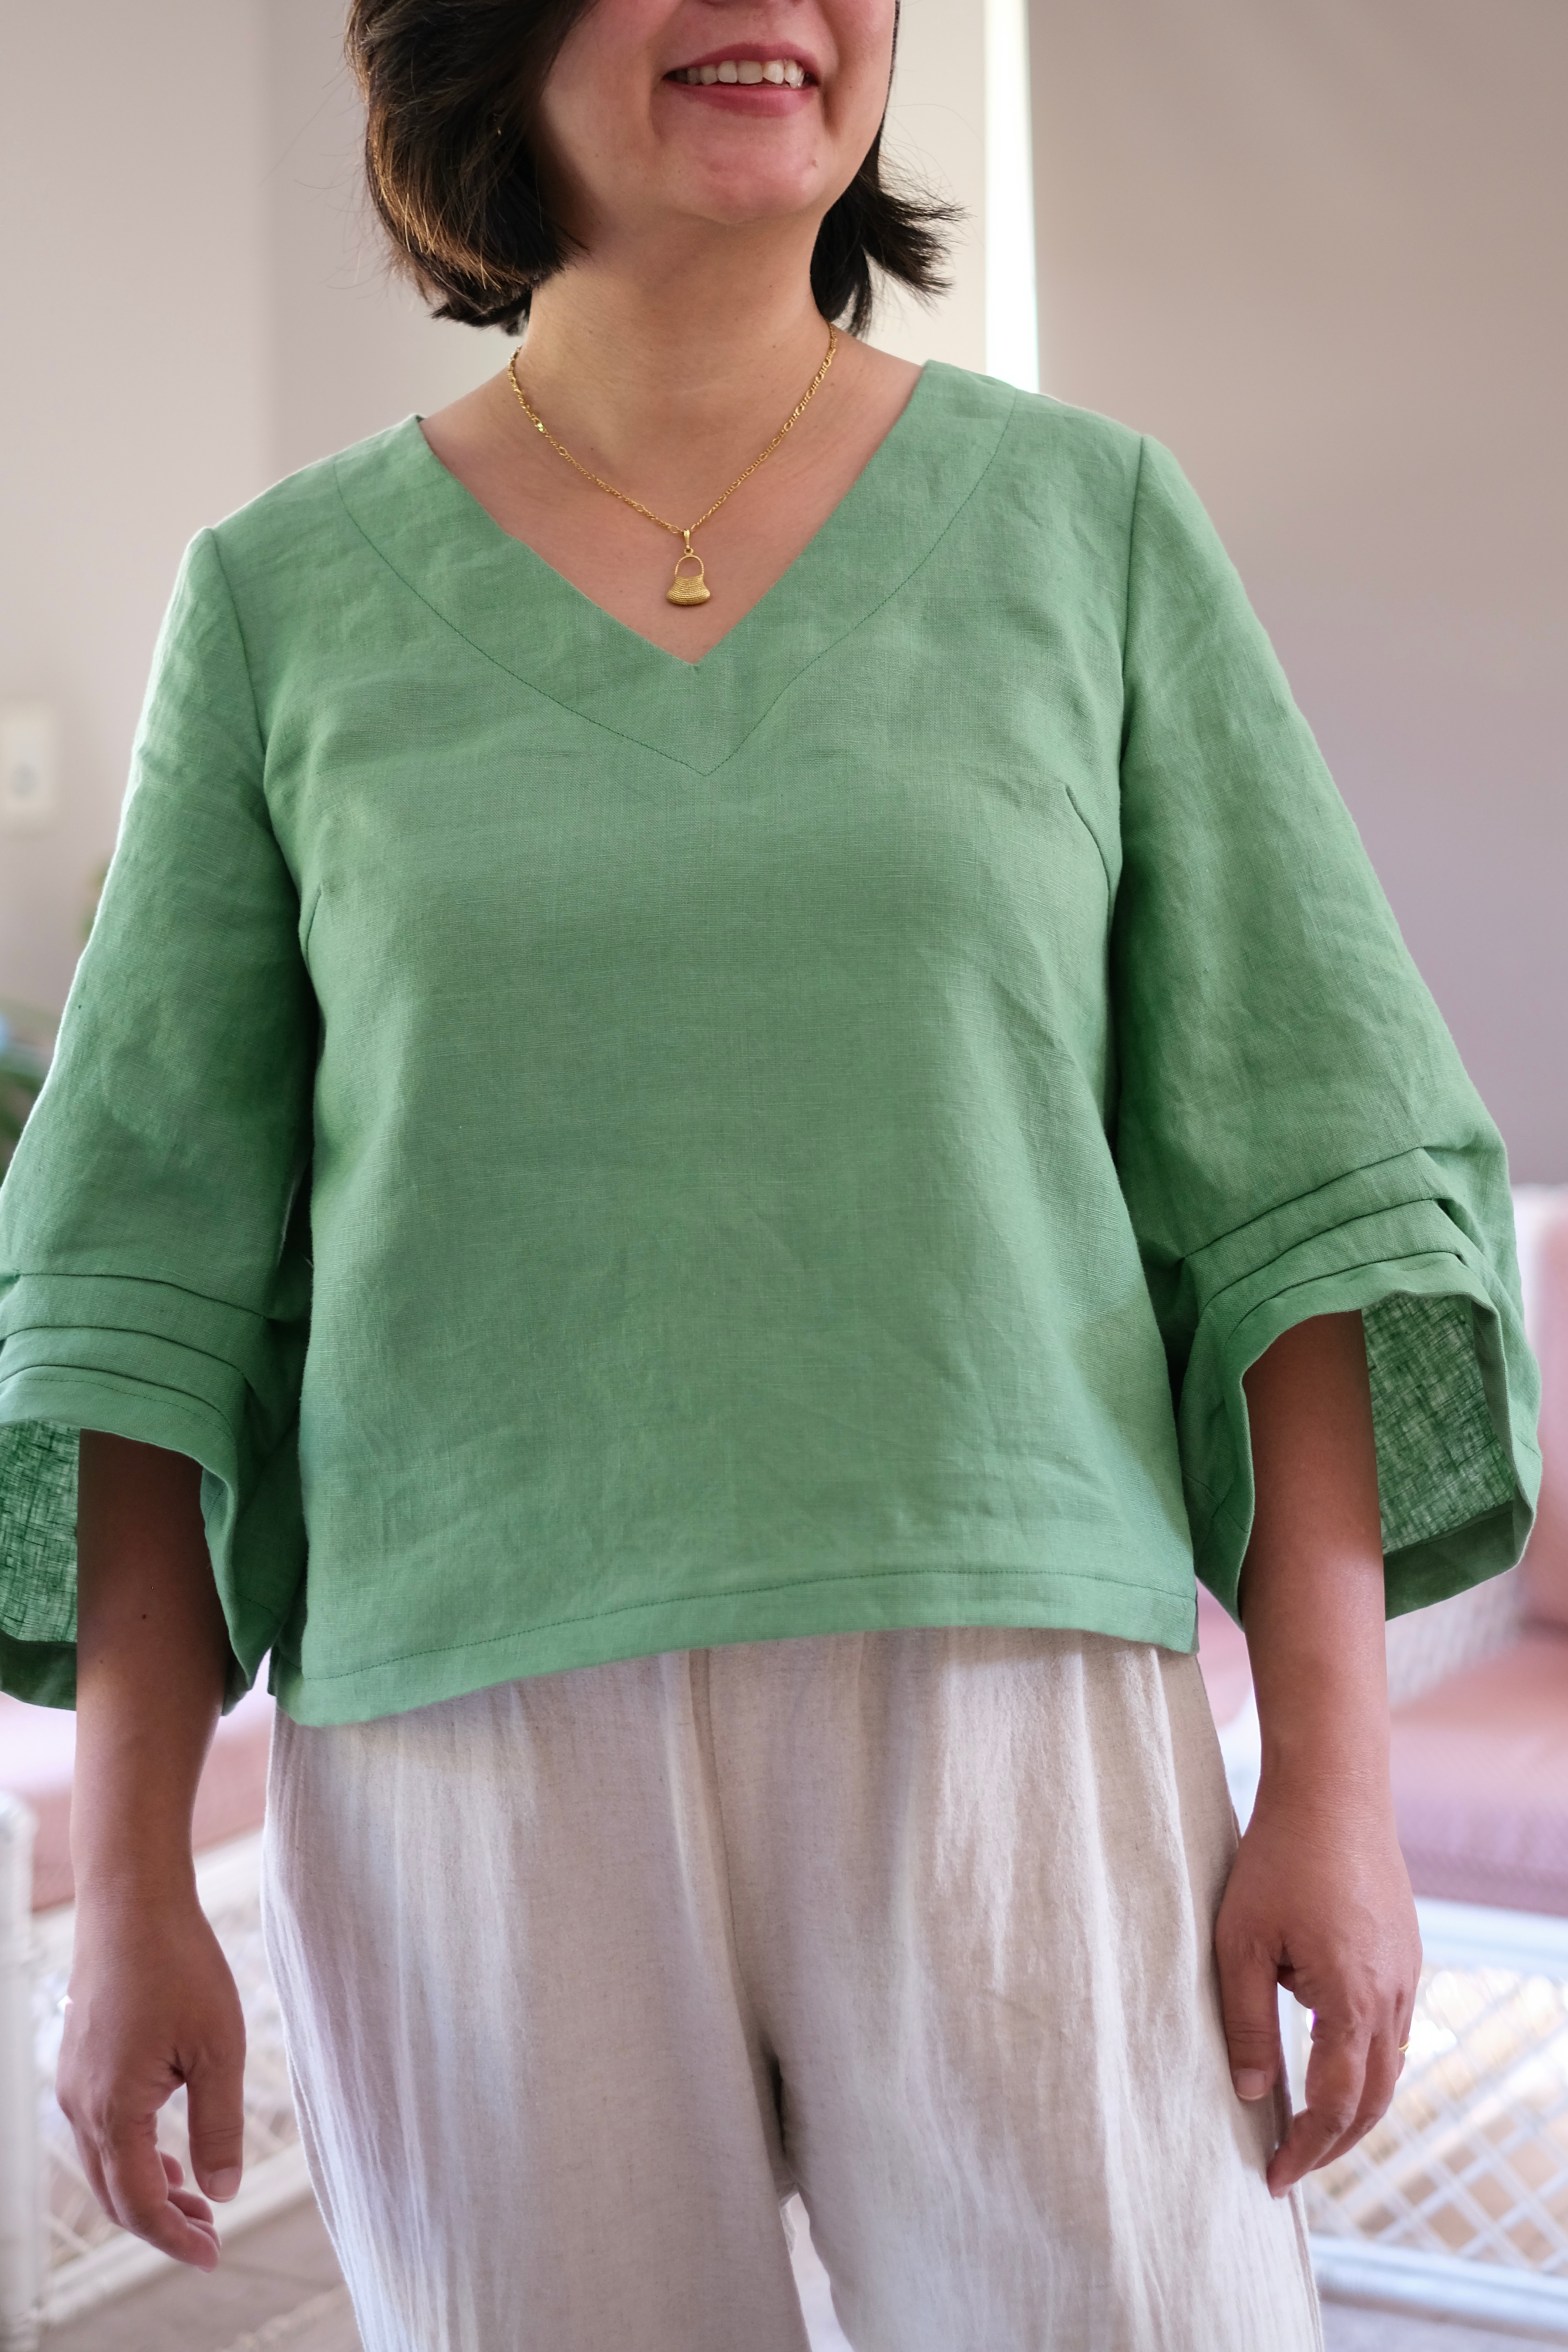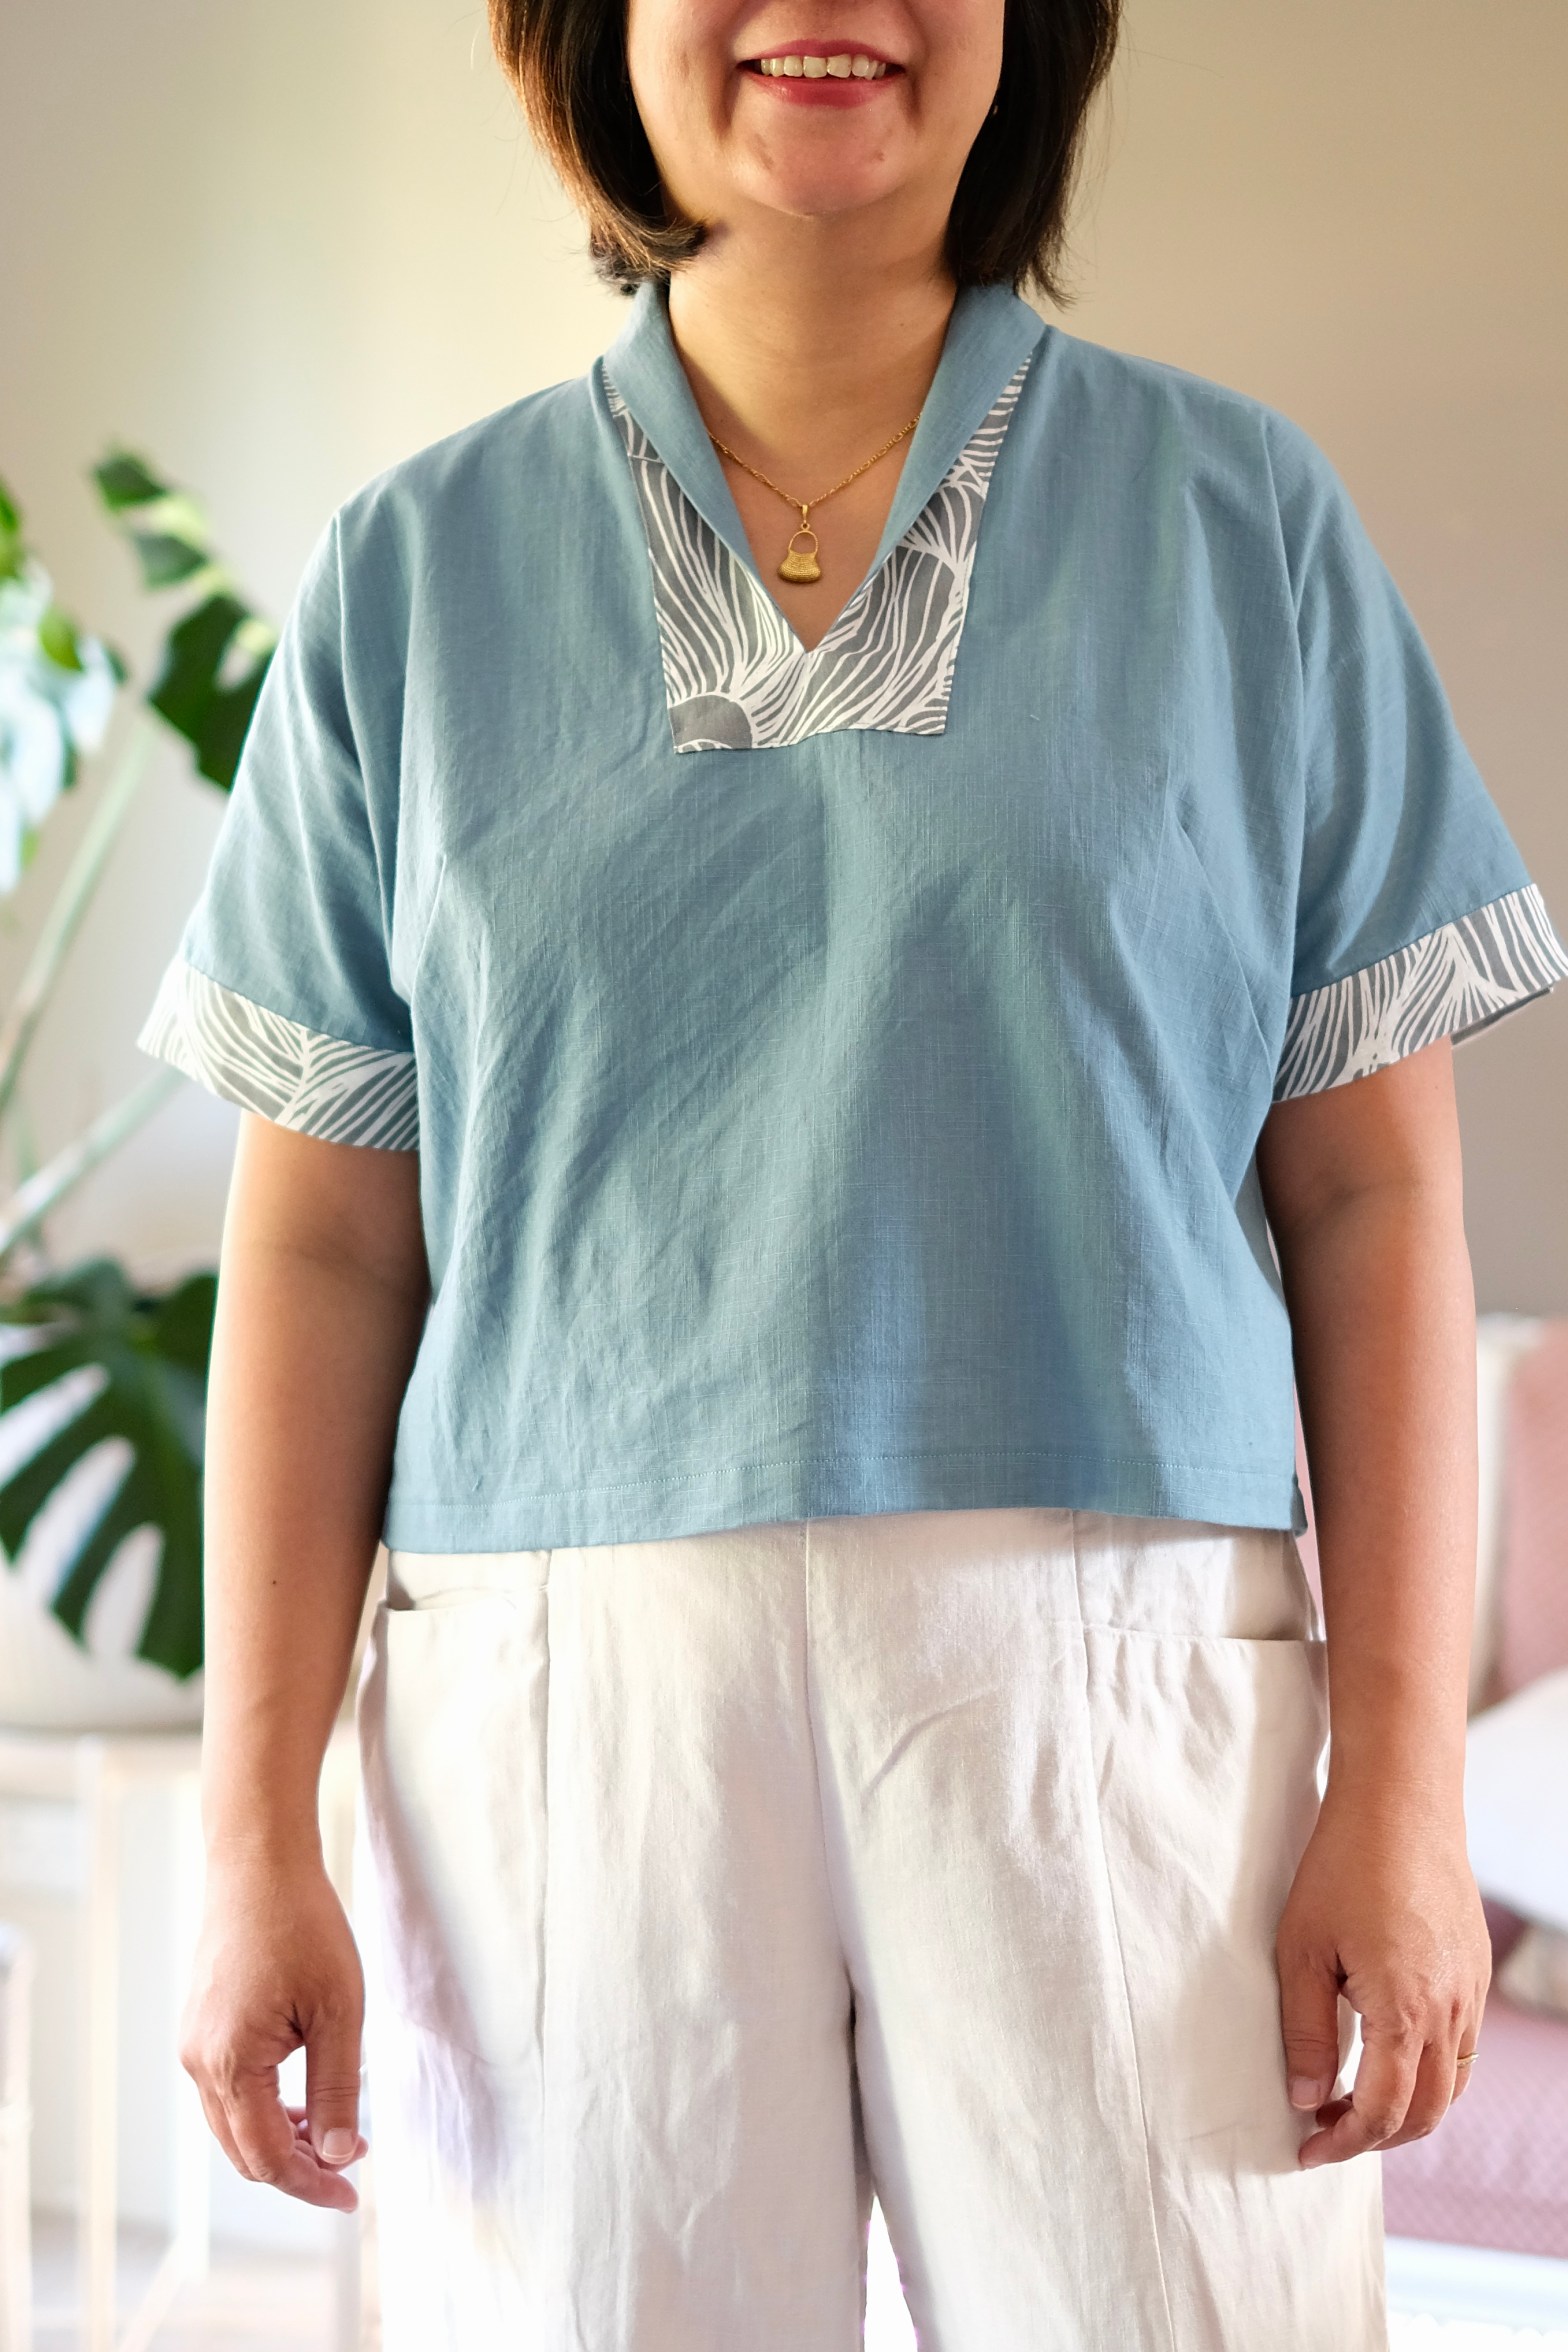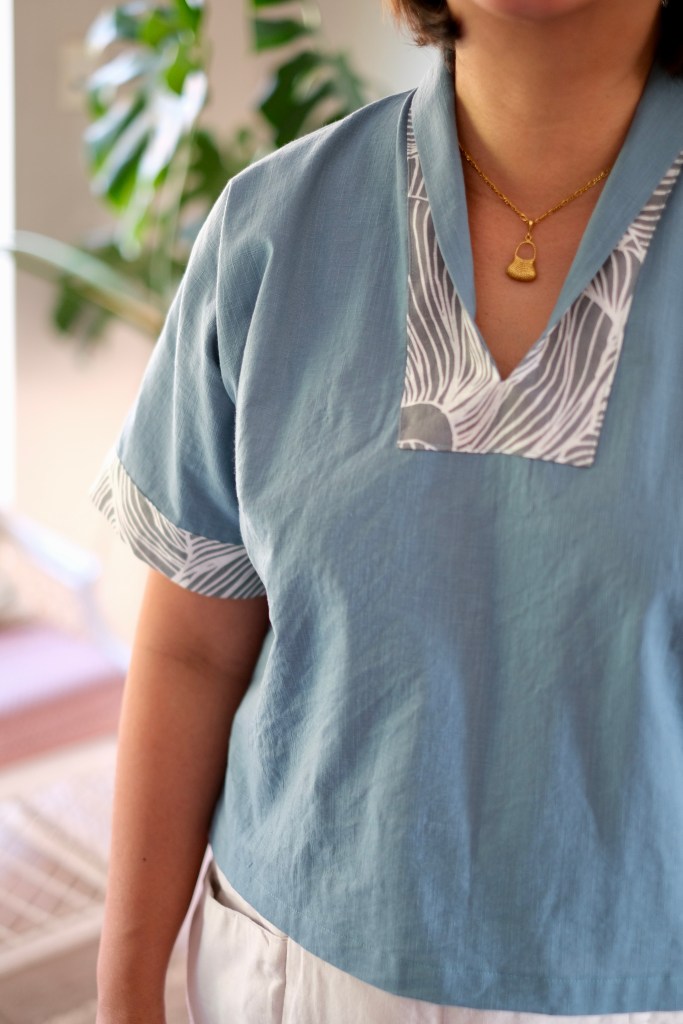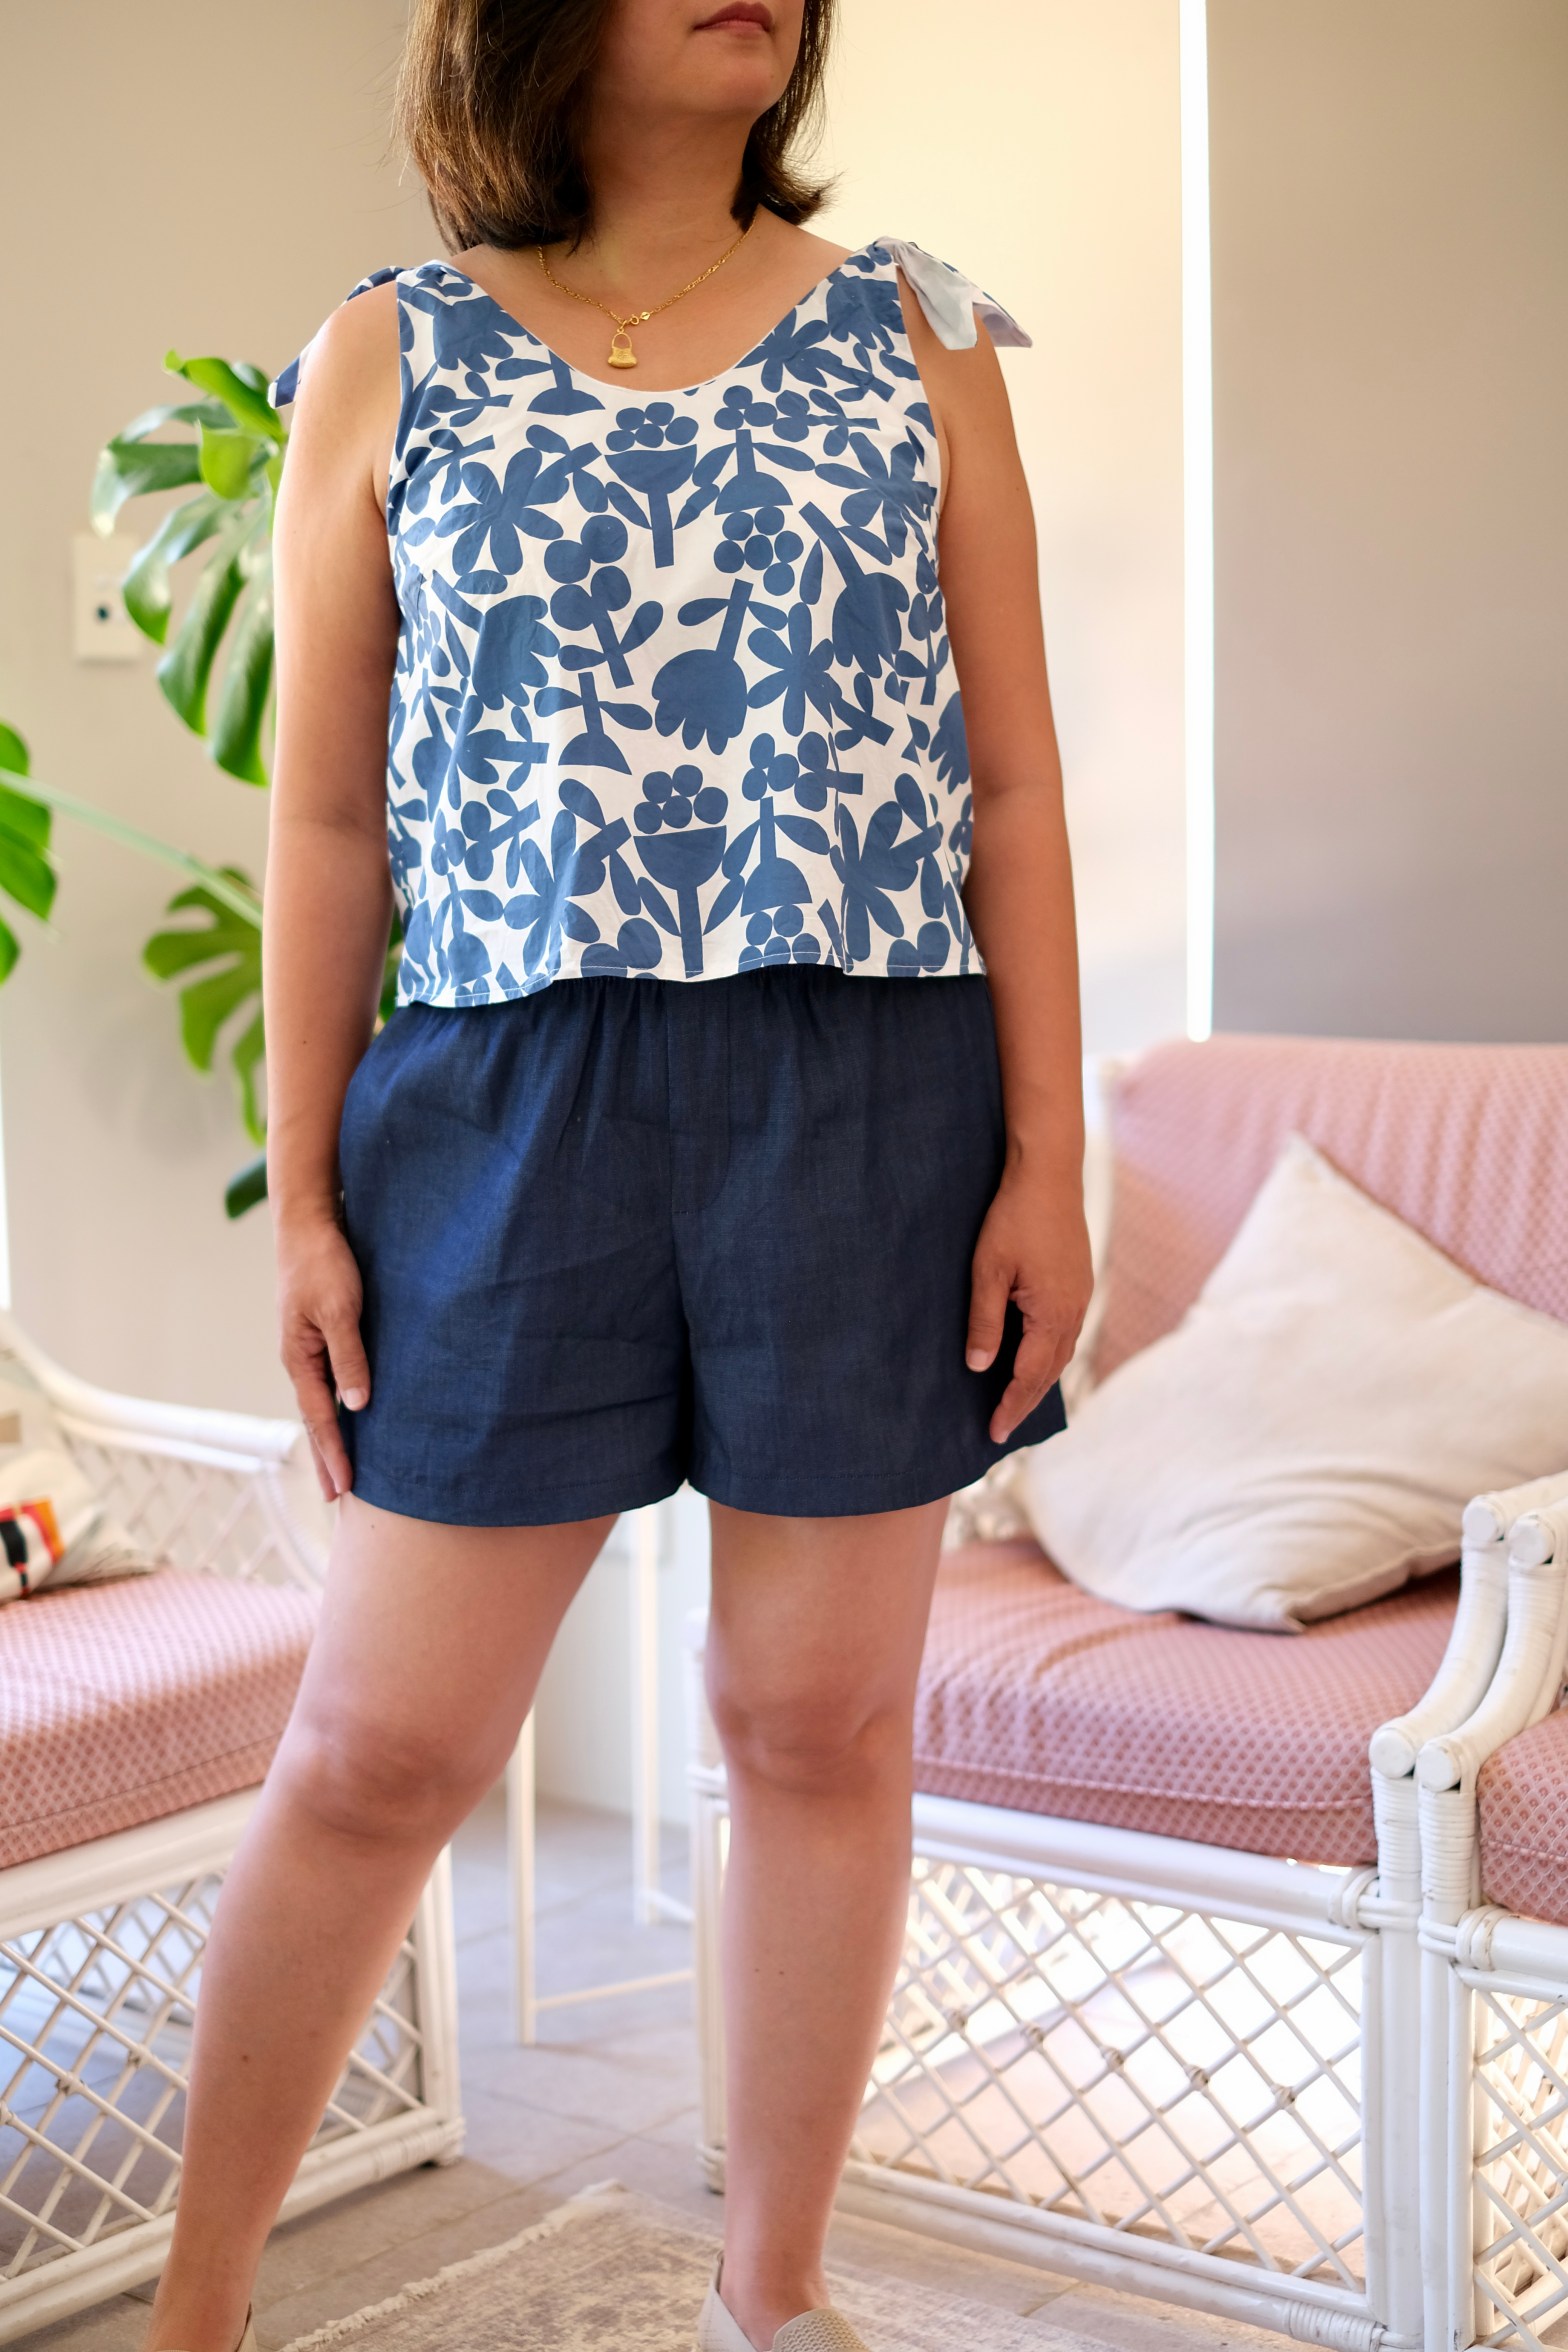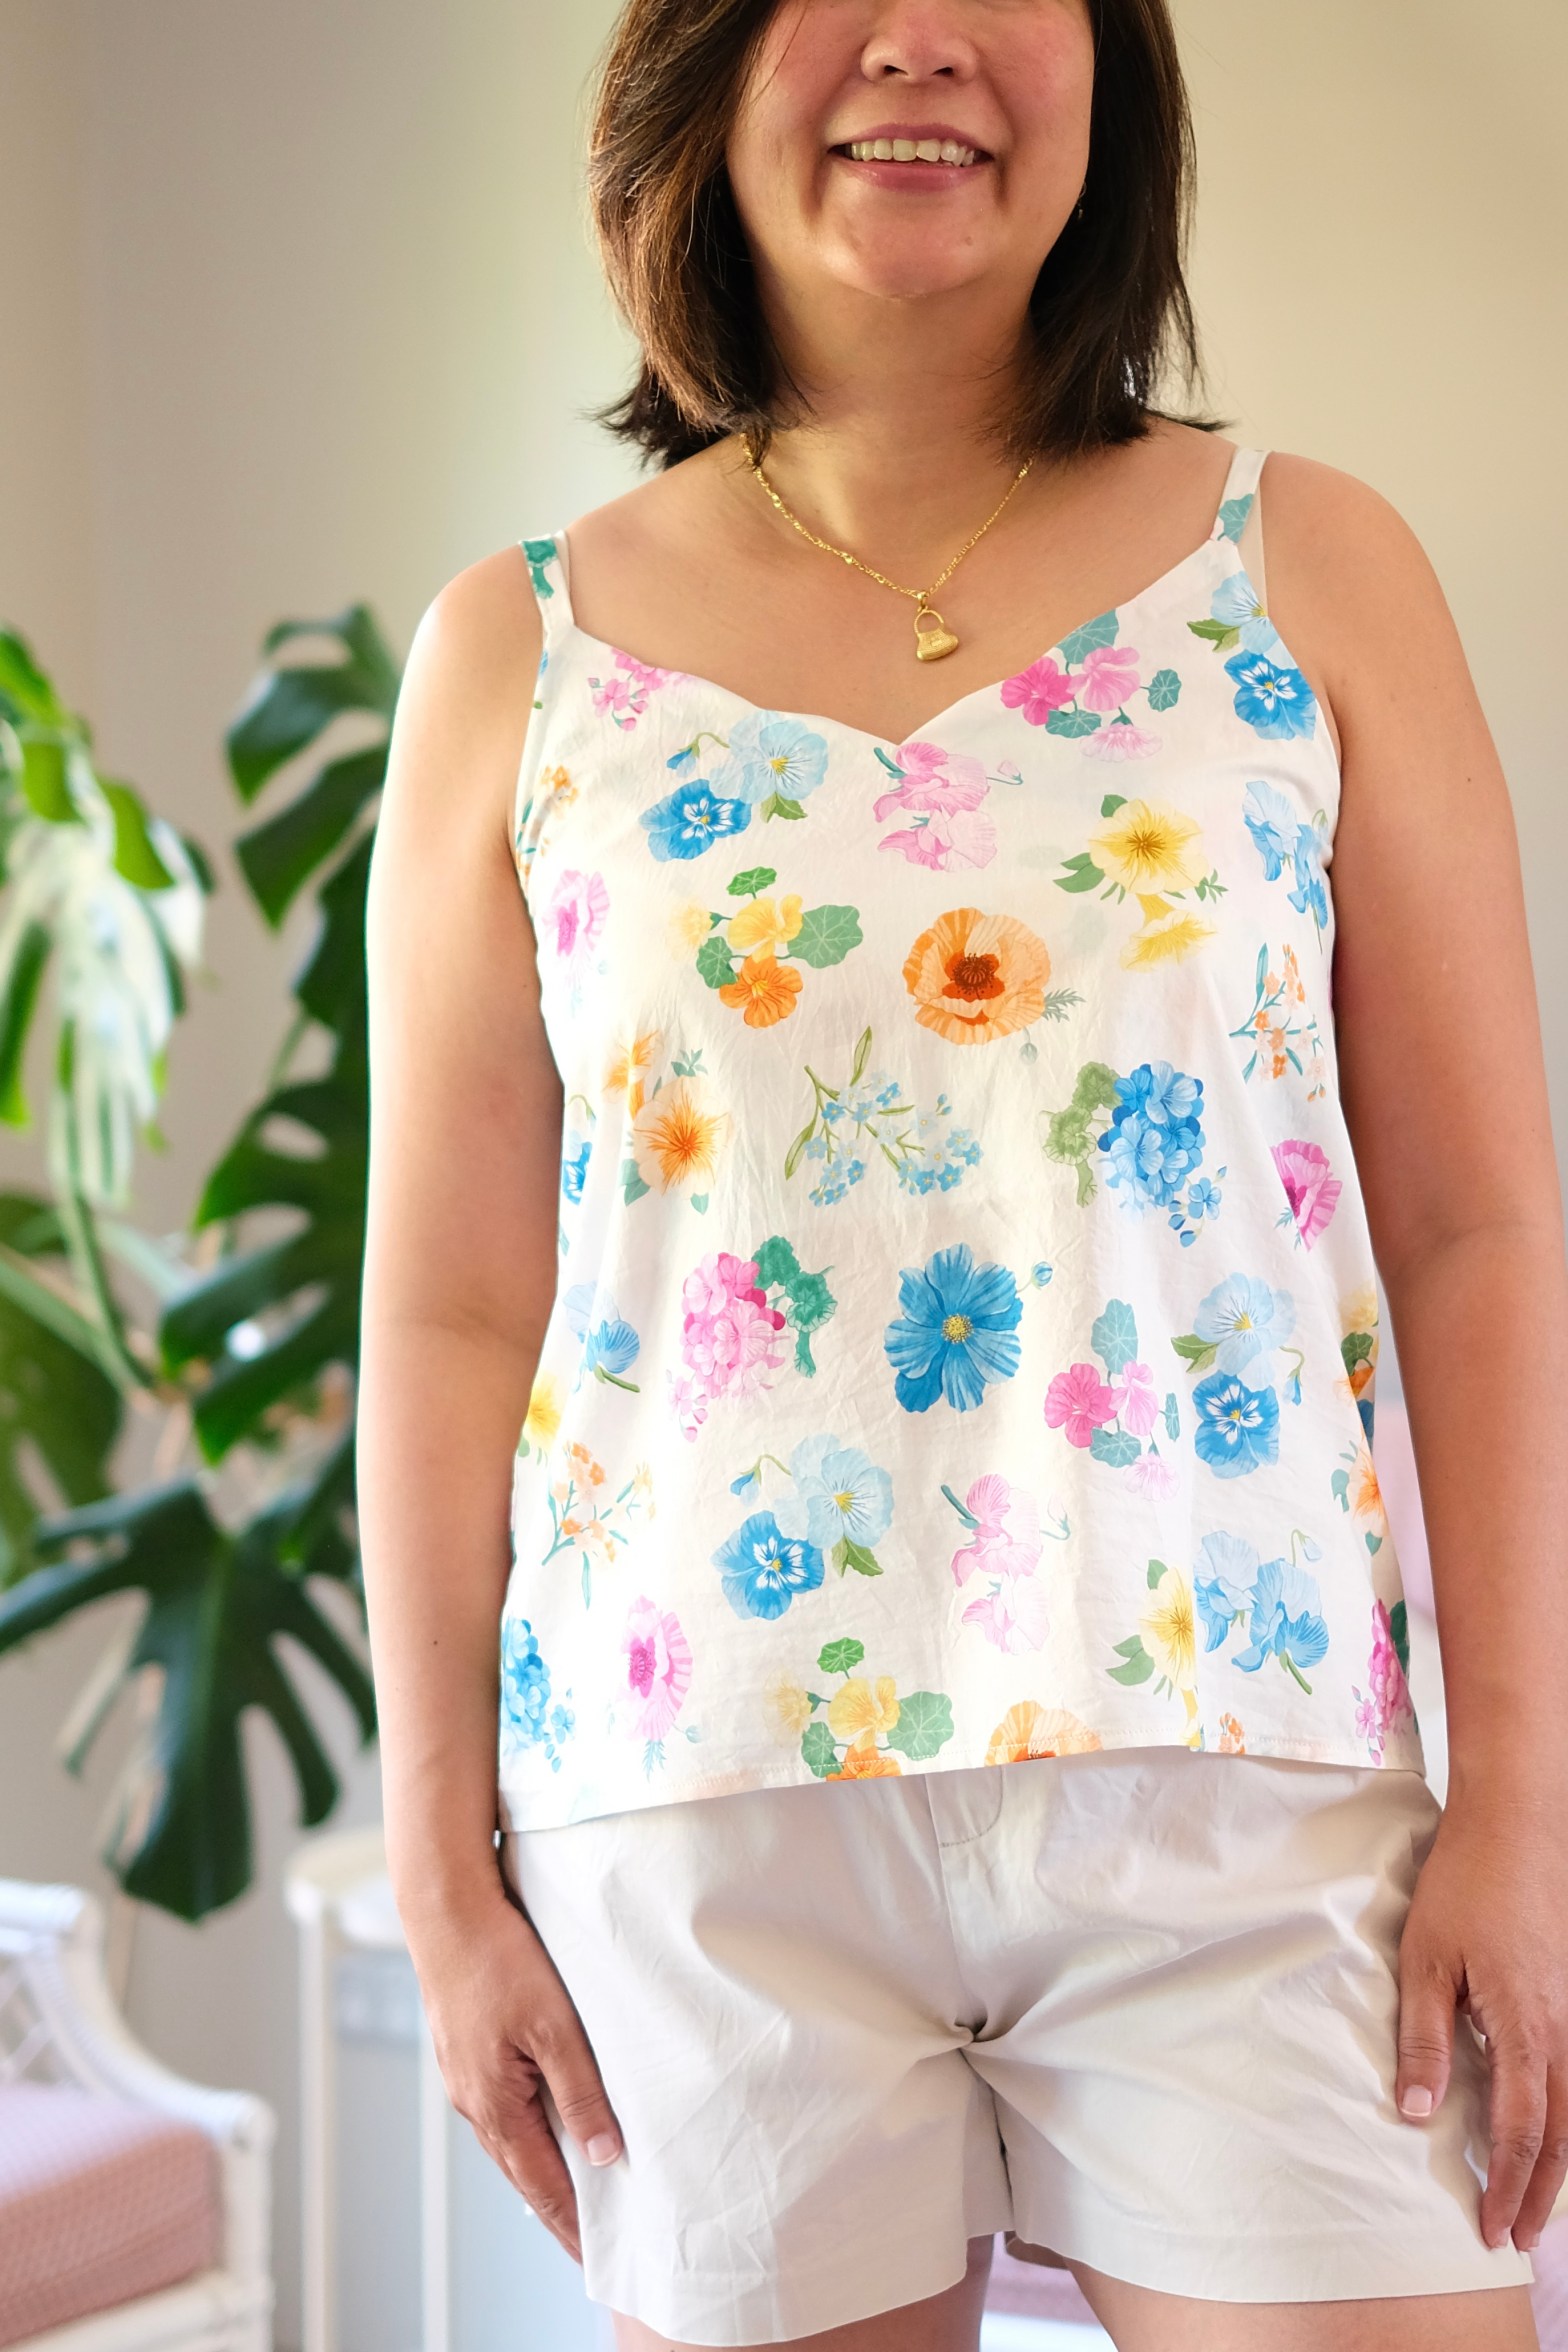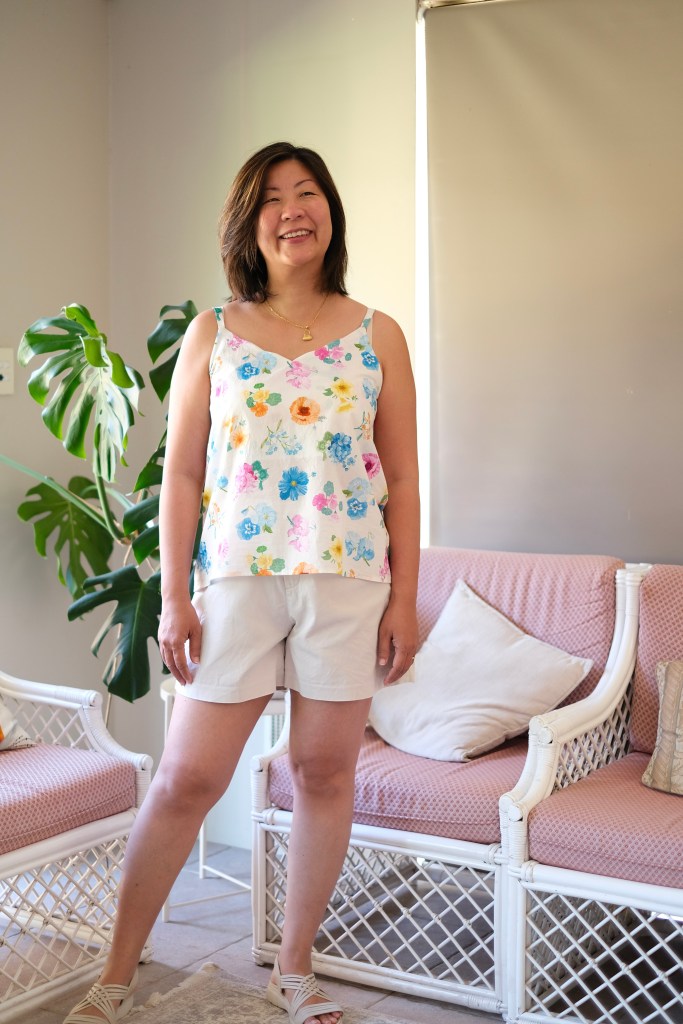
Thinking back to why I initially joined Instagram, it was because I didn’t really have any friends around me who sewed and I wanted to be able to find new patterns to sew. This was the perfect example. I kept admiring these items sewn by @this_is_sew_ana and went to check out Matchy Matchy Sewing Club. I really love their designs, and I found myself putting a few of those patterns in the shopping basket including their free patterns. I wanted to start with the skipper top for some “no pressure” sewing. It’s a relaxed fitting boxy top with slightly capped sleeves. This was also a good way for me to test my fit.
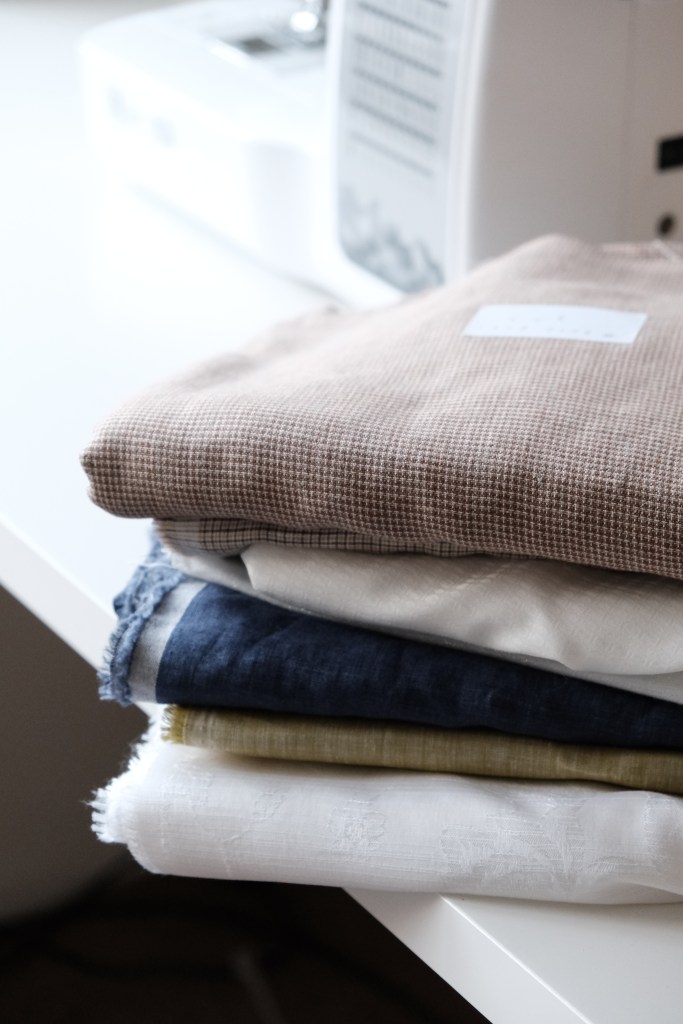
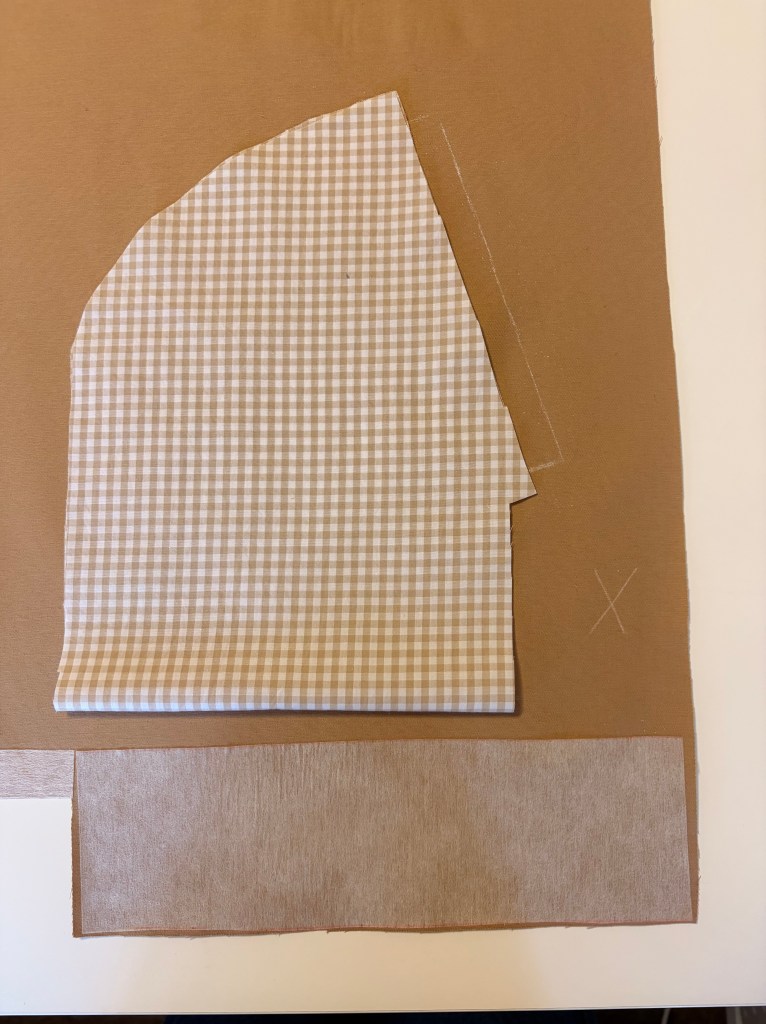
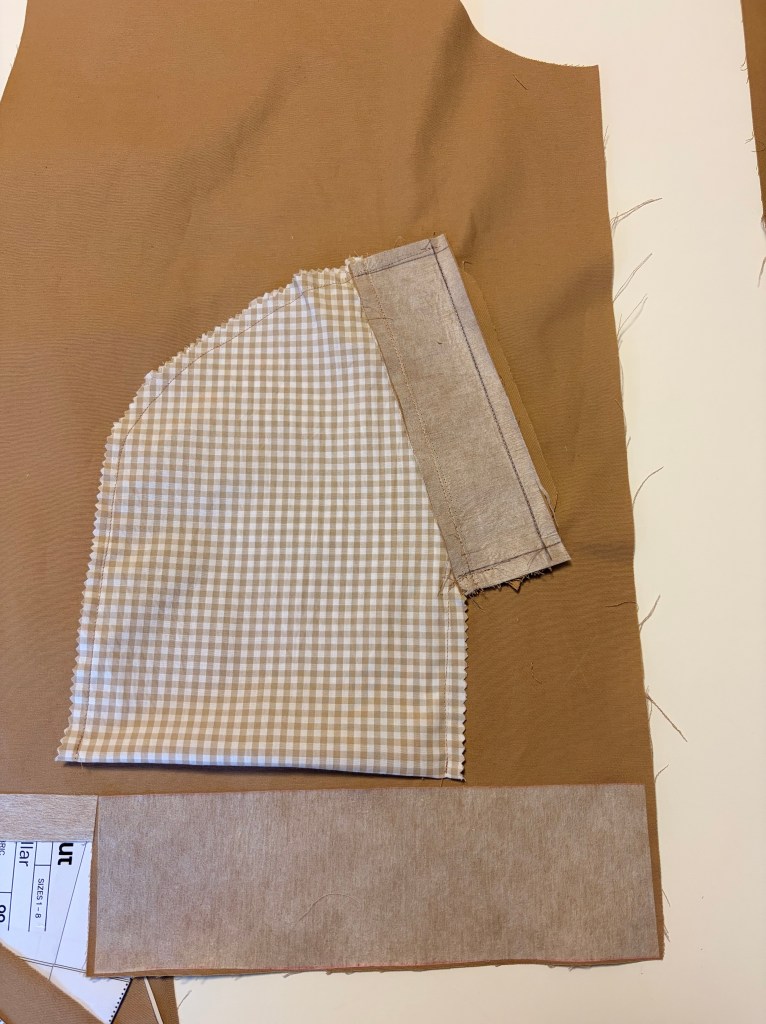
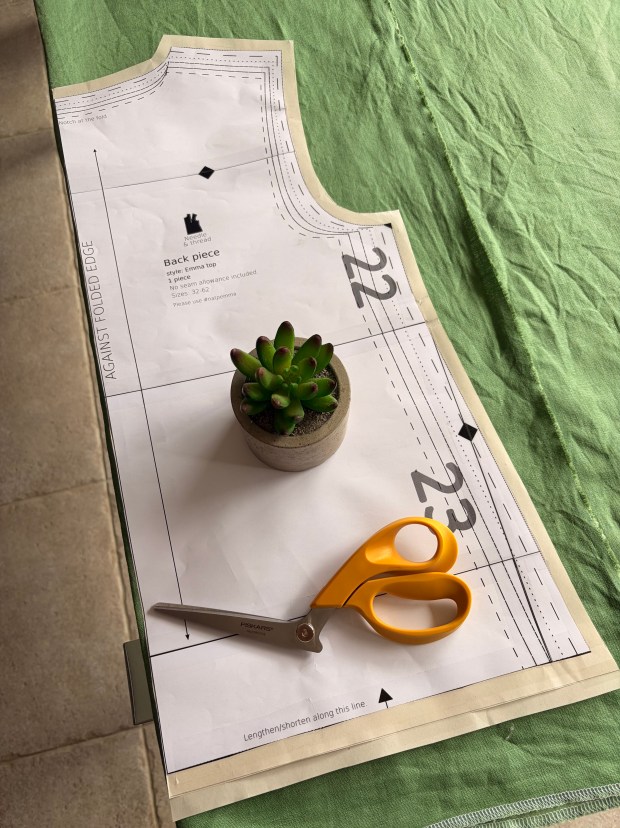
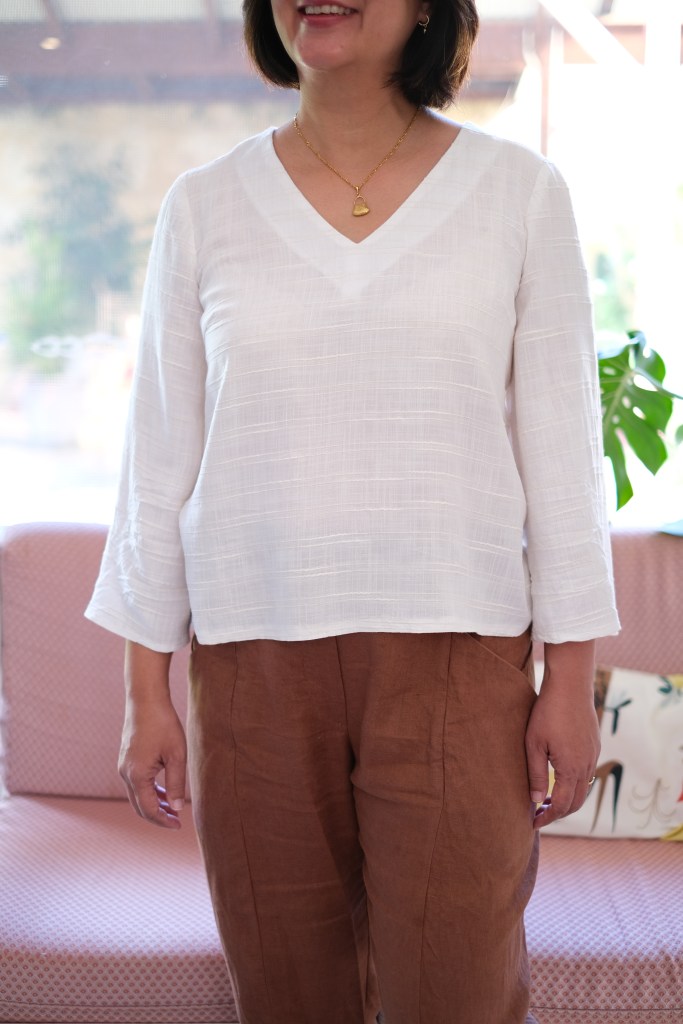
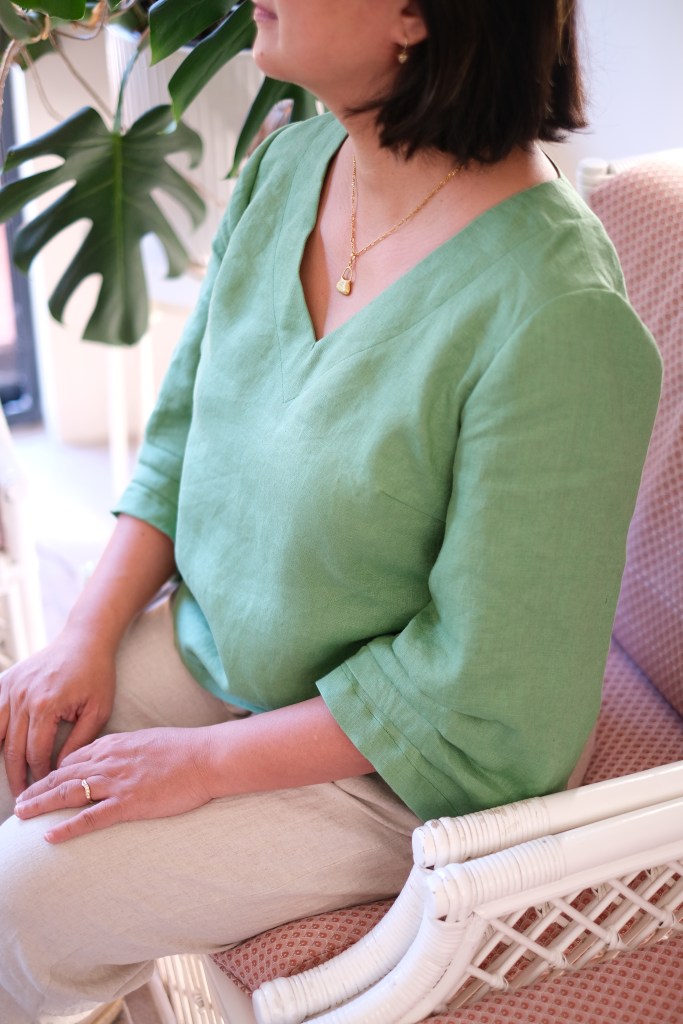
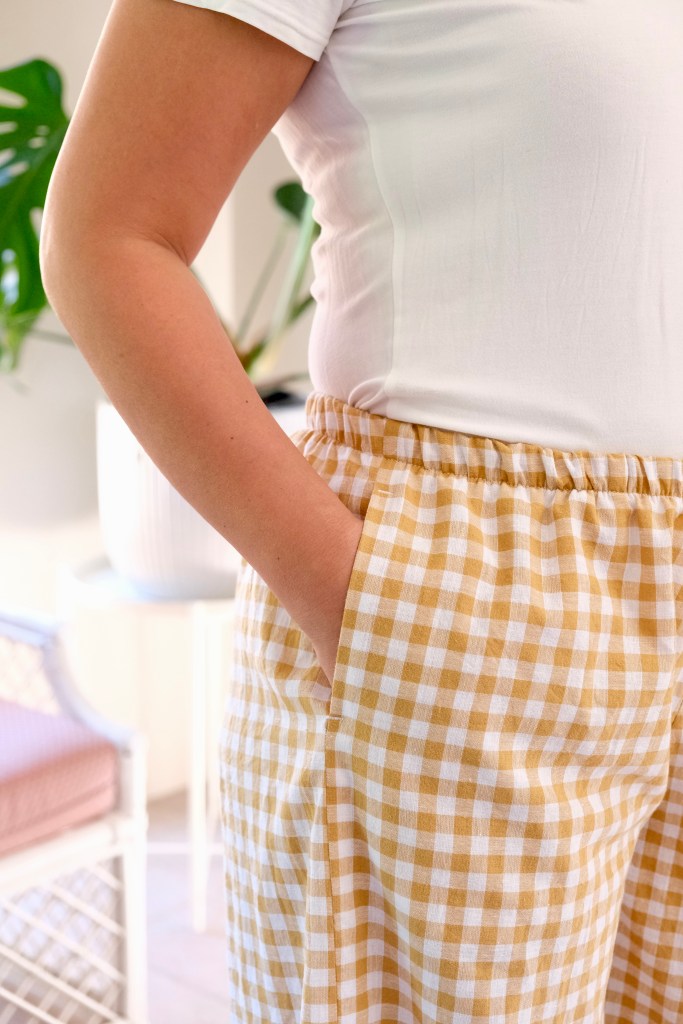
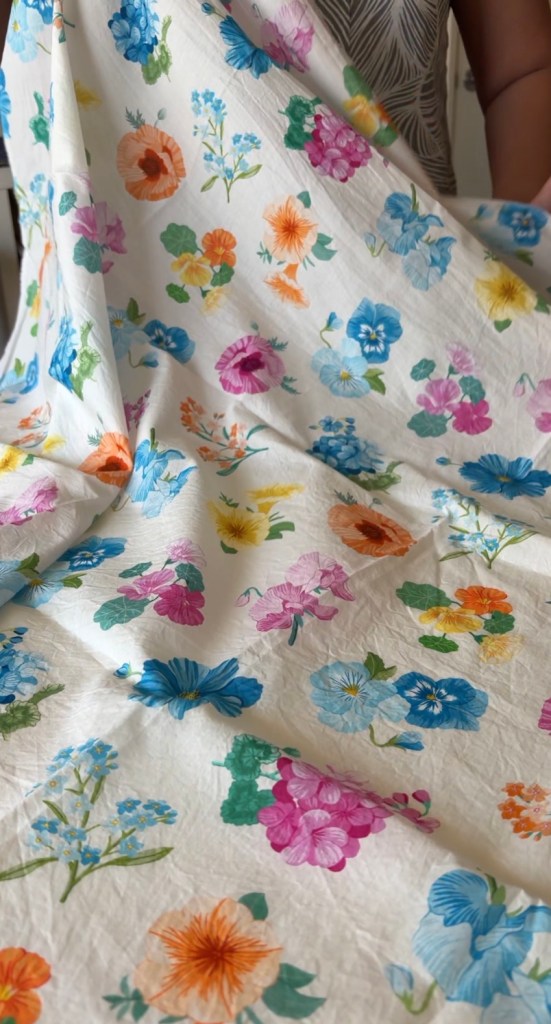
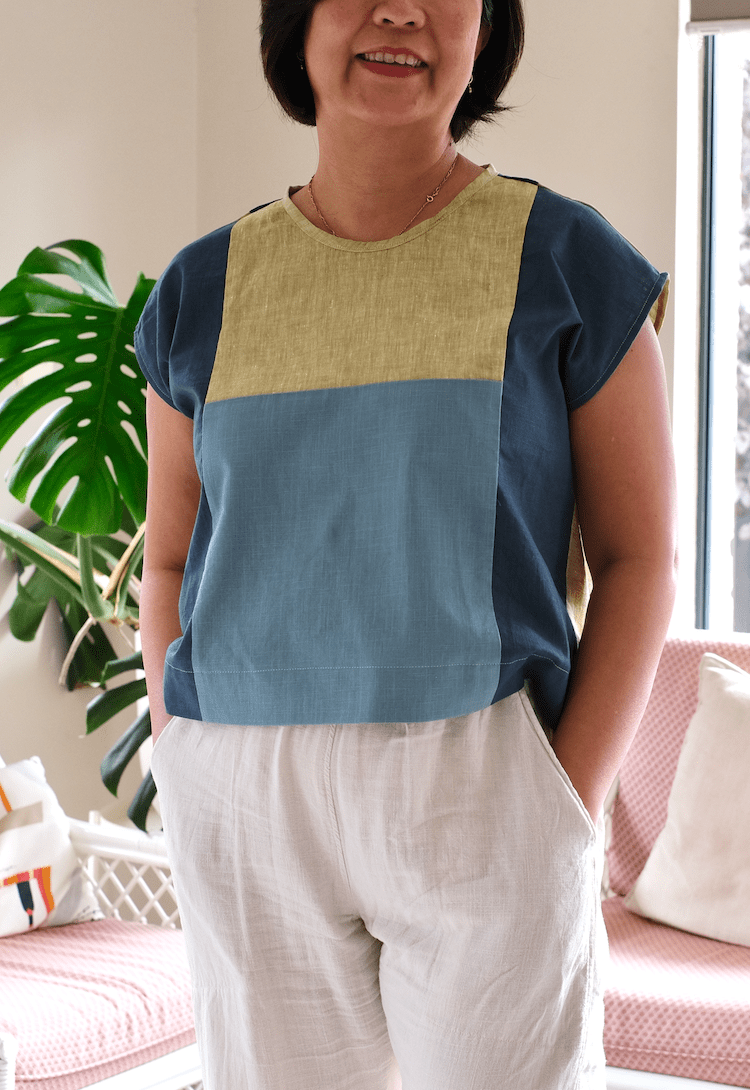
So, the reason why I say that this pattern was a “no pressure” sew is because I was using up my remnants (especially the awkward pieces that would not be able to make a whole item). I managed to find three linen pieces within the same colour family. The pattern came with a handy planner so that it’s easy to make a collage of the fabric pieces.
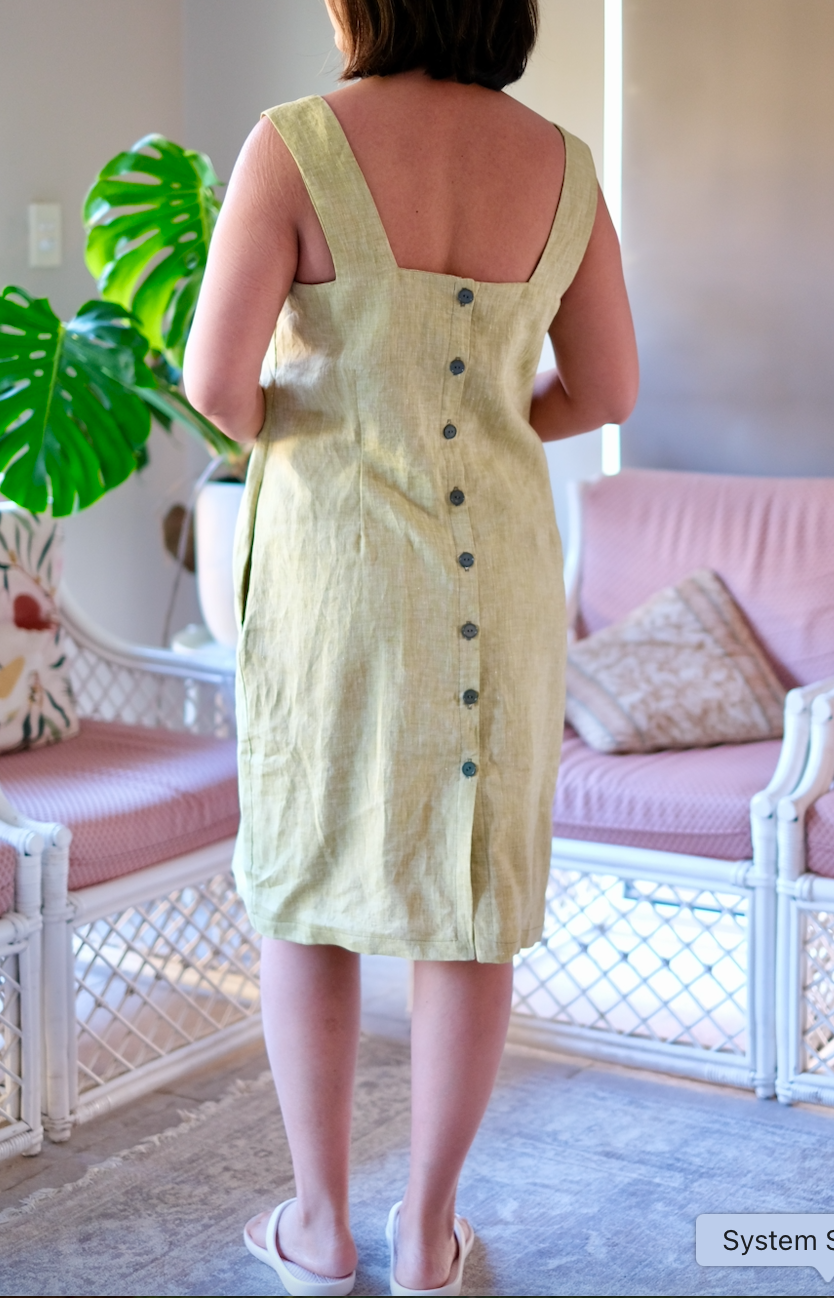
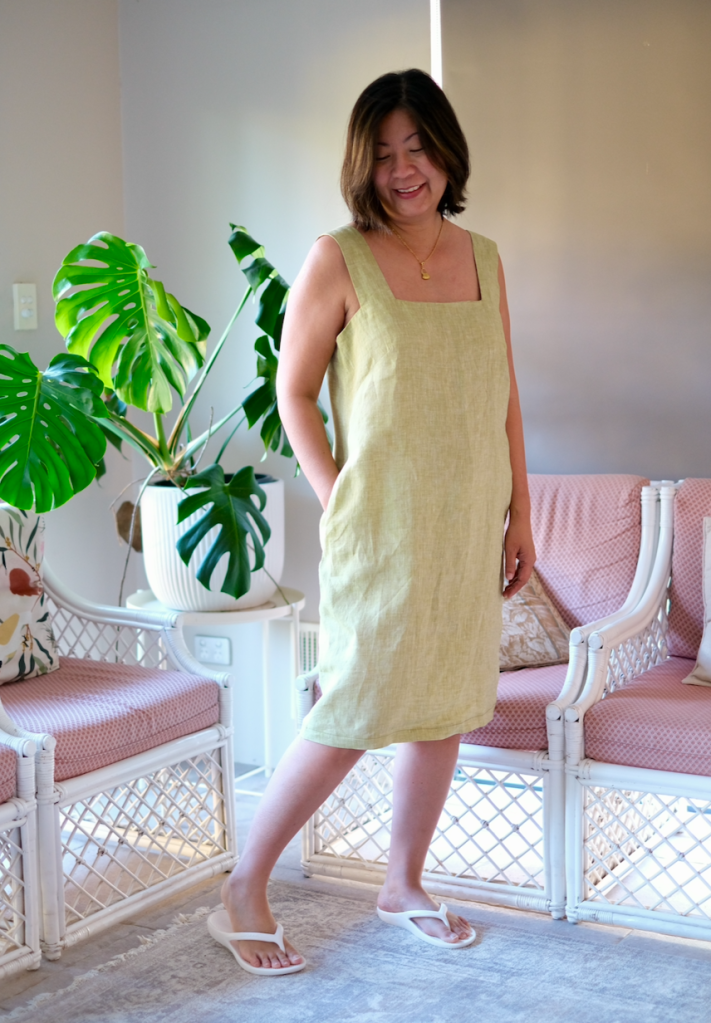
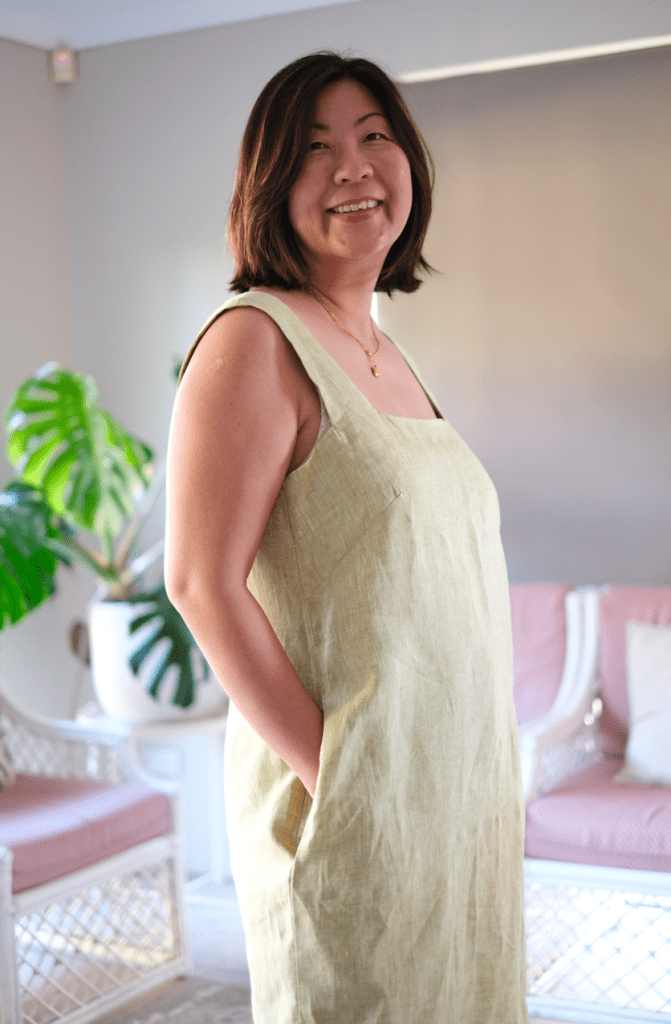
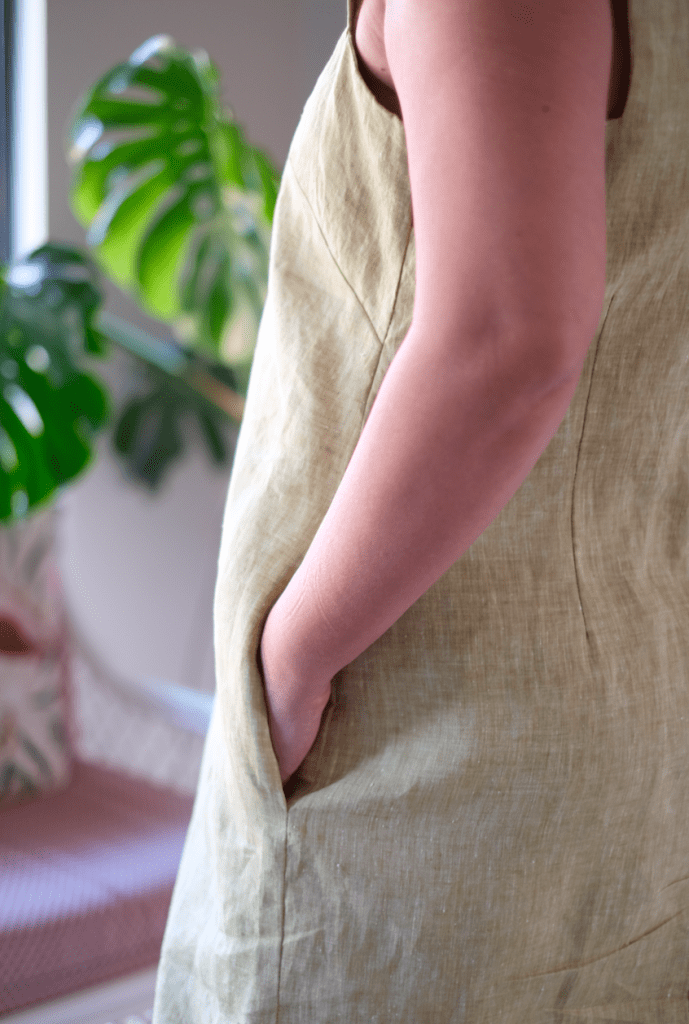
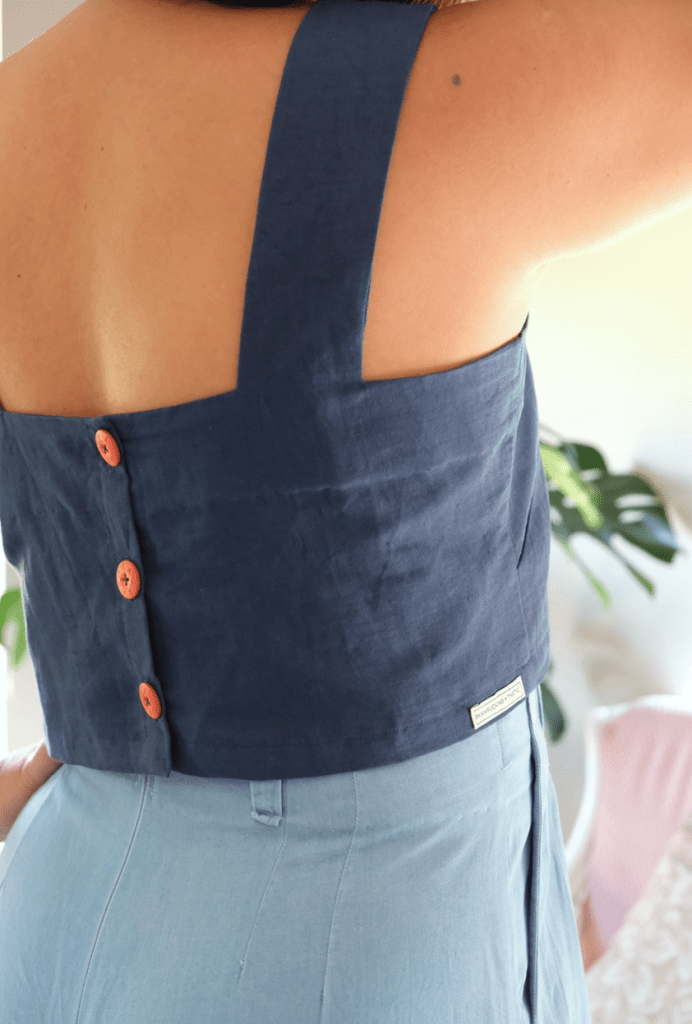
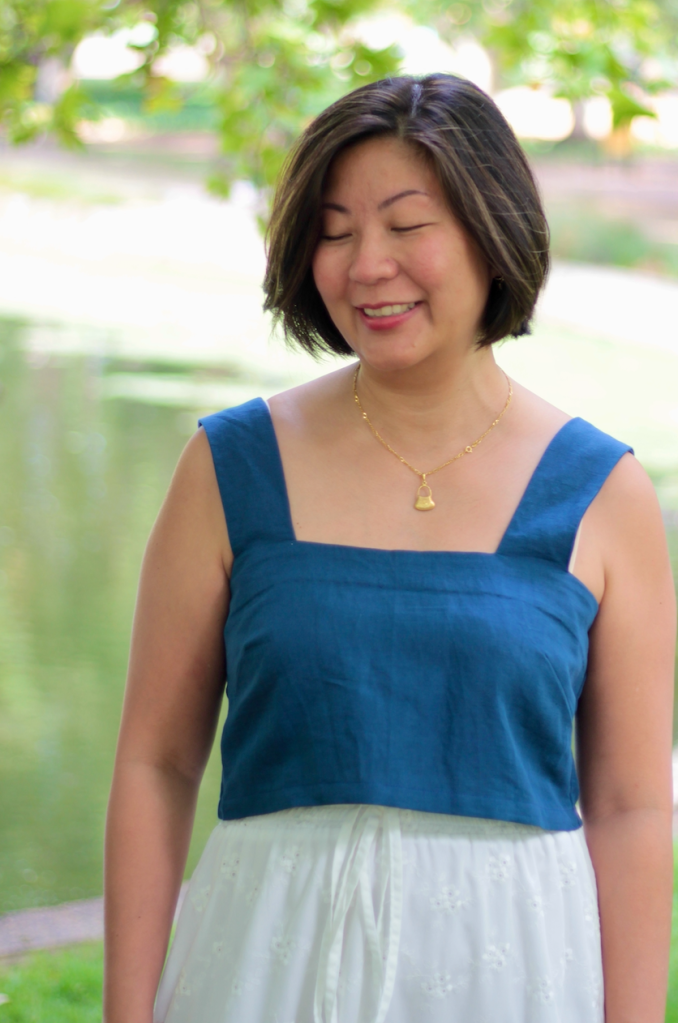
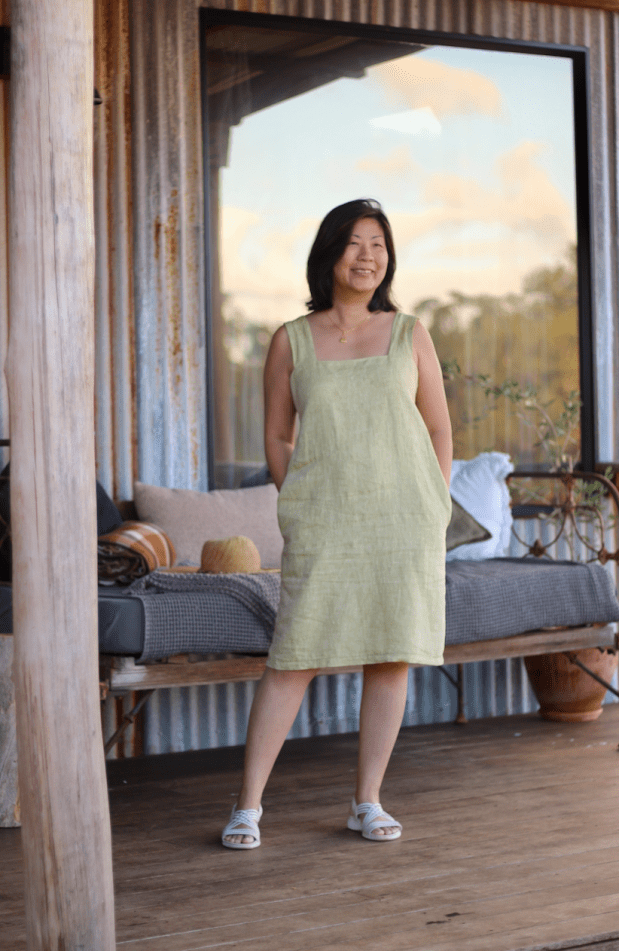
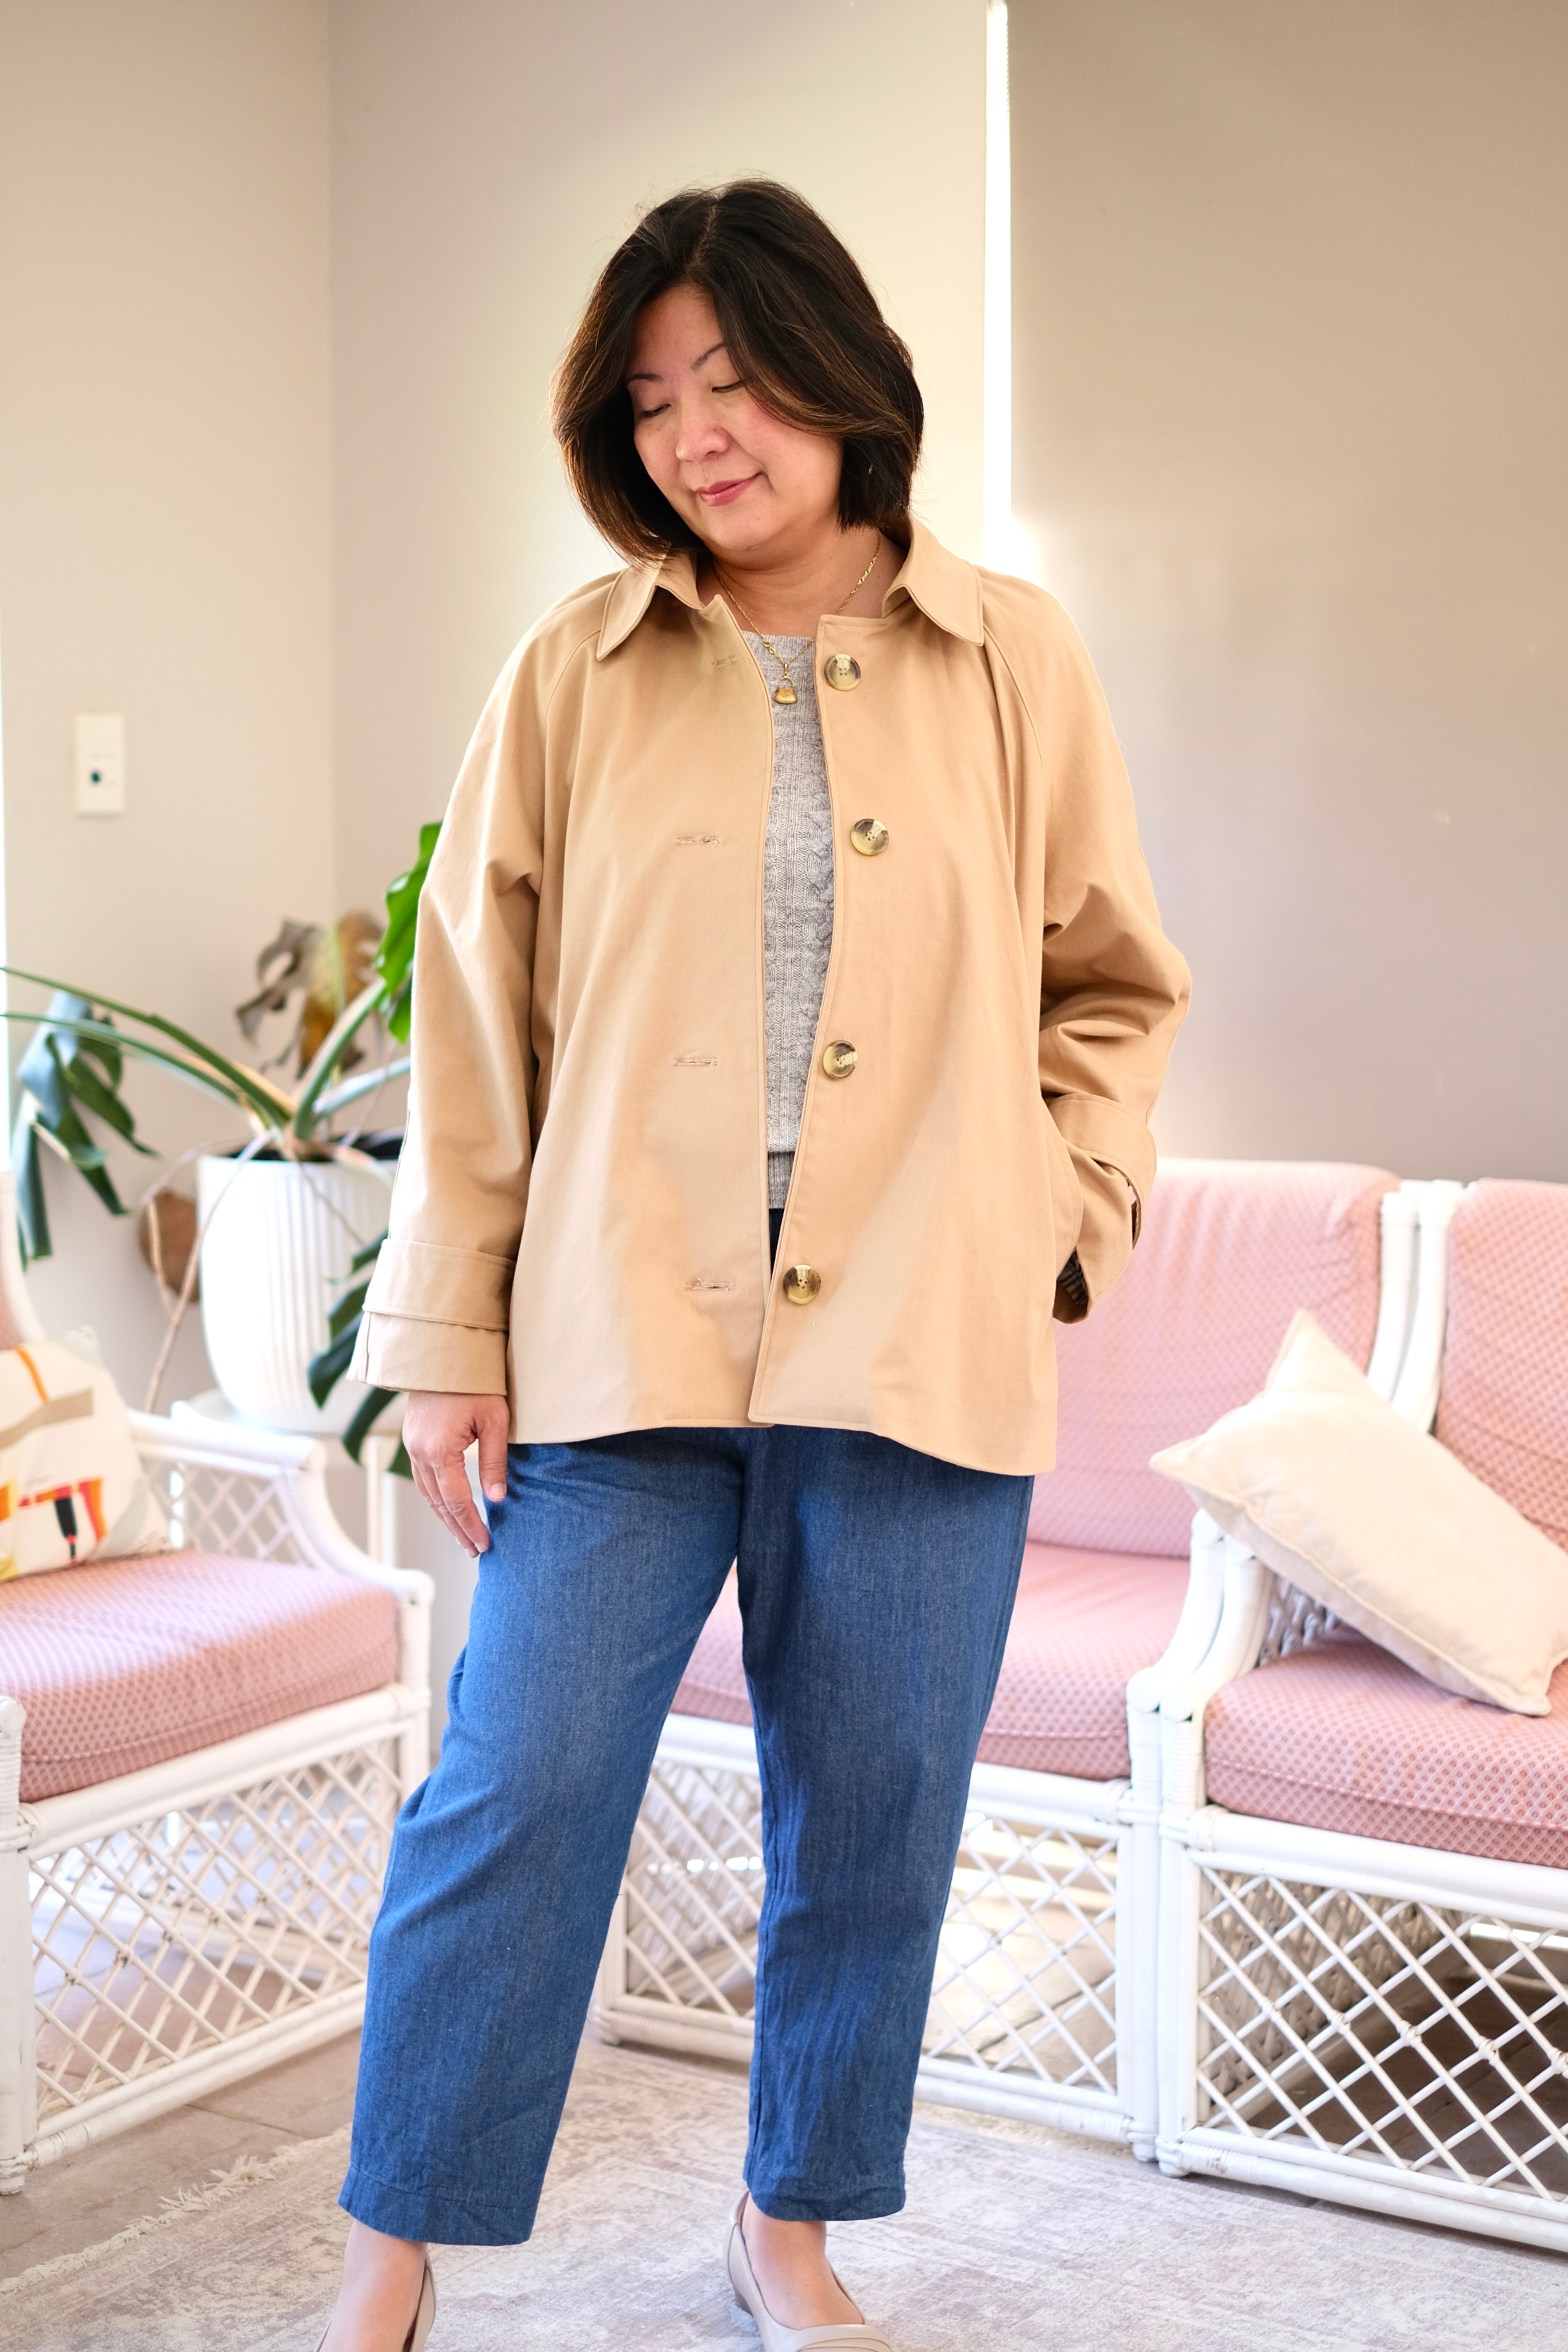
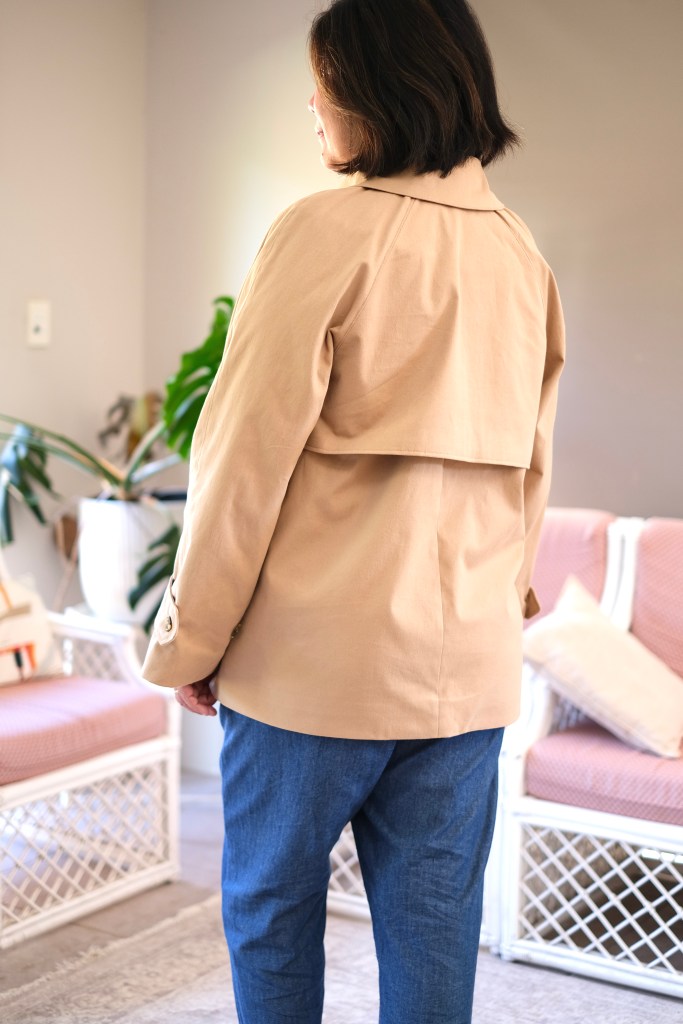
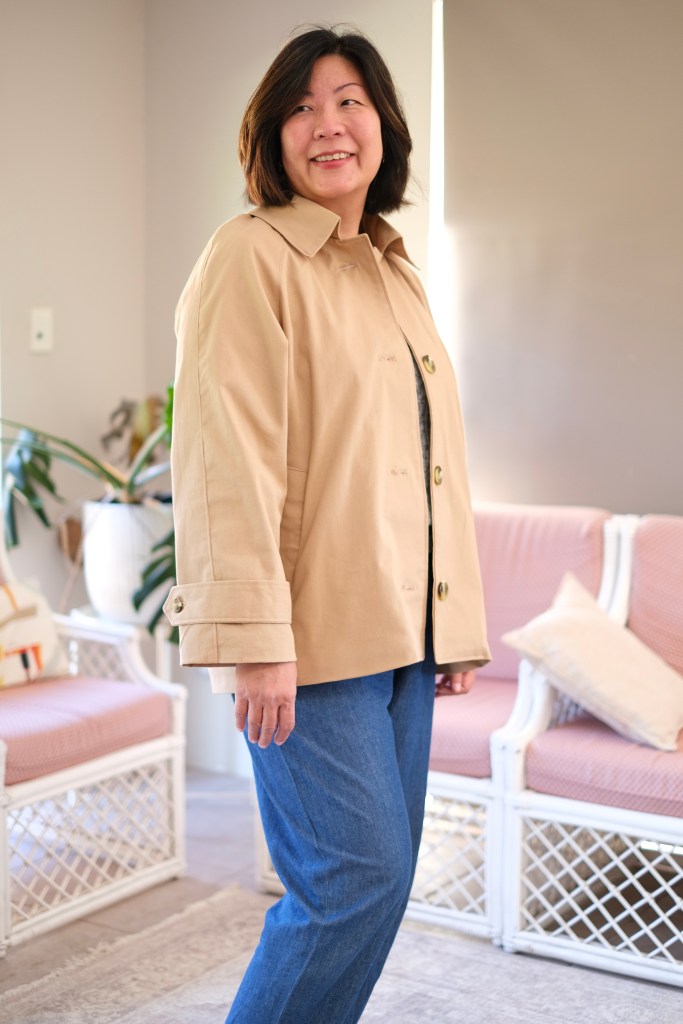
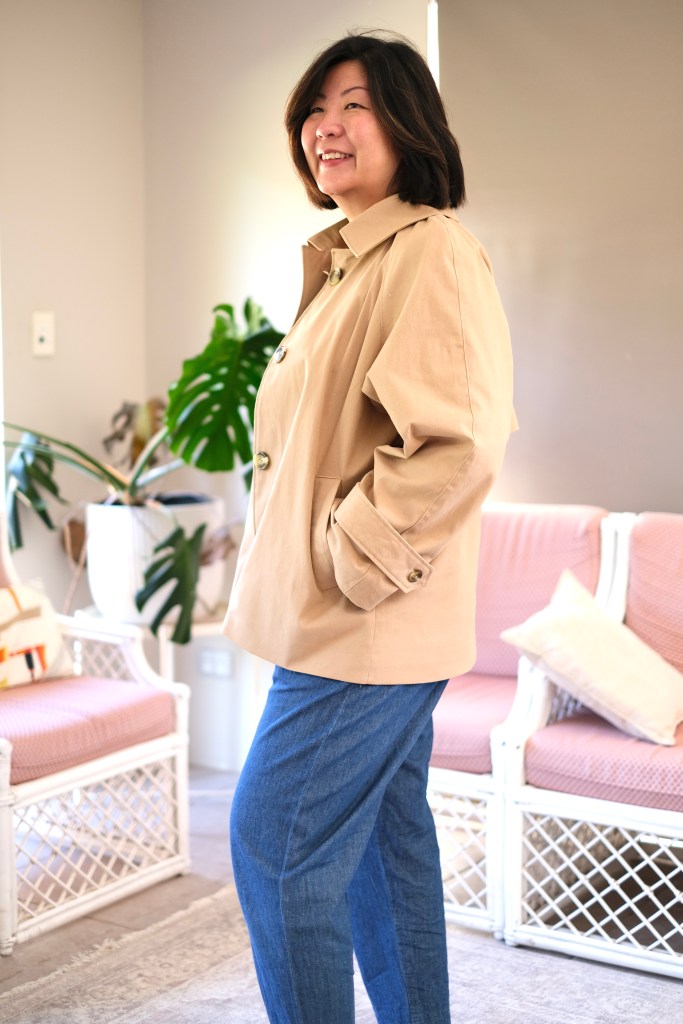
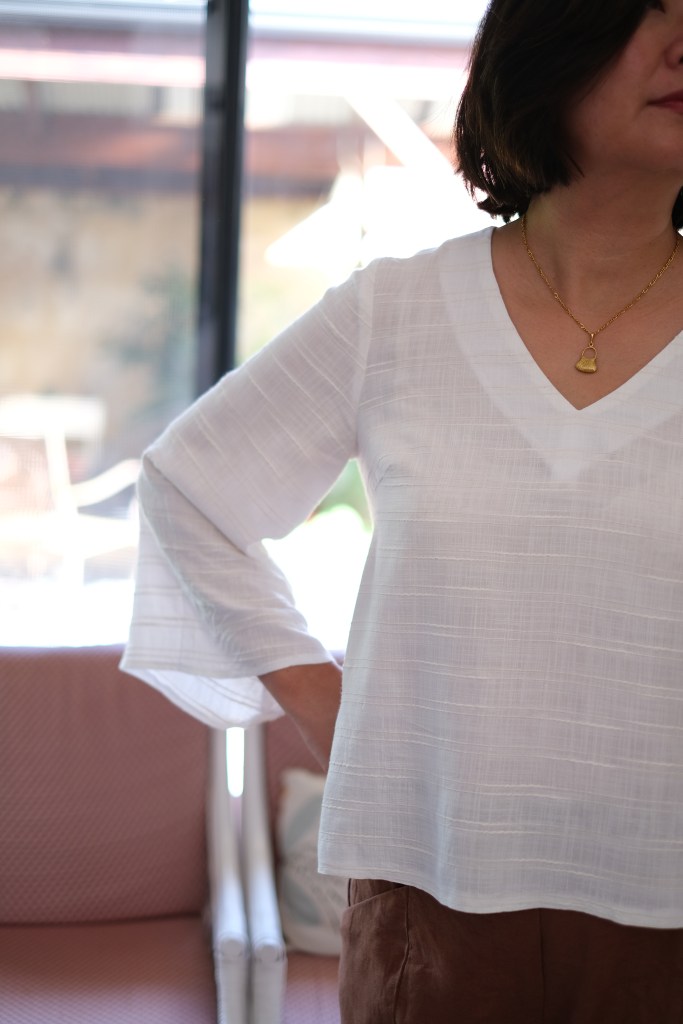
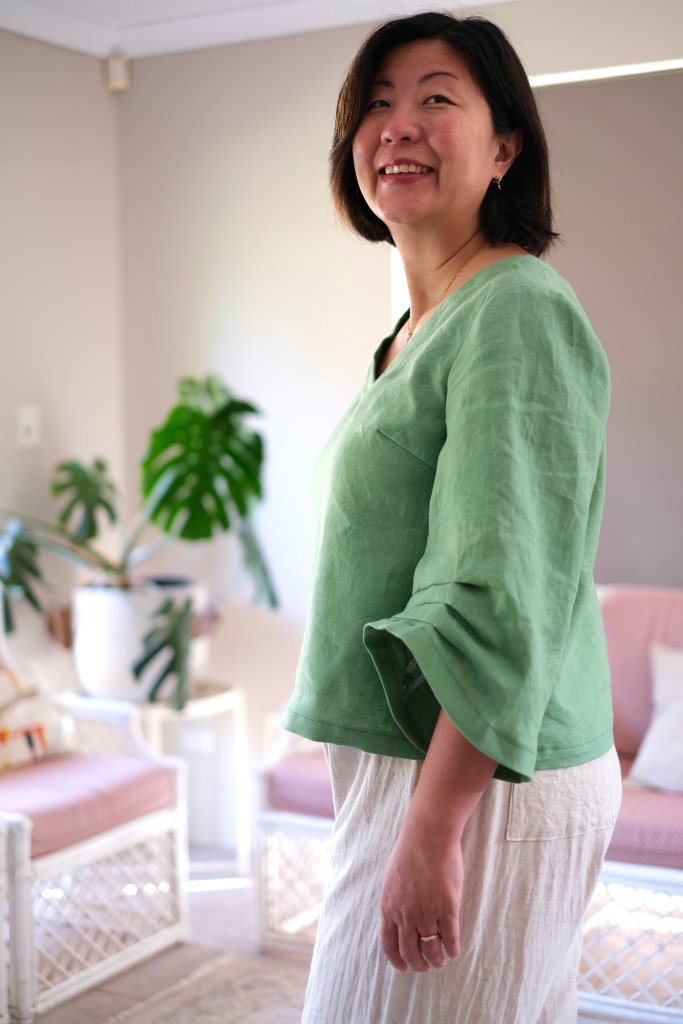
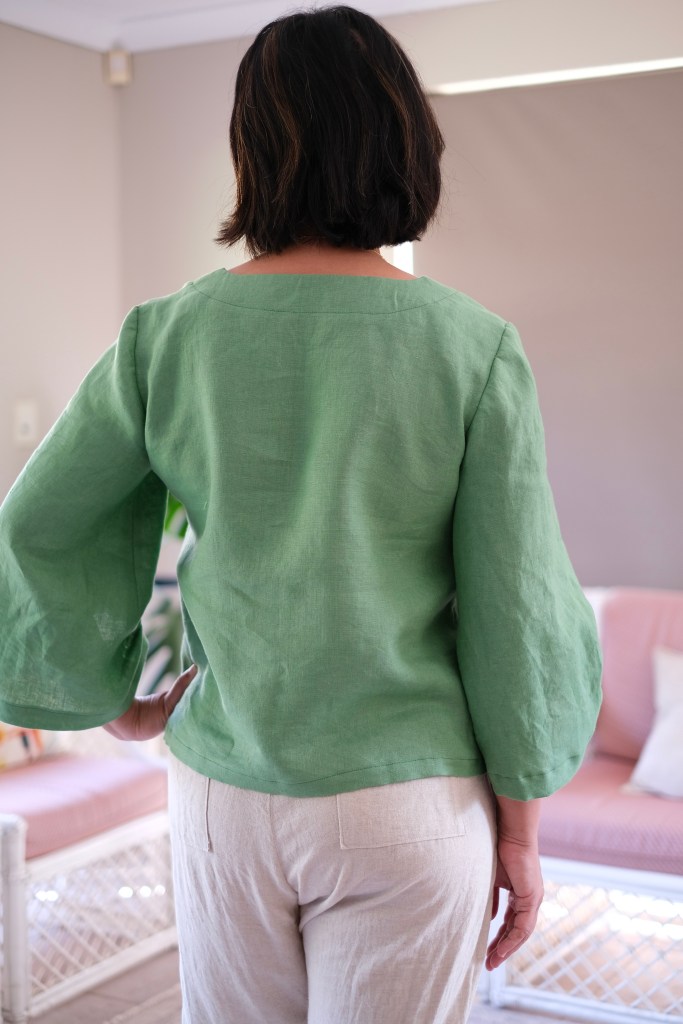
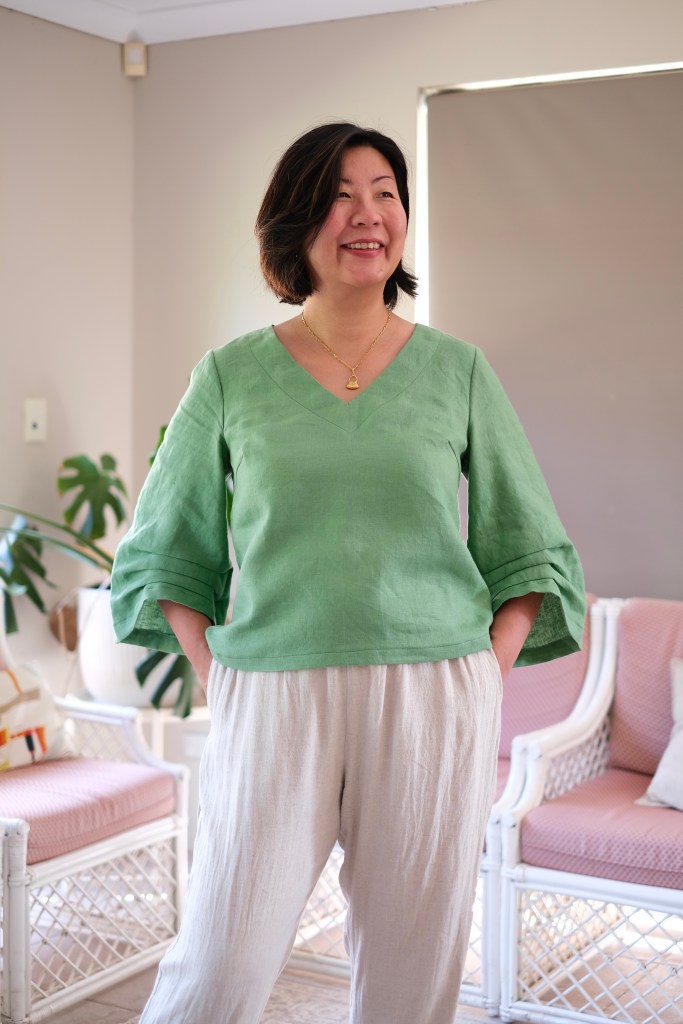
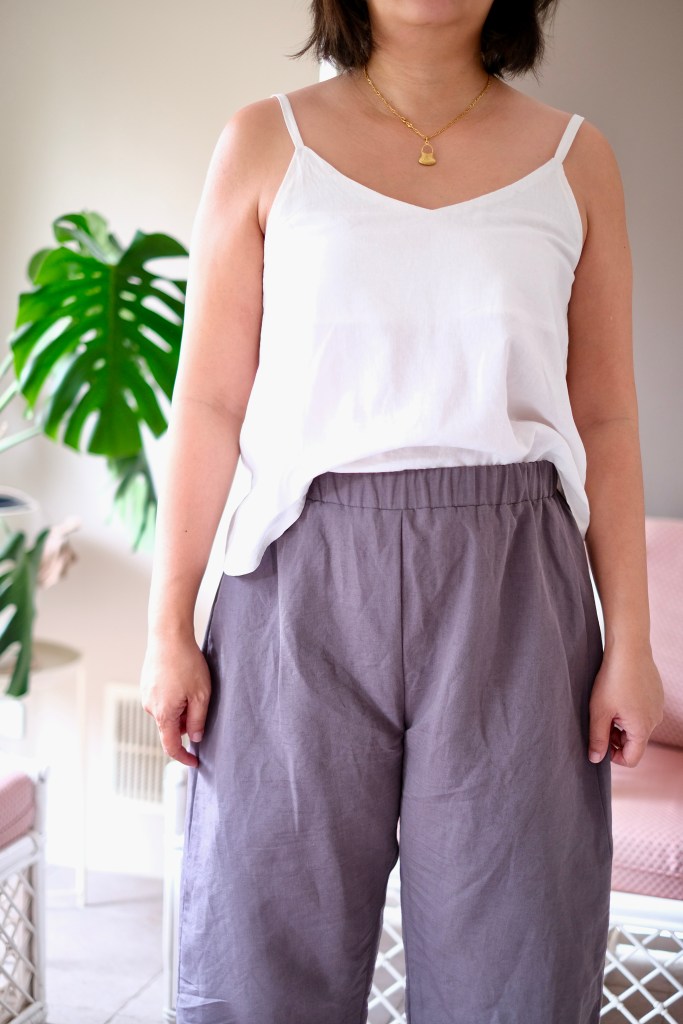
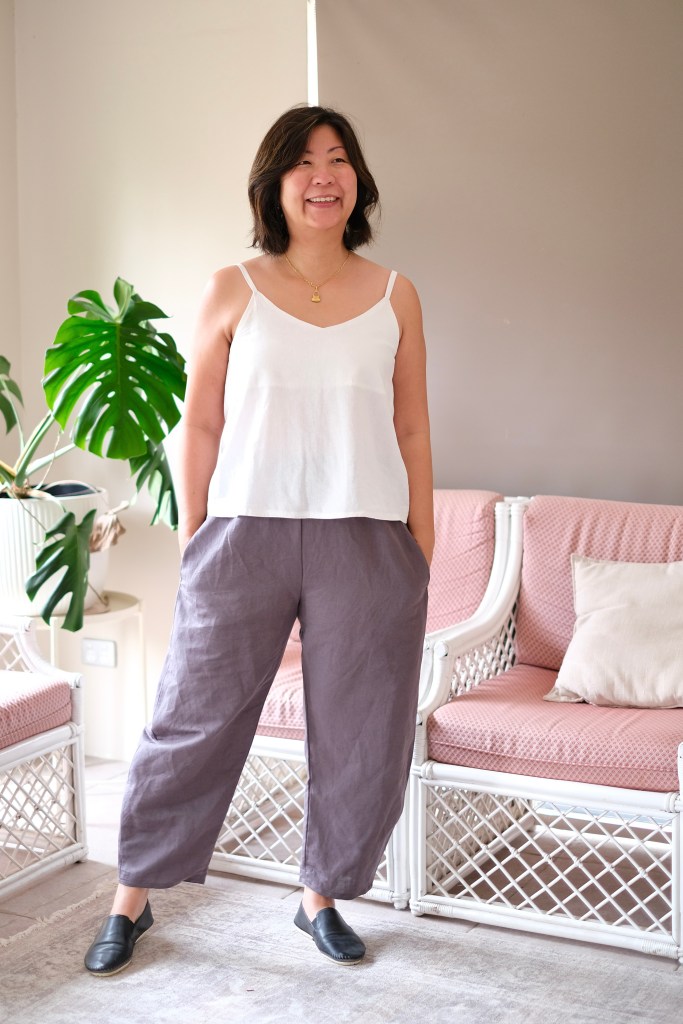
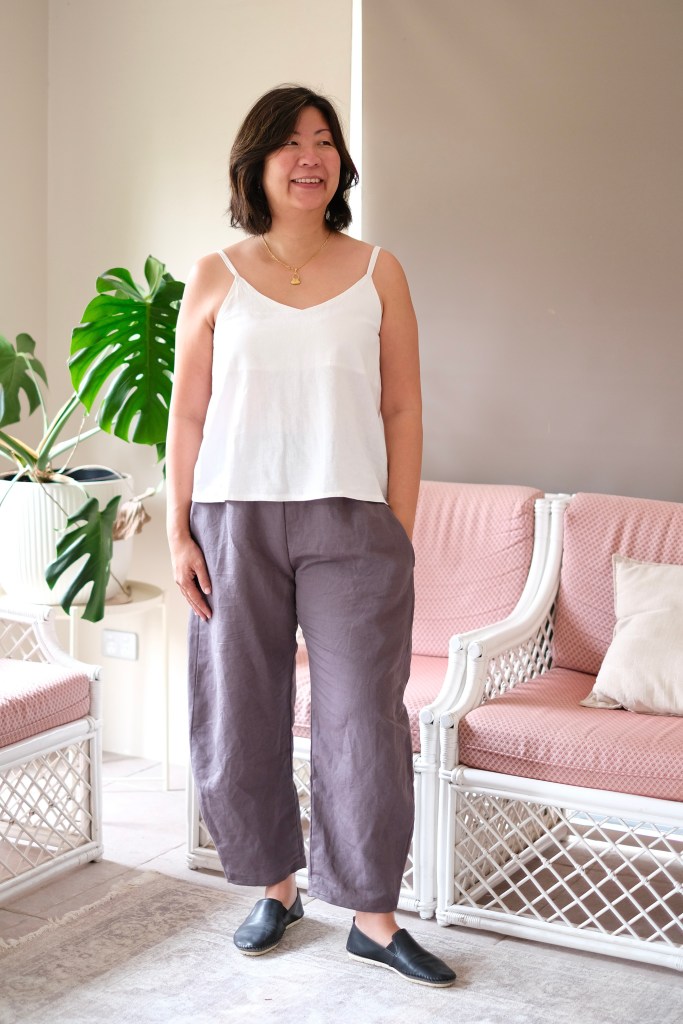
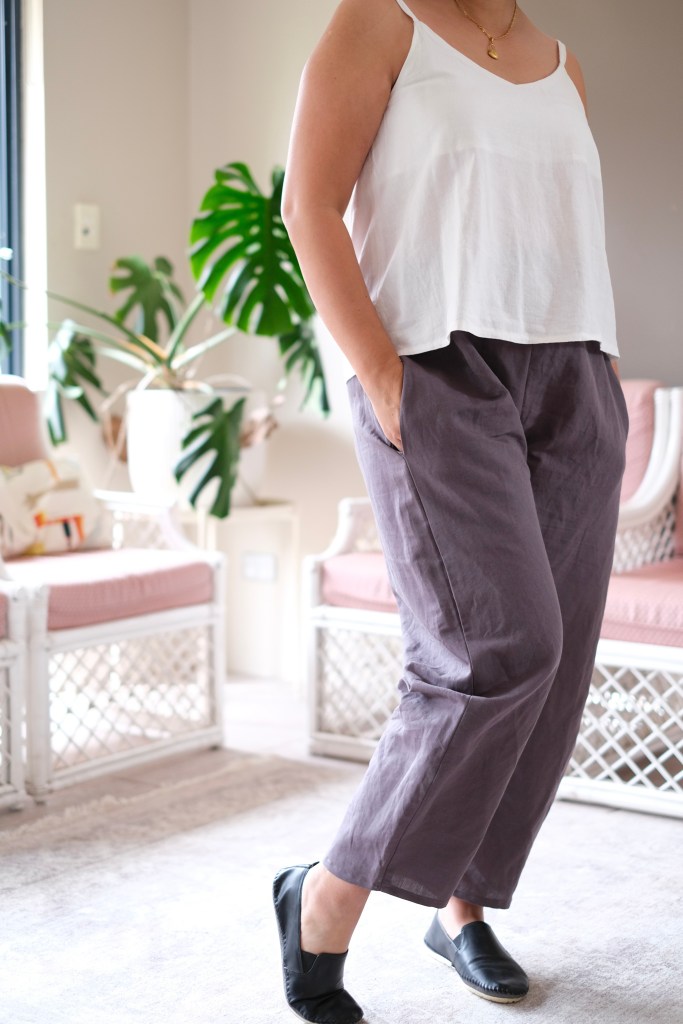
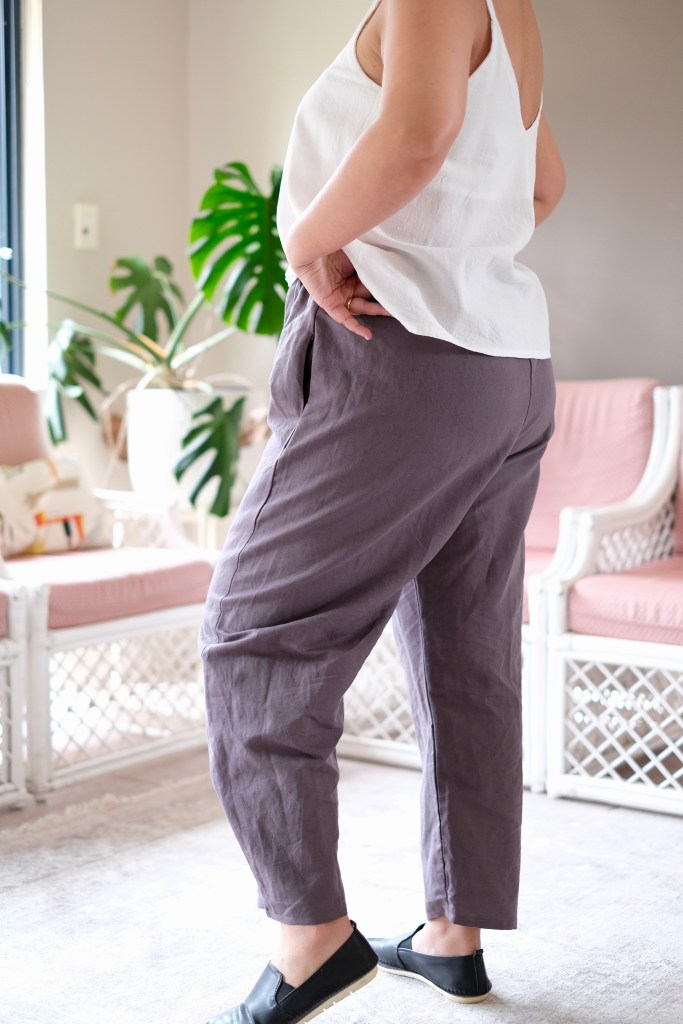
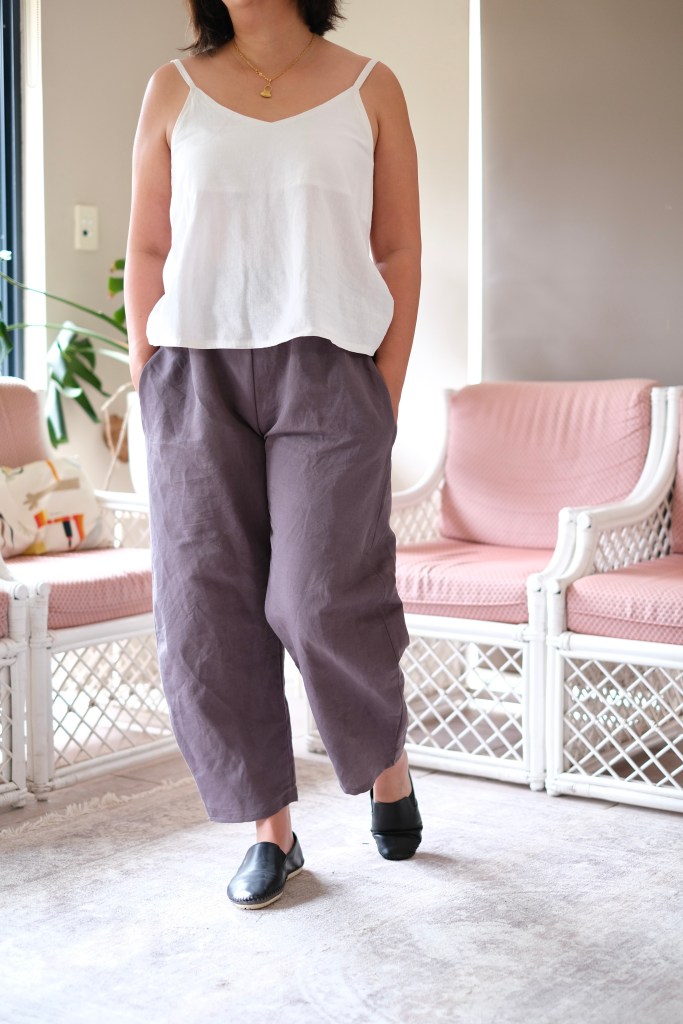
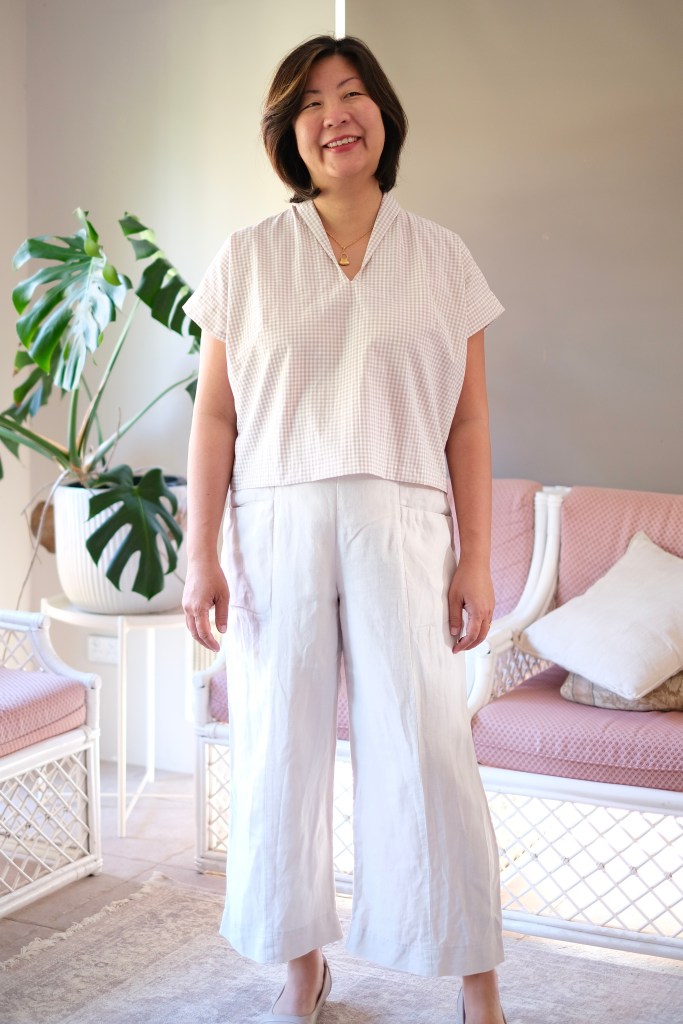
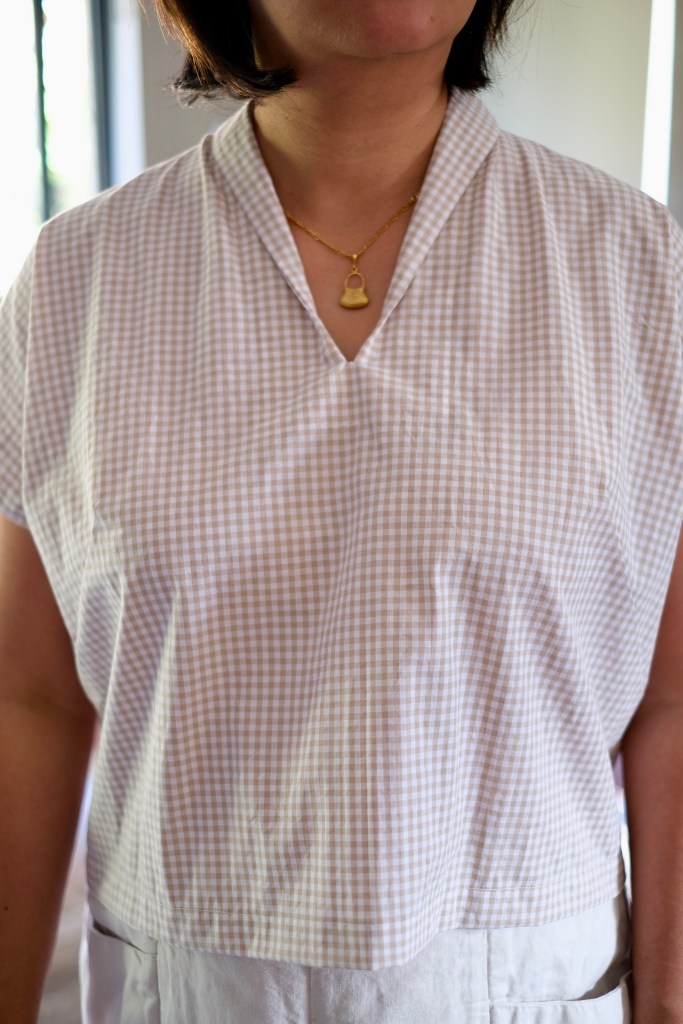
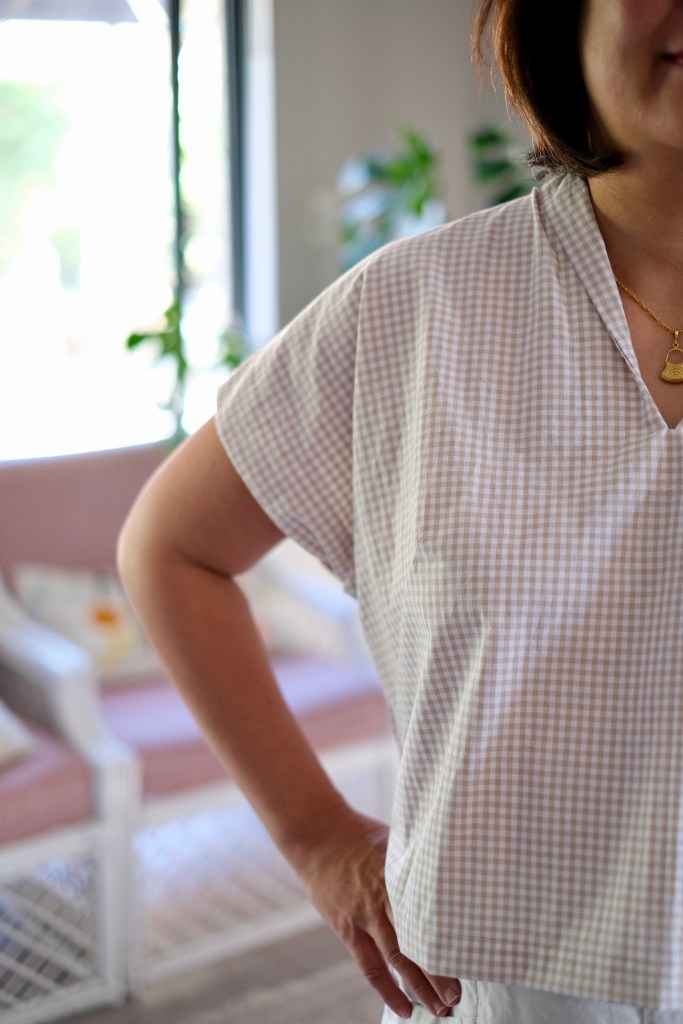
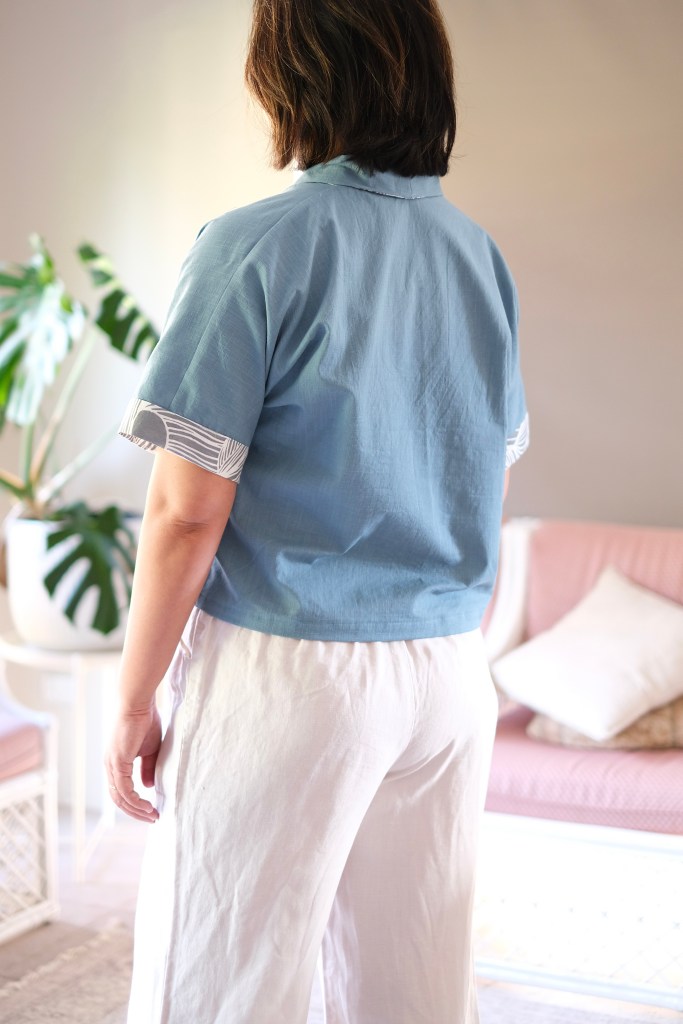
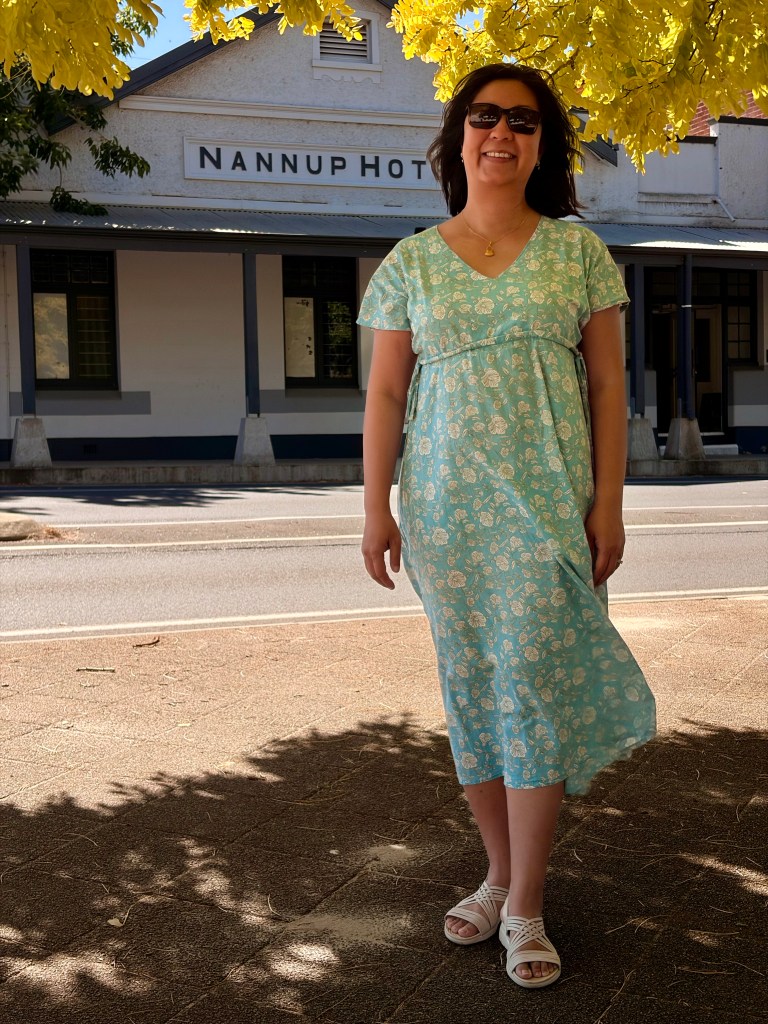
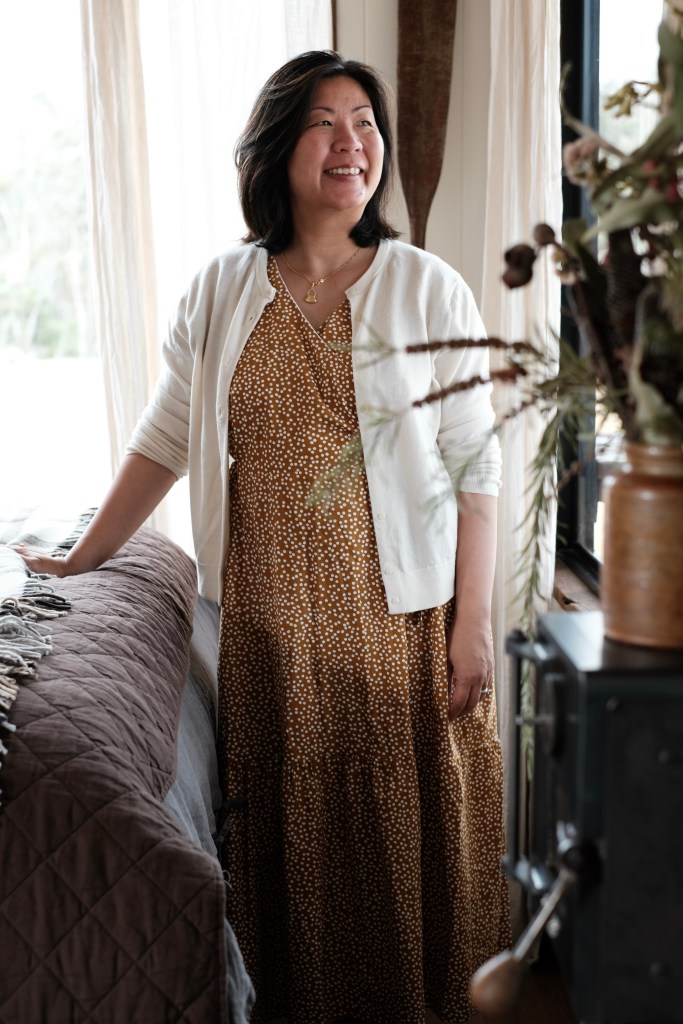
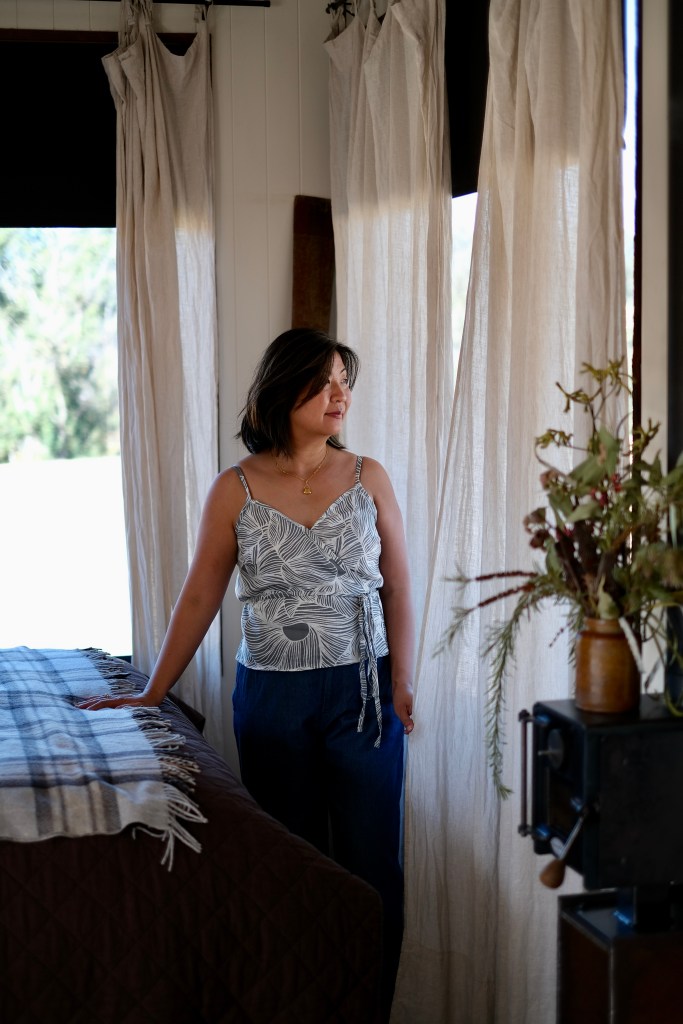
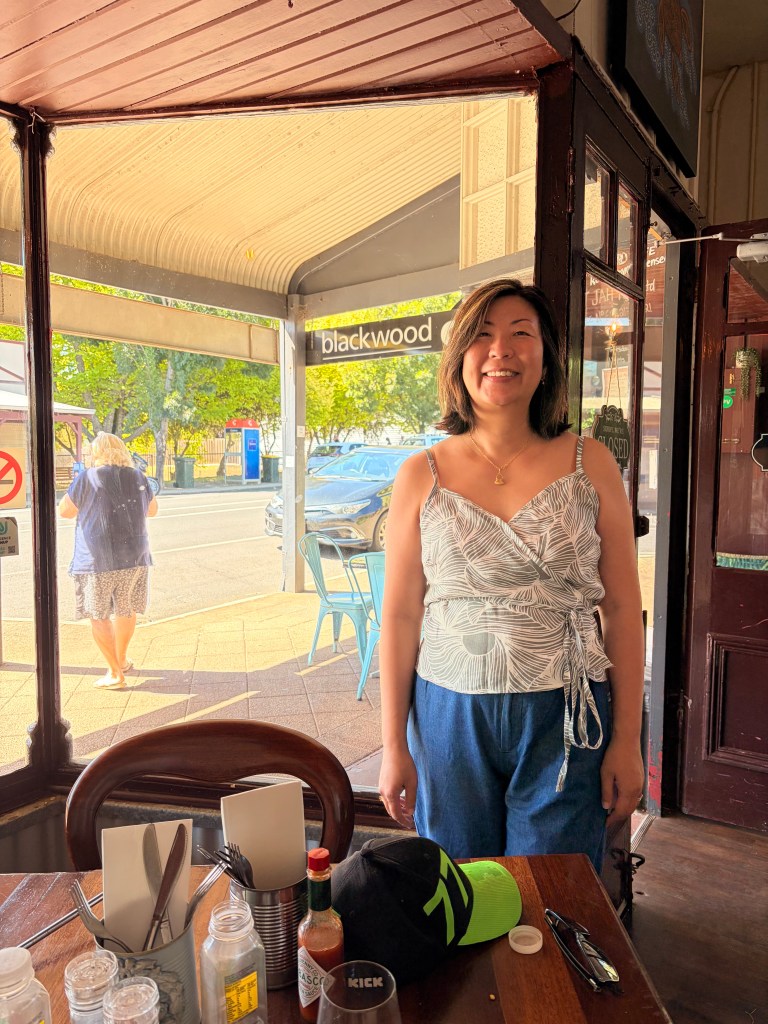
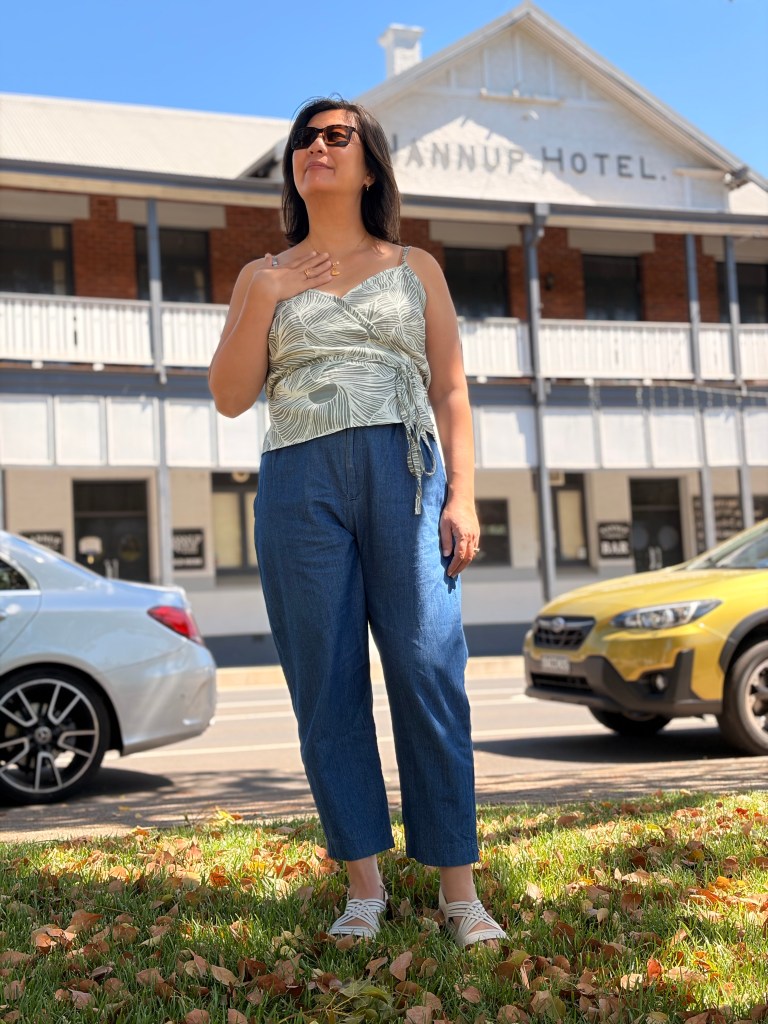
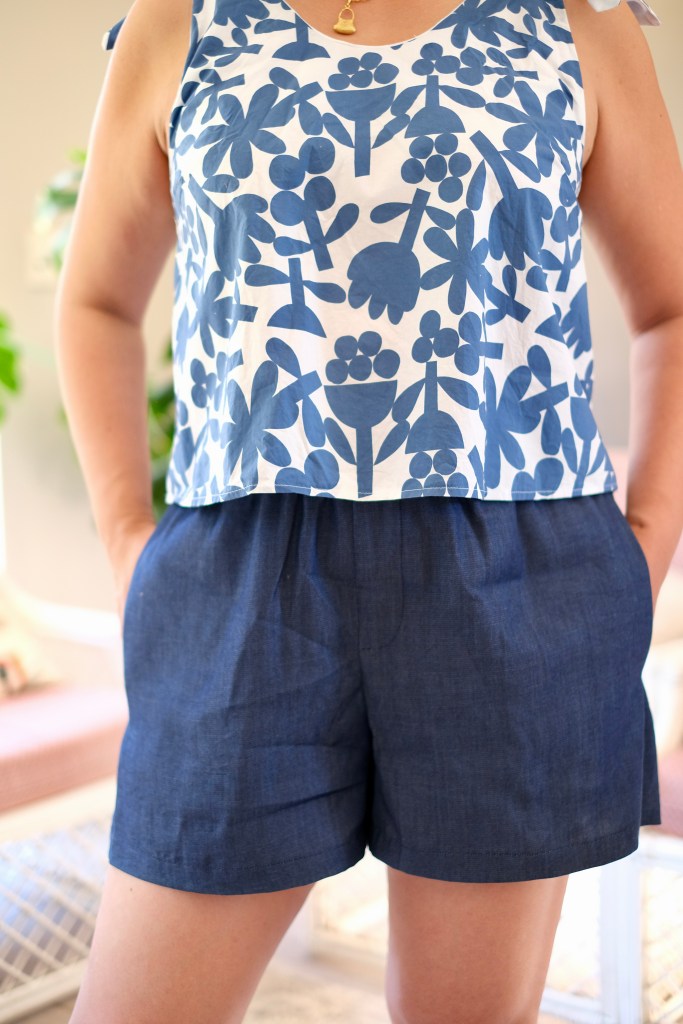
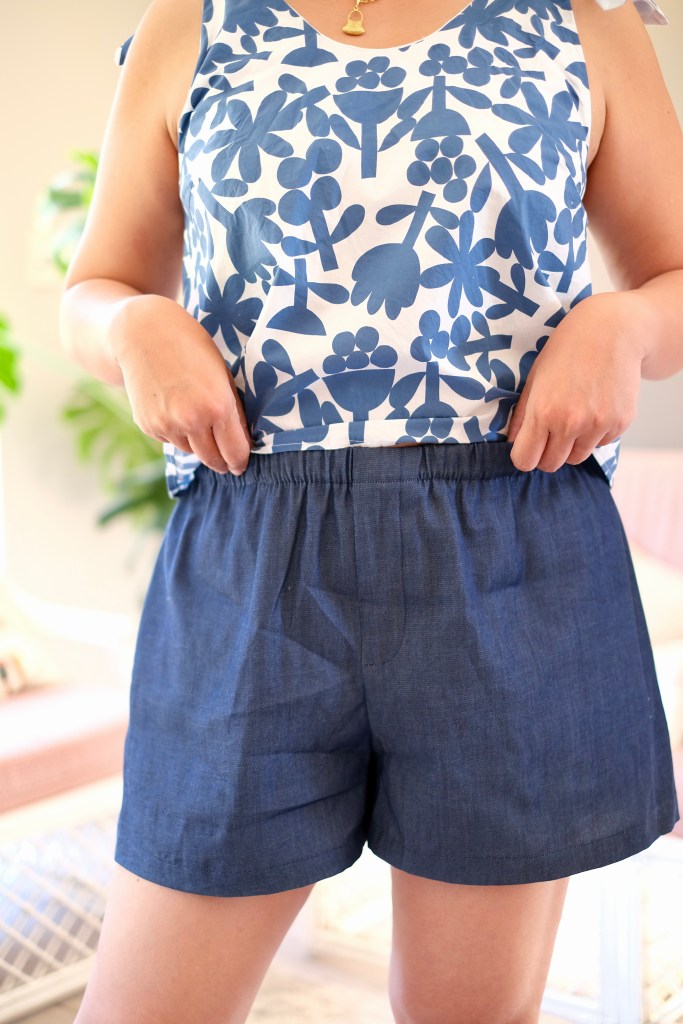
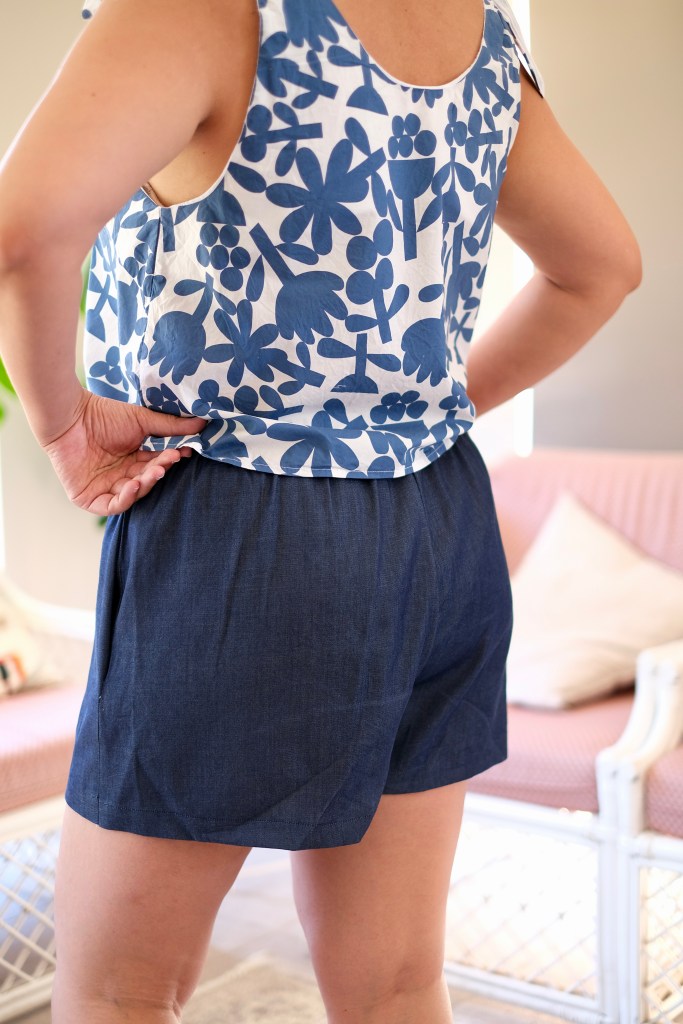
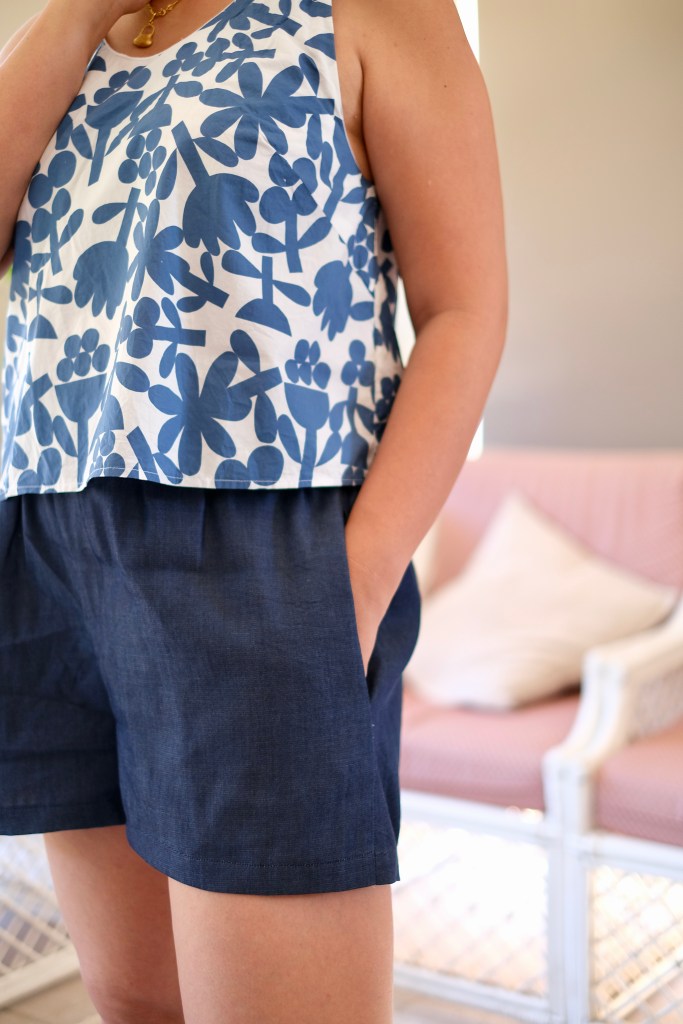
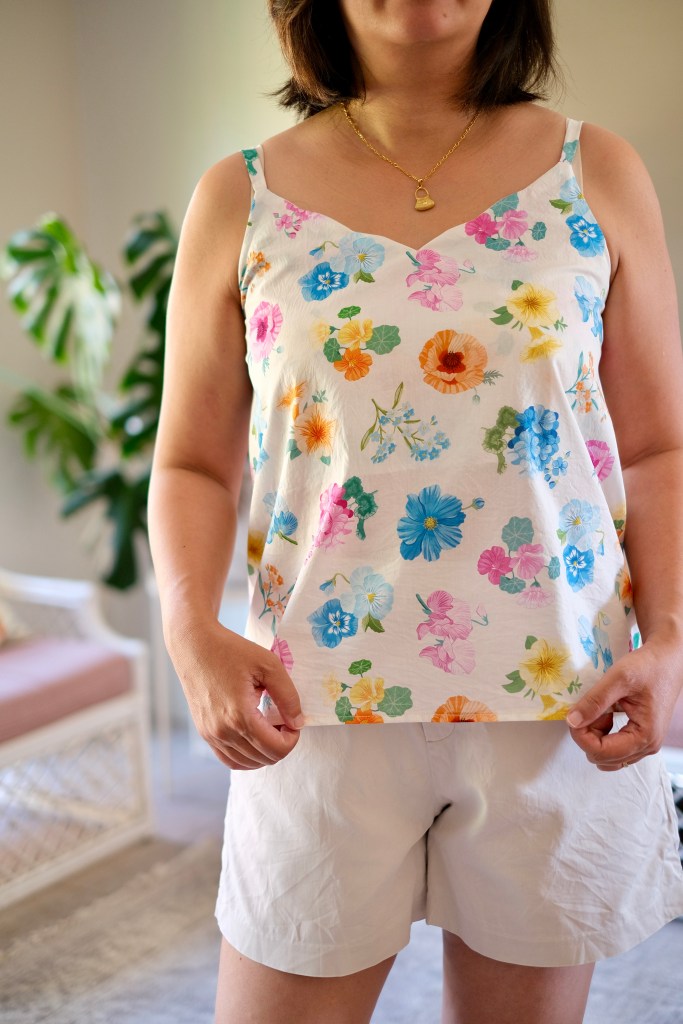
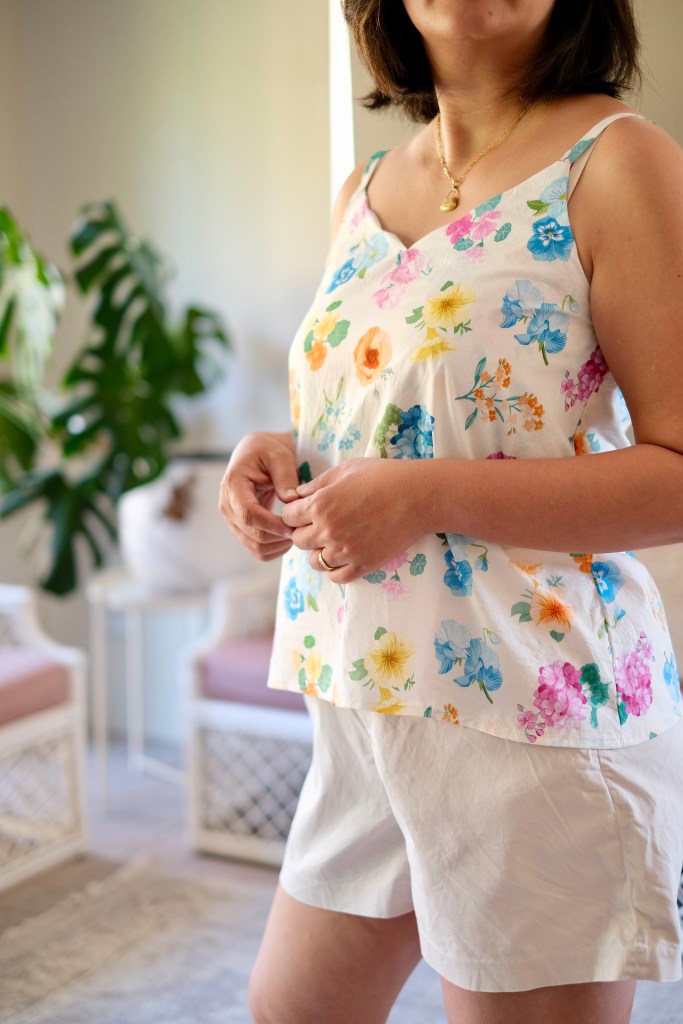
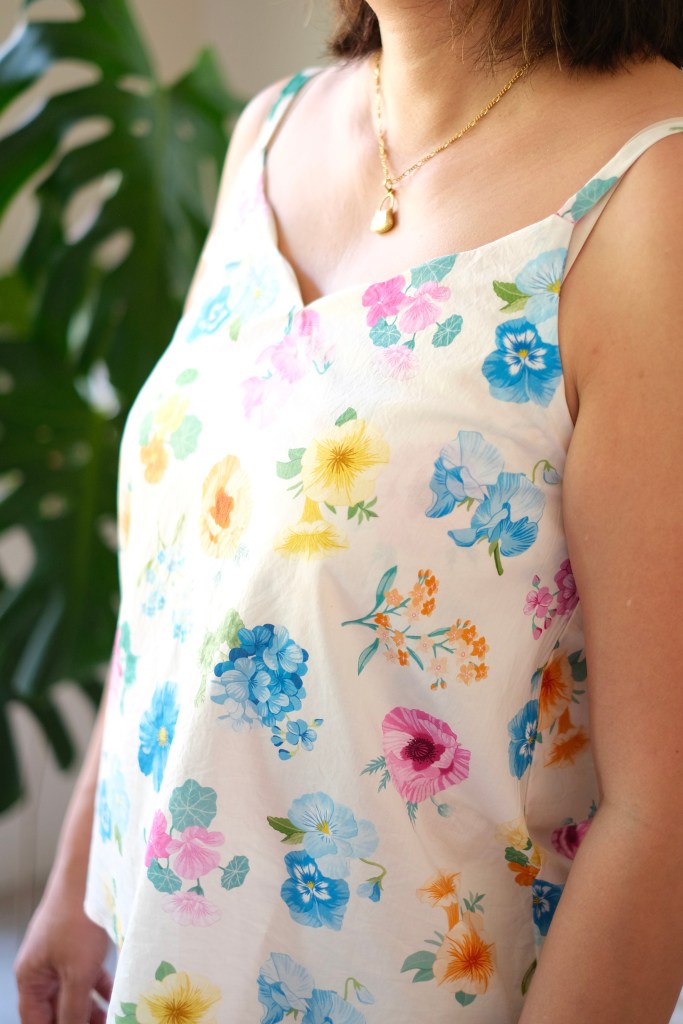
The fit is quite forgiving but not oversized. The sizing chart is divided into ranges. I fit into size L with my measurements of 38-inch bust, 33-inch waist, 40-inch hips. The finished garment measurements shows that there is quite a bit of ease in the fit. The top is very comfortable to wear. I also love the length of the View A which sits just above the hips for me and is a boxy shape which is my favourite. When I first looked at the pattern pieces, I worried that the simple shapes would make for an uncomfortable fit. I worried about this because there were no cup sizes, no darts, and it doesn’t look like it’s shaped, but the pattern is drafted so that the front neckline is prevented from pulling backwards. It is so well balanced and there are instructions on how to modify the armholes as well. The engineering is very clever.
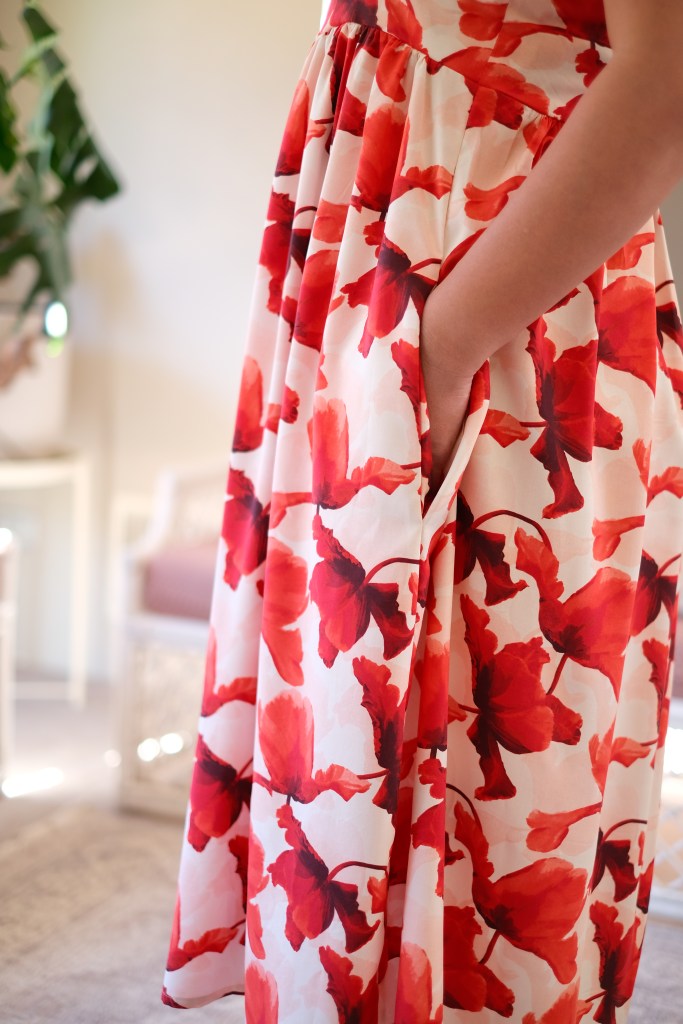
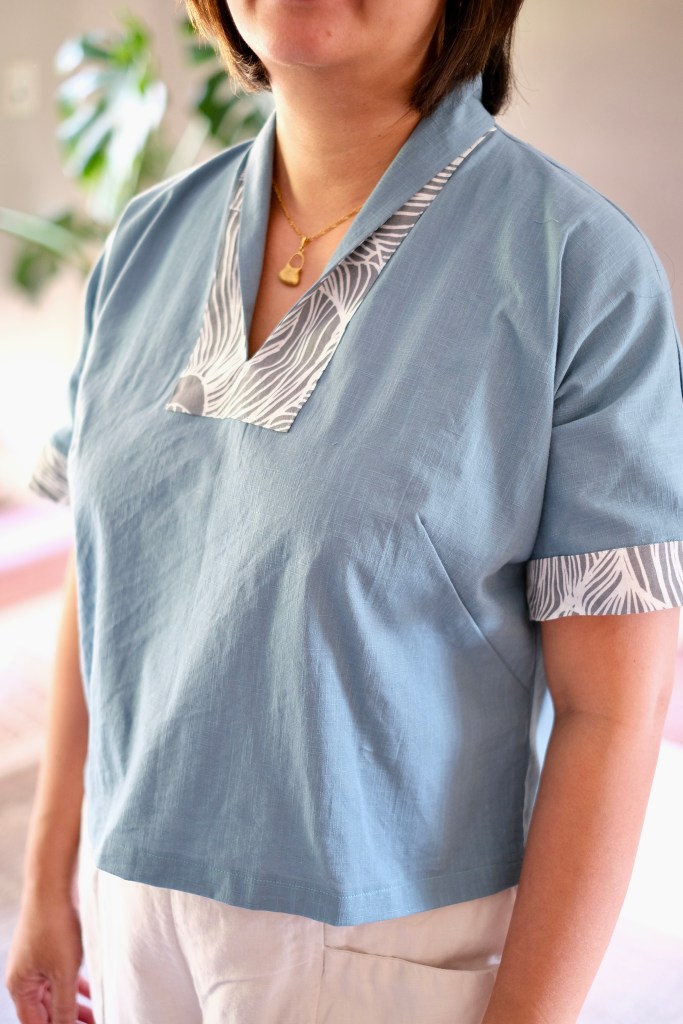
Instructions come with illustrations which were super easy to follow. It is definitely a pattern that beginners can tackle. A very enjoyable sew! You can be very creative with the pattern and play with the combination of fabrics, and the pattern pieces are a bit interchangeable for a different look. I found the whole process very relaxing and the top came together quite fast. When I say that the illustrations were included, I mean to say that the illustrations are instructional and easily the best I’ve seen in a pattern. I think someone sent these patterns to a graphic designer. It’s also made by people who use patterns for home sewing because of thoughtful details like the legend for the right side, wrong side and interfaced side included in the footer of every page. Am I the only one flicking backwards and forwards to find that legend in every pattern I sew? This made it so easy to interpret the illustrations.
I’ve run out of media storage so from now on, I’ll be linking my Instagram Post with my fit photos.
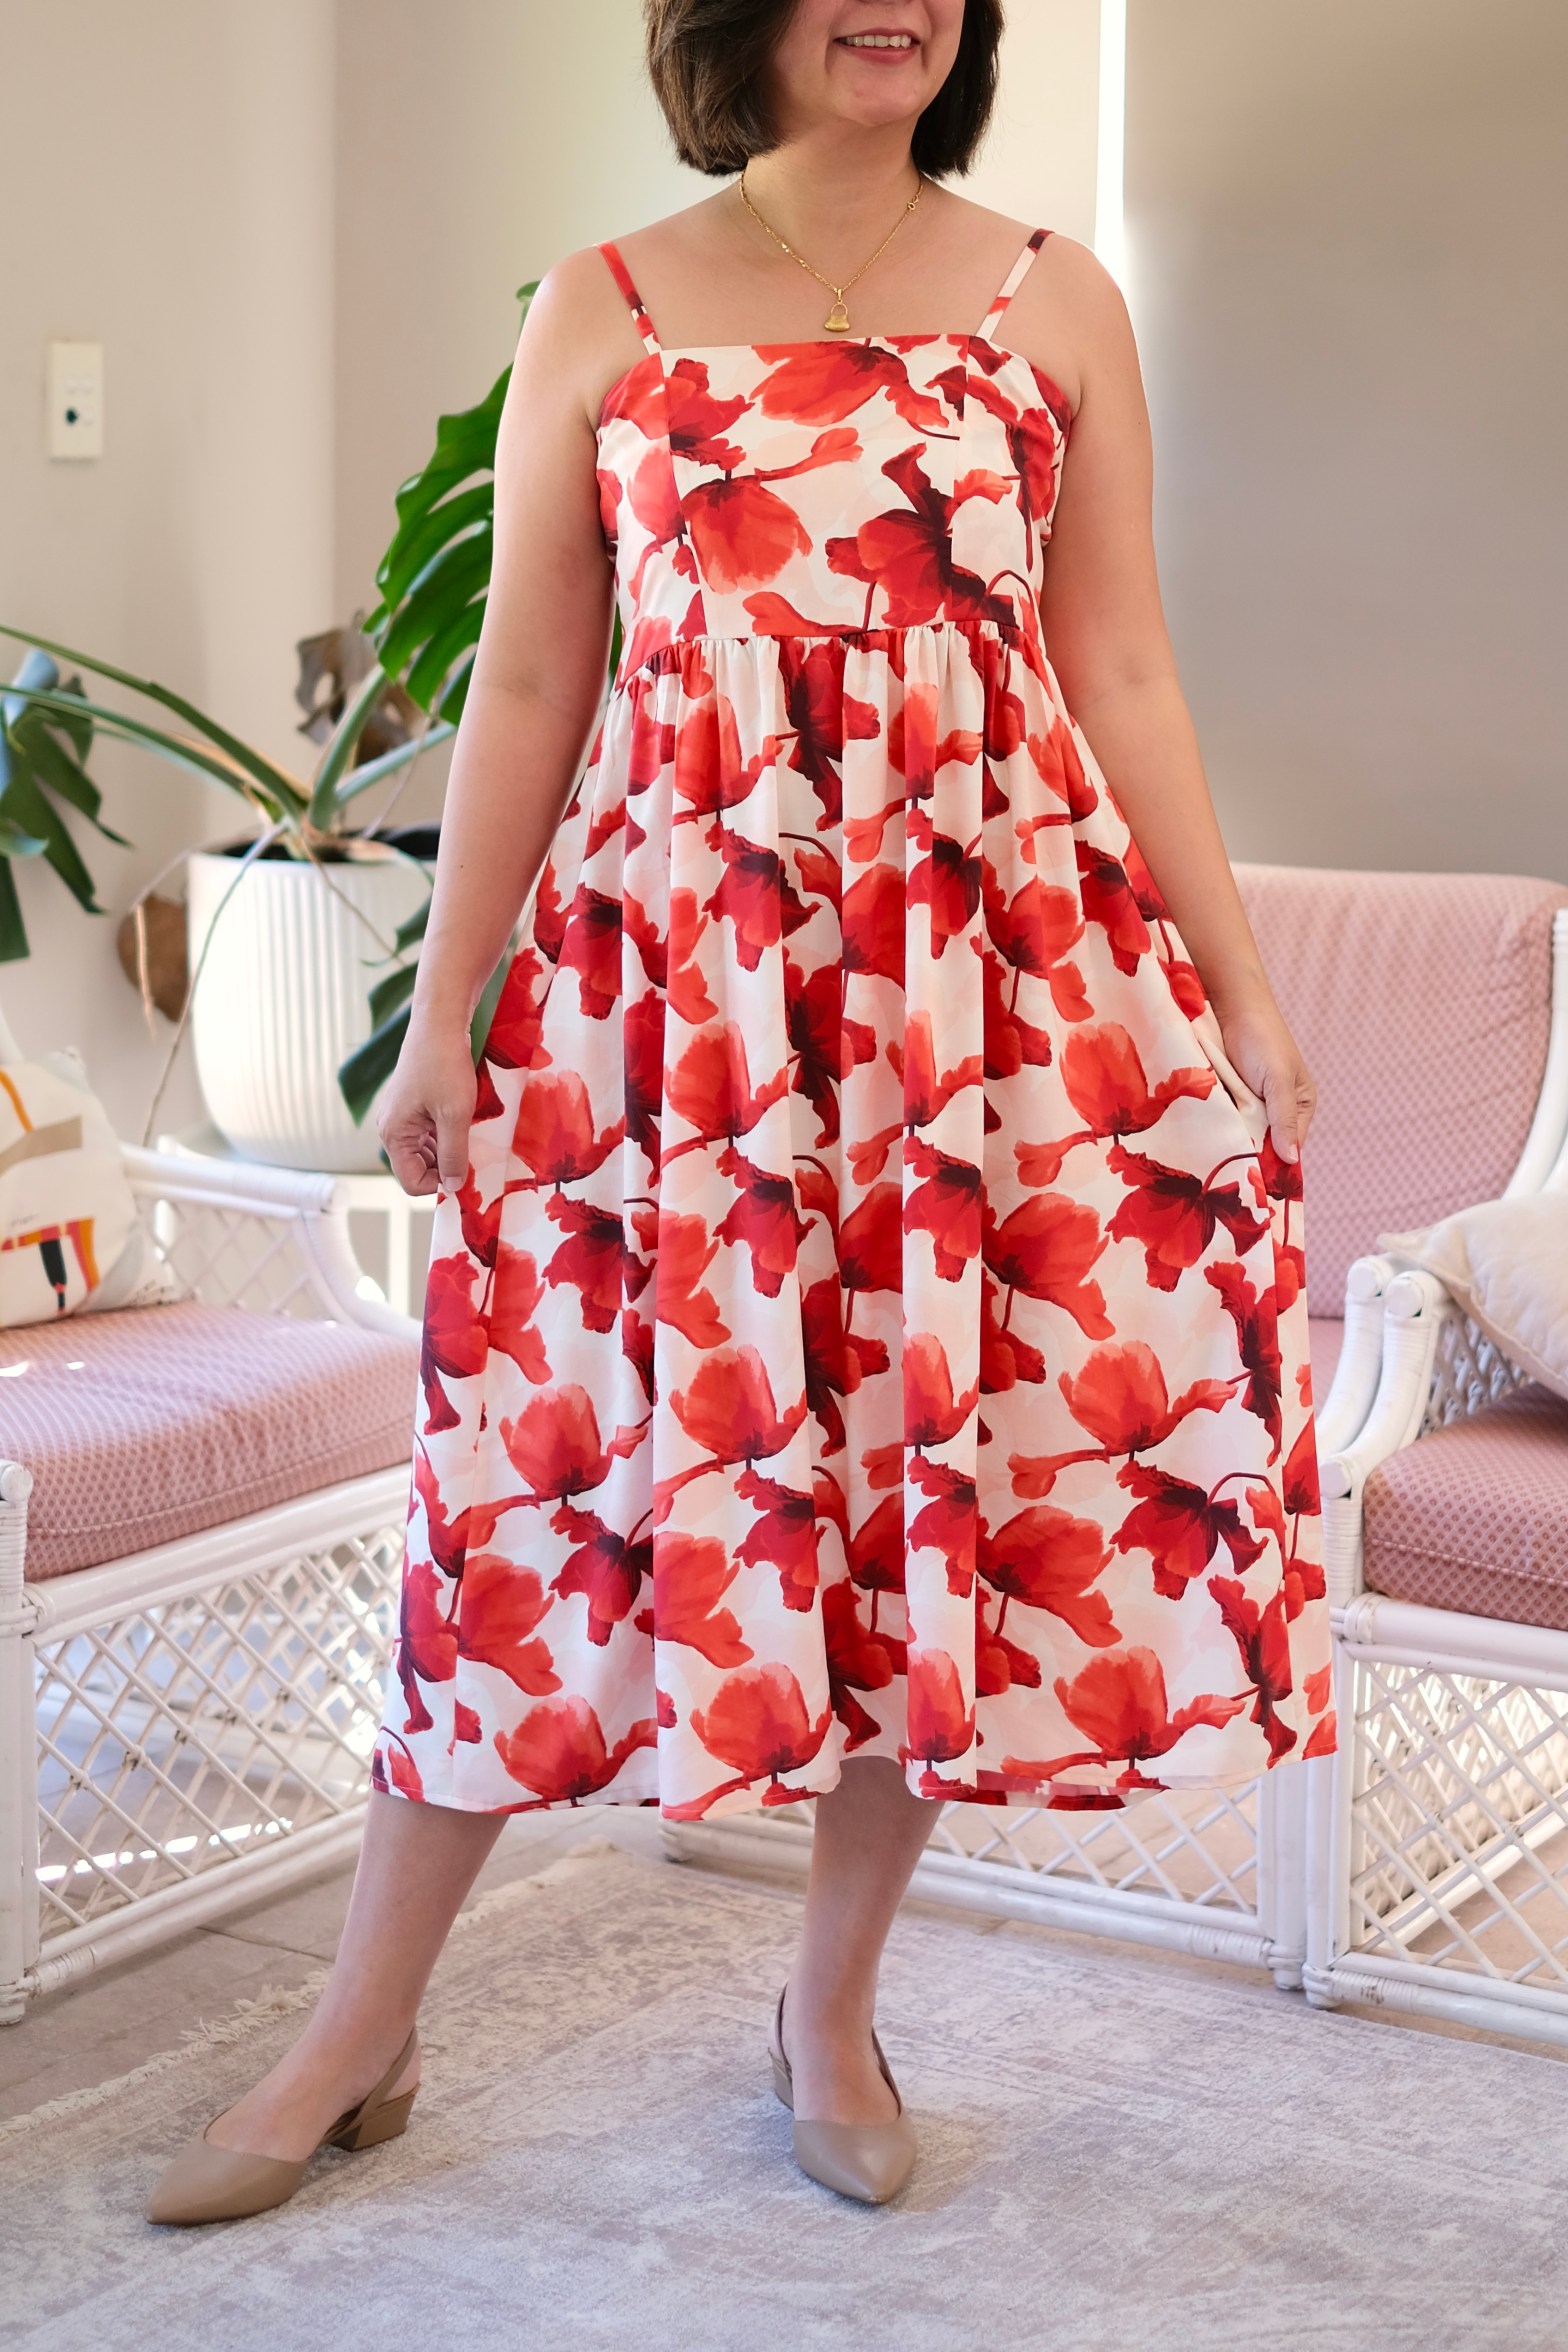
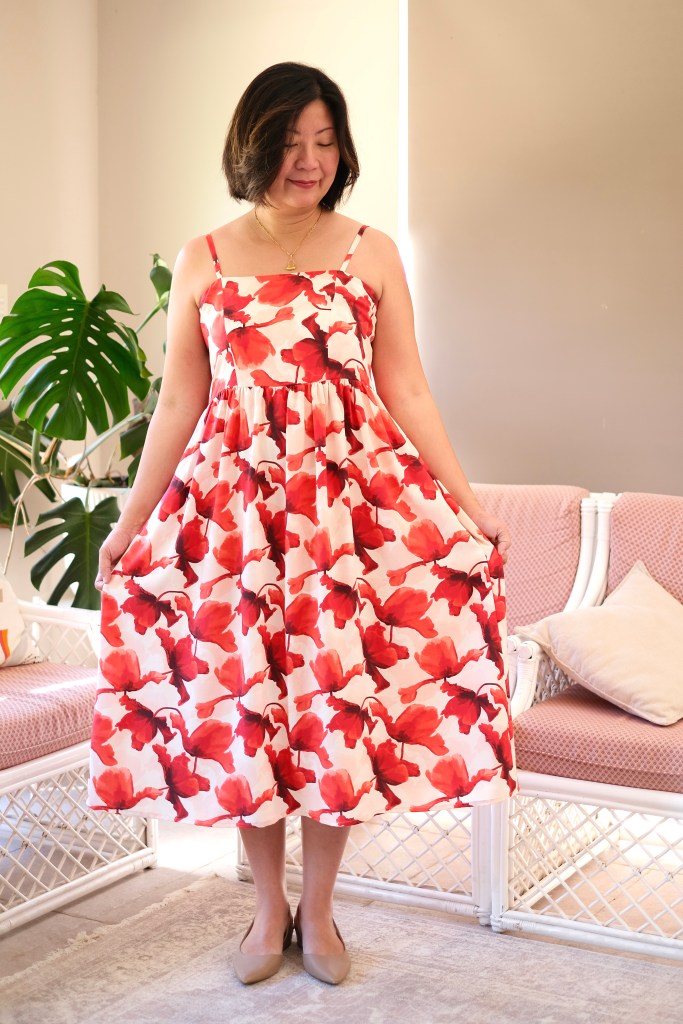
Overall, a great introduction to Matchy Matchy Sewing Club patterns! This was a great palette cleansing sew. It was also a surprisingly creative process. I’m hoping to make the dress version soon.
Thanks for reading and happy sewing!
X Em