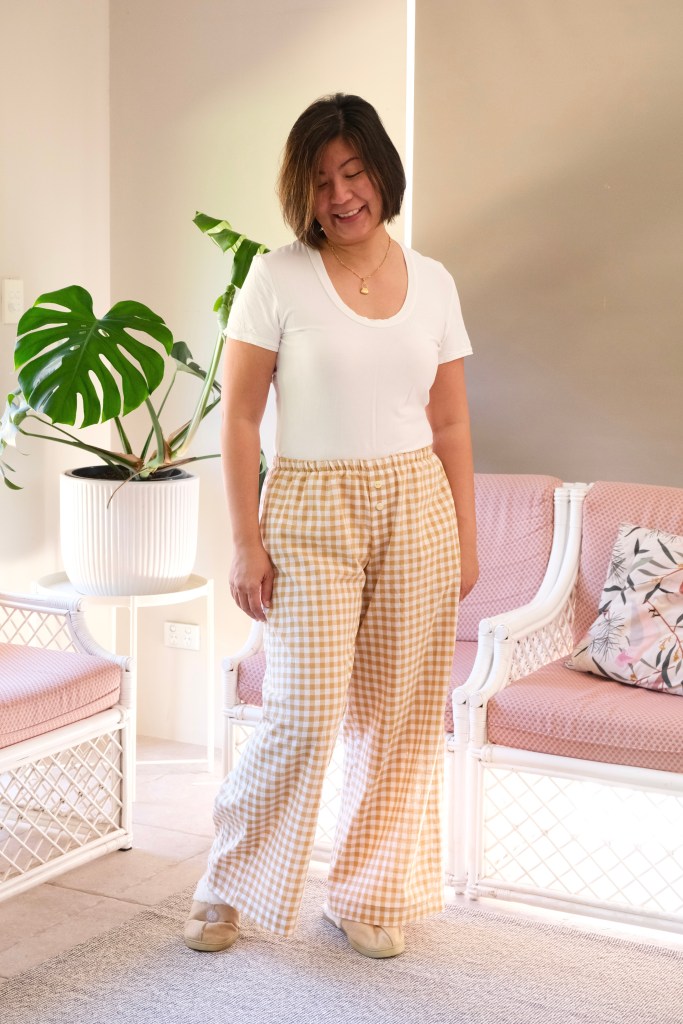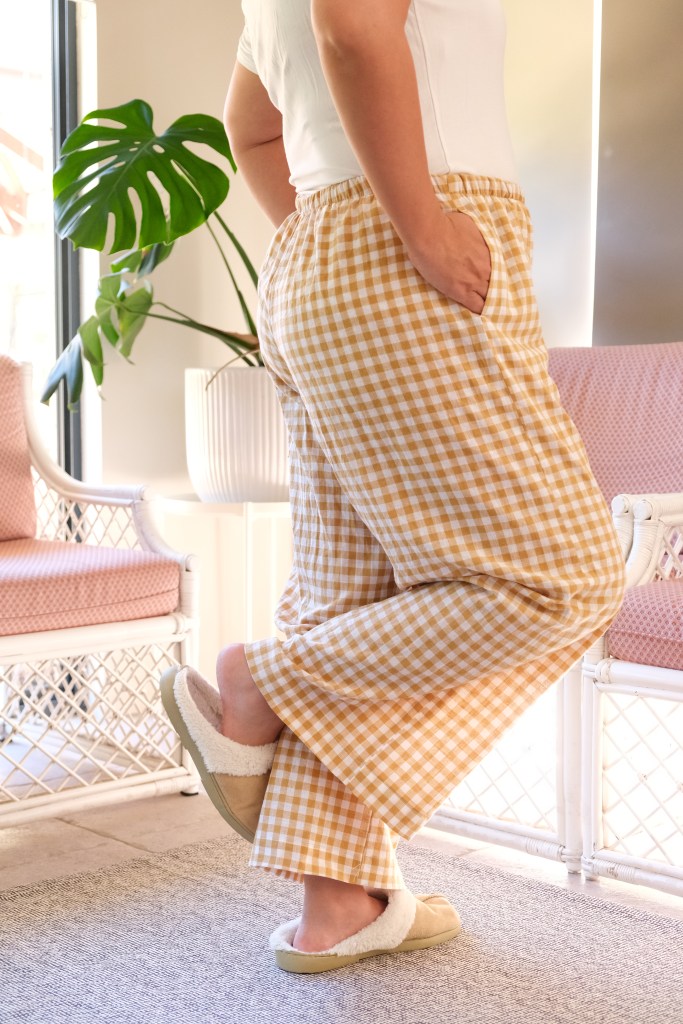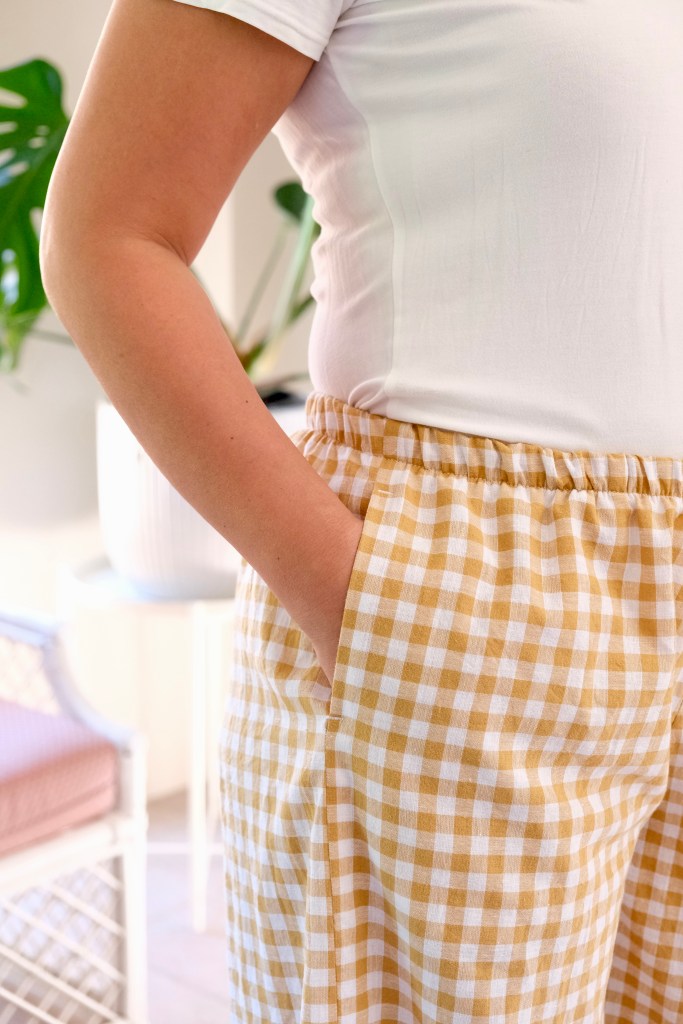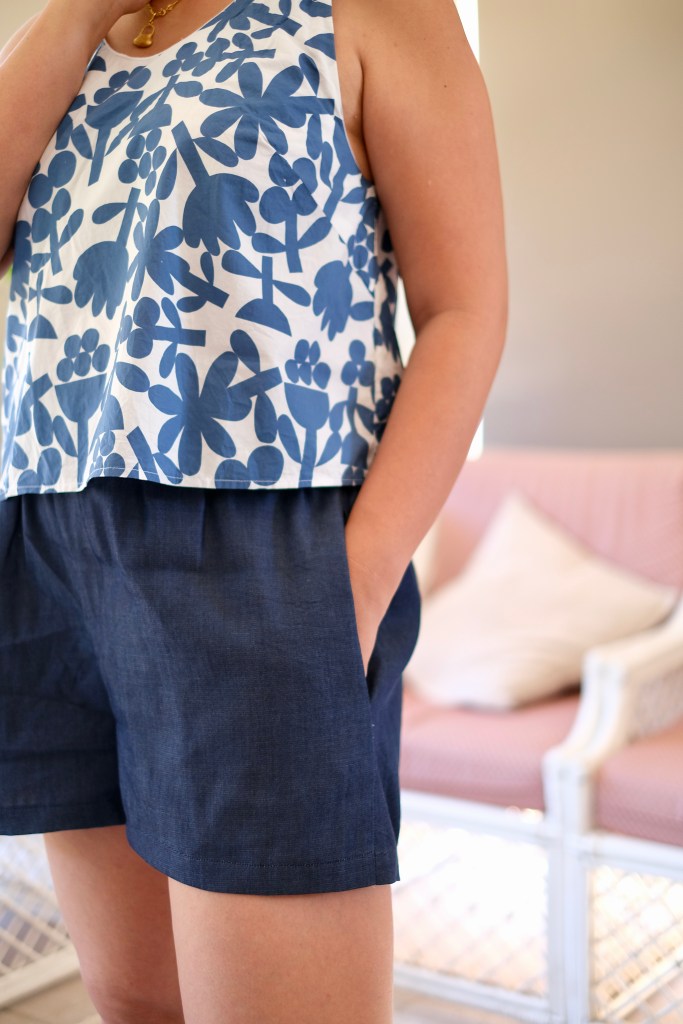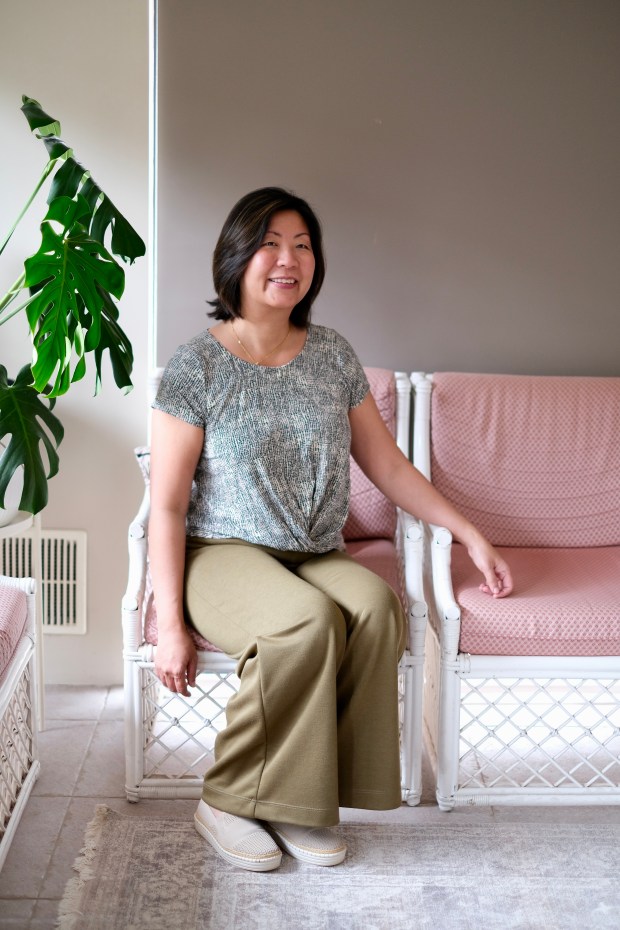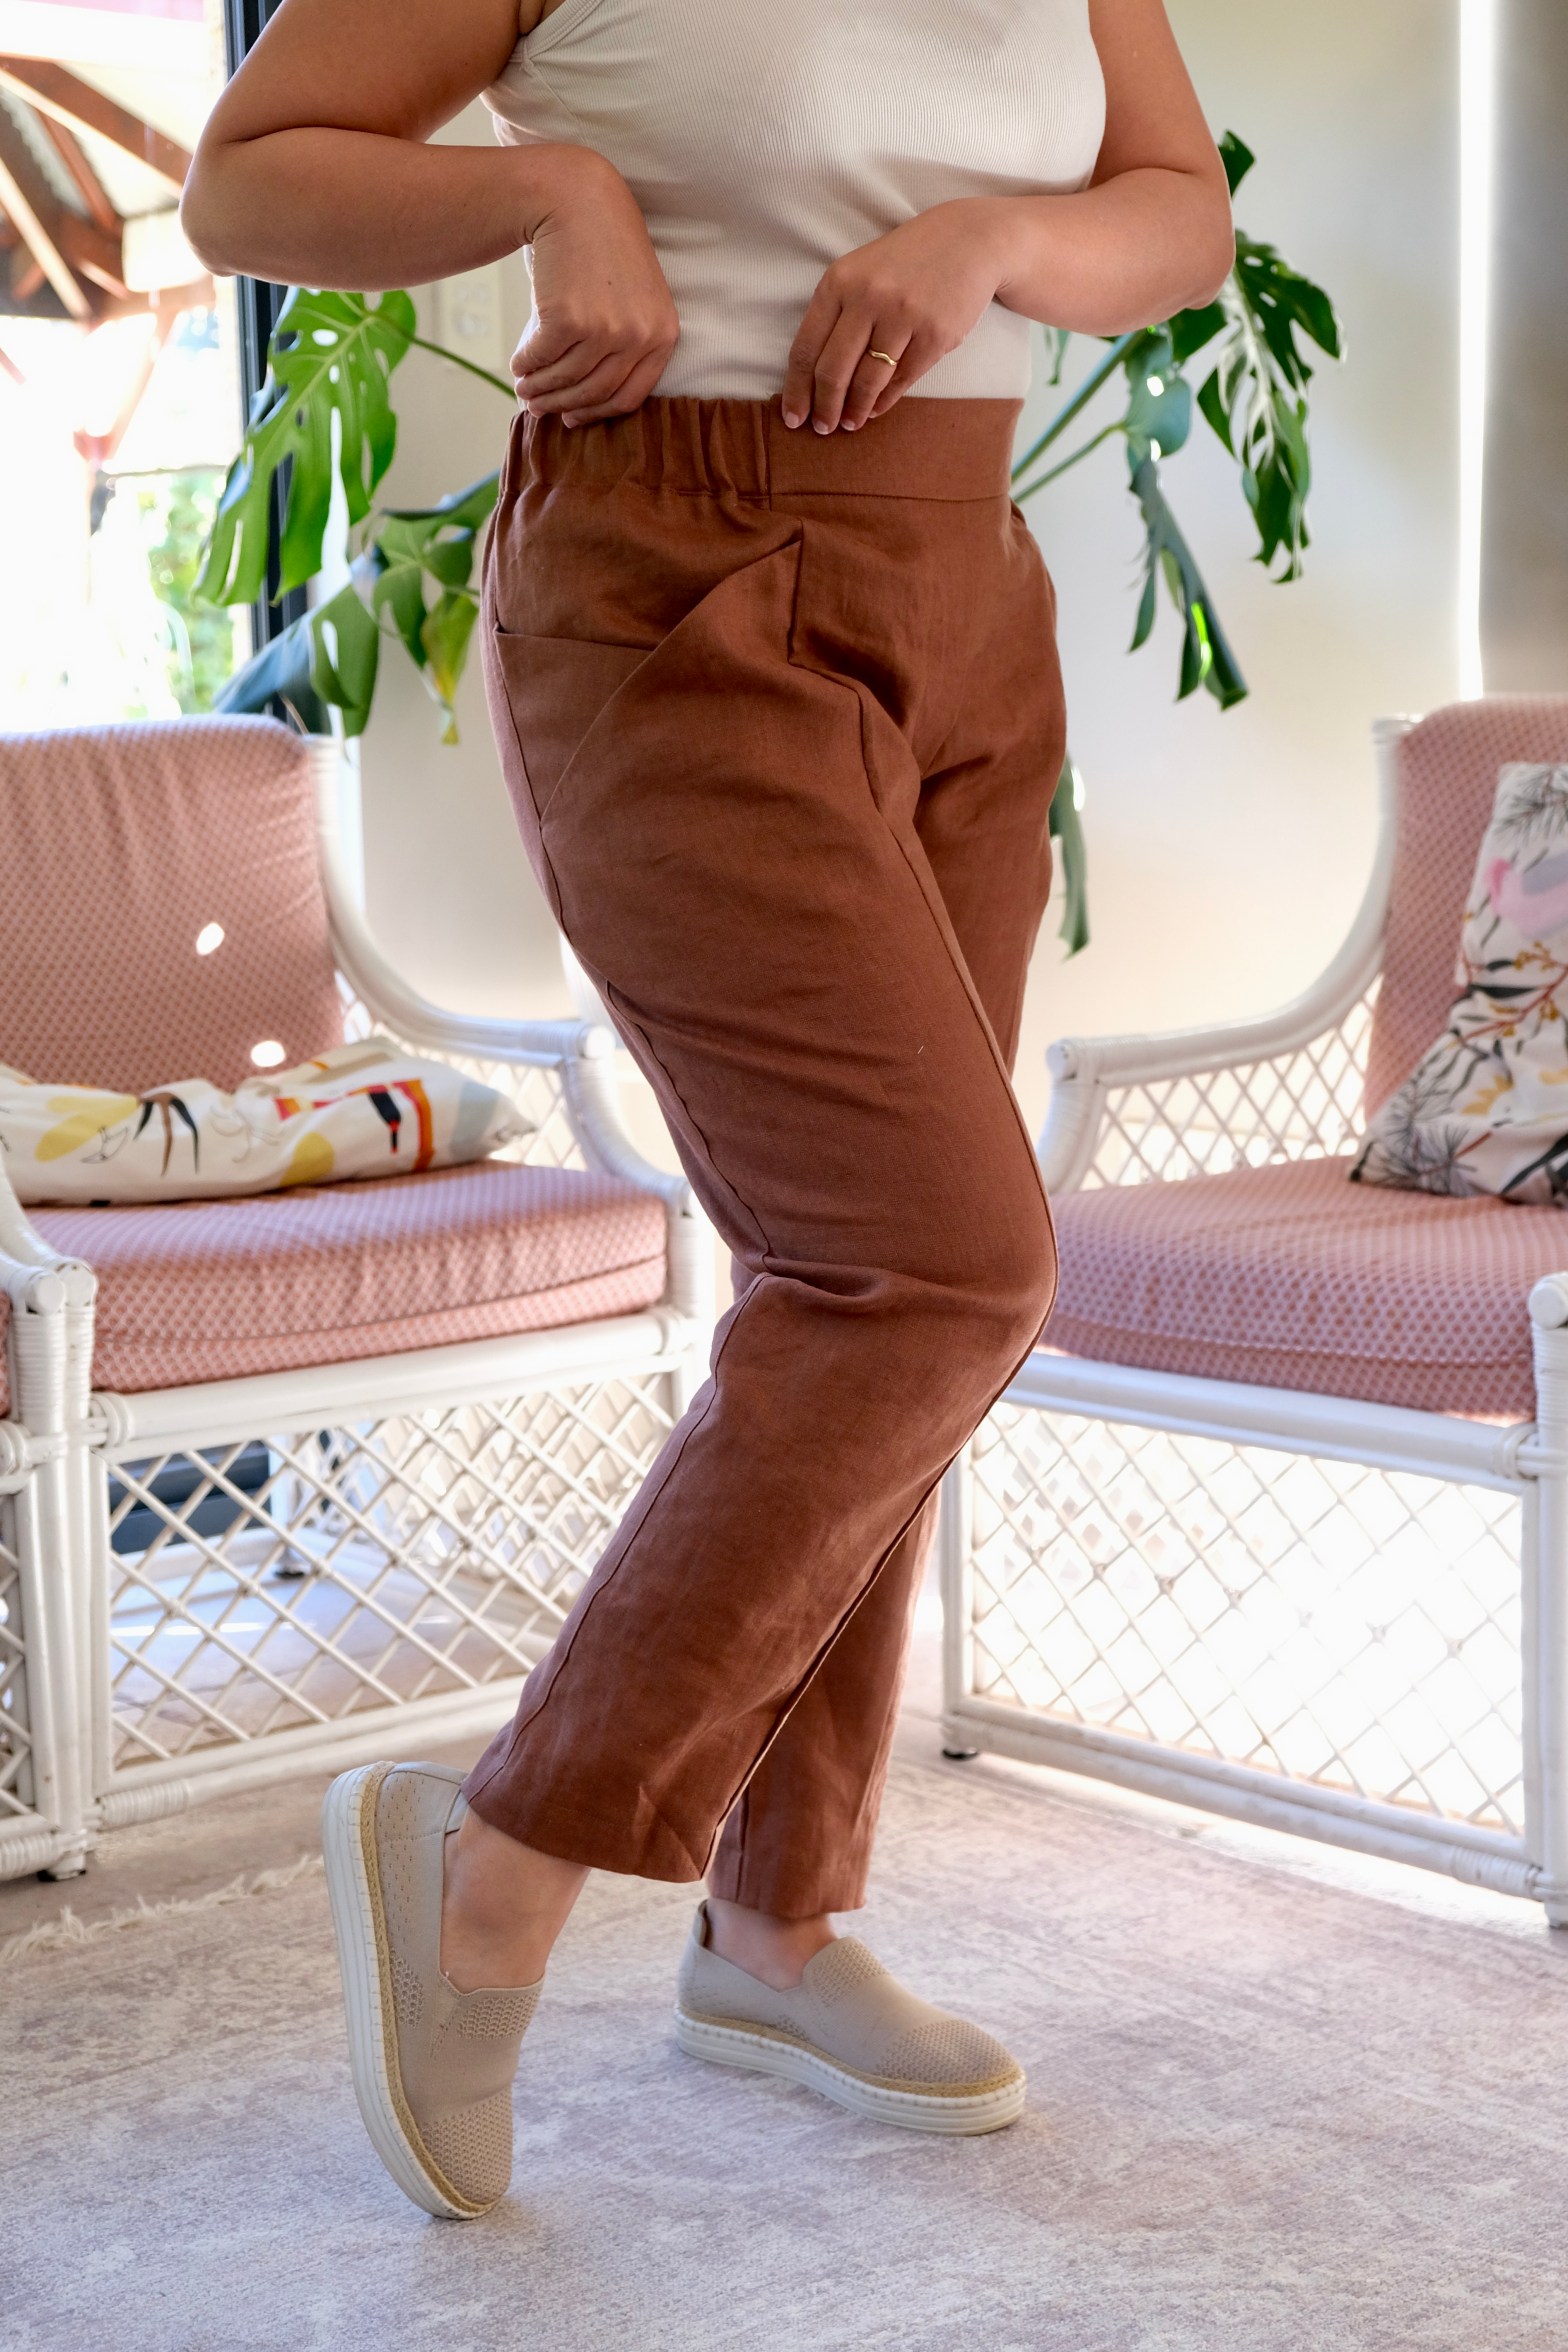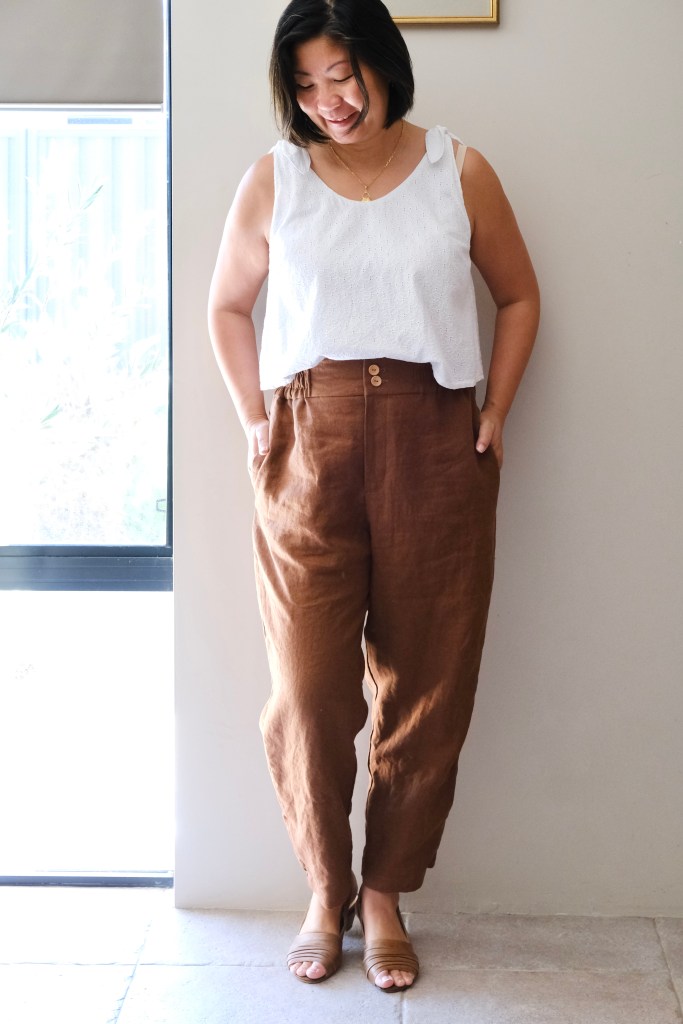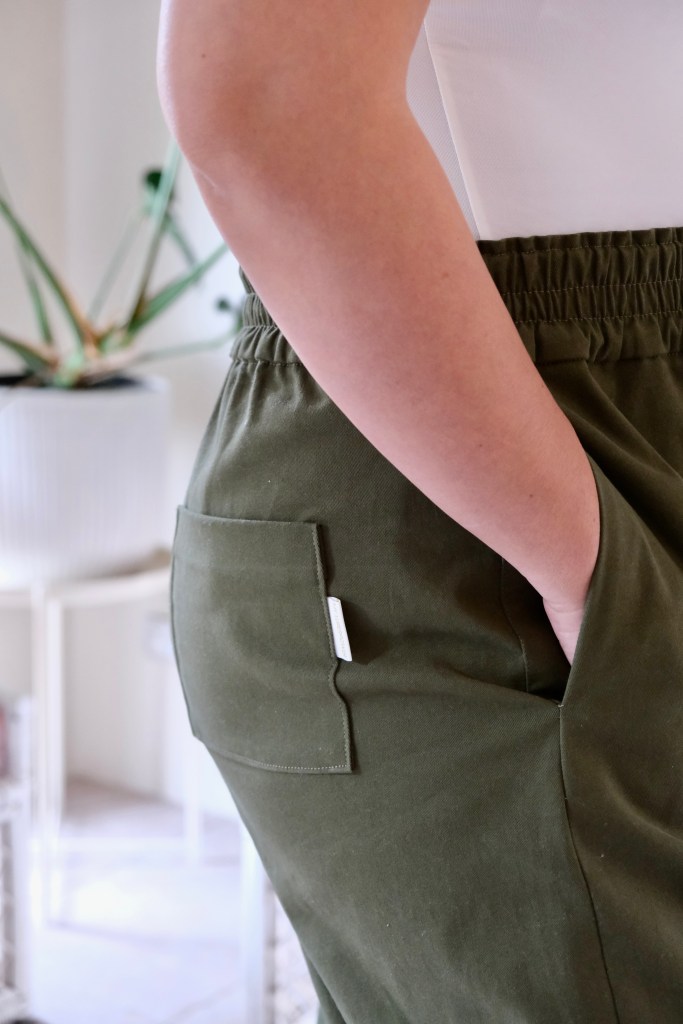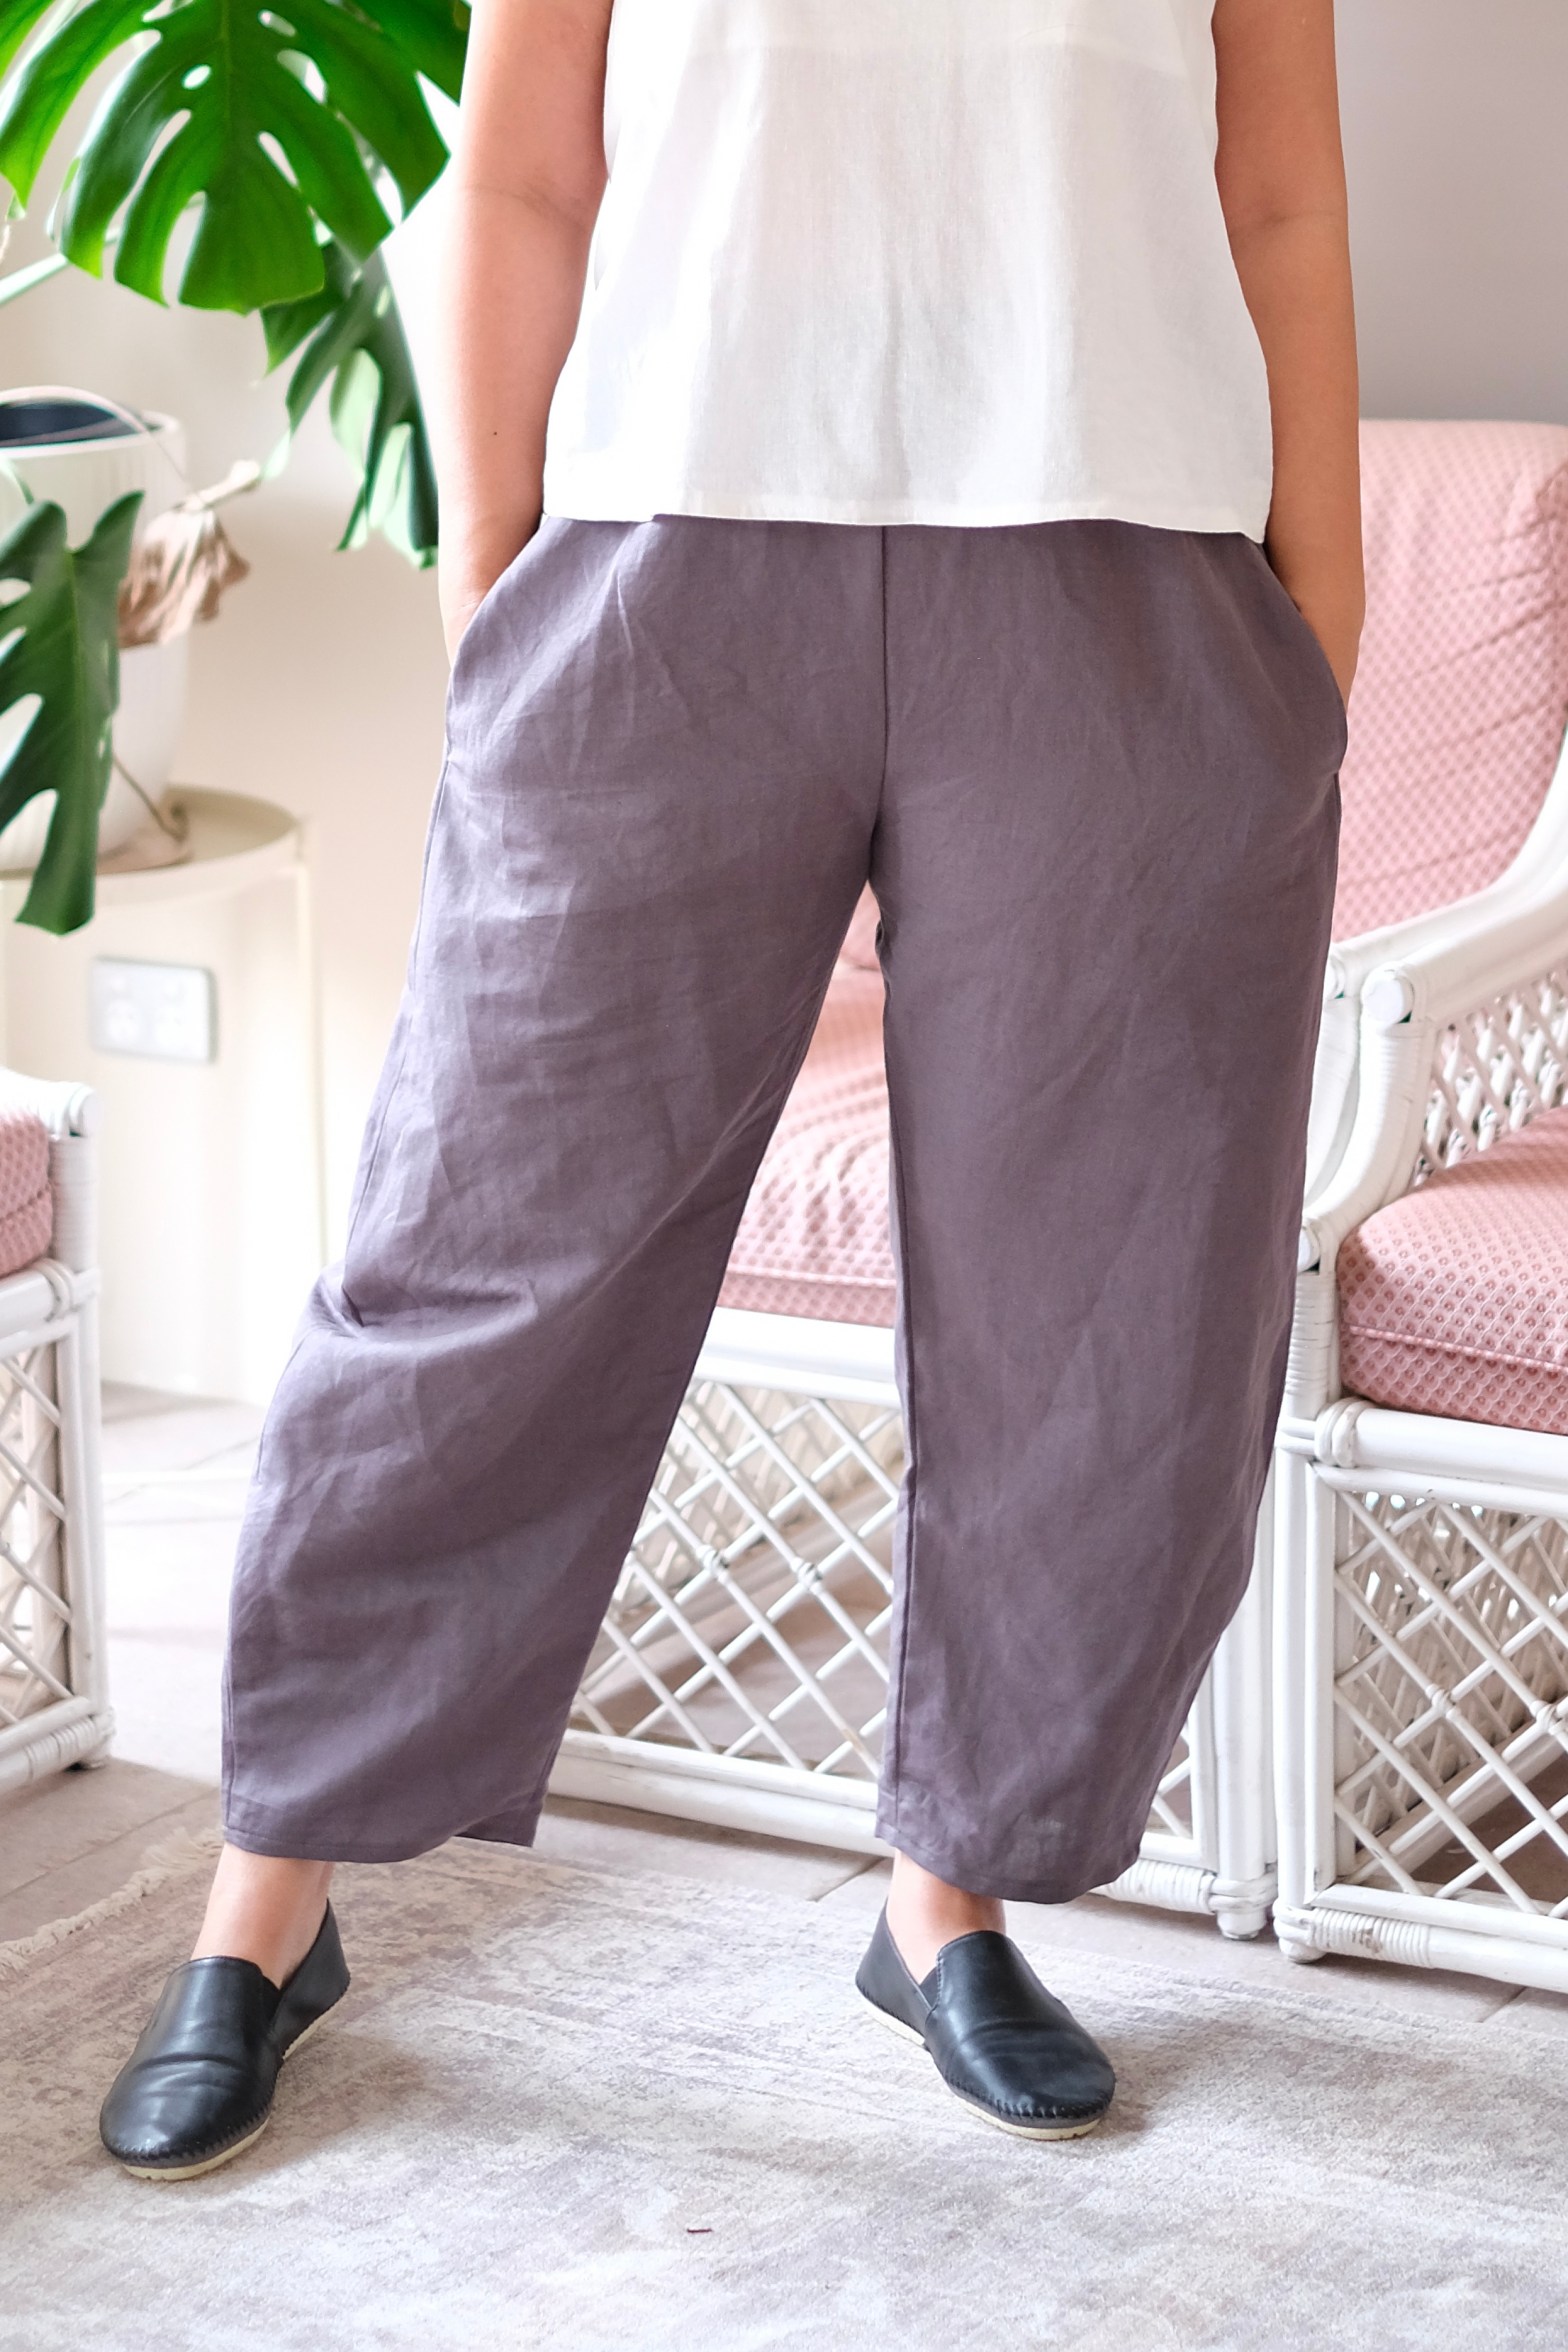
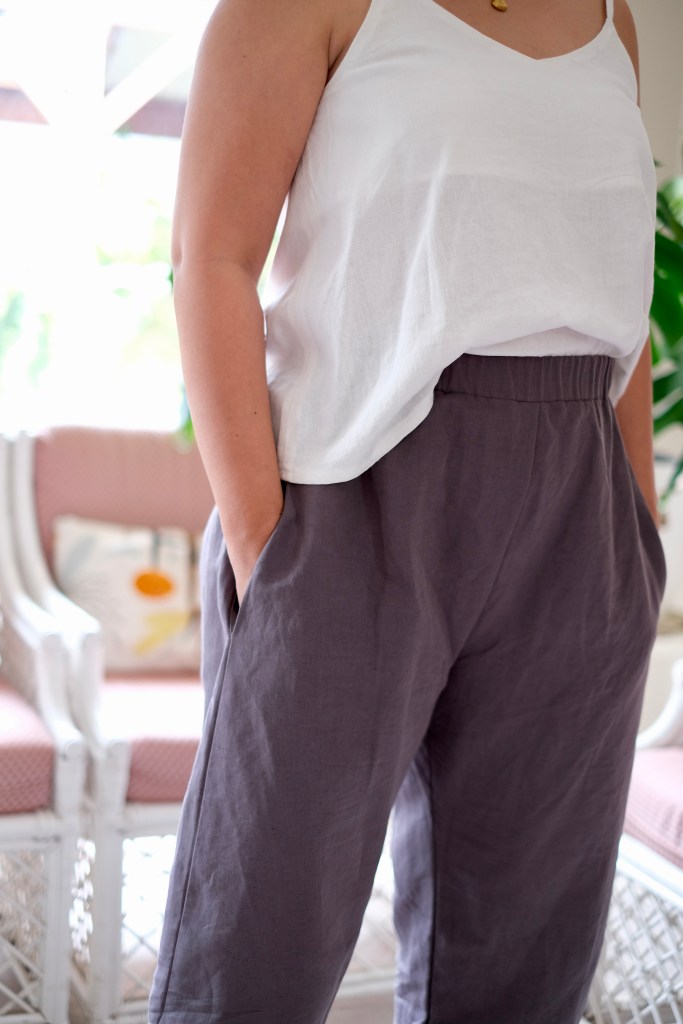
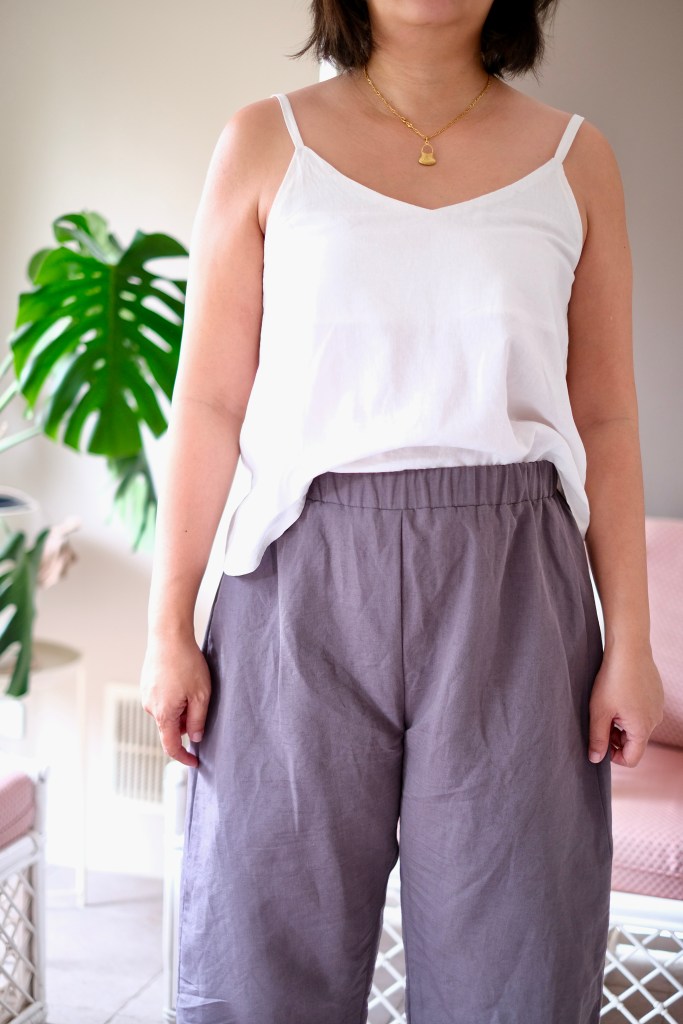
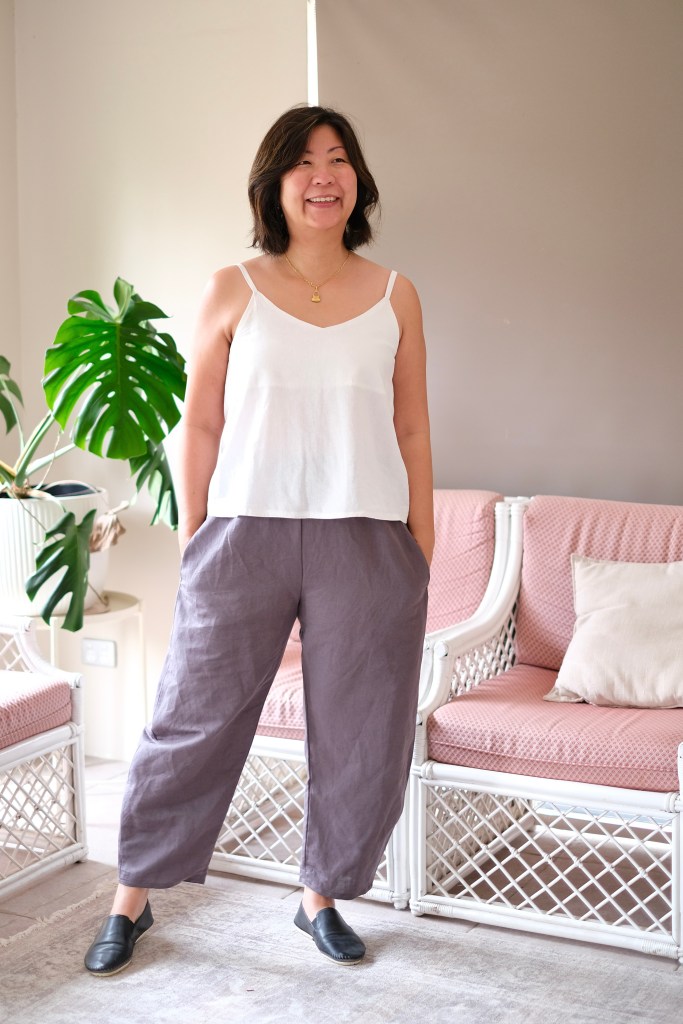
This has been one of those patterns circulating in the sewing community, so I’ve been curious to try it. I’m so happy that I did because I immediately feel like making another pair. The Style Arc Bob Woven Pants are a barrel shaped pair of casual pants with side seam pockets and elasticated waistband.
For my measurements of 33-inch waist and 40-inch hips, I was going to sew the size 14. After a conversation with a sewing friend on Instagram, I decided to sew the size 12 on her advice. It’s very handy to have friends with the same measurements! It was lovely to be able to save time and fabric as I dove straight in without toiling.
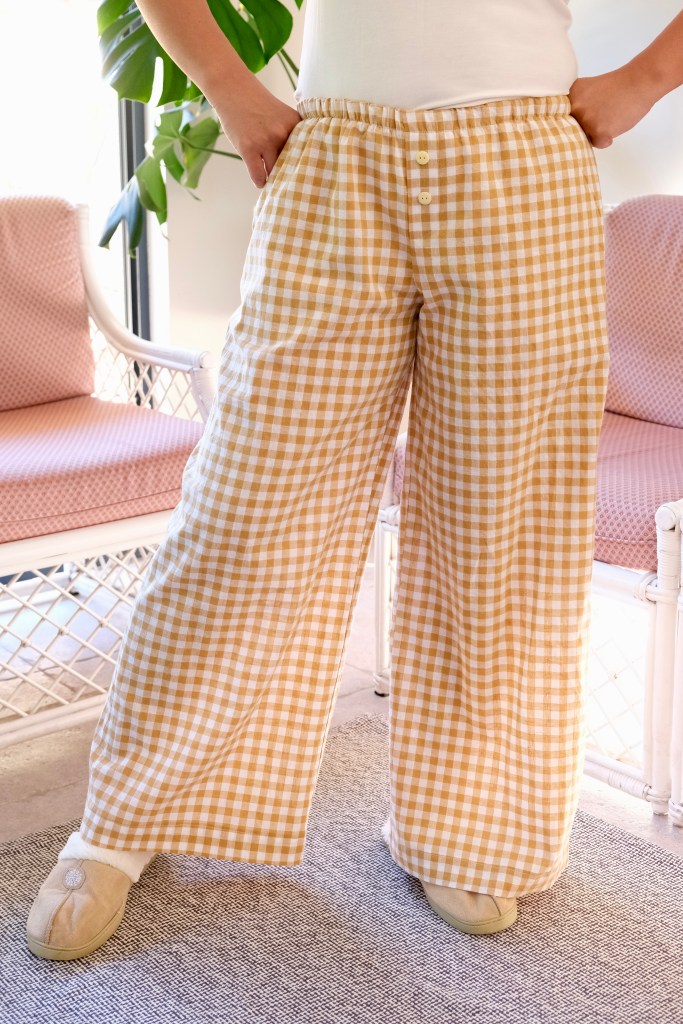
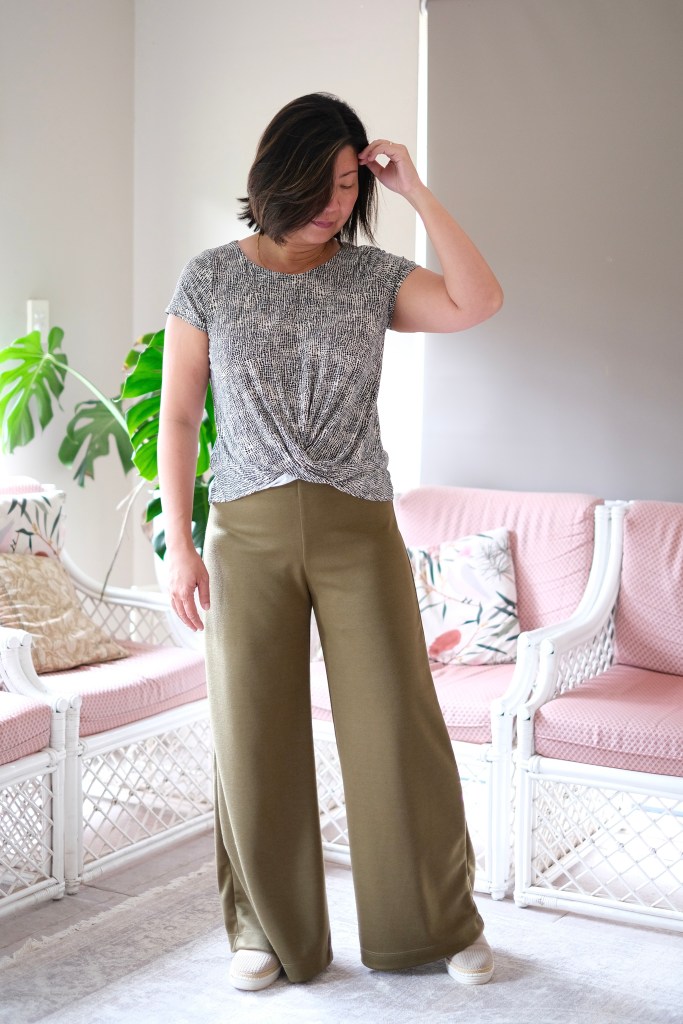
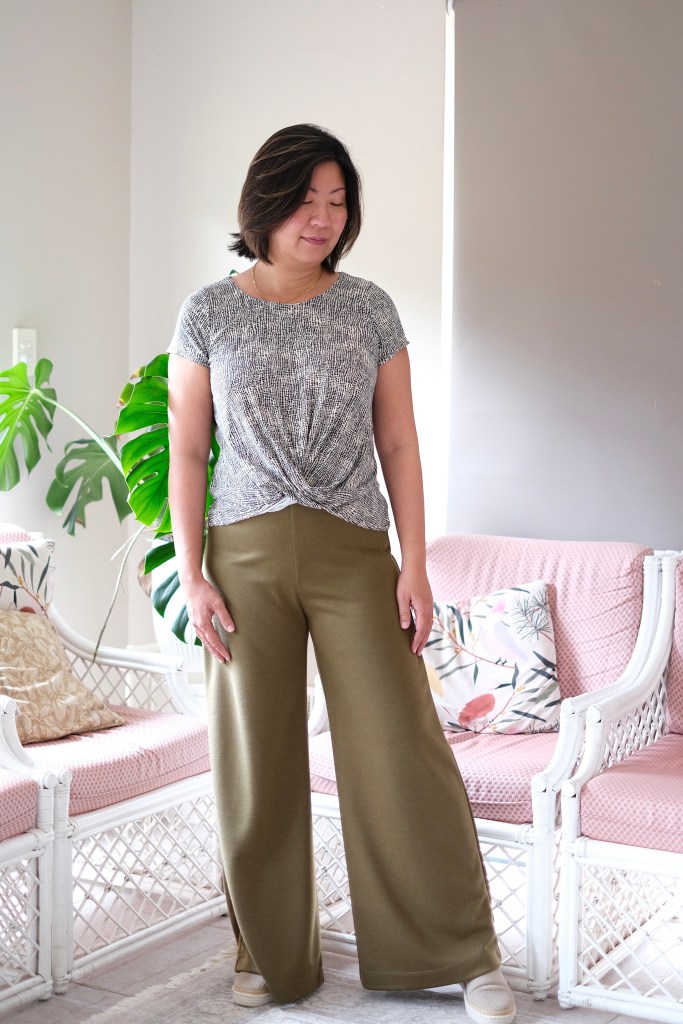
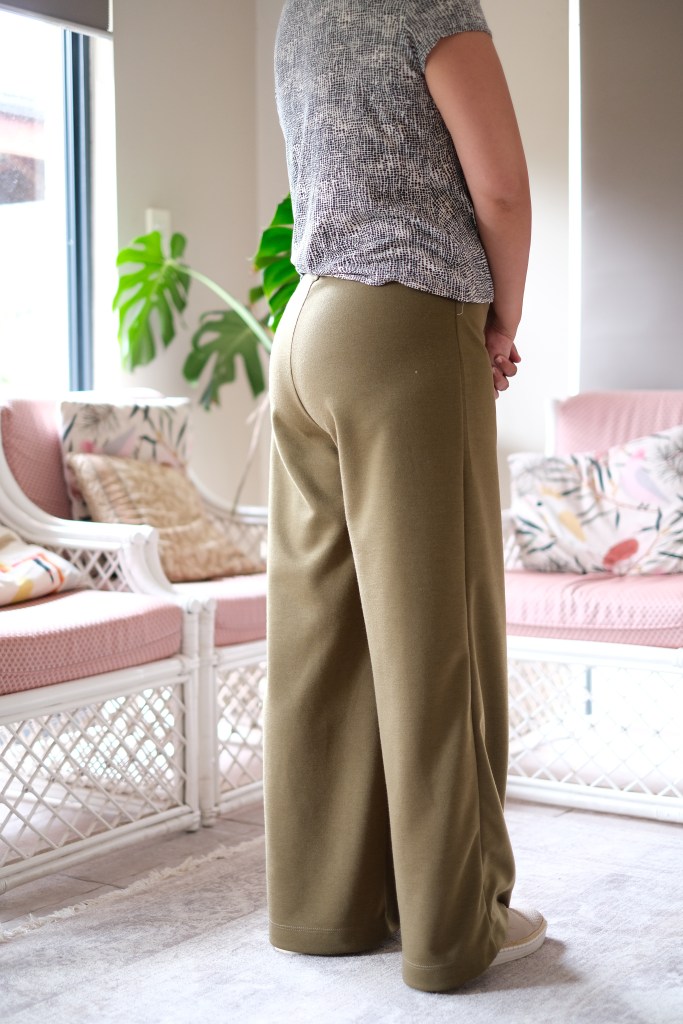
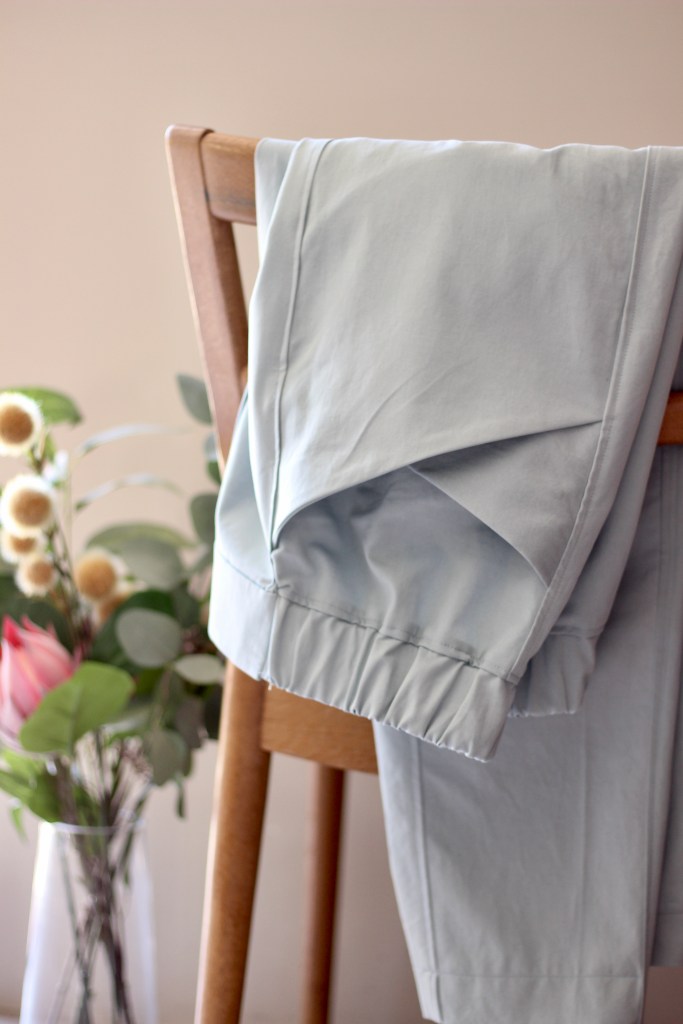
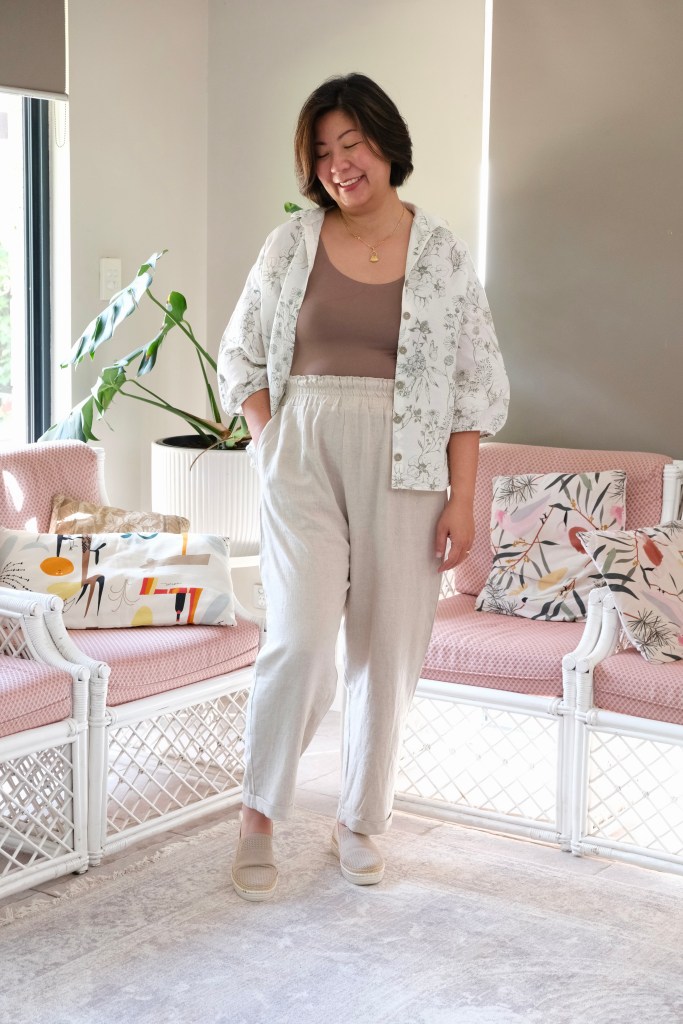
The pattern is for woven fabric, so I went to my local Spotlight to have a look. With great luck, I found the linen-cotton blend on sale! I nabbed a bargain and perhaps a few other meters of fabric fell into my shopping cart. The grey slate cotton-linen is a medium weight perfect for the pants. I wanted something sturdy to try emphasising the barrel shape. I thought, if I’m trying the barrel shape, I really want to see what it looks like. Better to test out from the outset whether this style suits me or not.
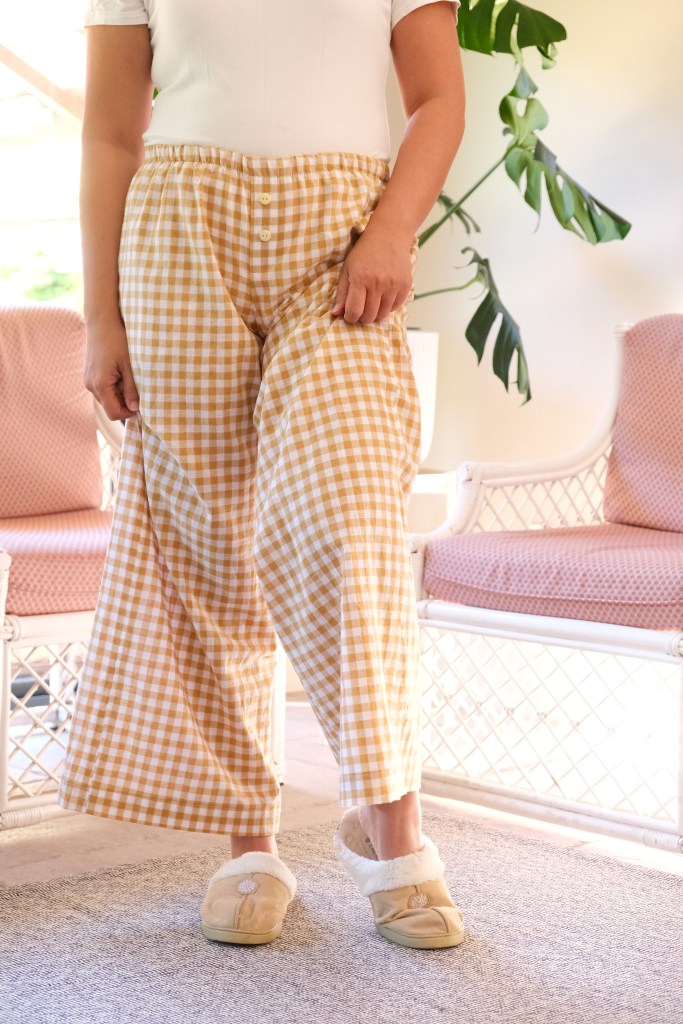
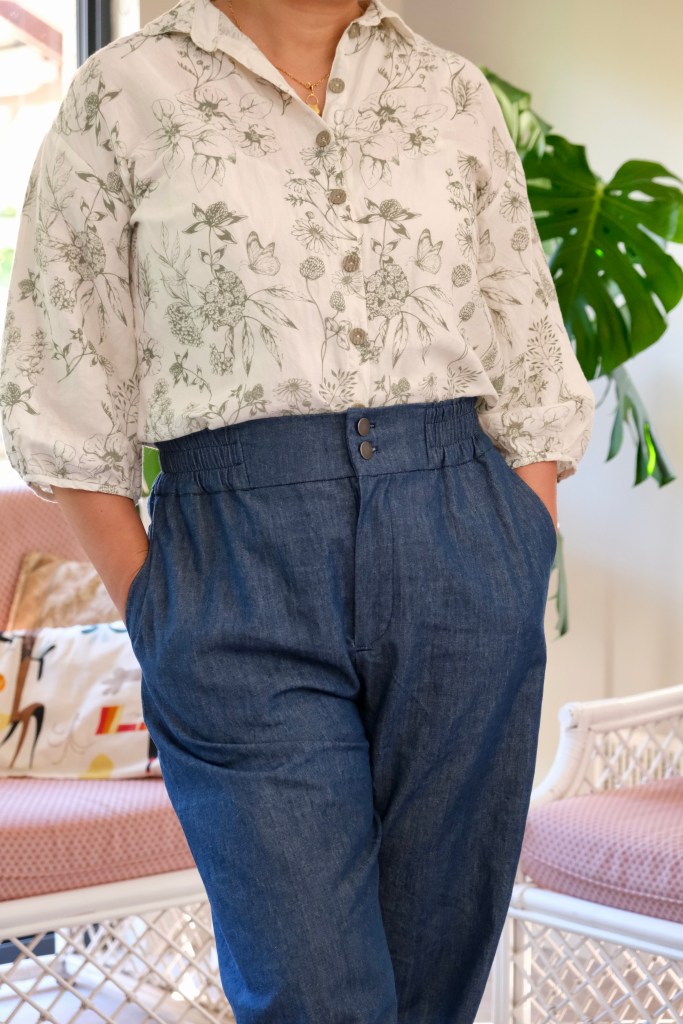
There has been some chatter in the community about the pockets. There are some clever ways of extending the pockets, so they sit under the front waistband. This would prevent them from flapping backwards. I decided to sew it with the pockets as is and it’s been fine for me.
For most past, I followed the instructions as written. The only part that I decided to sew my way was in the waistband construction. The pattern advises constructing the waistband, along with the elastic separate from the pants then attach the two. I felt that my machine would cope better if I attached the waistband first. So, I attached the waistband without the elastic. I then sewed the waistband closed leaving a gap of 10cm so that the elastic could be inserted. Once this gap was closed off, I finished the waistband seam on the overlocker.
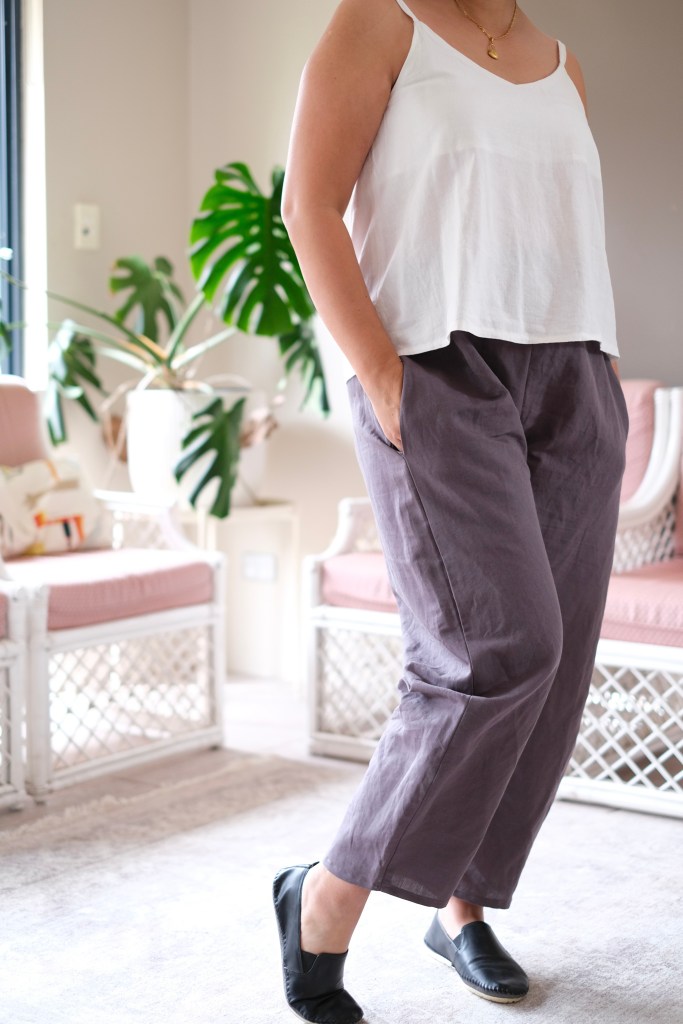
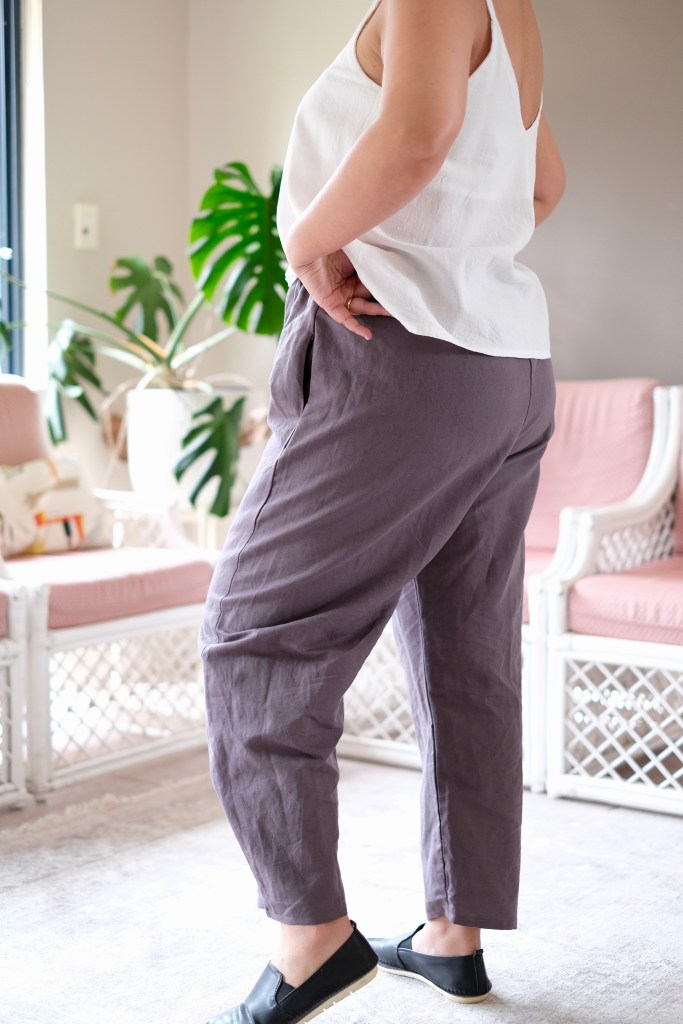
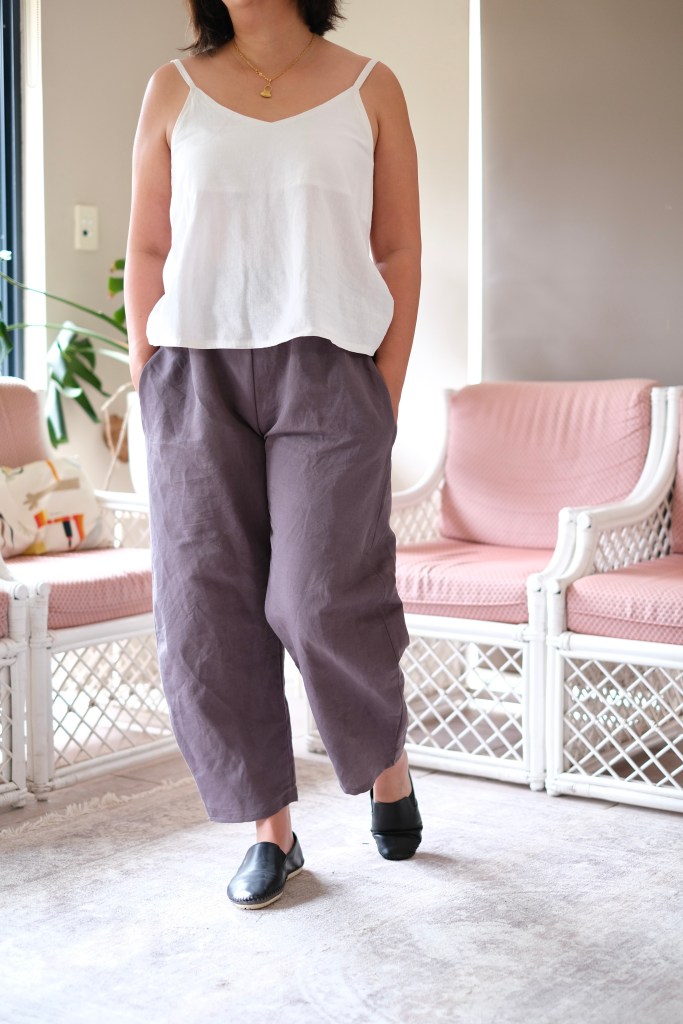

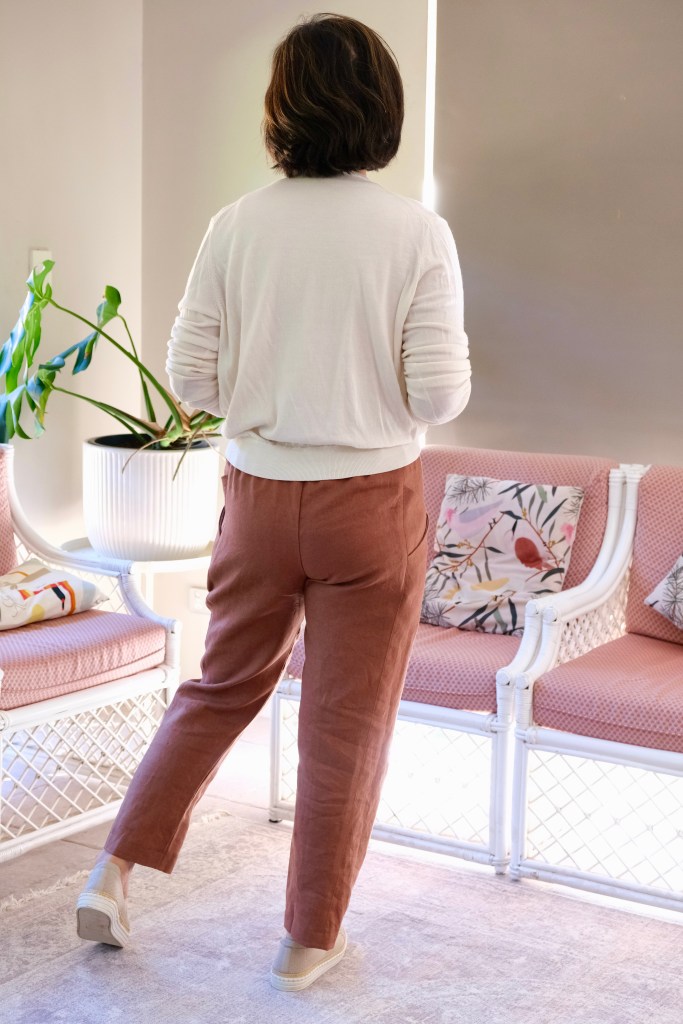
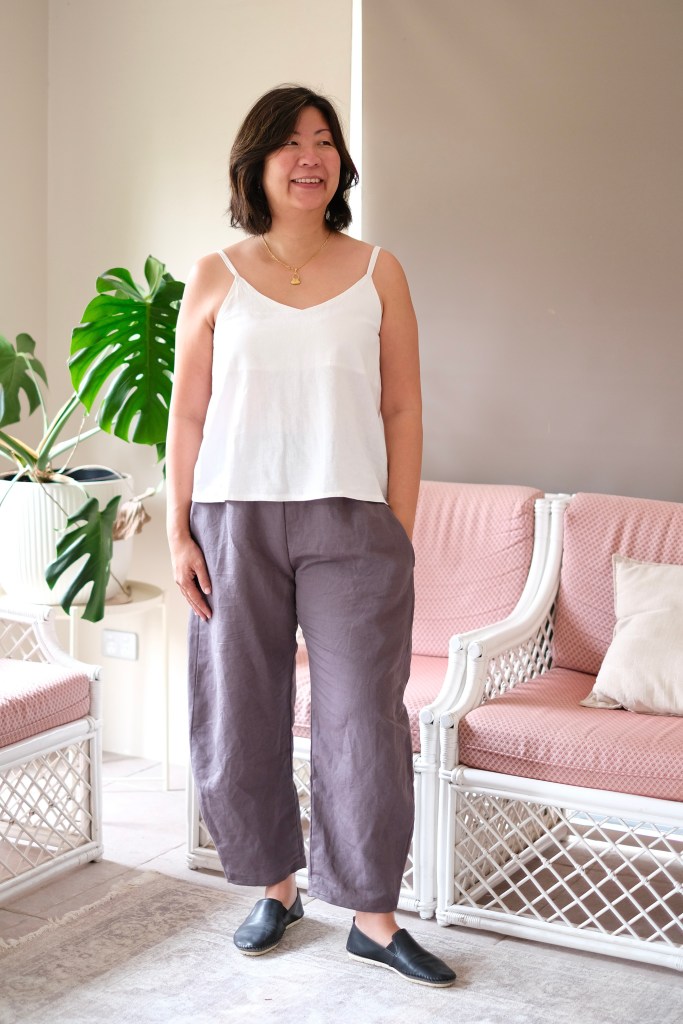
This is my first try of the trend for barrel shaped pants and I can see why the design is such a hit. This is one of the most comfortable pants I’ve ever made. I love the way the voluminous legs taper down at the ankles. I read somewhere that it’s inspired by French workwear and riding pants. I’ll now be on the lookout for a barrel shaped jeans pattern. This is my first Style Arc patterns. I was nervous about my capacity to figure out the brief instructions, but I found the pattern instructions are more than adequate and the whole process was so enjoyable. I also love that Style Arc has bonus patterns included with each purchase. I have a few more patterns I’m keen to start now. In the meantime, I’ll be reaching for my Bob Pants as much as possible.
Thanks for reading and happy sewing!
x Em