Grace Trousers

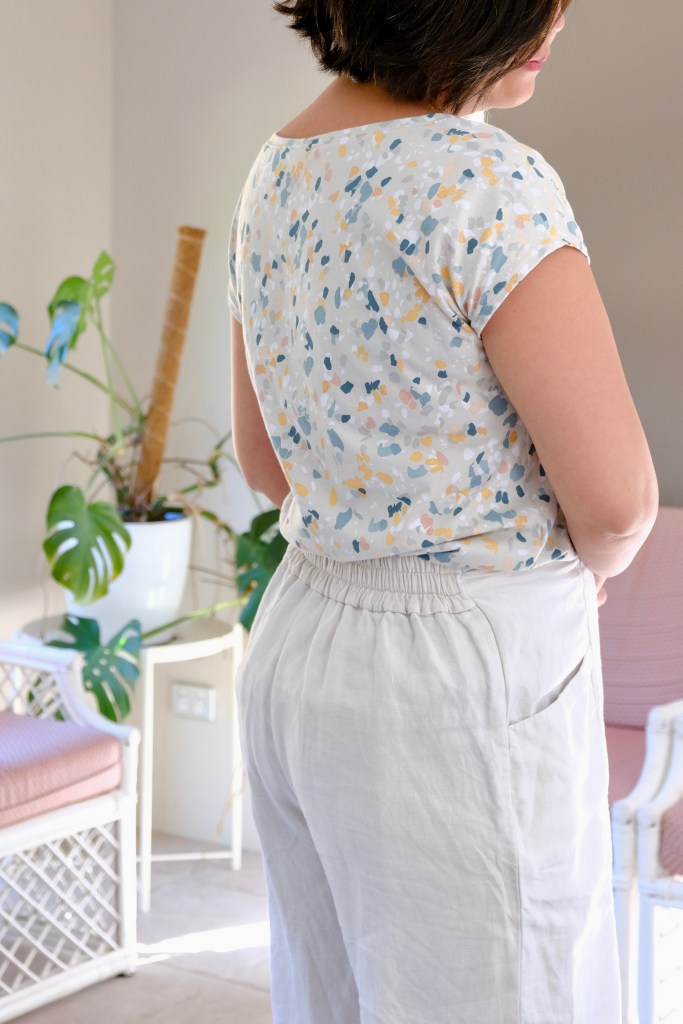
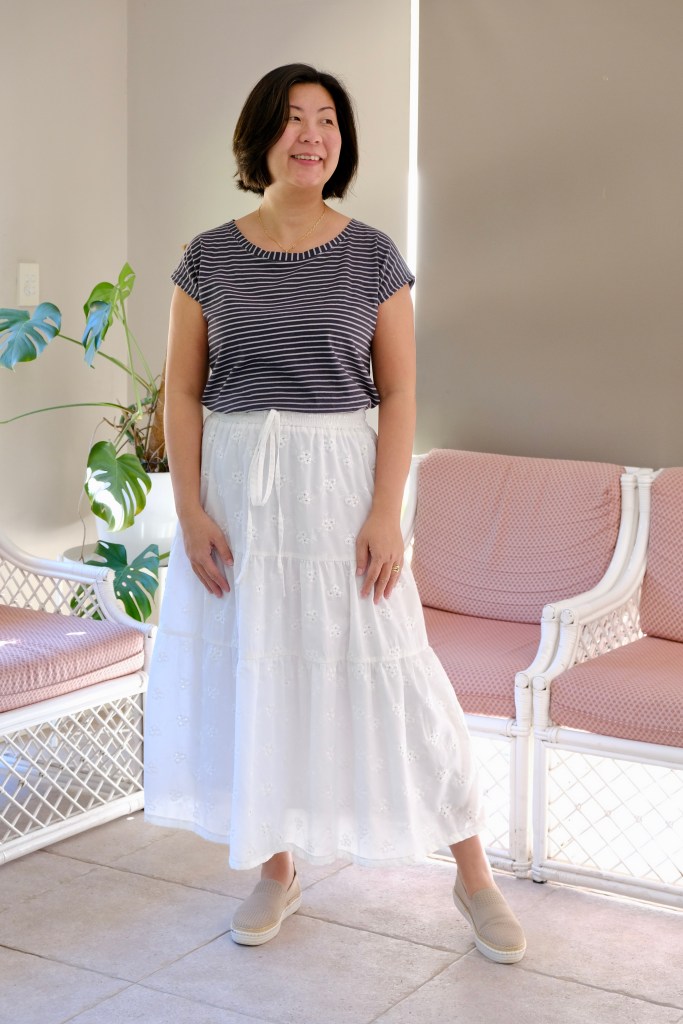
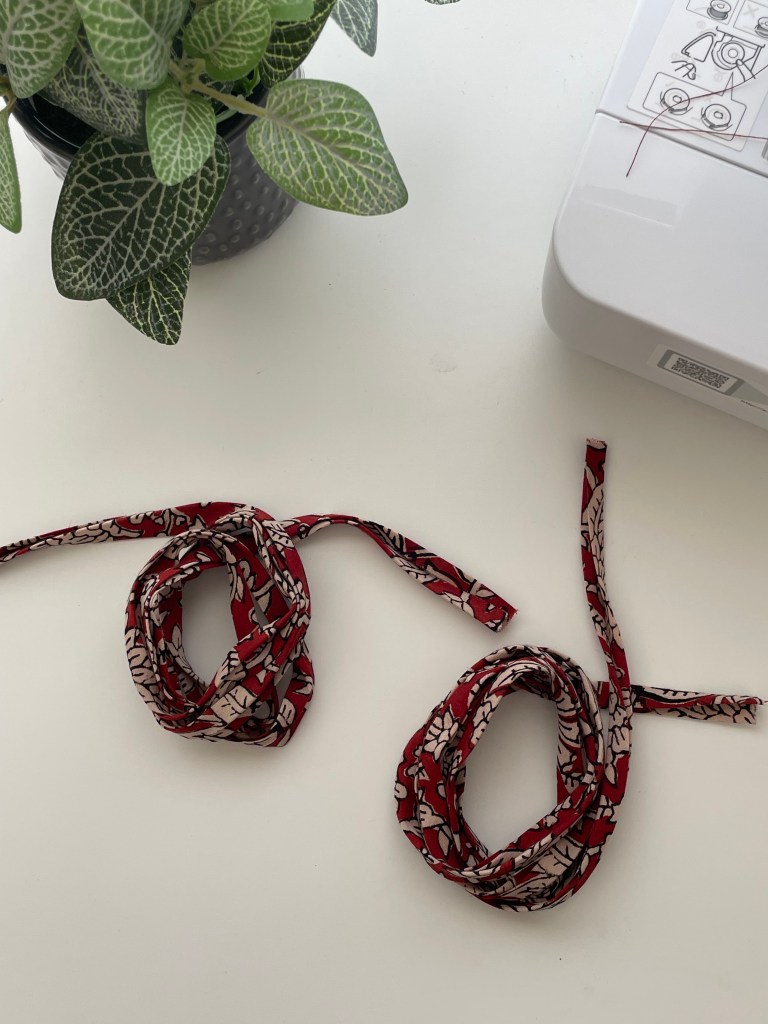
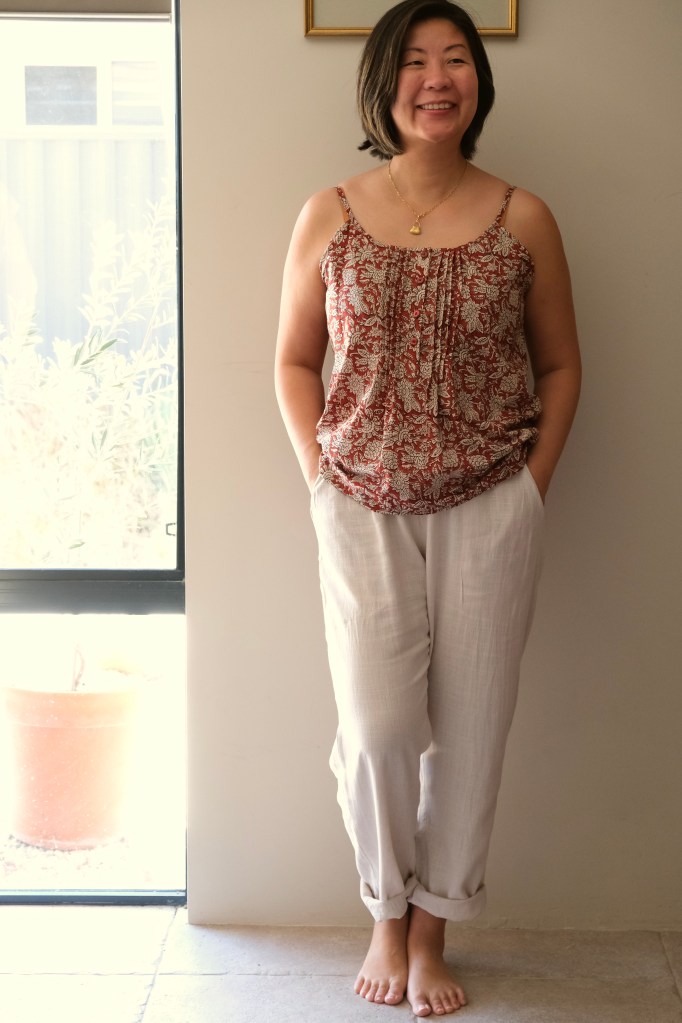
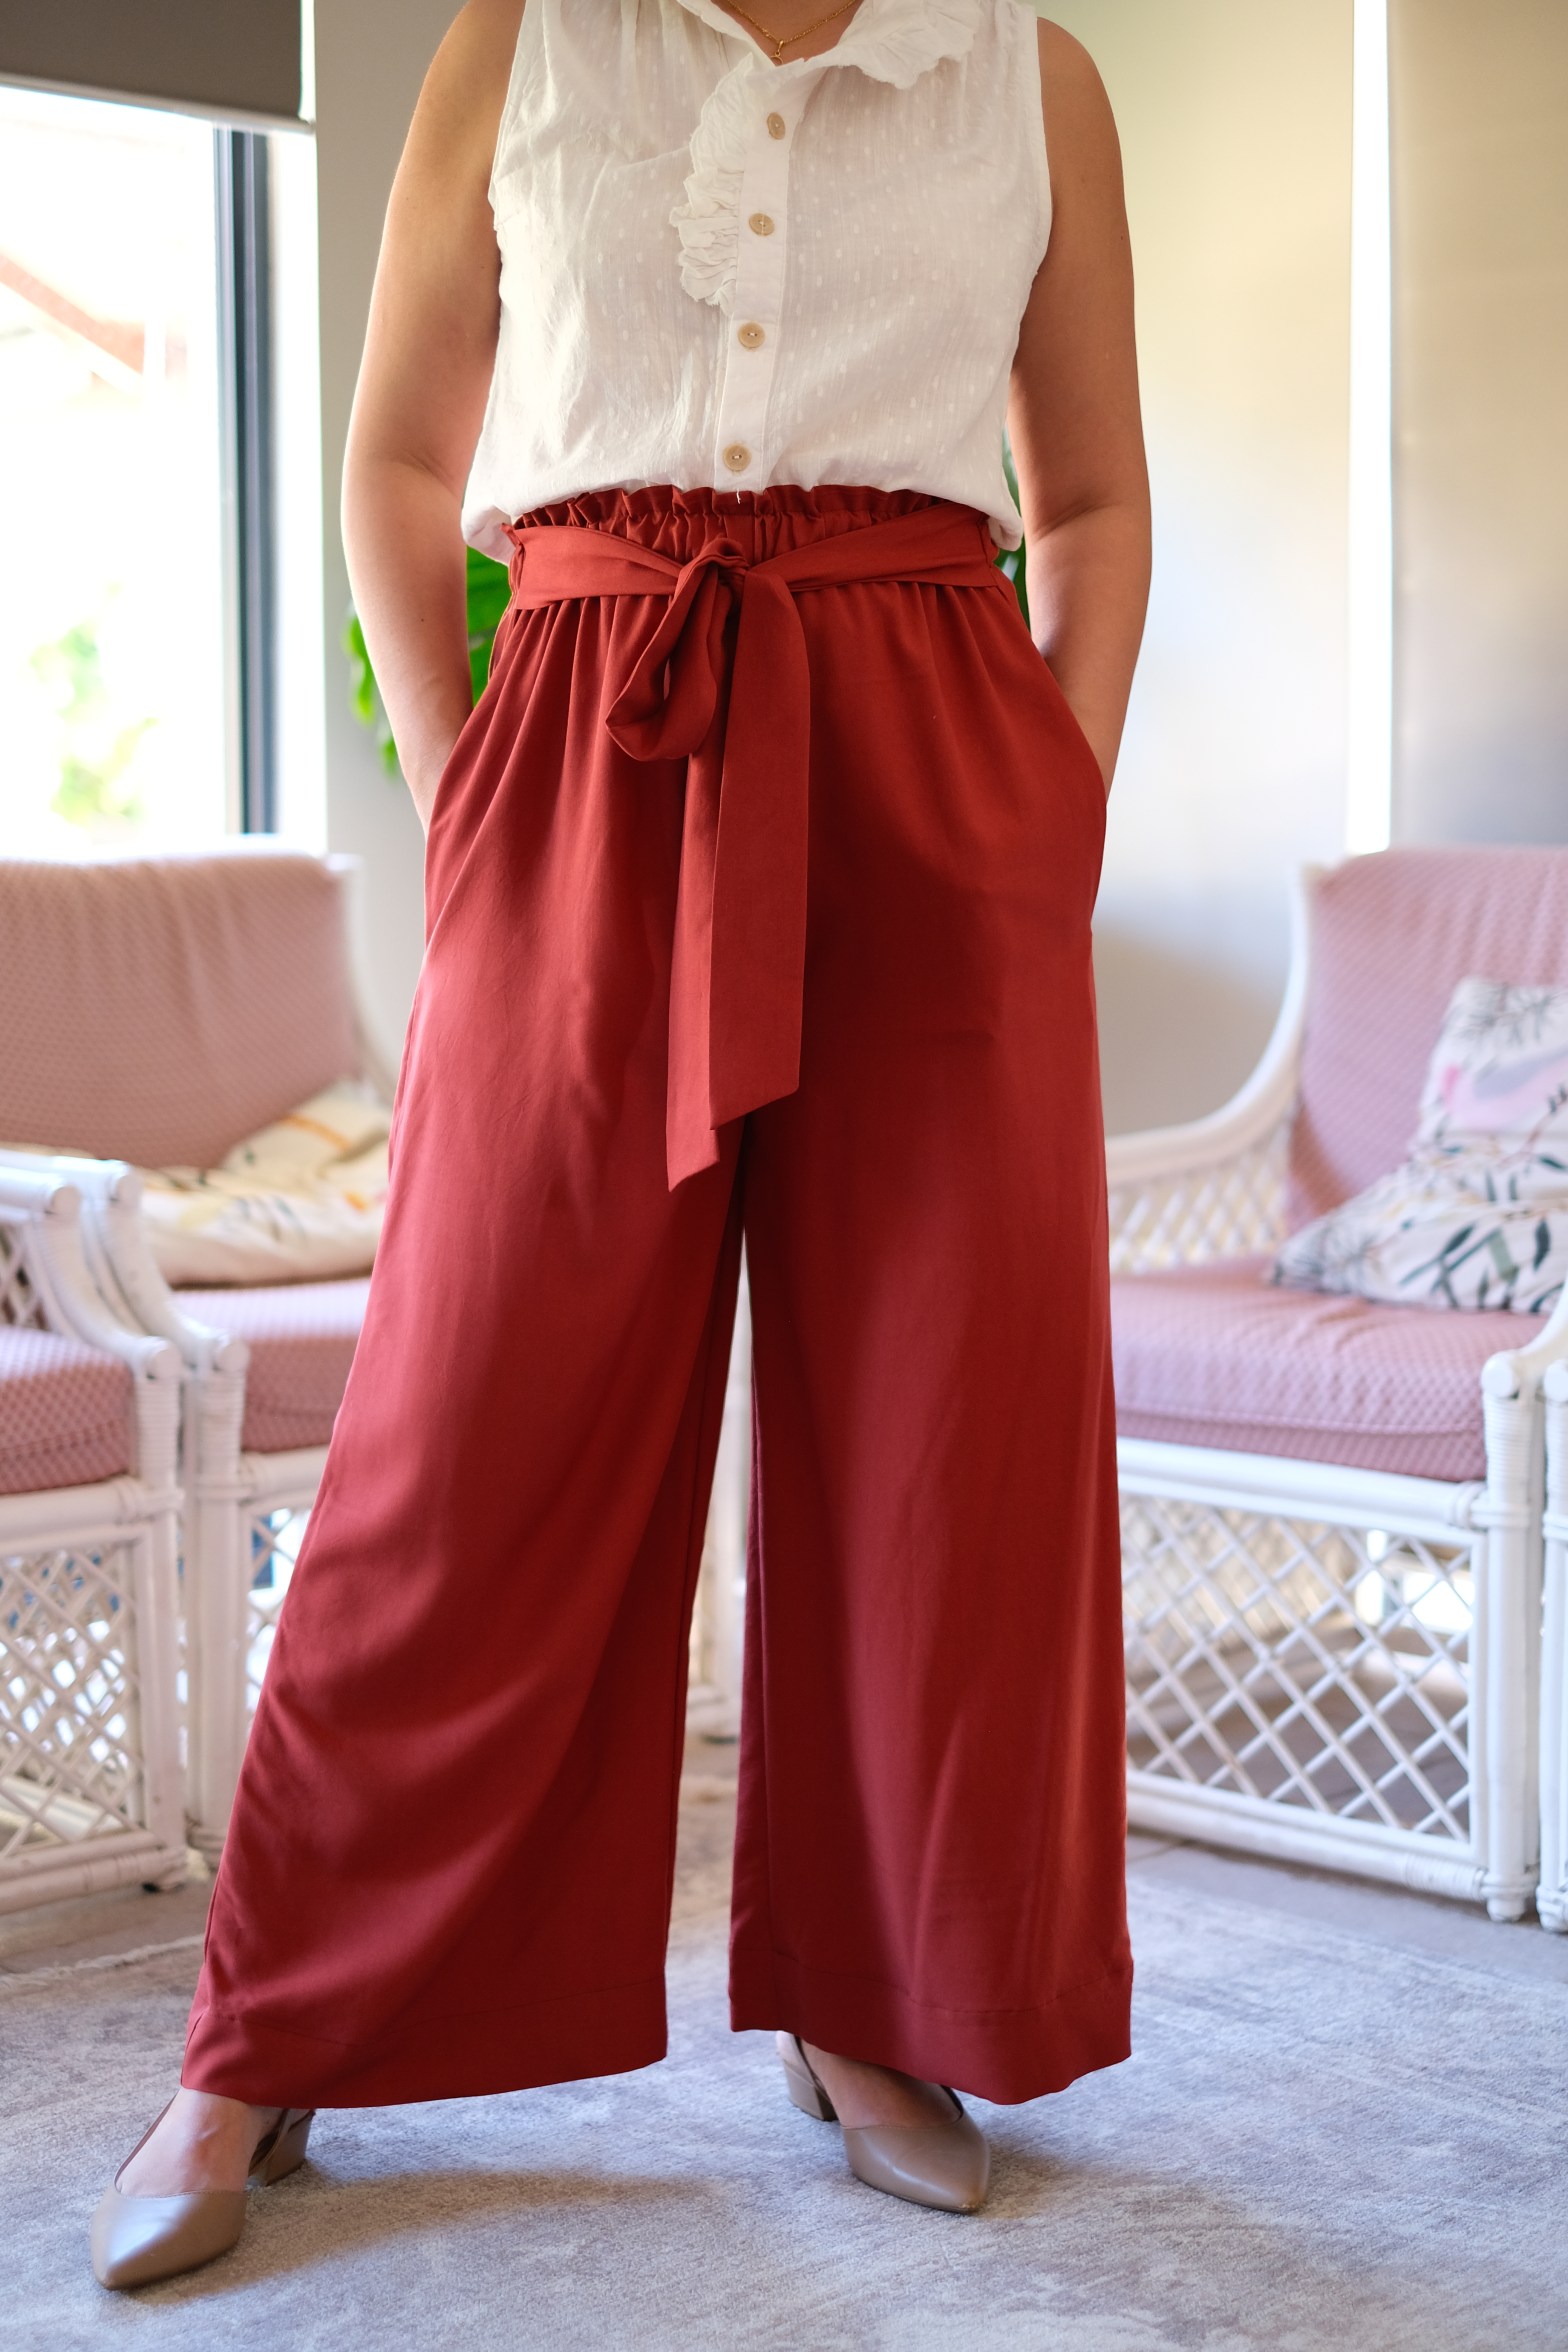
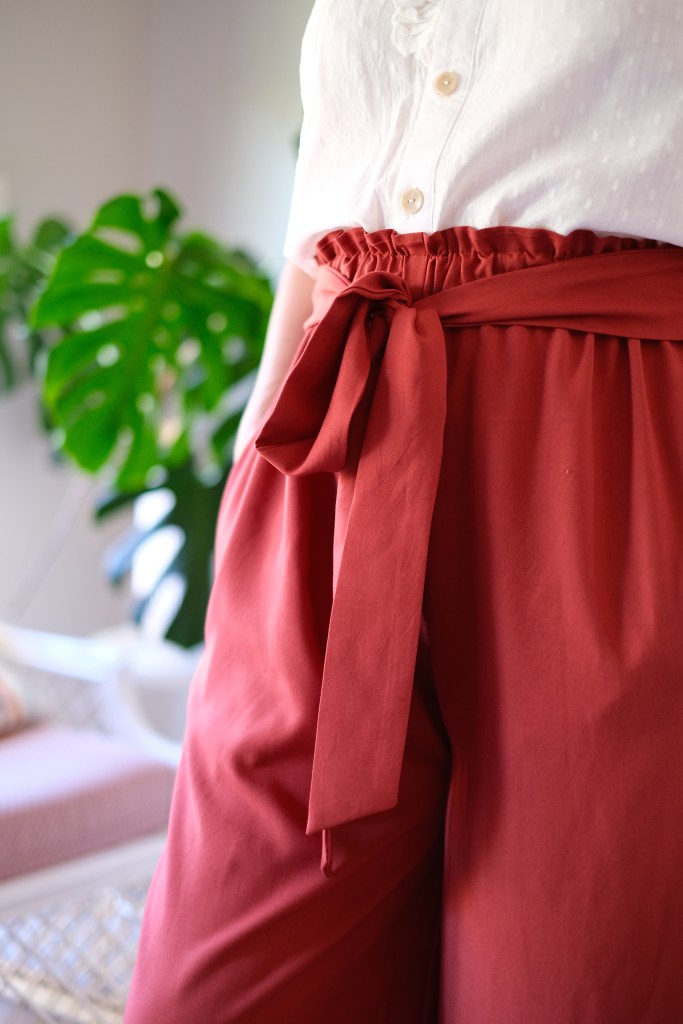
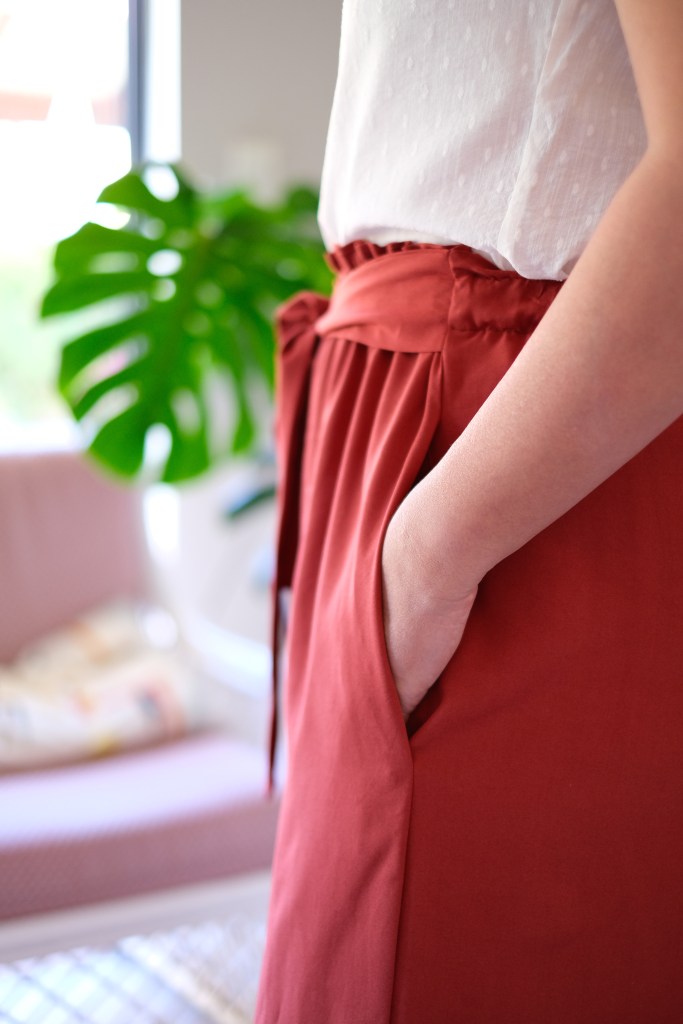
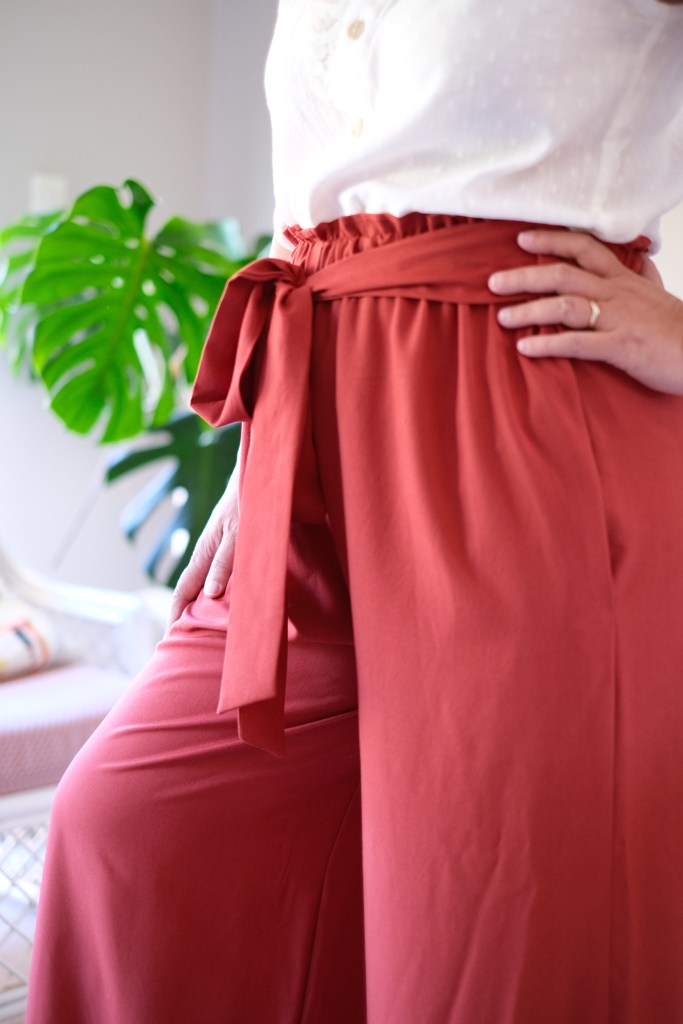
Summer is almost here, and I really need to cover some gaps in my wardrobe. I love dresses but I needed some tops and pants as well. This year A Sewing Life released their first apparel pattern. It was exactly what I was looking for. The Grace Trousers is a relaxed fit, flowy design with elasticated paper-bag waistband. It has a sewn-in tie belt in the front. It’s going to be so comfortable wearing these in summer.

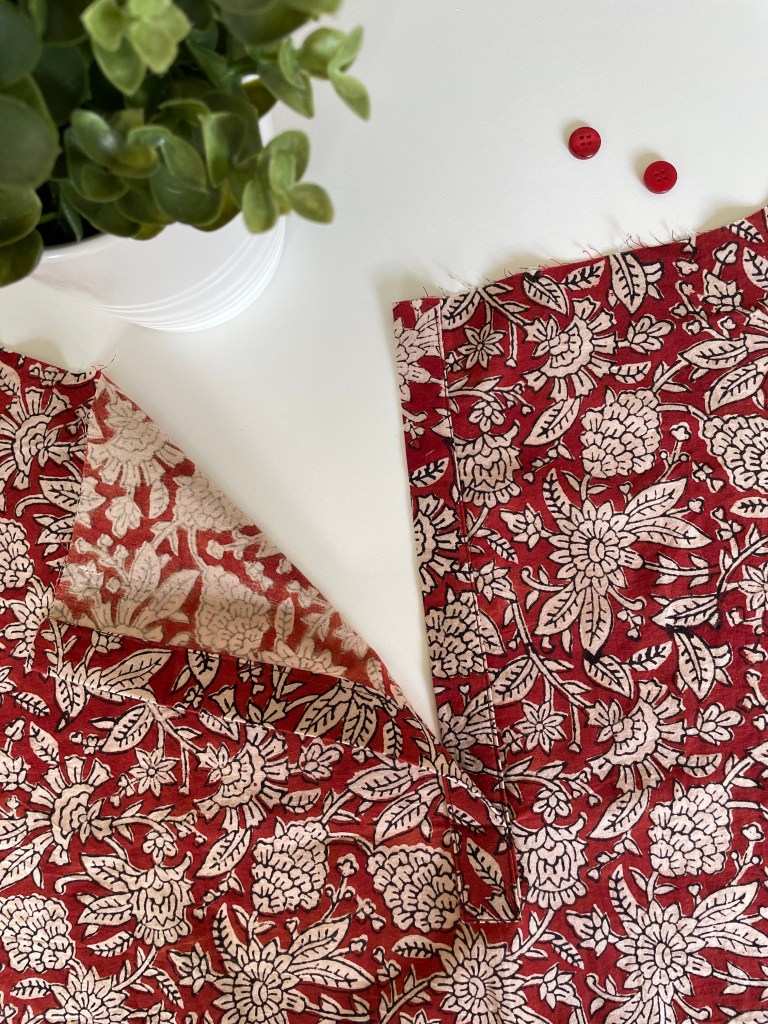
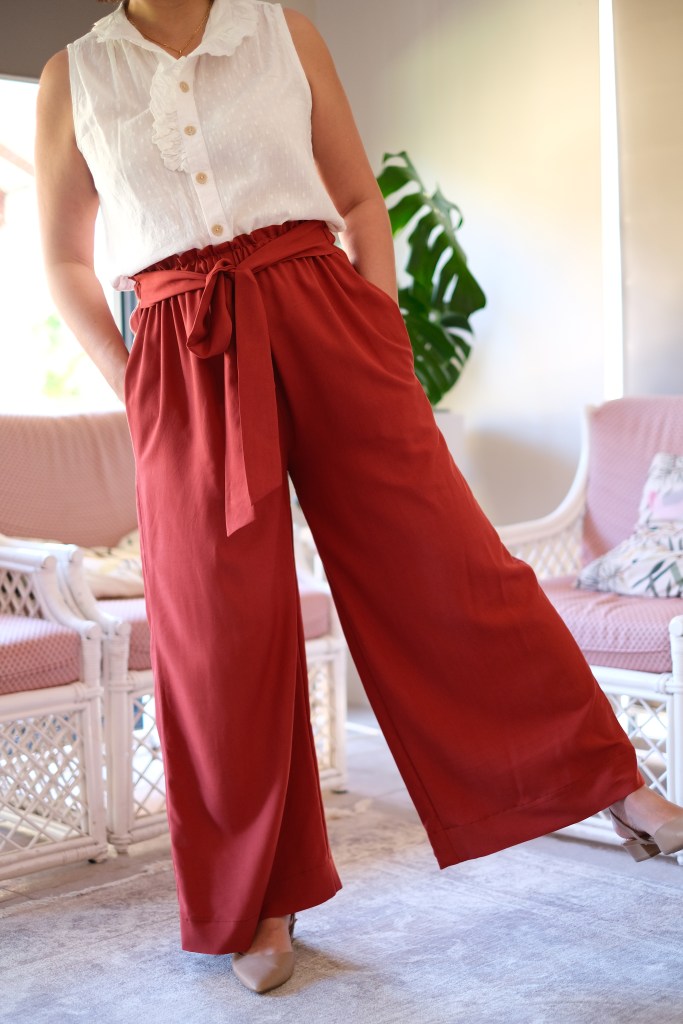
When I bought the pattern, Lisa was kind enough to chat to me about fabric choices. The pattern is designed for woven fabric but needs something with a fair amount of drape. I wish I could afford silk but instead, I found some rayon which is known to be the poor man’s version of silk. I was happy to find 3 meters of this solid brick coloured rayon at my local Spotlight store. I think the solids will be a good match for some of the colourful tops that I’ll be sewing for summer.

My sizing fell between the Size 14 and 16 with my waist measurement of 33-inch and 40-inch hips. The fit instructions were to go with the bigger measurements but due to the ease in the pattern and the front rise measurements provided, I decided to sew the Size 14 without grading. I did a brief toile of the short version which helped me decide to stick to the size 14.

I couldn’t figure out from the different versions that I checked out on Instagram whether these pants were mid-rise or high-waisted. I love wearing everything high-waisted, so I’ve sewn mine to fit that way. I moved my belt ties up by 1cm to help lengthen my front rise. I’m not experienced with pants adjustment, but I thought this was just a simple way of adjusting the rise. I then had to sew the waistband down at 5cm not 6cm and when I stitched the waistband to make the ruffle for the waistband, I sewed it at 5/8-inch instead of 3cm. This probably doesn’t make sense unless you’re looking at the instructions of the pattern.

Speaking of instructions, they’re excellent. I think Lisa runs sewing classes, so everything is labelled and explained in simple terms. I think even without any sewing knowledge, you could easily understand the instructions and they have photos accompanying every step. One small part of the instruction which I would recommend revising is the first step. It says to overlock at the beginning however, the pattern pieces have notches that stick out in little triangles. Some patterns have lines which you snip into the fabric, but the Grace Trousers uses the method of cutting out from the main line of the fabric. If you serge the pieces then you would lose the notches, so I finished the seams only once the seams were sewn. I only mention this as the pattern is for absolute beginners.

My height is 167cm so with the provided measurements for inside leg and outside leg, I knew that I would have to shorten the pants. I just cut from the bottom by 2 inches. I left the extra length when I was cutting my fabric and only adjusted the pants when I came to hem them. I could have shortened the pant legs by more than 2 inches, but I wanted to sew a deep hem to weigh down the bottom of the trousers.

I’m very happy with my new summer pants. The Grace Trousers will get a lot of wear and I can’t wait to start matching it with some colourful tops.

Thanks for reading and happy sewing!

X Em

Avril Dress

So much to unpack with this one! I was so lucky to receive 3 meters of Lyocell Denim from Devonstone Fabric and so I immediately started to look for the right pattern that would match this beautiful fabric. Though denim is usually associated with toughness and thickness, this denim is composed of 65% Lyocell, 16% Polyester, 17% Rayon and 2% Spandex. It’s only 5oz in weight which makes is lightweight and gives it a drape not usually associated with denim. It’s so super soft to wear.

A few patterns came to mind like the Grace Trousers which is a paper-bag waisted pant pattern from A Sewing Life which suits mid-weight fabric with drape. I was also tempted to make another True Bias Quinn Vest Dress which needs fabric with structure. Whilst I was searching, I came across a designer who is new to me called By Galia Patterns (Galia Stoianova). I fell in love with her designs straight away. I would describe her designs as romantic and feminine with timeless charm. The pattern I went with in the end was the Avril Dress which is a beautiful button-down dress with an A-line skirt. I chose the short sleeves with folded cuffs and the front patch pockets.

So, new pattern and new fabric. You’re going to think I’m crazy when I say that I didn’t make a toile. I just found Galia’s notes for fitting were so good. By Galia Patterns has a YouTube channel but you have to look for it under her name. It shows you how to take your body measurements. So, from my measurements of 38-inch bust, 33-inch waist and 40-inch hips, my sizing was between the size 10 and 12. There is another full page describing how to choose the sizing which was so comprehensive. The instruction was to choose according to the full bust measurement and to use the smaller size if you’re in between, so I printed and sewed the Size 10. I didn’t mean to make any modifications, but I did sew the bodice using a 3/8 -inch seam rather than the ½ inch. I think that has been better for me anyway.

I’ve seen people listing sewing as a “Granny Hobby”. I don’t know why anyone would ever think that. Nothing keeps you more on the edge of your seat when you’re sewing a new pattern without a toile and with unfamiliar fabric substrate. It’s more exciting that the latest Alien Earth Series. Don’t take this as sensible advice. I would always choose to toile, but I was in a risk-taking mood.

The Lyocell denim arrived with a very handy card which instructed me to wash it in a cold wash. This is a very handy feature, and I wish that more companies would think about including this in their packaging. I then line-dried the fabric. It can be ironed but I would use low heat. I discovered that high heat and steam make the fabric curl and warps the fabric. There is a little bit of bounce in the fabric so when you fold it, it won’t sit completely flat even after ironing. I’m only mentioning this because when you’re making things like patch pockets, it’s hard to get the sharp corners. This might give you an understanding that it handles differently from the usual denim.

Once wash and dried, I was ready to change my needle. I used a universal needle in a 70/10 gage size. It doesn’t need a denim needle because it’s very lightweight. I had also printed and taped together my pattern tiles. The pattern was very easy to put together and was very accurate. I used scissors to cut the fabric.

The dress has a beautiful full A-line skirt and this Lyocell denim was so easy to gather. It drapes so beautifully. Its bouncy quality gives the dress a bit more body which is ideal for the full skirt. I have never found denim to be a comfortable fabric for dresses because of how rigid they usually are, but this is not the case with this denim. That little bit of stretch takes away that rigidity.

All in all, it’s been an enjoyable project. I love the design of this dress and will definitely be looking to sew it in a few other substrates like linen.

Thanks for reading and happy sewing,

X Em

Velma Top

Life has been hectic lately. I’m in that middle age group where we’re still tending to the needs of our children and also looking after elderly parents. It’s not a complaint, in fact, I consider it quite a blessing, but it does leave very little time for hobbies. I really needed to have a bit of sewing time so last weekend, I sat and made three Swimstyle Pattern Velma Tops. It was such a good pattern to sew and I’m glad I made the effort to batch sew. The rhythm of repeating the sew was very soothing and relaxing on the mind.

The Velma Top is a semi-knitted top which has a scooped hemline ending about hip level in front and is slightly longer in the back. I’ve sewn the round neckline version, but it’s also drafted for a V-Neck. The sleeves are extended from the bodice so there’s no tricky sleeve seams. The pattern is great for anyone who is a beginner at sewing knit fabric or generally, anyone who is a beginner.

I made the size L for my measurements of 38B/33W/40H. No modifications were made, and I found that the pattern is true to size. I chose three different types of knit because I’m still new to sewing with knit fabric. The first is a brushed knit which has minimal stretch, the second is an organic cotton jersey and the third is a rayon scuba. I’m very happy with the cotton jersey and brushed knit but I’m not enjoying the rayon scuba. This pattern is great for a wide range of knit fabrics, but my rayon scuba was a bit thick. Also, I couldn’t work out which was meant to be the right side of the fabric. In the end, I chose the softer side to be on the inner side and the shiny side is on the outer side. This was based on what I thought would feel better against the skin. The pattern is great for remnants as well as it’s very economical, only requiring about 1 meter for my size. 

My favourite set of instructions was for the attachment of the neckband. It was very clear and it’s something that I have struggled with in the past, so it was such a relief to have great instructions for this section. Swimstyle Pattern instructions are comprehensive and are always accompanied by relevant illustrations. I receive the pattern as part of the ambassador program, but I have bought their patterns previously and find them to be great with sizing and instructions. I’m keen to go back to sew the V-Neckline once I find more knit fabric. I think the V-Neck would suit fabric with more drape and a bit more stretch than the knits I’ve used for the round-neck versions.

Sewing tees is not as glamorous as sewing dresses but it’s equally enjoyable with a good pattern and the luxury of the time to sew it well. It was satisfying to be able to get the little things right like the neckband. The Velma is a great addition and a core item for the closet.

Thanks for reading and happy sewing!

X Em

Ash Pintuck Camisole

Excited to start the new year with another fantastic free make from the Fabric Store catalogue. This camisole is so comfortable to wear in summer and I love the special features of the pintucks and the half button placket. I’m especially proud of mastering the placket. I started this make in December and then lost my sewjo when I came across the button placket. It felt too complicated to tackle in a fully packed month of visitors and celebrations, so I packed it away and came back to it. Happily, I’ve learnt how to install the placket thanks to the fantastic tutorials that accompany these patterns. I also watched a few YouTube videos. 

The sizing is straightforward with my measurements of 38-inch bust, 33-inch waist and 40-inch hips fall in the size 8/10 and 12/14 range so I made a simple grade between the two sizes. The pattern is a great remnant buster because it only requires just under 1 meter. I had just enough of this beautiful cotton Indian Batik and that included making my own bias binding for the straps. 

This is one of the best camisoles I’ve ever made. The straps stay put when you’re wearing it. I think it does this because the straps are thin, and they are fixed a bit closer to the midline in the front. I didn’t end up attaching the belt because I know that I would prefer to wear it loose. Although, it is a cute feature if you wanted a more fitted look.

Looking to the new year and sewing plans, I’m not sure if the “Make Nine” has been working out that well. The reason why I started sewing, was because I enjoyed learning a new skill and I wanted to see if I could build a fully handmade wardrobe. I used to be an avid shopper but now rarely buy ready to wear unless it’s work related. I enjoy the sense of peace and mindfulness that accompanies this hobby. I love discovering new patterns, but I think this year, I will aim to repeat sew to help reinforce a skill set. This means that I will be looking for patterns that have features that will help me further my sewing skills. I’m also hoping to take part in a few pattern tests because I enjoy the interaction with other makers. It’s also a great motivator and I love looking at the behind-the -scenes in the designer world. 

Thanks for reading and happy sewing!

X Em