The Destination
The first thing that everyone asked me when I mentioned that I was heading to South Korea was, “Are you going to go see BTS?” and, “Do you love K-Drama?”. Although I do enjoy all those things about Korea, my husband and I were mainly interested in experiencing something culturally different and were looking forward to the amazing cuisine and indulging in a bit of photography. It didn’t disappoint and in fact, overdelivered in so many ways. For the first time, we decided to join an organised tour which was a great way to see more in the short time that we had available. There’s pros and cons with the tour set-up. The downside was the constant time pressure. We landed very late and were on the bus by 8am the next day for the first round of sightseeing which meant we did not have time to orientate ourselves with maps and e-sims which we figured out a bit late into the trip. Our tour started in Seoul and from there we flew to Jeju then from Jeju to Busan and then to the old capitol of Gyeongju and then back to Seoul. We did forgo the optional tour of the DMZ to have some free time just exploring Seoul on foot which we enjoyed immensely especially at our pace as photography enthusiasts.
Packing List
I’m sure there are a lot of travel blogs out there which are better for the sightseeing elements of travel so I thought I would focus on what I packed and found useful with clothing because those were the blogs I was searching for before leaving. I had come across a few general blogs about Korean weather, but I’ve never experienced the climate that we came across in Korea. It was explained to us that generally we can consider that Korea has 4 seasons but there are 24 traditional seasons based on the location of the sun. We were in Mangjong which meant that the mornings and evenings were cool, but the humidity and temperature were high from mid-morning to evening and we also hit the start of the rainy season. It’s basically summer which coincides with the monsoon season. It would rain and then the sun would come out and everything was humid and steamy.
So, here was my mostly me-made packing list:
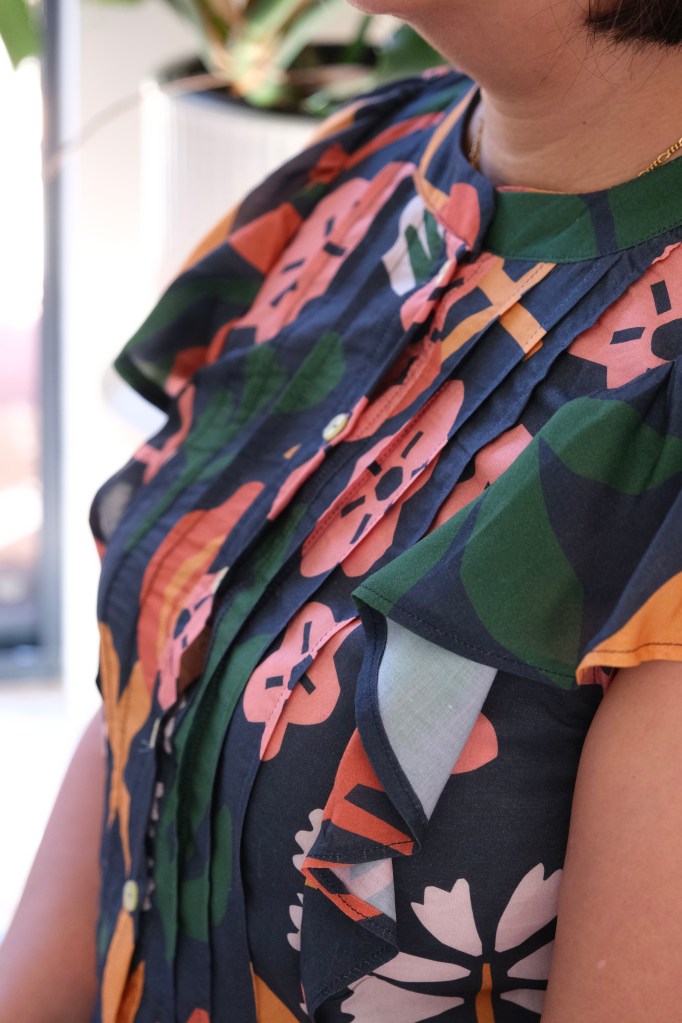
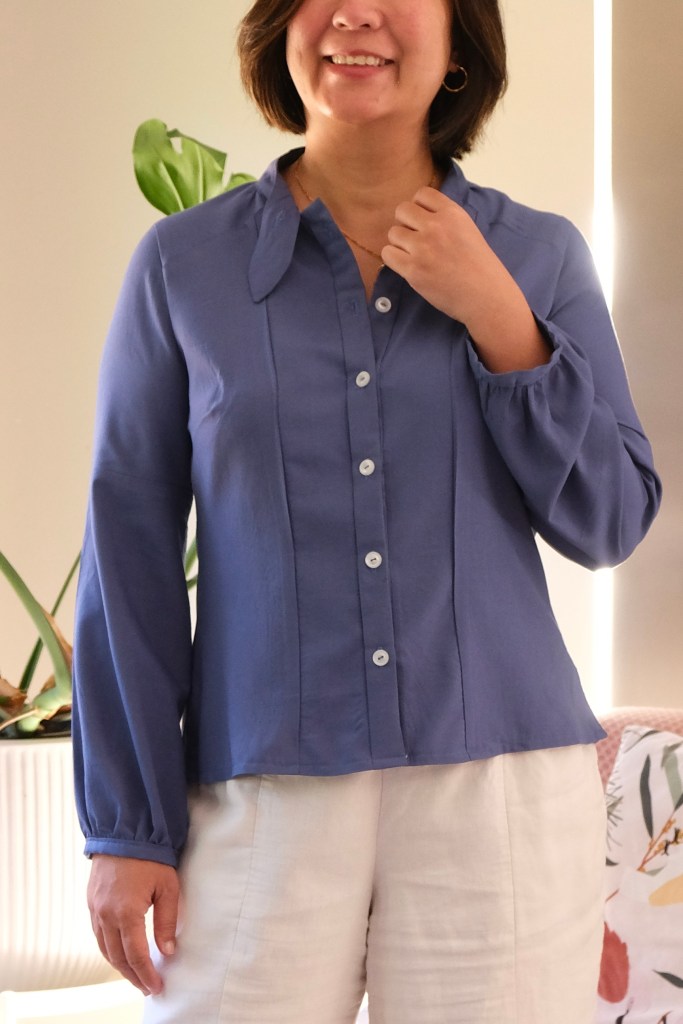
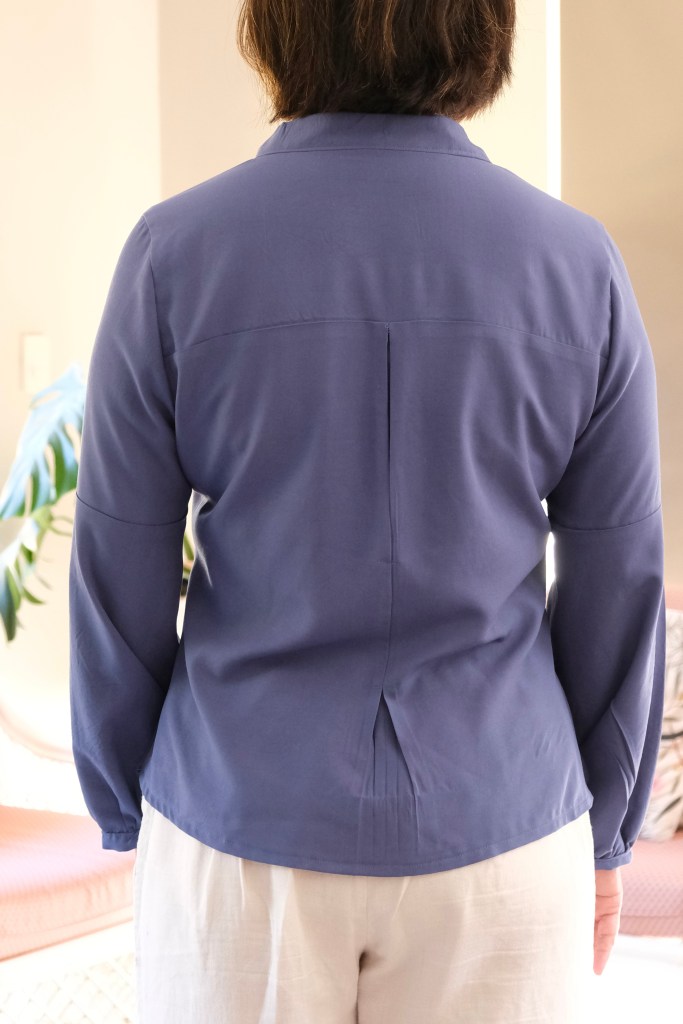
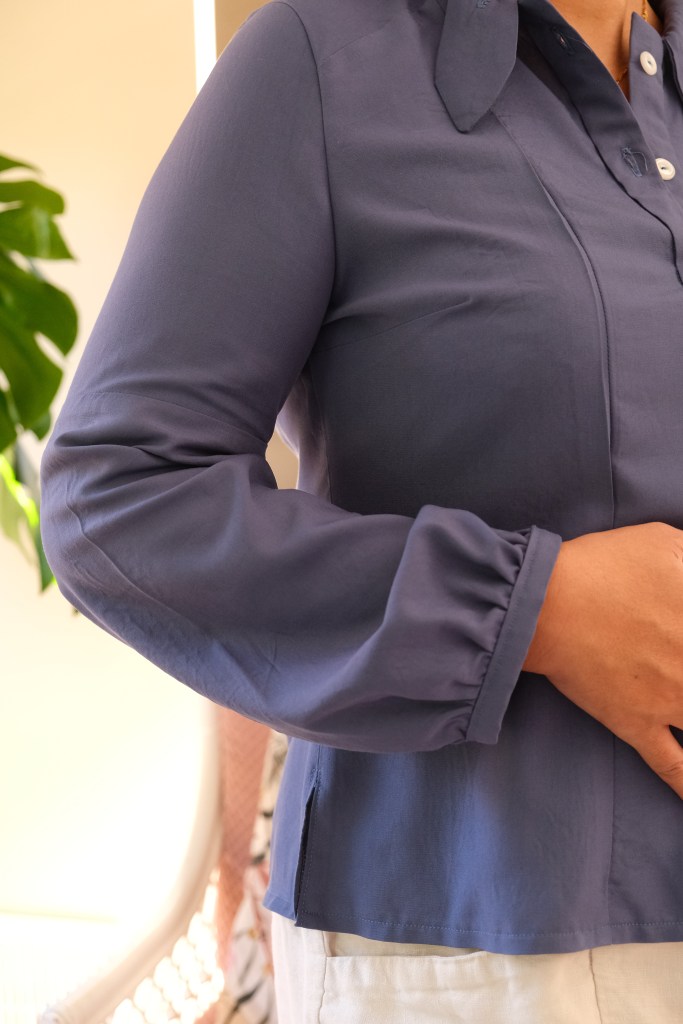
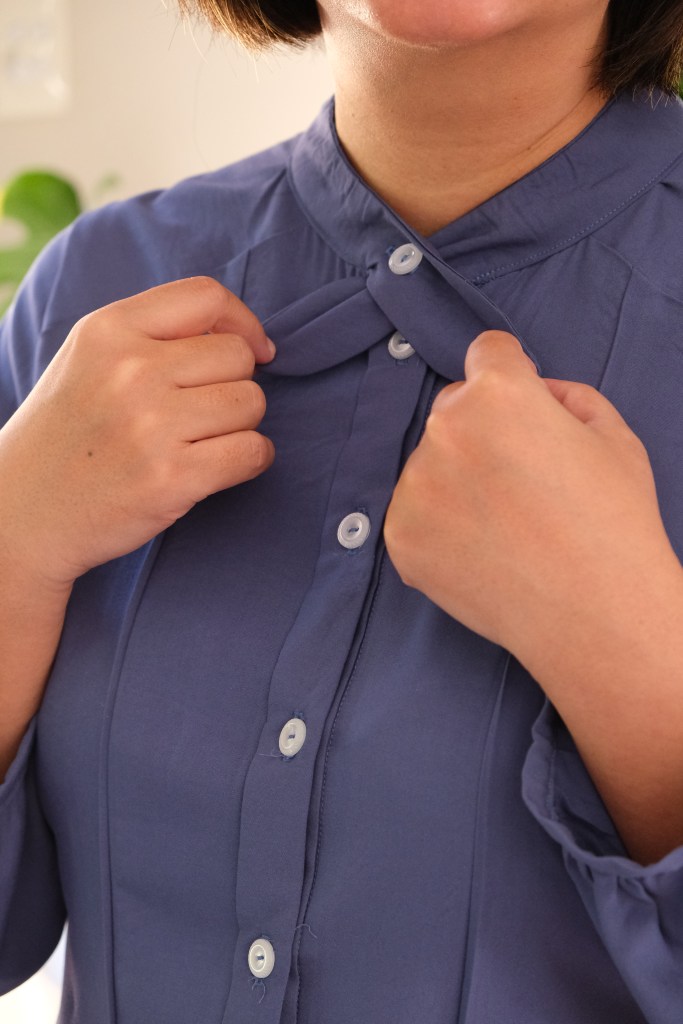
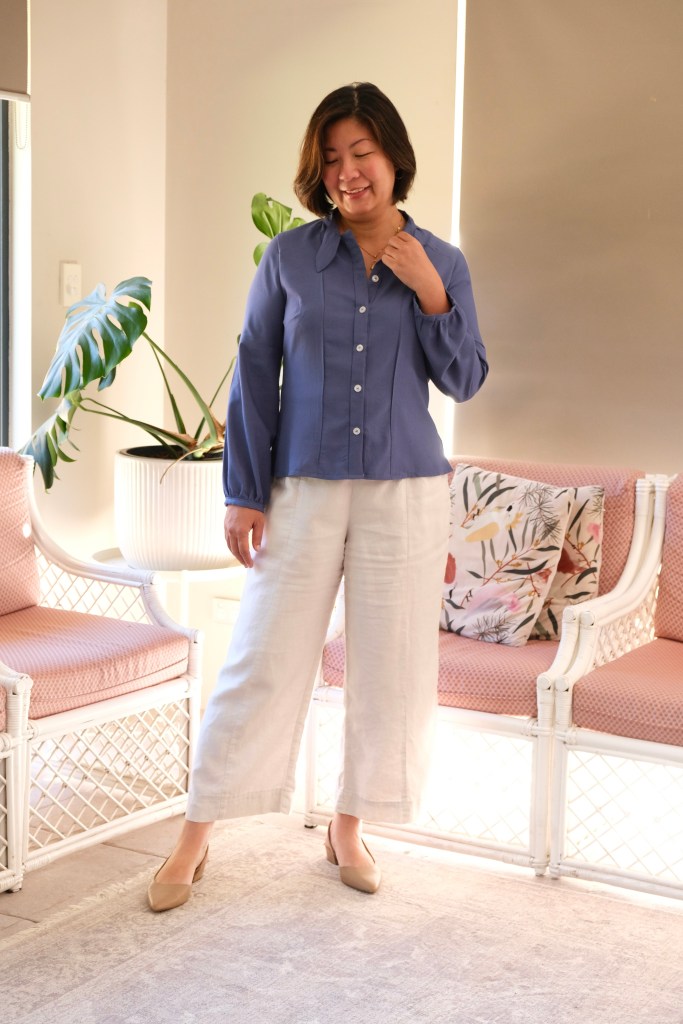
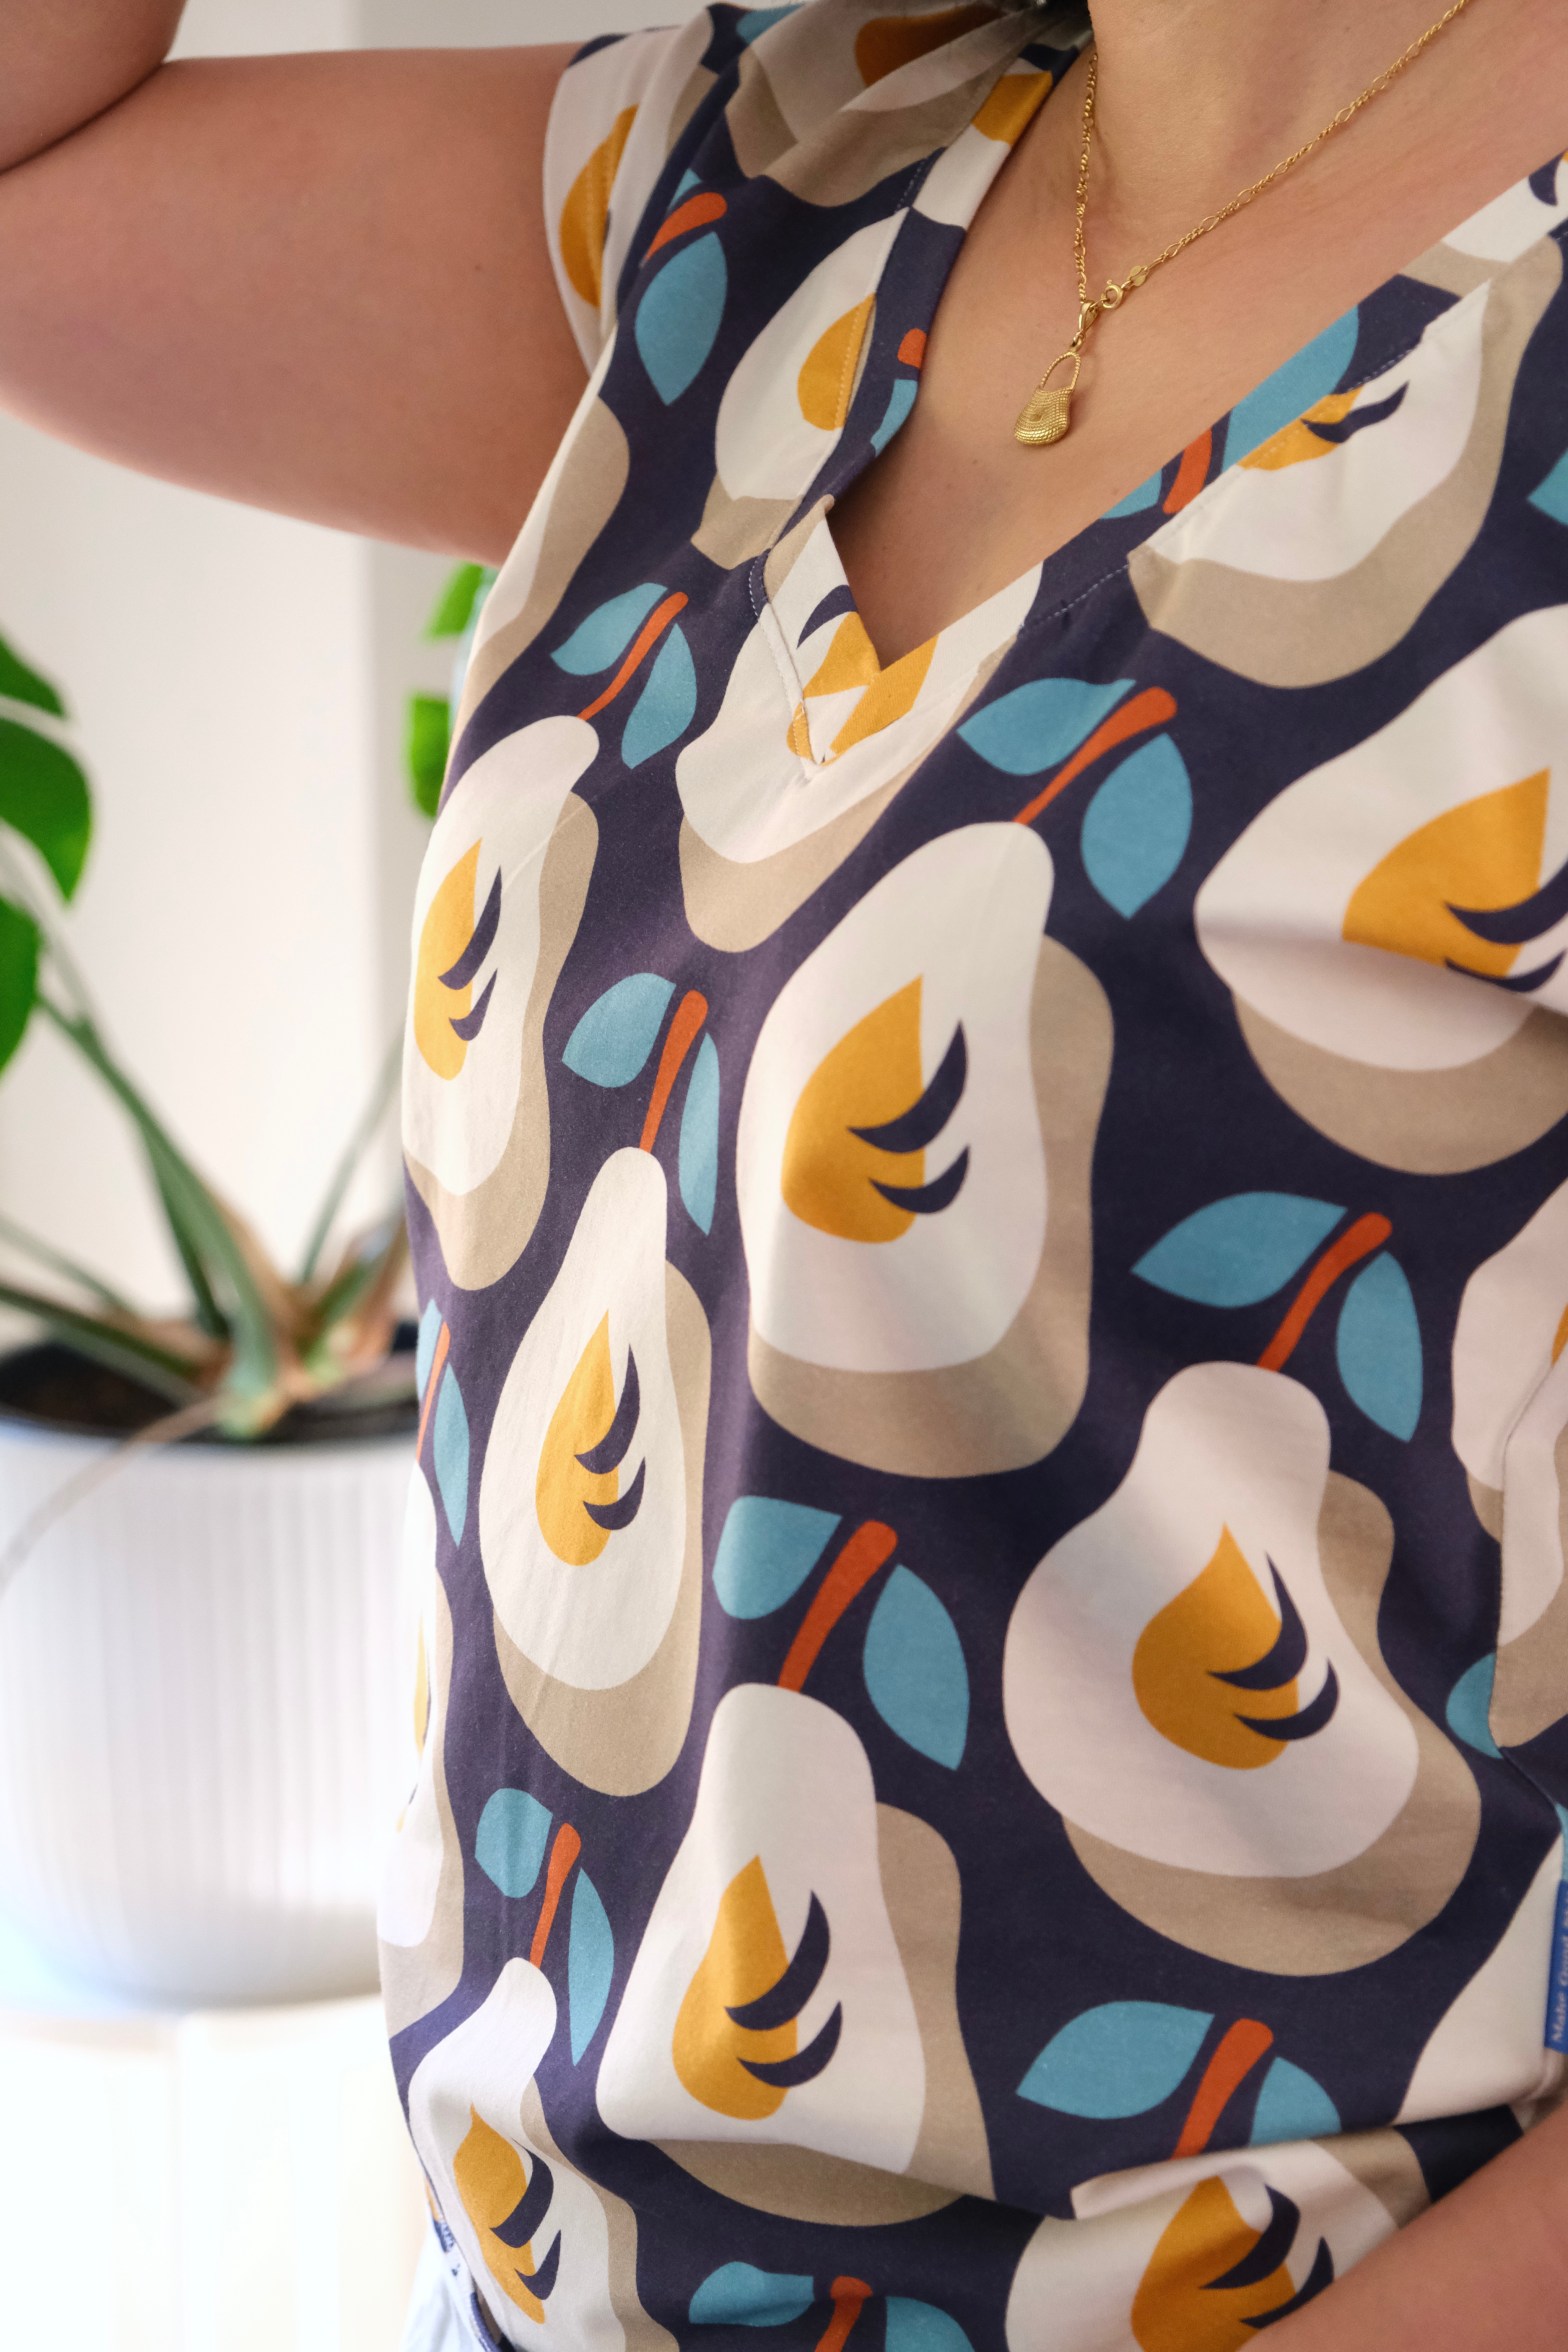
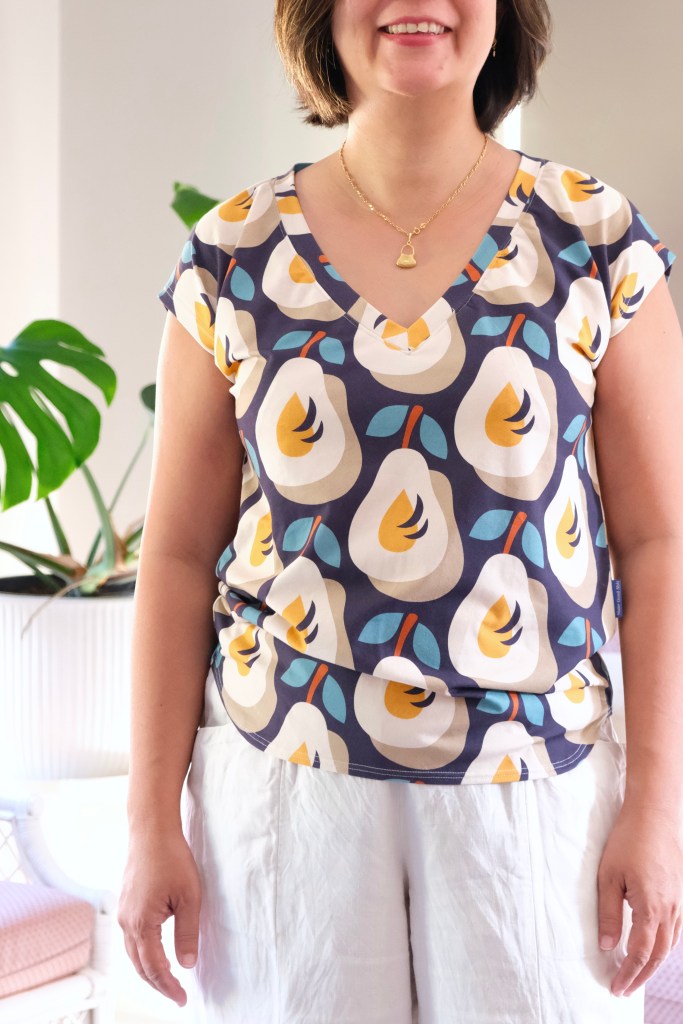
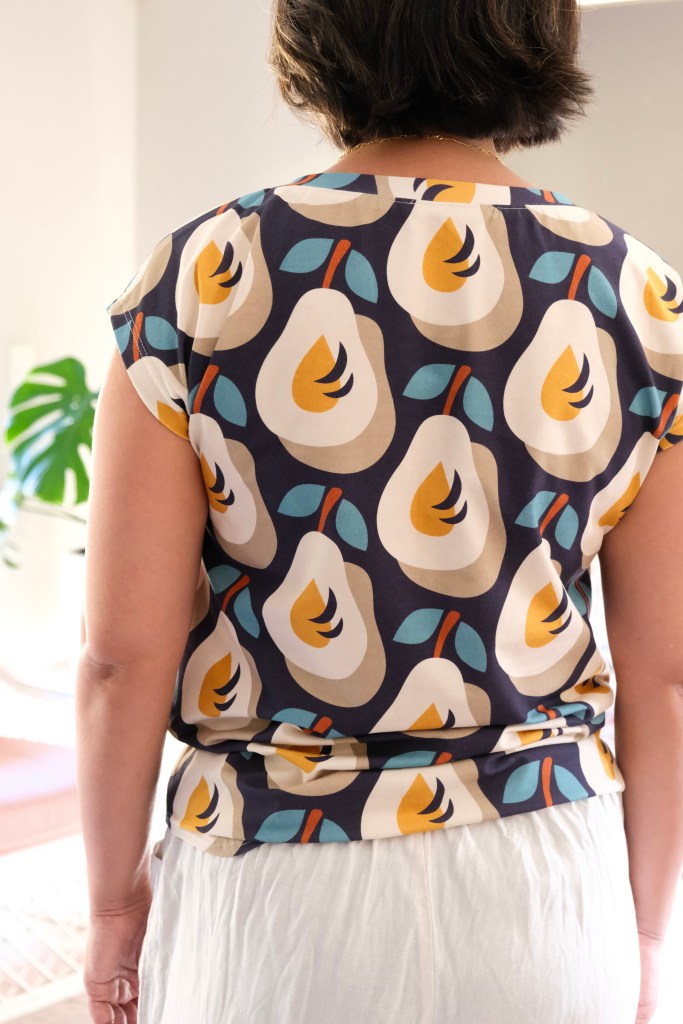
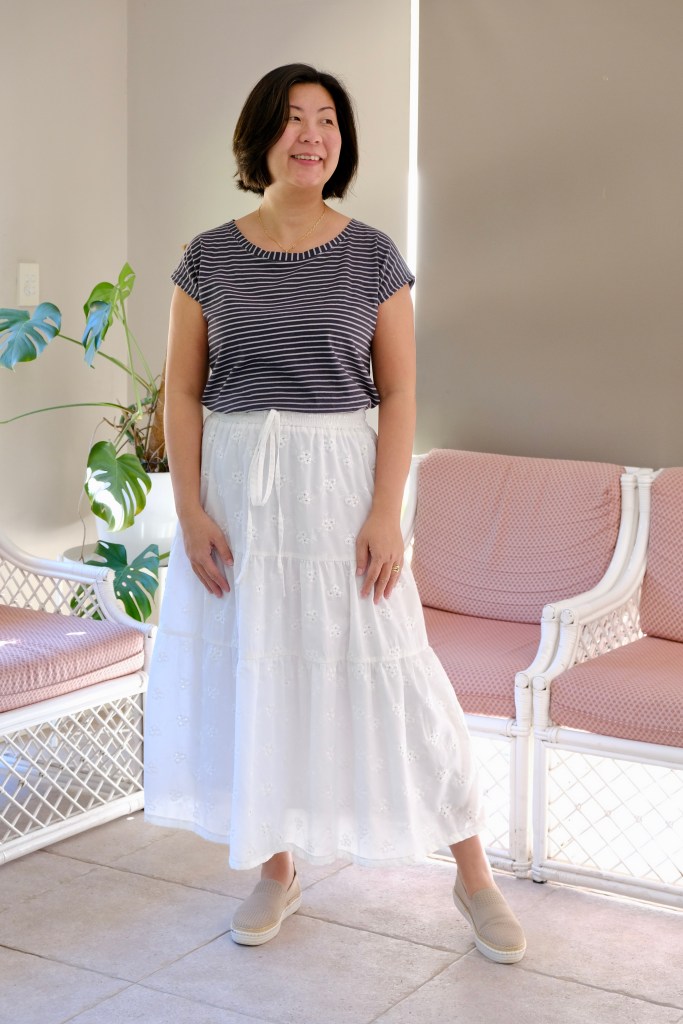
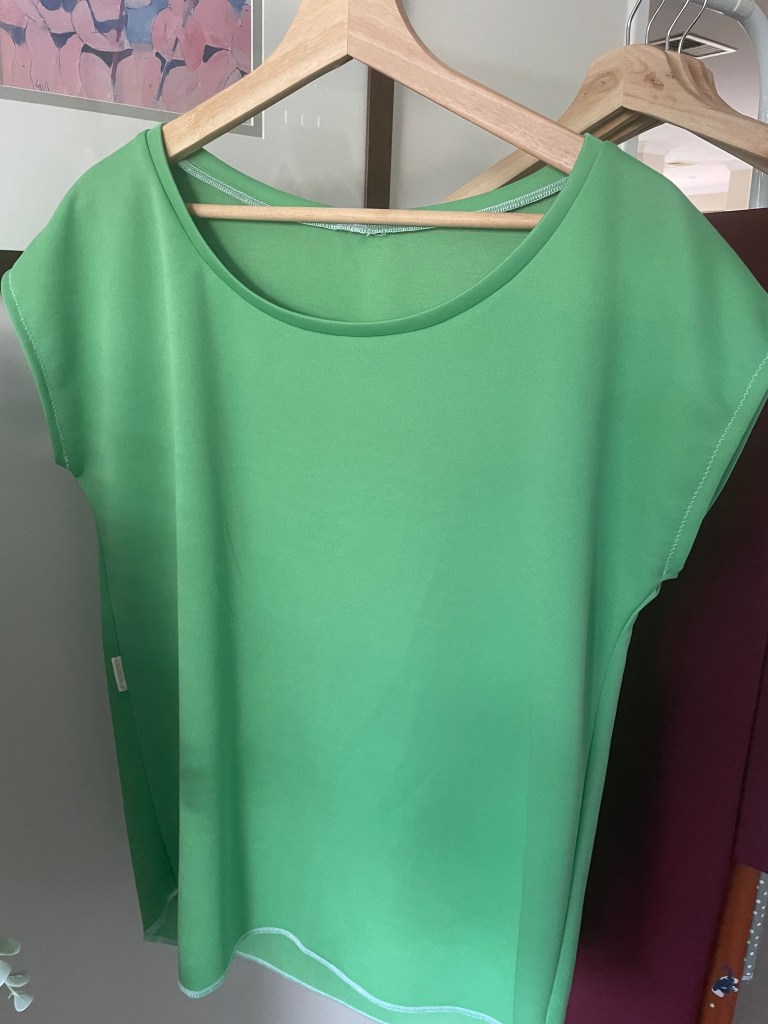
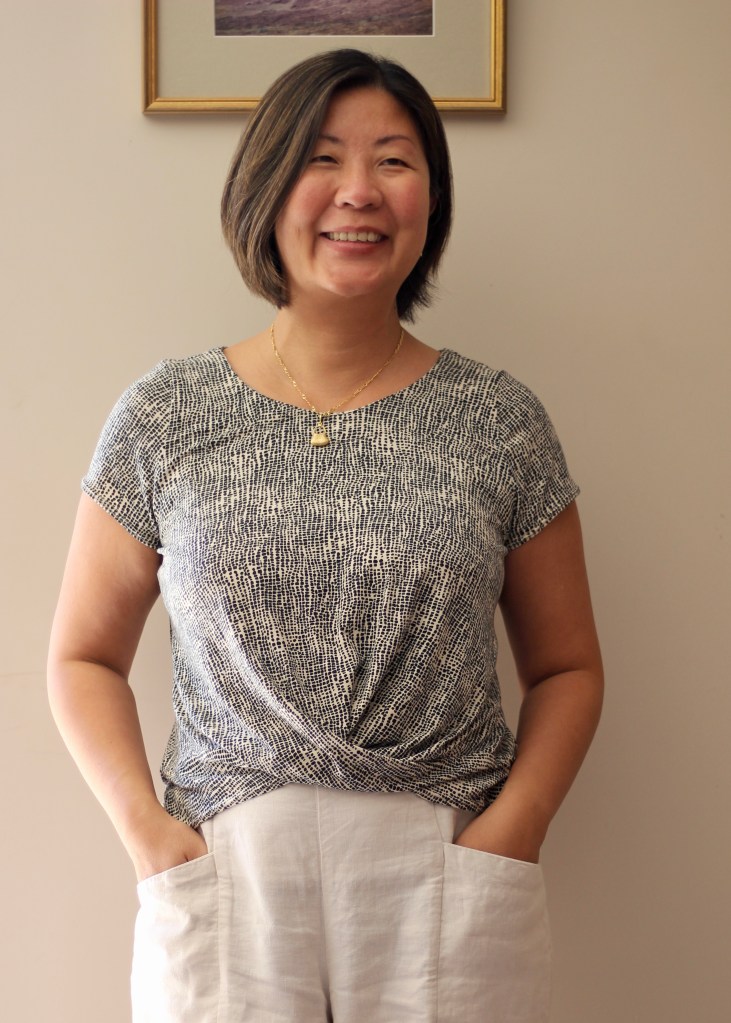
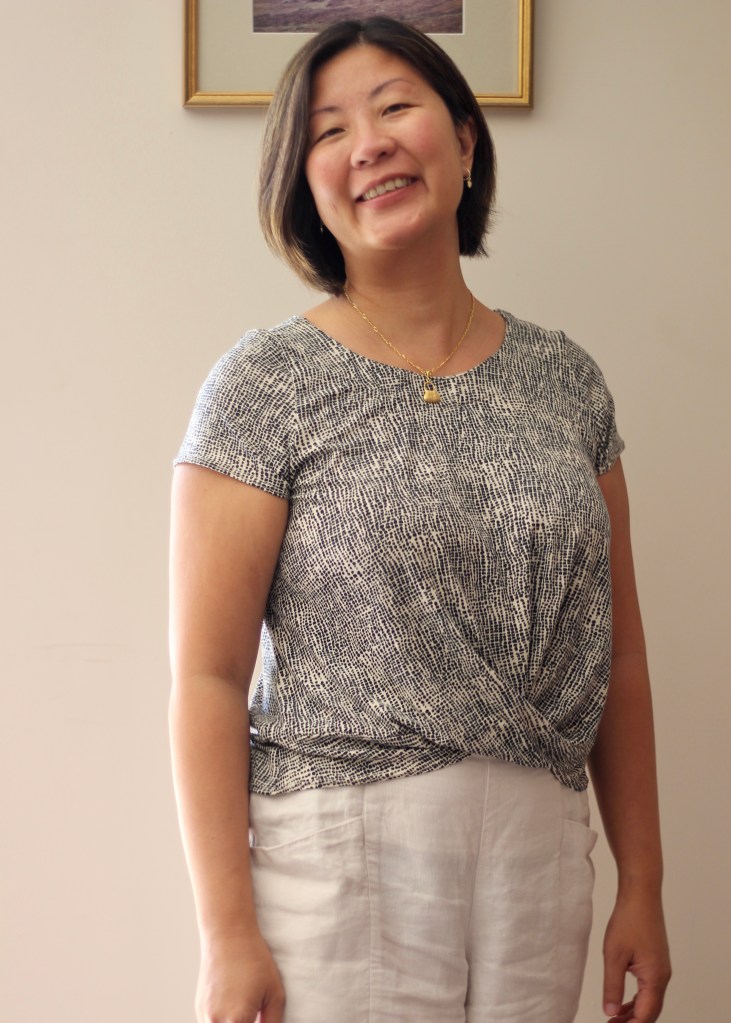
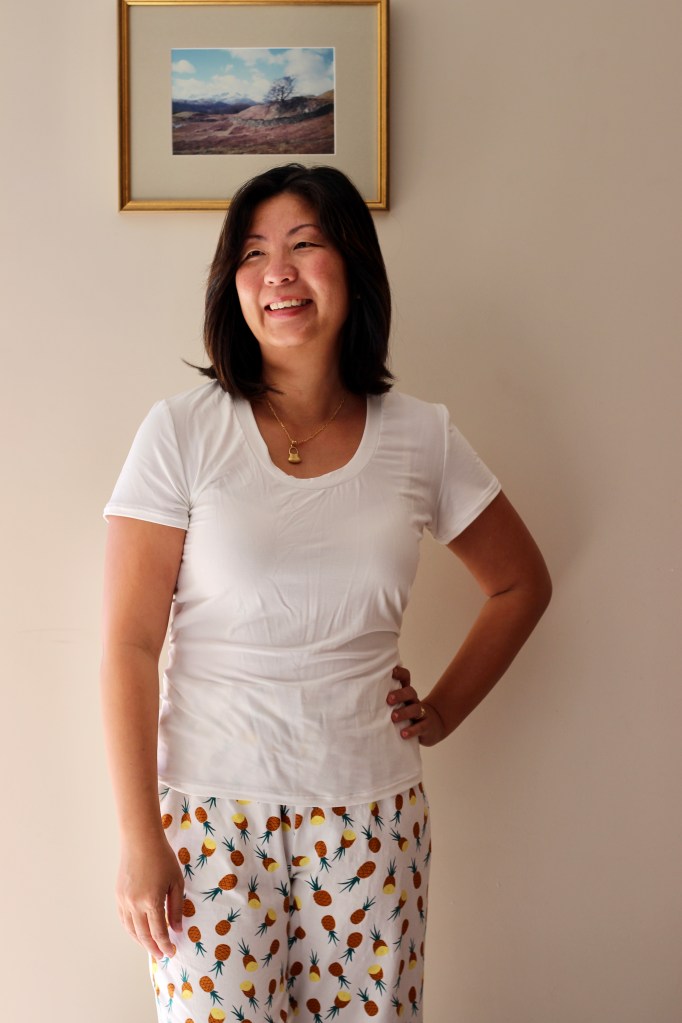
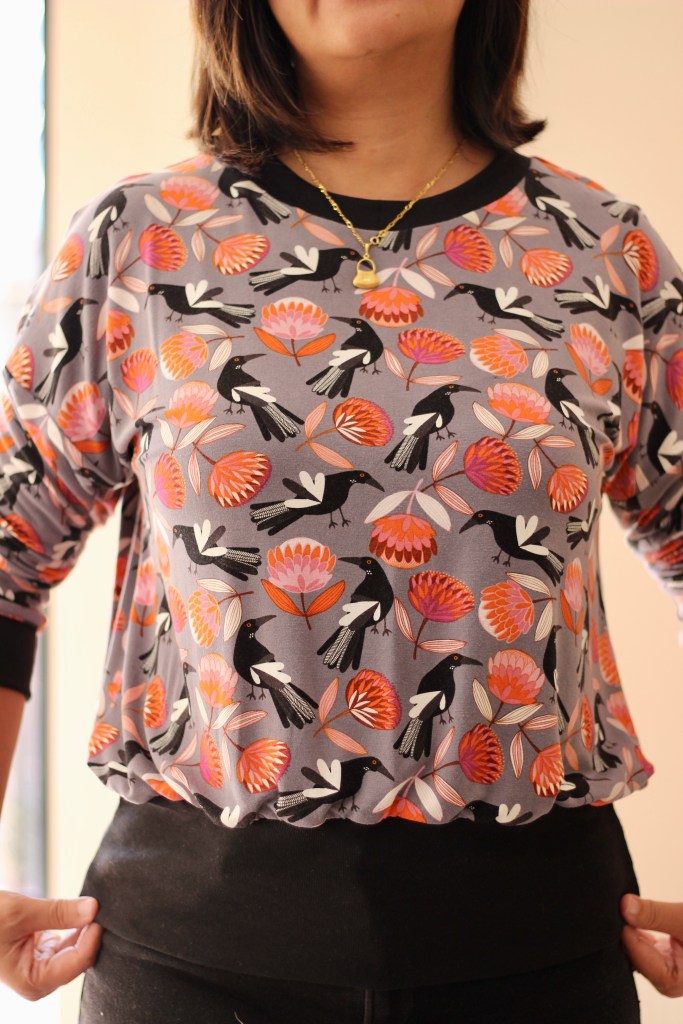
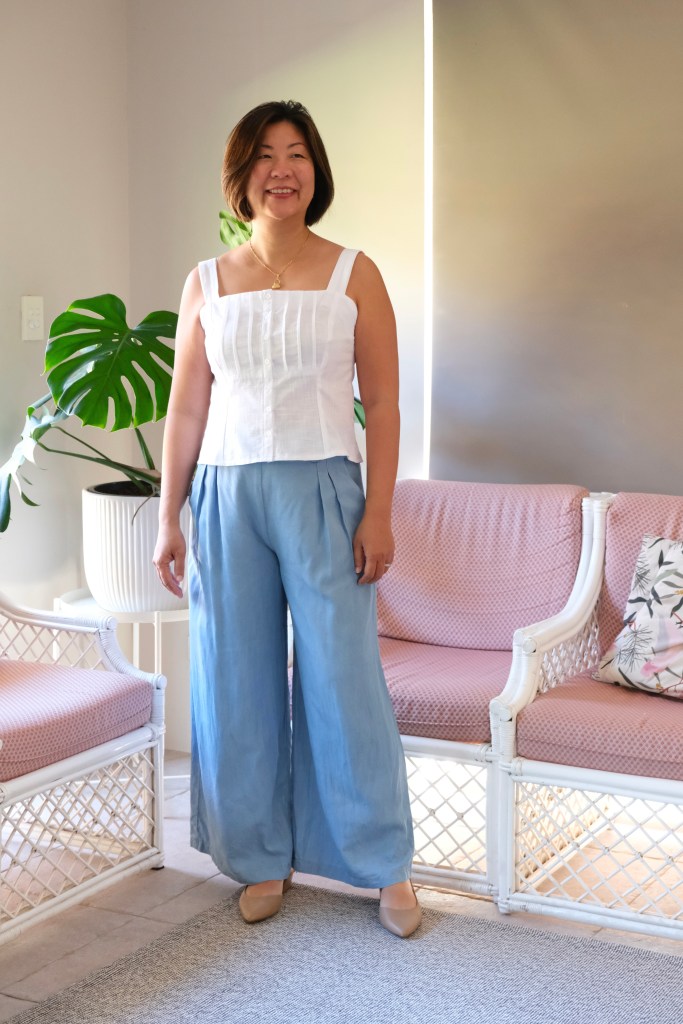
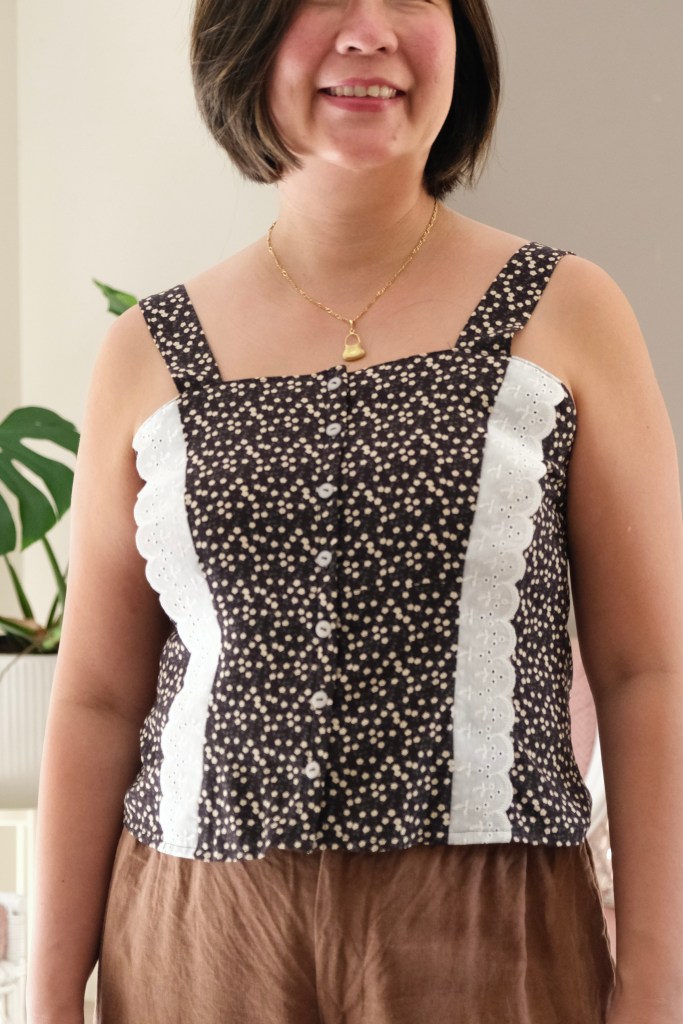
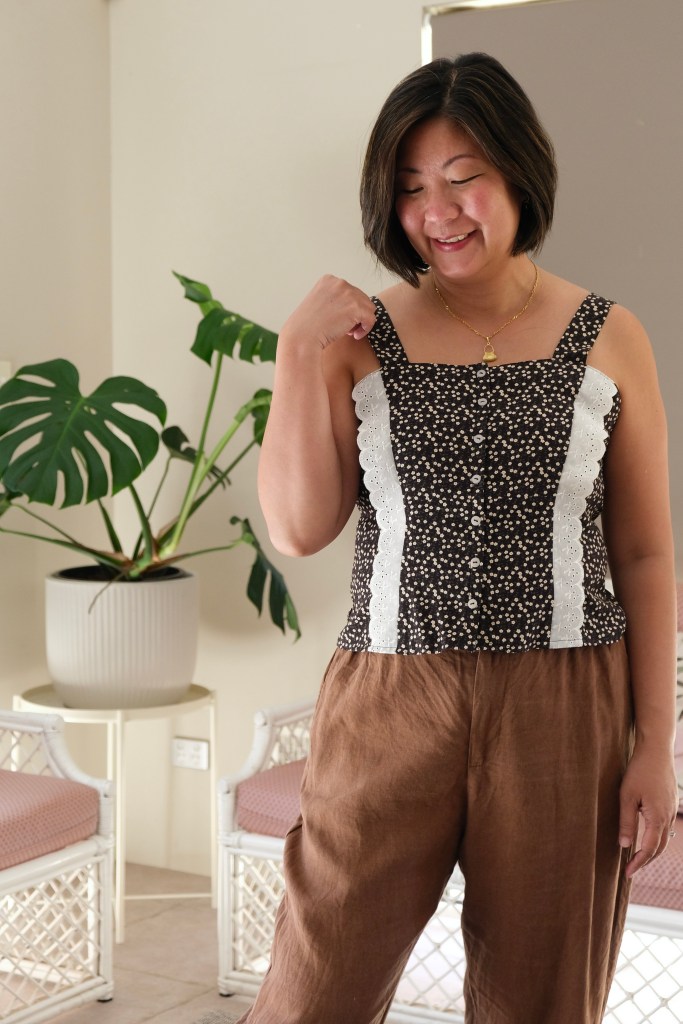
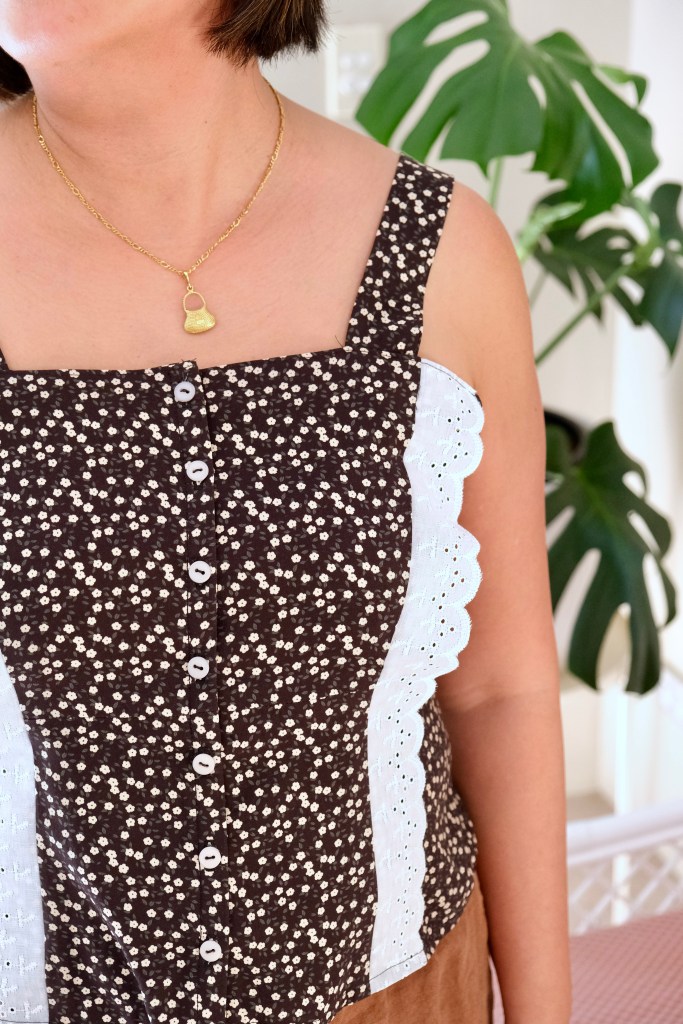
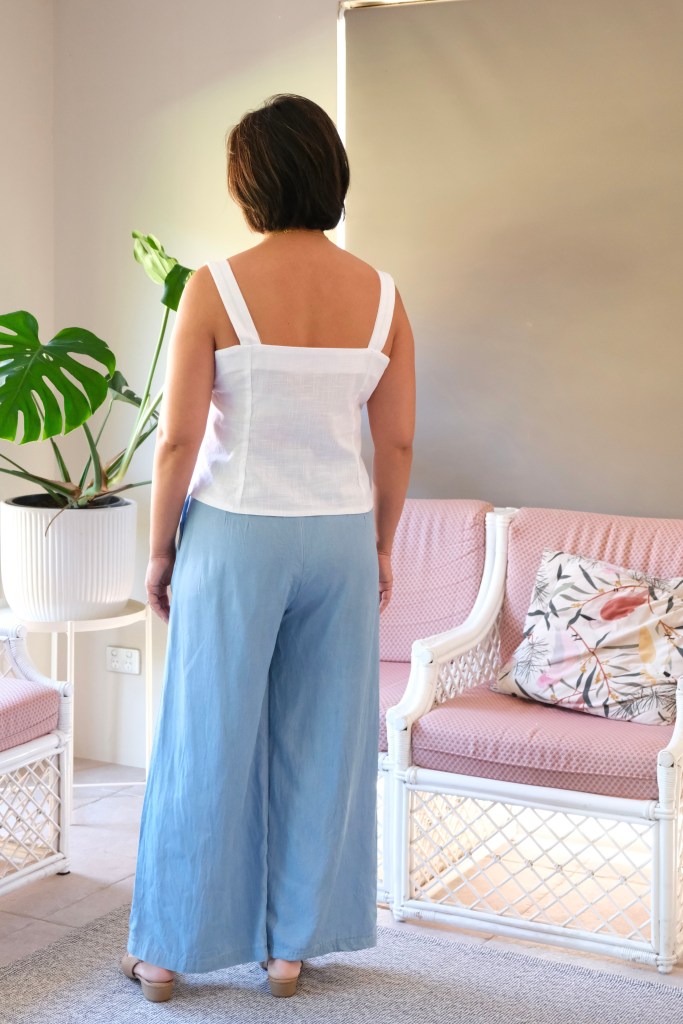
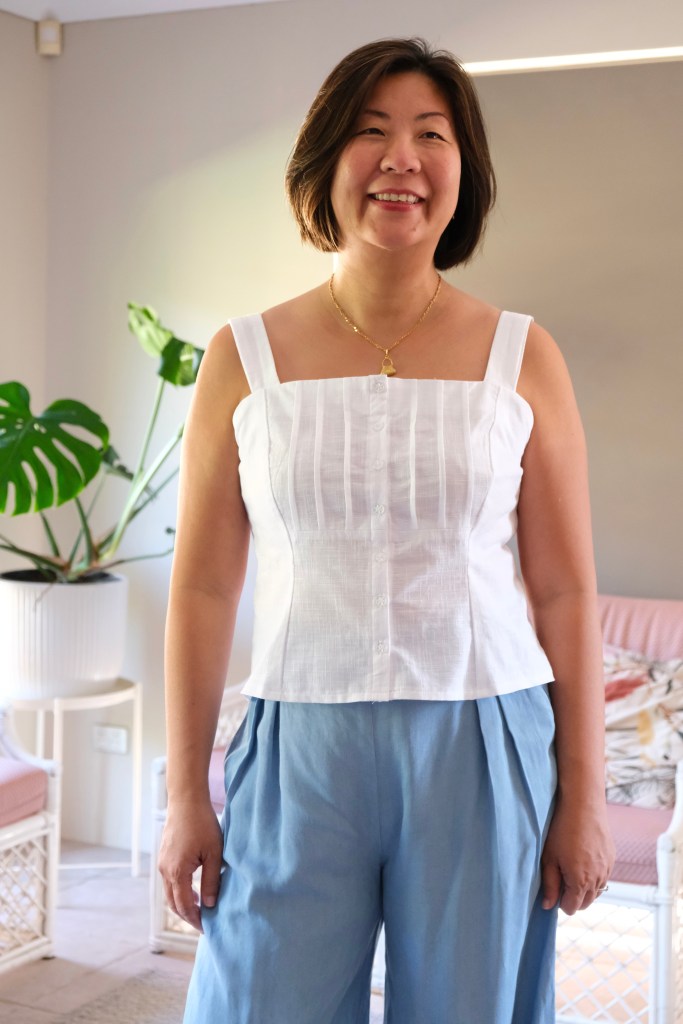
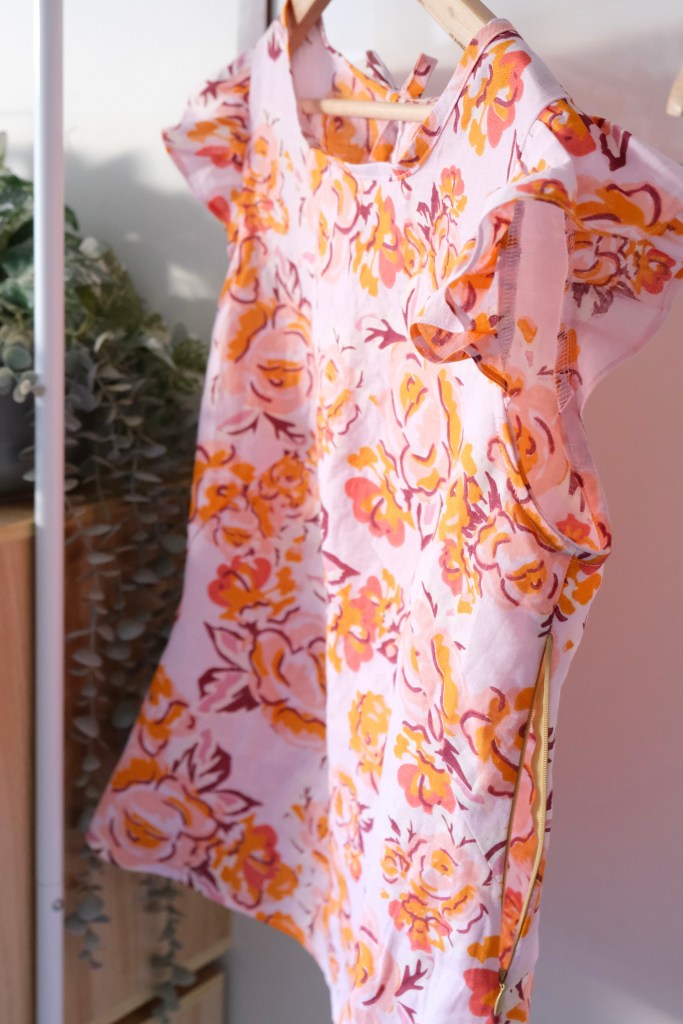
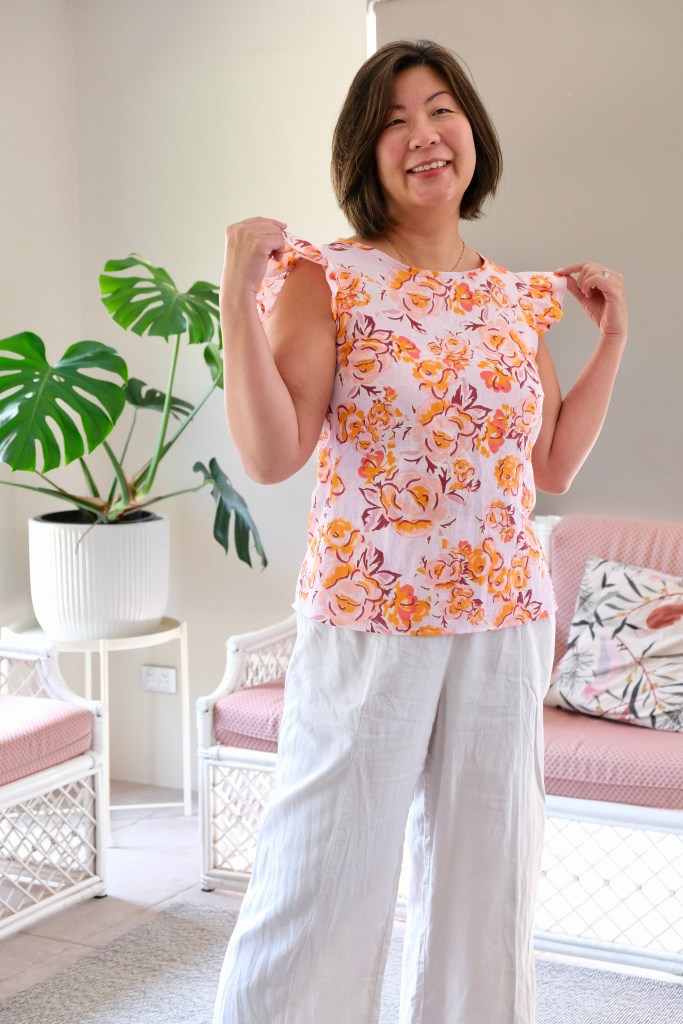
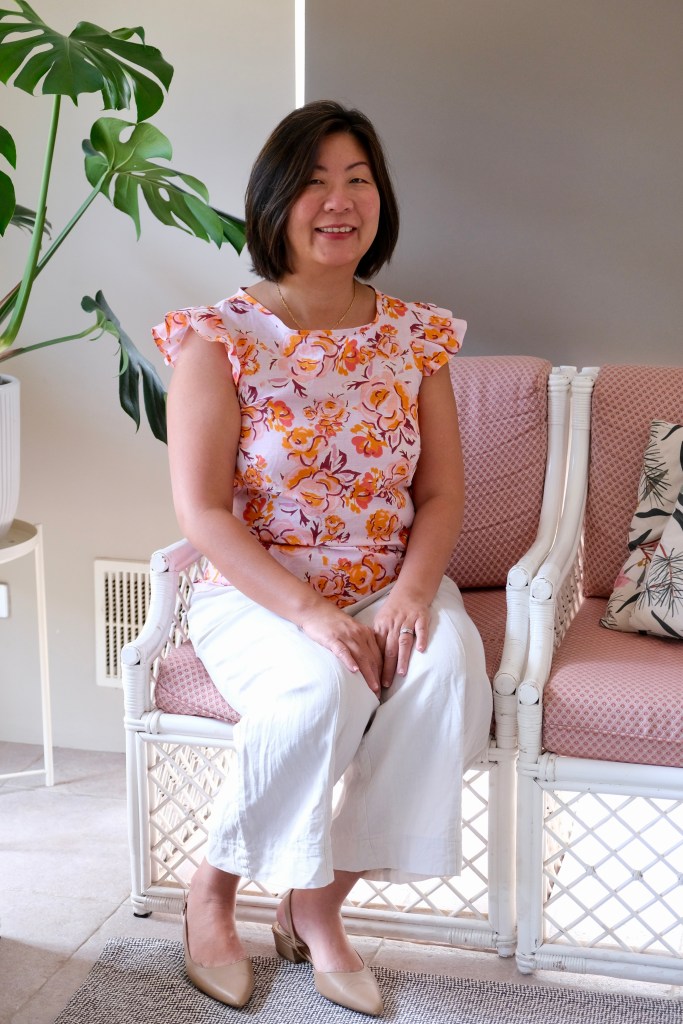
| Tops | Sewlala Alea TopTrue Bias Ogden Cami Uniqlo Cotton Shirt Uniqlo shelf-bra cami top x2 Swimstyle Velma Top Cashmerette Brattle Top x 2 H&M Sleeveless Top Ash Cami Top |
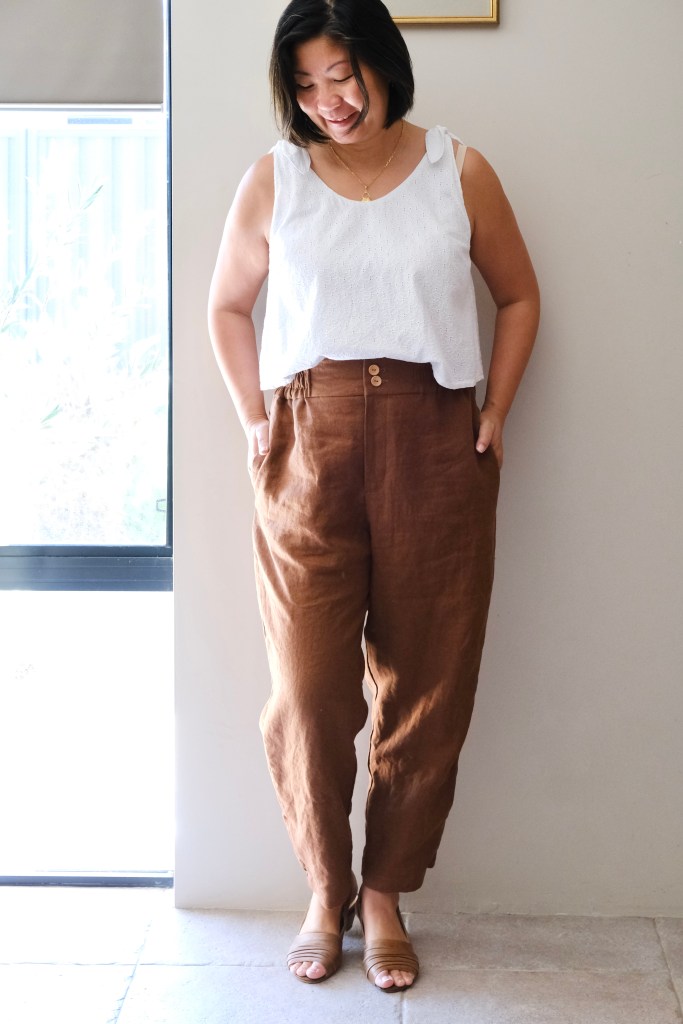
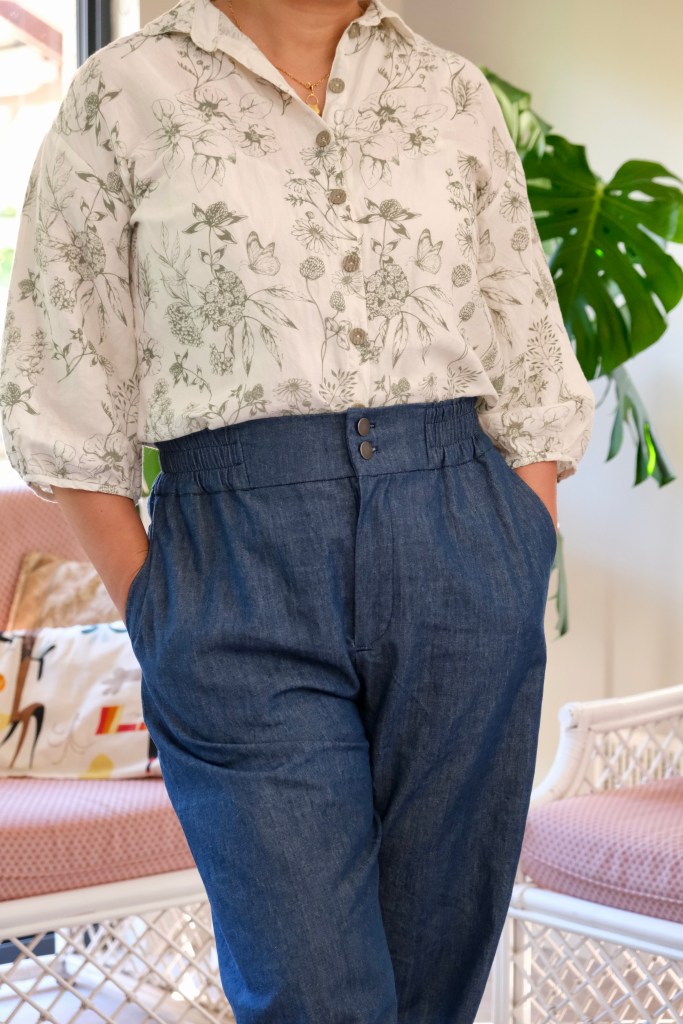
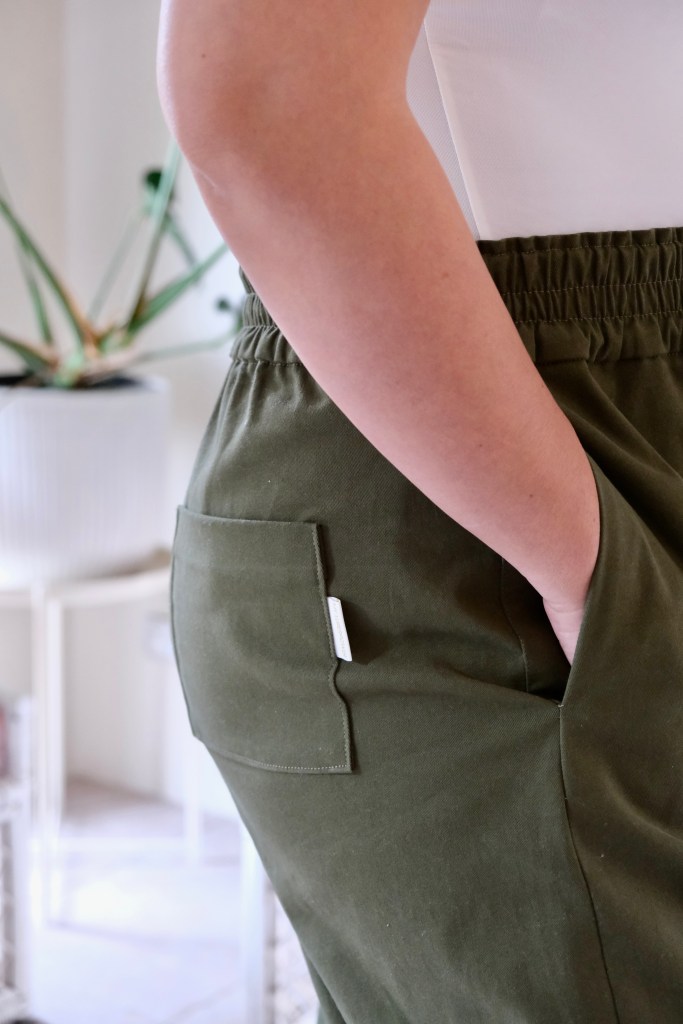
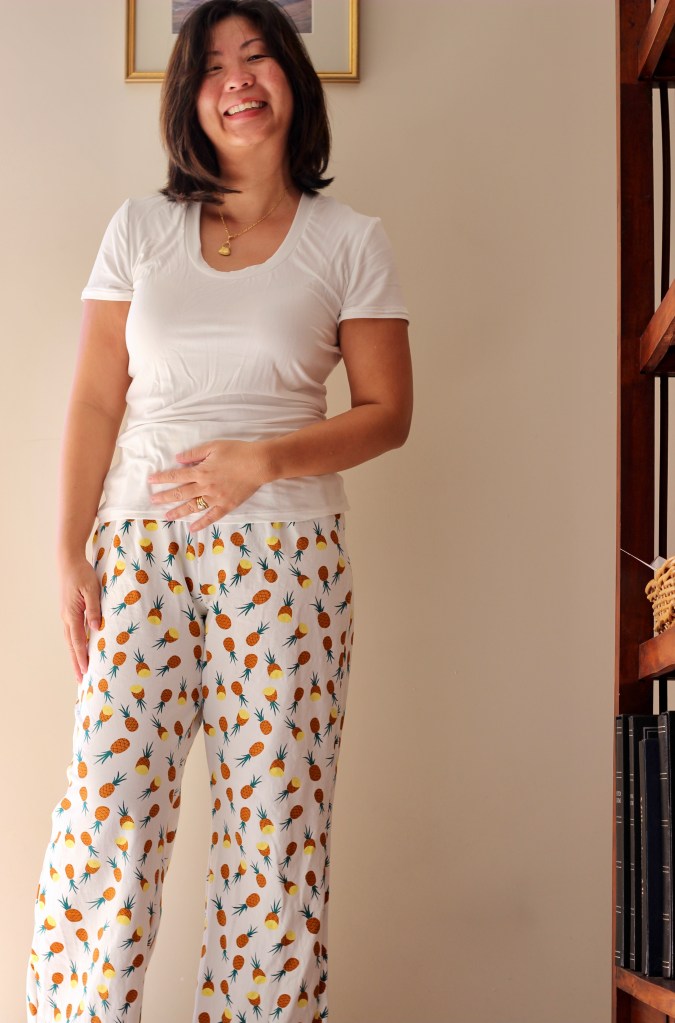
| Pants | True Bias Dani Pants x 3 Closetcore Pietra Pants Big W Shorts x 1 |
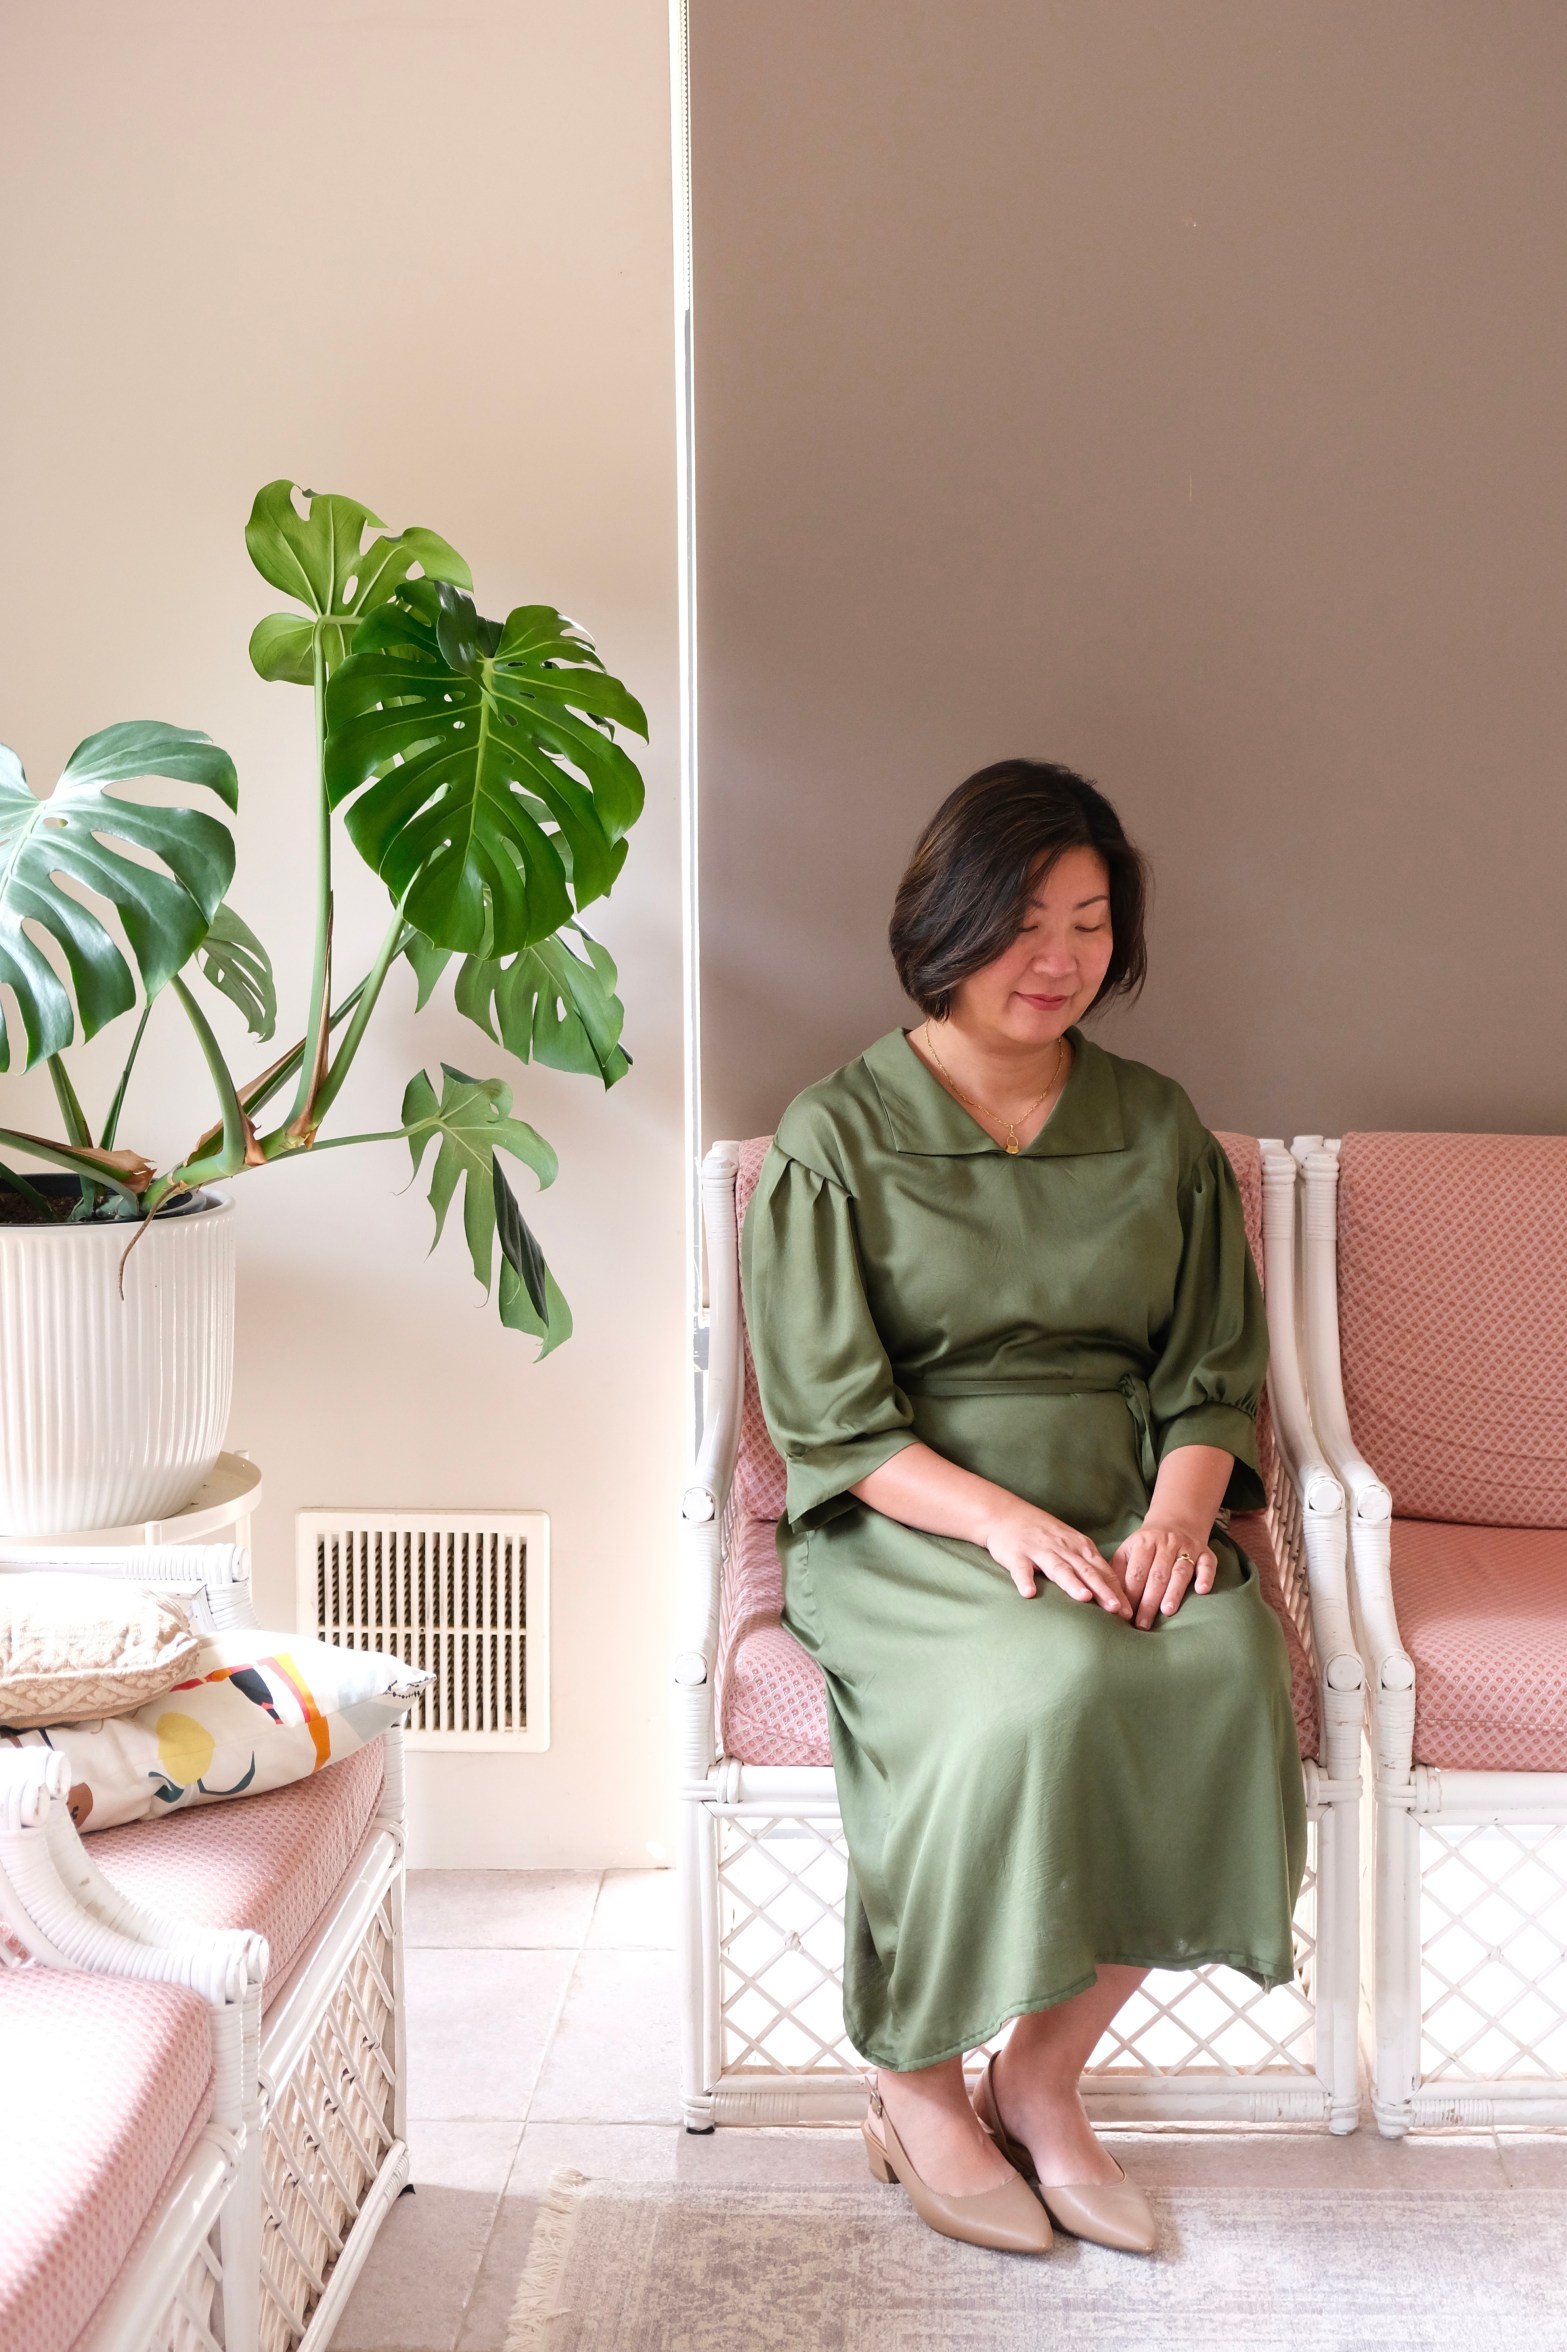
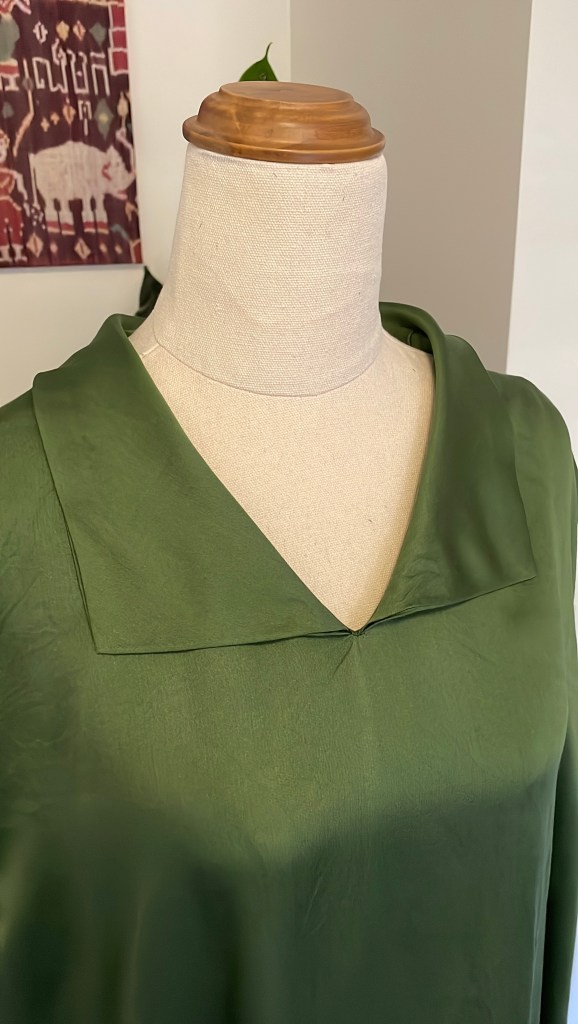
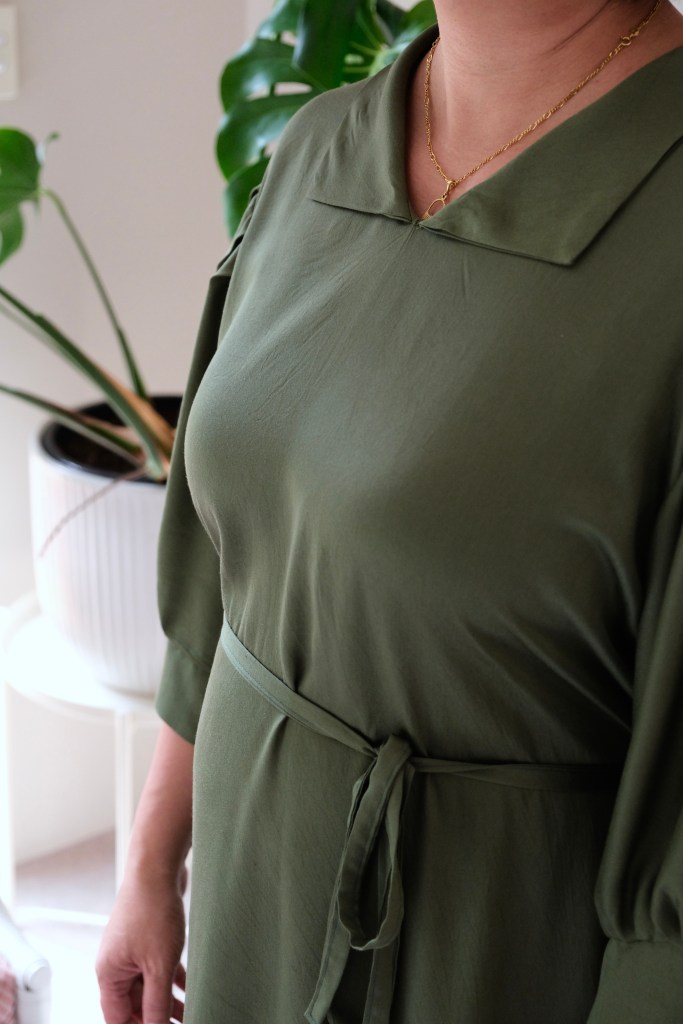
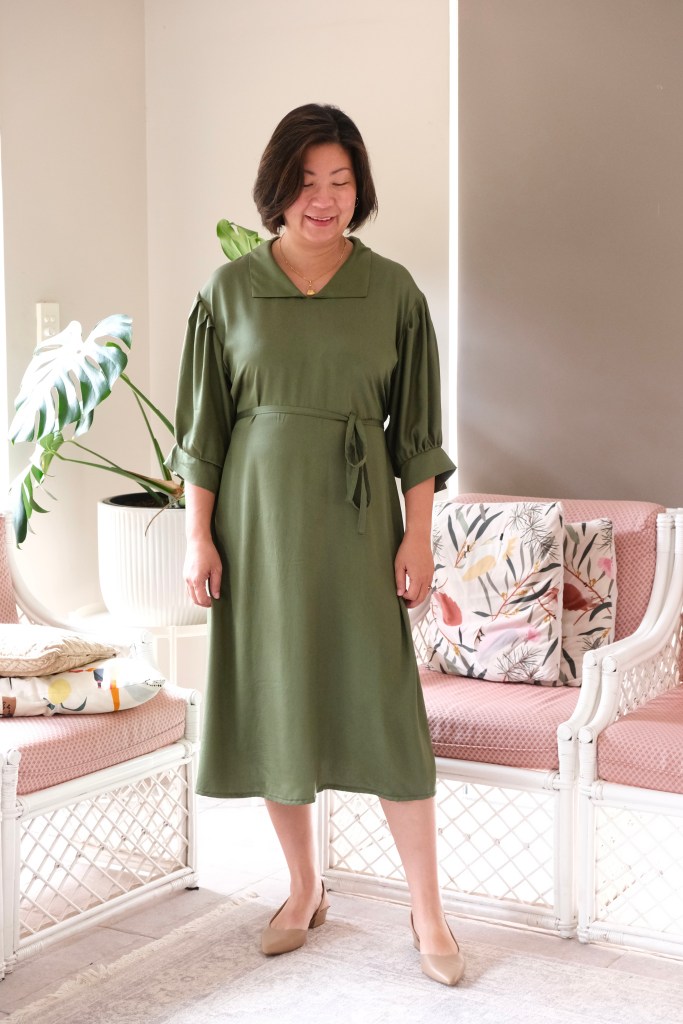
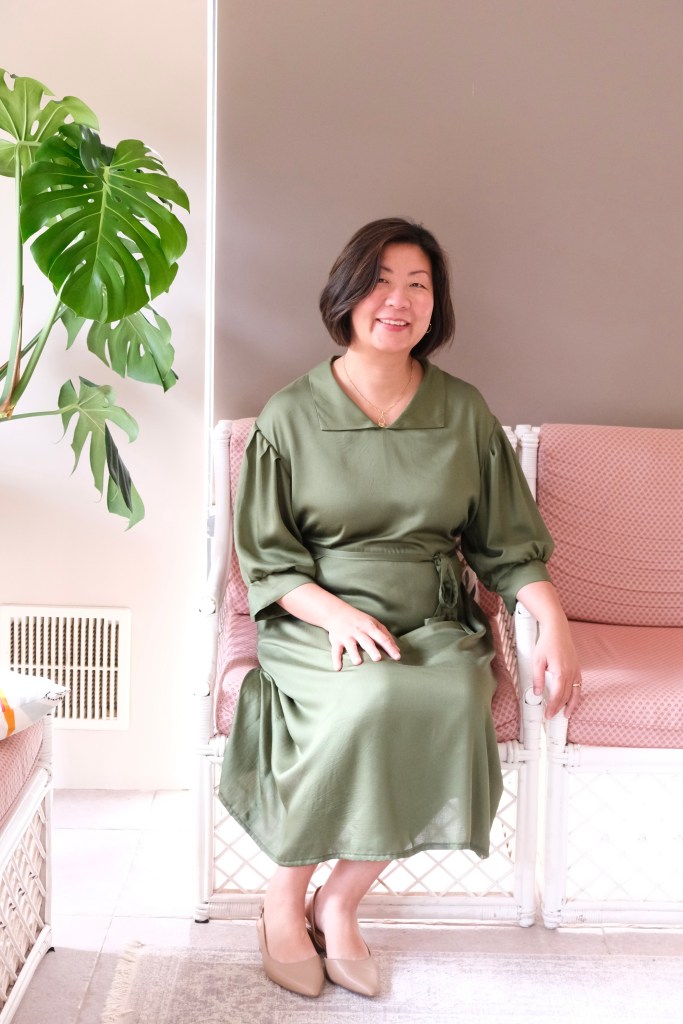
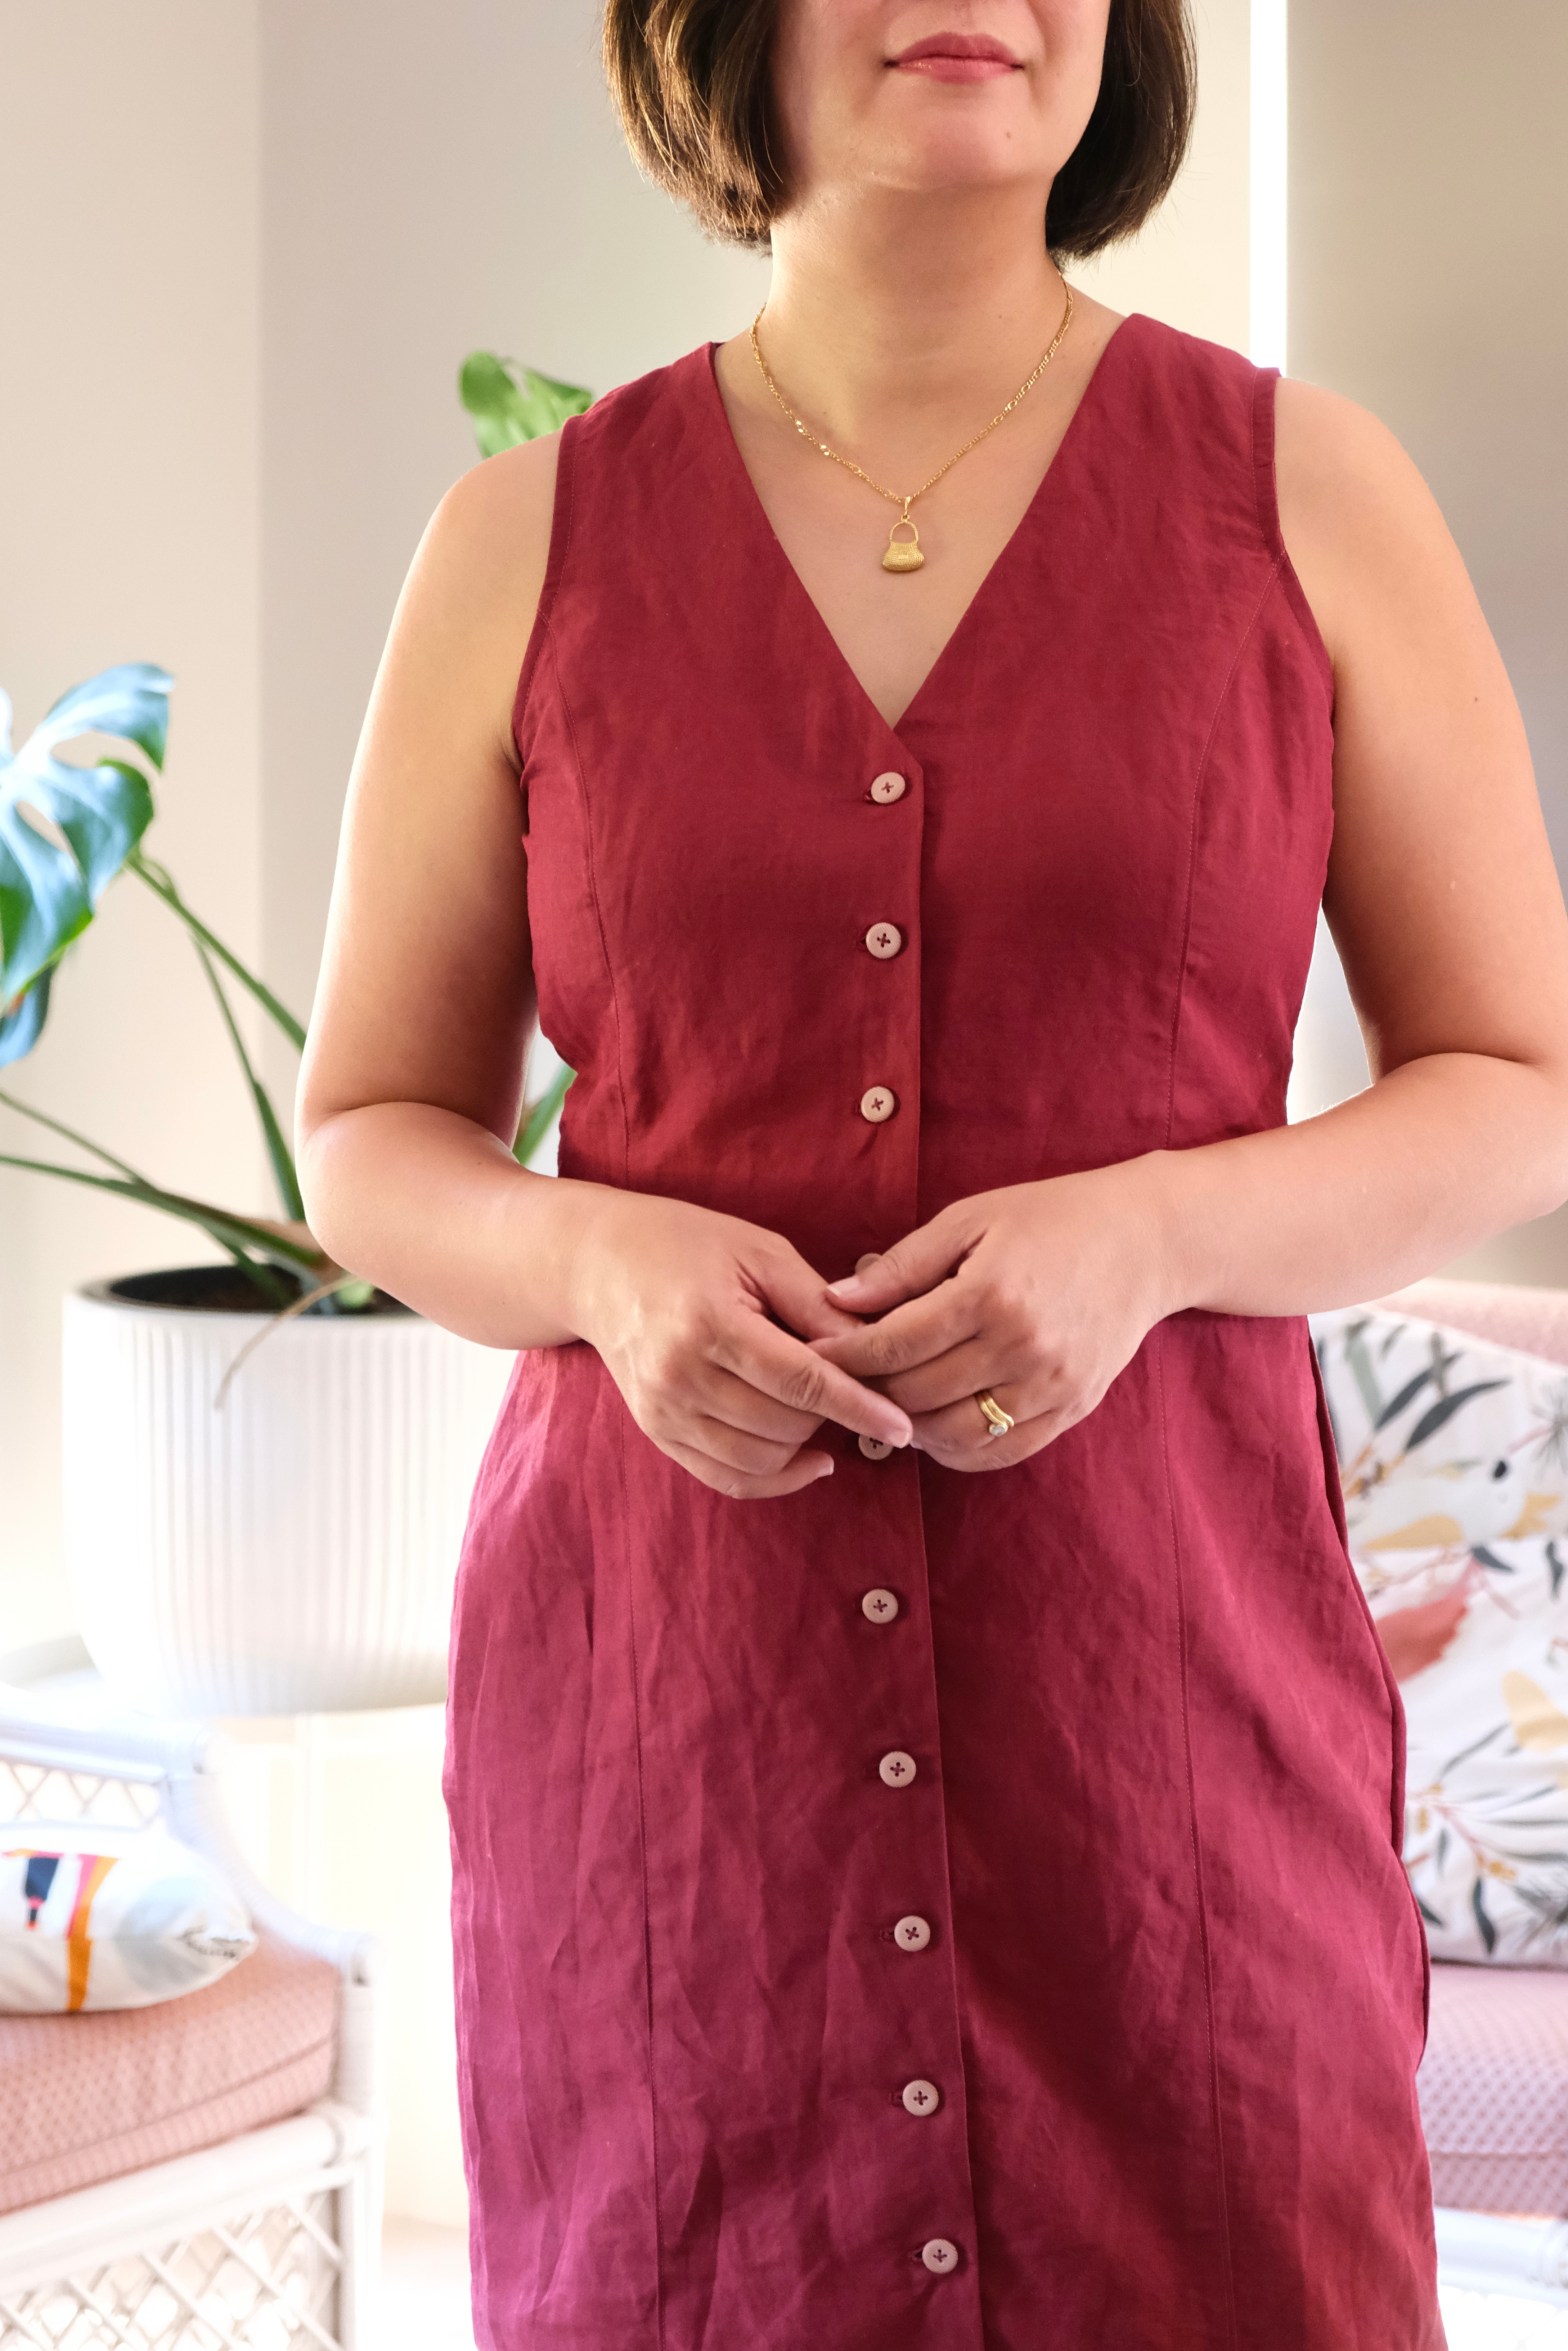
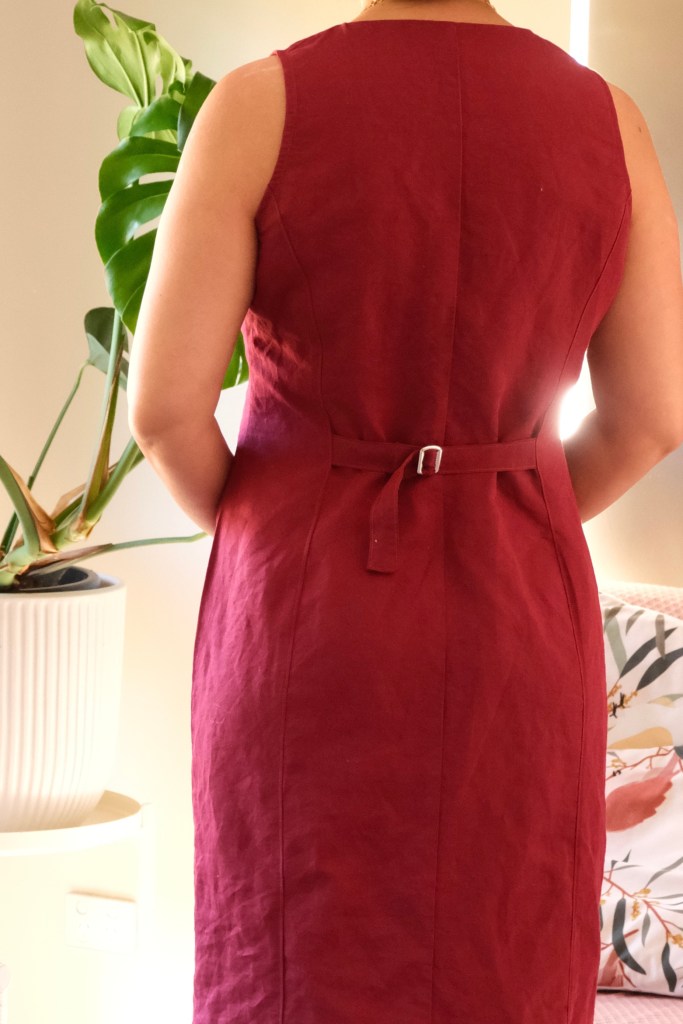
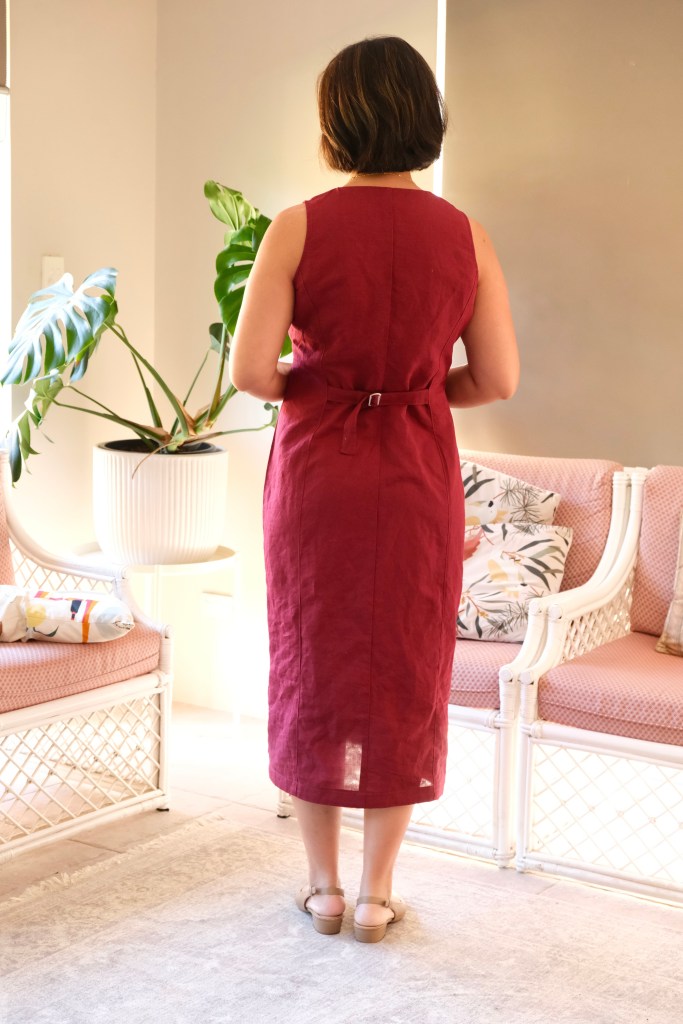
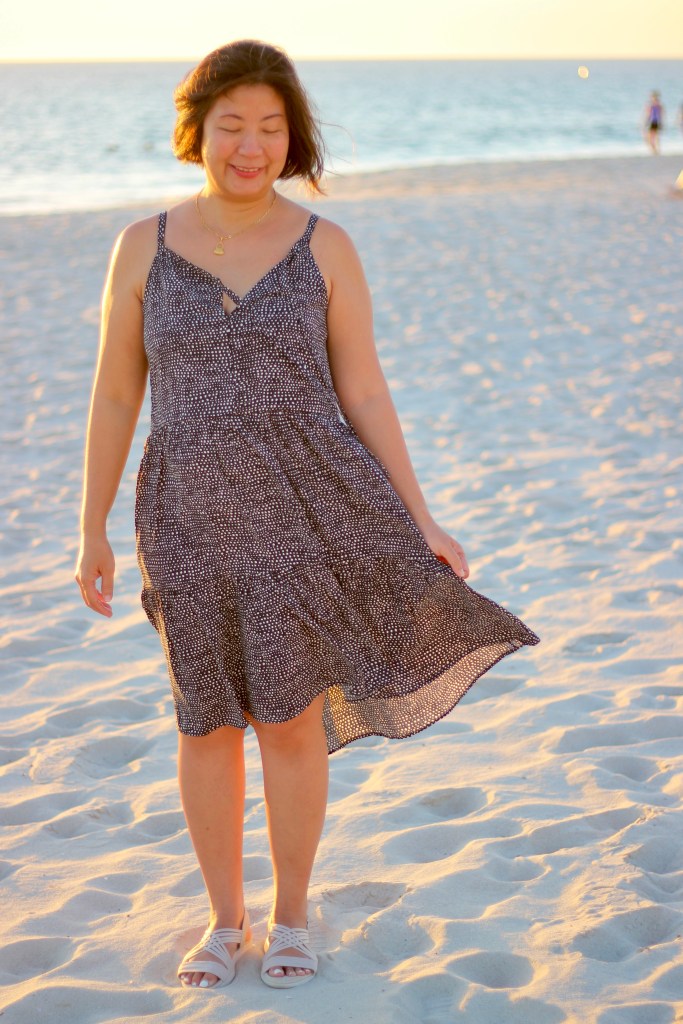
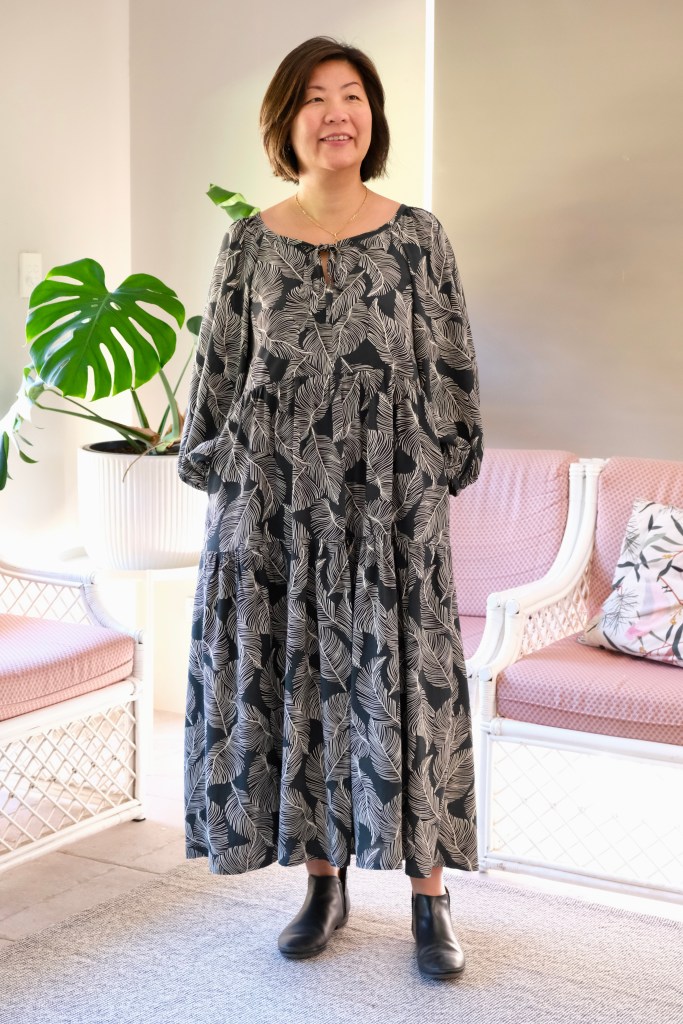
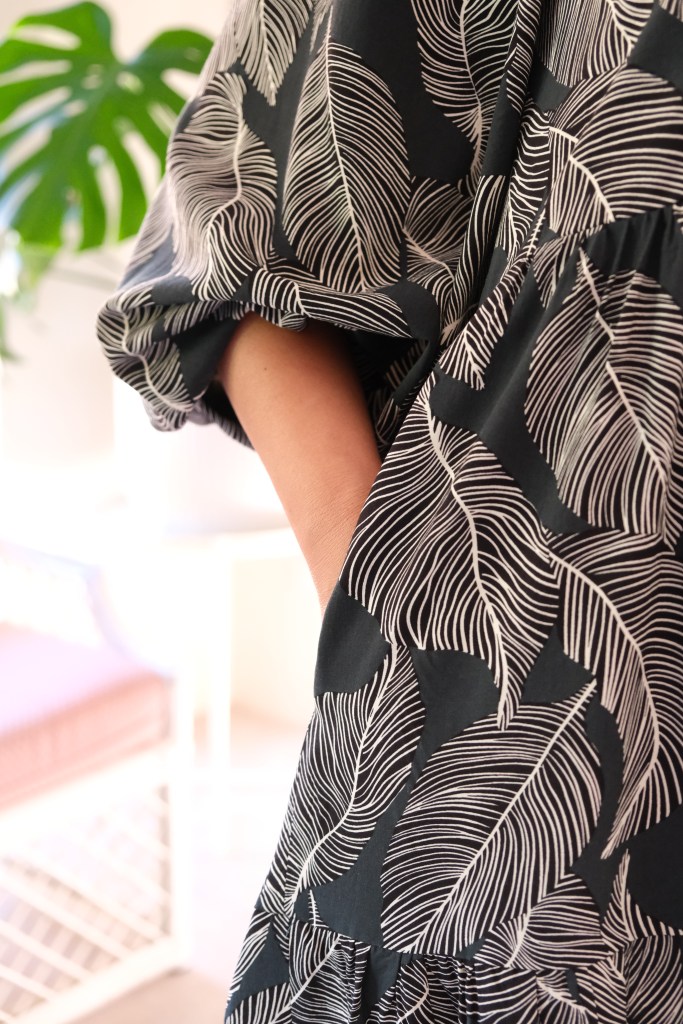
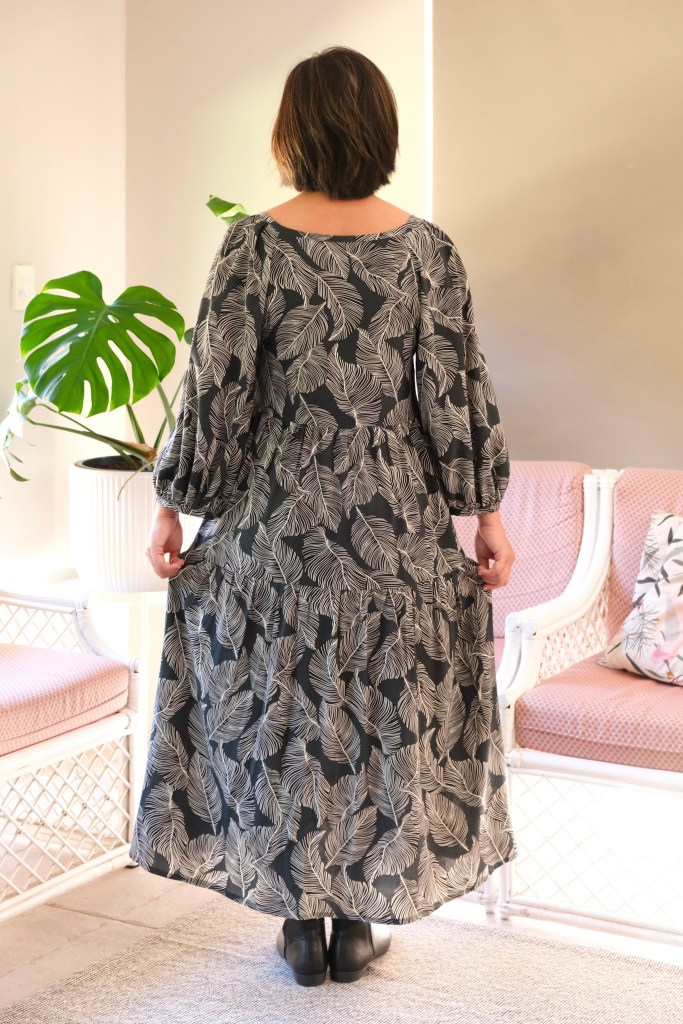
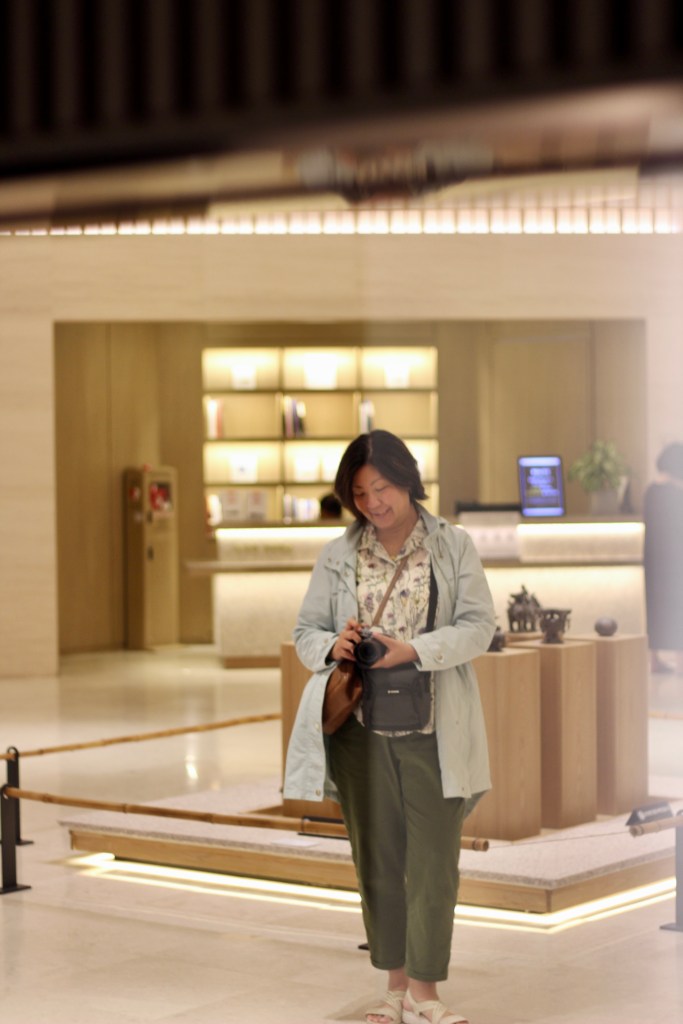
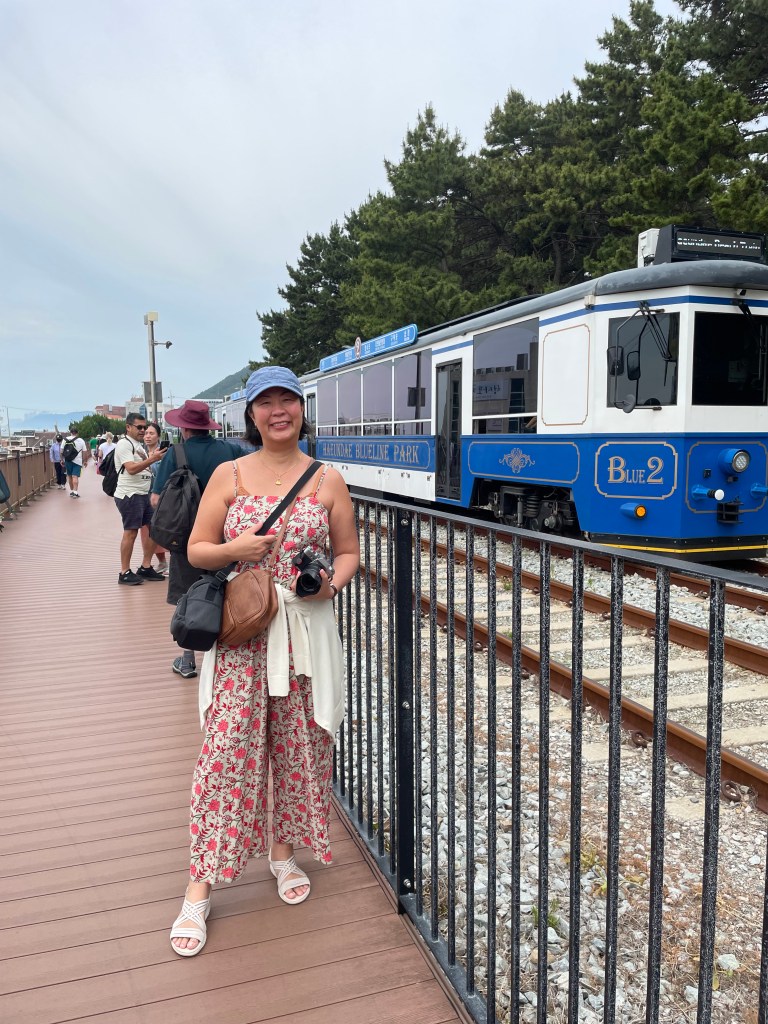
| Dresses / Jumpsuits | Closetcore Amy Jumpsuit True Bias Darla Jumpsuit Sewing Therapy Tie Dress Sew To Grow Arcadia Dress Sew To Grow Lanti Swing Dress |
| Outerwear | Uniqlo White Cardigan K-mart Beige Cardigan Rain jacket |
| Shoes | White sandals Sneakers |
| Other | Swim wear |
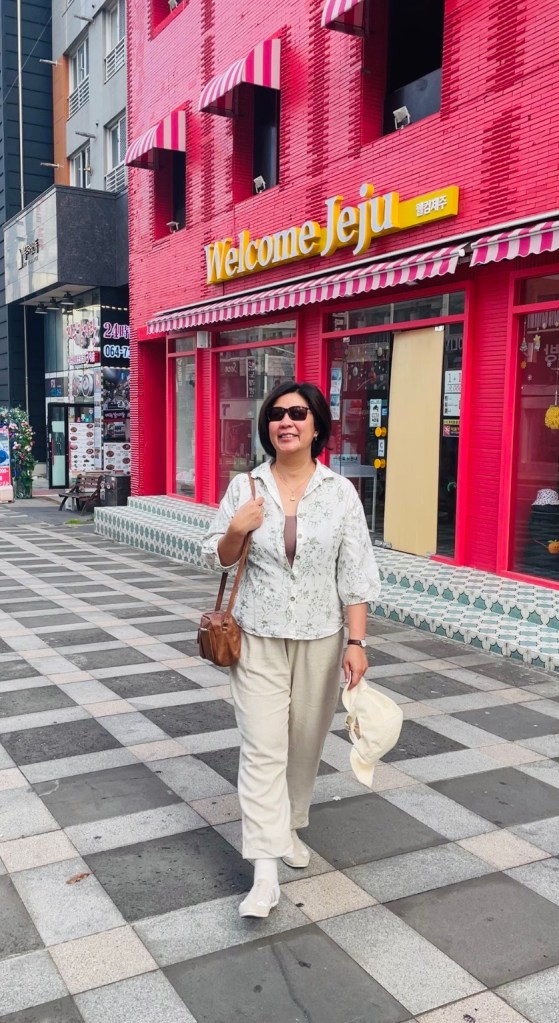
Outfits & Outings
Everything was worn except the shorts! All three of my Dani Pants were worn and the denim and drill versions were worn more than once.


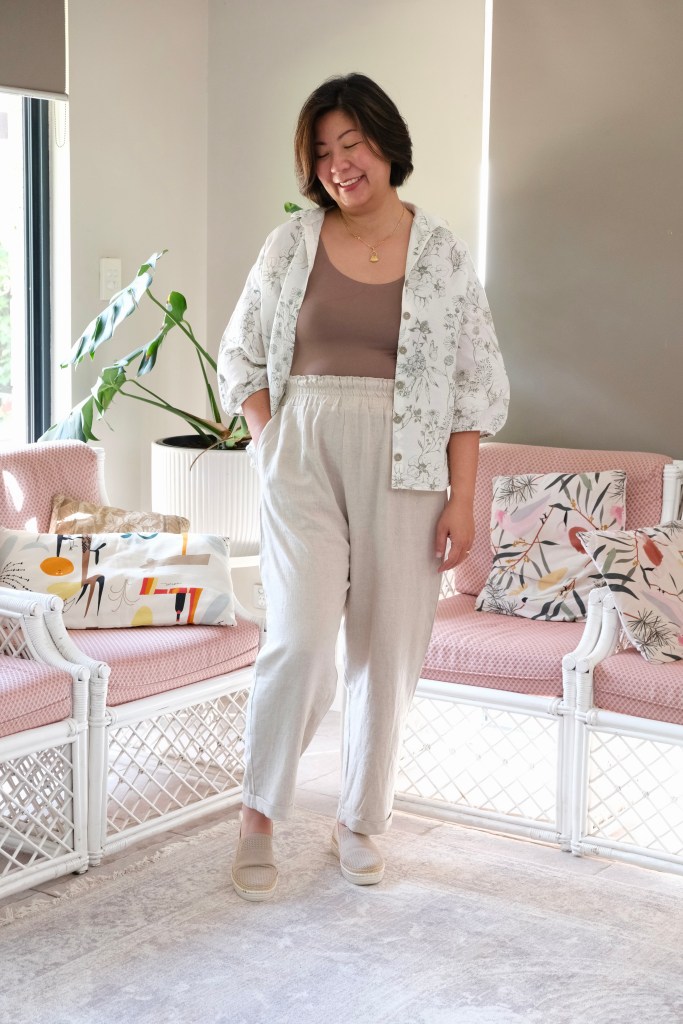
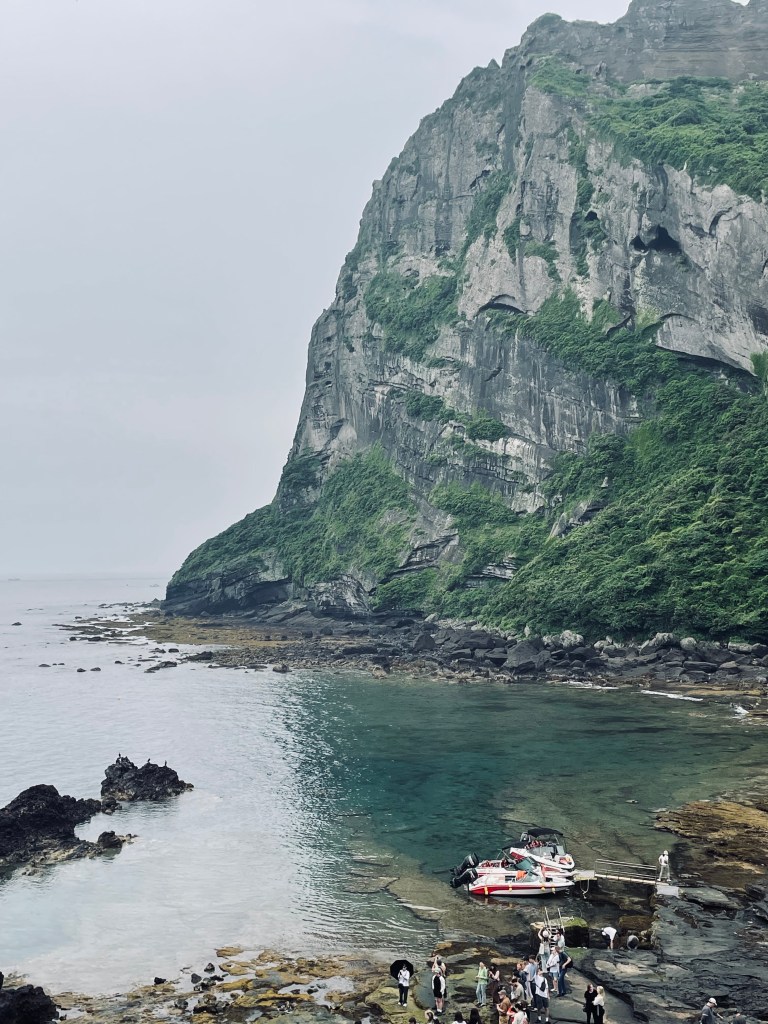
I wore the linen version of my Dani Pants on a day when we hiked up Seongsan Sunrise Peak which was steep. It was extremely hot and humid which was intensified when it started to drizzle as we climbed to the top. I was thankful that I had layered a linen top over a cami which made the humidity more bearable.
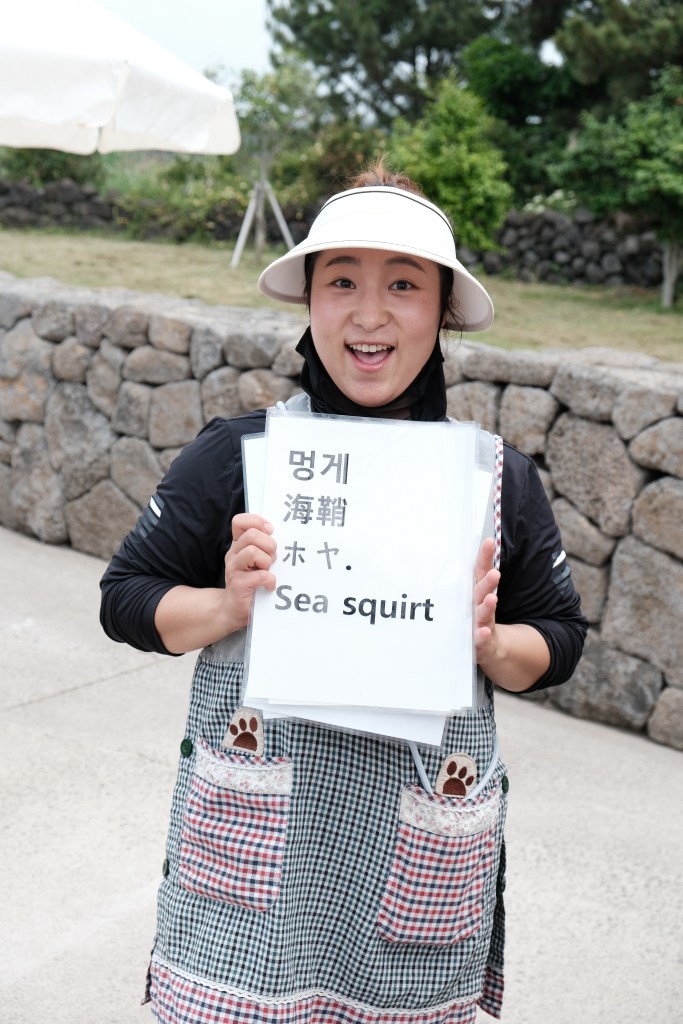
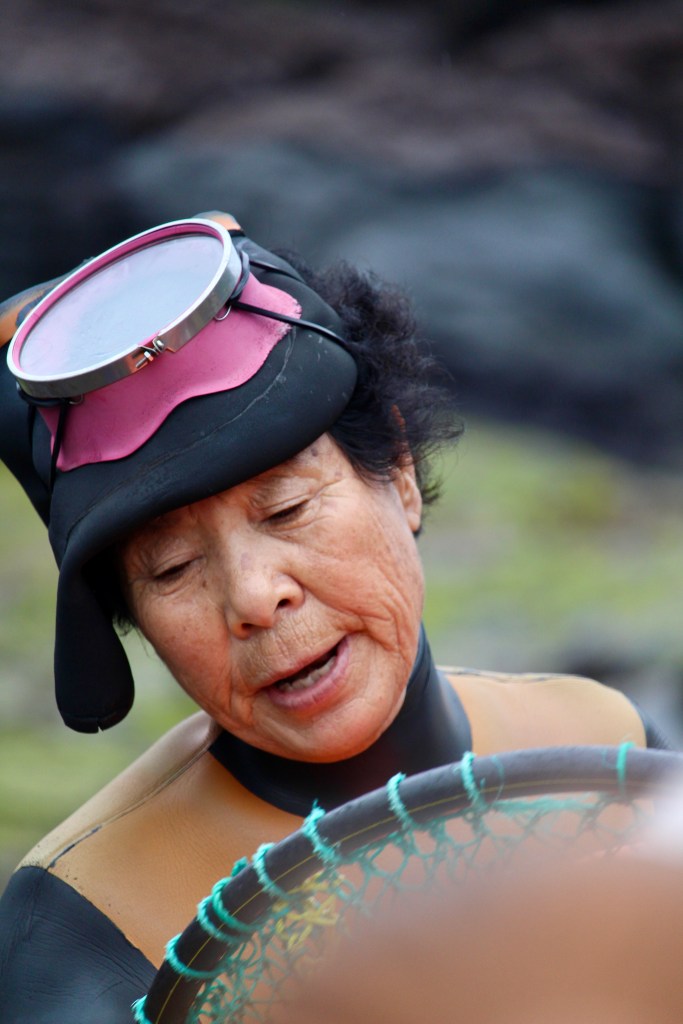
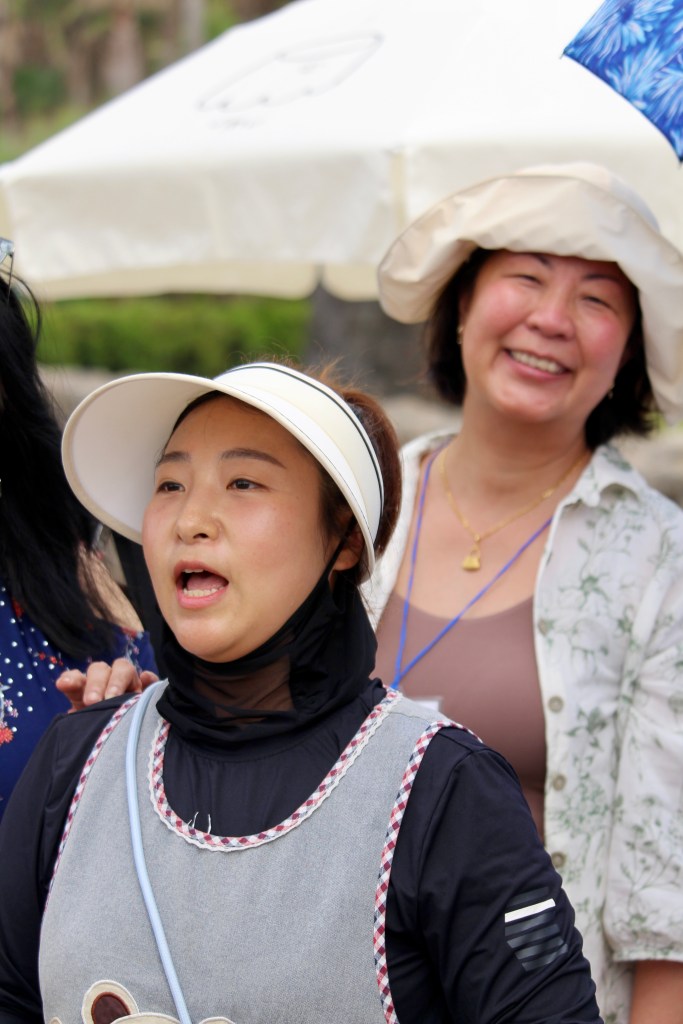
This is also where you can see the Hae Nyeo Show which is the traditional female free divers of Jeju. We were lucky enough to try some sea squirt from a diver who is part of a new generation of Hae Nyeo.
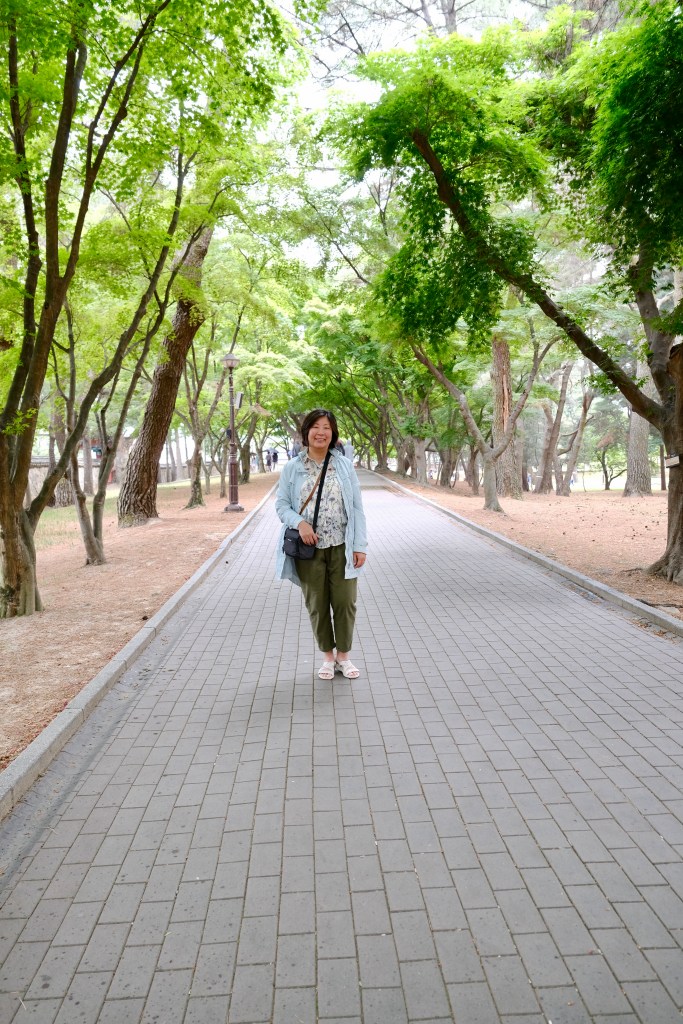
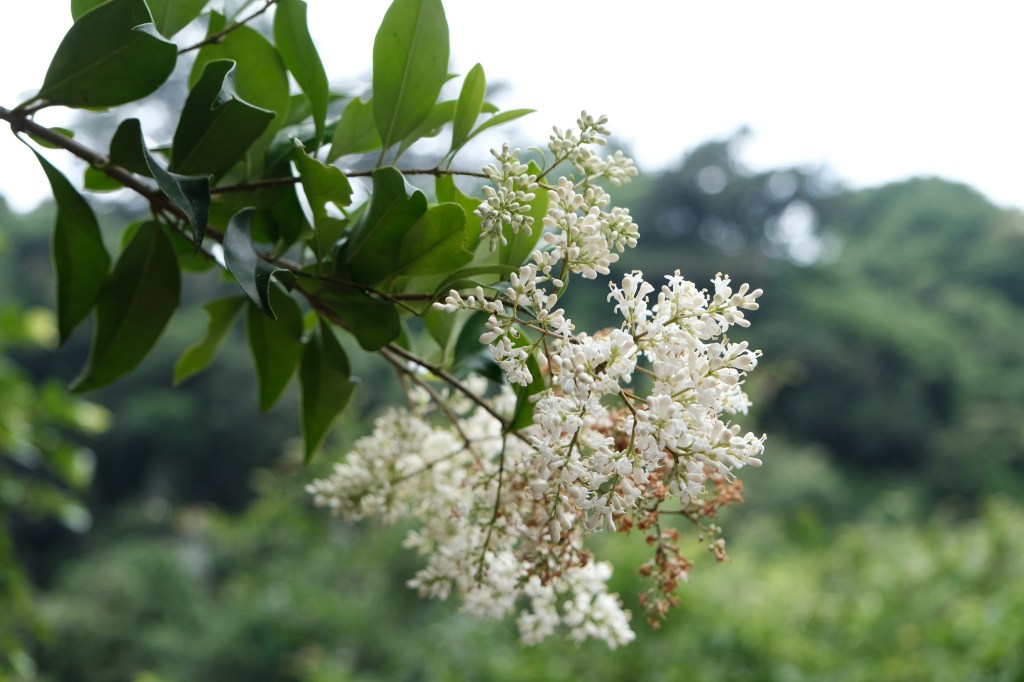
South Korea is full of natural beauty and can be enjoyed by anyone who loves hiking. There are gardens and parks everywhere to enjoy. Jeju, in particular, was very beautiful with Oreums (extinct volcanoes and craters) scattered throughout the island.


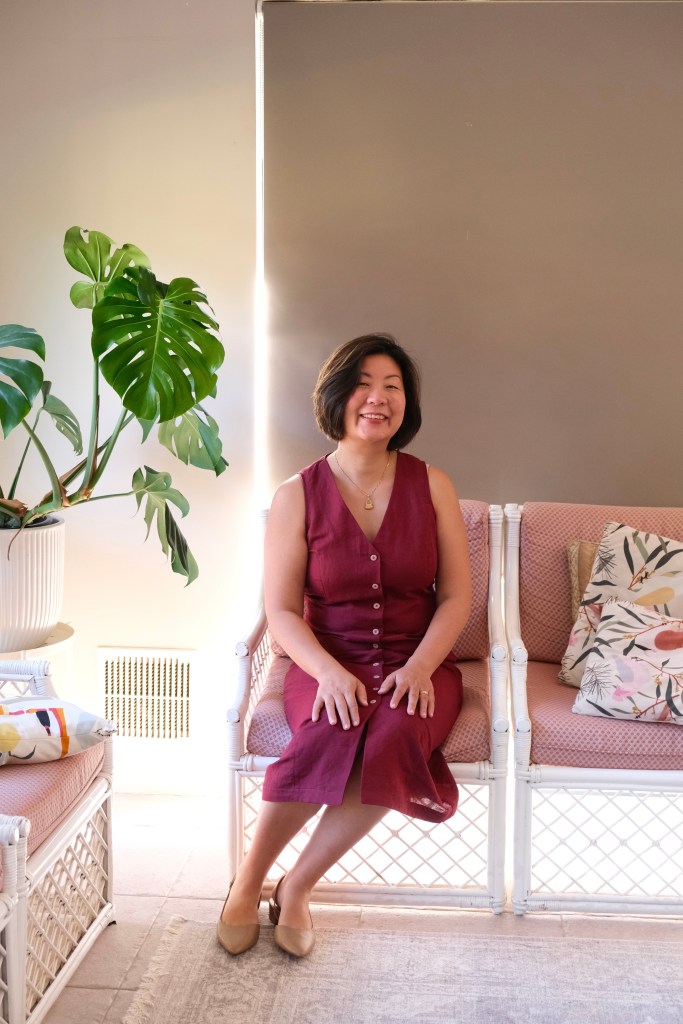
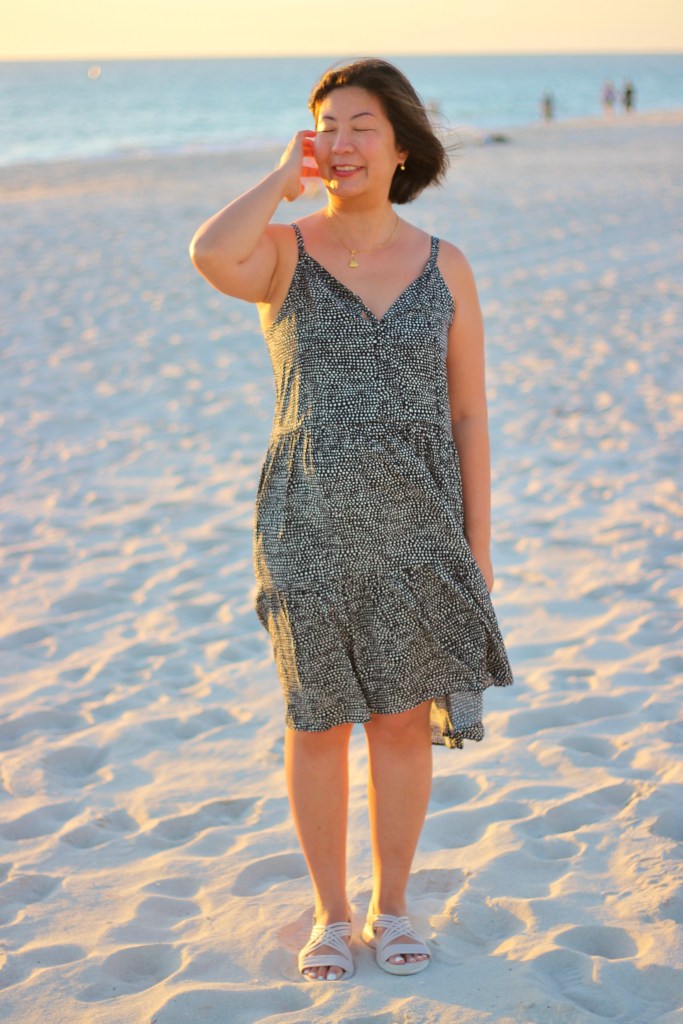
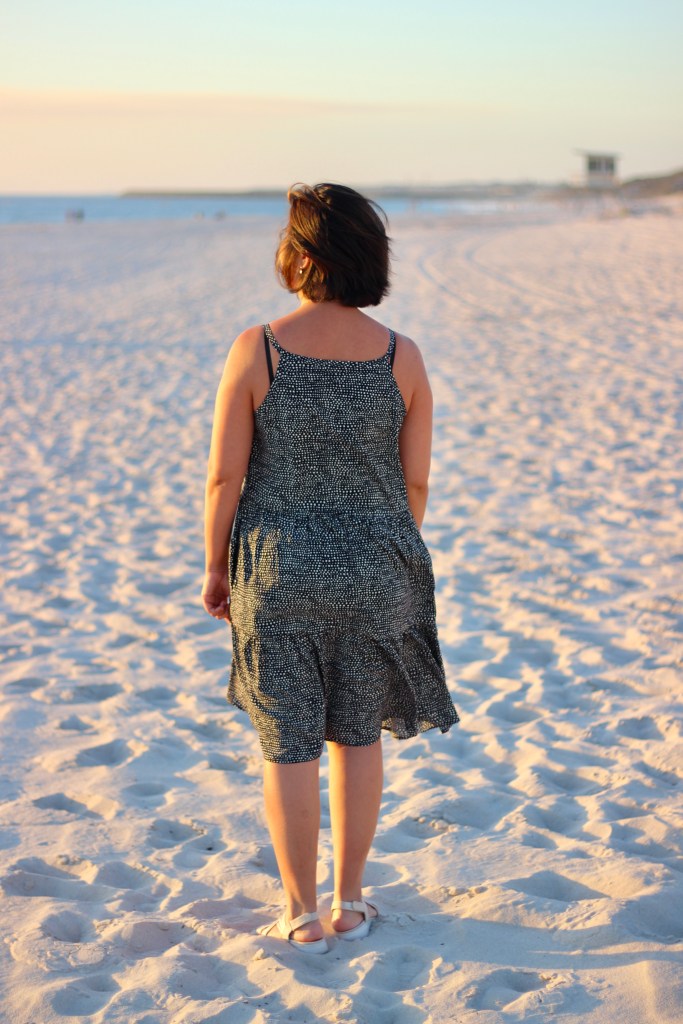
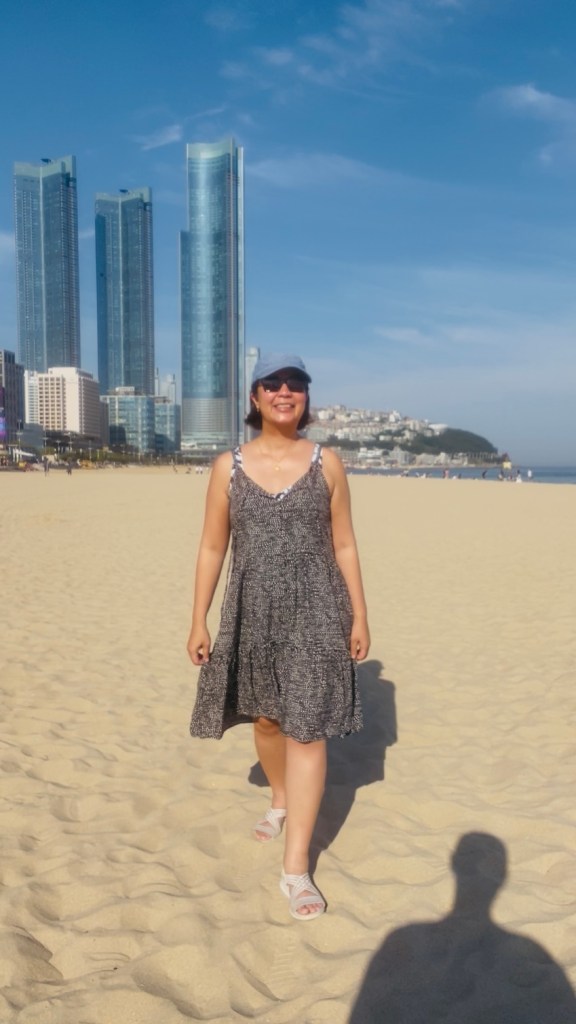
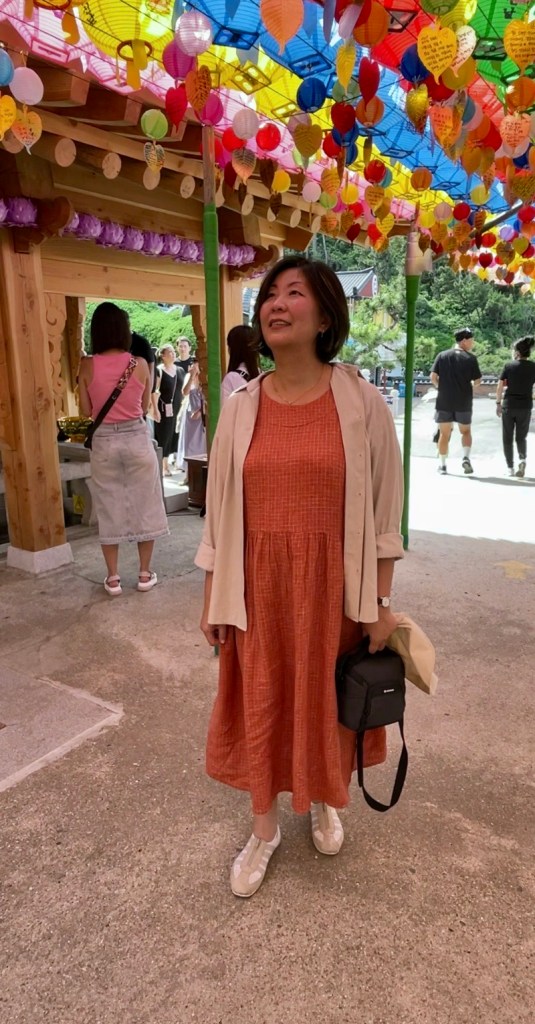
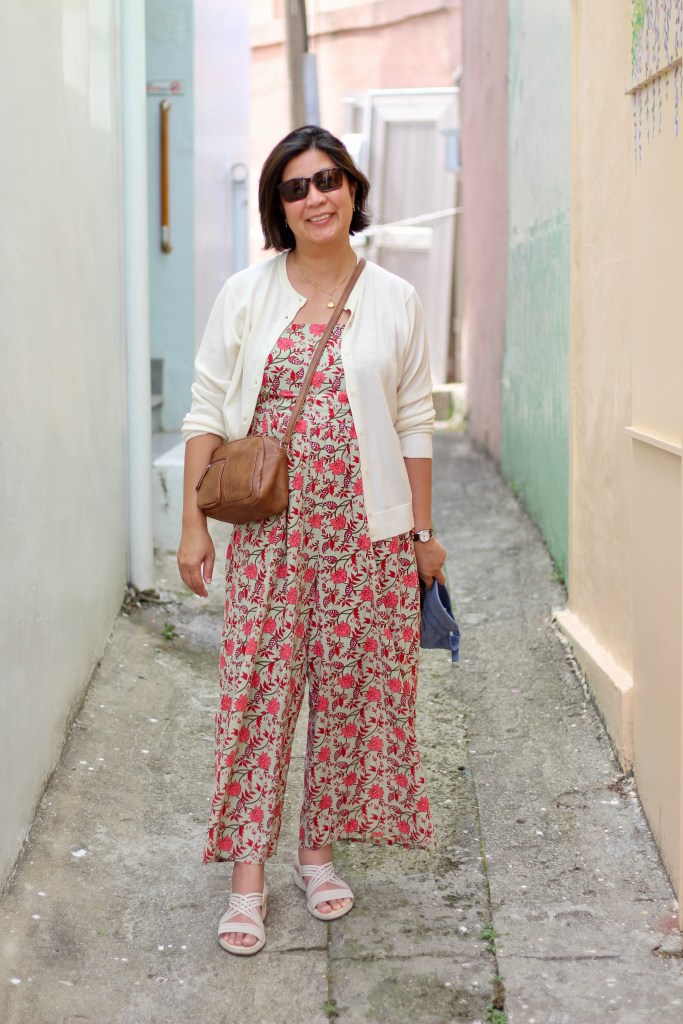
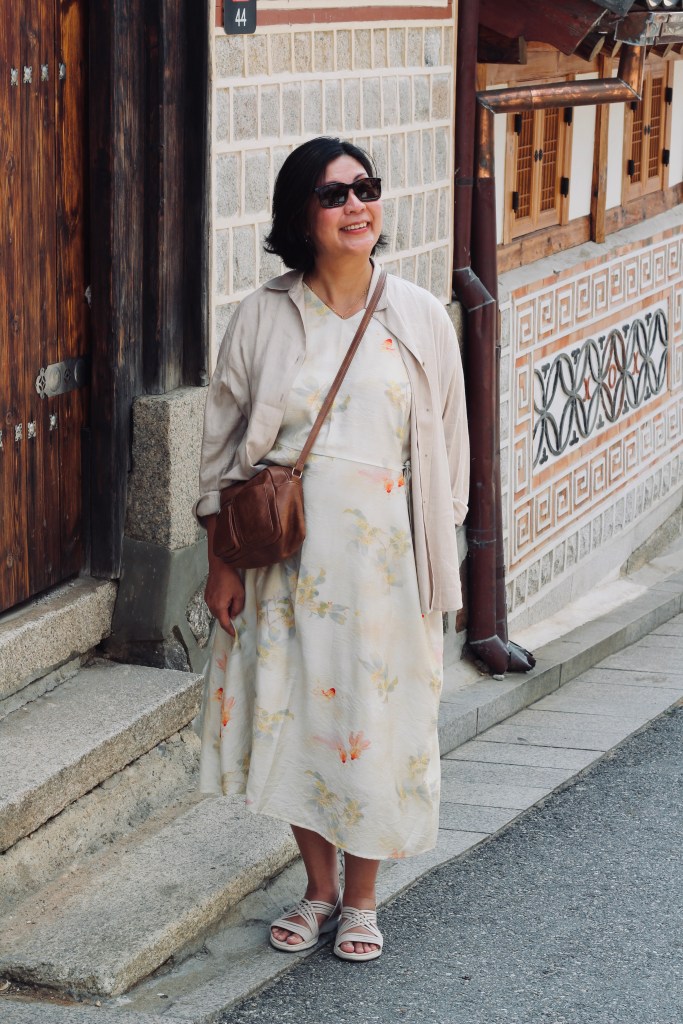
I’m so glad that I packed my dresses and jumpsuits which I could again, layer with a thin cardigan. Surprisingly, in Busan, there is a fantastic beach under the skyscrapers and I actually went for a swim so it was worth packing the swimmers.

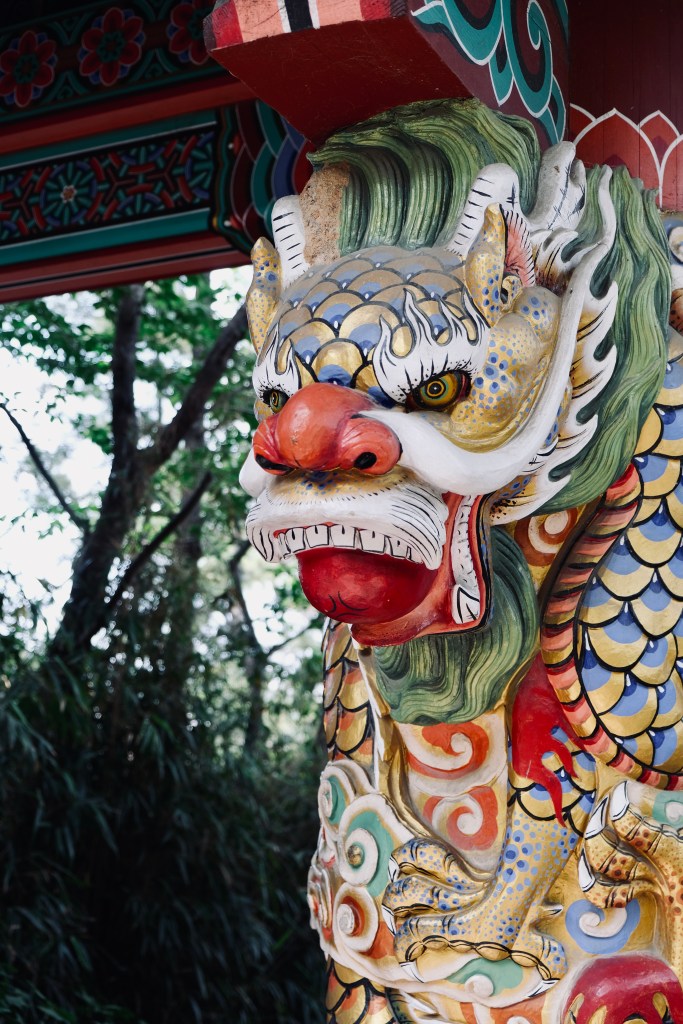
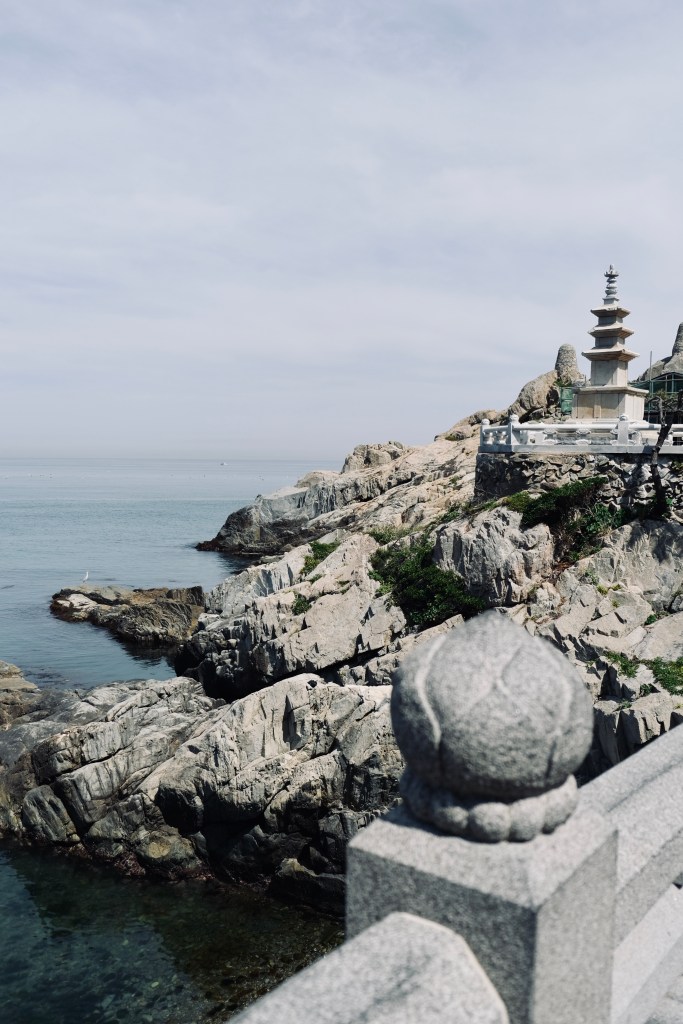
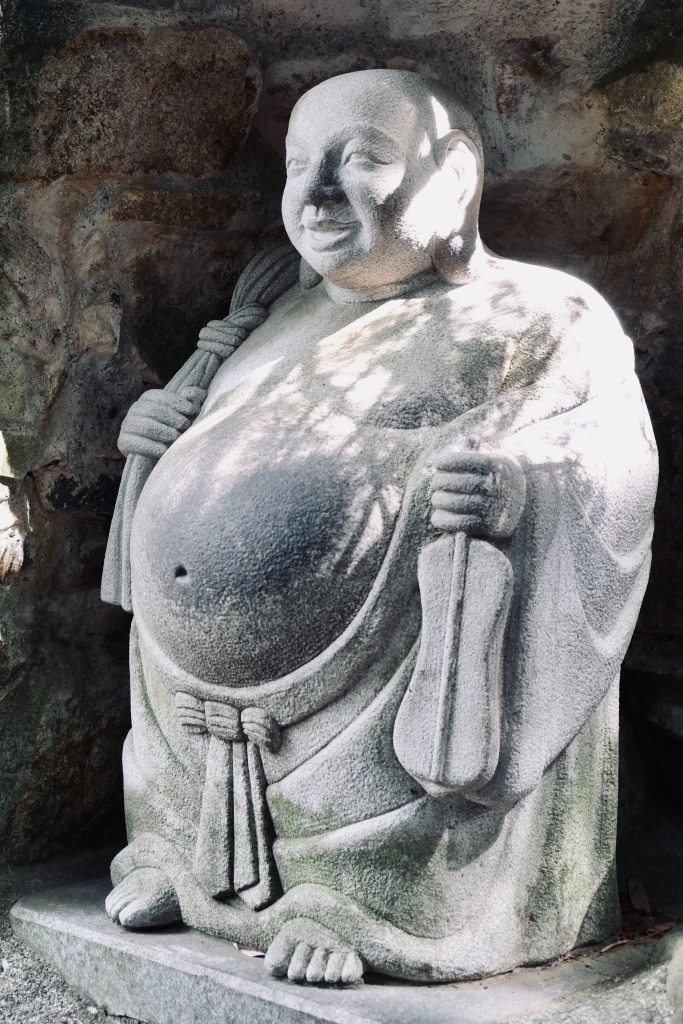
I felt that the shorts didn’t get any wear because it felt out of place in a city setting. The other consideration with shorts and tops is that there is generally a dress code for visiting the beautiful Buddhist temples. I especially enjoyed visiting Haedong Yonggungsa Buddhist temple which is by the sea. There was also Bulguksa Temple in Gyeongju and we were lucky enough to see the Seokguram Grotto in the rain which made the experience exquisitely magical.
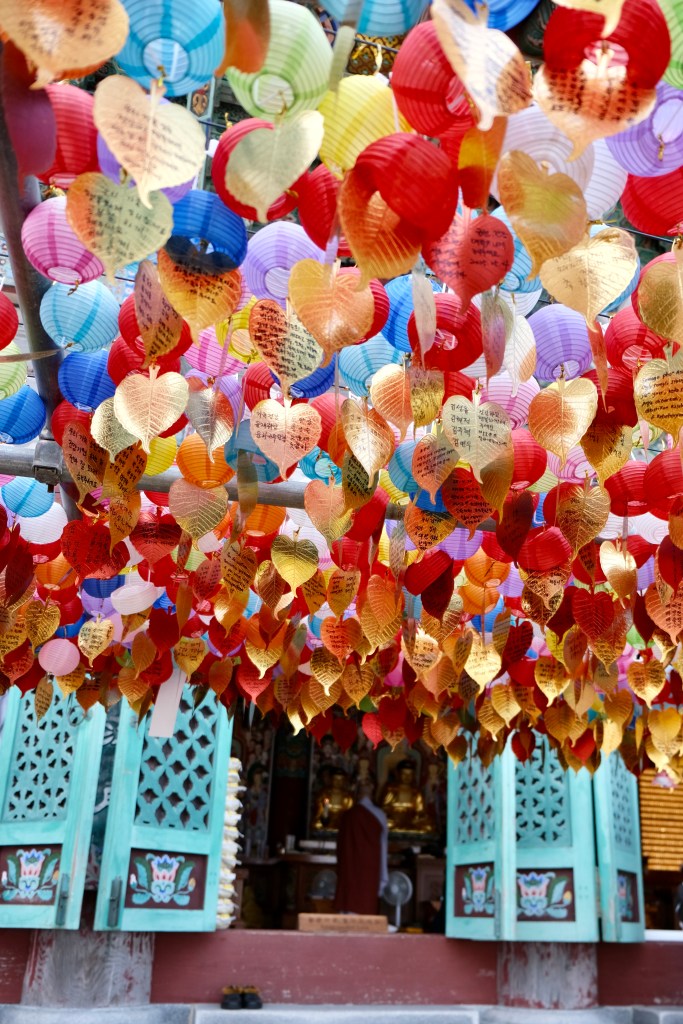
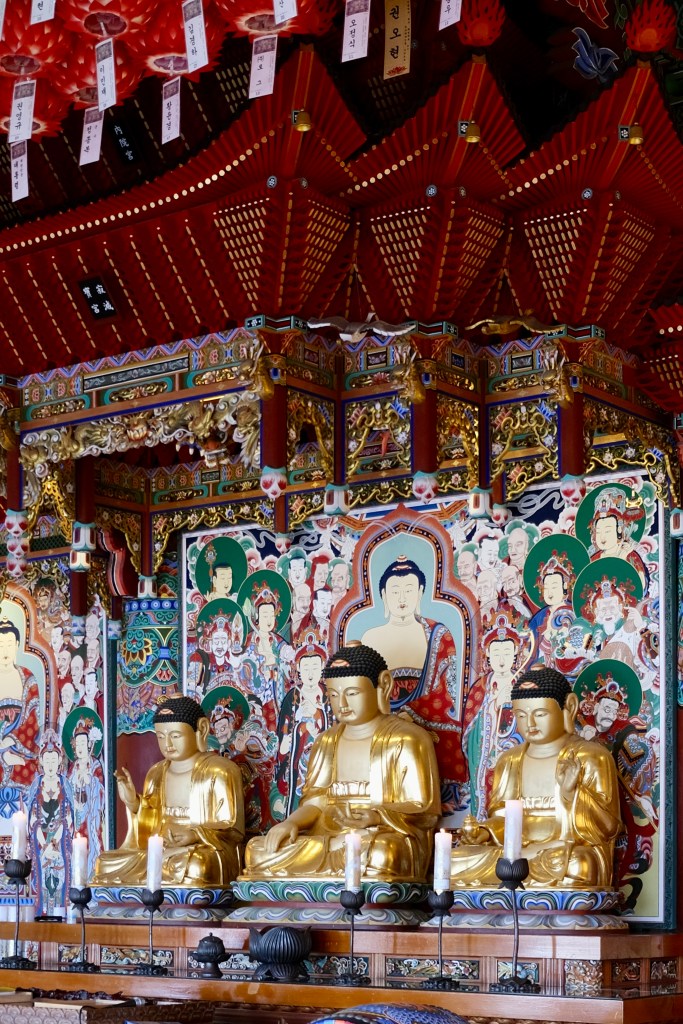
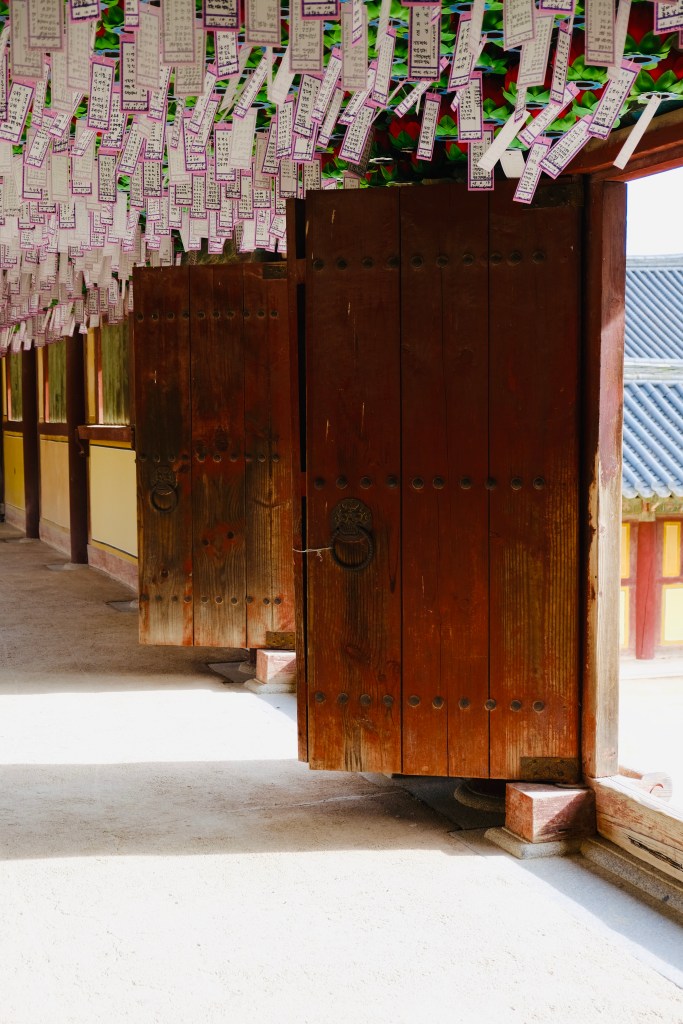


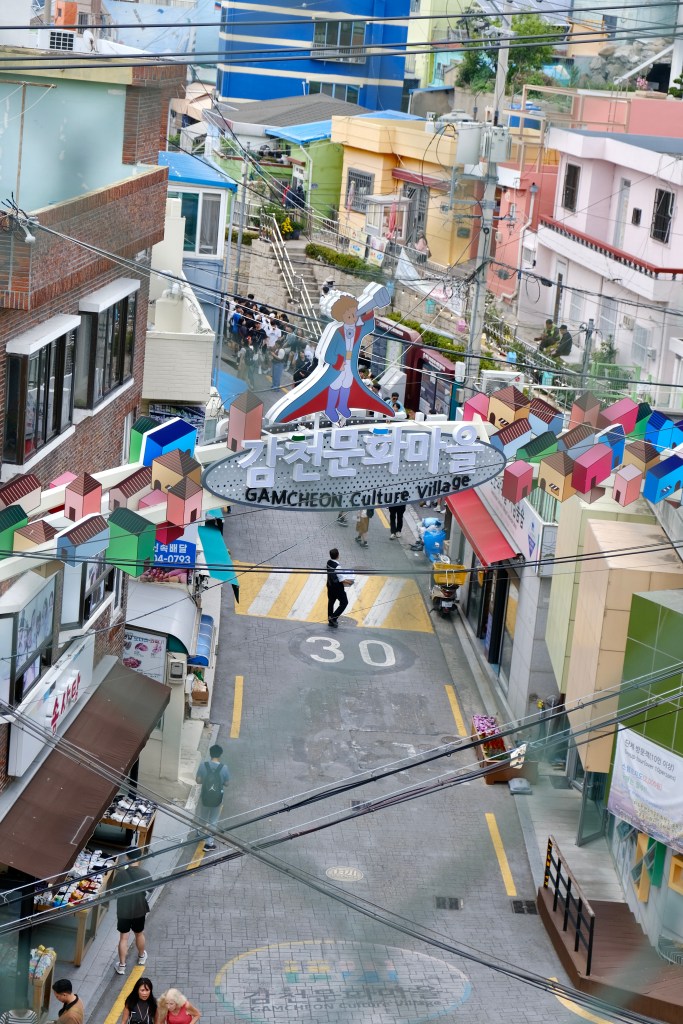
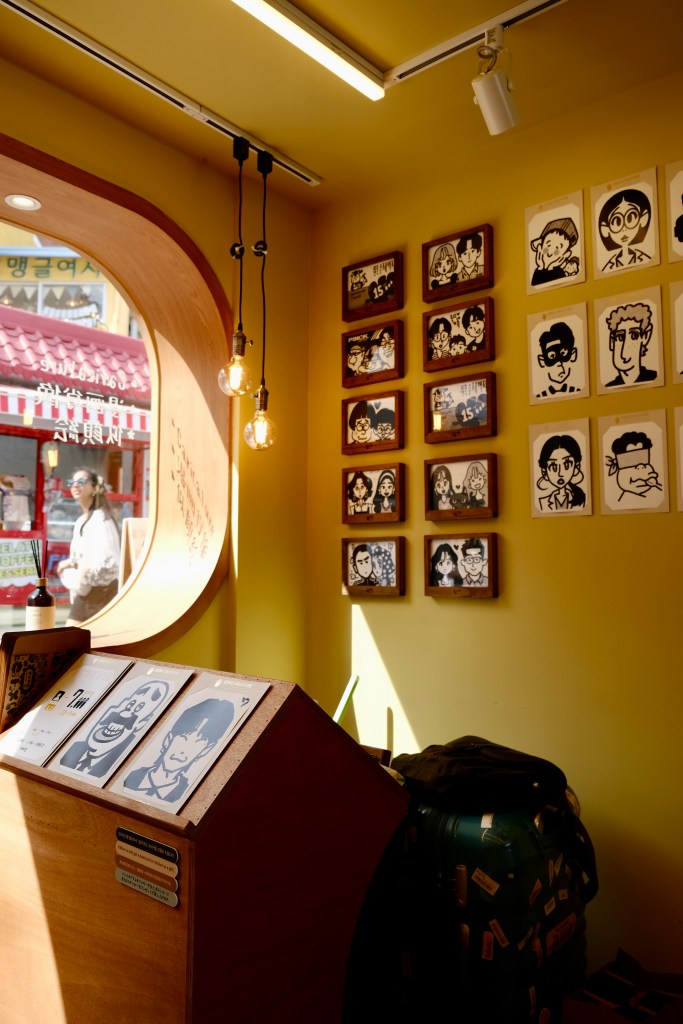
Often, Asian tours are synonymous with Temple Overload but I thought we had the perfect amount. There were a lot of cultural and historic areas to visit. It was hard to pick a favourite but I narrowed it down to two. Gamcheon Village in Busan was gorgeous and an engaging place to visit. I loved getting off the beaten track down narrow alleyways, visited the shops and we had our portrait drawn by a talented caricature artist!


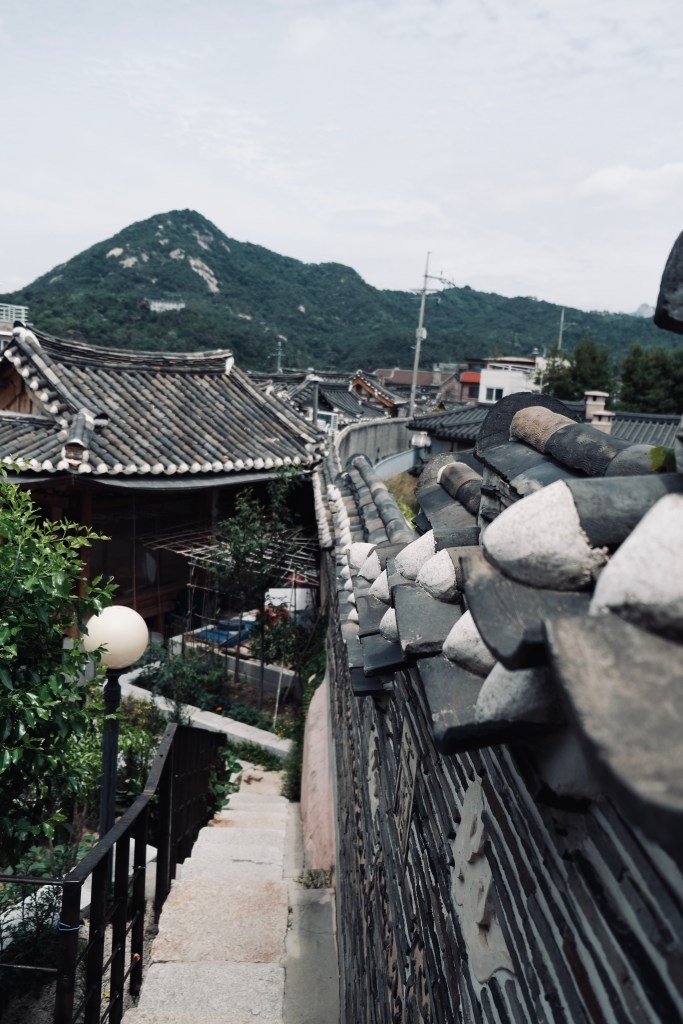
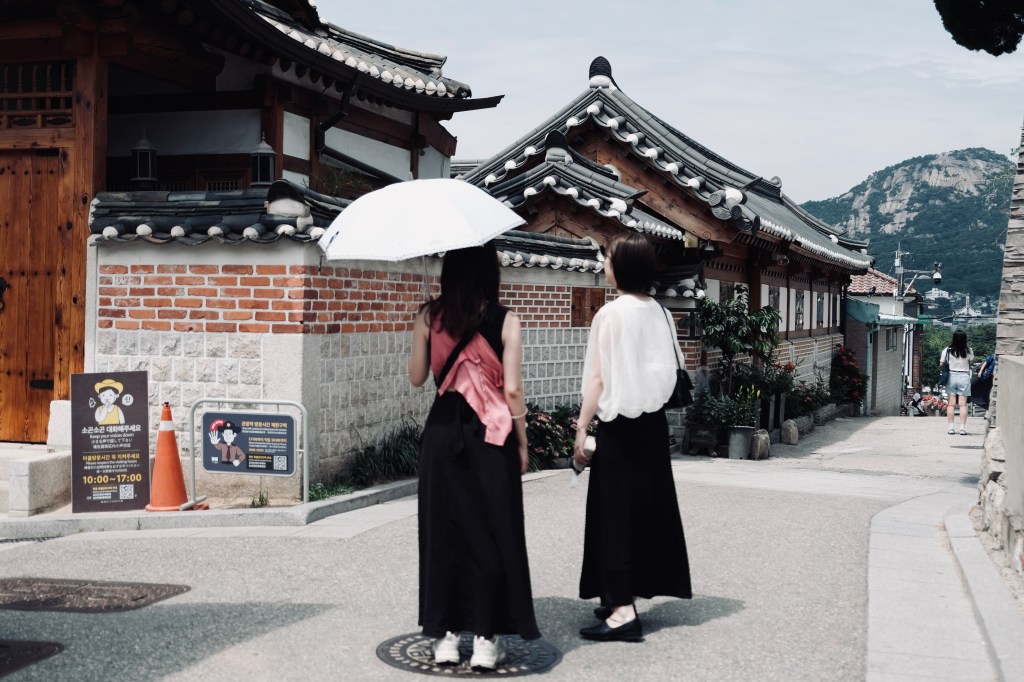
Bukchon cultural village is worth a visit as well with the amazing group of traditional houses. It has a curfew and opens from 10am and closes at 5pm because there are residents who live in this village. I think that there is one street in particular made famous by social media which has created most of the headache for residents. Not sure why everyone crowds in the one street when you could get equally good or better photos in the street next to it. The best thing we did was going into the Bukchon Cultural Museum and Observatory. It’s at a high point so you can look out over the rooftops and get a nice cool iced tea which is free with entry.


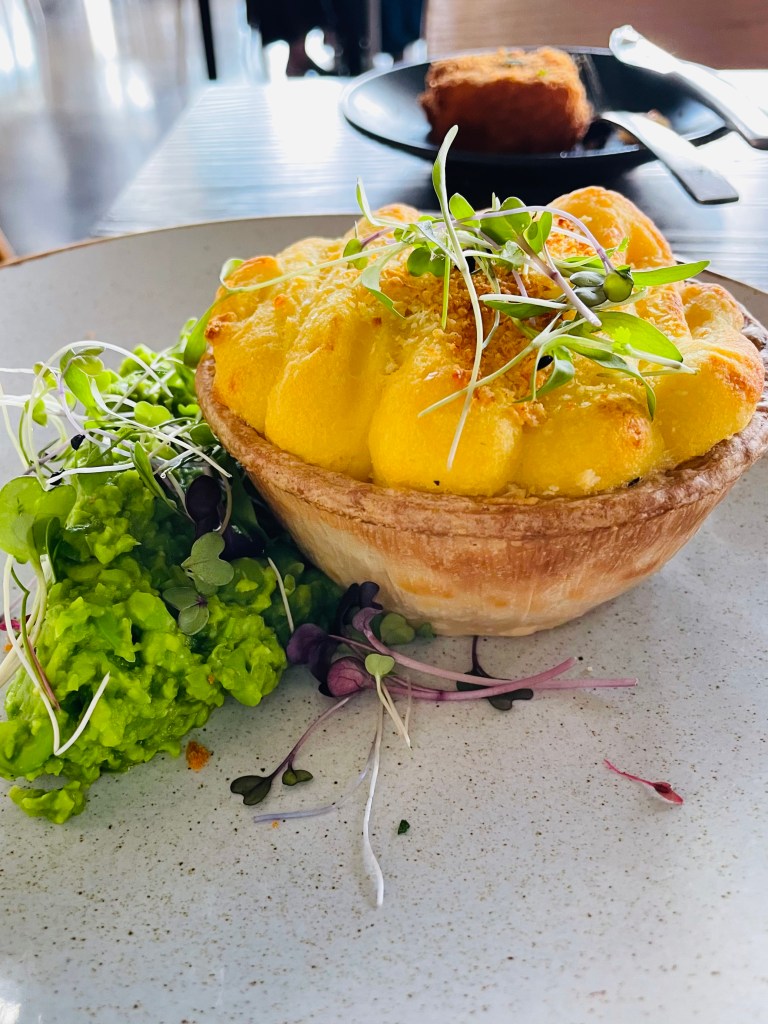
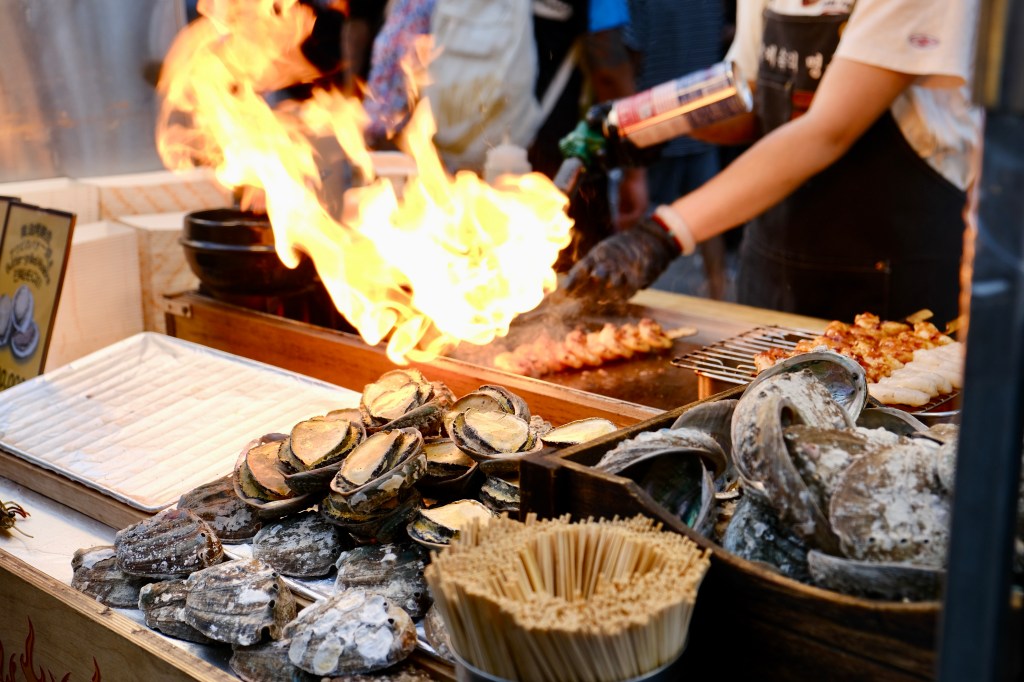
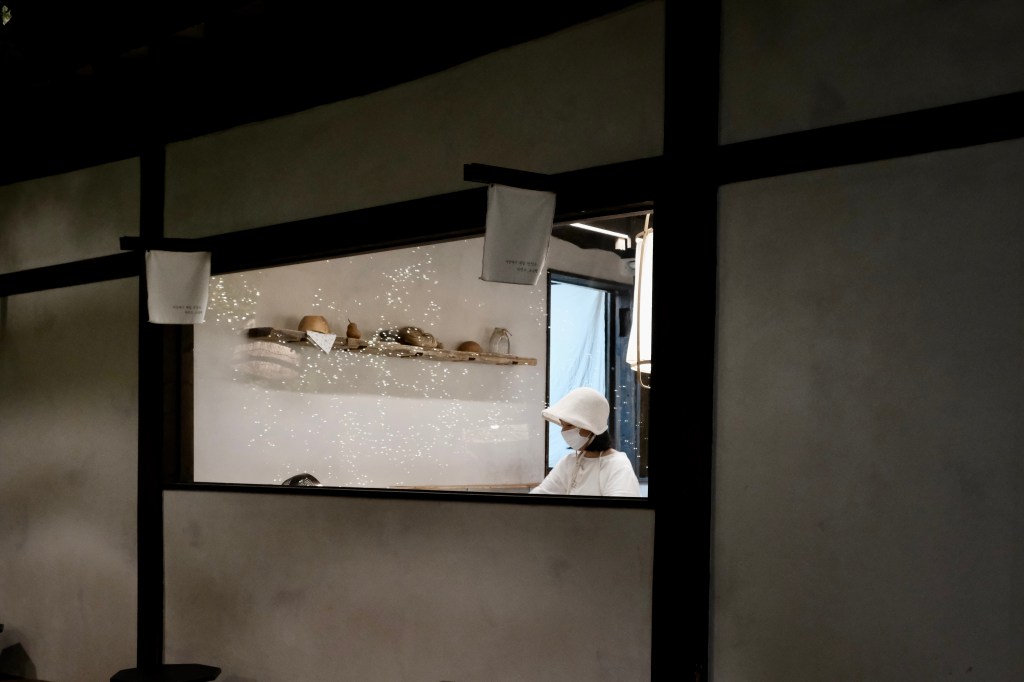
There was such a variety of sights and activities in South Korea from the lively tourist hub of Myeong-dong where you can try street food and shop till you drop, to the narrow and charming alleyways of ikseong-dong crammed full of restaurants and trendy cafes.
I ended up with just over 700 photos because everything is so picturesque in South Korea. It’s definitely worth a visit or two or three.


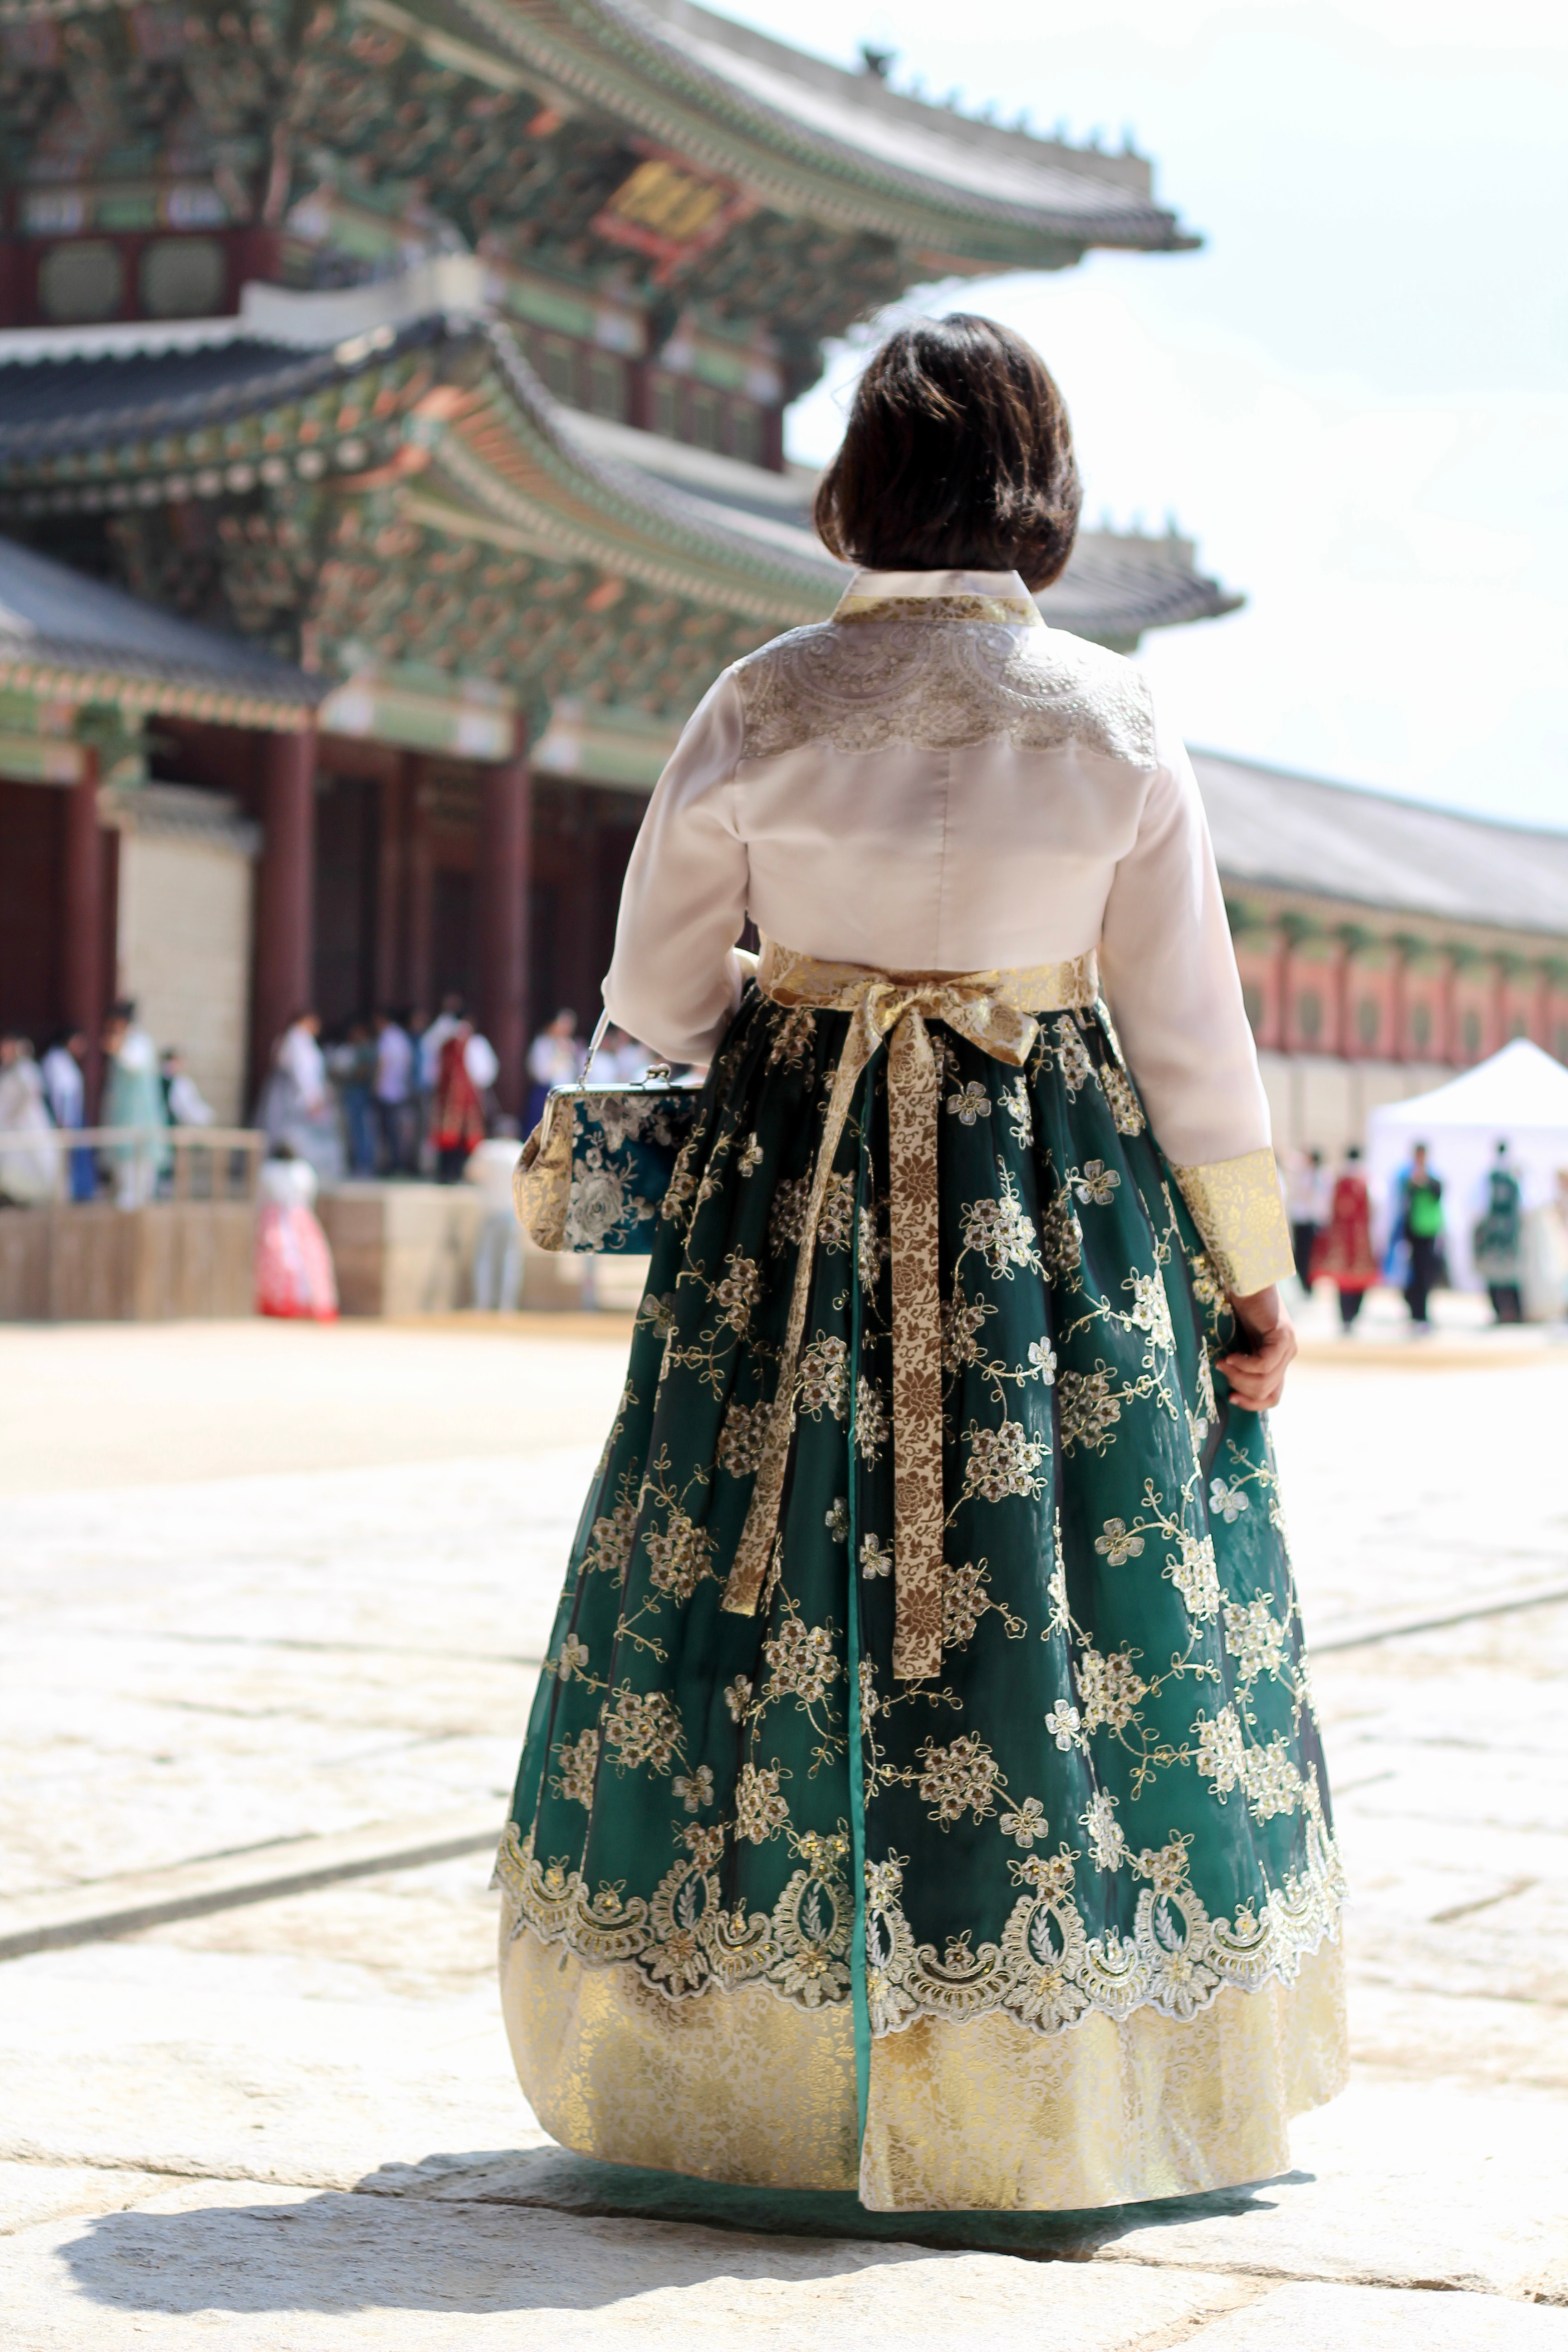
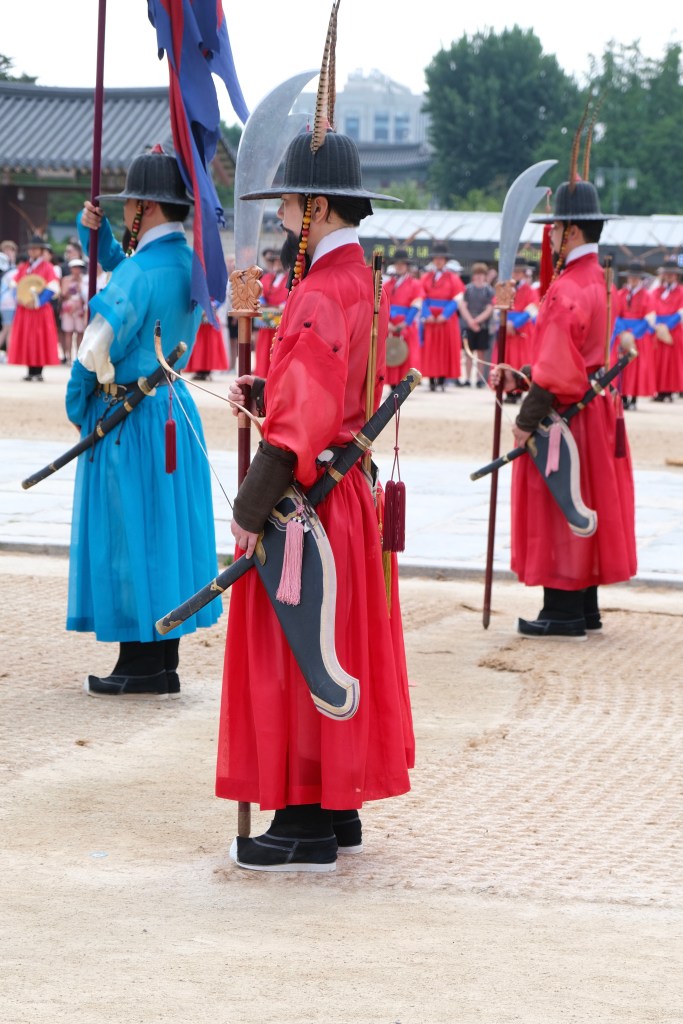
Final note on a favourite memory was dressing up in the traditional Hanbok and I’m so glad that my husband joined me too. I can highly recommend Hanbok Day Rental which is just around the corner from Gyeongbokgung Palace where we went to see the changing of the guards and strolled through the palace grounds. We did this on the first day of our visit and it really set the tone for the rest of our stay.


Thanks for reading my extremely long blog post and happy sewing!
X Em
PS I will be following up with a blog post about fabric shopping in South Korea. There was too much to unpack in this one!