Still recovering from Frocktails 2025 which is an annual gathering of sewing enthusiasts and is hosted in many different locations around the world. It was a fun night of delightful sewing banter, finally meeting familiar faces from social media in real life and getting to fondle a lot of fabric (with permission of course!).
The process of making or thinking about what to wear for the night started many months back. I wasn’t specifically thinking about Frocktails at the time, it was just that my growing hoard of sewing scraps had been bugging me, and my husband had cleaned out his closet and found some old pairs of jeans that were not fit for donating. I think there was also a sewing challenge based around upcycling that started me down this path.
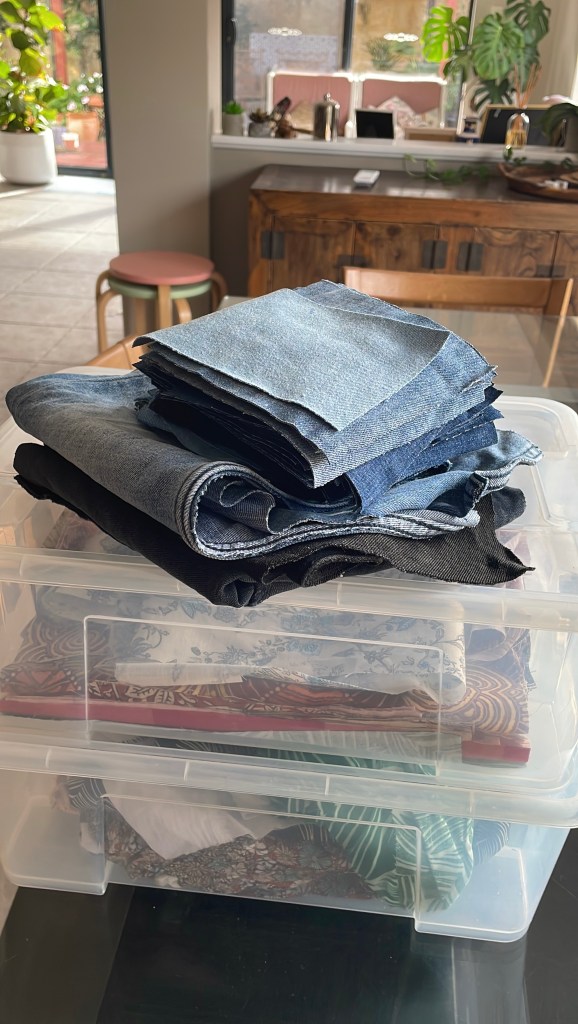

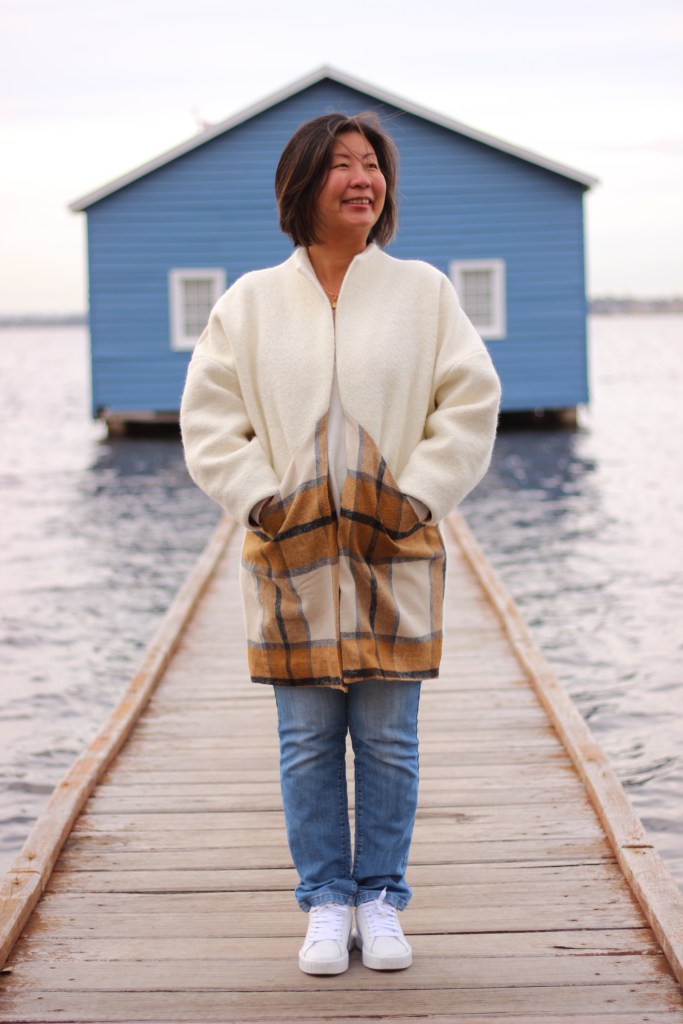
I was initially planning on only using the denim to make another Papercut Nova Coat. In this version, I wanted to make the shorter version and size down a few sizes. I have a lovely long wool version, but I’ve always needed something in a lighter weight for the in-between seasons. As mentioned, I was trying to complete a sewing challenge, but inspiration and motivation was lacking as I started to cut into the denim. So, I stopped. I’m glad I did because I don’t think I would have achieved something that I love as much as the jacket I’ve ended up with.
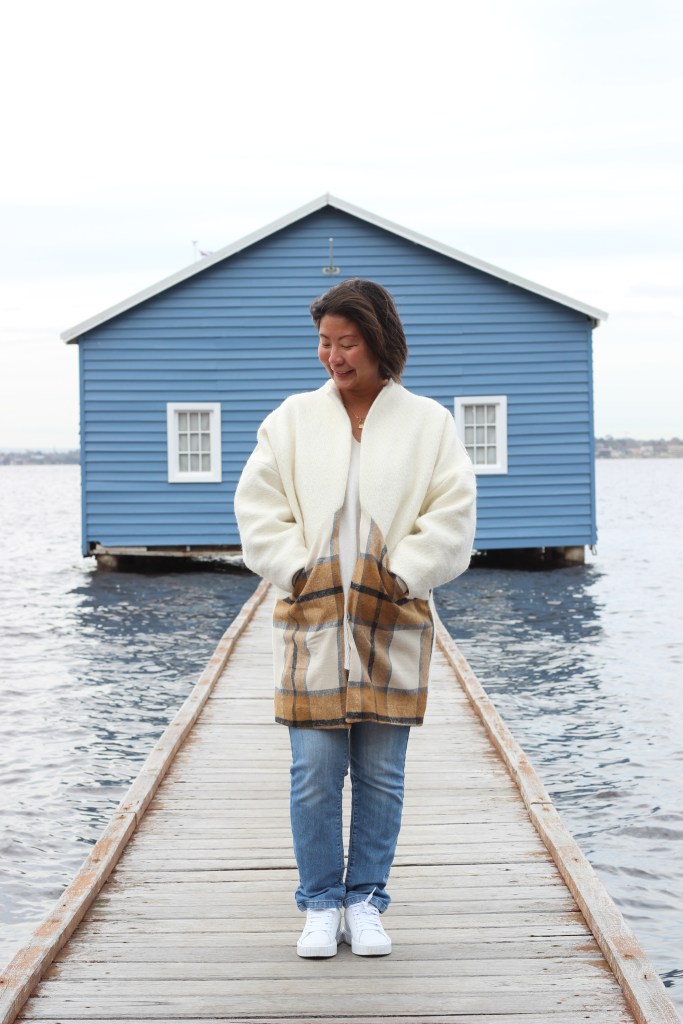
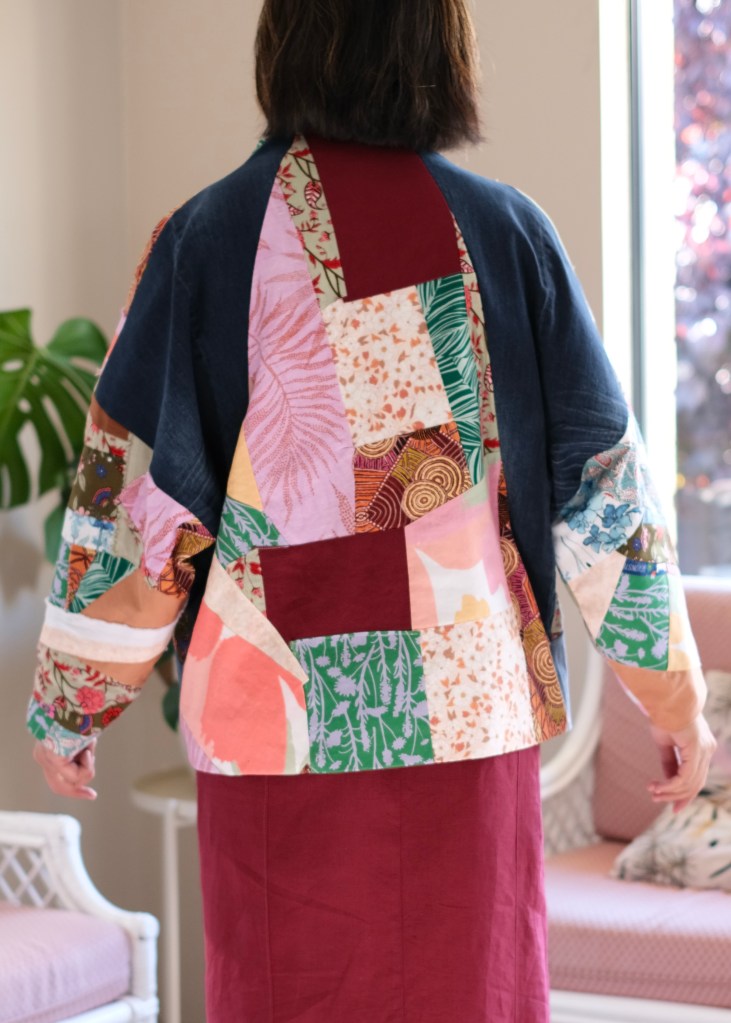
After a pause of another couple of months, I started to envision the jacket I wanted. I have a lovely memory of my friend Hiromi, who gave me a gift in a box that she had covered in little bits and pieces of washi paper. The gift was a beautifully folded crane, but I fell in love with the box that housed it. Each piece was thoughtfully placed but irregular. There were no regular shapes, yet it felt cohesive. To my ten-year-old eyes, it was like a multifaced piece of jewellery. I wanted my jacket to have that thoughtful but irregular placement using my scraps, but I wanted to ground the scraps with pieces of denim so that the eyes have something to rest on like an outline in a painting.
Once inspiration struck, it was easy to work out what to do next. I started by reprinting my Nova Coat pattern pieces. Last time, I had sized down from a size 4 to a size 3. I went down another two sizes to the size 1. The main consideration is the bust measurement, the sleeve length and the length of the coat. I was sewing the shorter version. The finished garment measurements are so helpful and accurate. My measurements are 38-inch bust, 33-inch waist and 40-inch hips.
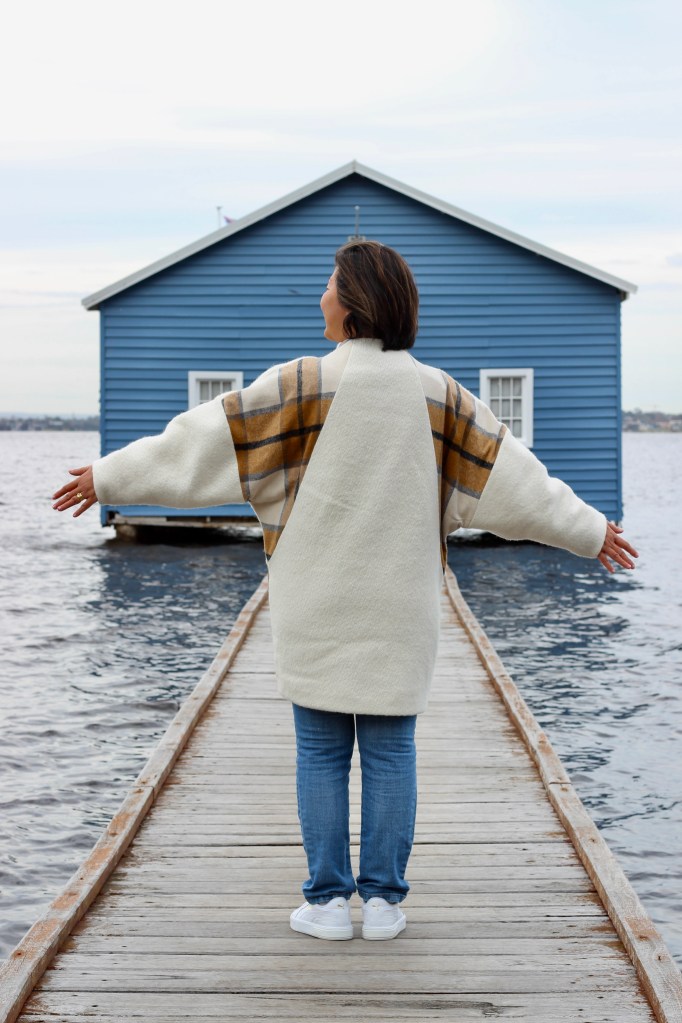
The next thing I had to work out was how to place and secure my scrap pieces. Since I wasn’t making traditional quilting blocks, I decided to cut a “base” for the scraps to rest on. If you’re cringing at my lack of technical knowledge as an expert quilter, I am putting a disclaimer here that I have no experience in quilting. Do not use this as a tutorial. Mine was a joyfully creative process. Once I had the pattern pieces cut out of an old bedsheet, I could place and sew on my pieces. I made sure everything was irregular but was cohesive with the colours and contrast I was trying to create. I cut the side back panels, and pocket pieces directly from my upcycled denim without needing to sew them onto a base. It was then easy to sew everything as instructed. The Nova Jacket is fully lined. I used another old sheet for this lining. The beauty of using old sheets is that everything is so soft from being washed in.


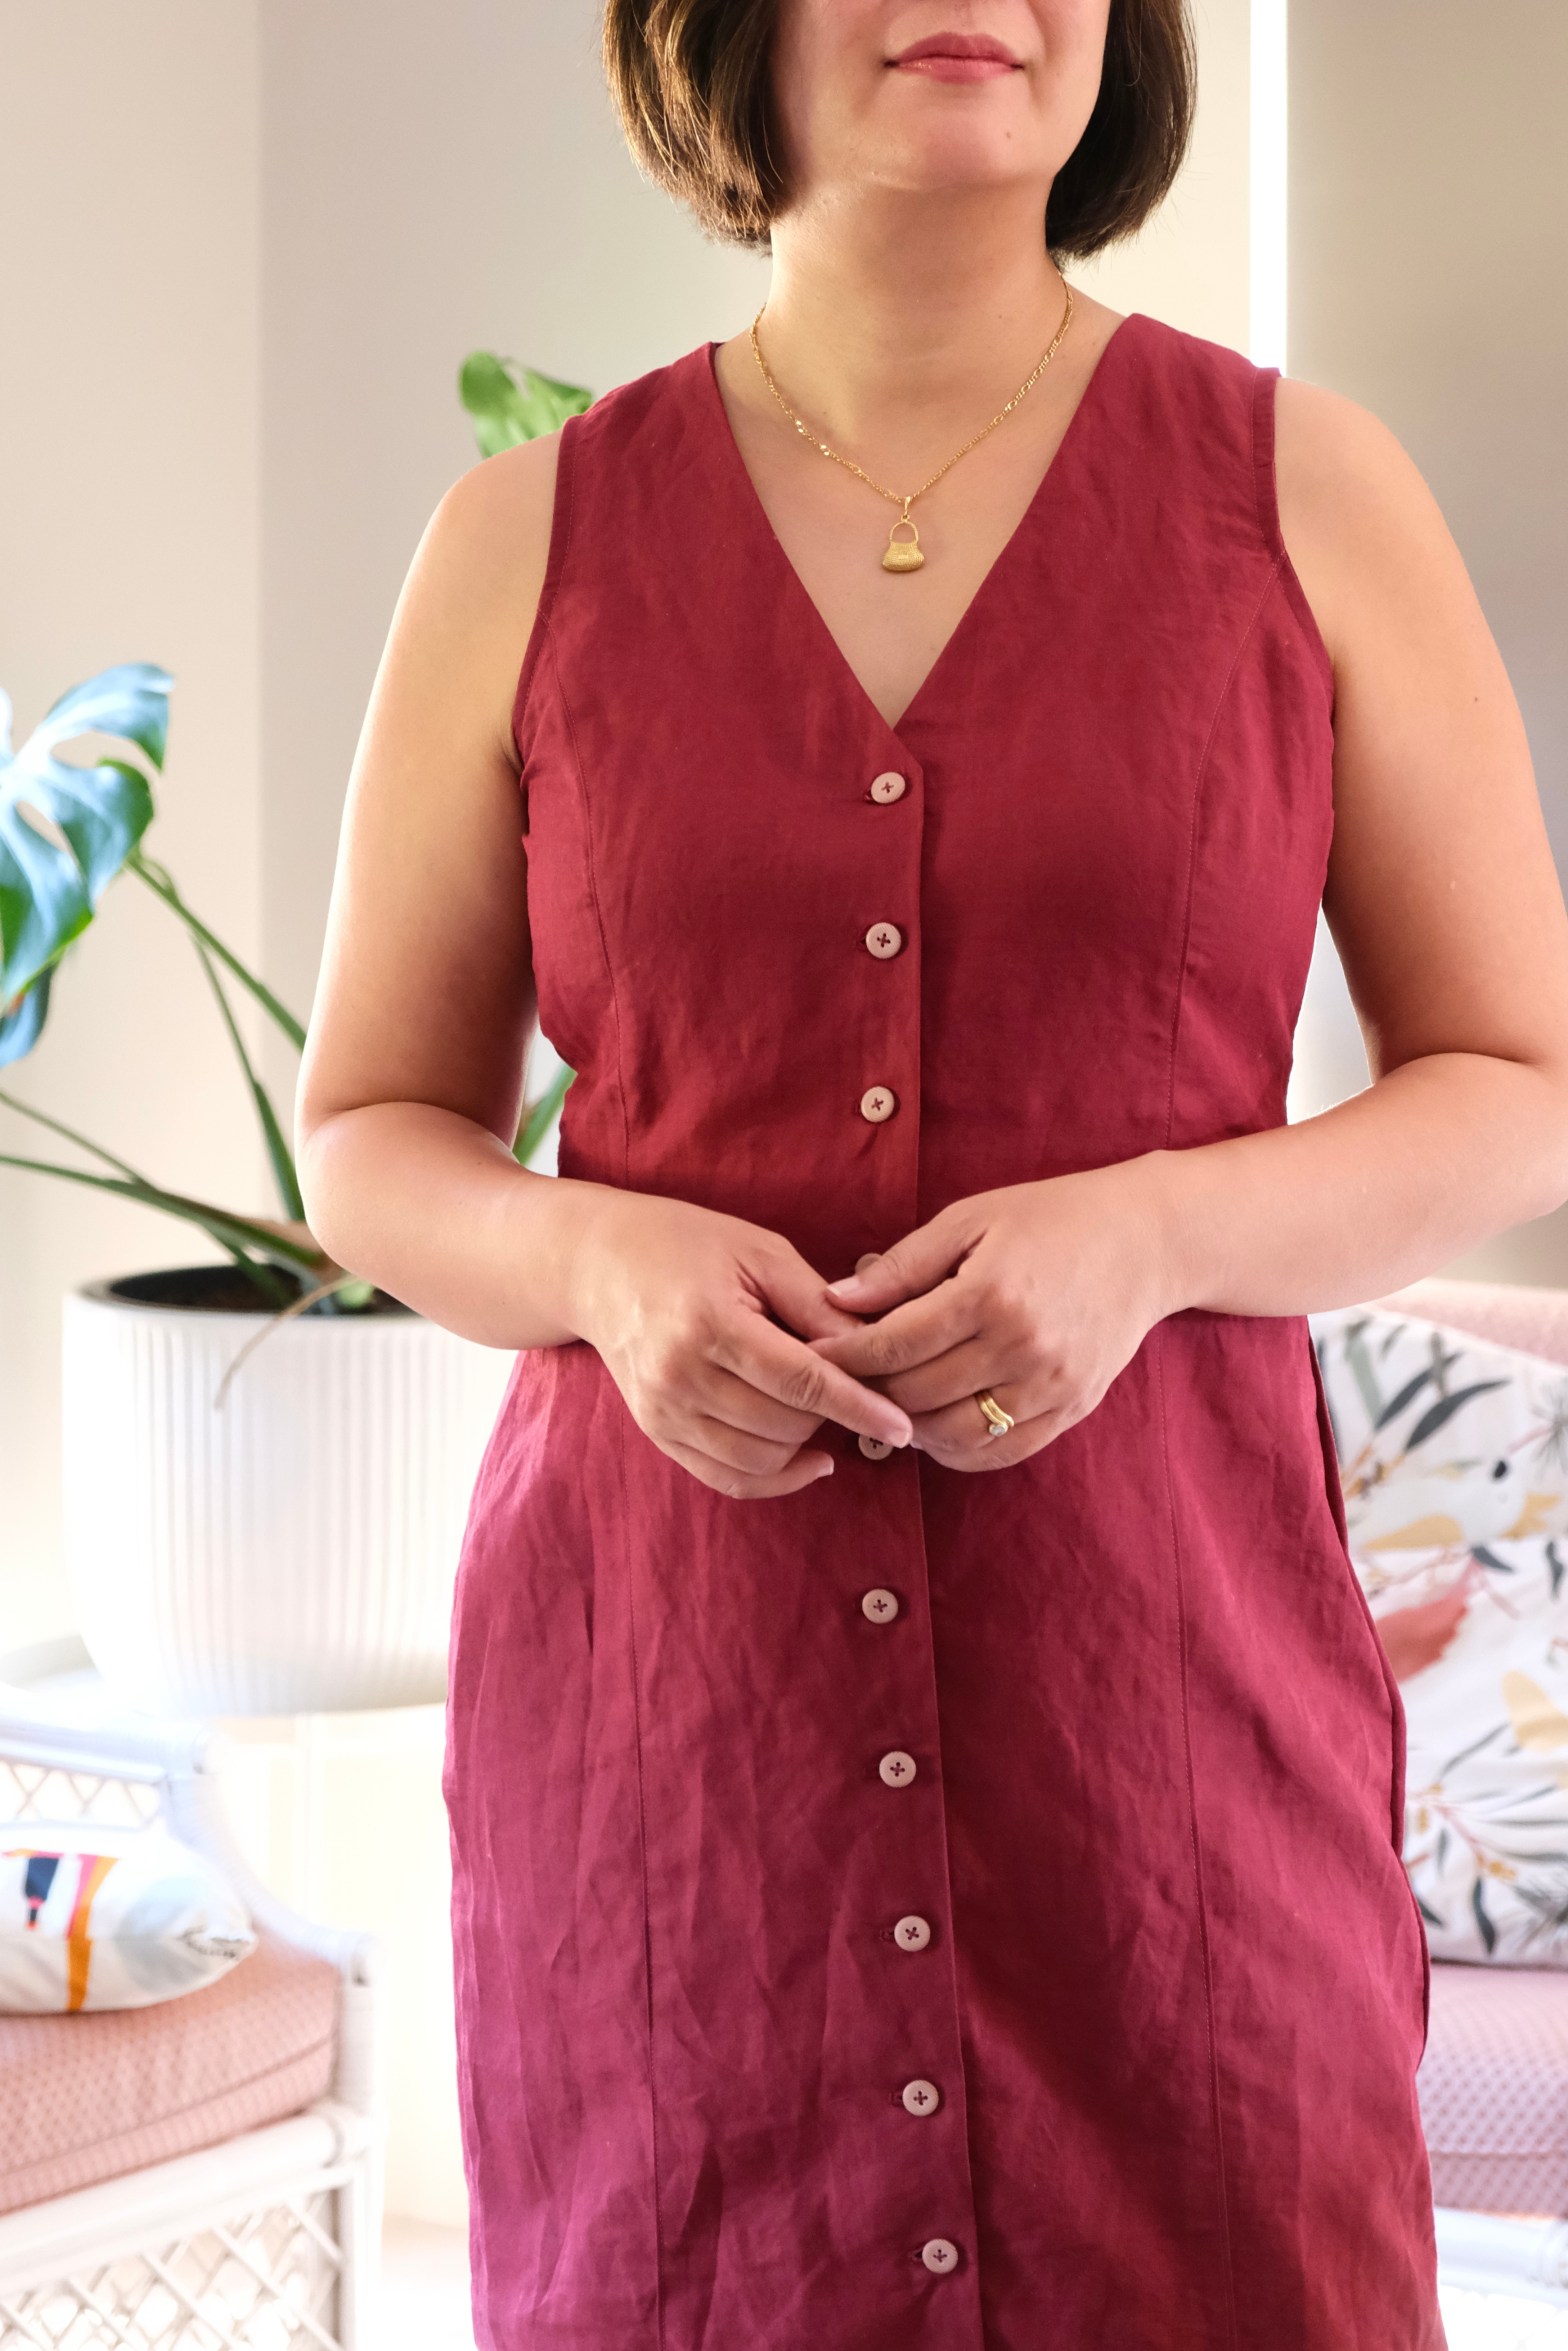
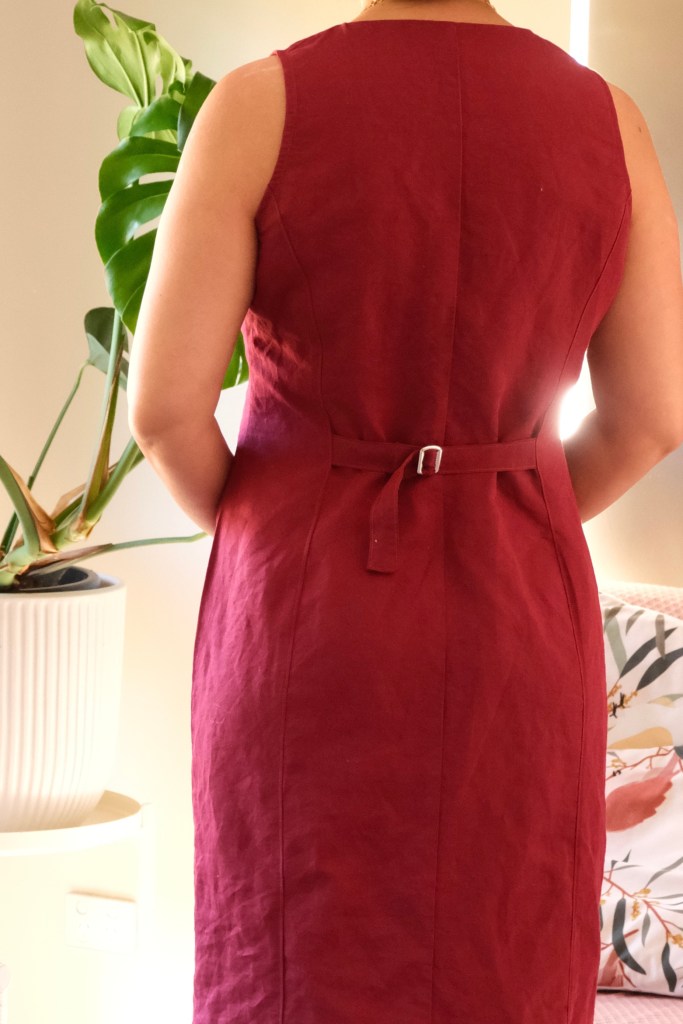
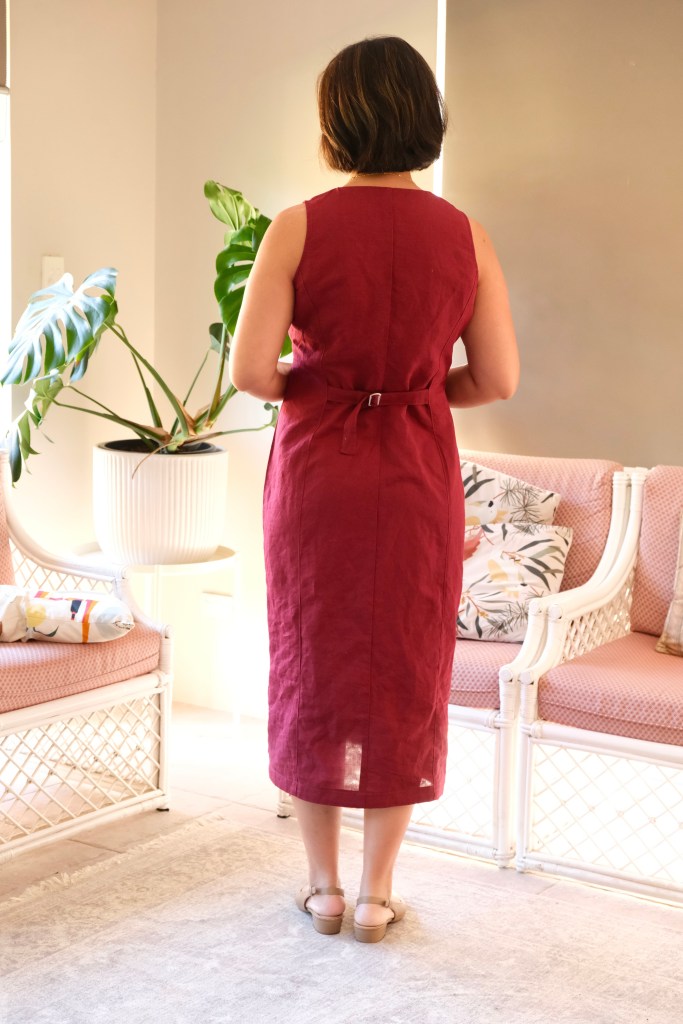
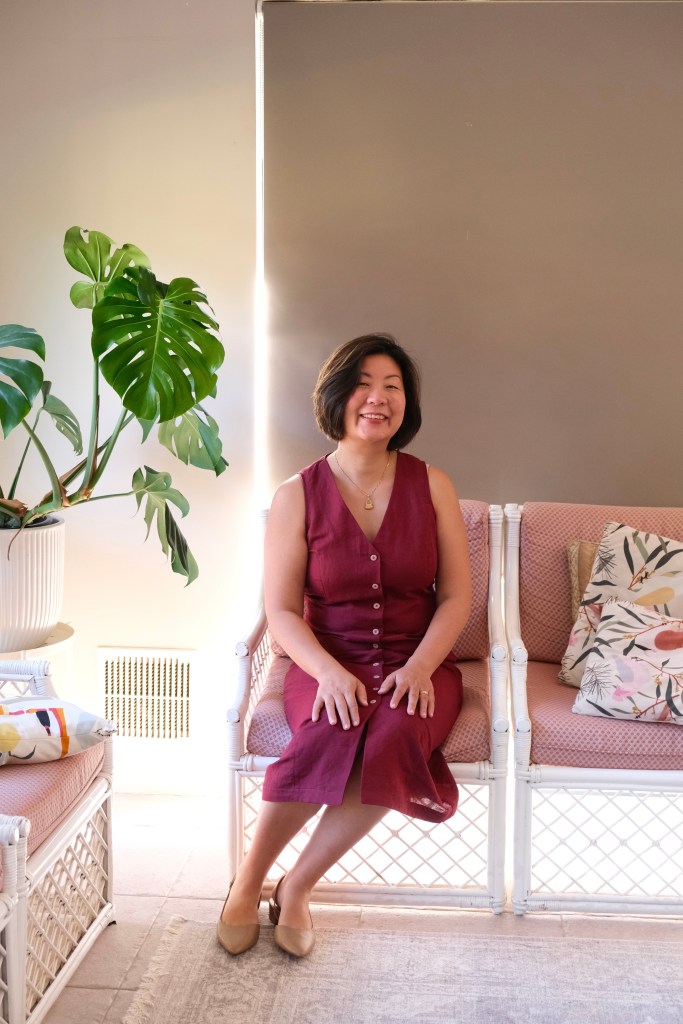
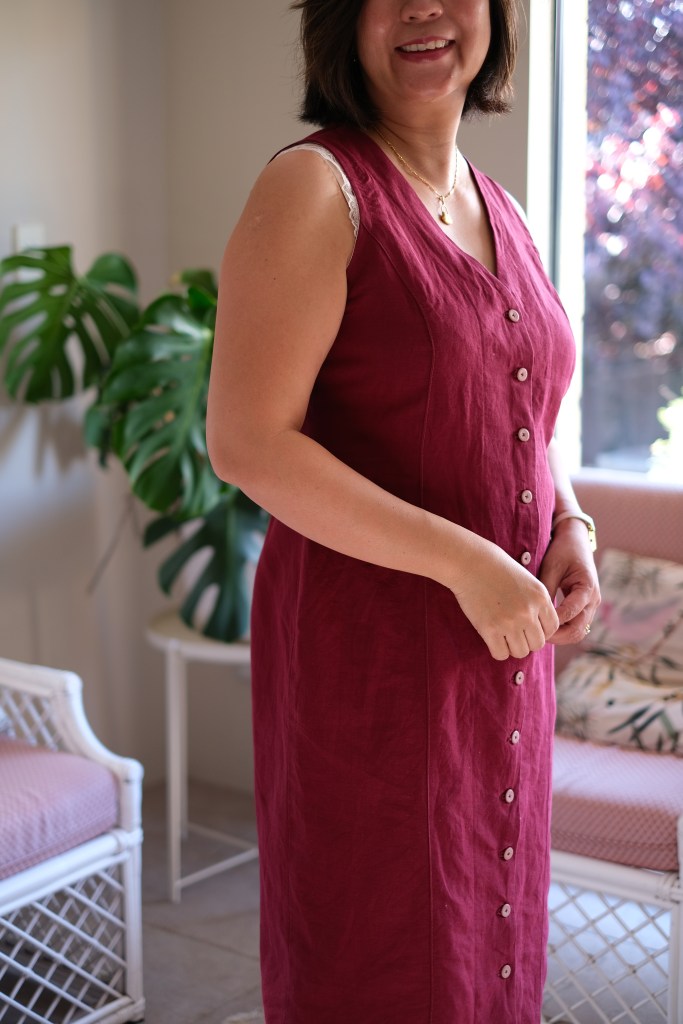
The jacket matched my True Bias Quinn Dress which I wore for the night. I was so happy with the outcome and comfortable on the night. I’ve found this process of using my sewing scraps to be fun and creative. It’s quite an addictive process and I made the Motif Studio Origami bag using the same process. I’ll be searching for more ways to use up my scraps. I’m glad that I’ve been keeping everything, no matter how small. It’s also a lovely reminder of all my past projects.


It was so inspiring to see the beautiful outfits but also to be in a space where women support women. Lots of compliments and chatter about outfits and fabric. There was a man who came along and kudos because he won best dressed! It was an inclusive space which felt welcoming. I’ll definitely be marking it in my diary for next year.

Thanks for reading and happy sewing!
X Em