Life has been hectic lately. I’m in that middle age group where we’re still tending to the needs of our children and also looking after elderly parents. It’s not a complaint, in fact, I consider it quite a blessing, but it does leave very little time for hobbies. I really needed to have a bit of sewing time so last weekend, I sat and made three Swimstyle Pattern Velma Tops. It was such a good pattern to sew and I’m glad I made the effort to batch sew. The rhythm of repeating the sew was very soothing and relaxing on the mind.
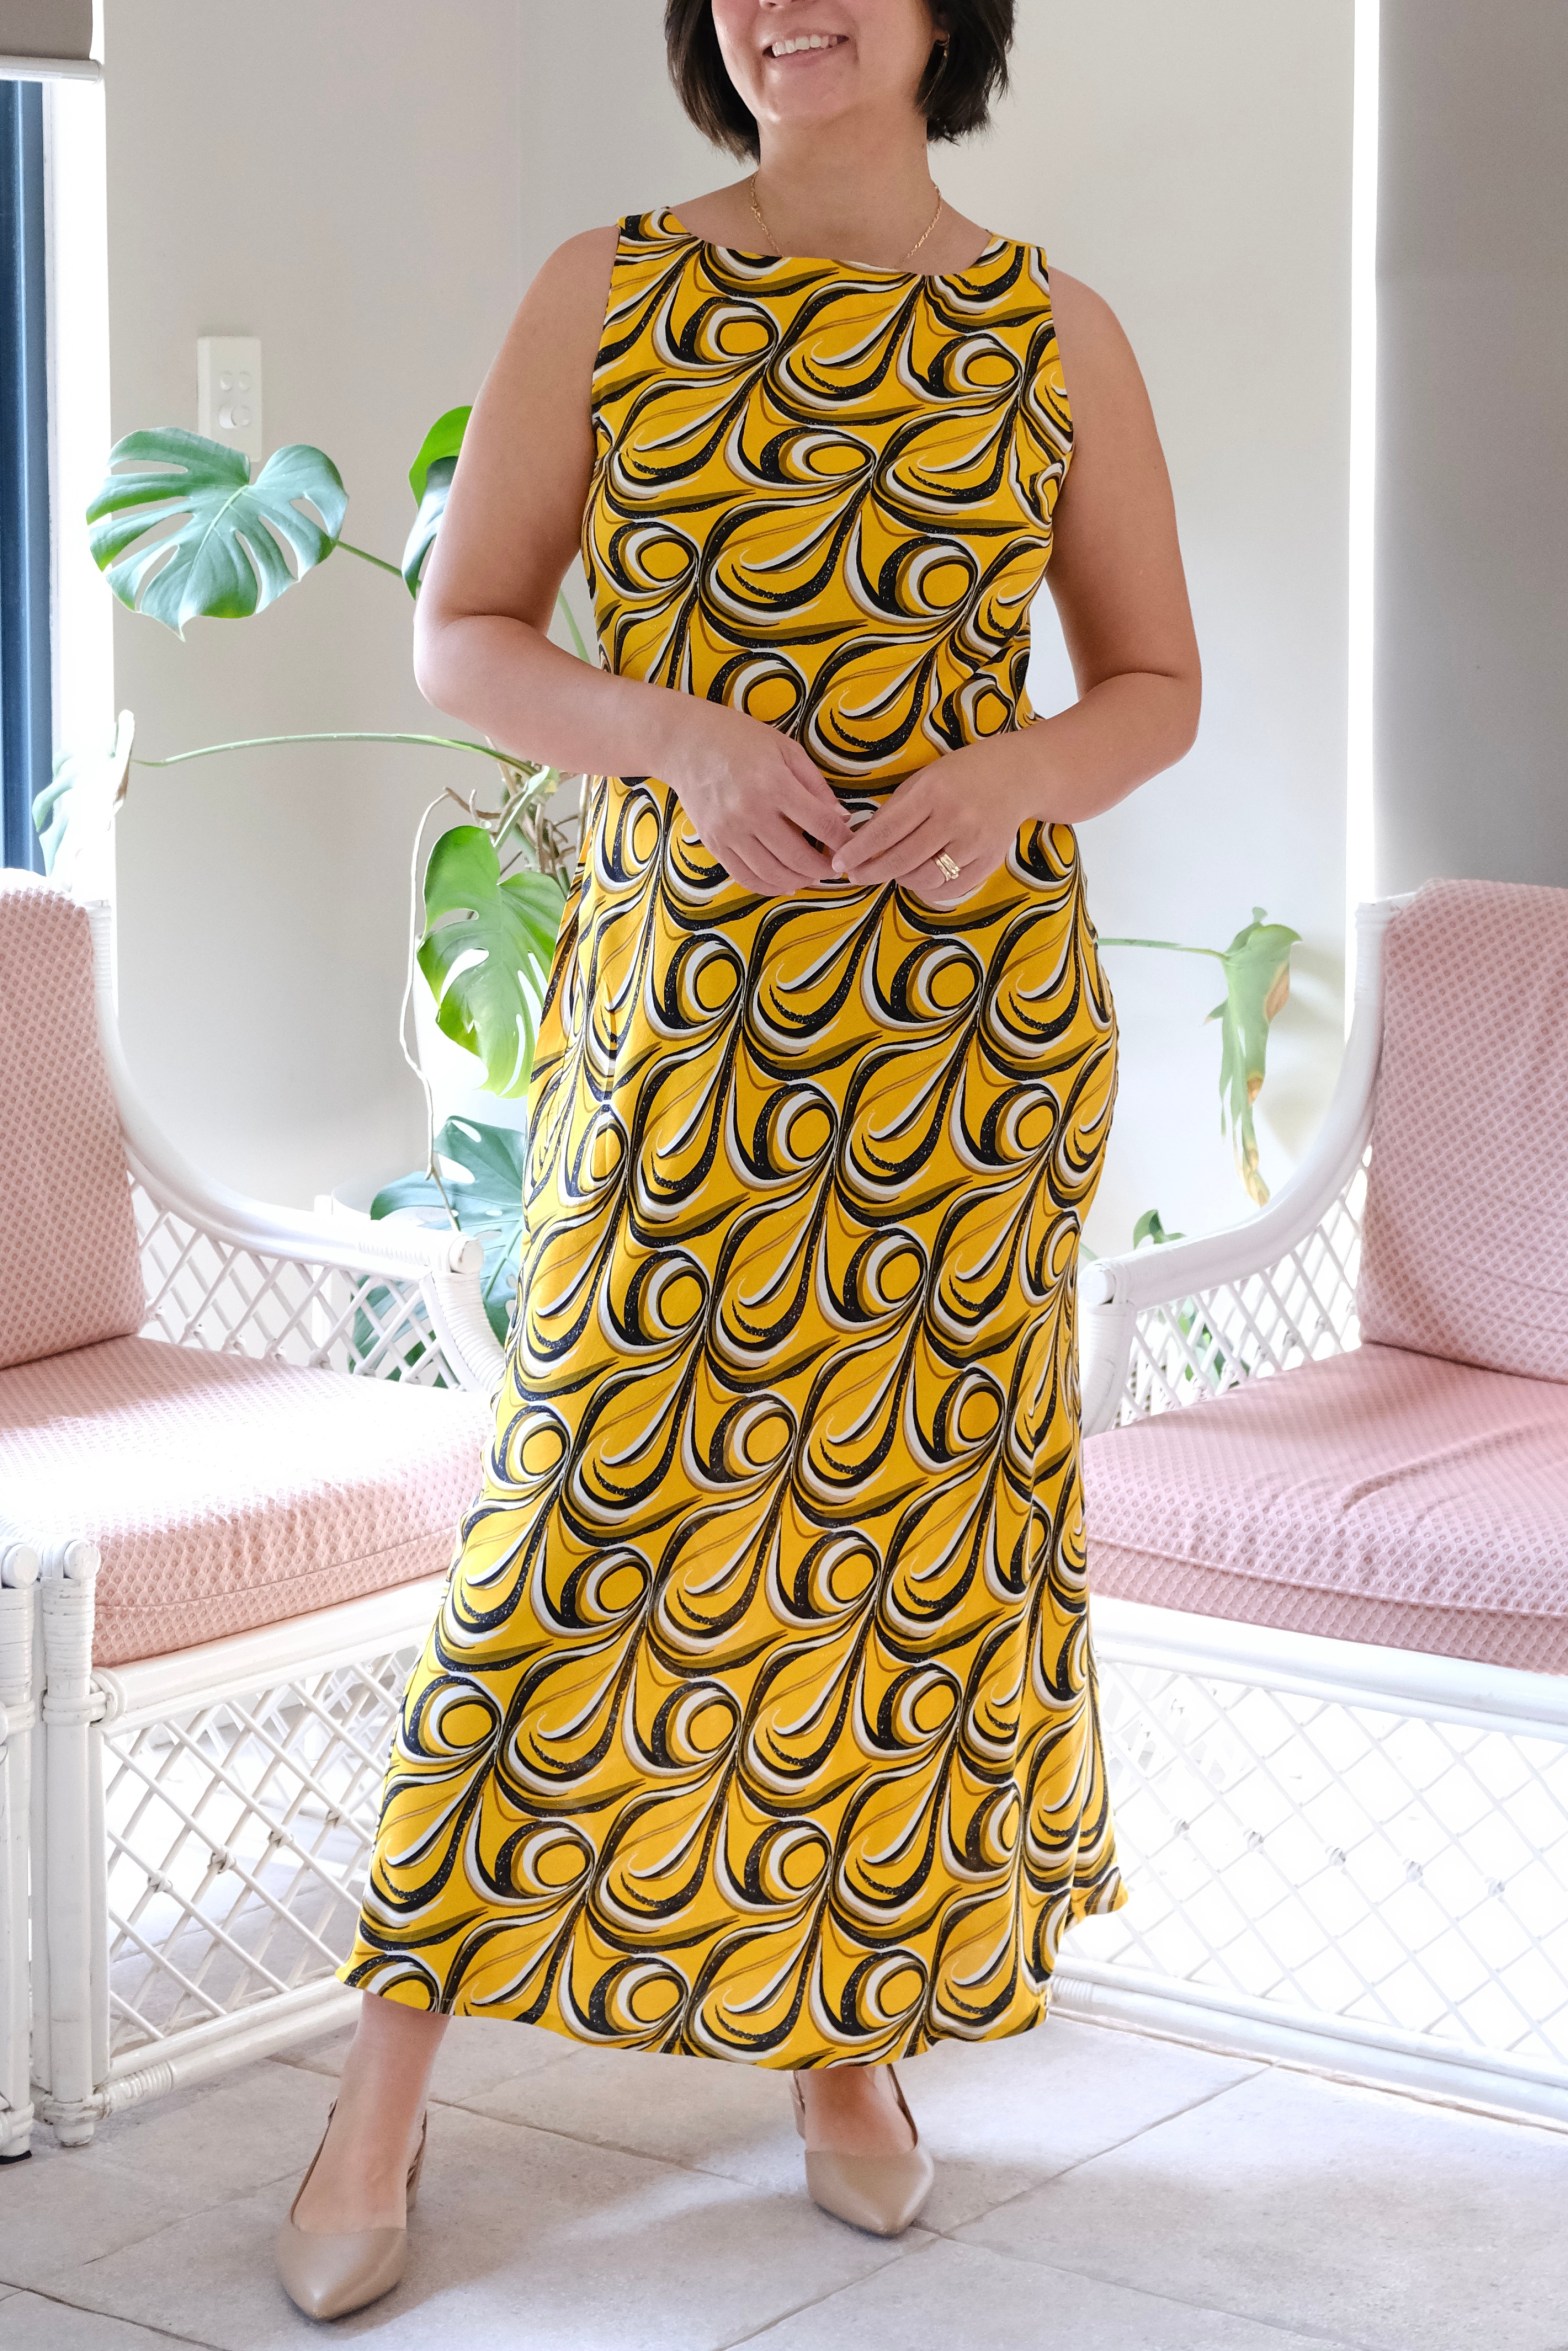
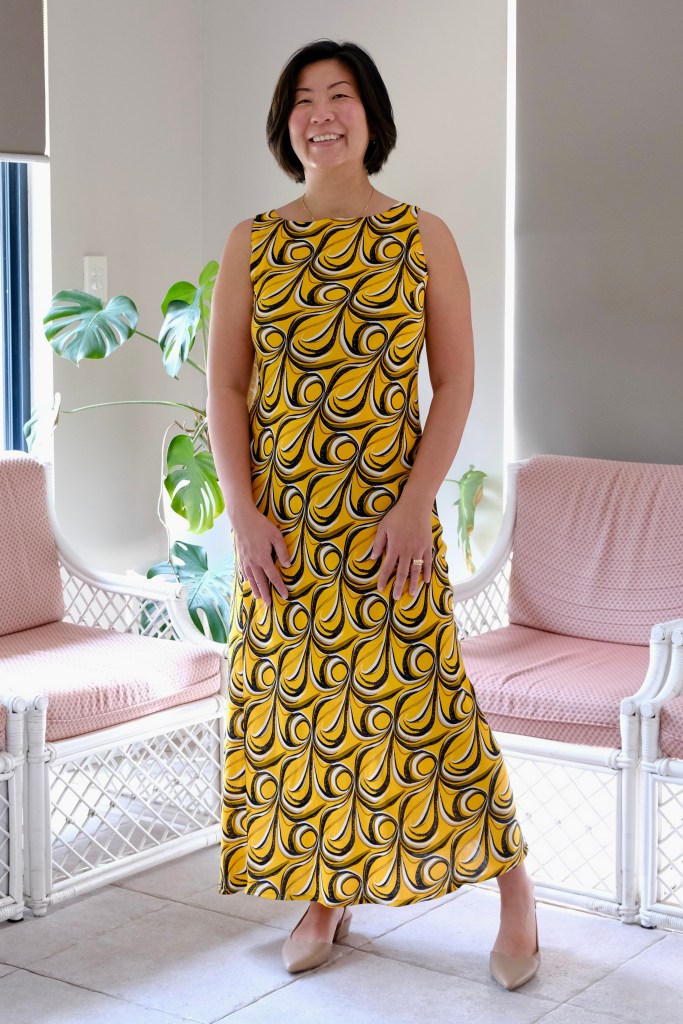
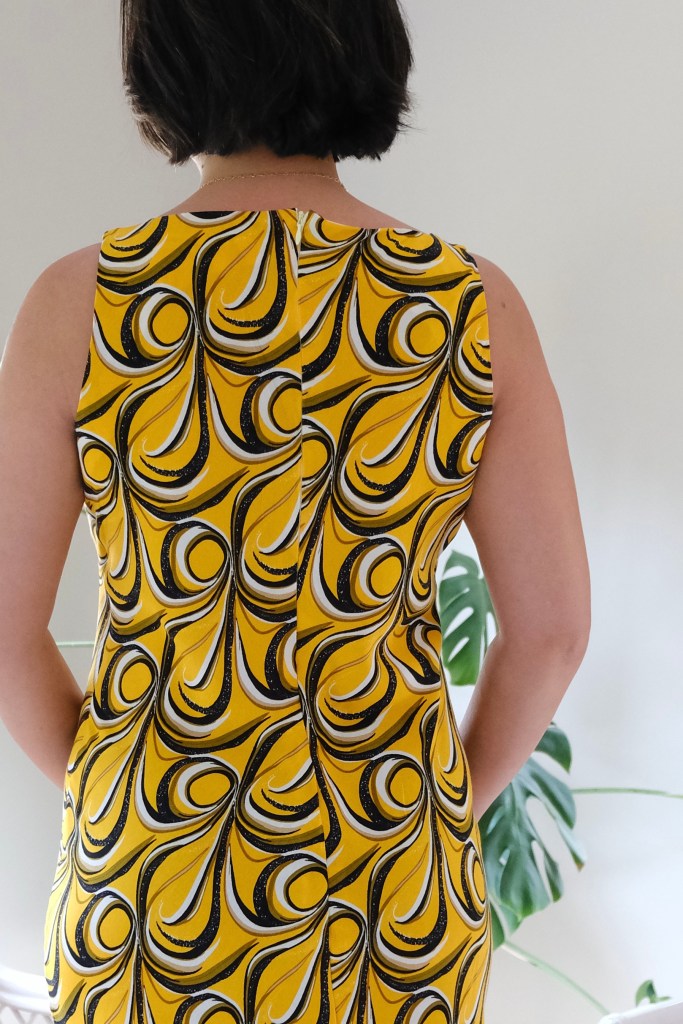
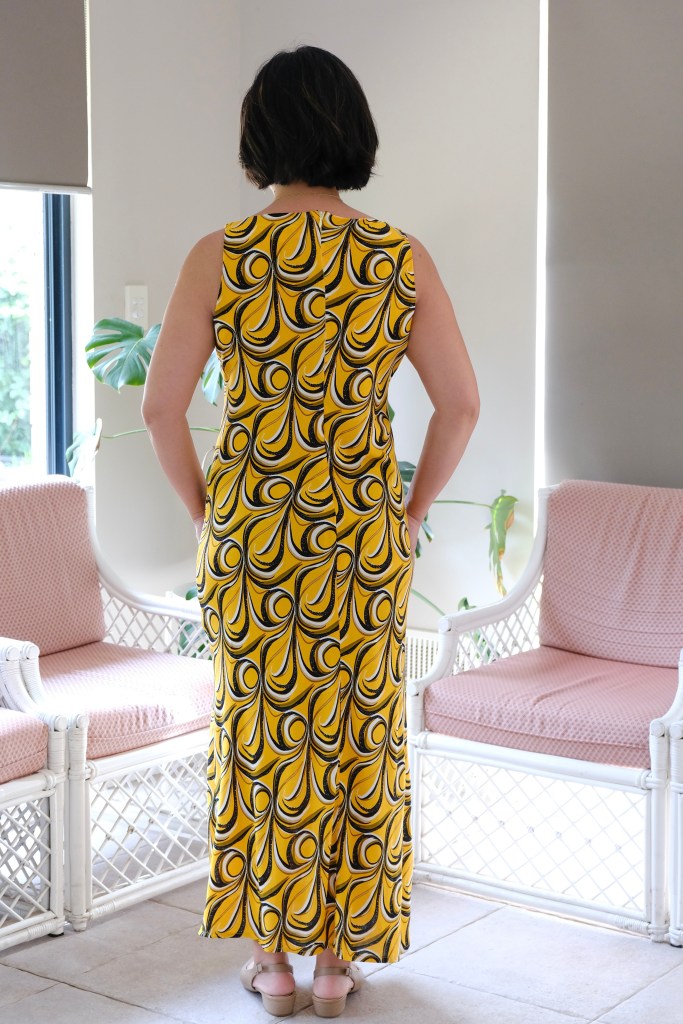
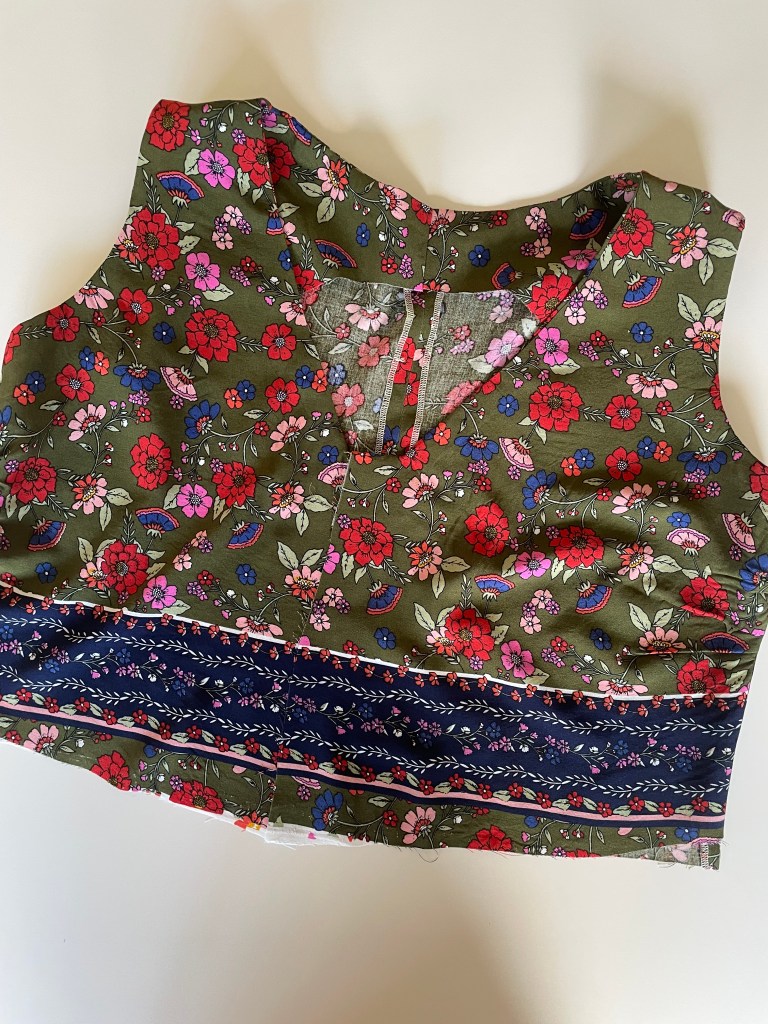
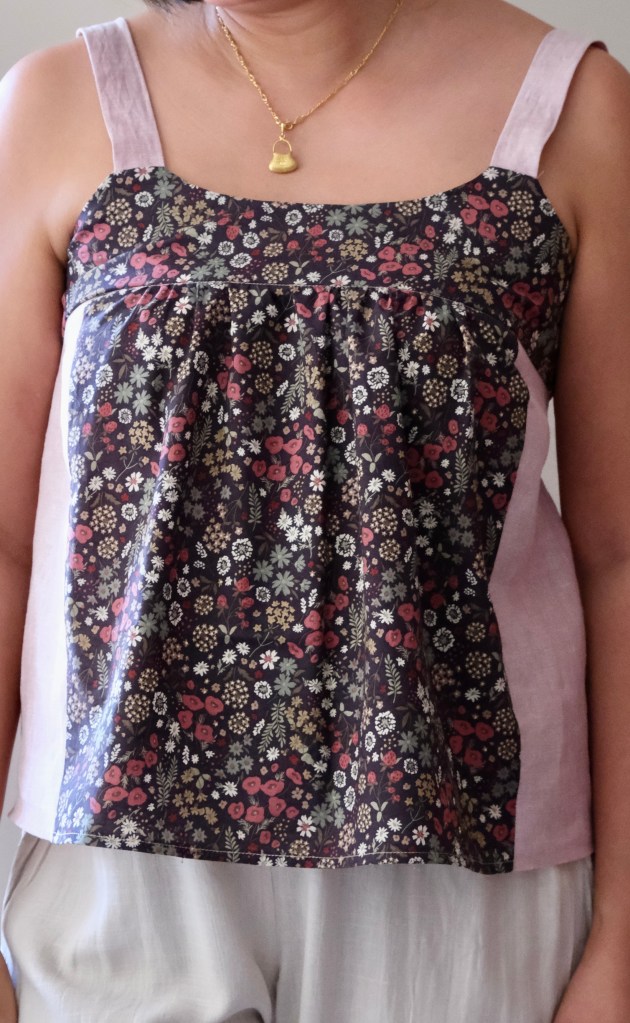
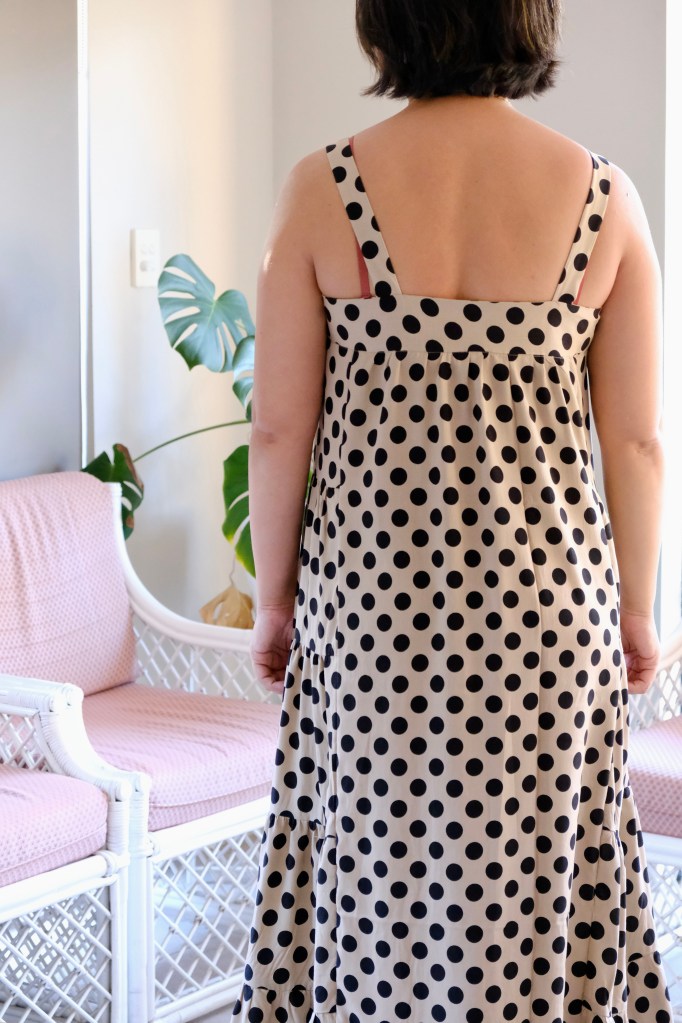
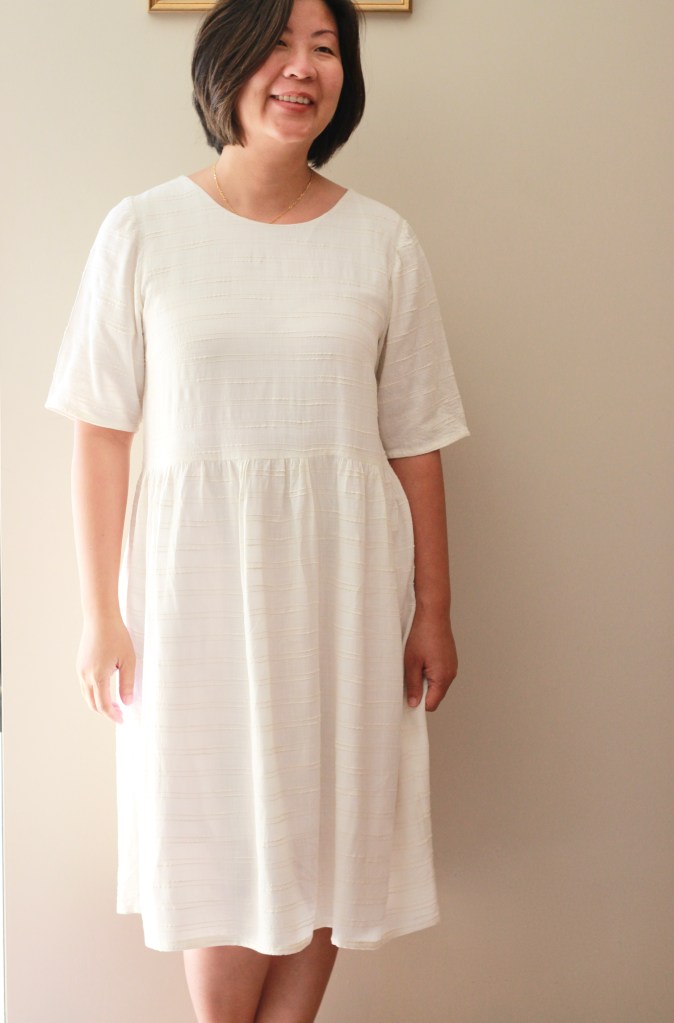
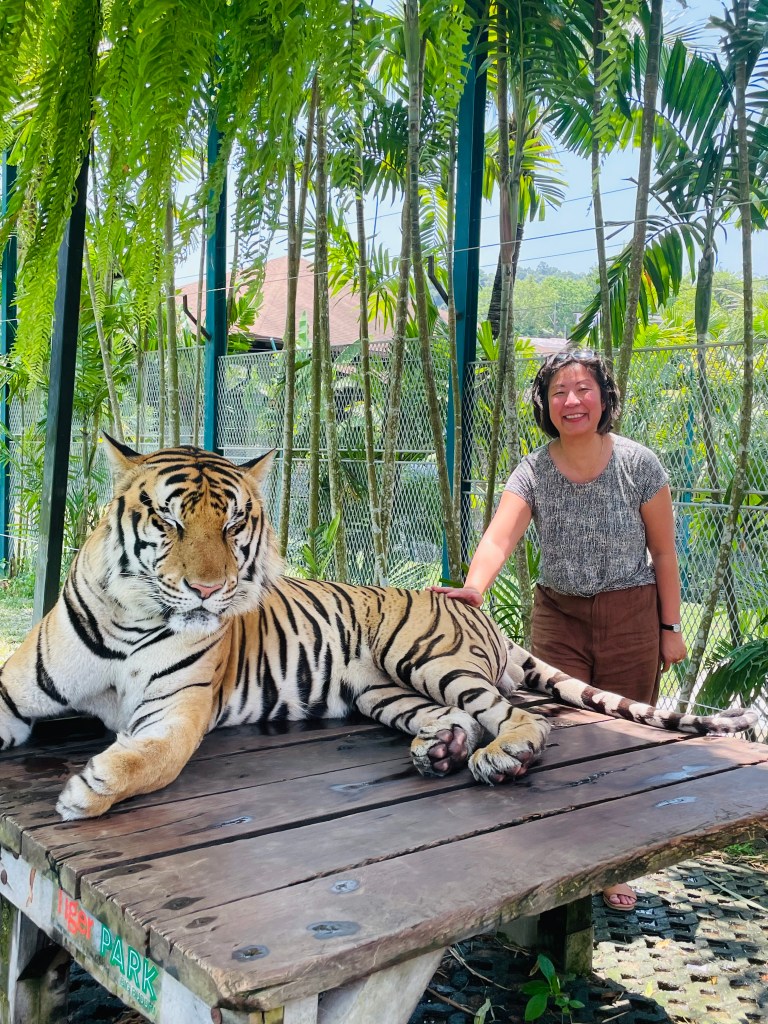
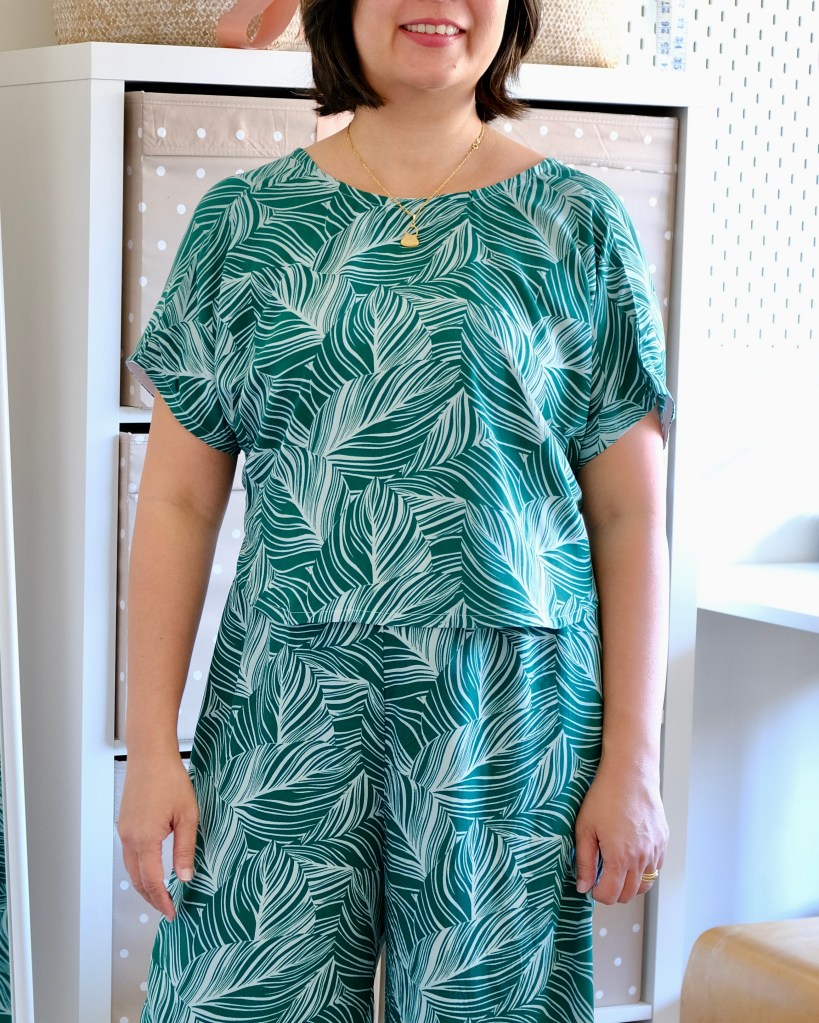
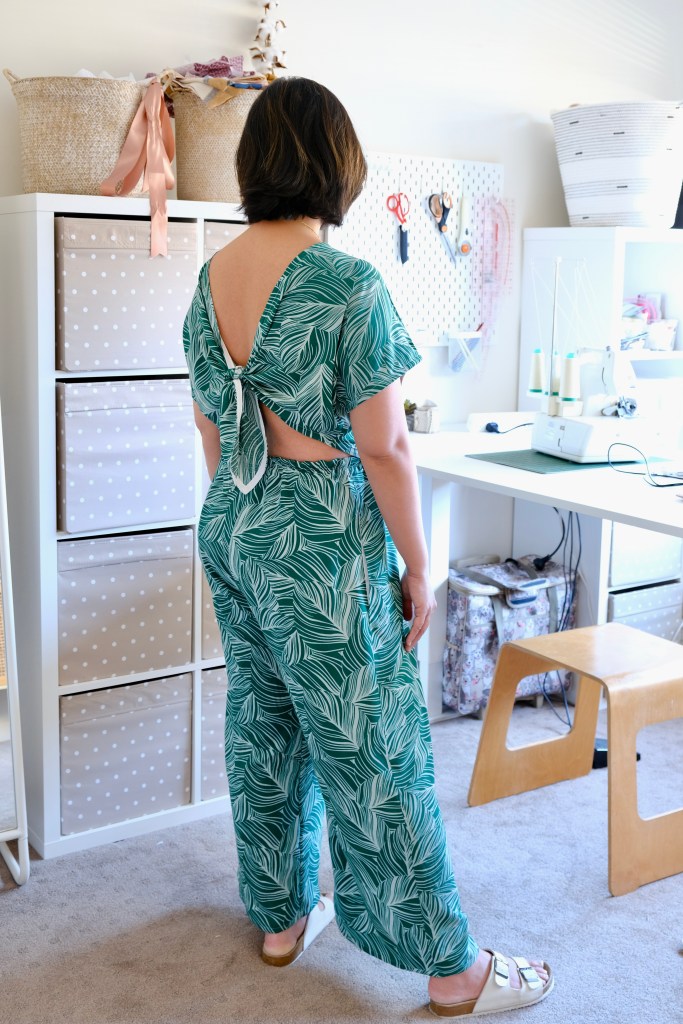
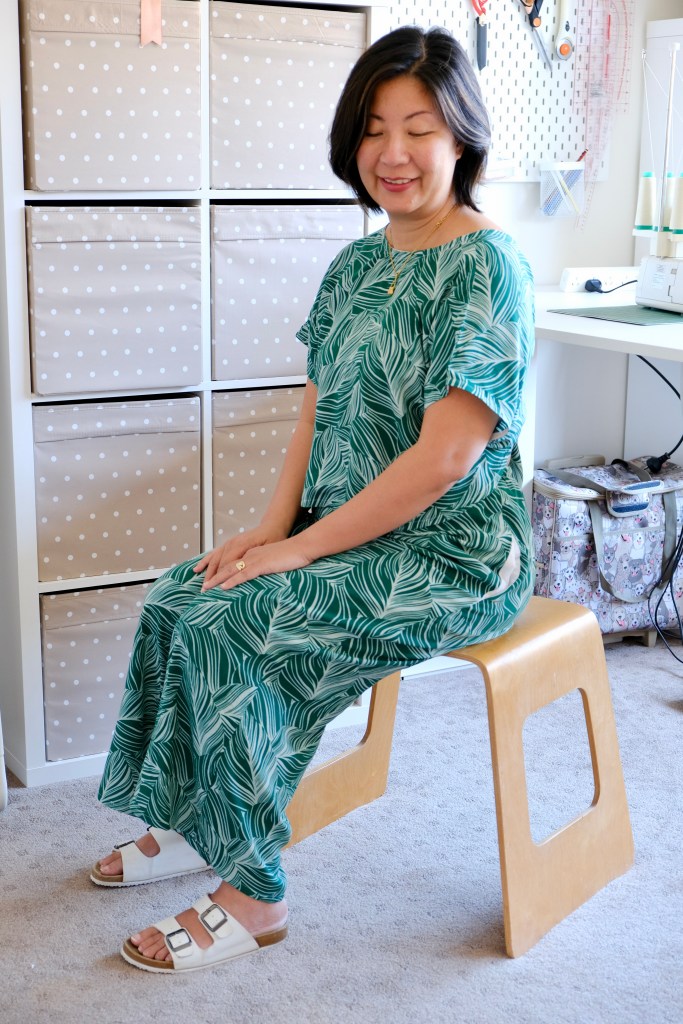
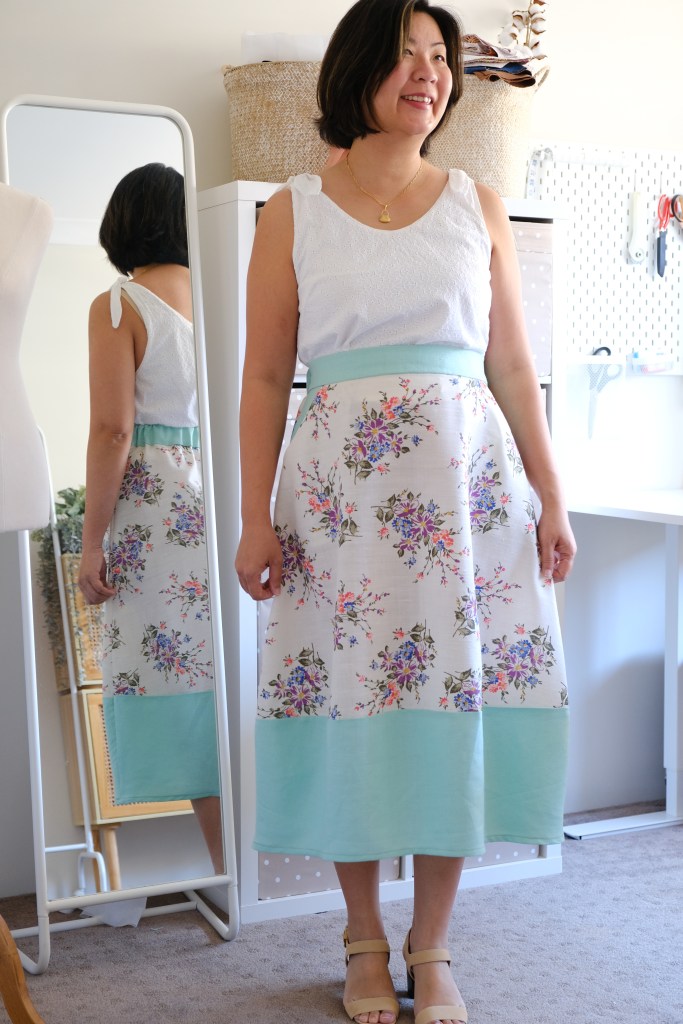
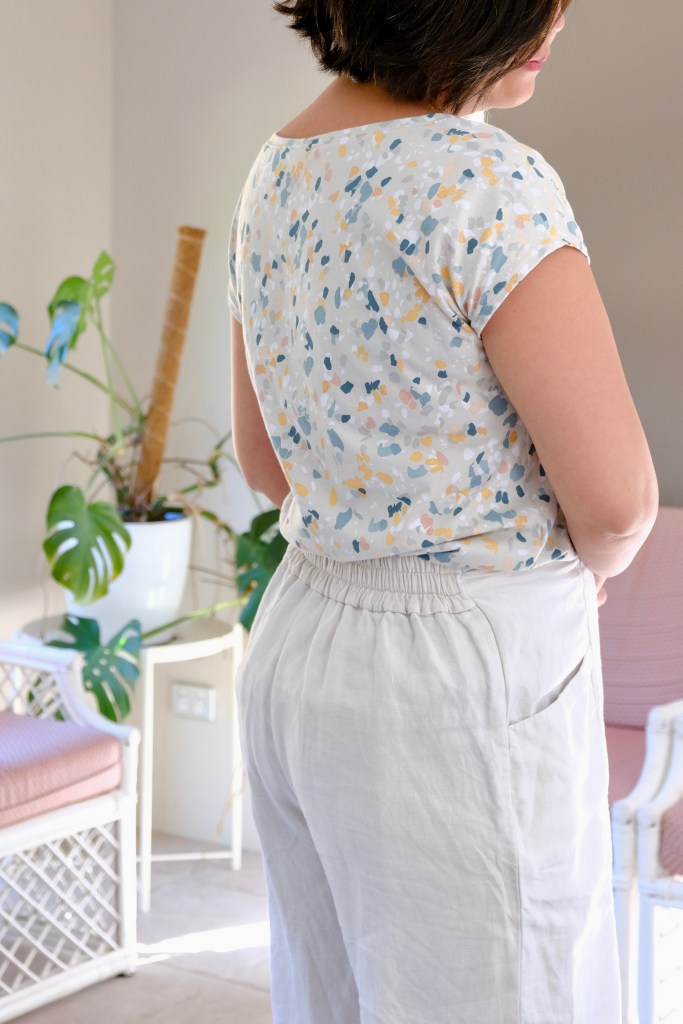
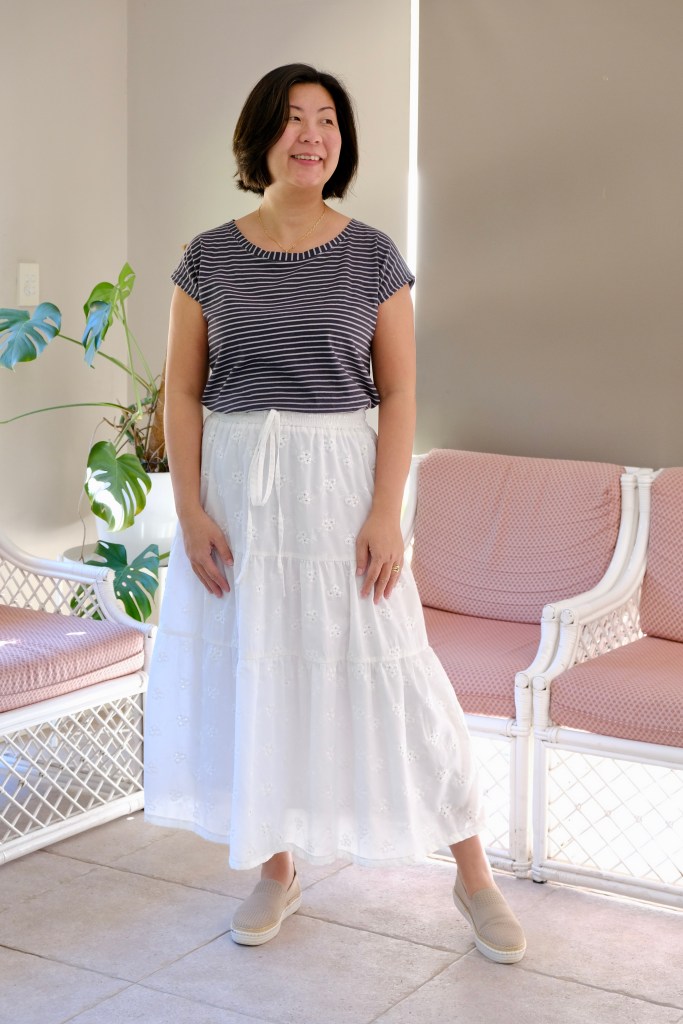
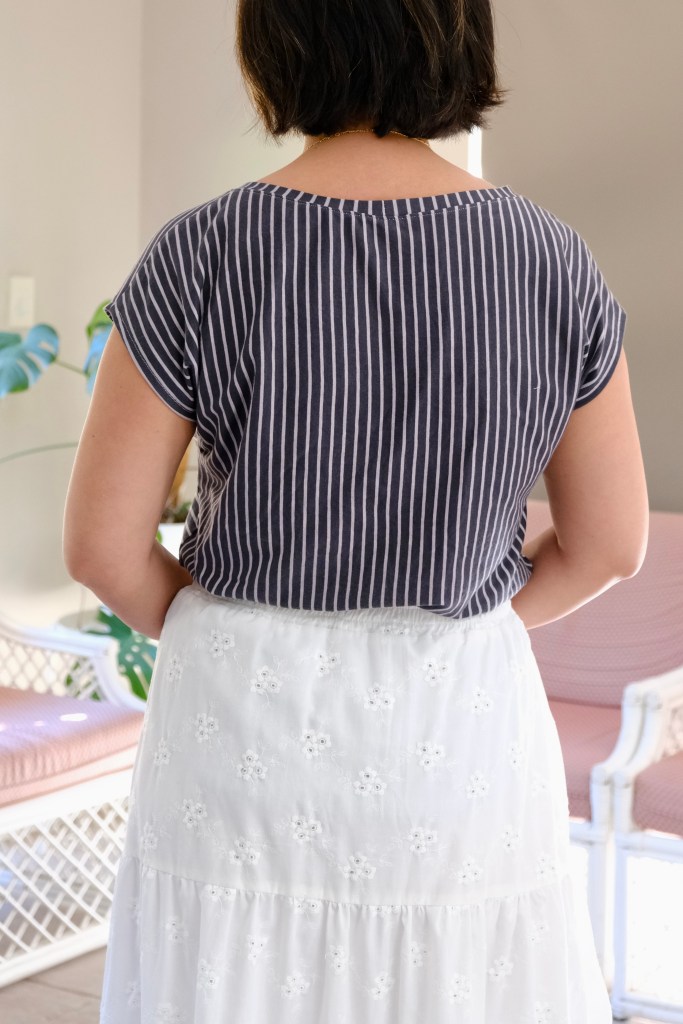
The Velma Top is a semi-knitted top which has a scooped hemline ending about hip level in front and is slightly longer in the back. I’ve sewn the round neckline version, but it’s also drafted for a V-Neck. The sleeves are extended from the bodice so there’s no tricky sleeve seams. The pattern is great for anyone who is a beginner at sewing knit fabric or generally, anyone who is a beginner.

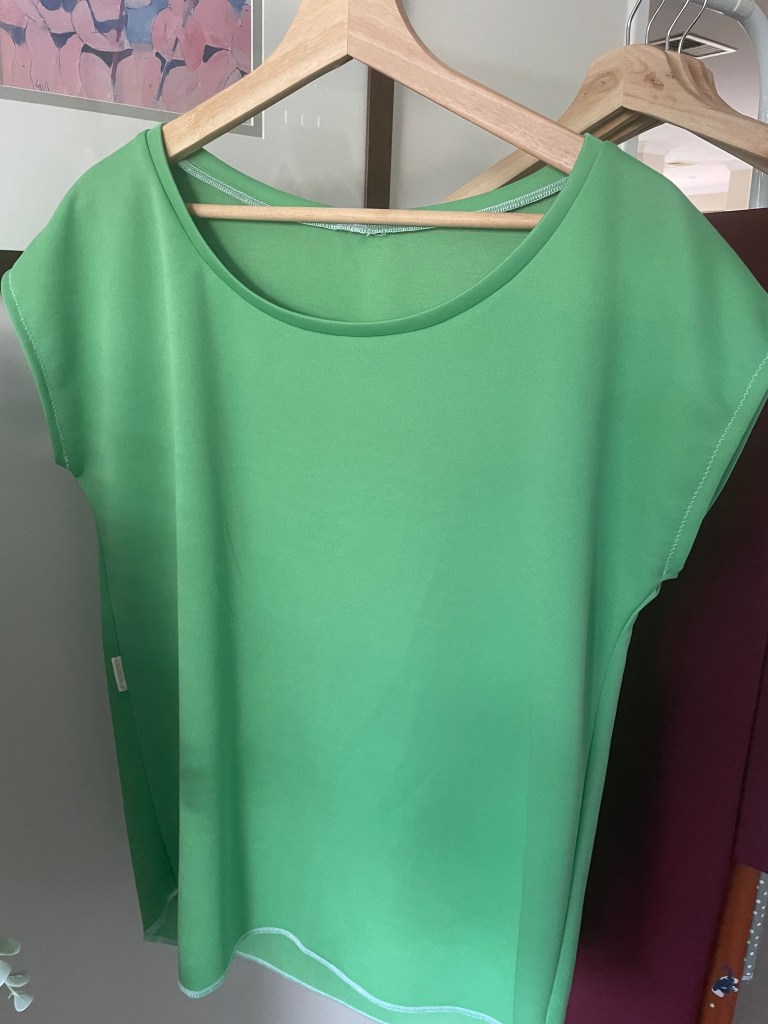
I made the size L for my measurements of 38B/33W/40H. No modifications were made, and I found that the pattern is true to size. I chose three different types of knit because I’m still new to sewing with knit fabric. The first is a brushed knit which has minimal stretch, the second is an organic cotton jersey and the third is a rayon scuba. I’m very happy with the cotton jersey and brushed knit but I’m not enjoying the rayon scuba. This pattern is great for a wide range of knit fabrics, but my rayon scuba was a bit thick. Also, I couldn’t work out which was meant to be the right side of the fabric. In the end, I chose the softer side to be on the inner side and the shiny side is on the outer side. This was based on what I thought would feel better against the skin. The pattern is great for remnants as well as it’s very economical, only requiring about 1 meter for my size.
My favourite set of instructions was for the attachment of the neckband. It was very clear and it’s something that I have struggled with in the past, so it was such a relief to have great instructions for this section. Swimstyle Pattern instructions are comprehensive and are always accompanied by relevant illustrations. I receive the pattern as part of the ambassador program, but I have bought their patterns previously and find them to be great with sizing and instructions. I’m keen to go back to sew the V-Neckline once I find more knit fabric. I think the V-Neck would suit fabric with more drape and a bit more stretch than the knits I’ve used for the round-neck versions.


Sewing tees is not as glamorous as sewing dresses but it’s equally enjoyable with a good pattern and the luxury of the time to sew it well. It was satisfying to be able to get the little things right like the neckband. The Velma is a great addition and a core item for the closet.
Thanks for reading and happy sewing!
X Em