Clover Blouse

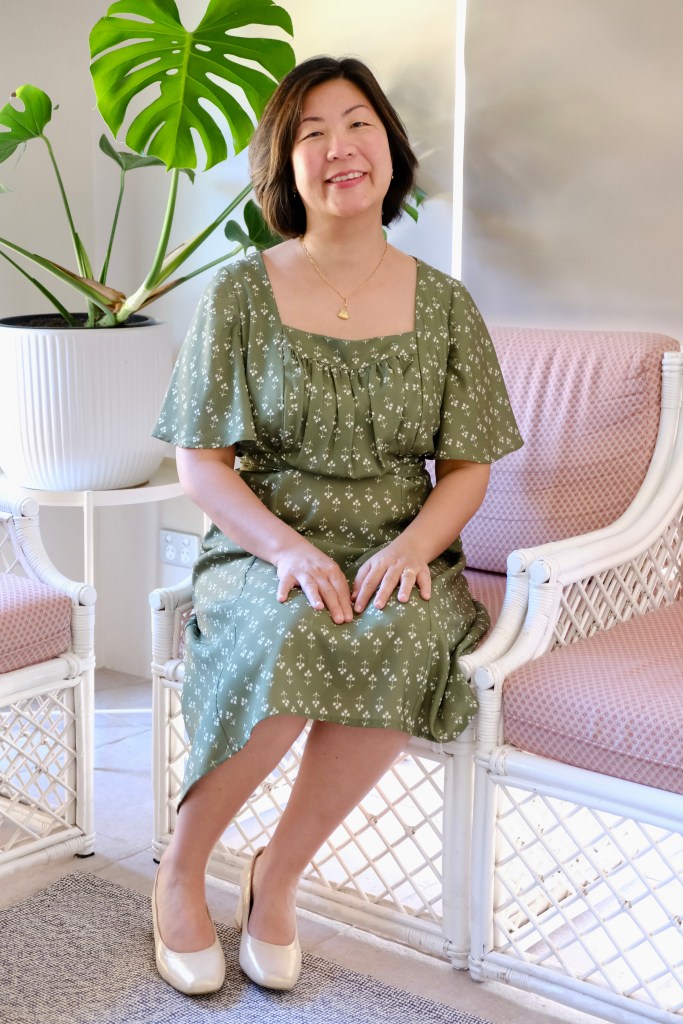
As you know, I have been sewing Stitchmaiden Patterns this year as a collaborator. I have been working through their extensive library of patterns which are all inspired by history and it’s been so enjoyable. The patterns have a high level of detail and I’m finding them to be quite technical in execution.

April is #SewAprilBlouse sewing challenge month where you can sew a blouse to enter. It’s a fun challenge hosted yearly by Cloth Edit and various Co-Hosts. This year, it’s co-hosted by Sewn On The Tyne. I had chosen the Clover Top as my next collaborator project with Stitchmaiden and thought it would double perfectly as an entry for the challenge.

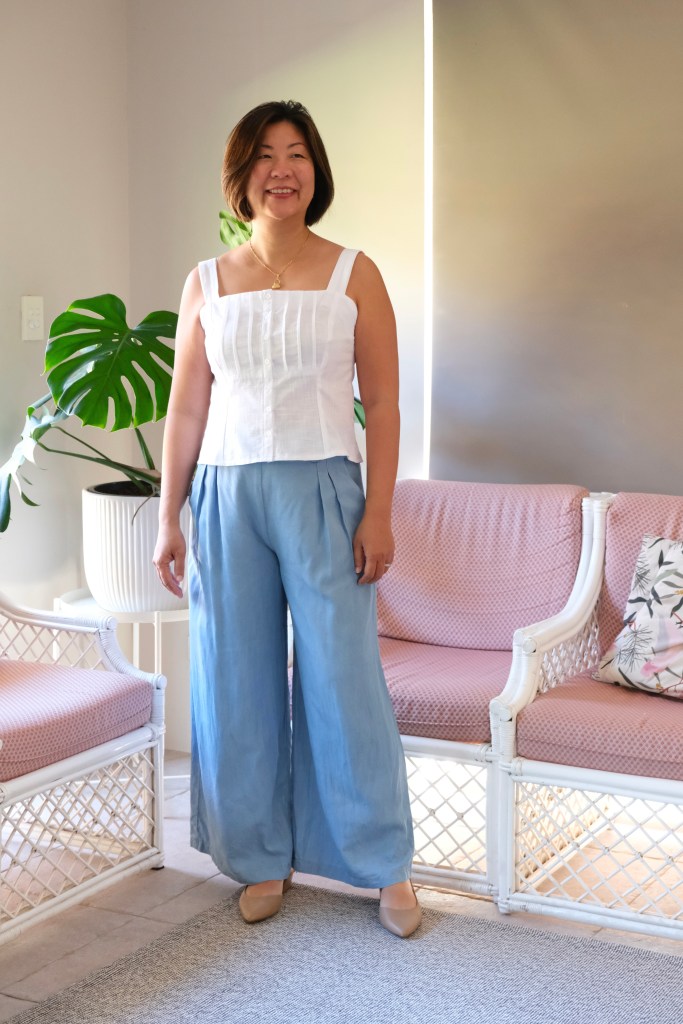
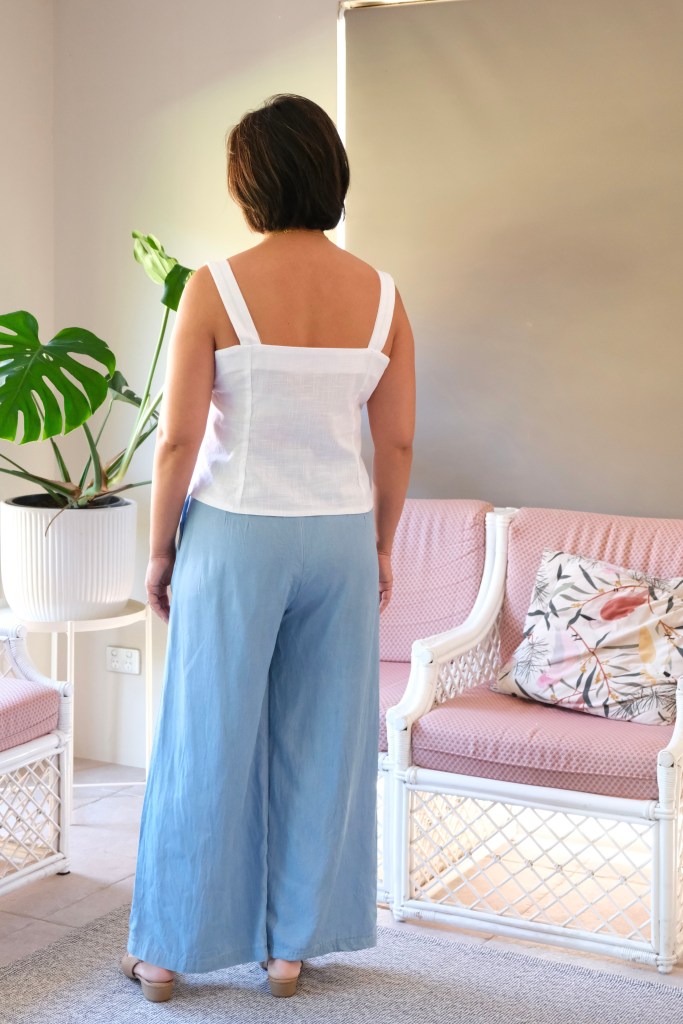
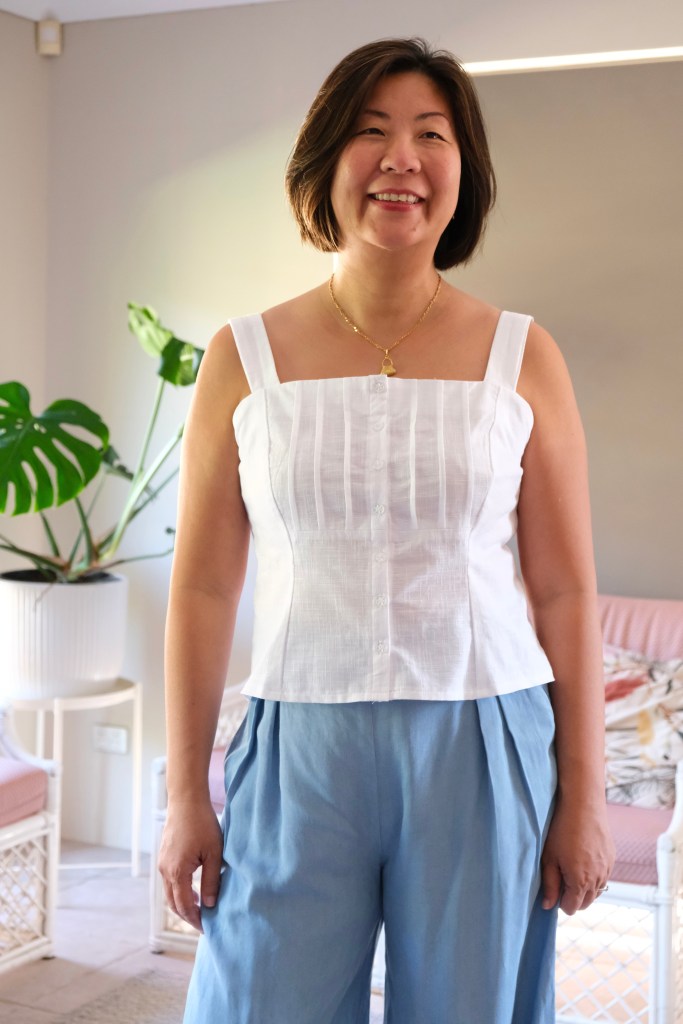
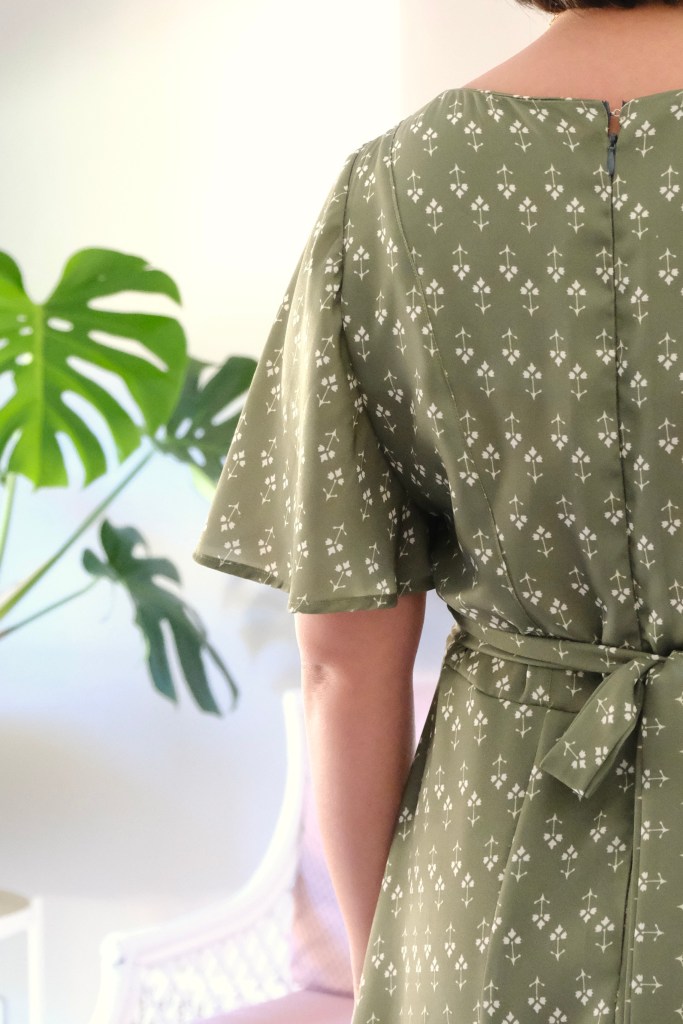
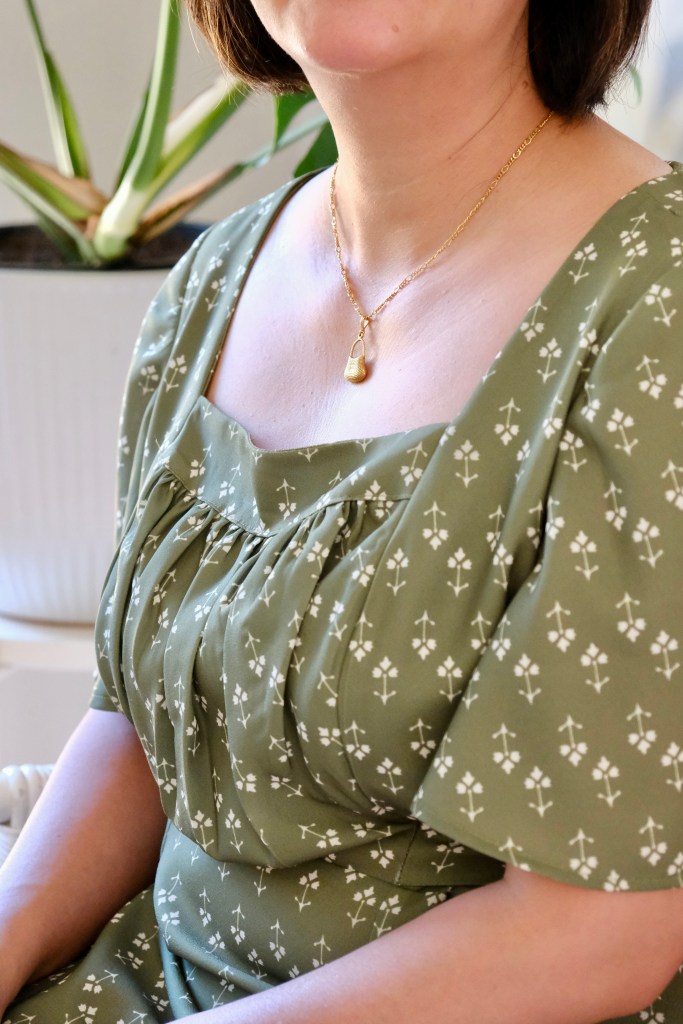
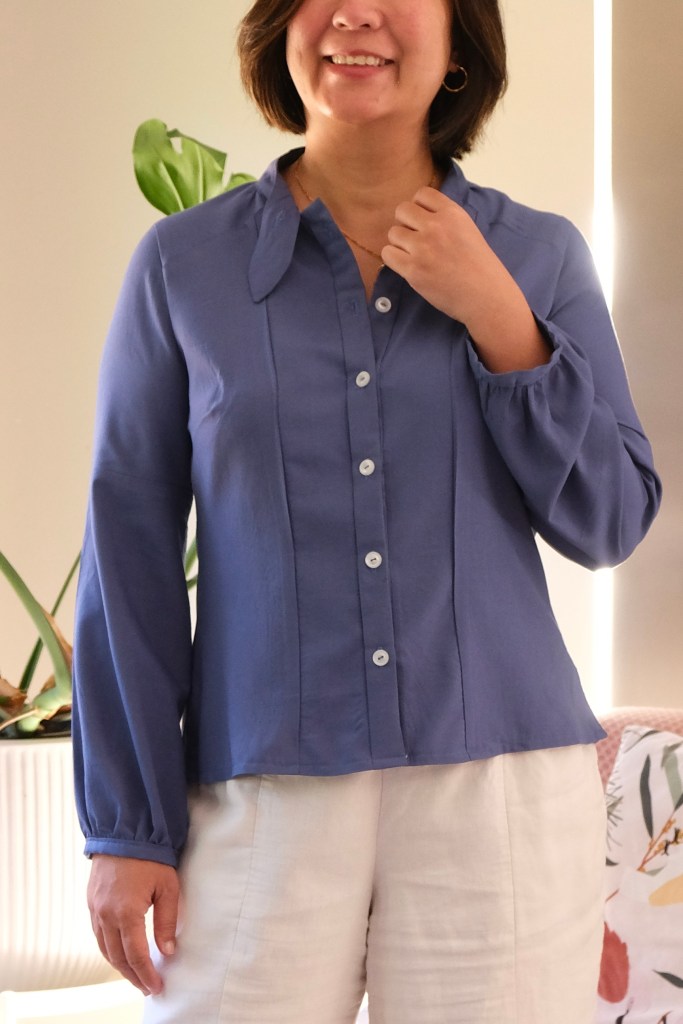
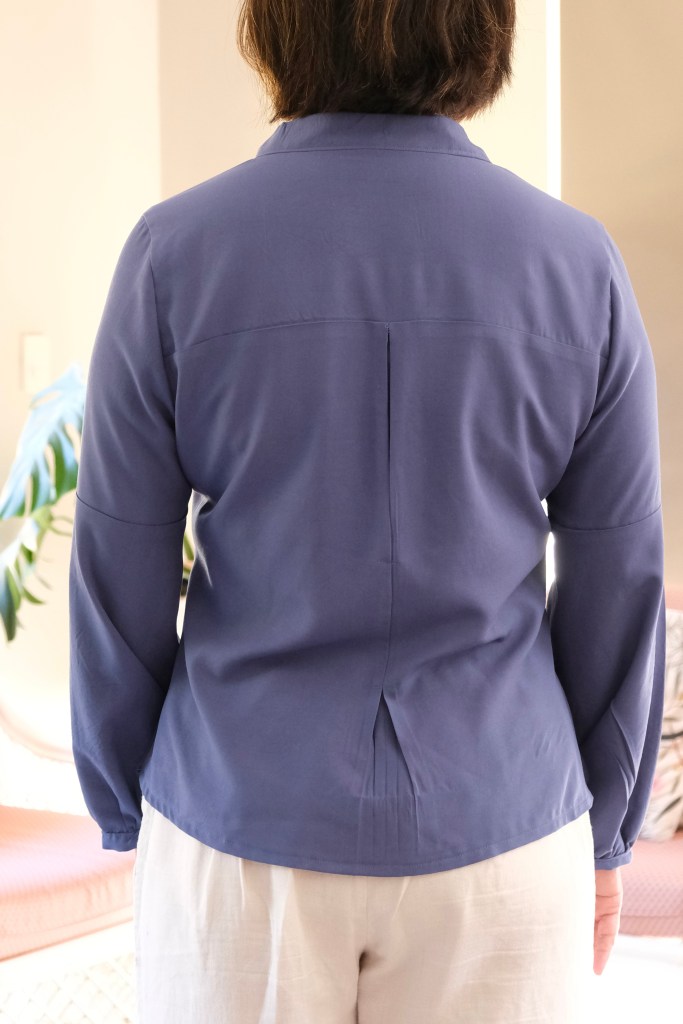
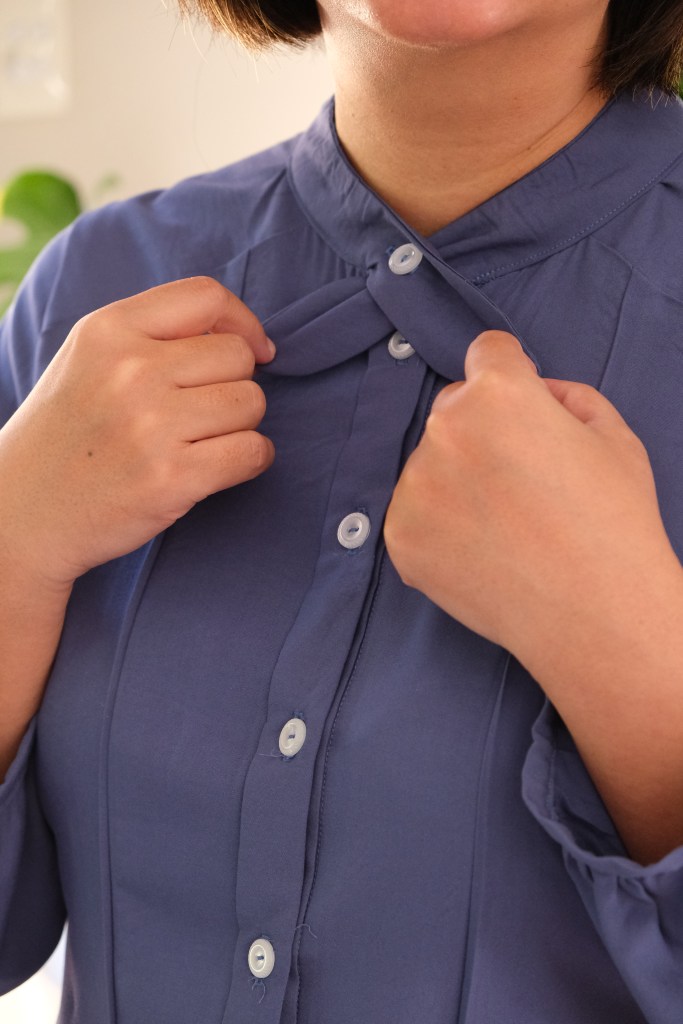
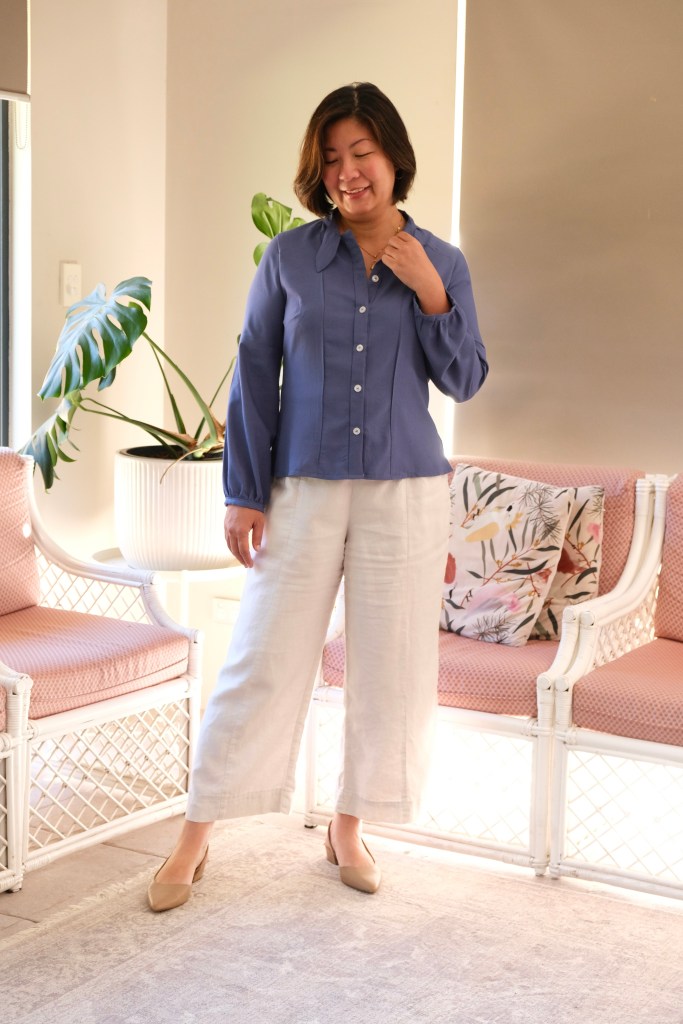
The Clover Top by definition could be called a shirt pattern, but I think, what turns it into a blouse are the details like the little tie, the feminine cut of the shirt which includes bust darts, the bishop sleeves and the shaping continues to the back of the shirt with the centre pleat. Stitchmaiden always include many variations which can be mix and matched to create something new every time you sew the pattern. I decided to make a simple Version A as my first iteration of the pattern. I decided to go ahead and make the blouse without a toile because we’re at the end of the month and the challenge ends!

I felt that my past makes have shown me that the patterns are true to size for me so with my measurements of 38-inch bust, 33-inch waist and 40-inch hips, I chose to make the size 42. I love that the patterns are nested, and you can choose to just print the size that you need. I also really like it that you have the option to include the seam allowance and don’t have to remember to add it when cutting the fabric. I remembered from the first time to check which was the line I had to follow for that!

So, a shirt or blouse seems like a simple item to sew until you realise that it can be the more technical item. It’s like cooking. The simpler the look of the dish, the harder it is to get perfectly correct. I felt that it was like that with this blouse. The instructions and the illustrations are beautifully written and explains everything so well, but I did find myself making mistakes. I think it’s a pattern that gets better the more times you sew it. Also, I sewed this in a day when I really should have spaced out each stage.

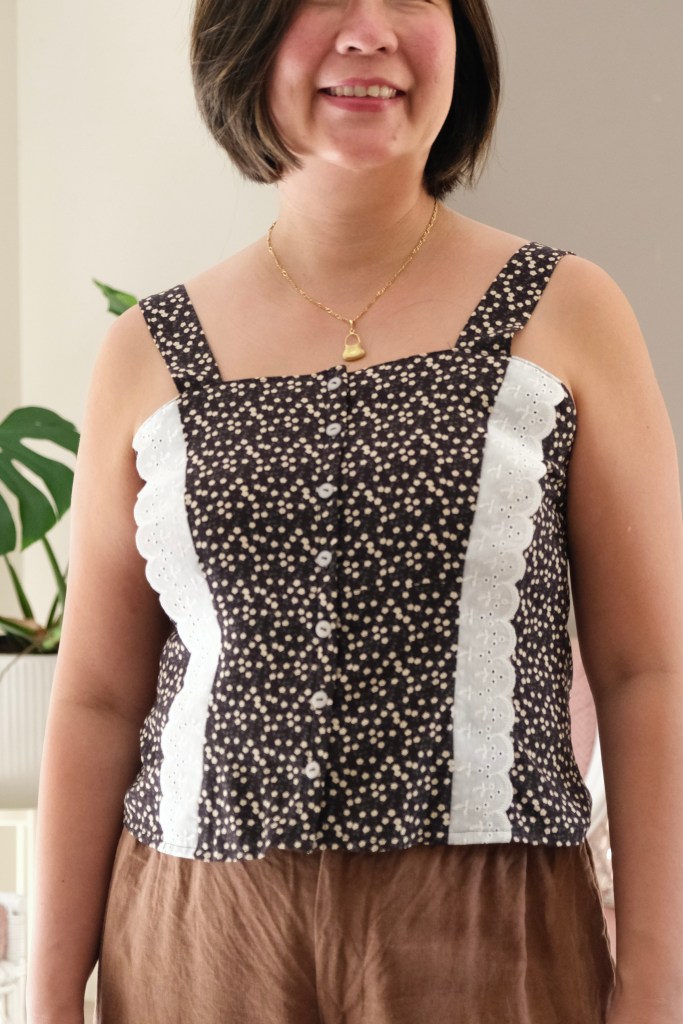
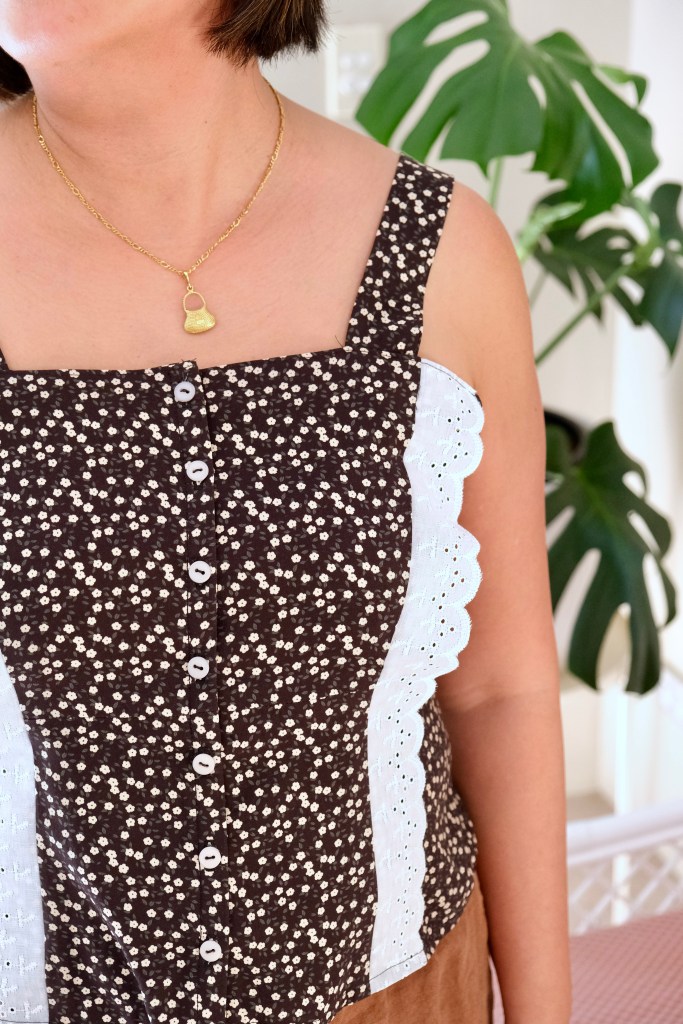
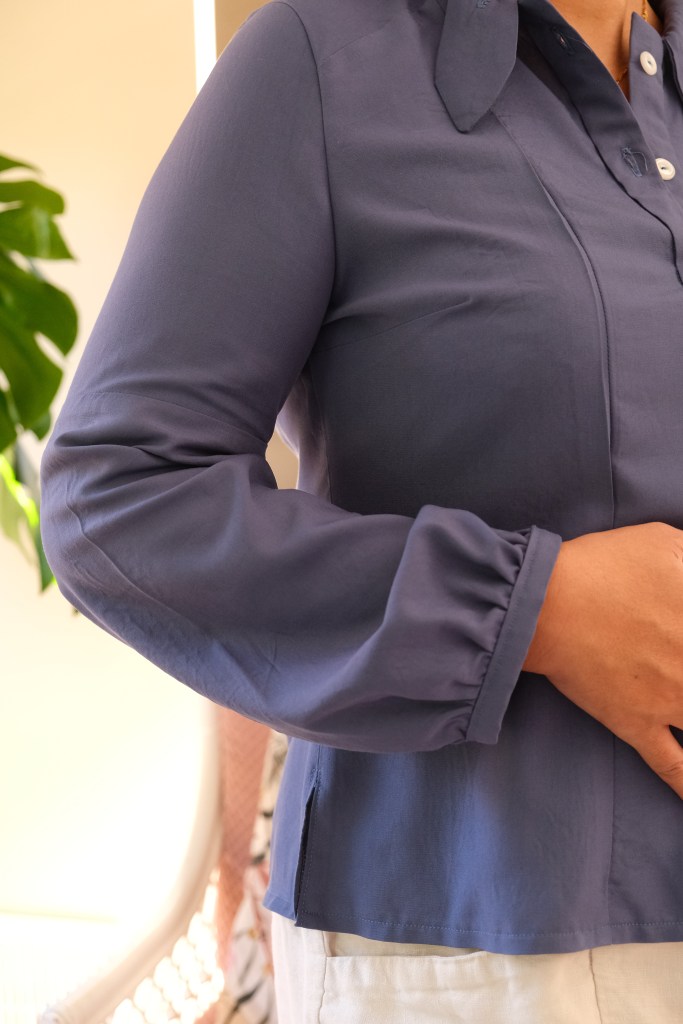
Ok, what was hard? I found the collar construction difficult because my fabric is slippery rayon, and the pattern demands accurate clipping and sewing. My fabric kept slipping and I found myself seam ripping the collar twice because it had slipped to leave an unacceptably big gap. In the end, I hand basted before machine stitching which seemed to do the trick. The next mistake was the button placket. I think I kept confusing View A and View B in my brain. View A needed one placket to be left longer at the top so that it could be folded over the ties to make a cute bow. I only realised at the end what I should have done, so to solve the problem, I made a buttonhole in the tie, and it still works but not as neatly as intended. I think I would wear the blouse unbuttoned anyway. Lastly, I did a minor change from sleeve cuffs to bias bound cuffs. I think on a practical level, I like them better, but I need to fiddle around with the size of them as they are a bit big.

As I said, it’s the first iteration and I think the first of any project tends to wear the most mistakes. I have used a drapey rayon fabric which is lovely and soft to wear but I’d like to try a cotton or something sturdier especially if I want to make the version with the pintucks. 

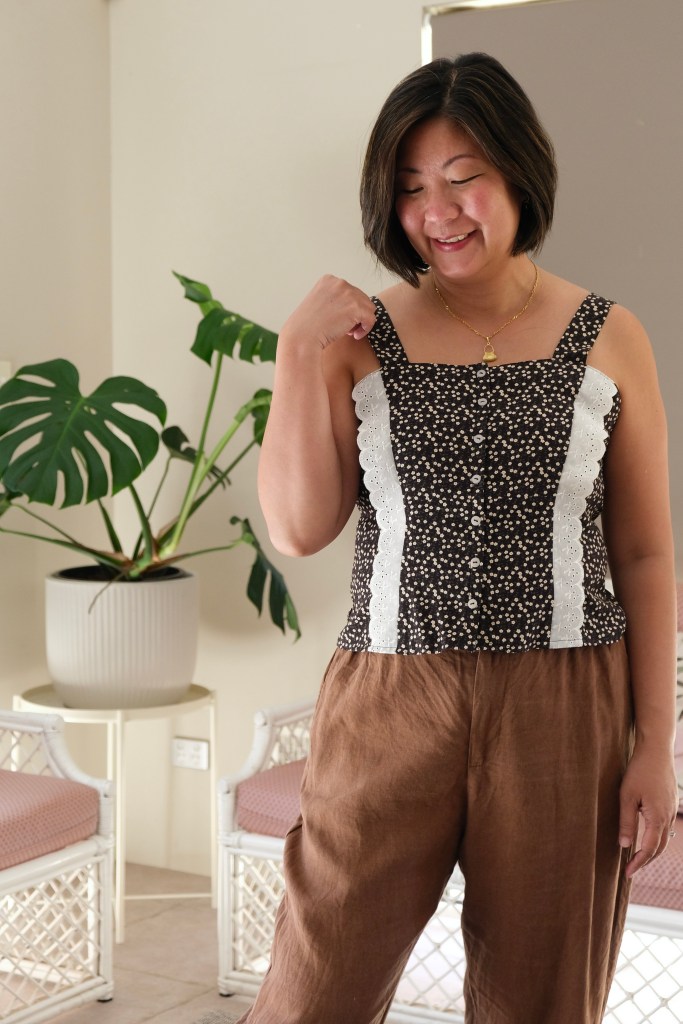
Stitchmaiden patterns have been such a surprise to sew. I feel that these patterns are exceptional and have had so much research and work put into them. They are very technical and hence something that will advance your skill level. The Clover Blouse is beautifully formal and from the Wonderland Collection. I love how even though it’s form fitting, it’s so comfortable to wear (no dinosaur arms when you’re out to dinner). Another beautiful design from Stitchmaiden.

Thanks for reading and happy sewing!

X Stitchmaiden Em

Full Disclosure: Pattern was gifted for collaboration with no requirement to blog. No affiliate link. All opinions remain my own.

Daisy Top

As I said in my Instagram Post, this pattern is tiny but mighty. The Stitchmaiden Daisy Top has multiple versions in one top. I find it to be a good skill building pattern. I’ve been wanting to experiment with attaching trims and more decorative details in my sewing and this pattern has a great section on ideas of show to add decorations. There is also a length variation, so I chose the longer version. 

Once I got going with my top, I knew I wanted to make another one straight away. But before starting on the final versions, I used the remnant white slub to make a toile. I initially cut the size 44 but found that it was too roomy at the bust, and the princess seam didn’t sit in the right position. I decided to make the size 42 but didn’t have to grade to the 44 waist because the pattern has a 2cm side seam which makes the pattern so easily adjustable.

The top I had envisioned with this pattern was a softer, breezy top with lace detailing. I was happy to find a rayon with a print called Daisy for the top. I matched it with a cotton lace trim which I would insert instead of the ruffles in Version C of the pattern. I’ve never inserted lace before. Initially, I inserted it with the lace facing inwards, so I had to get out the seam ripper. That’s when I decided to film it. I find documenting the process really helps me to learn.

In the end, the top came together quite easily. As I said, this pattern is drafted, and the construction is organised so that everything can come apart quickly for adjustments. I only had to modify the side seam with the 2 cm seam allowance at the top of the bodice and sewing down to a 1cm seam allowance at the waist. The strap comes with a 5 cm seam allowance which fitted well. I did move the straps inwards of the princess seams because I have slightly sloping shoulders. This worked well except I found that I couldn’t wear a bra with straps because they weren’t covered with the straps in that position.

Once that was finished, I went back to the white slub toile. I removed all the basting stitches and cut down the pieces to the size 42. This time, I thought that the stiffer structure of the fabric was better for Version D which features pin tucks. I stayed with the straight neckline rather than a sweetheart neckline. I love how the neckline rises slightly in the front.

Again, this pattern was enjoyable to make. In the second pattern, I decided to add the facing pieces as one after I had sewn together the side seams. I also attached my straps before attaching the facing. Only be aware that doing the construction this way makes it harder to readjust at a later stage.

The Daisy Top is a lovely addition to my growing handmade wardrobe. It’s pretty but also practical. I think I’ll get a lot of wear out of them. I’m grateful to be collaborating with Stitchmaiden as they gifted me with this pattern. Even though gifted, no blog post was required but I felt it was worth sharing and all opinions remain my own.

Thanks for reading and happy sewing!

X Em

Marigold Dress

I’ve been a long admirer and follower of Stitchmaiden Patterns but never brave enough to attempt a pattern because they look so technically hard. When Stitchmaiden reached out to me, I took it as a sign that it was time to stretch out of my comfort zone and I was so pleasantly surprised with the outcome. 

Firstly, the pattern I chose was the Marigold Dress. Each pattern draws inspiration from a period in history. The Marigold is from the Romantic Academia Collection. It is a pattern that keeps on giving because of the multitude of combinations possible with just a switch of one or two features. There are three versions which are suggested for the seamstress. The basic concept is a square neckline with princess seams and a fitted waist. I chose the suggested Version A which has a slim fitted skirt, but I chose the butterfly sleeves from Version C, and I left off the ruffled hem. There is also a belt that is sewn in which I chose to keep.

With this many options, I thought that printing and putting together the pattern was going to be time consuming and difficult but there is a comprehensive table, and it made the whole process quick and painless. There are two ways to print the pattern, one is without the seam allowance and the other is with the seam allowance added. I’m more used to having my seam allowance included so that is the one I chose. This is where it got interesting for me … I mistook the sewing line for the cutting line. I had printed the size 42 and size 44 because I fell between those two sizes and needed to grade the pattern. In the end, I decided to only cut the size 44 and grade from there but as mentioned, I cut the sewing line! To make matters worse, I cut into my “good” fabric thinking I had enough seam allowance and ease with the larger size to then “fit” it once I had cut the fabric pieces.

The dress has an invisible zip closure, so I did the usual basting stitches on my side seam and basted my zip. Imagine my panic when I couldn’t zip up the dress and there was no amount of ease or seam allowance that could help! It really puzzled me for the afternoon then I went back to the pattern and thought I’d start again, and this time make a better toile. When I reprinted the pattern, I realised my mistake which was actually a relief! It was me, not the pattern.

I chose the size 42 and 44 for my measurements of 38-inch bust, 33-inch waist and 40-inch hips. I graded the bodice from the 42 to the 44 waist and hips. The dress is a tailored fit with moderate ease, and I felt that this worked well for me. When I make the dress again, I might adjust the princess seams as well.

Initially, I was going to use a beautifully printed linen but because of my mistake, that fabric will now be made into a dress for my daughter. Instead, I had this green crepe the chine which my husband bought me that I’ve been keeping for a special make. He bought me 5 meters of this fabric of which I’ve used about 3.5 meters. The crepe the chine is drapey and light which is beautiful to wear. It highlights the skirt, the gathered front and butterfly sleeves nicely. I actually think this fabric was a better match in the end.

The pattern comes with some of the most extensively detailed instructions and illustrations which are great to learn from, but they also provide a summarised set of instructions for the more experienced sewist. I used the detailed instructions and appreciated the two pages of Basic Workmanship which is great for those looking to extend their sewing repertoire.

Stitchmaiden Patterns have a vintage vibe and draw inspiration from history but they really are timeless classics. This will be a dress that transcends passing trends and I’ll be wearing it time and time again. It’s a pattern that can be changed easily with so many mix and match options, so it is a “TNT” (tried and true) pattern for me. Oh! And another thing, please now refer to me as Stitchmaiden Emily.

Thanks for reading and happy sewing!

X Em

* This pattern was provided for a review with no obligation for a blog post.