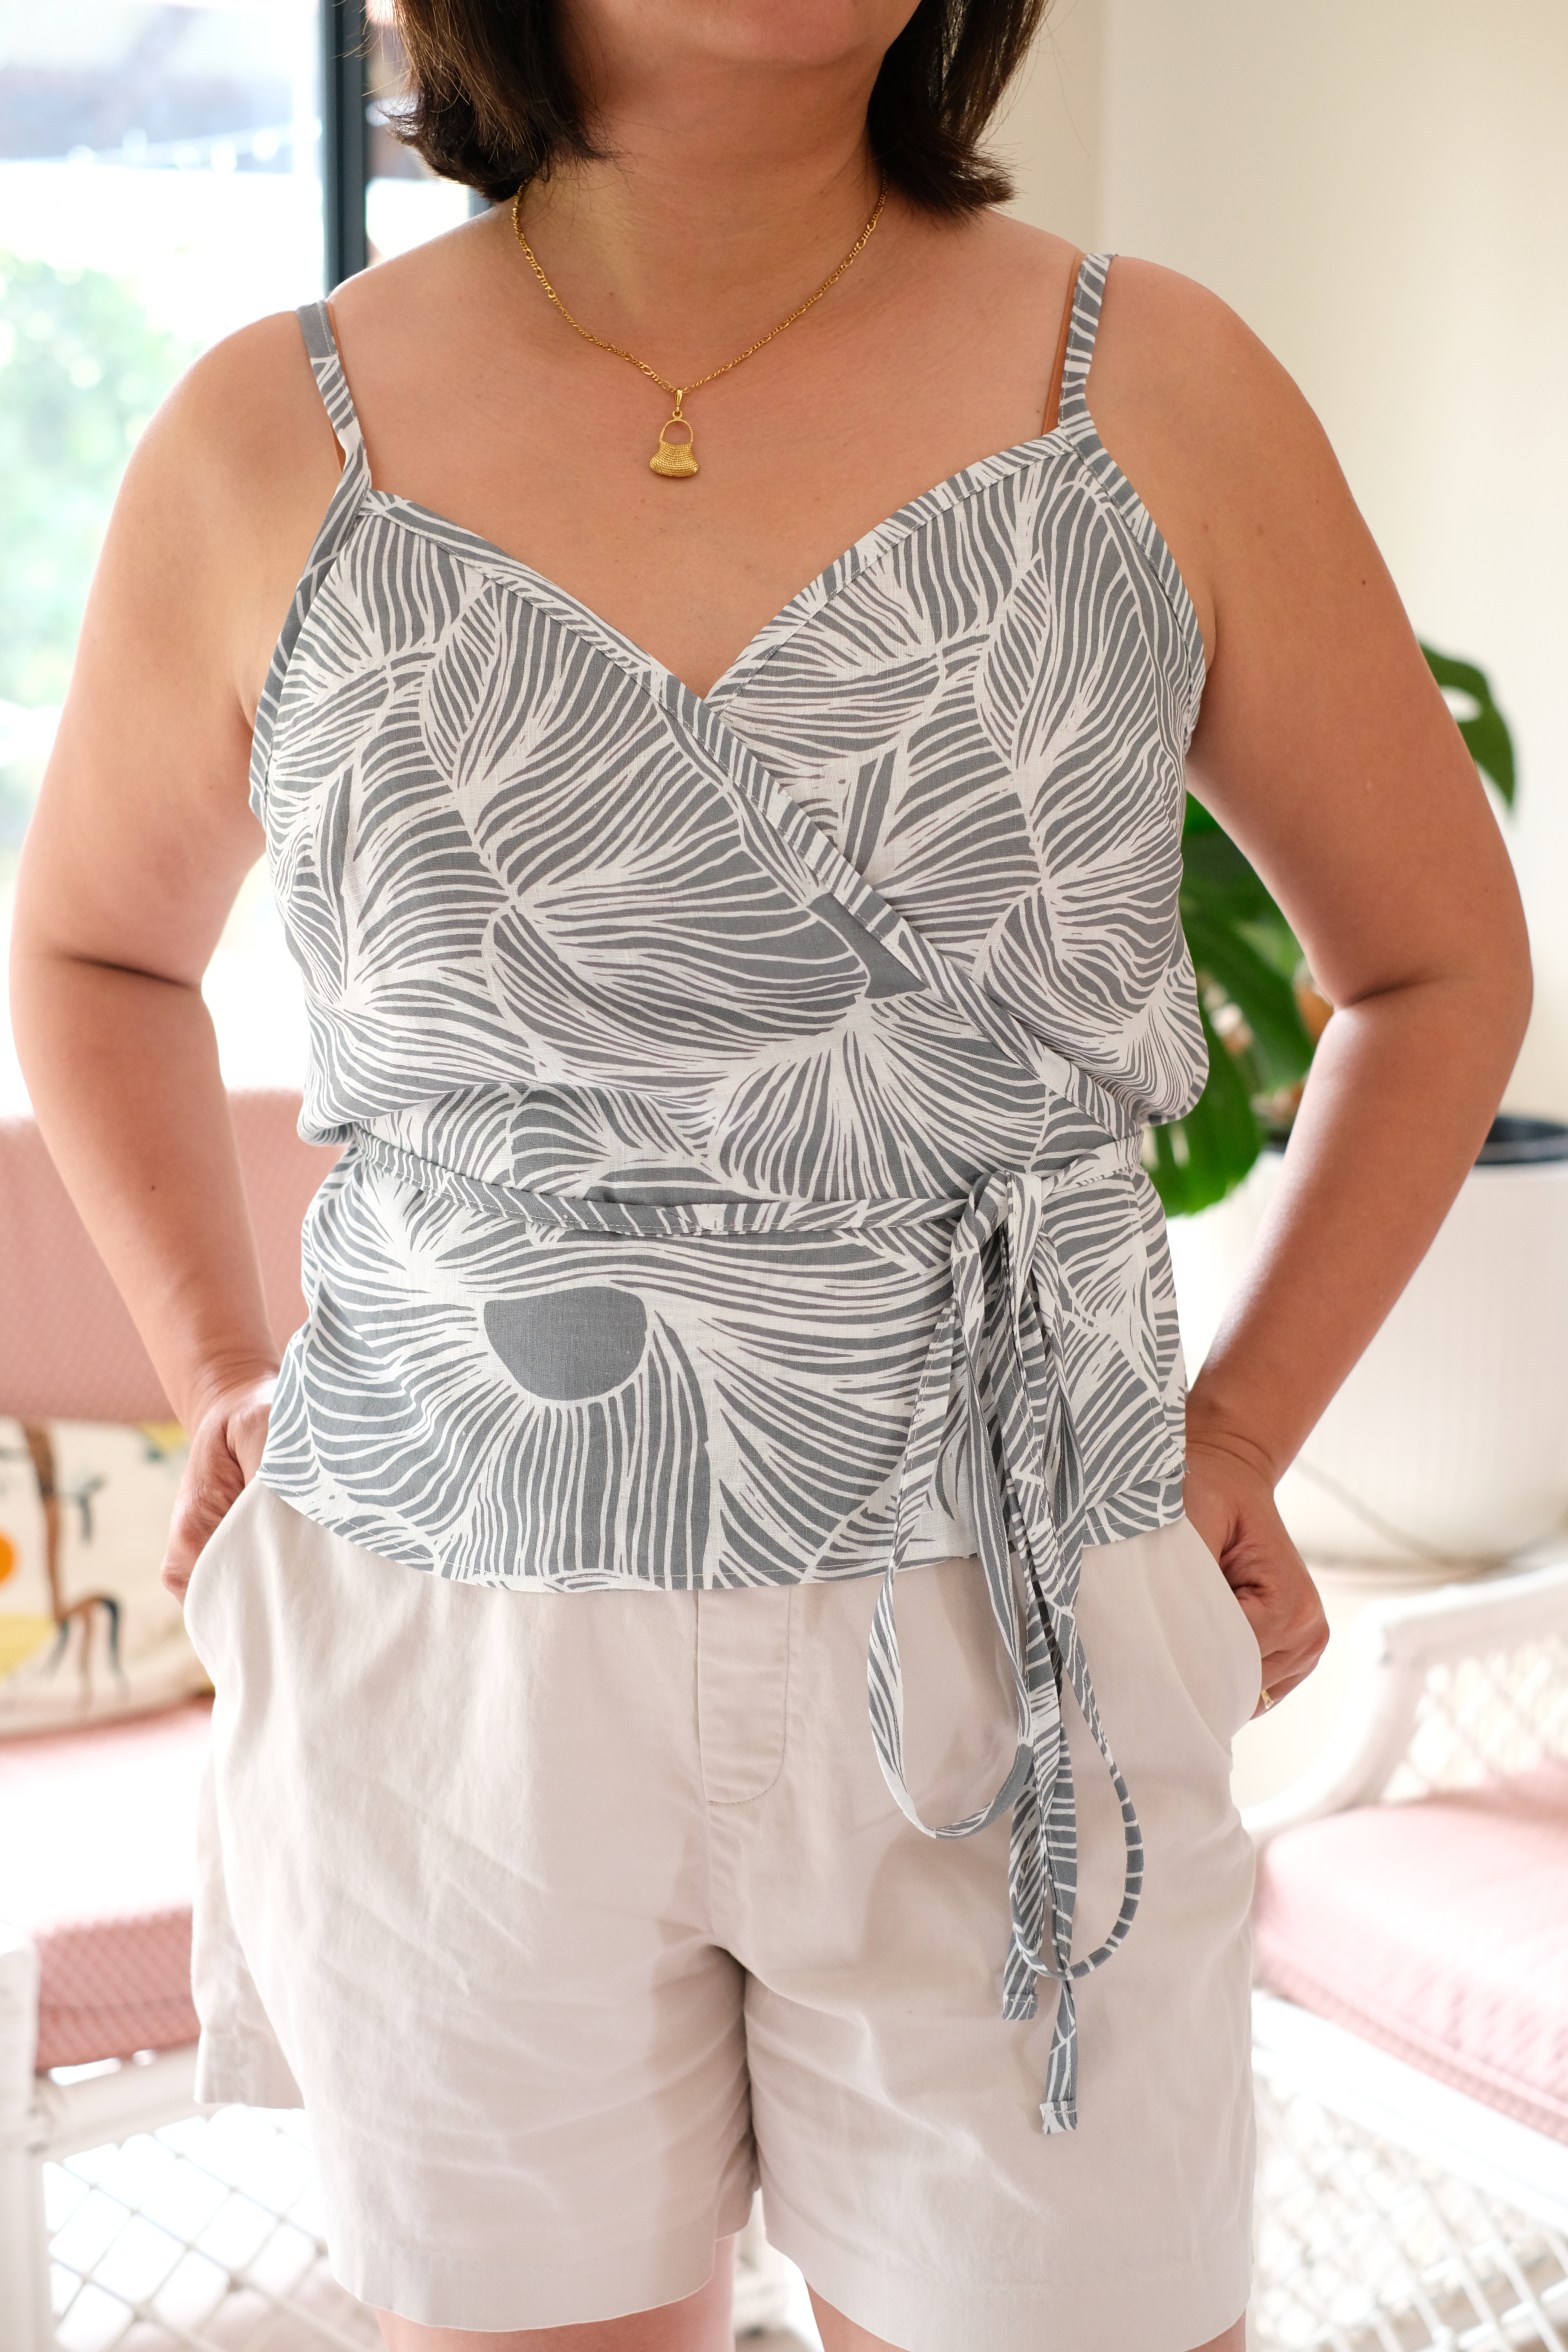
Sometimes people ask me why I sew when you can buy items for very little especially with the emergence of so many fast fashion online stores. I guess they see a pair of shorts, but they don’t see that when you sew, you can adjust that pair of shorts to fit comfortably. You can choose to insert the inseam pockets that are fixed to the front. They also don’t see the careful selection of fabric that you choose for texture, drape and weight. So, it’s probably true that it would be cheaper to buy a ready-made pair of shorts, but nothing replaces the satisfaction of making the shorts that fits the way you like and with the perfect fabric for it.
I’ve made two versions of the True Bias Casey Pants. The first was the long mid-rise pants which I made as a tester for the pattern. The second version is the high-rise shorts which I’ve sewn recently. I usually document my makes as I go but I didn’t have a chance to write the first version after the test because I was leaving for my trip to South Korea. I knew I would come back to sew the pattern anyway.
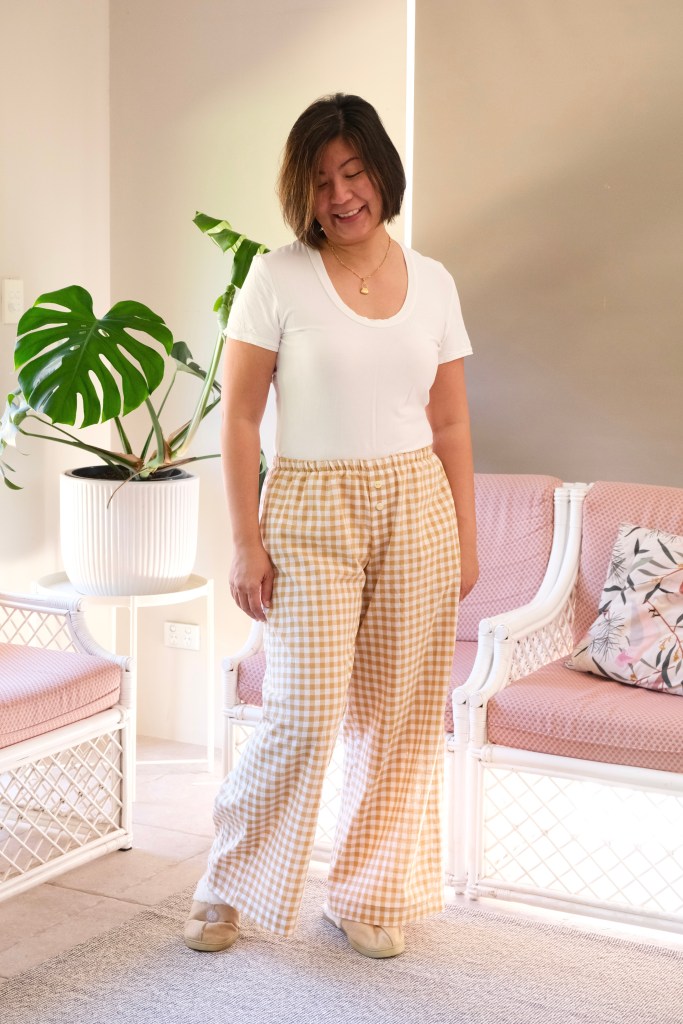

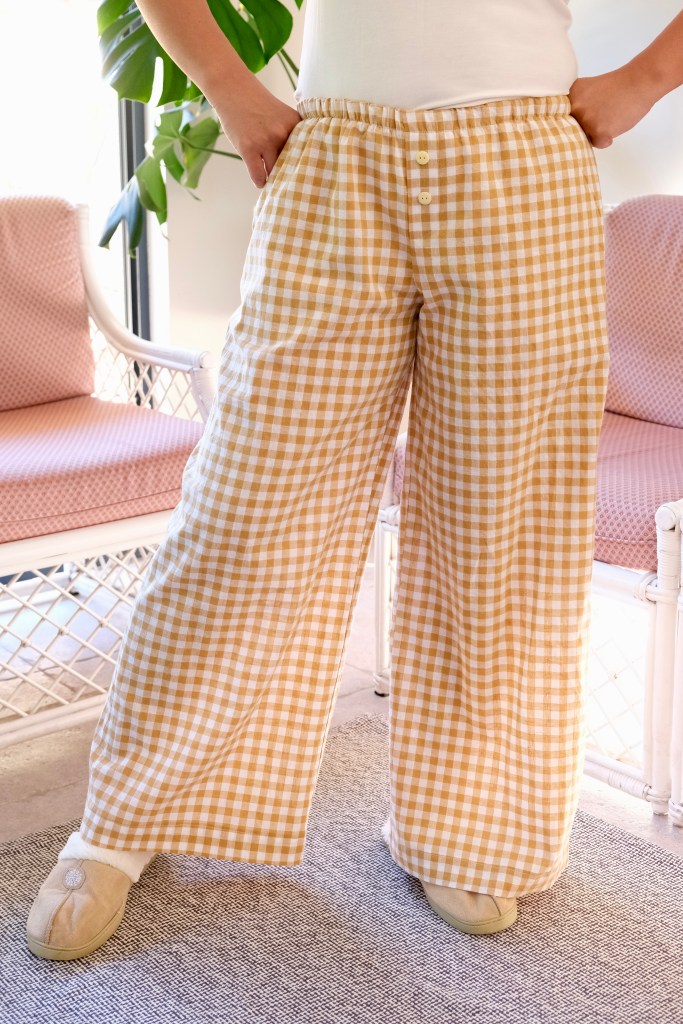
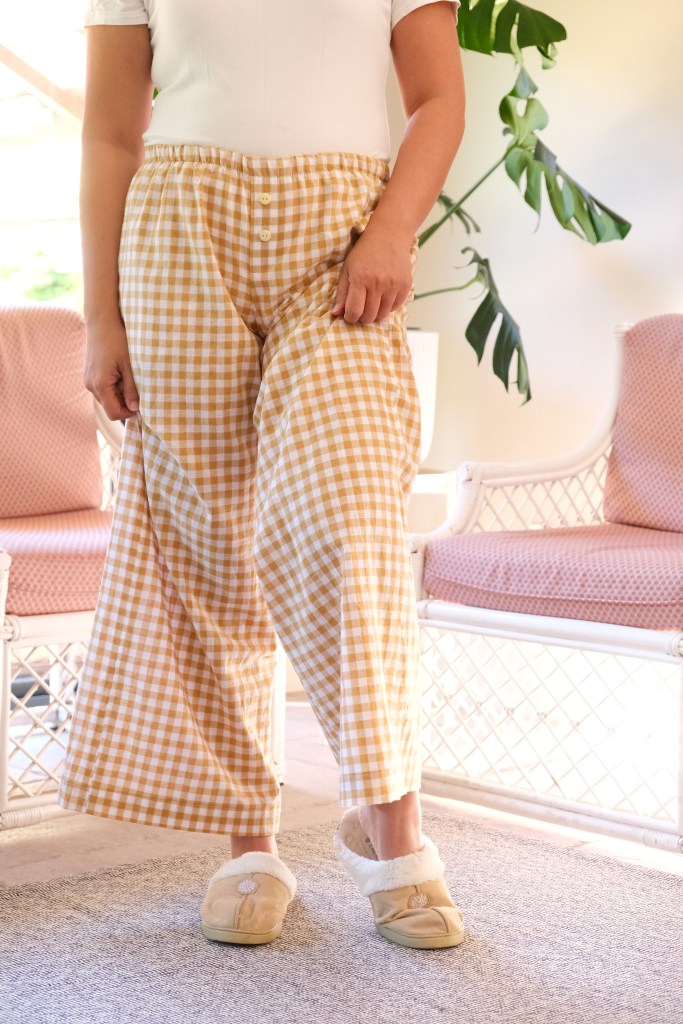
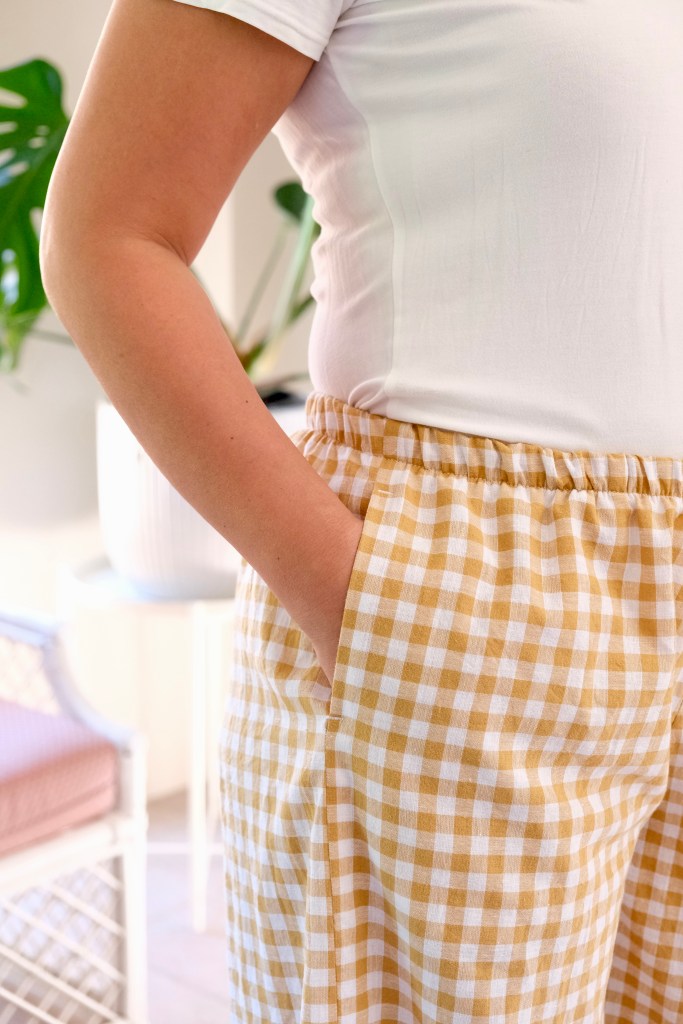
My first version has been worn as pyjama pants because the pattern is based on the silhouette of boxer shorts. The midrise sits a couple of inches below the natural waist. I used ½ inch gingham which were super soft. I used the size 12 for my measurements of 33-inch waist and 40-inch hips. No adjustments were made.
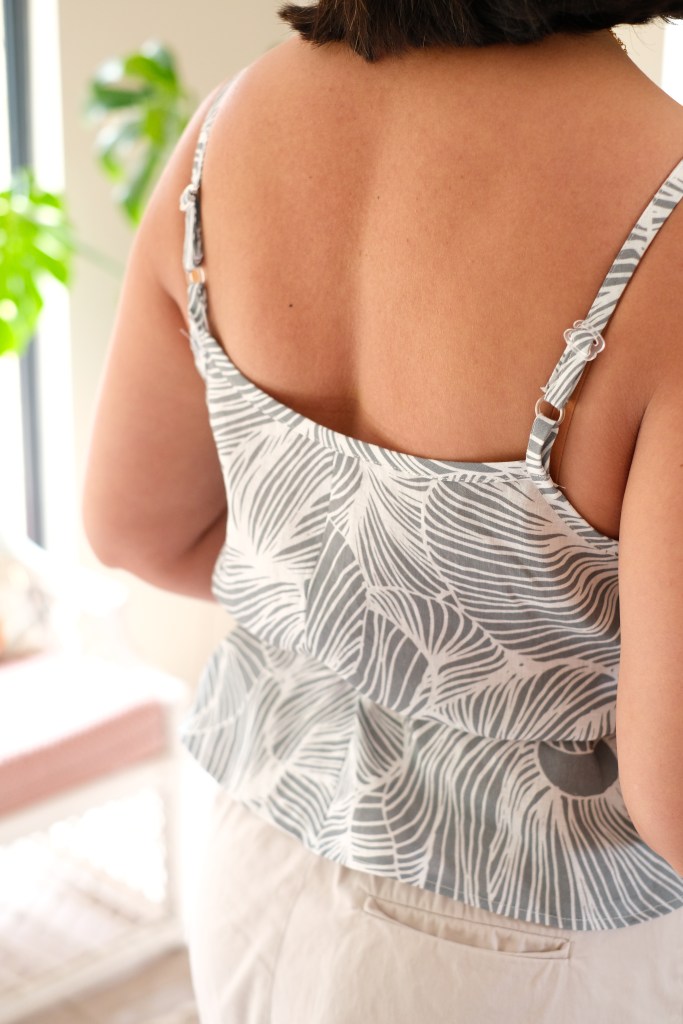
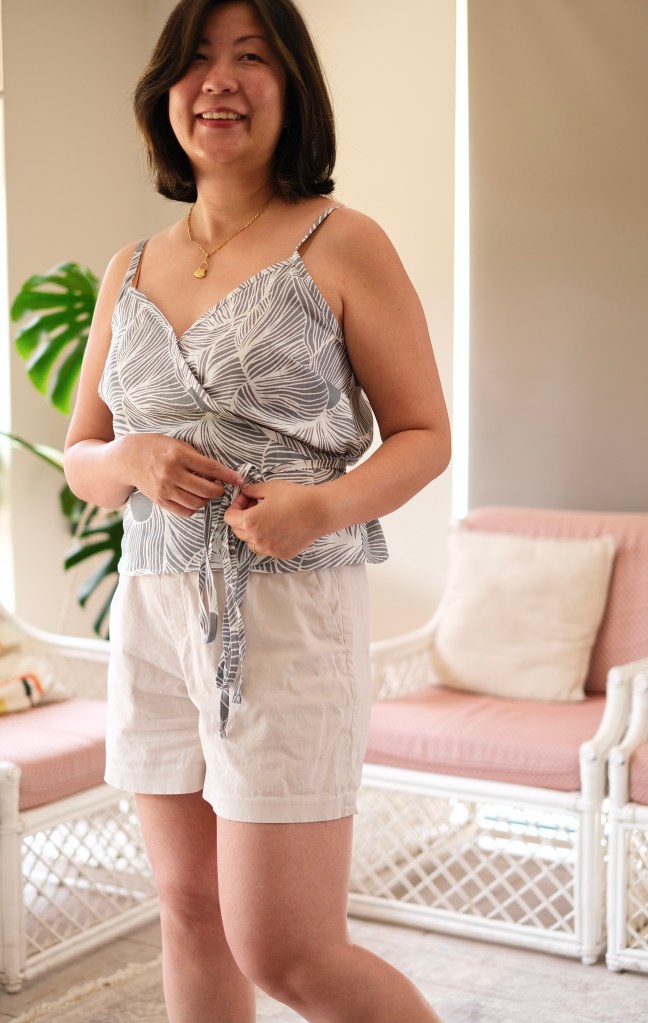
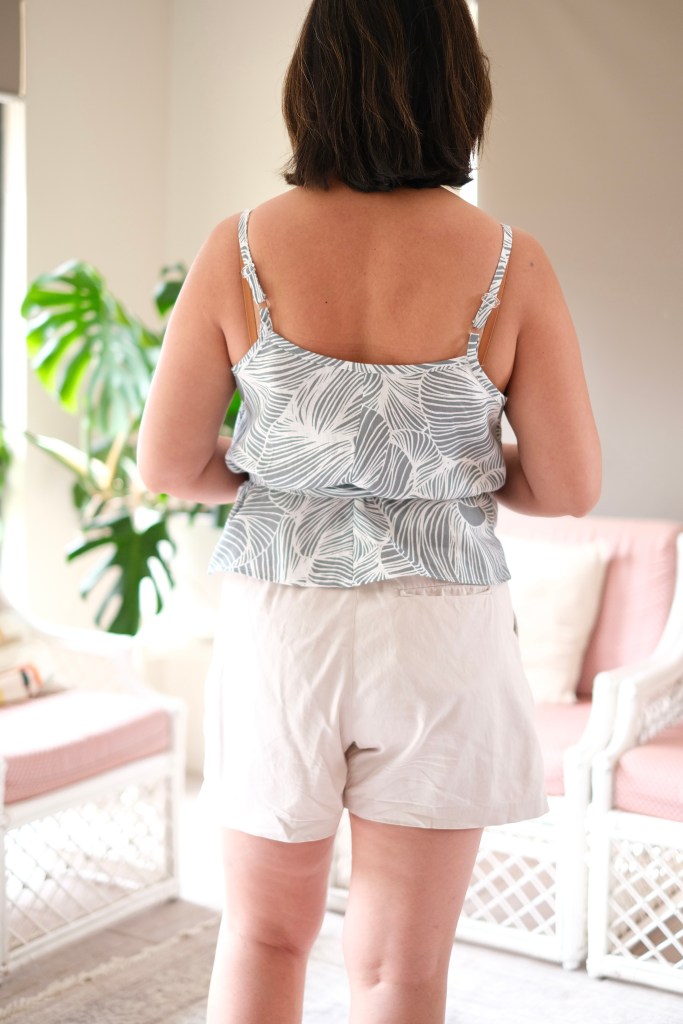
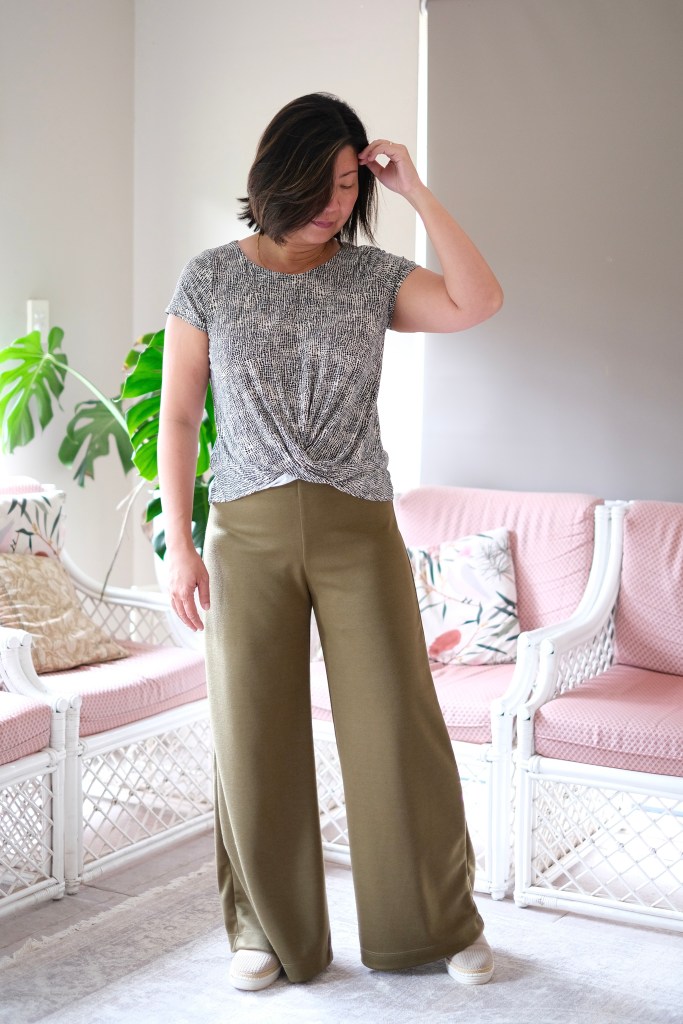
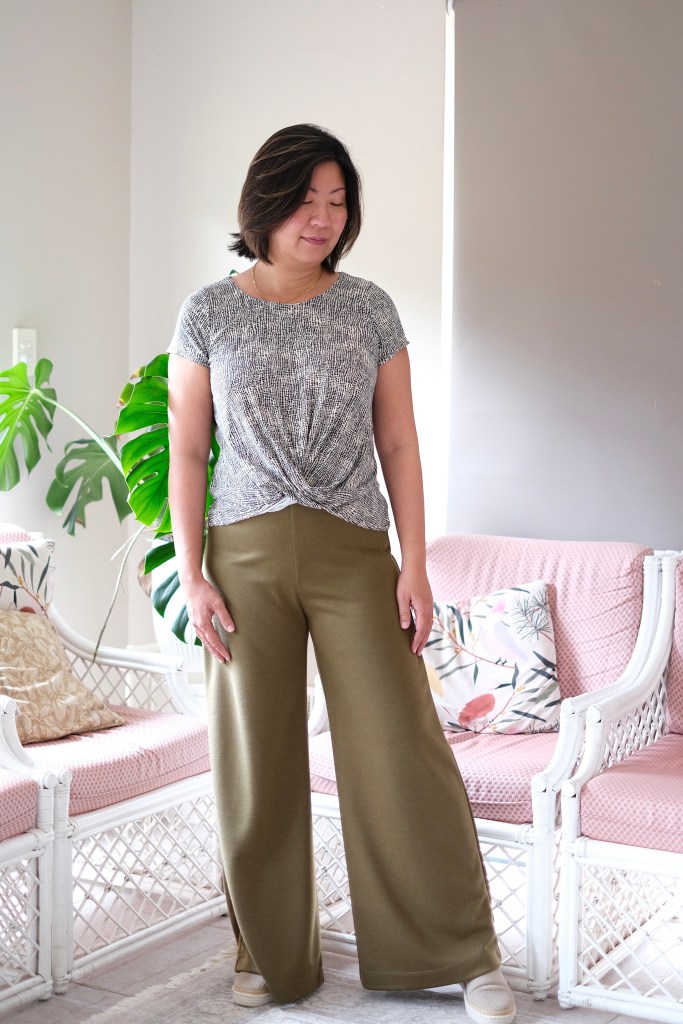
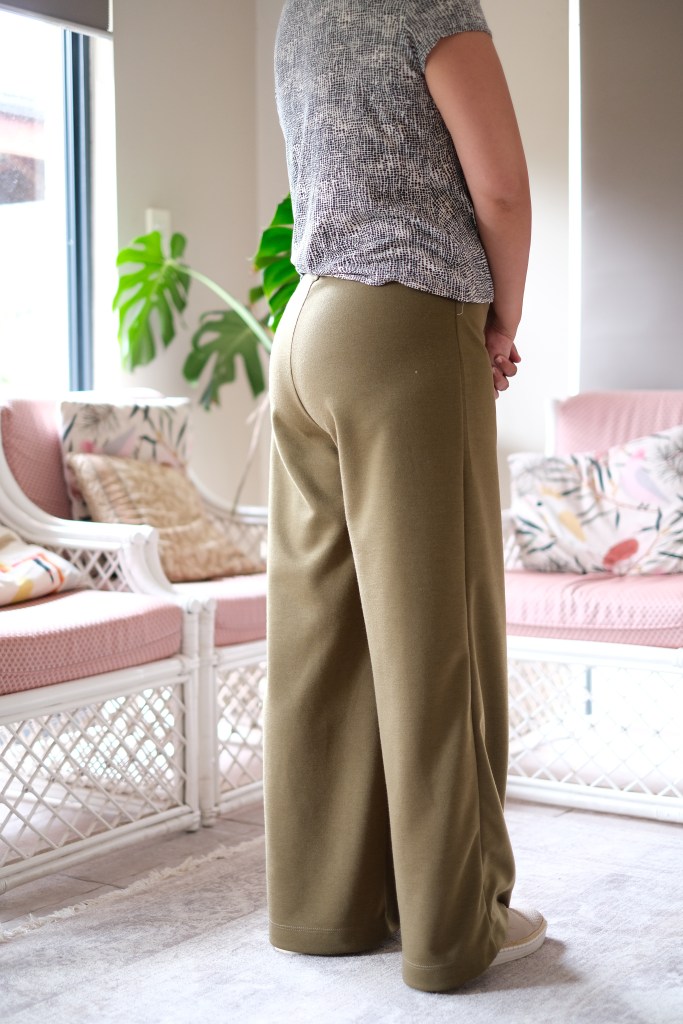
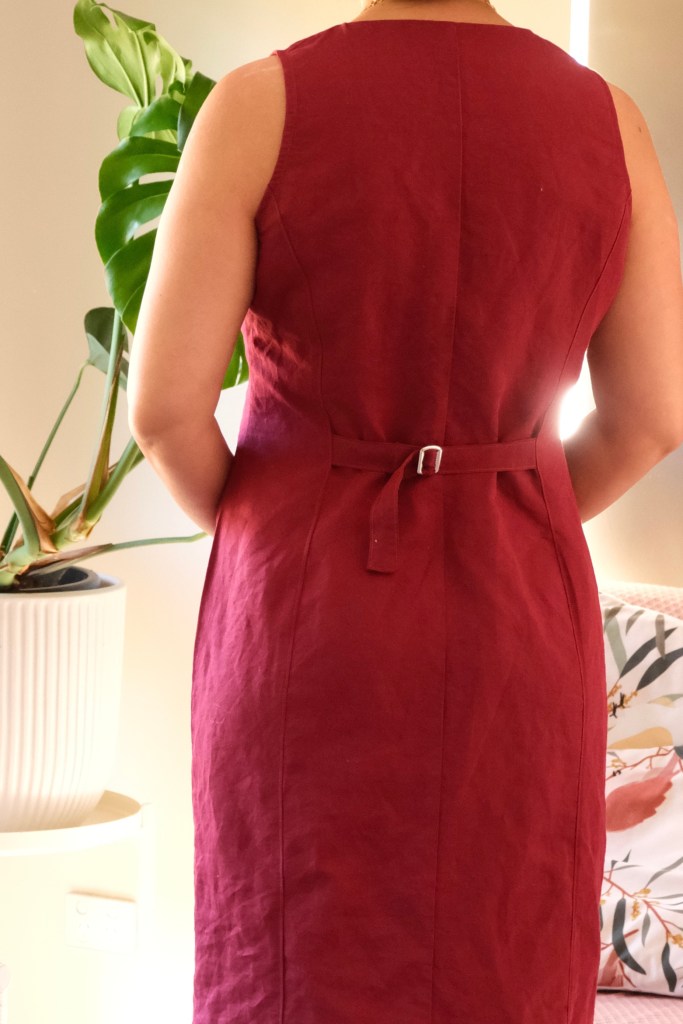
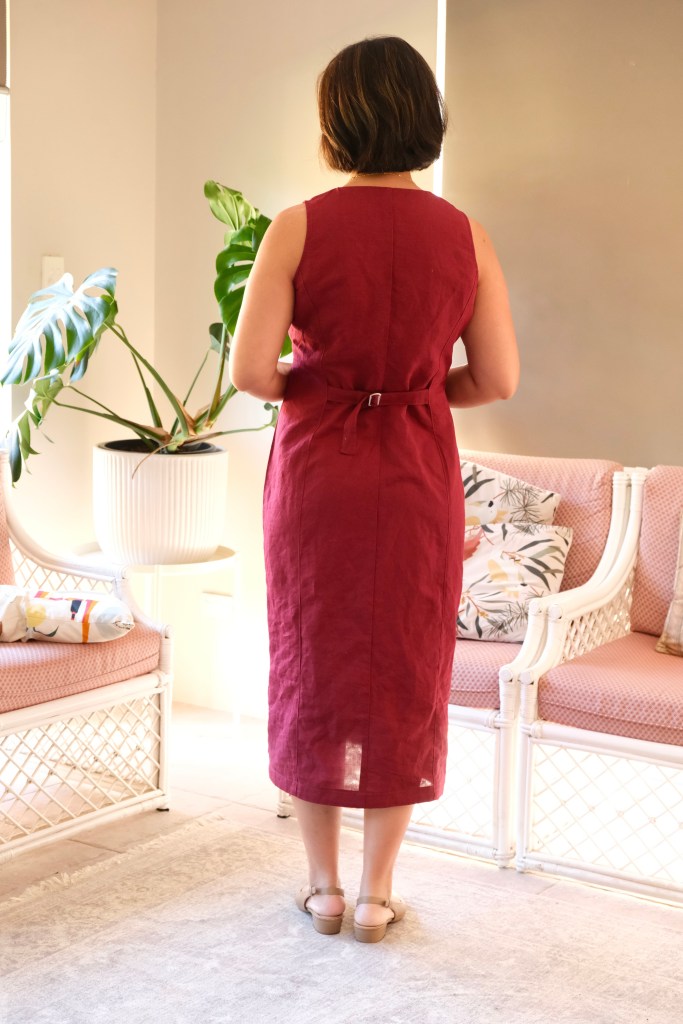
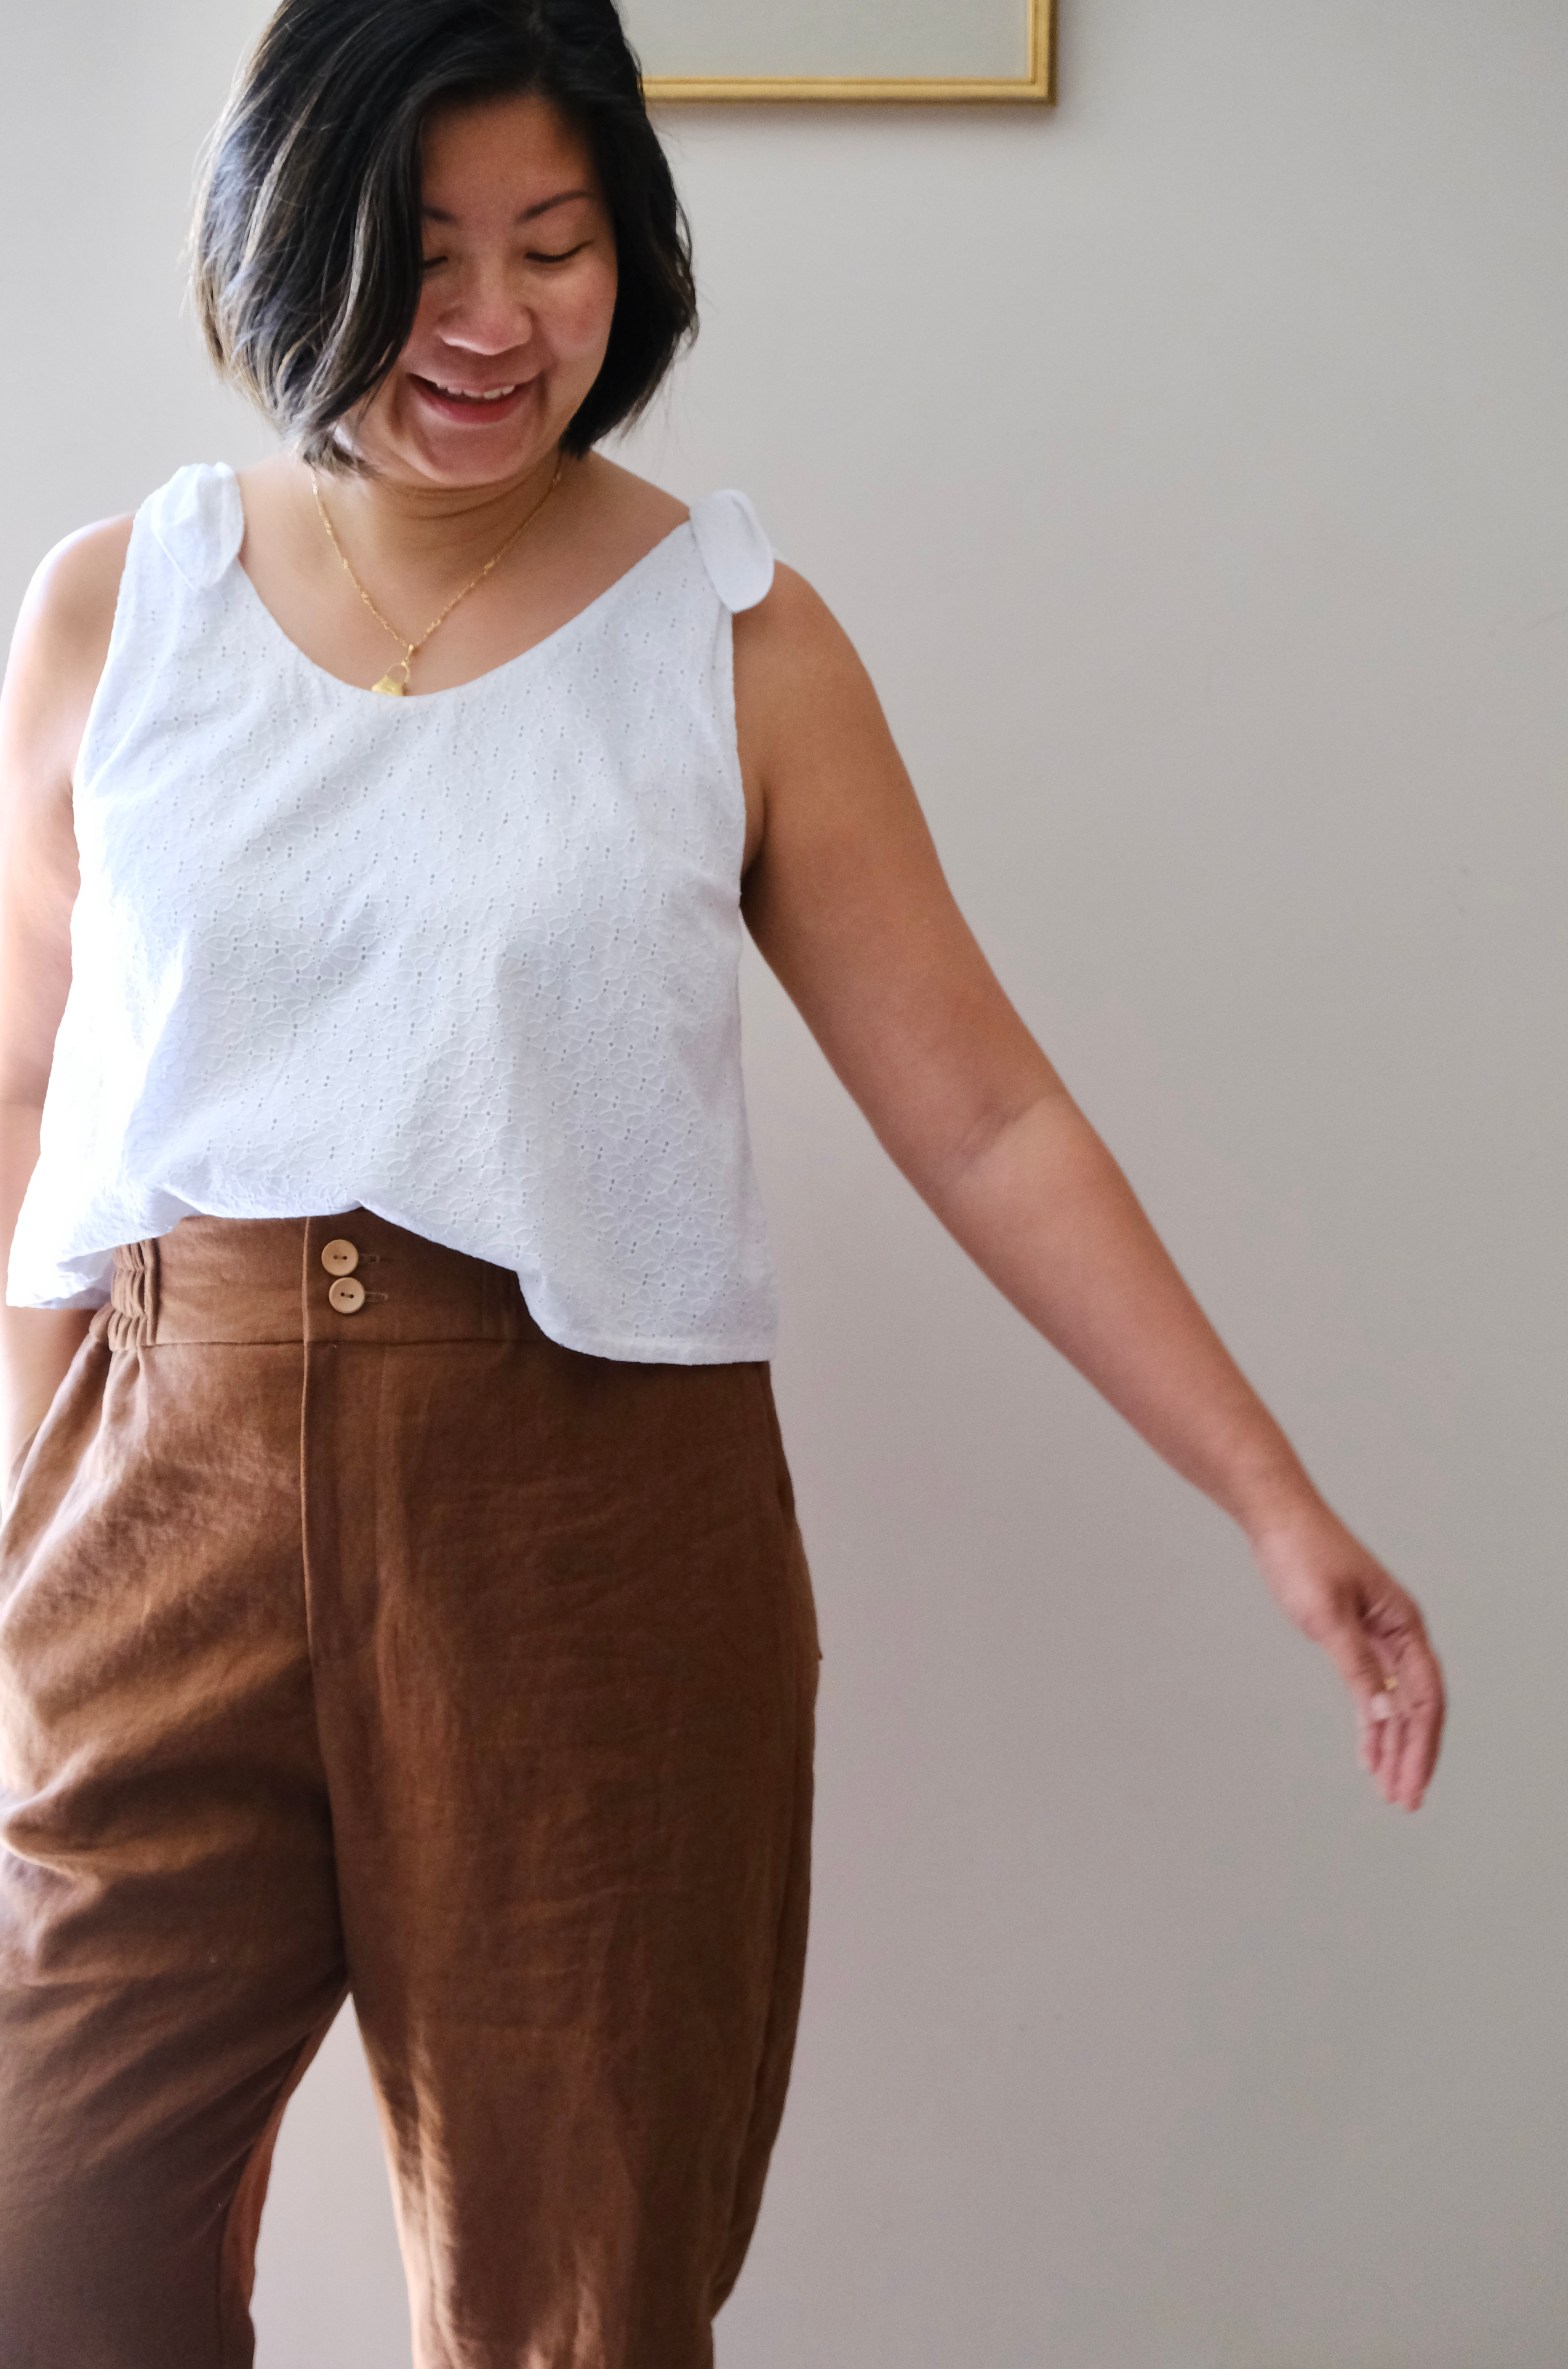
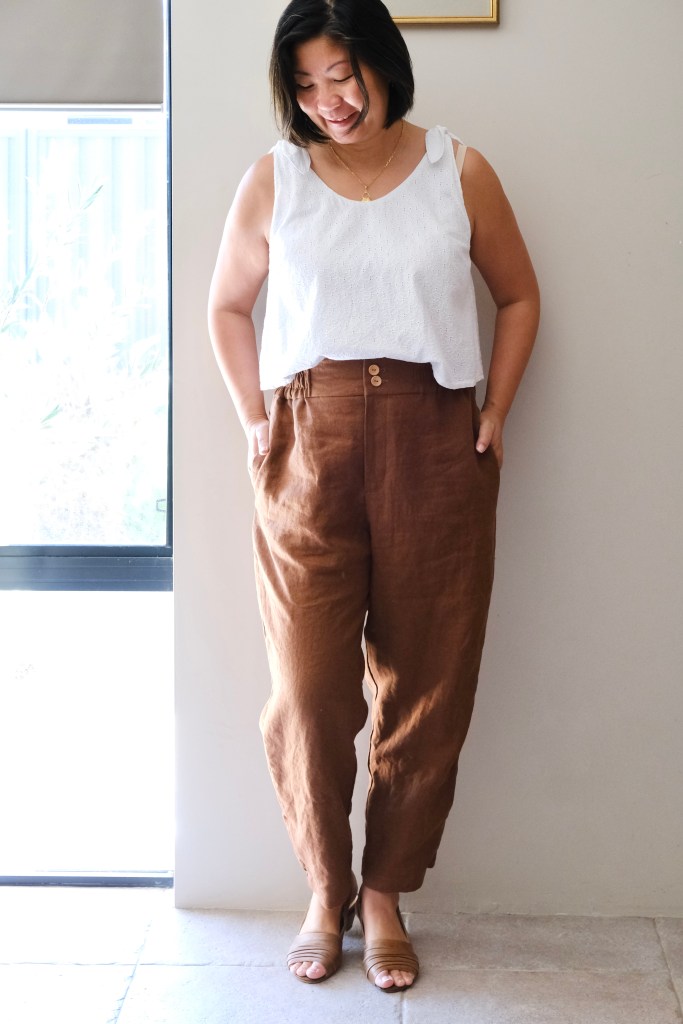
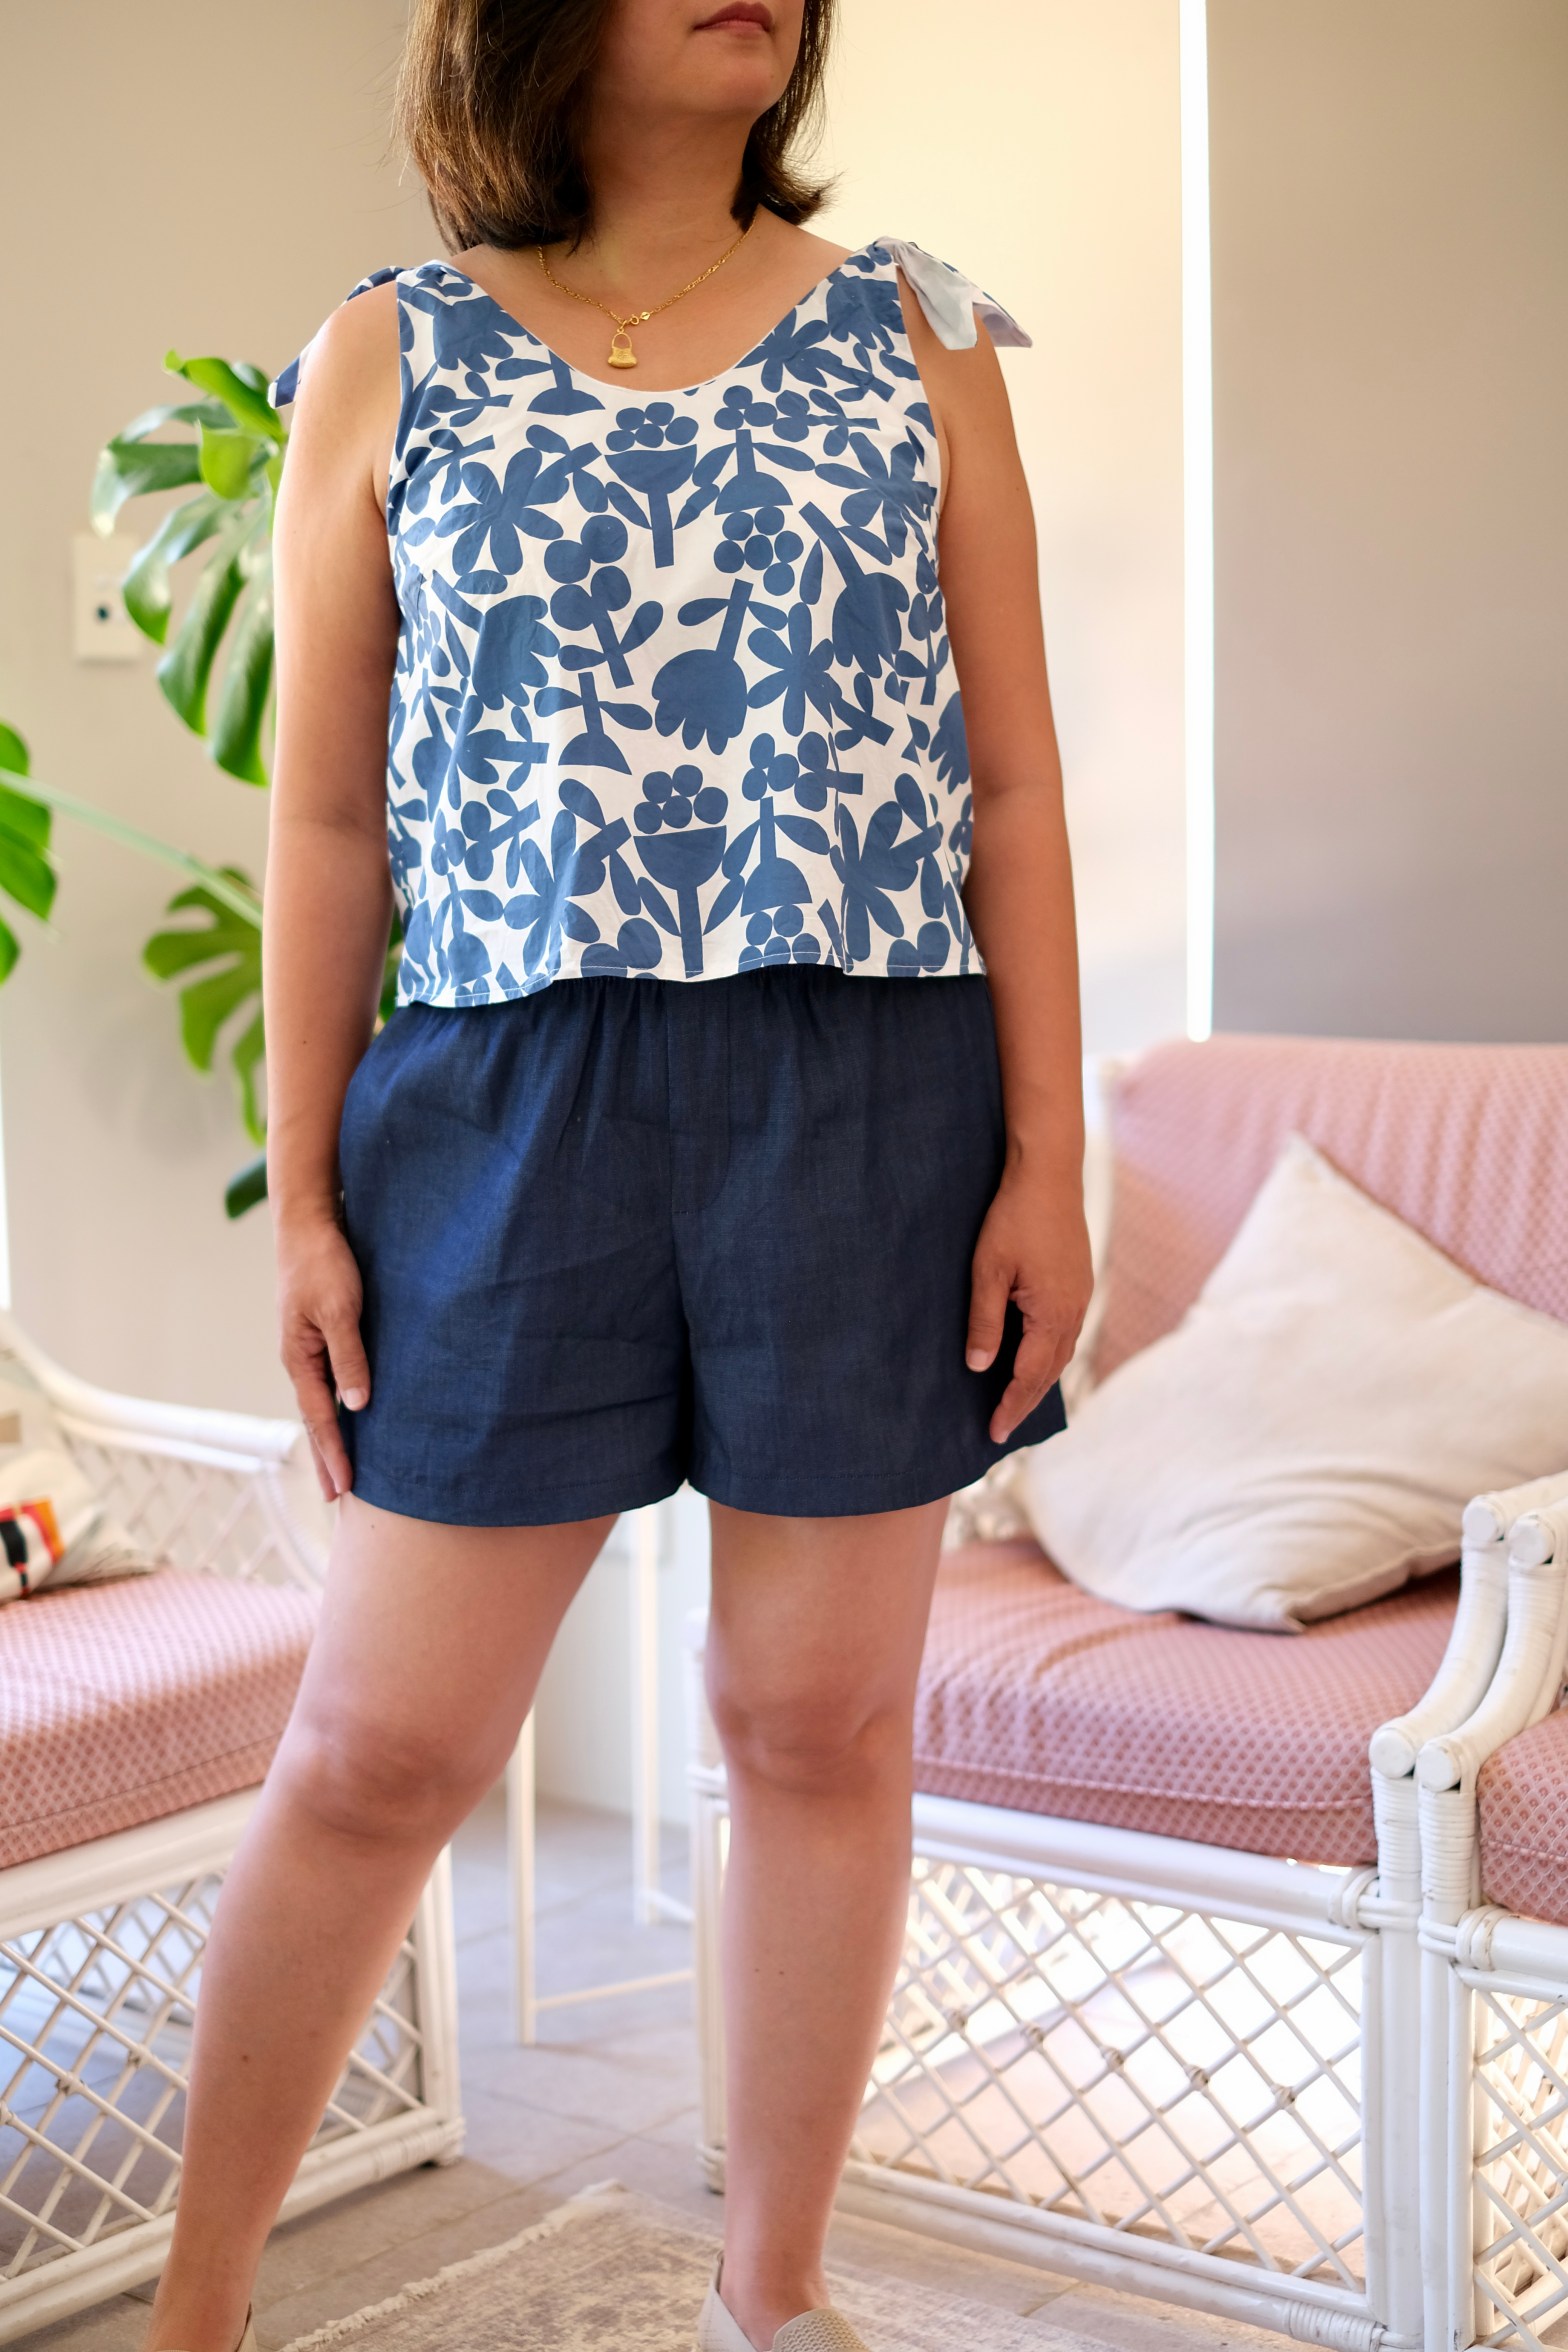
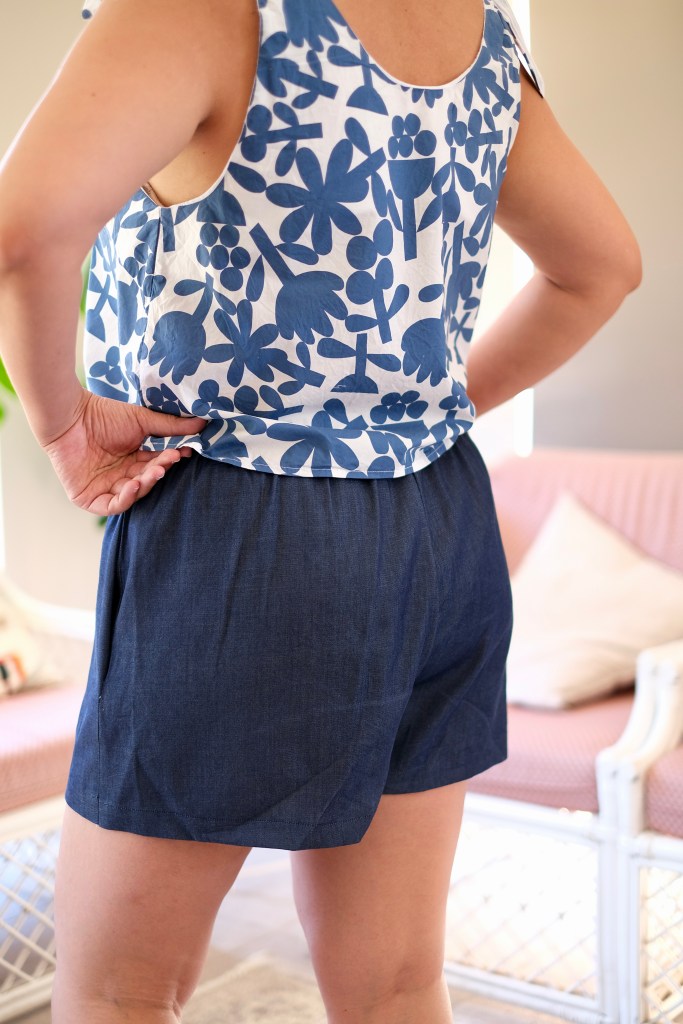
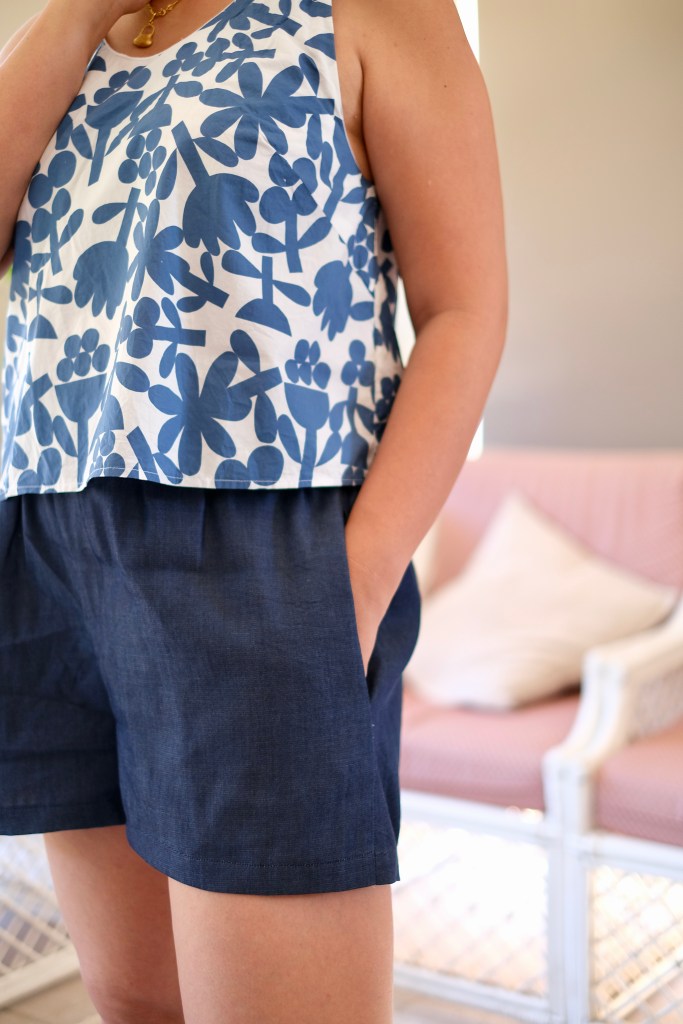
For my short’s version, I chose the high-rise version which falls at the natural waist. This time I used a Lyocell Denim which was leftover from the Avril Dress that I made. I had just under a meter remnant that I could use for the Casey shorts. I made the size 12 again but this time I had to add length to hit the high-rise waistline. I’m 167cm tall and the pattern is drafted for someone 165cm tall. With the 2cm difference, I had to add 1cm using the lengthening / shortening line included on the pattern. This second pair is made for wearing during the day and not as pyjamas, so I left off the slit in the side seam.
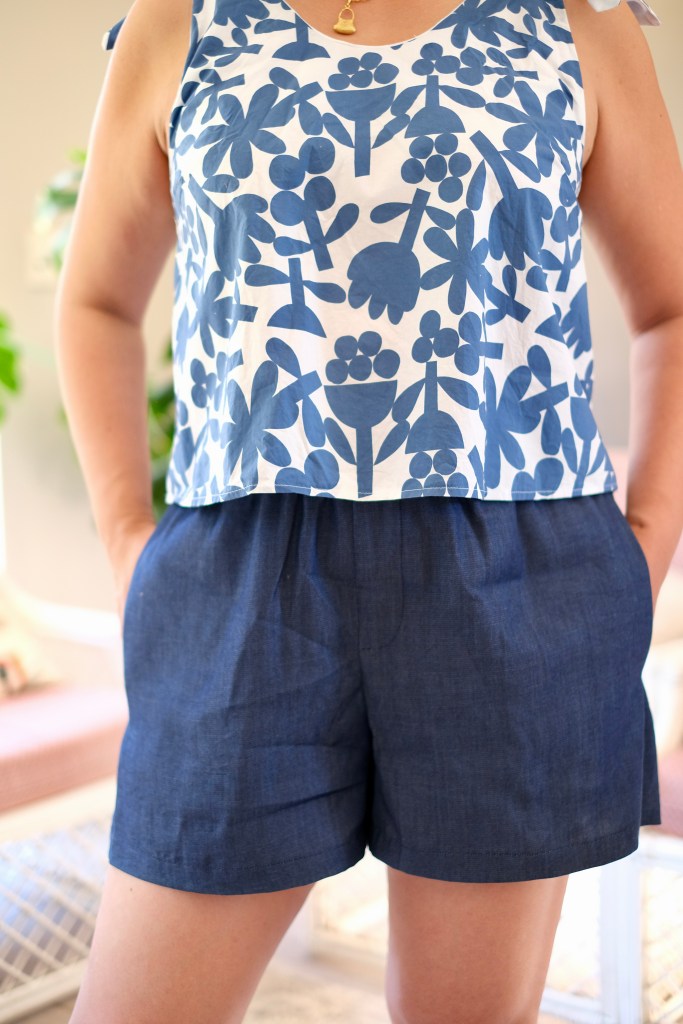
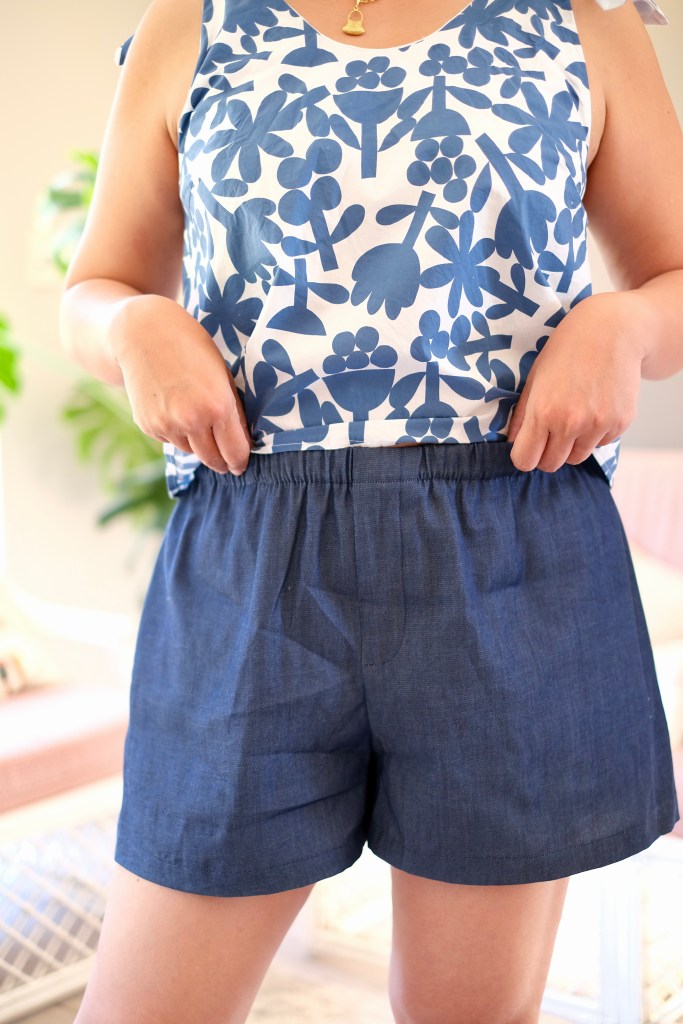
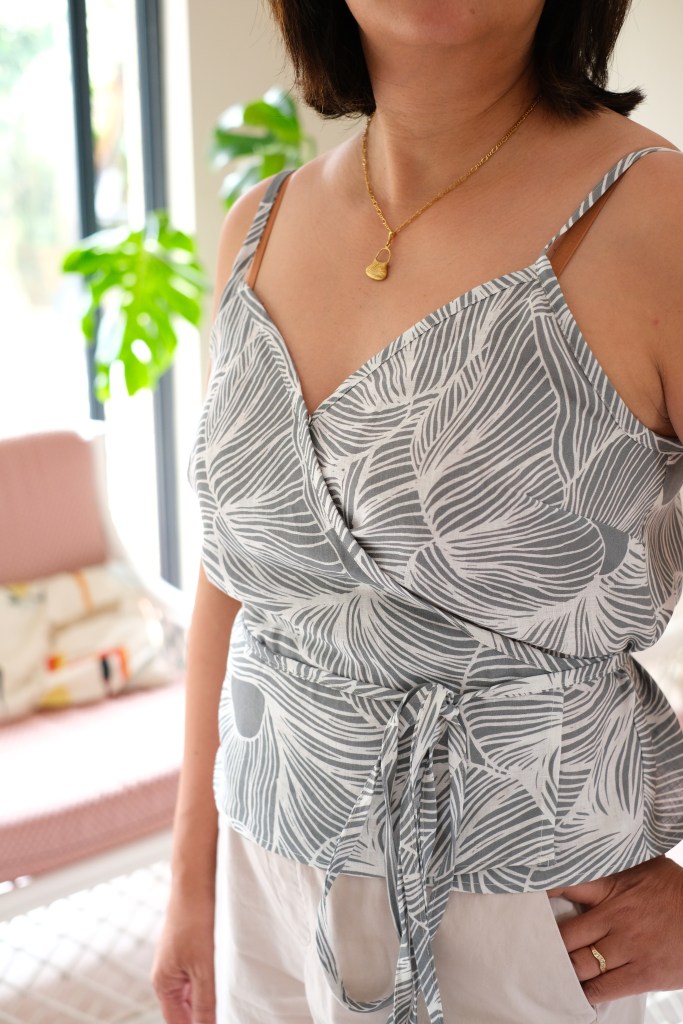
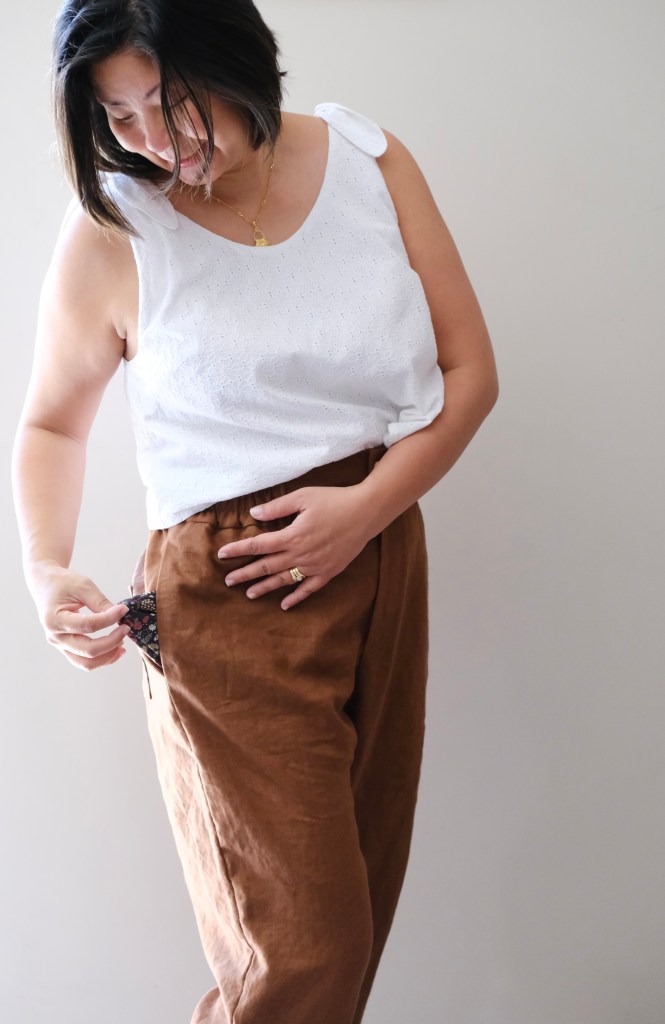
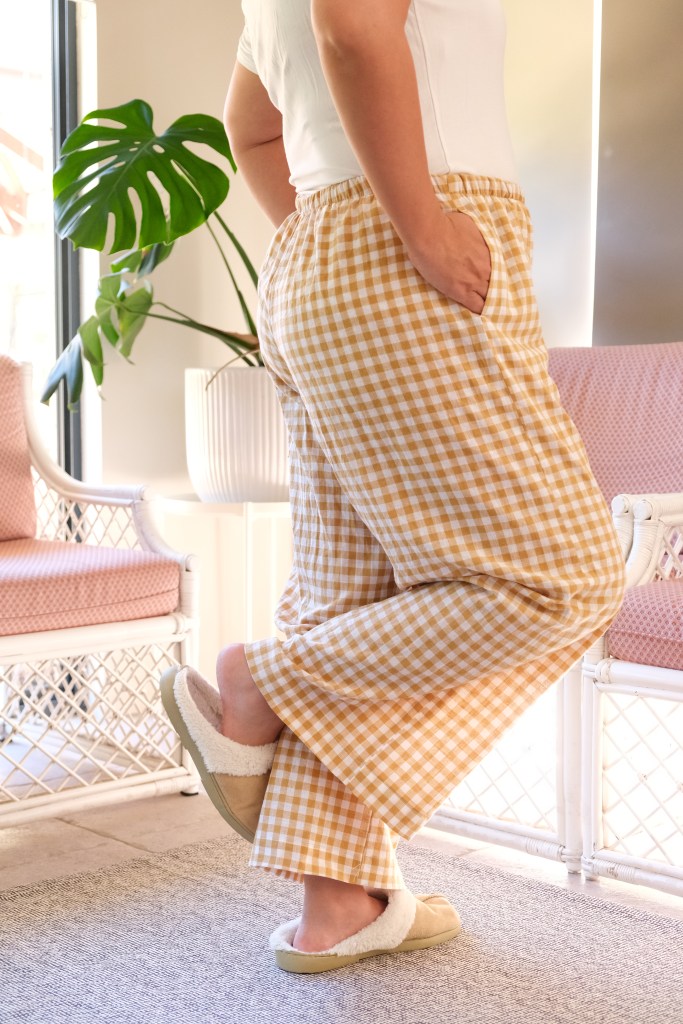
I fitted pockets to both patterns. Usually, I don’t enjoy using in-seam pockets because they flap to the back, but these ones are fixed to the front when you fold the elastic waistband down to secure it.
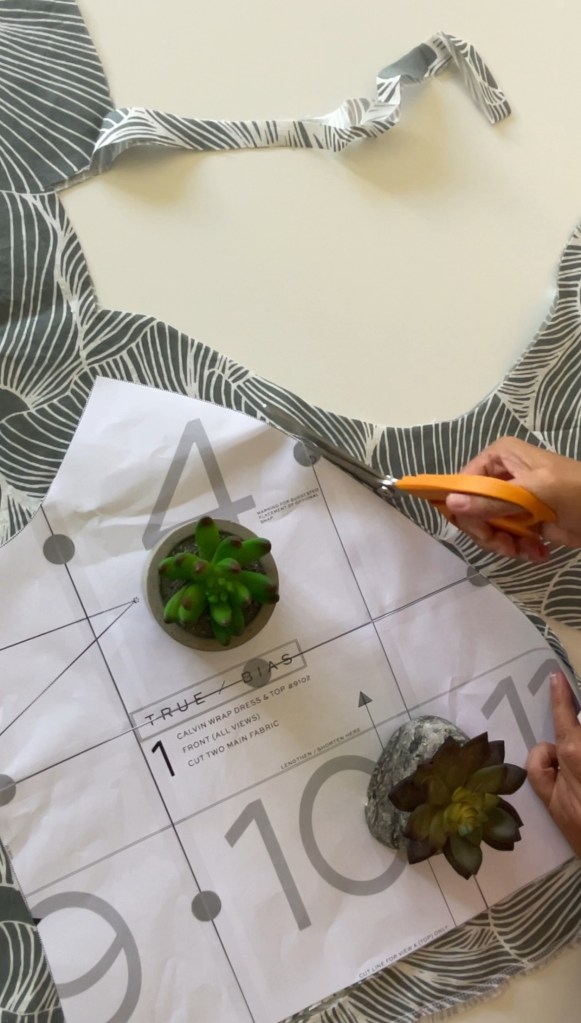
The instructions are always good with True Bias Patterns. They’re straightforward, logical and easy to follow with the illustrations provided. Good instructions go such a long way to increasing the enjoyment in sewing.
Speaking of enjoyment, this pattern was a great one to pick for a nice afternoon of sewing. It’s great getting into a big, new, complicated pattern but sometimes it’s nice to be able to finish a pattern in one sitting. From assembling to sewing, everything is smooth sailing. I know some seamstresses like to trace but I like the used the layer option and print the size I need.
Now that I’ve made the adjustments that I like in the pattern, I’m planning to sew a few more which is another reason why I sew. Fast fashion items are often one off which means that even if you find something you like once, there’s no guarantee that you’ll find the same item a second time. So happy that I can sew. Probably sounds a bit smug but it’s satisfying to have the ability to make something specially to fit me.
Thanks for reading and happy sewing!
X Em