When I first started sewing, I jumped in headfirst into sewing the Flint Pants from Megan Nielsen Pattern. It turned out quite badly, I got the sizing wrong, had no idea about grading a pattern and ended up recycling the whole thing. A sewing friend consoled me, and she said that sewing trousers is something you should work up to. So, I’m really thrilled that I’ve completed something like the Dani Pants. I feel like I’ve learnt a lot from making this pattern.


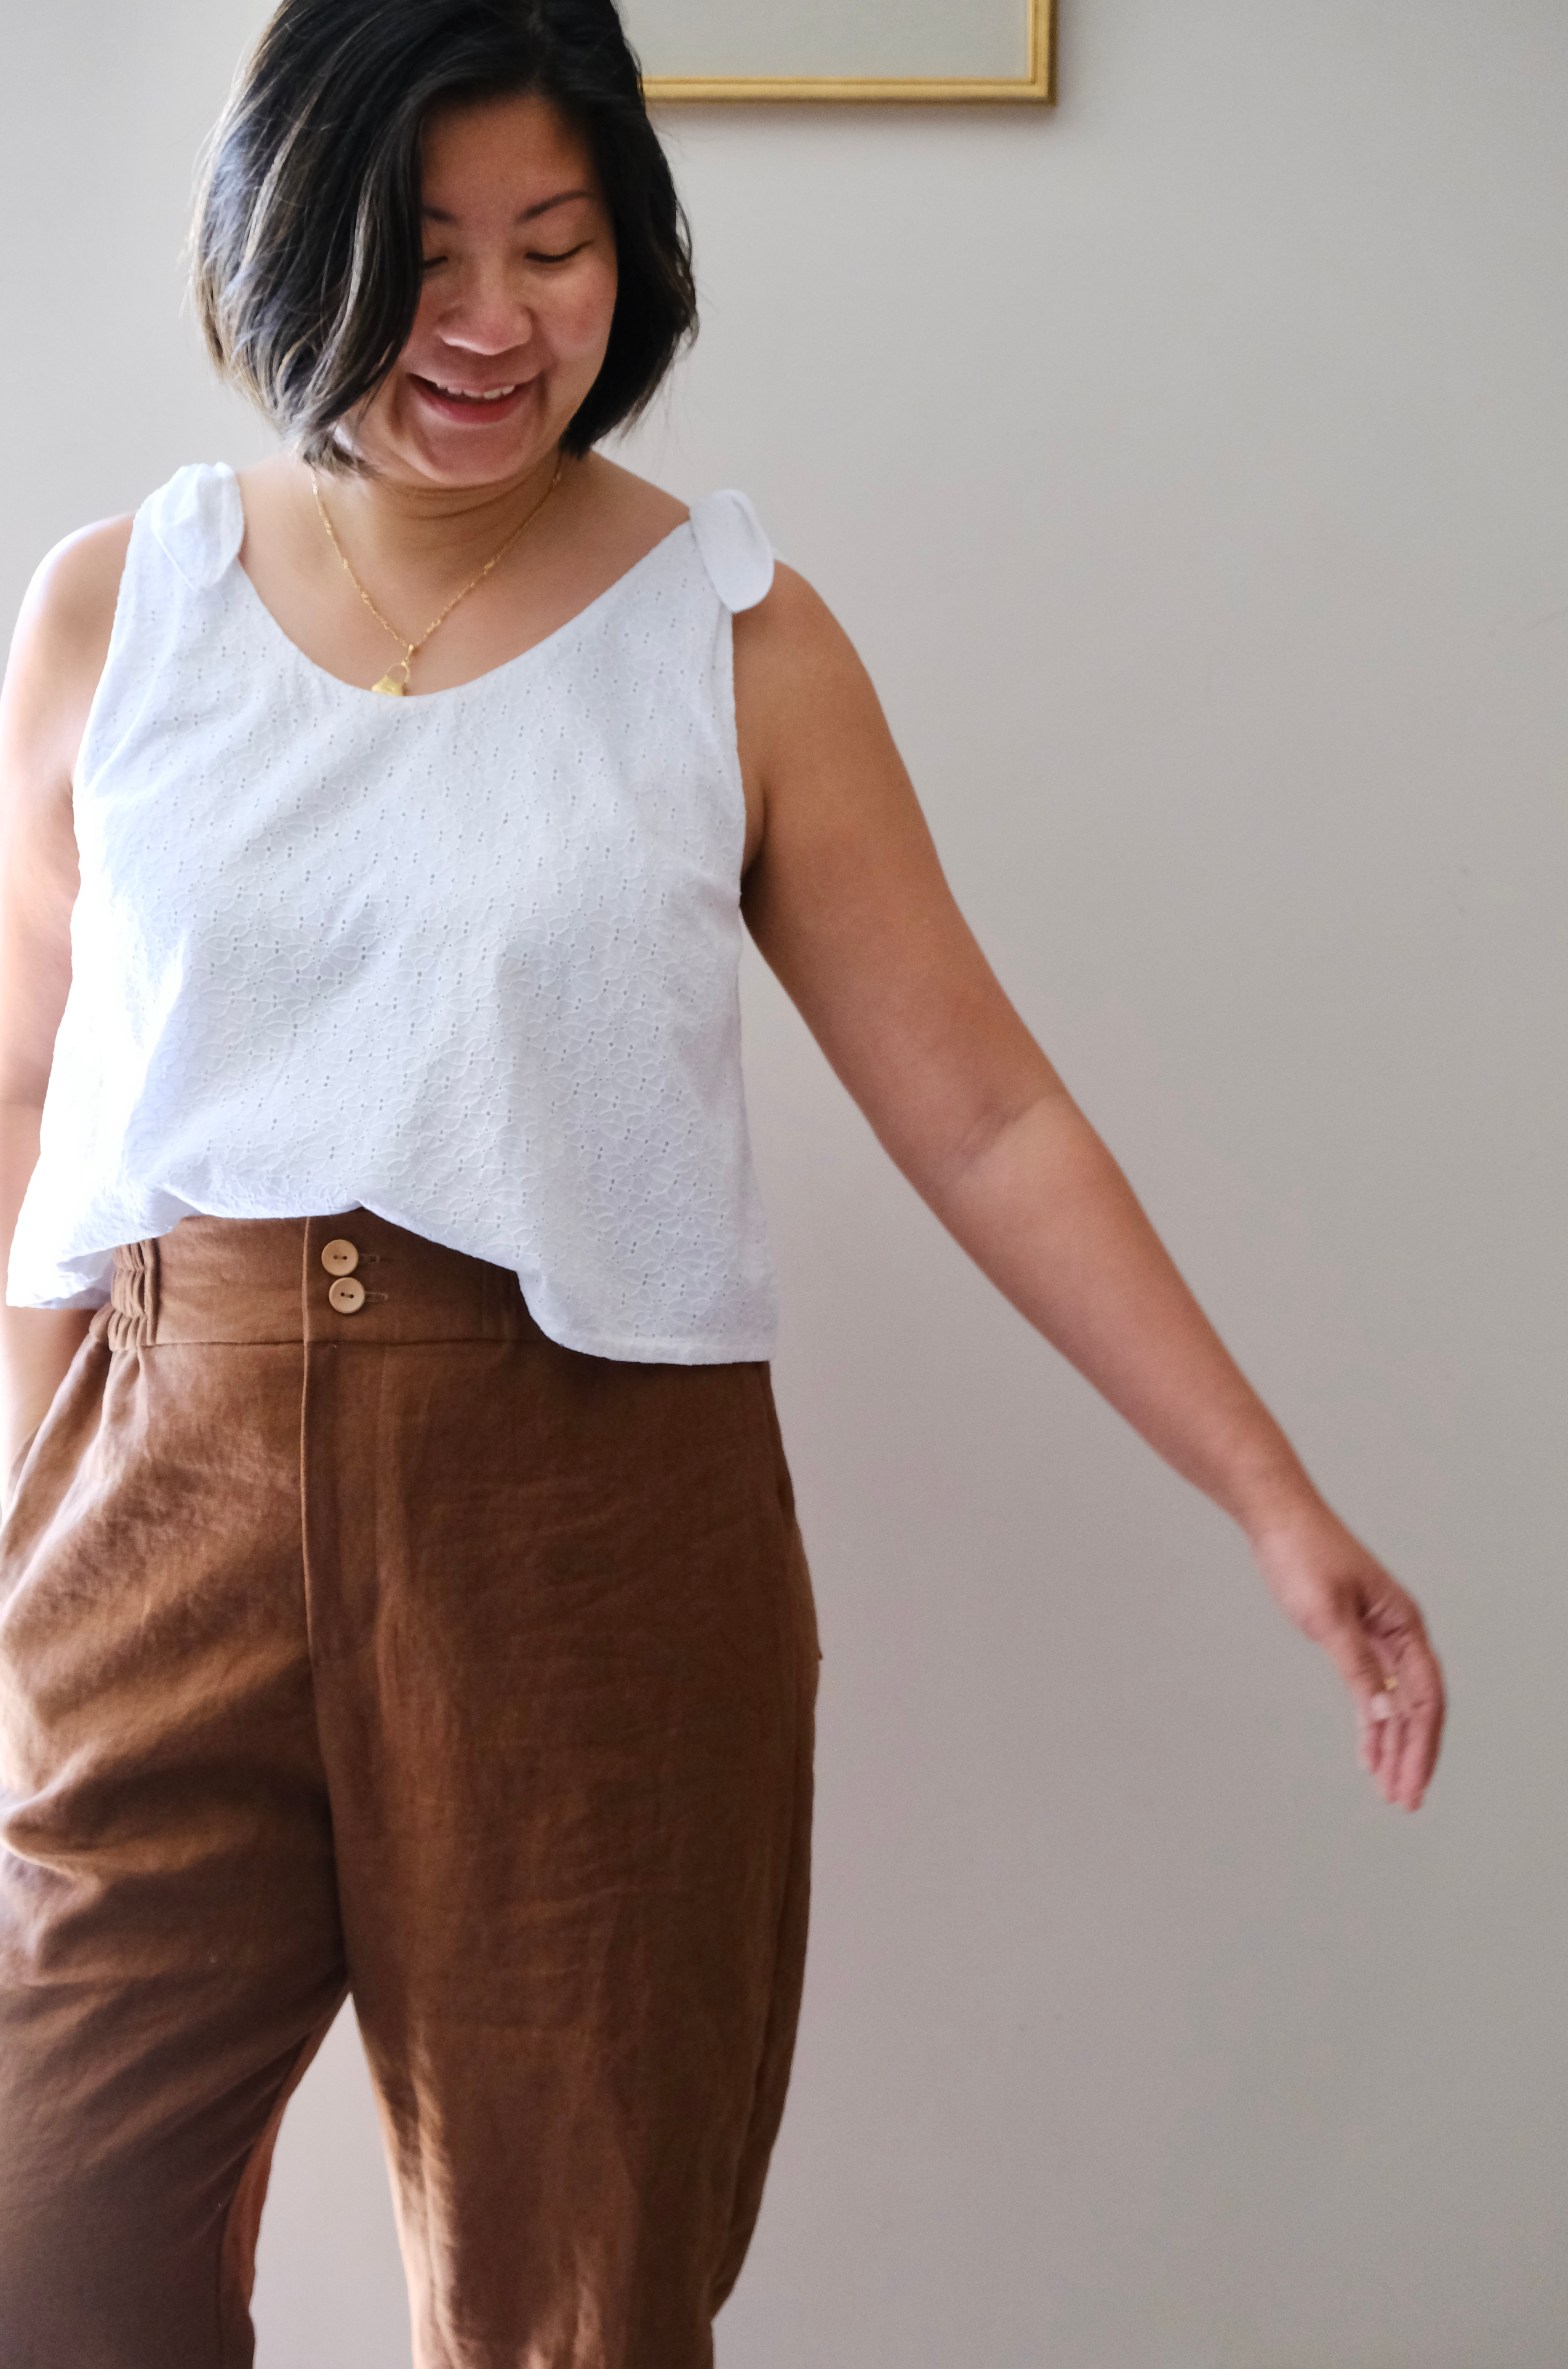
There are a few versions of the Dani. It can be made as shorts or pants and it can be fully elasticated or have a zip front. I opted for the zip front because I really want to practice this for making jeans. I still have a lot of room for improvement when it comes to installing the zip fly. The zip front is still a bit of a puzzle because my zip guard doesn’t completely match my fly shield and left front. Luckily my waistband still fits but I will need to revise and hopefully my next attempt at this works out better.
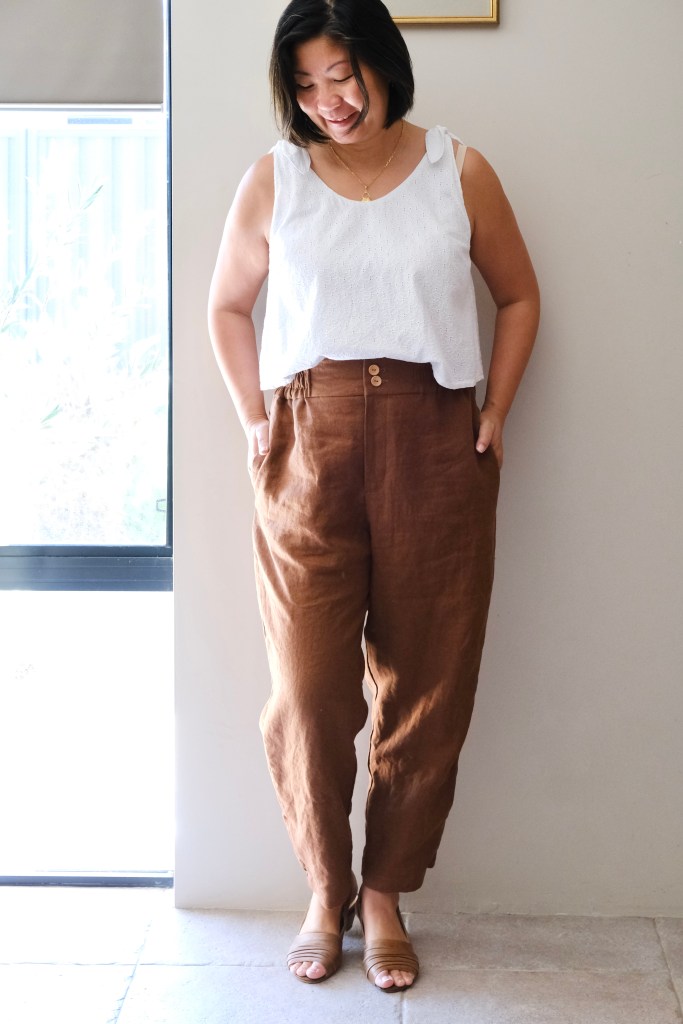
My sizing was spot on. No modifications or grading were needed. I sewed the size 12 for my waist measurement of 33 inches and hip measurement of 40 inches. I did have to shorten the hem by 4 inches for my height of 5 foot 7 (167cm). I love a partial elasticated waist as the fit is a bit forgiving.
The pattern calls for medium weight woven fabrics. I found this beautiful brown linen/cotton blend. It’s very soft and not as stiff as pure linen. I find that brown is such a great neutral for me. I’m hoping to build a bit more of a capsule around these colours. I’m going to attempt another version of these because they are so comfortable, I can already tell that I’ll be constantly reaching for these. I also want to sew them again because I don’t feel that I’ve really mastered the pattern.
The written instructions and the illustrations are excellent in the pattern. I also used the sew along photos on the blog. I think my struggle with the pattern was that I was unfamiliar with how a zip fly should look at the end. I did end up inspecting one of my husband’s old trousers and don’t tell him, but I did unpick the fly shield a little bit to see where the zip should sit. I tend to install a lot of invisible zips, so I think that I installed my zip too far forward. I can’t quite figure where the zip teeth should be placed. Still confused to be honest.
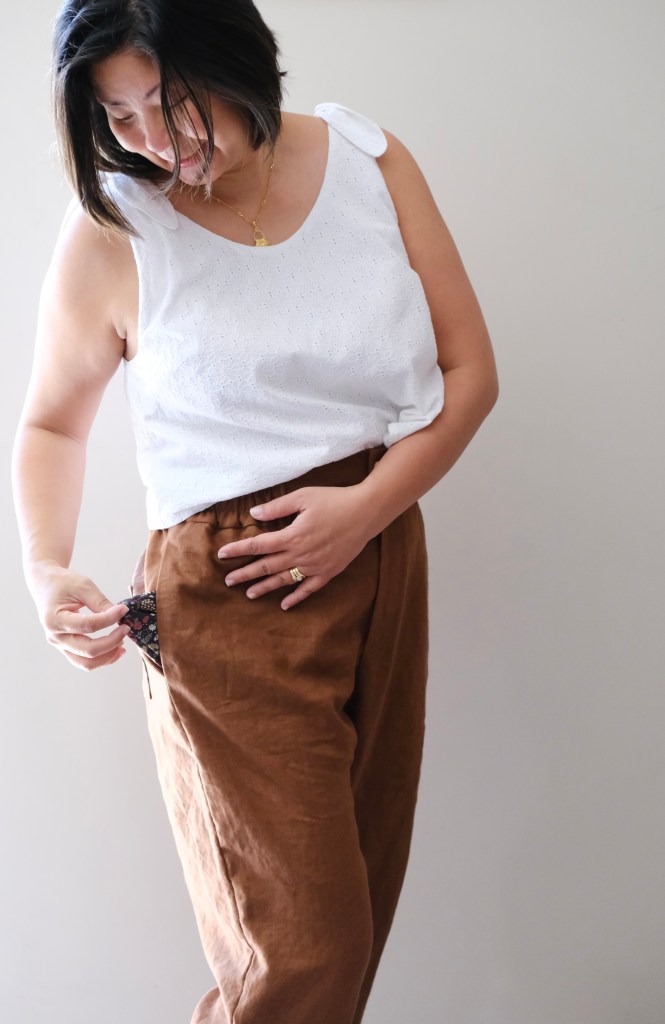
The rest of the sew was smooth sailing. I love how the side seam pockets have a facing and I thought the method for installation were the best I’ve ever done. It’s so neat that none of the pocket bag shows when you sit down. The whole pattern is full of professional tips and techniques. I’m so impressed by the end result. I can’t quite believe that I’ve come so far in my sewing. The memory of that first pair of pants I made still makes me giggle.


Oh! Just a side note, do not inspect my buttonholes too closely. My machine usually does the whole thing automatically once it’s set but on that day, my thread broke a few times which meant that I had to rethread but then the machine has lost it’s place in the process. I prefer to do them manually but haven’t figured out a way to do that. It was a very frustrating and a lot of colourful language was used in the process!
Thanks for reading and happy sewing!
X Em

Well done! They look great. I’ve been sewing for many years, and I’m still intimidated by sewing trousers. Most of the sewing (apart from the fly zip) is straightforward: it’s the fitting that’s the problem. So you really have made amazing progress. Congratulations!
LikeLike
Thanks Ann! That’s really encouraging and kind. Thank you!
LikeLike