Tide Dress

Another beautiful design from Papercut Patterns. The Tide Dress looks like a simple shift dress from the front, but my favourite feature is in the back of the dress with the keyhole neckline that is overlapped by long pleats joined by the button.

I’ve had this pattern in my stash since it’s release but haven’t had a chance to sew this up. It’s on the “Make Nine List” which is my attempt to plan my sewing at the start of the year. Usually, the list consists of makes that gives me an added skill or has a feature that intrigues me like the back of the Tide Dress. I love the shape of the dress and it really fits into the style of my wardrobe.

The sizing of the dress is quite flexible. My measurements (37B: 33W: 38H) sit between the size 4 and size 5. Looking at the finished garment measurements, I felt secure that I could sew the size 4 without needing to grade as there is a lot of ease in the waist and hip so I could base my dress on my bust measurements. The dress variation stops about mid-calf in length with slits along the side seams. 

When I was selecting fabric for this sew, I was hoping to use a piece of check linen that I’d had in my stash from a time when Megan Nielsen still had her shop open. I had bought two meters of this beautiful fabric and was waiting for a pattern like this to match it with. Unfortunately, even though the fabric is a wide 150cm in width, I still did not have enough of it because the back piece of the pattern requires quite a bit of fabric. I tried every combination and played pattern piece Jenga for quite a while before succumbing to the fact that it just wasn’t going to fit. Going back on the search for the right fabric, I came across this lightweight pink linen. I bought three meters this time and the pattern fitted without a hitch. 

Most Indy patterns come with greatly detailed pattern instructions but there’s just an added layer to Papercut Patterns which make them so interesting to sew. I love how there’s always a twist to the pattern which gives you the pleasure of working out a puzzle. In this case, it was the pleating for the back of the dress. It felt like I was folding a bit of origami and as I was following the instructions, my mind was uncertain about the outcome but the surprise of the reveal hits you at completion! I love that element of surprise in a pattern. The other element that I appreciate in Indy patterns is the cultivation of learning. With this pattern, I learned a different way of attaching a sleeve. I’m used to sewing my sleeve with the sleeve piece top side, but the instructions explained that stitching with the sleeve on the underside will allow the differential feed to work in any ease on the sleeve. It was so much easier and faster too.

It’s still winter here in the Southern Hemisphere but I’m adding this dress to my holiday capsule which is coming up. It’s going to be a staple in summer too!

Thanks for reading and happy sewing!

X Em

Aura Dress

Frocktails 2022

October zoomed by in a blur. There’s been a lot of making but very little time for documenting. So, it’s nice to be sitting with my cup of tea to write about the Aura Dress which I made for Perth Frocktails! What is Frocktails? In very simplistic terms, it’s a social gathering of people that love to sew and is hosted by the Australian Sewing Guild. Everyone dresses in their beautiful handmade frocks or outfits. I was awed by the creativity and talent around me. Some people were dressed in completely bespoke items down to self-made shoes and bags. 

Initially stepping into a big crowd without knowing anyone else apart from my daughter was a bit daunting and put me out of my comfort zone but as quick as the thought passed through my mind, I found myself chatting to so many others that I was soon at ease and having so much fun! I was curious about where everyone’s beautiful fabrics came from and how they started their sewing journey. It was also fun to have my daughter along as everyone was so lovely to her. We had a great night and hopefully this will mean a few more sewing meet ups in the future!

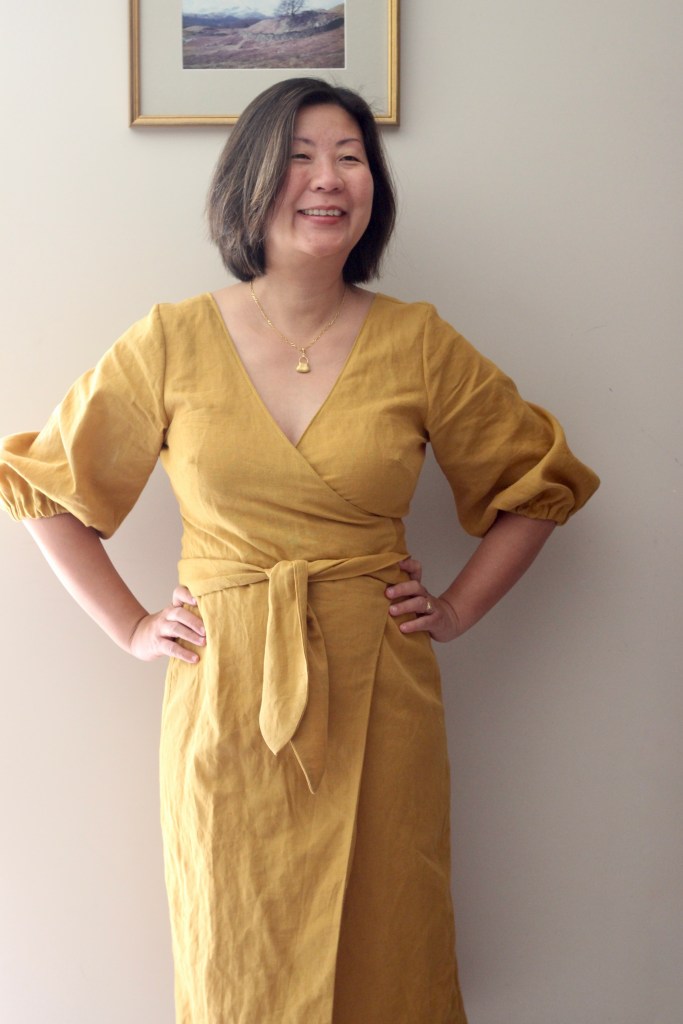
Now onto my Aura Dress which was a lucky win from Papercut Pattern’s monthly sewing challenge. I had entered my Nova Coat for the challenge and was so happy to learn that I had won a free pattern. I knew I wanted to sew the Aura Dress which is a wrap dress with beautiful puffy sleeves and the skirt has the silhouette of a pencil skirt. 

I had three meters of turmeric coloured linen in my stash which was perfect for the dress. I sewed the size 4 and because I had started the sew so late, I did not have a chance to toile the dress. Luckily it fitted but I had to wear a slip on the night as the temperature is still dropping at night (remember, I grew up in the tropics). If I were to make this dress again, I would adjust the skirt size to a 5 to fit my 33-inch waist size better. It was very funny and slightly distressing when I sat down in my dress and realised the split in the front rose very high which was also another reason for the slip and the strategically place handbag whenever I sat down on the night!

Perth Frocktails was a blast, and it was good to be part of a real world event in a time where online life has proliferated. I still enjoy and appreciate my online sewing community but now I’m hoping to be able to show someone in the same room what I’m making and say, “Is it supposed to be like that?”.

Thanks for reading and happy sewing!

X Em

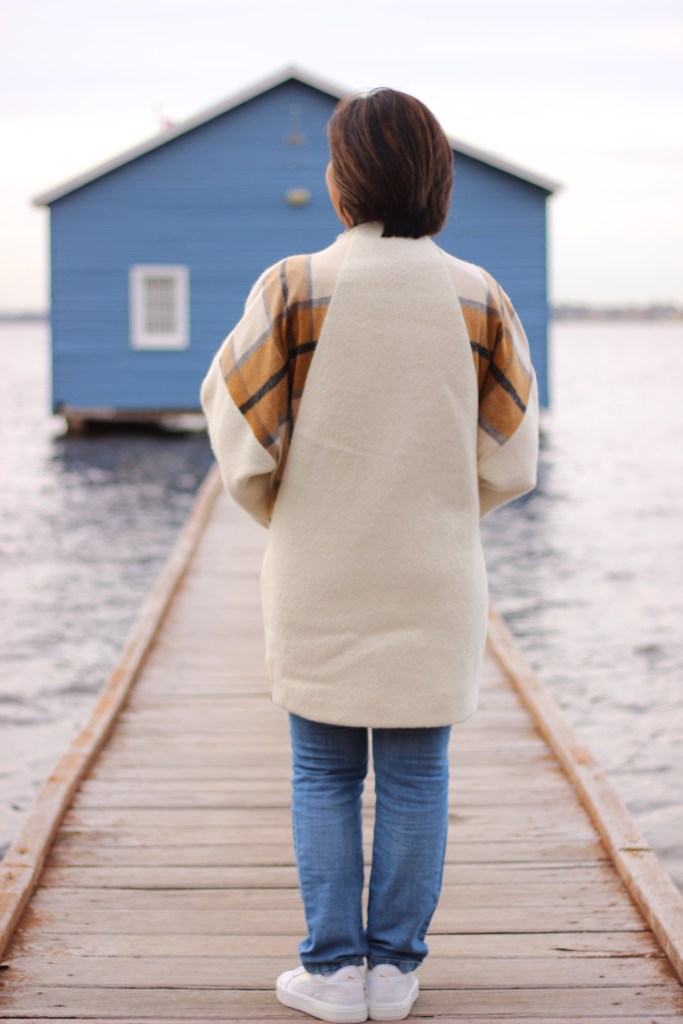
Nova Coat

I was trying to think of when I first made plans to sew the Nova Coat and checking my records, it looks like I purchased the pattern in May last year. Soon after getting the pattern, I enthusiastically went to Potter and Co. to buy my fabric. I was all set to sew until a sewing friend asked me how I was going to prepare my precious wool fabric. Yikes. I lost my nerve and now, 17 months later have finally decided to give it a go.

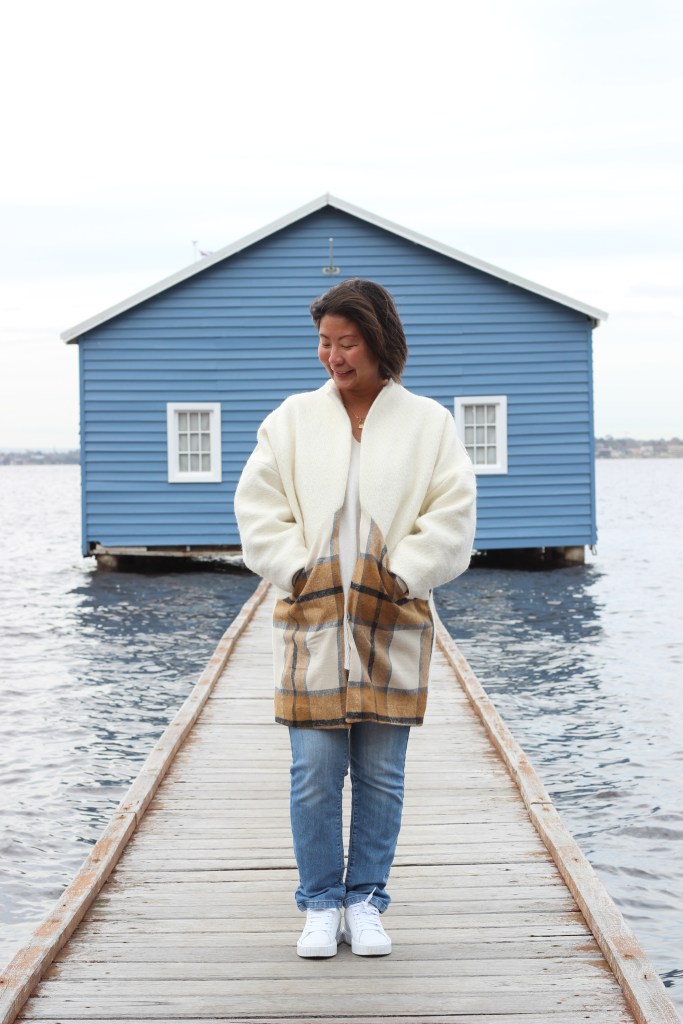
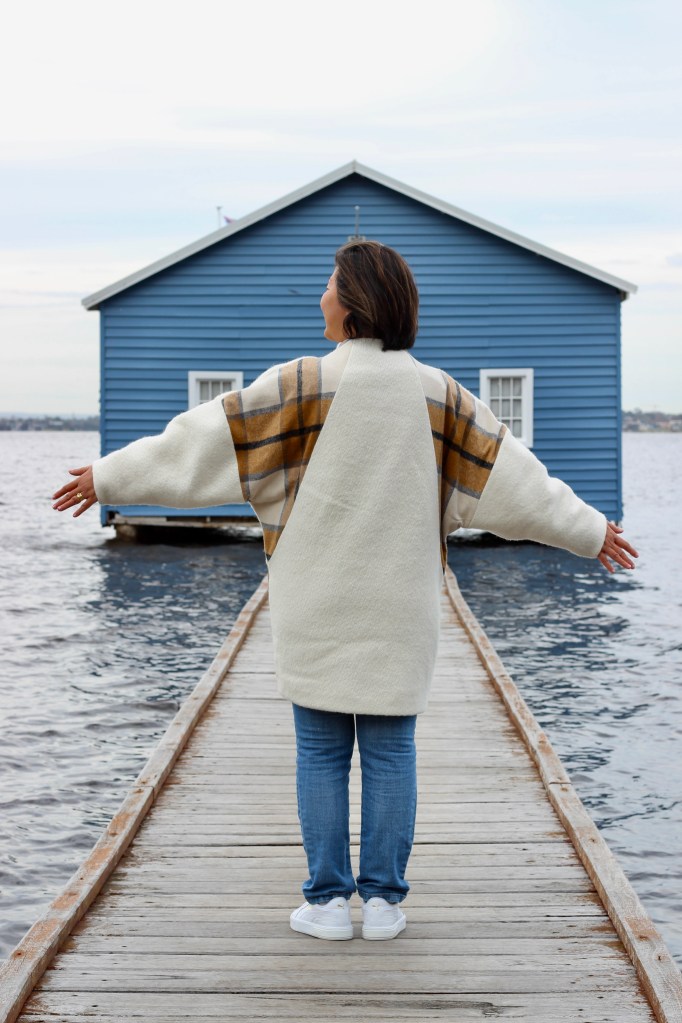
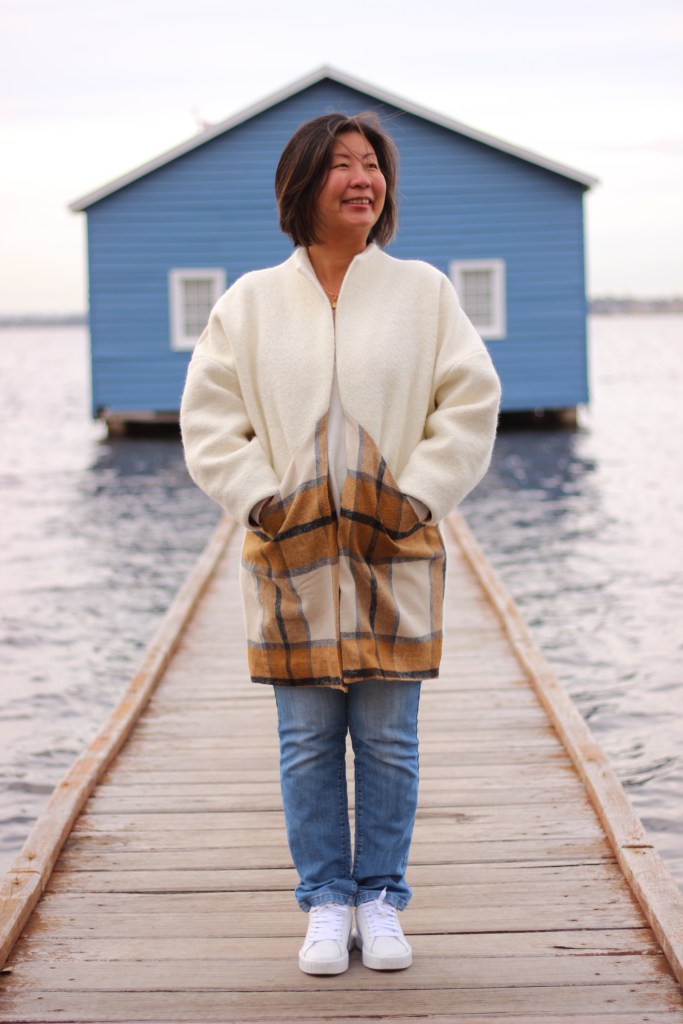
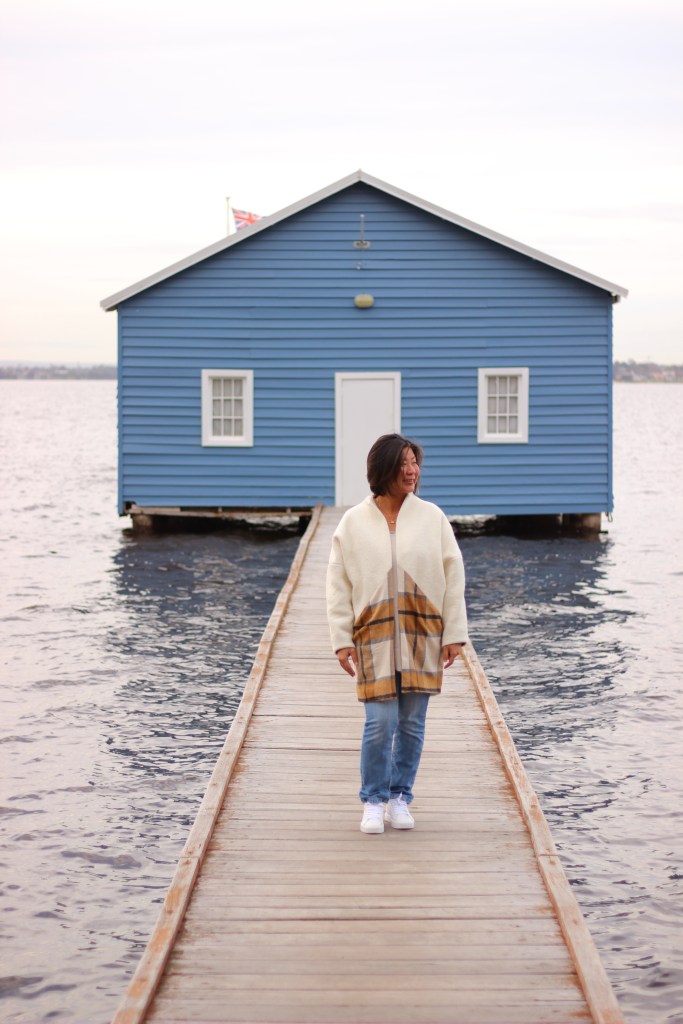
So, it turns out that preparing the fabric was not such a big deal after all. If I had just read page 12 of the pattern instructions, I would have seen that Katie tells us how to prepare the fabrics. If it’s dry-cleaned only fabric, don’t wash it. If it’s something that can be washed, wash it first. I’m not sure if it was fog brain from Covid or momentary lapse of common sense but I washed my dry-cleaned only wool fabric and it shrunk. Luckily, it remained soft, and I had remembered to use wool wash, but I nearly cried when I pulled it out of the machine and was wondering what possessed me to do the unthinkable? So, to make up for the shortfall in fabric, I bought a meter of the plaid. My coat is made from a luscious white wool blend and a soft neutral coloured plaid fabric. There have been many examples of colour blocking and mixing fabrics in the making of this coat. 

Due to delay in starting the project, I had time to stalk the pattern on social media. I found that most people had recommended sizing down the coat. Sometimes there was a recommendation to size down as much as two sizes. My sizing would normally sit in the Size 4 range. I wanted the oversized look and most importantly, a roomy jacket that could easily go over a chunky knit sweater. I find ready to wear coats never comfortably accommodate bulky winter wear. With this in mind, I only sized down to a Size 3 and am very happy with the fit. If you’re undecided, have a look at the “Finished Garment” sizing including the sleeve length as this will give you a better idea.

Sewing the coat took less time than what I thought it would. I genuinely love the drafting and the construction of the coat. I was a little stuck at step eight but I think I misunderstood the picture in the instructions. Also, my instructions steps were numbered differently to the sew-along steps (it doesn’t take much to confuse me). 

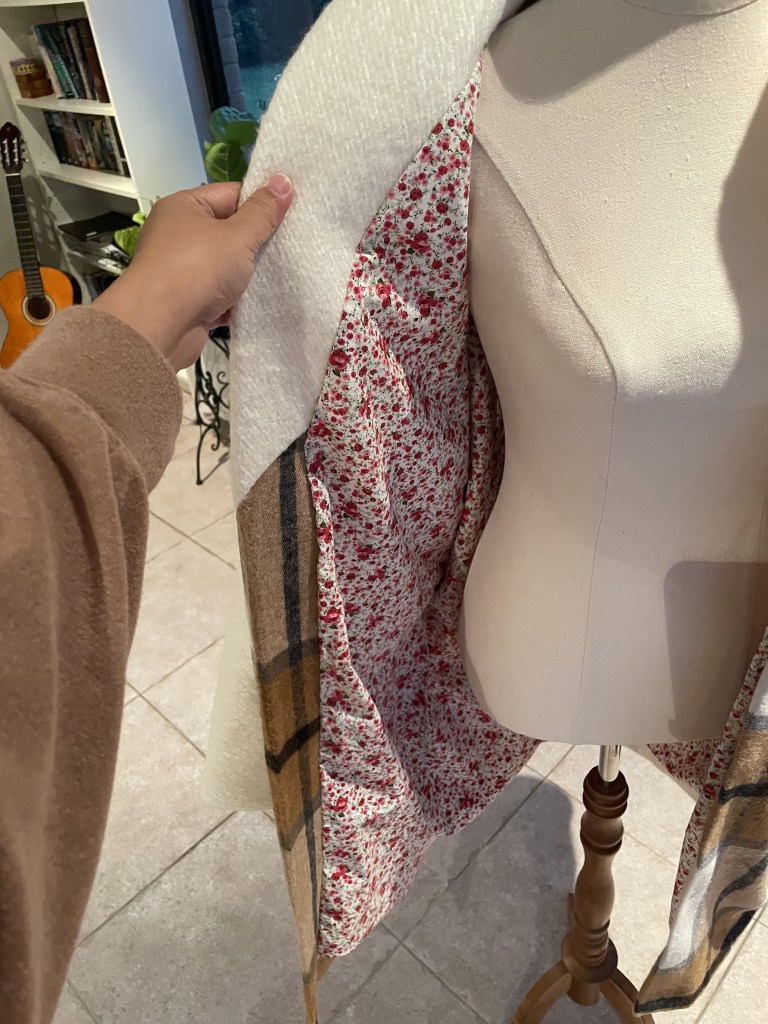
Attaching the liner was easier than I thought it would be. The instructions are so clear. My lining fabric is a mid-weight cotton in a bright pink burst of micro floral pattern. Most jackets have a slippery lining, I could have used satin or something similar, but this fabric caught my eye, and I wanted something cheerful and bright on the inside. It’s been such fun to watch people reaction when I reveal the bright lining!

This is a big tick off my “Make Nine” list. It’s being used at the moment, and I can’t wait to wear it a lot more next winter. I might even attempt the jacket version of the pattern!

Thanks for reading and happy sewing!

X Em

Celestia Dress

The Celestia Dress is a new release from Papercut Patterns, and I think it’s appropriately named! It’s heavenly to wear in this scorching summer heat. The Celestia Dress has a three-tier skirt which fans out from the under bust of the bodice. A bit of a twist from an empire cut dress. There are two options with a square neckline option and a bandeau style bodice which is adjustable with drawstrings. I was immediately drawn to the interesting bandeau style bodice with drawstrings. I’m documenting here my process (and mistakes made) of the bodice.

Initially this was going to be sewn as a top so that I could toile the Celestia for some incoming fabric.

However, I just couldn’t resist making the whole dress after finishing the top half. I was using some leftover linen and lyocell blend from another project. It’s in this beautiful red brick colour.

So, we start the sew by making these drawstrings. This was a great eye-opening process as I didn’t have to struggle with any loop turners or safety pins. It’s all done with cord. It’s then a simple process of attaching the drawstrings to the bodice which is wedged between the shell and a facing. 

Attached drawstrings to bodice

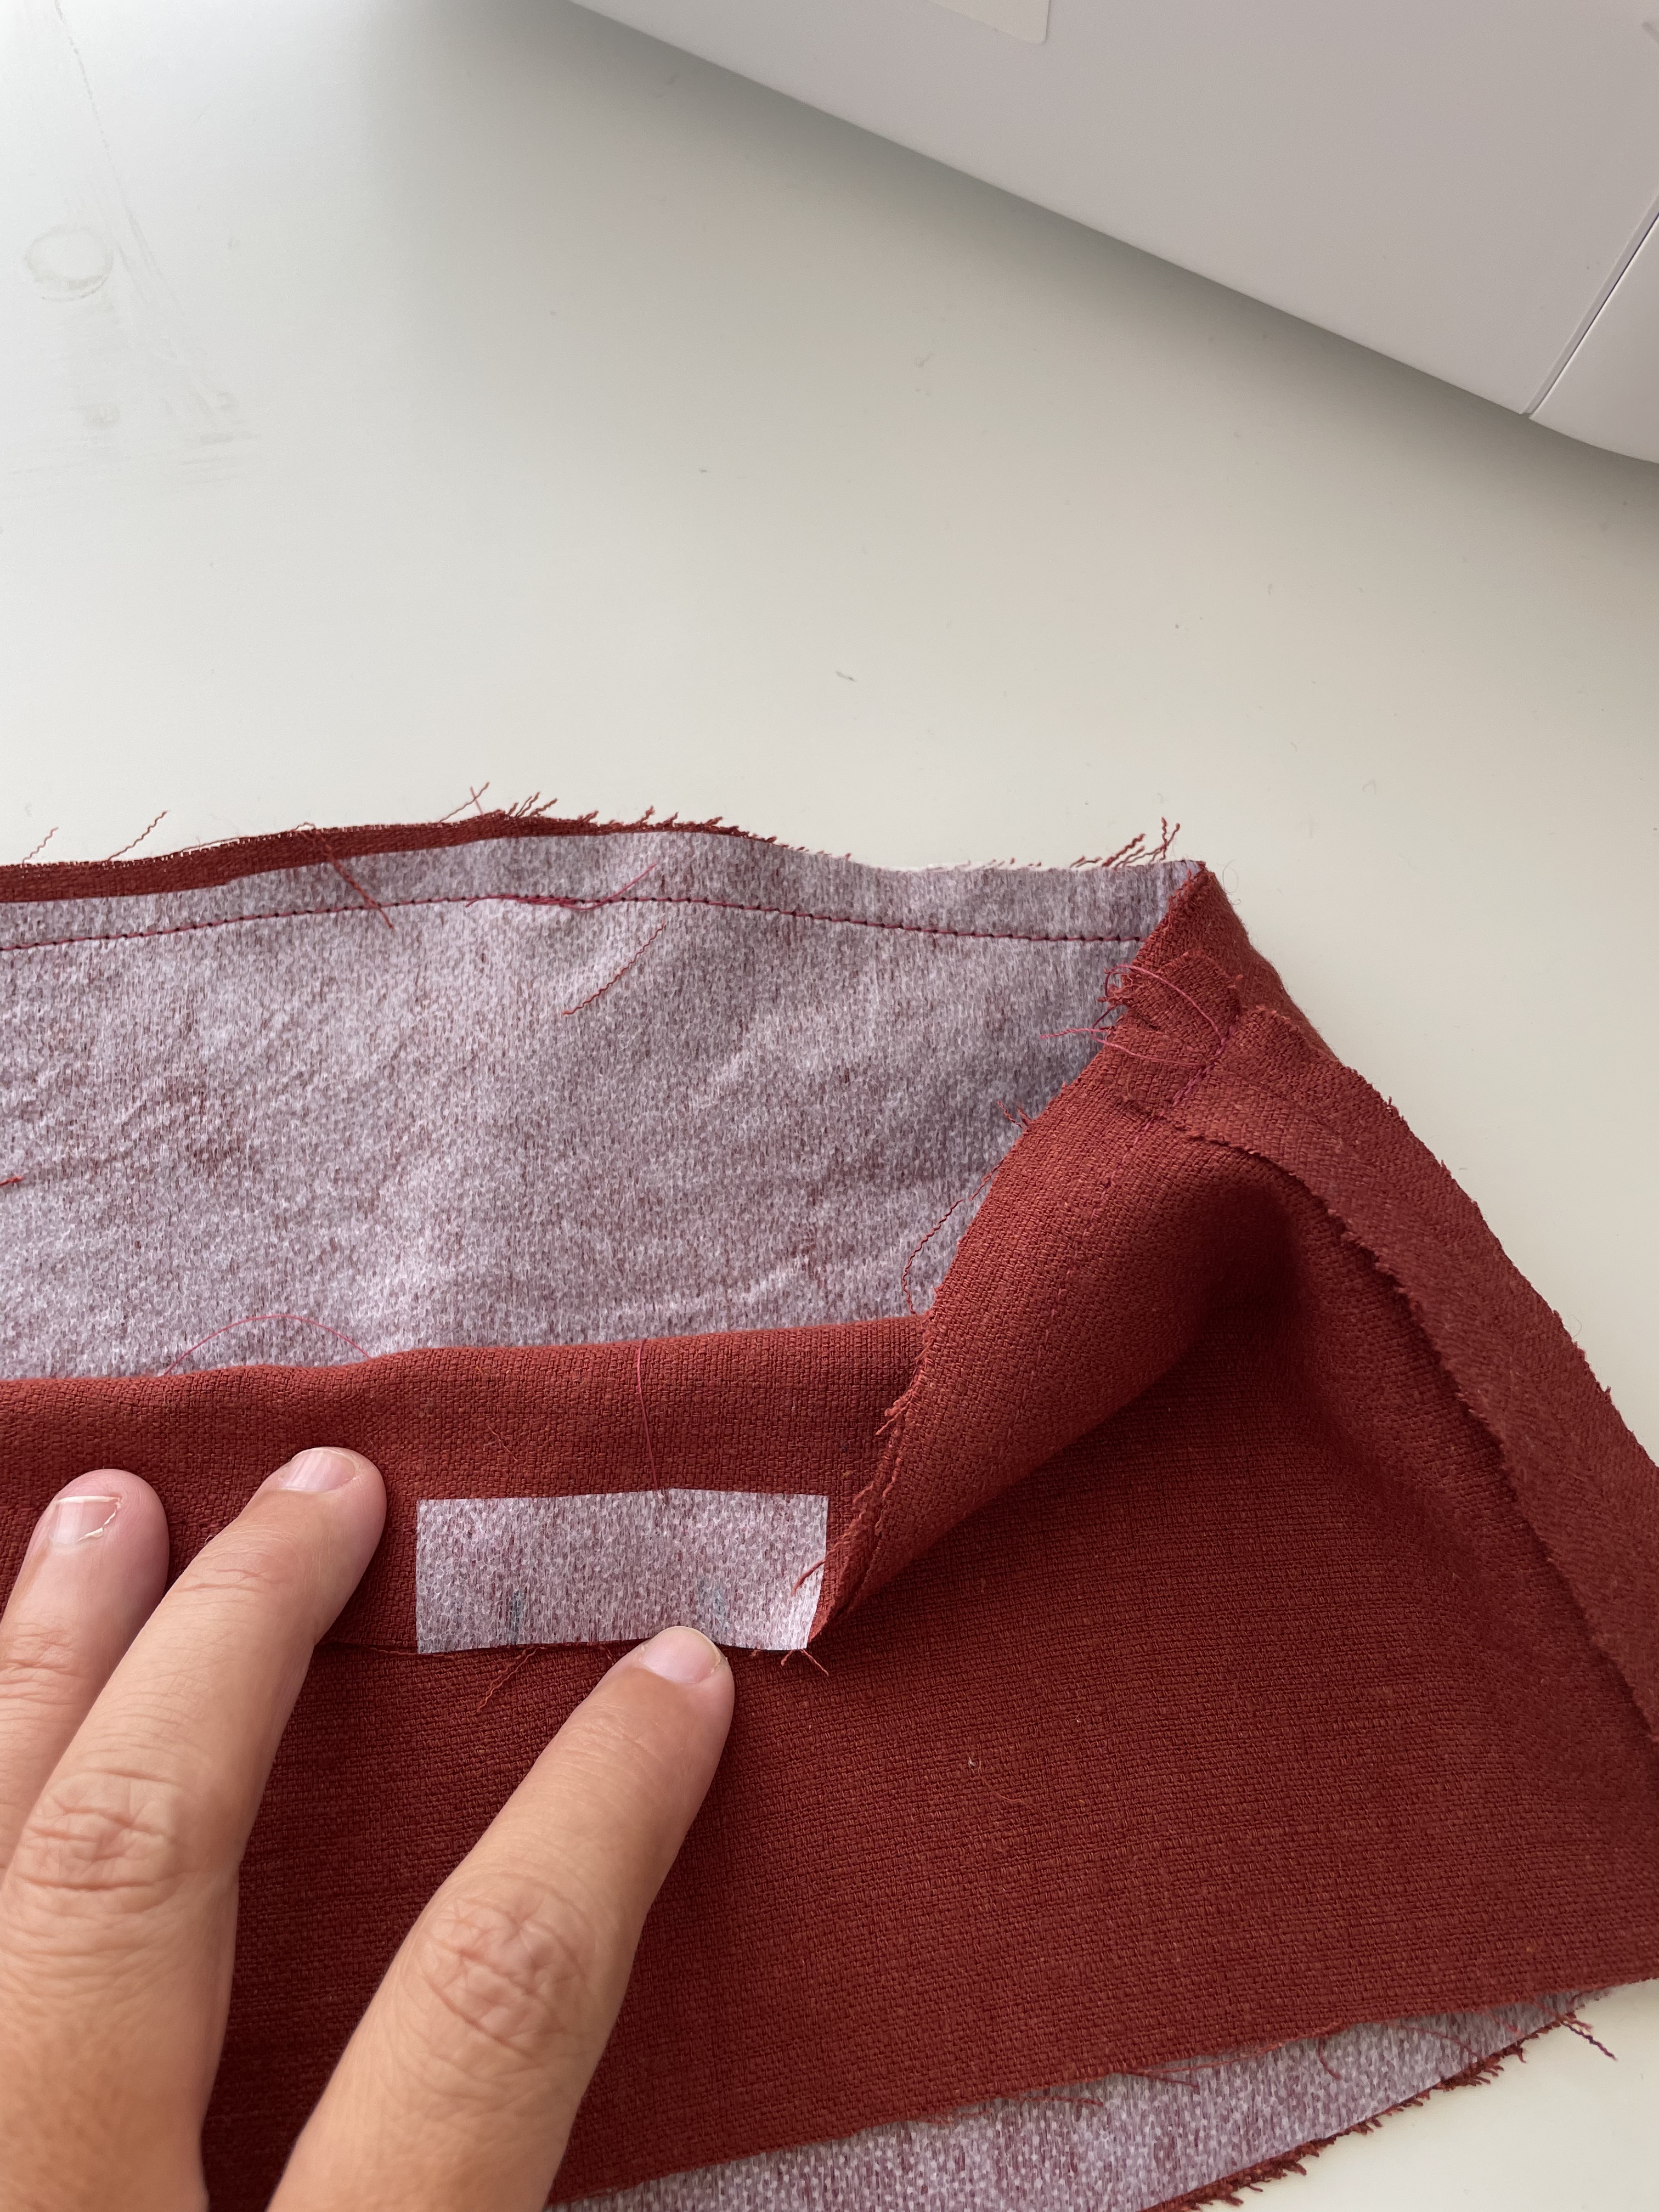
Papercut Patterns always have beautifully detailed instructions which is how a novice like me can sew from a wonderful pattern like this. However, I made a small mistake in Step 9 where we’re making the slit opening for the drawstring. We’re told to only snip the outer layer but unfortunately, I enthusiastically snipped through both layers. But fear not, I repaired this with some fusing. It has worked well, and disaster was averted. Phew! 

As I said, it was just me reading too fast and skimming rather than stopping to check each detail before doing. I have found that as my experience grows with sewing, I sometimes skim instructions and sew in a way that is familiar to me. However, I’m trying not to assume that the technique I’m using is the right way. I’ve found that different designers can have a different technique which is more effective or look better, so I always want to try follow instructions exactly as written in case it could further my learning. I’m also grateful for help from other seamstresses who share their knowledge and techniques.

Well, the rest of the sew was thankfully uneventful. To finish the bodice, there is a cord that runs between and then encased. You then pull a little out at each slit making a loop on each side.

You then finish by attaching the skirt to the bodice. I left the pockets out as I don’t always find them useful, and it can be annoying to iron around them. 

I made the size 4 but I think you’ll find the fitting very easy on this. The drawstrings can be adjusted for a broader or narrower back. It’s quite ingenious engineering. There were no modifications made. After many wears, the hemline may have dropped in the back of my dress. I was impatient to finish and wear the dress and so I’ll have to trim and resew the dropped hemline.

This was worn out and about in Fremantle which is a beautifully historic port city in Perth. It’s full of Victorian Era architecture and has a certain vibe. It was the first city we lived in when we arrived in Western Australia and I have fond memories of the buzz on weekends where it felt like the whole of Perth had descended on Fremantle. 

Exploring Fremantle

Thank you for reading and happy sewing!

X Em

Palisade Pants

Featuring: Cotton Lyocell Drill from Maai Design

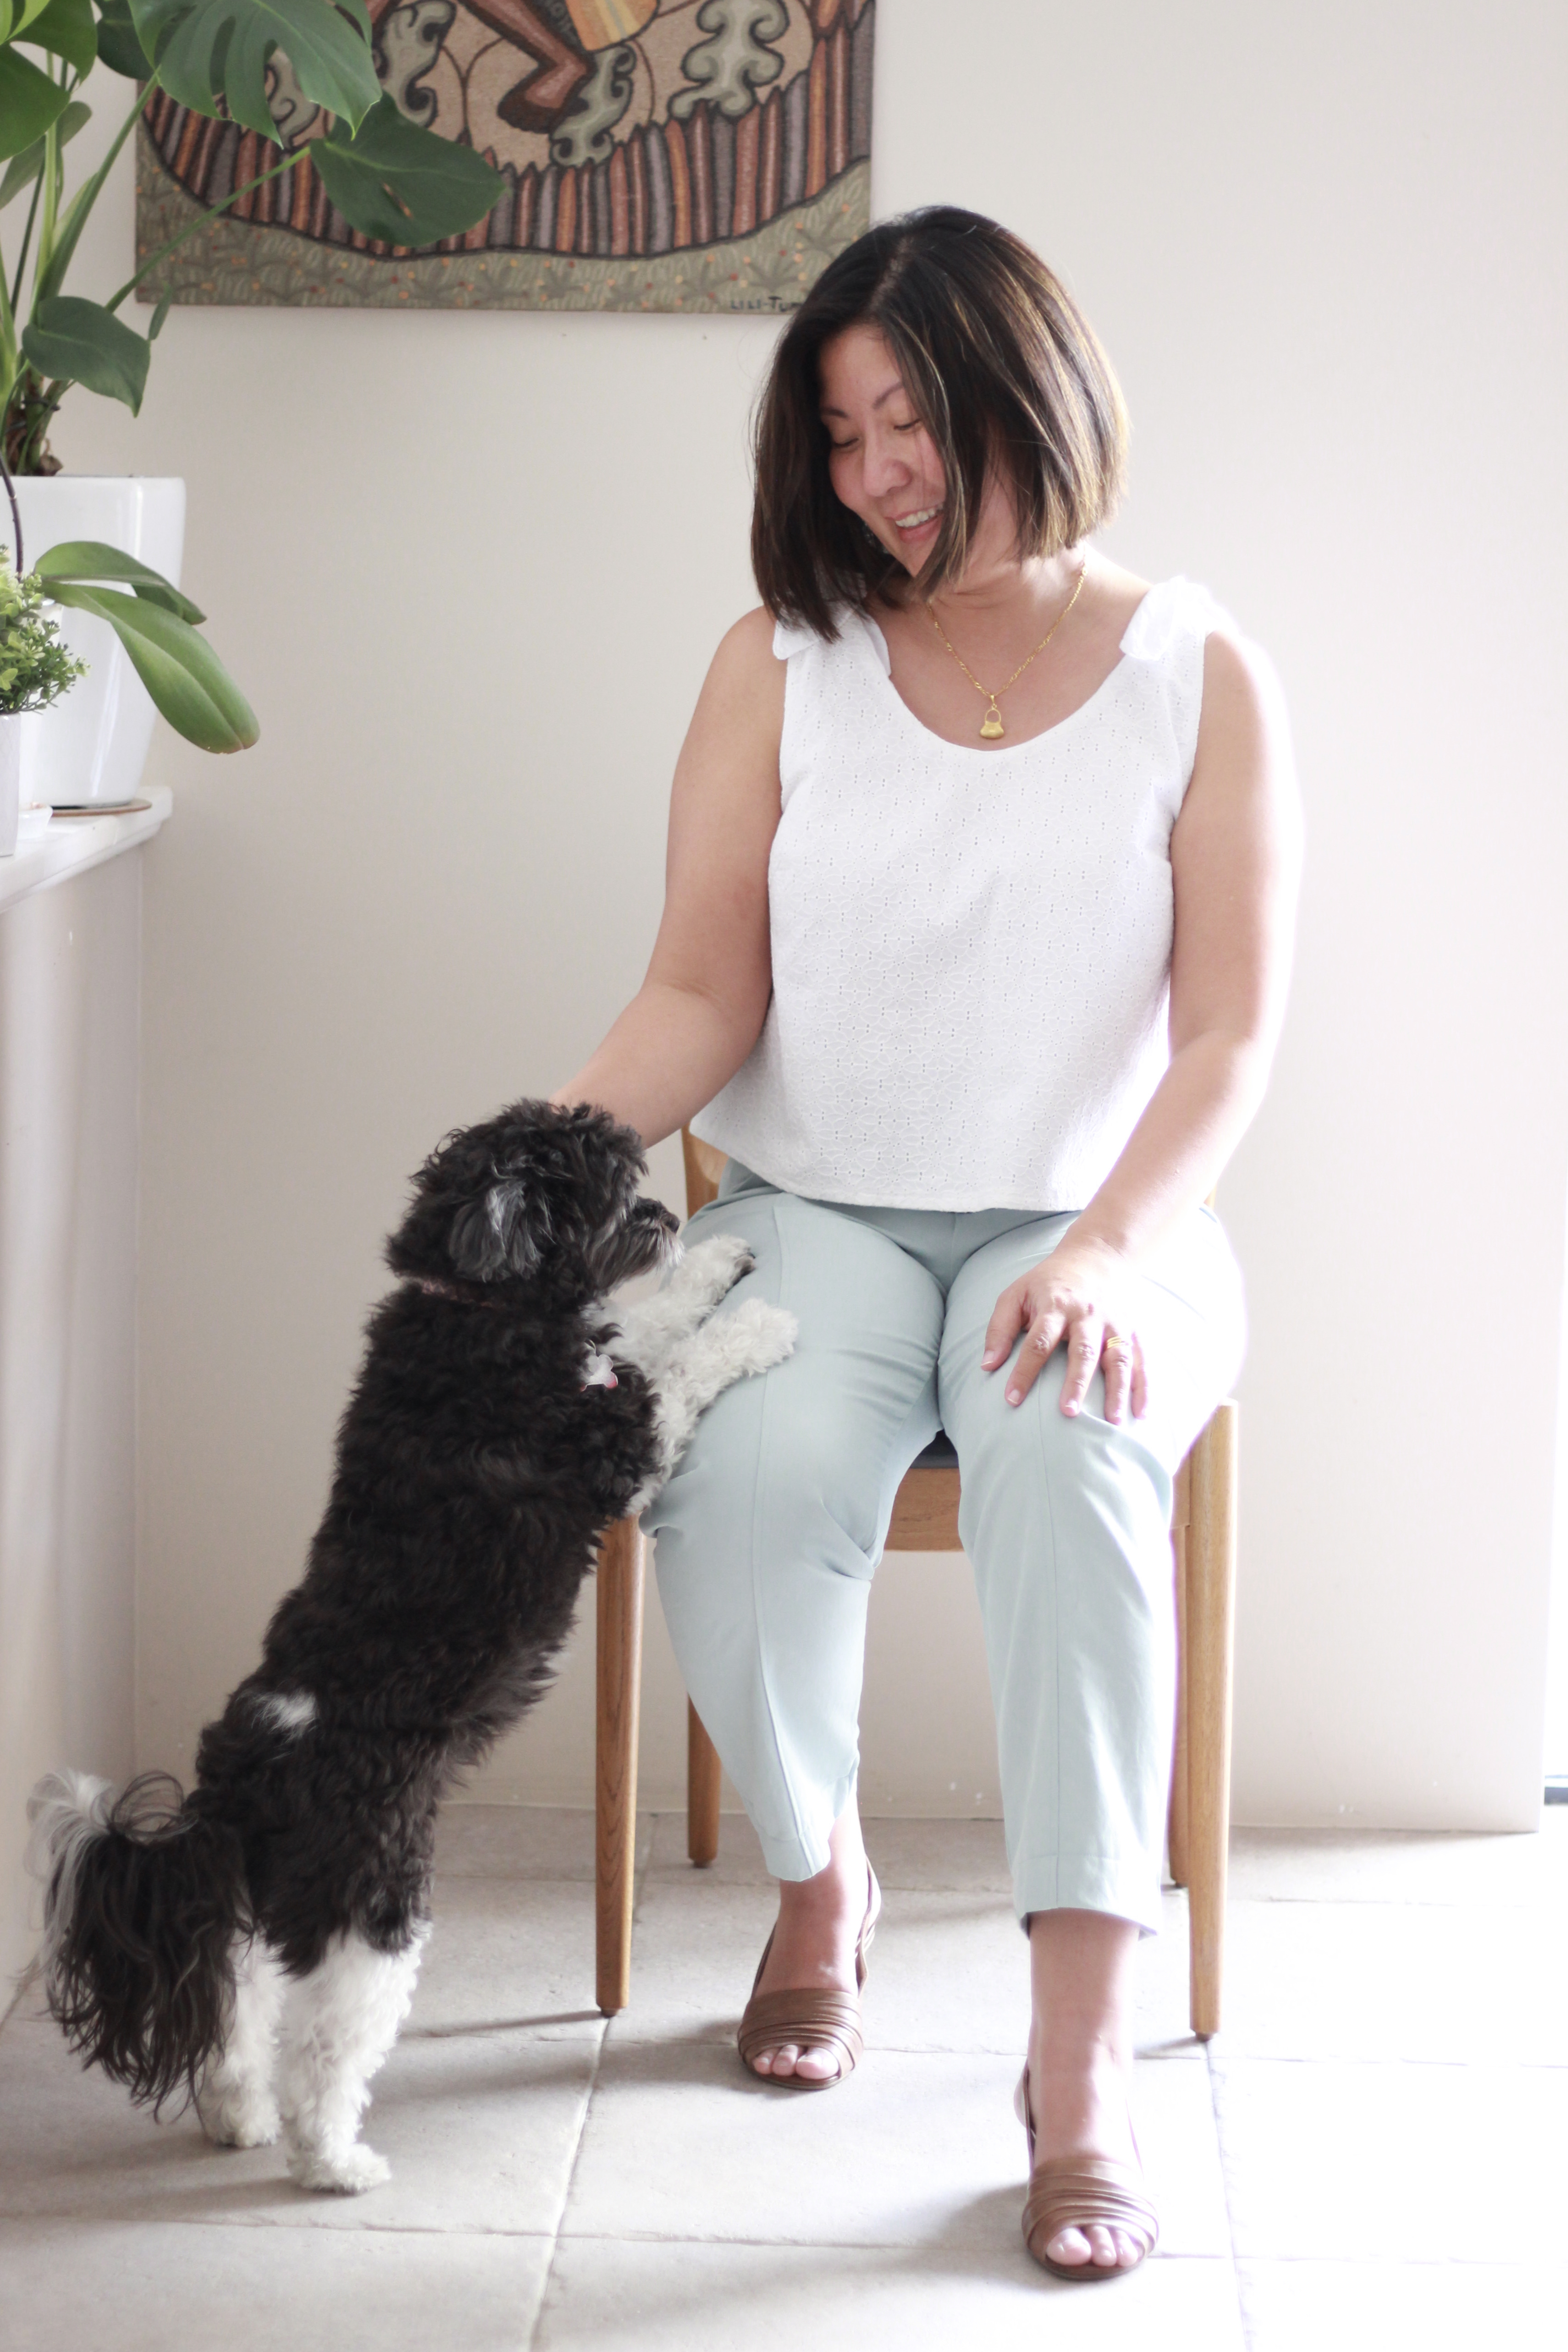
Getting more experience with sewing trousers has been high on this year’s agenda so when Maai Design contacted me about their Cotton Lyocell Drill, I took it as a sign and jumped in. I received a beautiful package from Maaike, with all it’s personal touches. When I opened the package and felt the fabric for the first time, I was surprised at how soft the Cotton Lyocell Drill felt. Drill is usually a lot coarser and associated with workmen’s clothes, but with the blend of Cotton and Lyocell, it’s still really strong but has a softer feel. It also felt a bit more lightweight than the usual full cotton drill. Back when I had just started sewing, buying fabric online was quite overwhelming. Maai Design has a very easy website and best of all, there are YouTube videos accompanying each type of fabric. You can find out more about the Cotton Lyocell Drill here.

Feeling how lightweight this Cotton Lyocell Drill was, I was tempted to make another Kalle Shirtdress or Pietra Wide Leg Pants, but I had the Palisade Pants from Papercut patterns in my stash. I was excited to try sewing those unique pockets and I wanted the challenge of a closer fitting pair of trousers. 

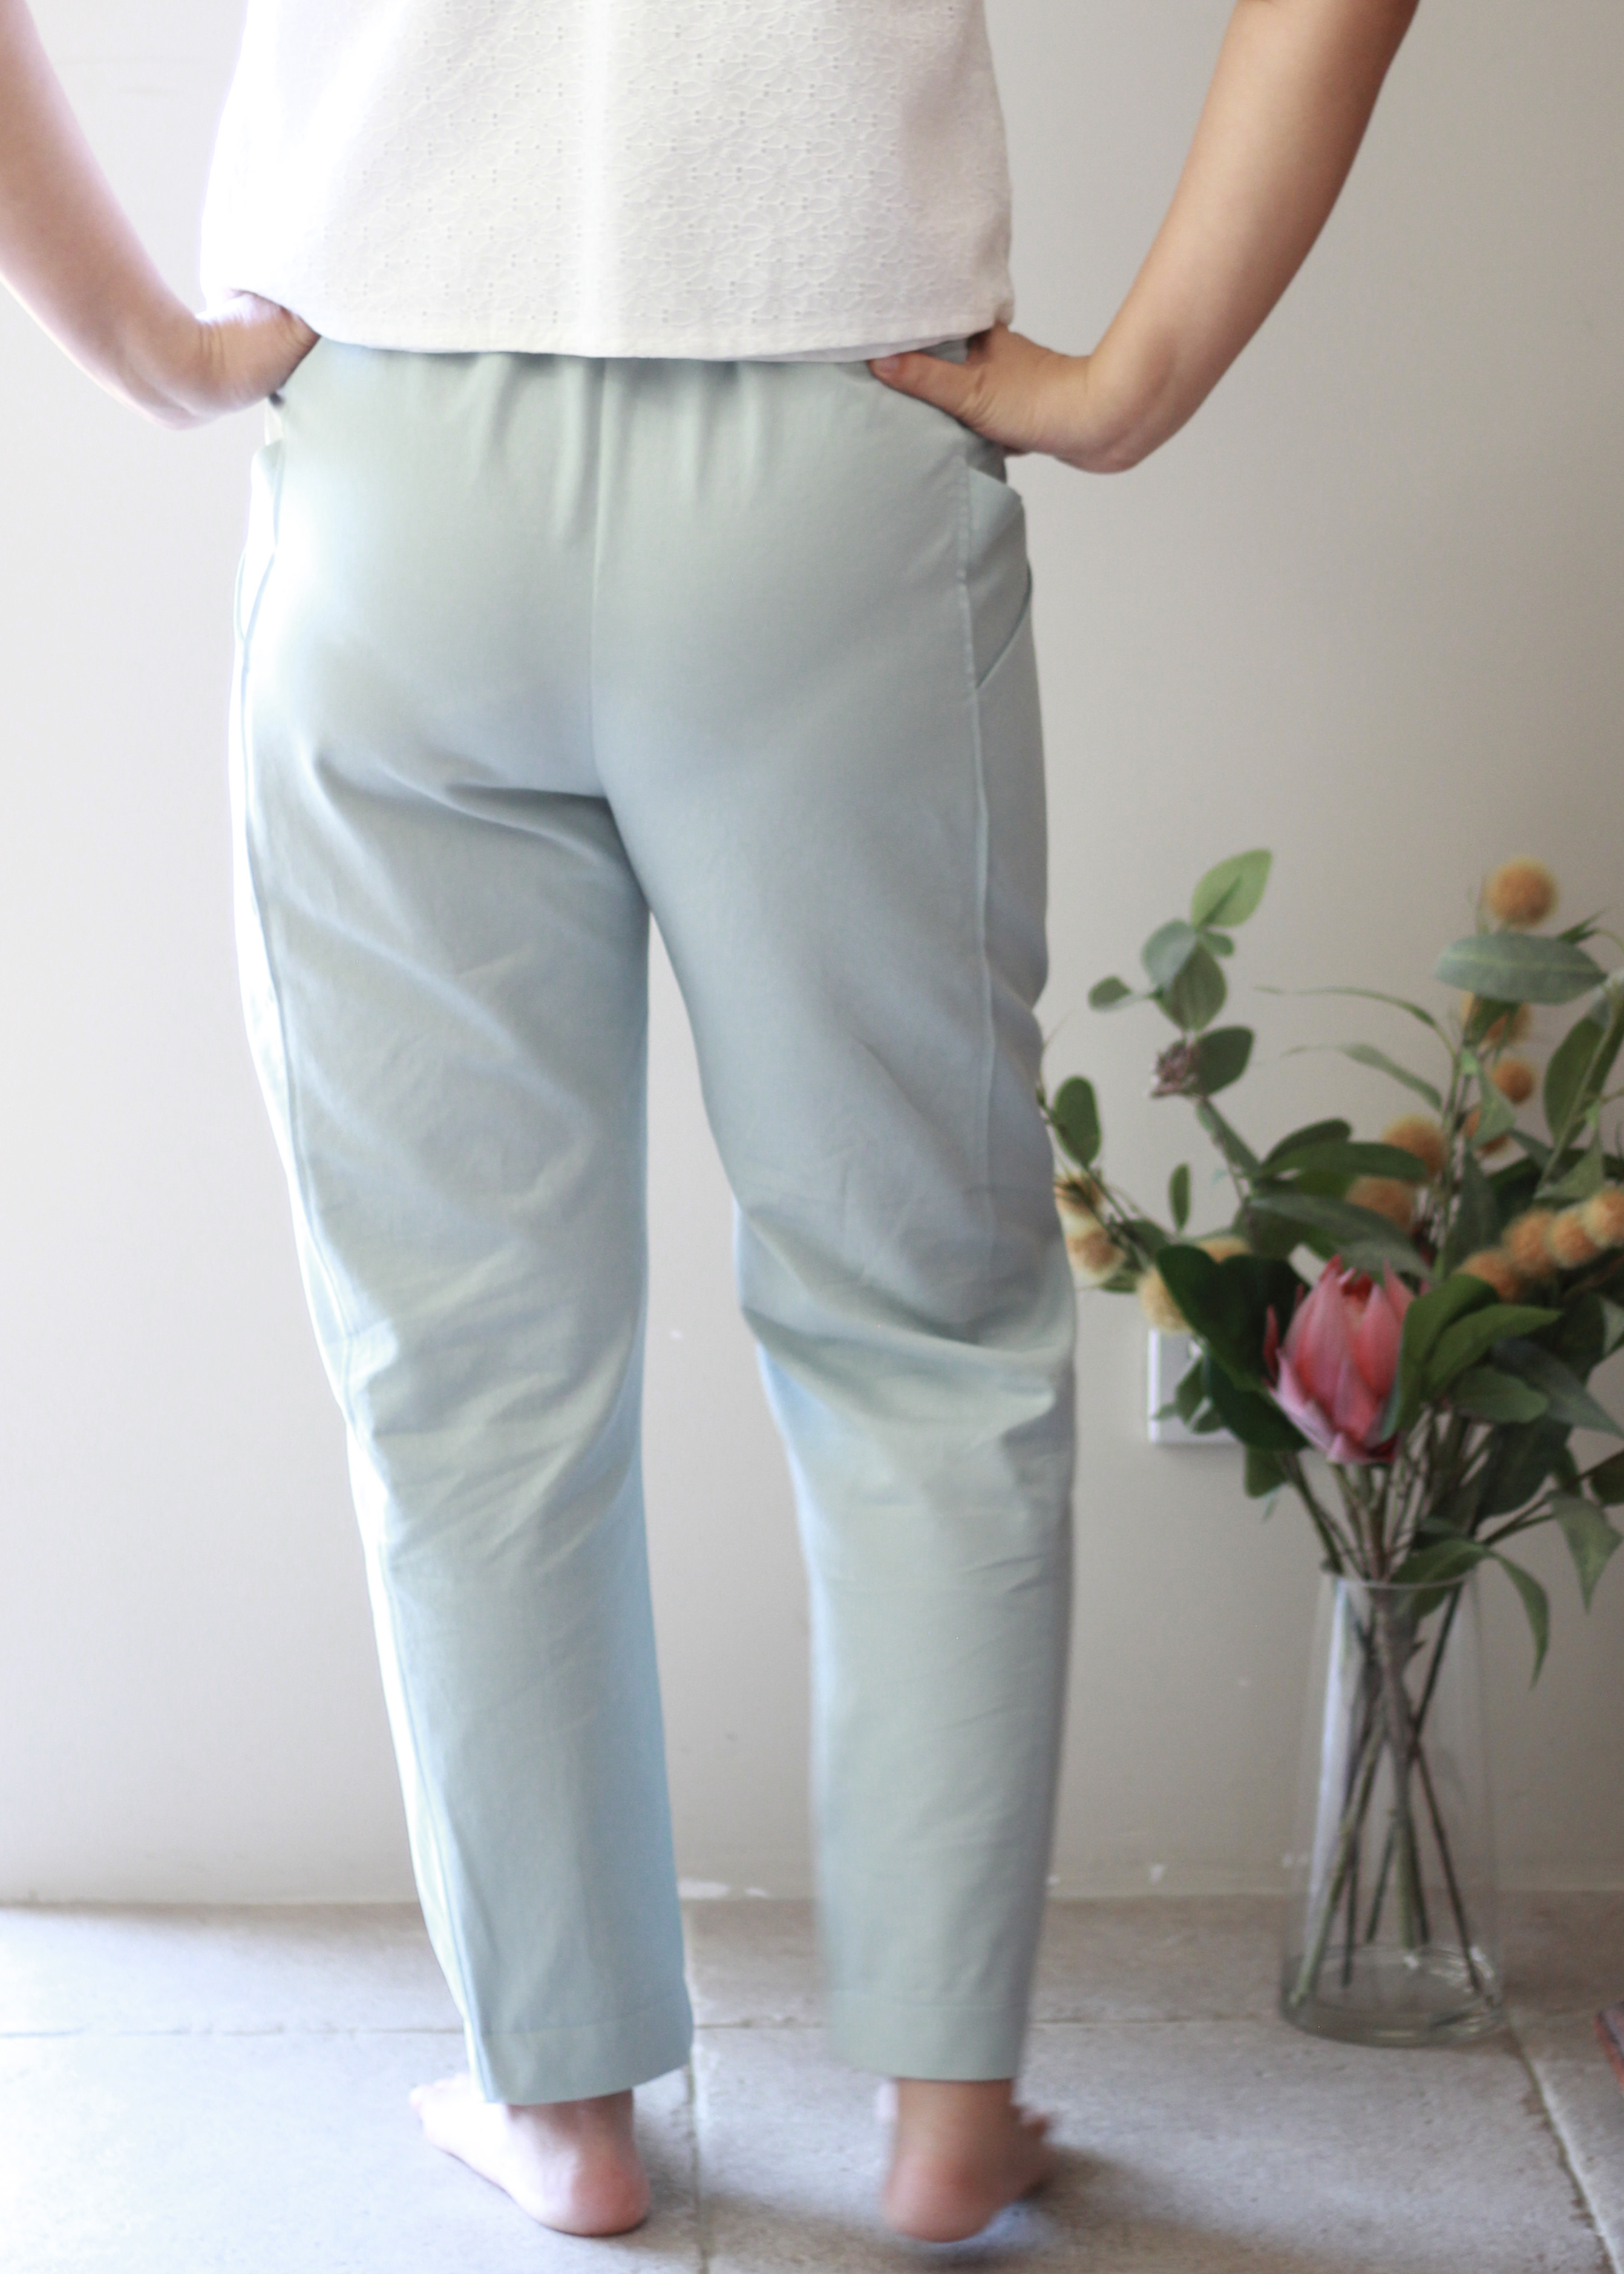
The first step in any sew is to wash the fabric. Being made of natural fibre, I made sure it was washed and dried on a cooler cycle. There wasn’t any obvious shrinkage or any loss of this beautiful pale mint blue colour. I love the colour-ways of the Cotton Lyocell Drill in the Maai Design collection! There are nine altogether and it was very hard choosing but I think this mint blue is great for the summer.

When it was time to cut, I made sure that all my pattern pieces were running the same way, paying close attention to the grainline because drill has a diagonal weave. Drill has a smoother side and a side where you can see the diagonal weave more obviously. Most people would consider the smoother side the wrong side of the fabric, so I just put a pin on the wrong side to make sure that I didn’t accidentally mix this up! Cutting the Cotton Lyocell Drill is very beginner friendly. It doesn’t shift like rayon, and it doesn’t fray like double gauze. I would say, it’s a great fabric for beginners.

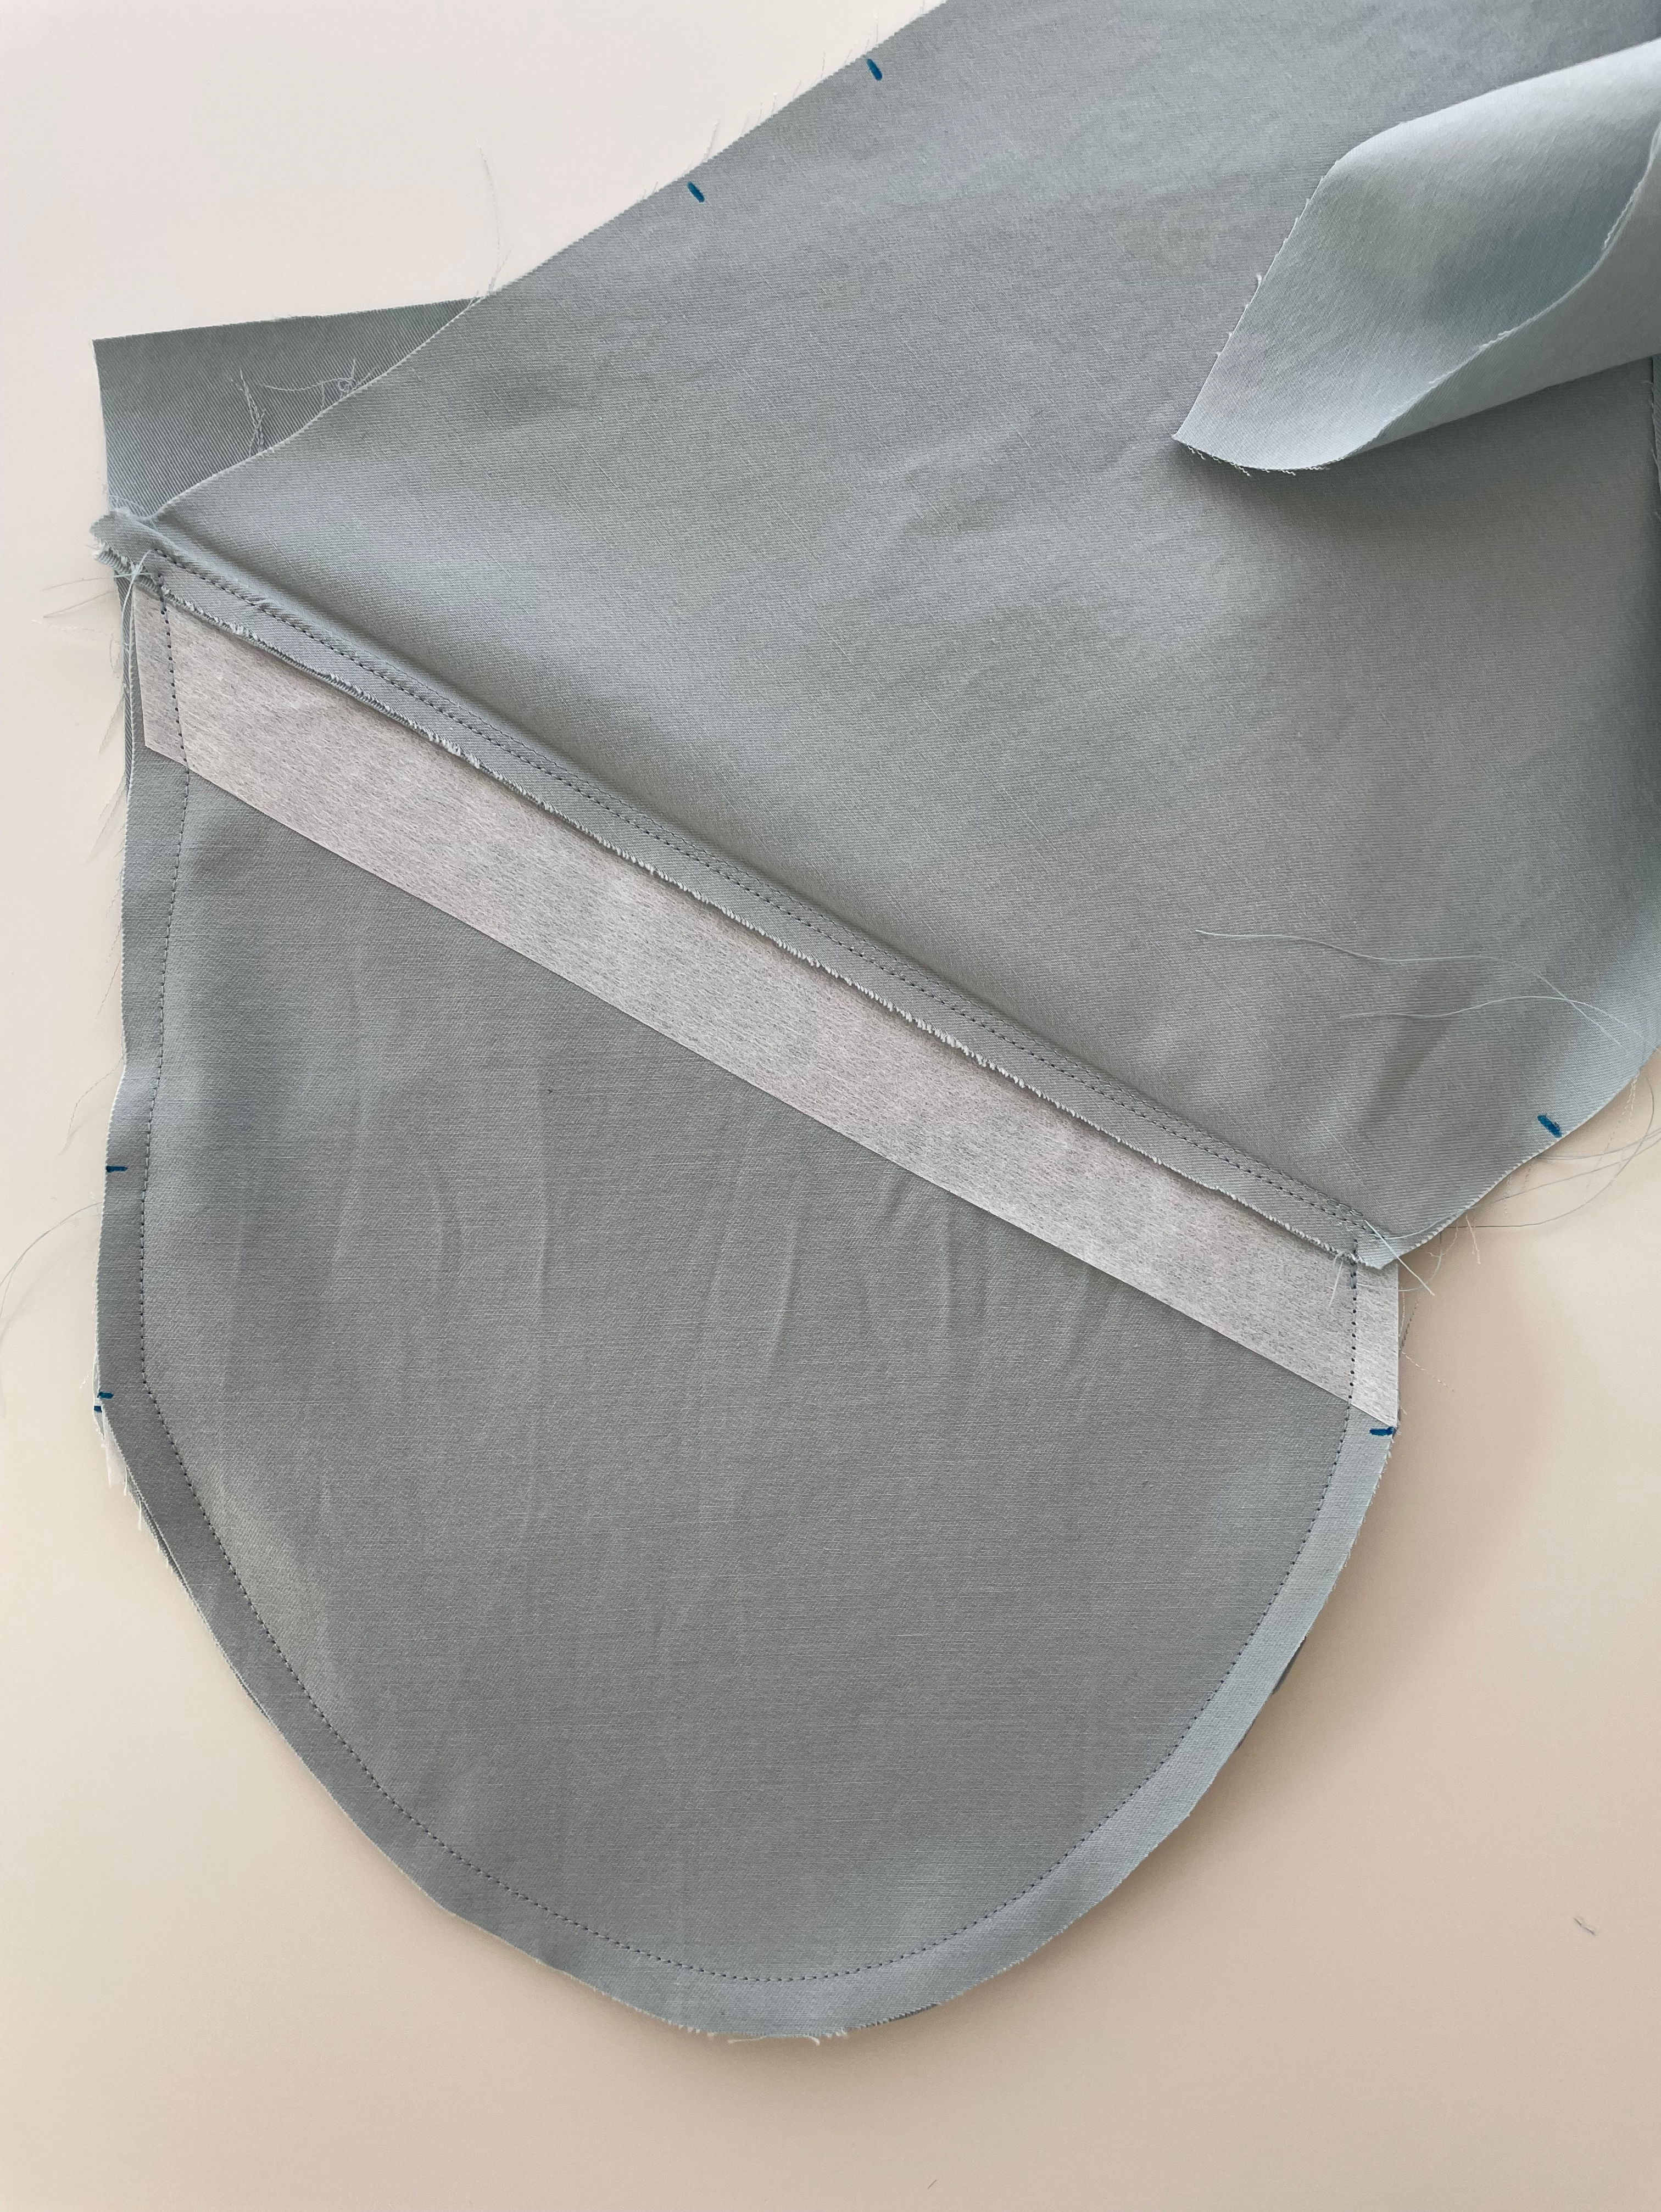
At the sewing machine, I just made sure my machine had a 90/14 needle in situ. I then checked to see that I was using a stitch length of 2.5mm. The next thing to note is that the seams of the Palisade Pants are sewn at 1cm not the usual 5/8 inch. Once all the various interfacing pieces were attached, I started to put together the pocket pieces. I found that the fabric was a bit bulky once each of the pocket bag pieces were layered so it was better to use these quilters clips. (They’re also handy for delicate fabric where you don’t want to pierce the fabric). Piecing together the pocket requires a lot of accuracy so I ironed at each stage to get crisp lines.

Once I worked out the pocket bags and how to attach that to the side leg panel, the rest came together quite quickly. I attached the back panel piece and then the back waistband. This part had me a bit worried because I didn’t know if the Cotton Lyocell Drill would tolerate the partly elasticised waistband. I was afraid it would have that puffed up look that some lounge pants have with elasticated waists, but to my relief, because it has a little bit of drape, the fabric sat flush when the elastic was inserted. The rest of the sew went smoothly, and as usual, papercut pattern instructions were great to follow.

Some sizing notes, I made the size 5 to fit my 33-inch waist and 38-inch hips. When I first pulled on the Palisade Pants, I noticed that I was getting a few horizontal folds in the front and some bagging out along the front panel. I’m a real novice when it comes to pant fitting, but it was curious because I had toiled this before making. (Apologies for not taking photos of these fitting issues).

I was using thrifted fabric for my toile so there were two factors I forgot to take into account. Firstly, there is no stretch in the Cotton Lyocell Drill. Secondly, in my toile, I did not make up the full pocket bags which probably took up more of the ease leaving me with not enough ease around my hips. To adjust the fit, it was an easy case of letting some of the seam out at the hips. The flaring at the front was also simply solved. I realised when I looked closer at the pictures on the pattern that the length of the trousers was slightly cropped at the ankle. So, I removed an inch and a half from the bottom of the hem which made it sit better.

Overall, sewing with the Cotton Lyocell Drill was an eye opener. Maai Design has stocked it in a beautiful array of fun colours. It’s a finer quality drill which is lighter weight than normal drill and it has a softer feel which is great against the skin. My Palisade Pants will be getting a lot of wear in summer! It’s soft and breathable and doesn’t wrinkle as easily as linen.

Thanks for reading and happy sewing!

X Em

Full Disclosure: The Cotton Lyocell Drill fabric was kindly gifted to me in exchange for posts on Instagram and a blog post however all opinions expressed are my own. 

Meridian Dress II

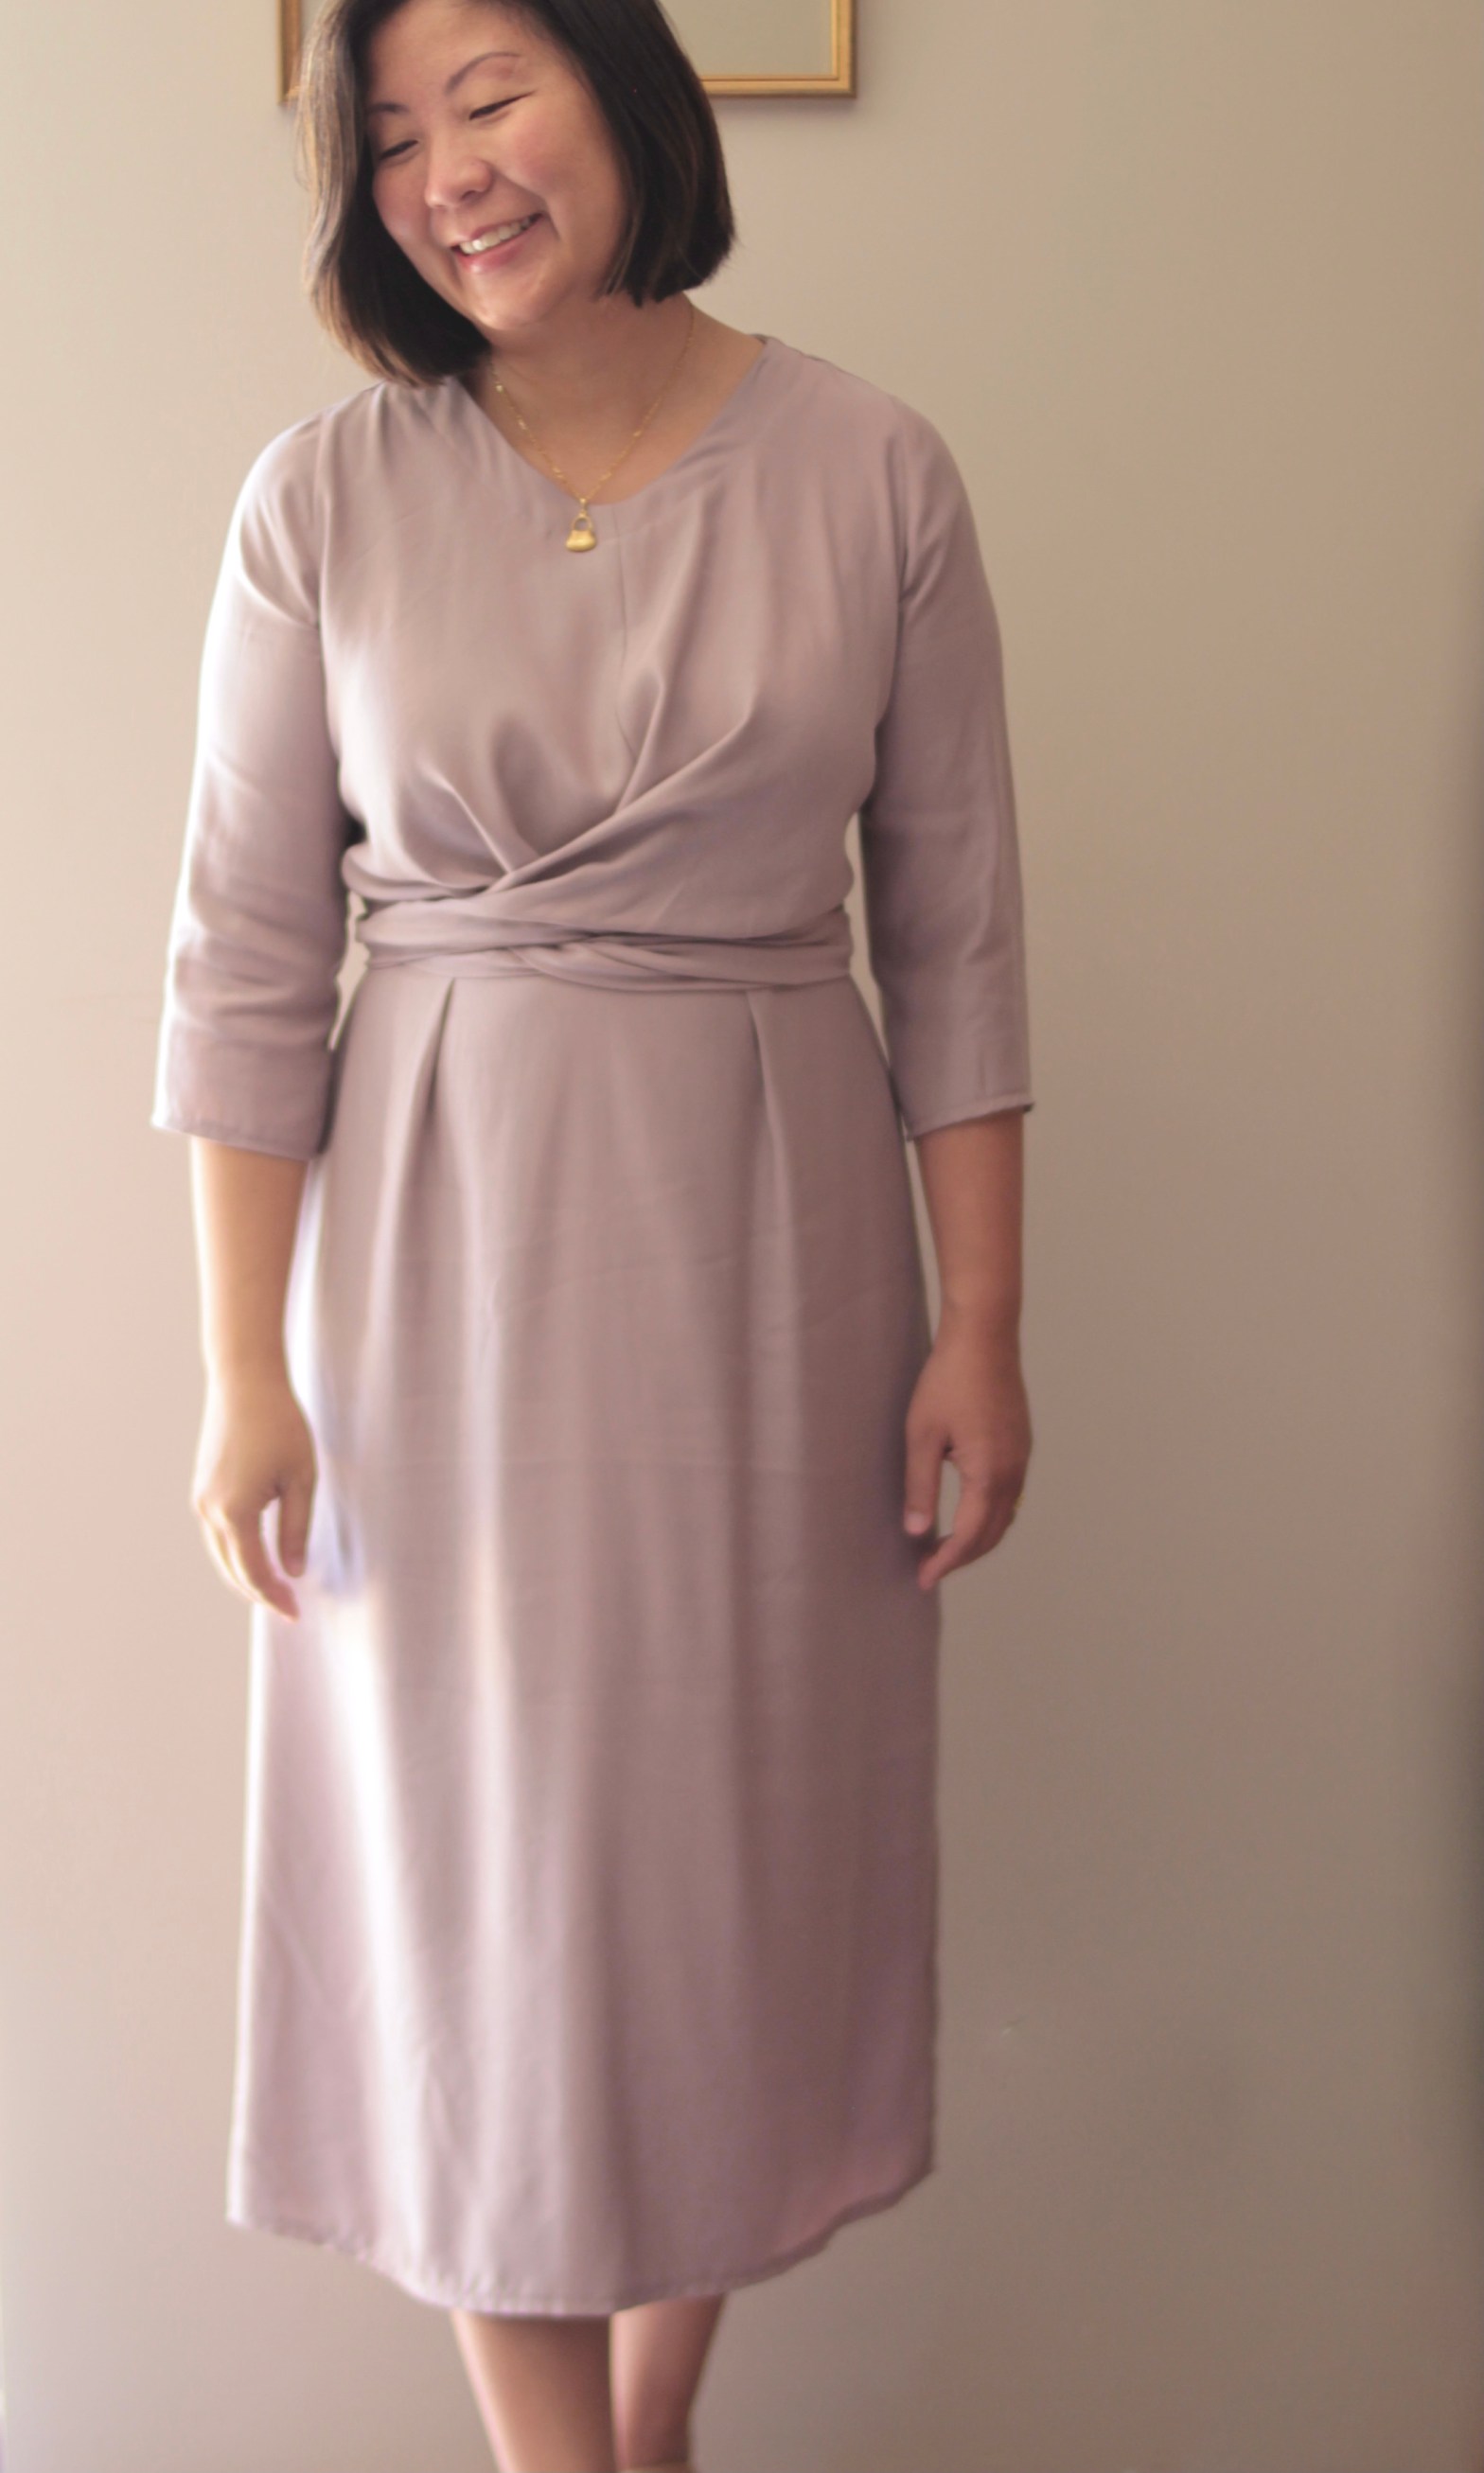
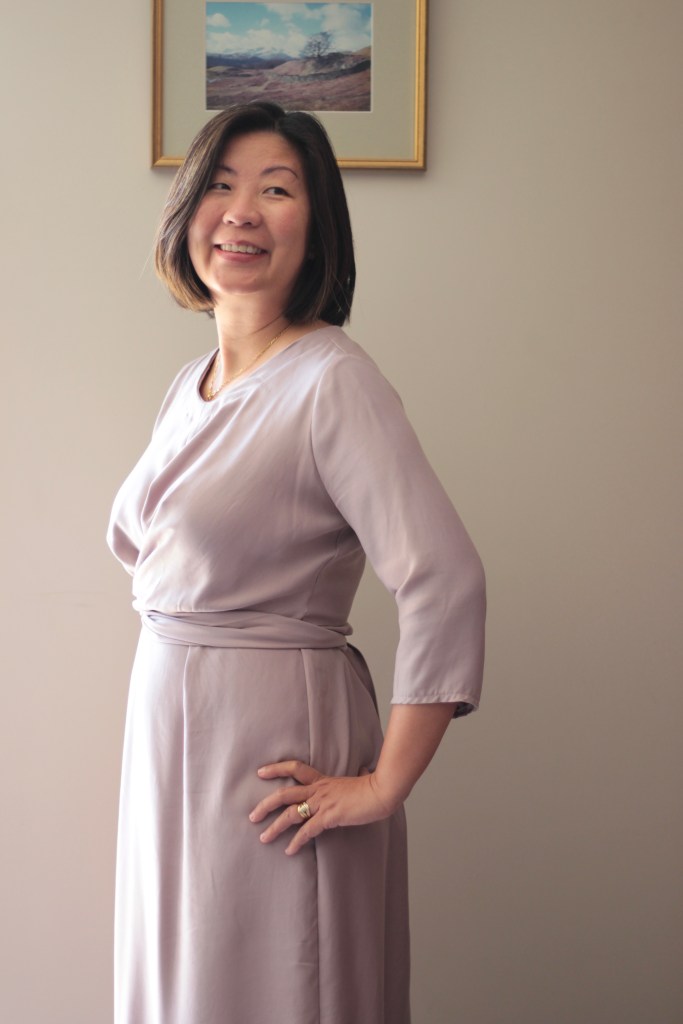
This is the Meridian Dress Mark II. I have already shared my previous version of this lovely dress, but I just wanted to share another one as I’ve sewn a version with sleeves, which is as intended by the original pattern from Papercut Patterns. Because I had made a toile, this did not take much time to sew up.

The fabric I’ve used is a Tencel Twill fabric that was snapped up at the Megan Nielsen in-store sale back in June. I was assisted by Belle (she models the curve range and blogs on the Megan Nielsen site) who was so helpful and lovely. I had already earmarked the Meridian Dress to sew but was looking for the right fabric. She brought out the Tencel Twill which had the drape I was looking for and of course, the dusky pink colour is so beautiful and hard to resist. When I bought ready to wear, I never really thought much about fabric. Of course, I enjoyed the colour and the pattern as well as the feel of the fabric but never really investigated what would match a certain design. 

So, what is Tencel? I was so surprised to find out that Tencel is made from wood pulp! Such a bonus to know that it’s a natural fibre. It’s also known for being breathable and highly absorbent so it’s great for any season being cool for summer and warm in winter. Wait, there’s more! Apparently it’s stink proof because bacteria can’t stick to its smooth surface.

I used 2.5 meters of fabric to make my Meridian Dress. Again, I made the size 4 and the only adjustment was to shorten the sleeves to ¾ sleeves. The wrap front bodice does give a lot of ease in the fit so definitely stick to the suggested sizing. If I were to make it again, the only minor adjustment that I would make is a full biceps adjustment. I always forget this and have sadly experienced “dinosaur arms” but it’s not too bad on this so I’ll leave it as is.

Oh! And, can I just make special mention of my invisible zipper installation! I’m so much happier with this. Comparing between my first and second make there has been 100 percent improvement. I always tell my kids that practise makes progress!

Thank you for reading and happy sewing

X Em
Meridian Dress

With the onset of spring here in Perth, I thought I would tackle The Meridian Dress by Papercut Patterns which has been on my Make Nine Sewing Challenge List. The dress has a beautiful silhouette with an easy to fit wrap front. I jokingly told a friend that I was making this dress to go to dinner parties with because the wrap front makes it easy to adjust for a full belly! But actually, it really does work to make it a very comfortable dress to wear. Like most women my dress size can go between two sizes in one month – I work in women’s health and this is a common complaint. This is also often why we’re sometimes caught out with, “nothing to wear” when a last minute event pops up and we haven’t had a chance to check the current fit of a “going out” outfit.

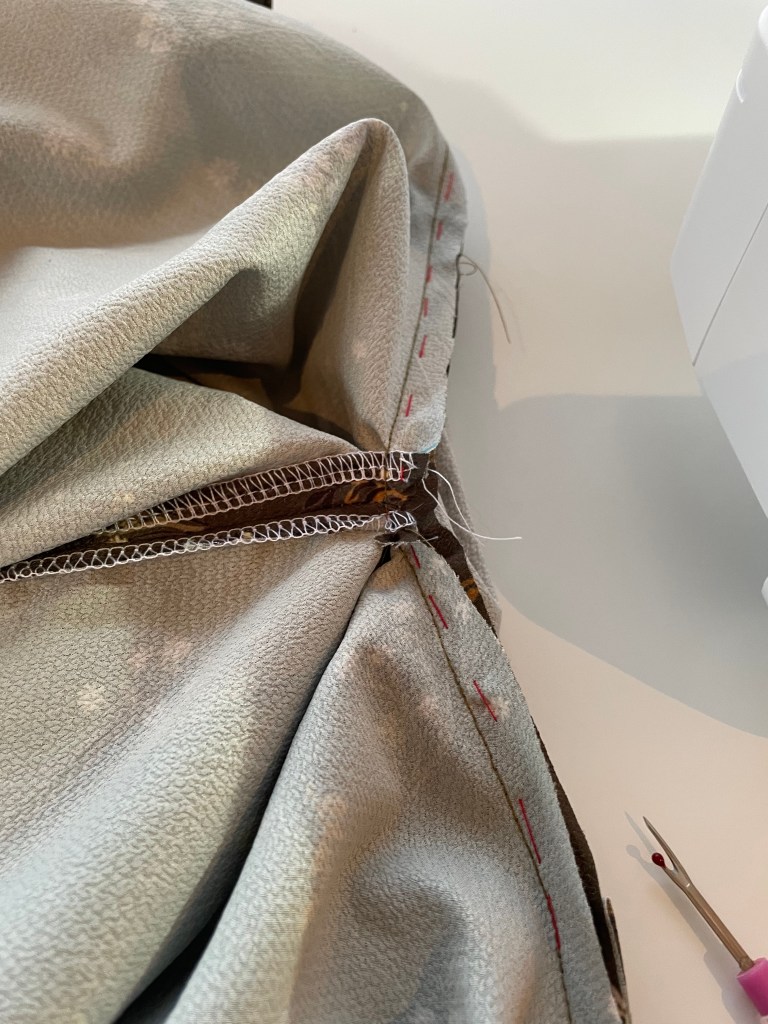
I’ve sewn the size 4 for my measurements of 37 Bust, 33 Waist, 38 Hips. The finished measurements range from B34.6:W24.4:39.2 to B51.2:W40.9:H55.7. No adjustments were needed for my sew. The front wrap bodice had a very interesting construction and the main thing to watch out for is the attachment of the front bodice to the skirt. There is a chance of a hole if you miss catching the panels of fabric where the wrap meets so just go slowly and I also hand basted that part with a coloured thread to make sure I wouldn’t miss it.

The fabric I used was a thin polyester crepe which was a beautiful green with small flowers. I chose it because of the wrap front. I felt that a bulky fabric might spoil the silhouette. This also meant that I had to modify how the facing was sewn. It was attached in the usual way at the neckline and zipline, but I didn’t sew down three inches from the edge. Instead, I stitched in the ditch at the waistline and the shoulder seams.

Also, I think it’s time I invested in an invisible zip sewing foot. I’m still attaching mine with a normal zipper foot and I found it a bit difficult this time. It might have also been the needle as I was using a 70/10 for the fine, delicate fabric but perhaps should have sewn the zip with a heavier needle. Do you change your needles when sewing? Comment below. Anyway, it came together in the end and I love the back view of this dress. I’m hoping to find a prettier button for the dress in the future.

So, this is actually my wearable toile for this pattern. Sometimes I toile with spare cheaper thrifted fabric and sometimes I dive in with a cheaper fabric that’s wearable but I try to always toile. This fabric was a real bargain at $9 per meter from Spotlight Stores so I bought about two meters. I only had enough for the dress without sleeves which I’ve ended up really liking. I wear cardigans all the time, even in summer so sleeveless is often more comfortable for me. I will be making this dress again and I will be attaching the sleeves in the next one. To finish the armscye, I made some bias binding. It’s such a satisfying process! 

The Meridian Dress is such a flattering, elegant dress and I’m definitely giving it 10/10 for design and instructions. A very satisfying sew and good for an advanced beginner.

Thanks for reading and happy sewing!

X Em