Sewing the Niya Dress was a great adventure! It was a happy discovery when I won a PDF pattern from J. Desiree Studio Patterns by participating in the Sew Giving 22 Sewing challenge which was hosted by @yagabyrdsews. I chose the Niya dress because it had so many unique features and can also be sewn as a wide pants jumpsuit.


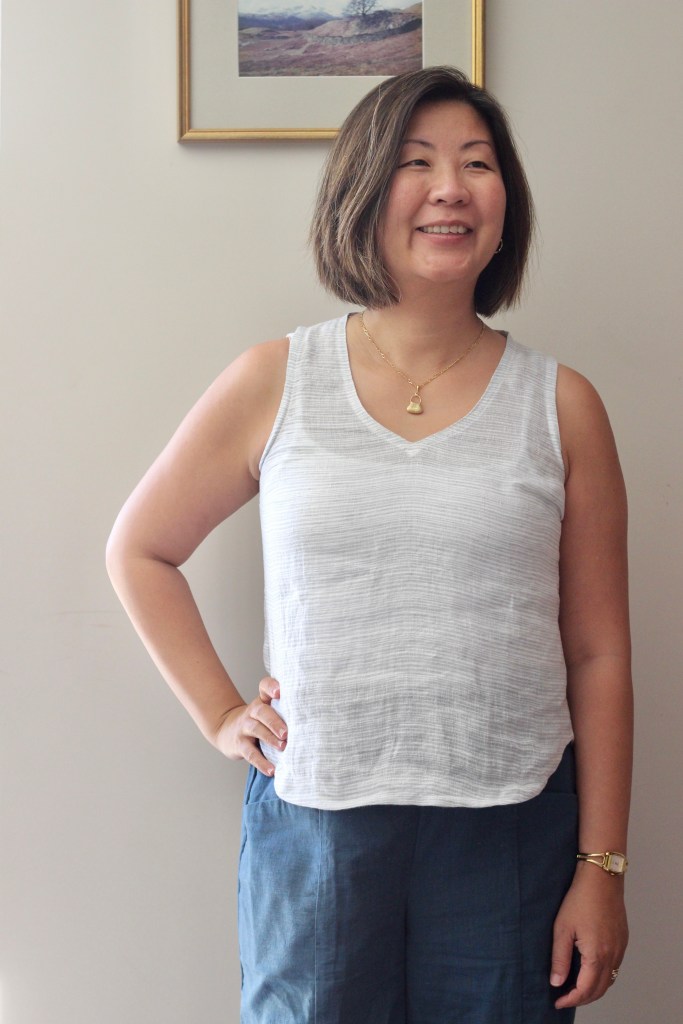
The bodice is quite loose initially and is attached to the skirt only by the front bodice. The back is open and there are two options. I chose to sew the half closed back but there is also a fuller opening as the other option. The skirt is gathered by elastic in the back and the front is initially sewn flat. While constructing the dress, I had a lot of doubts about if I was sewing it correctly, if the dress would suit me or whether I should construct it differently? I’m glad I stuck to the process and followed it until the end.
It really started to come together when I realised that the front bodice had a channel which I had accidentally sewed up. I used the seam ripper to reopen this to create a channel so that the ties could be fed through it. Both ties are then fed through the channel in the front skirt piece where the elastic for the side and back waistband are located. Once the ties are in, this creates tension in the front bodice which draws in the loose fabric in the front and prevents exposure from the side. The engineering was so interesting in this make as I couldn’t quite picture how it could come together without the traditional side seams.

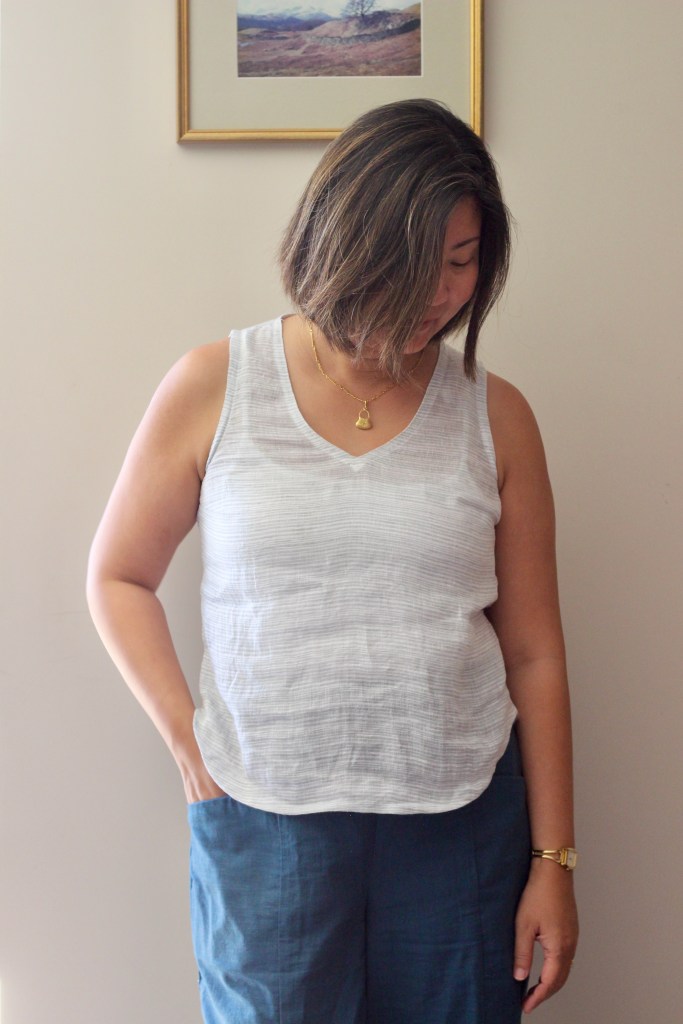
Looking at the other Niya Dresses by other sewists, I can see that everyone managed to thread their ties through the channels however, I had a lot of trouble. It might have been that the rayon crepe I used did get a bit bulky once sewn. Instead, I halved the width of the ties and made them quite narrow which I really liked the look of. The pattern has the option of making shoulder channels for more ties, but it was already gathered in the front shoulder bodice. I loved the look as it was without the ties, so I left them off my dress.
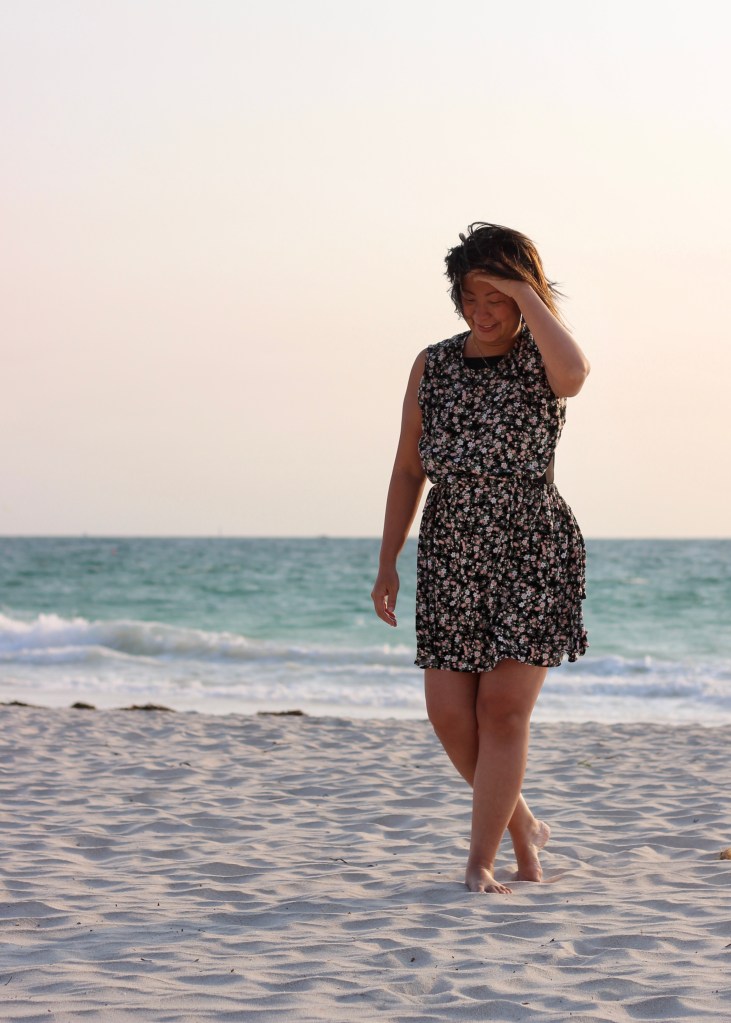
The sizing of the Niya Dress is very flexible. I made the medium with a mini skirt option. With the open back, it would look beautiful as a jumpsuit or a ball dress with maxi skirt. I needed a summery beach dress so the mini dress version was the perfect version for me.

Thanks for reading and happy sewing!
X Em