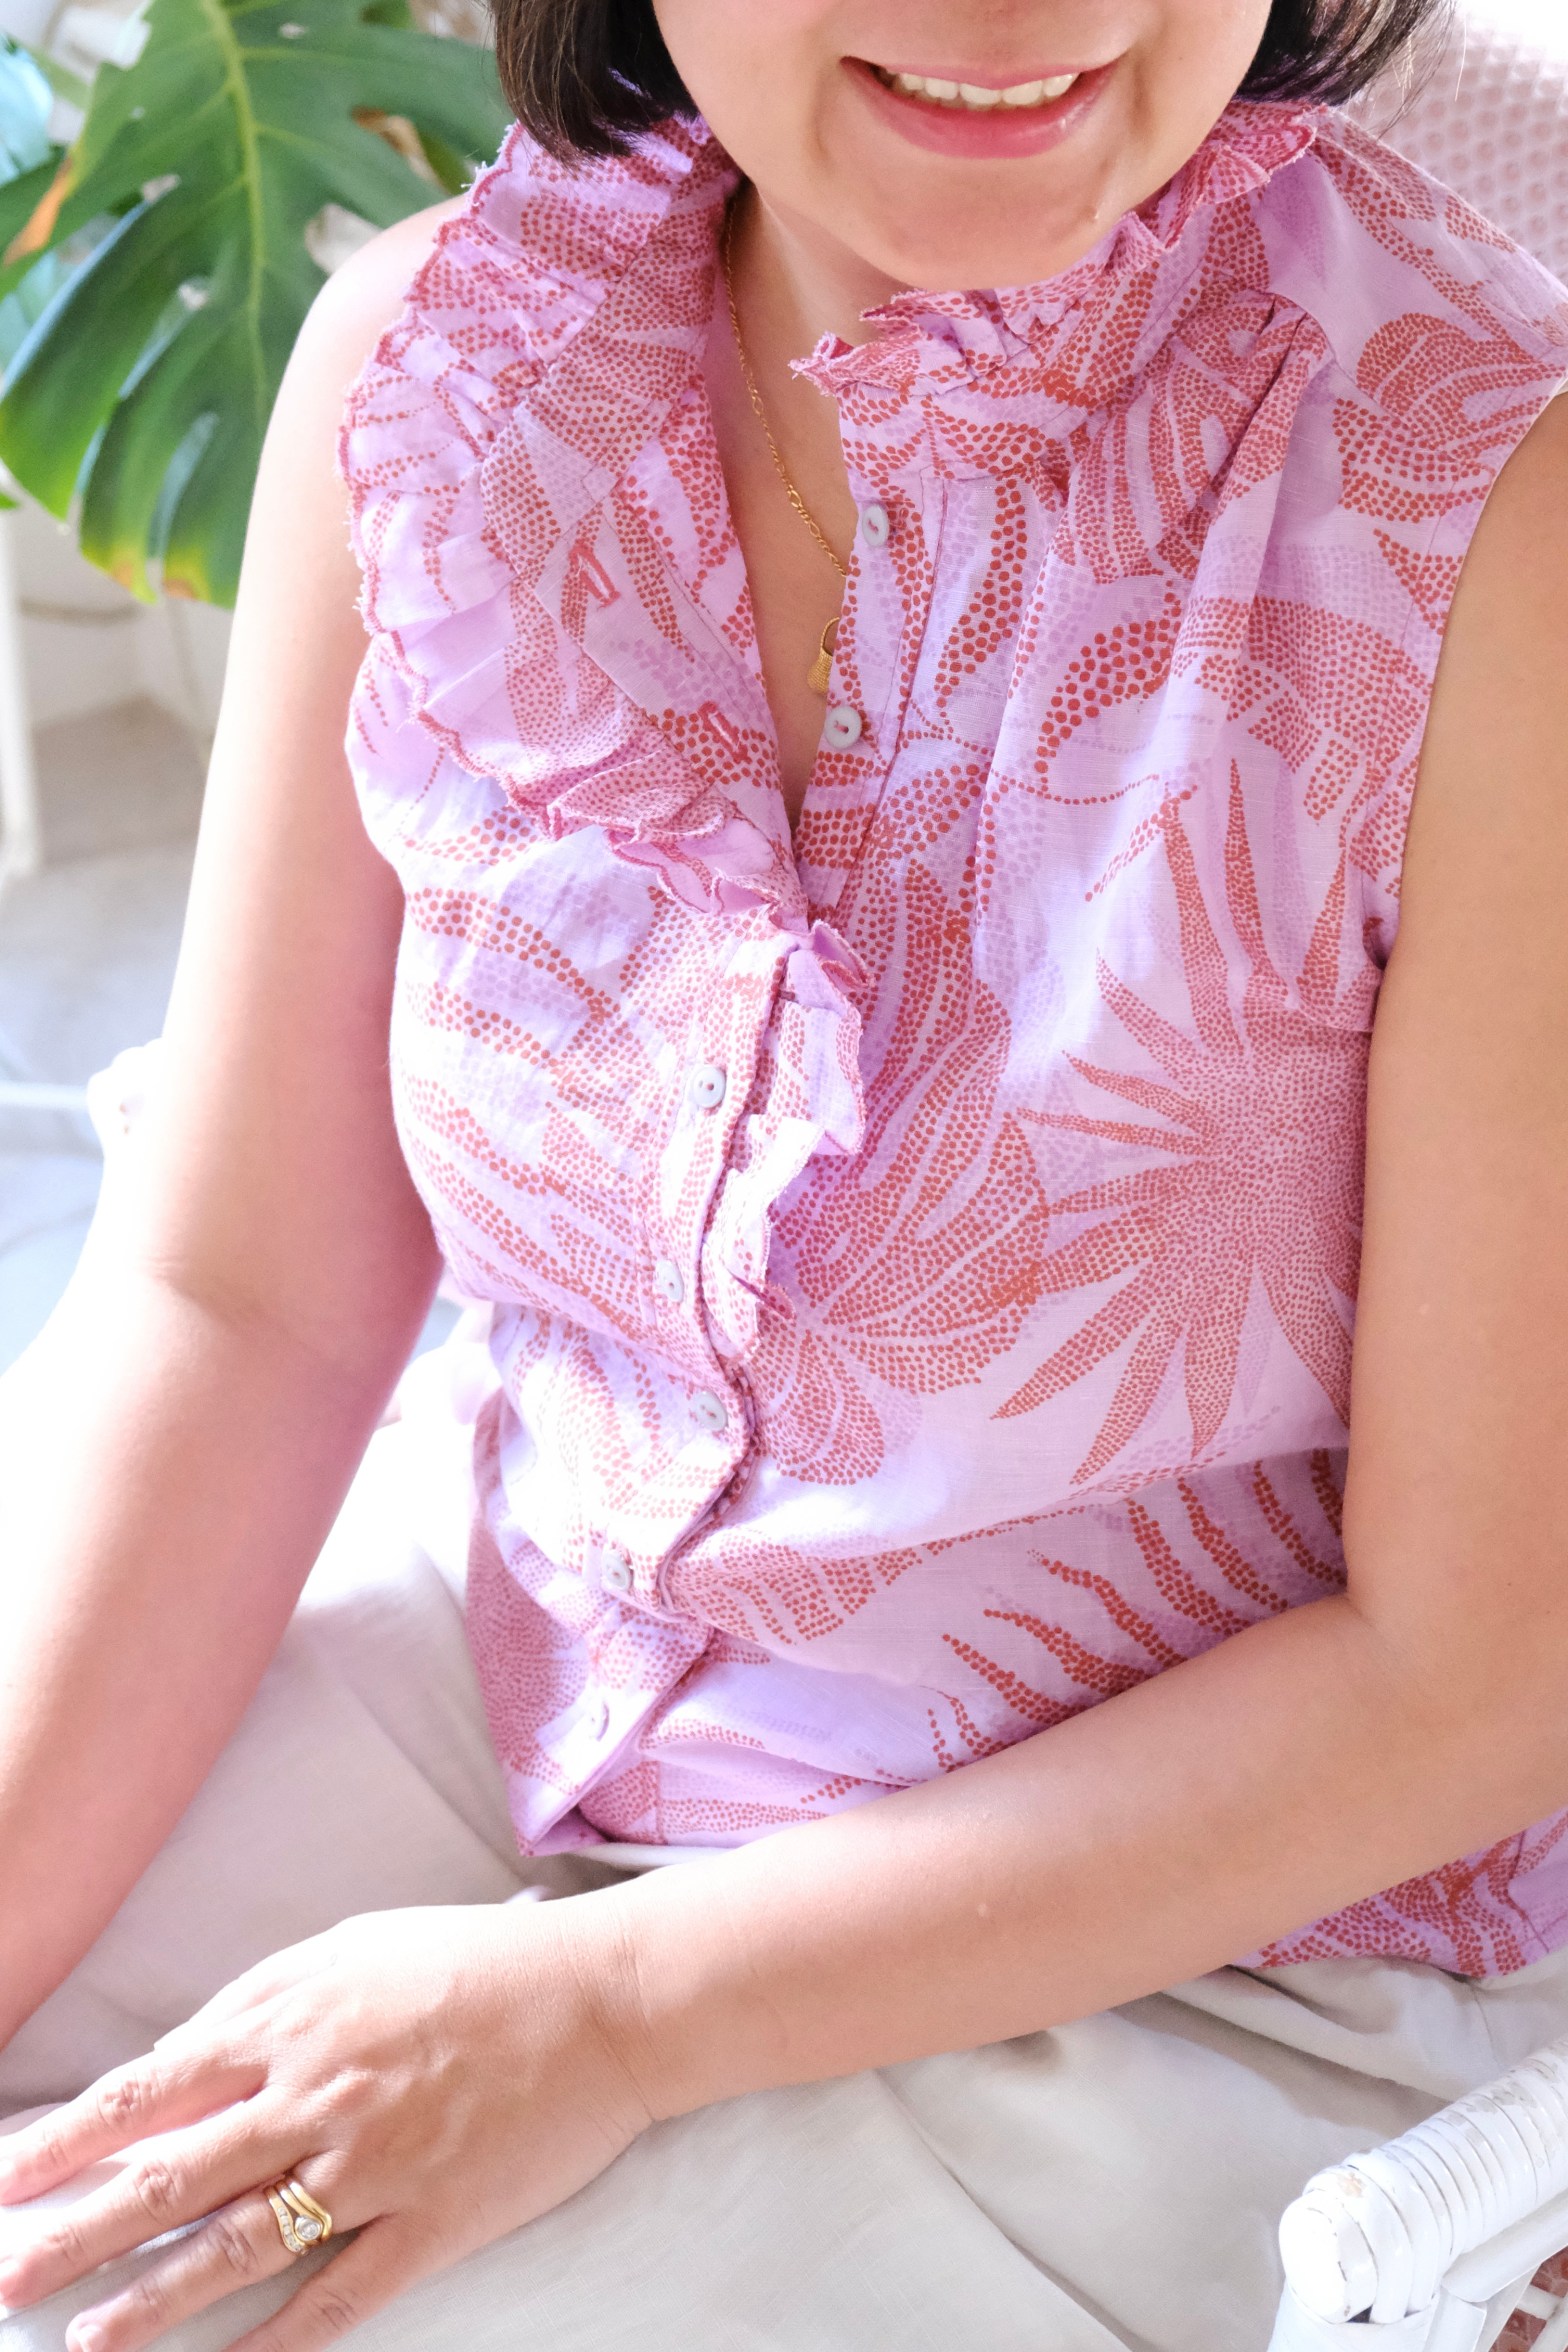
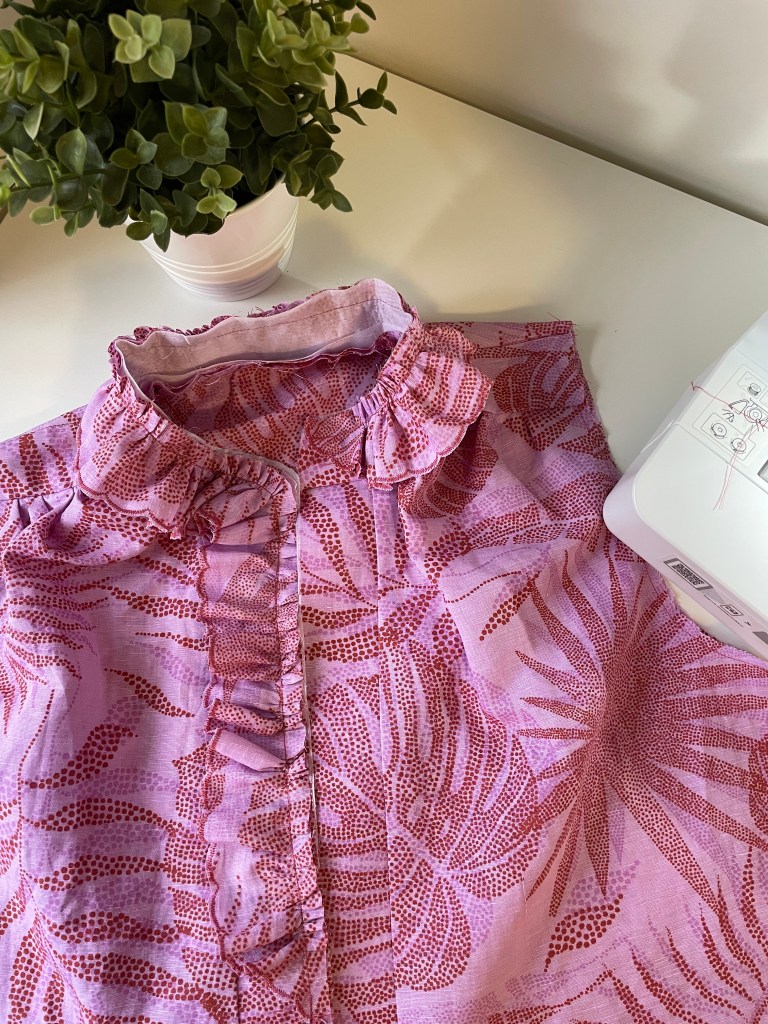
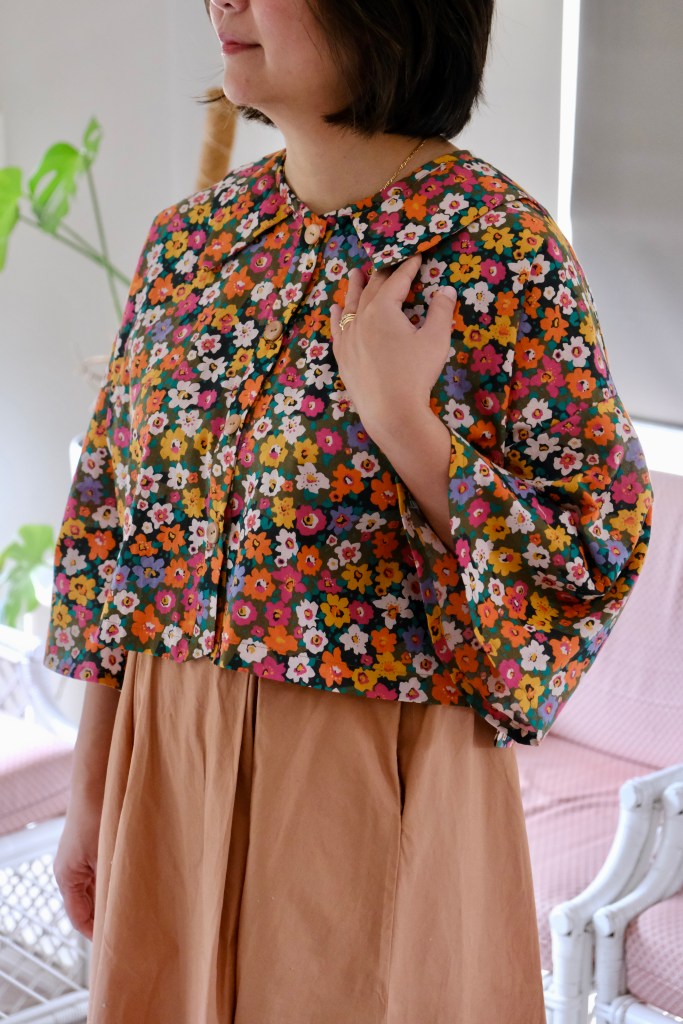
Sara Kim from Sewing Therapy Patterns has released another fantastic pattern! It’s the Faux Collar Oversized Button-Down Shirt or Dress. I was one of the testers for the pattern and chose to test the Crop Shirt version. There’s always a big rush to get on her testing team so I was grateful to be chosen.
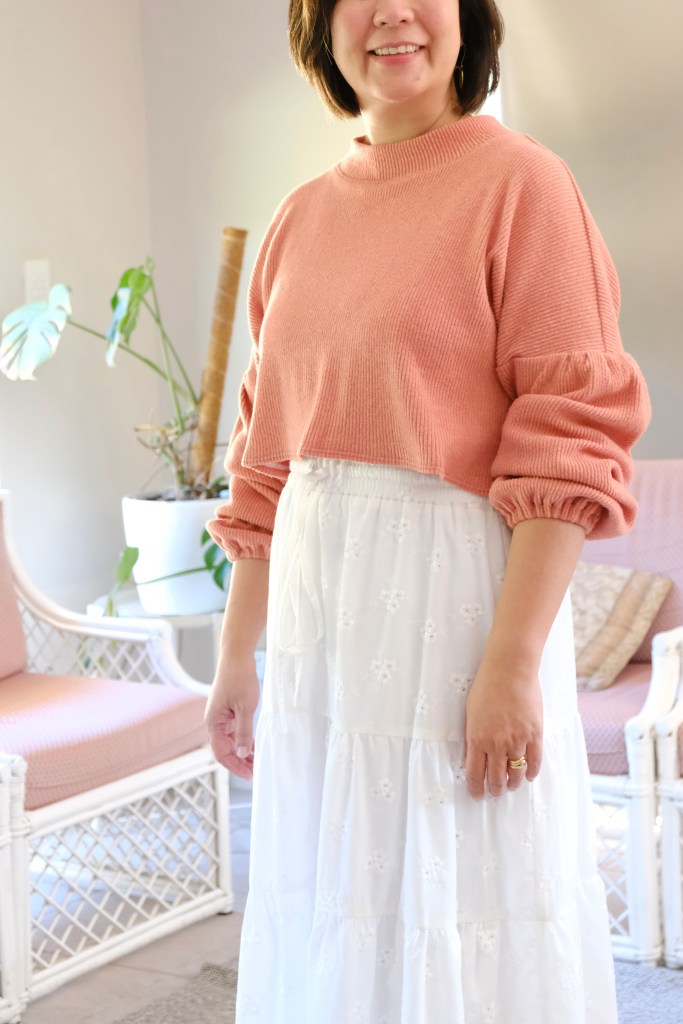
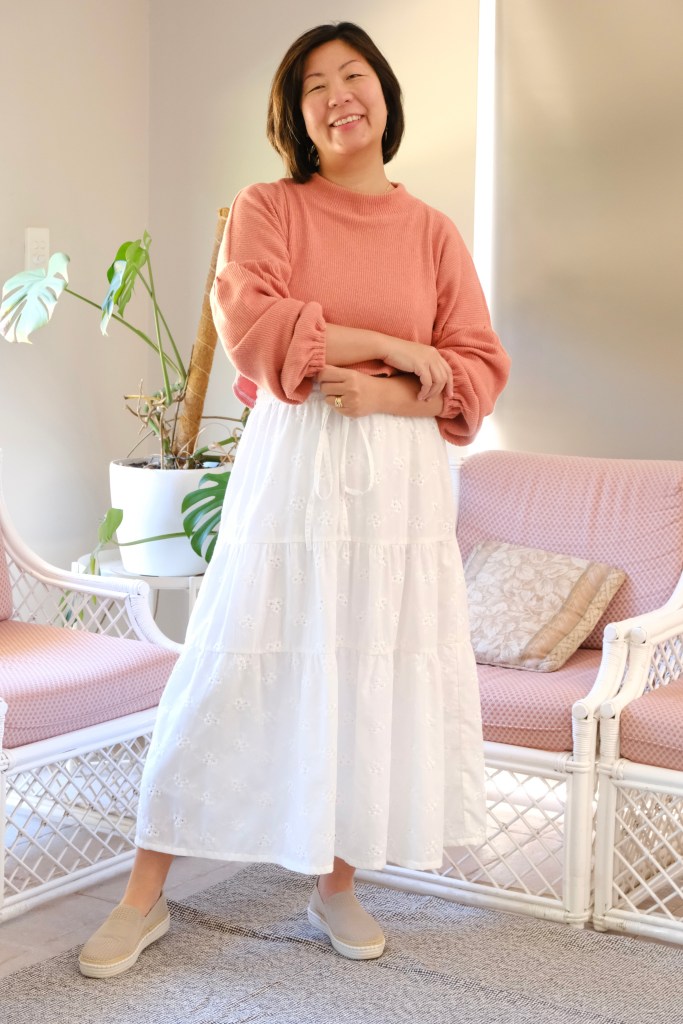
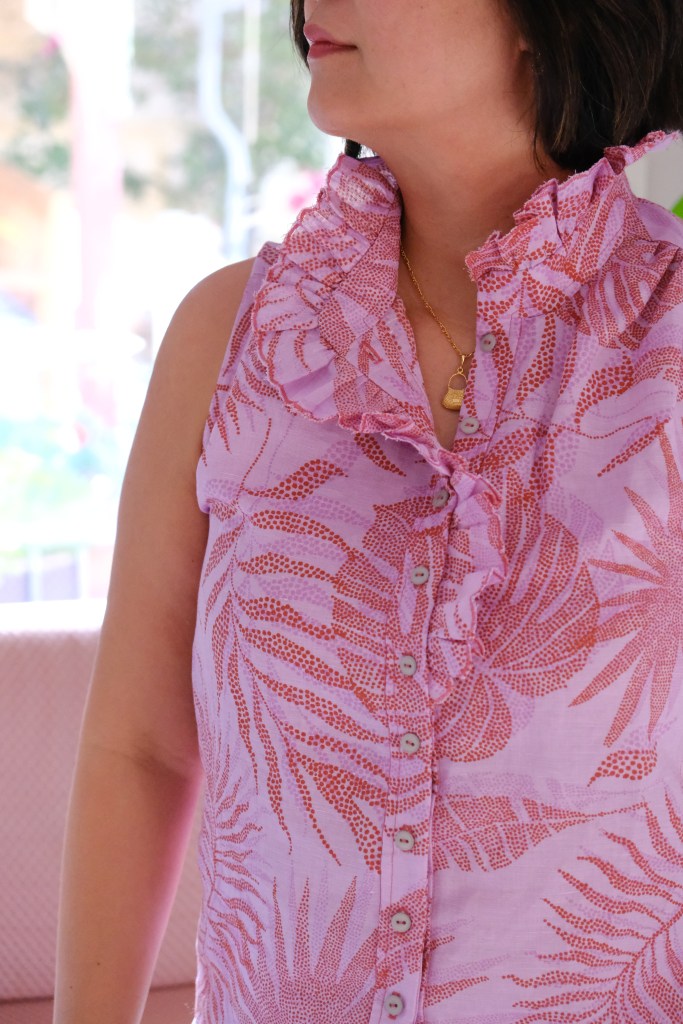
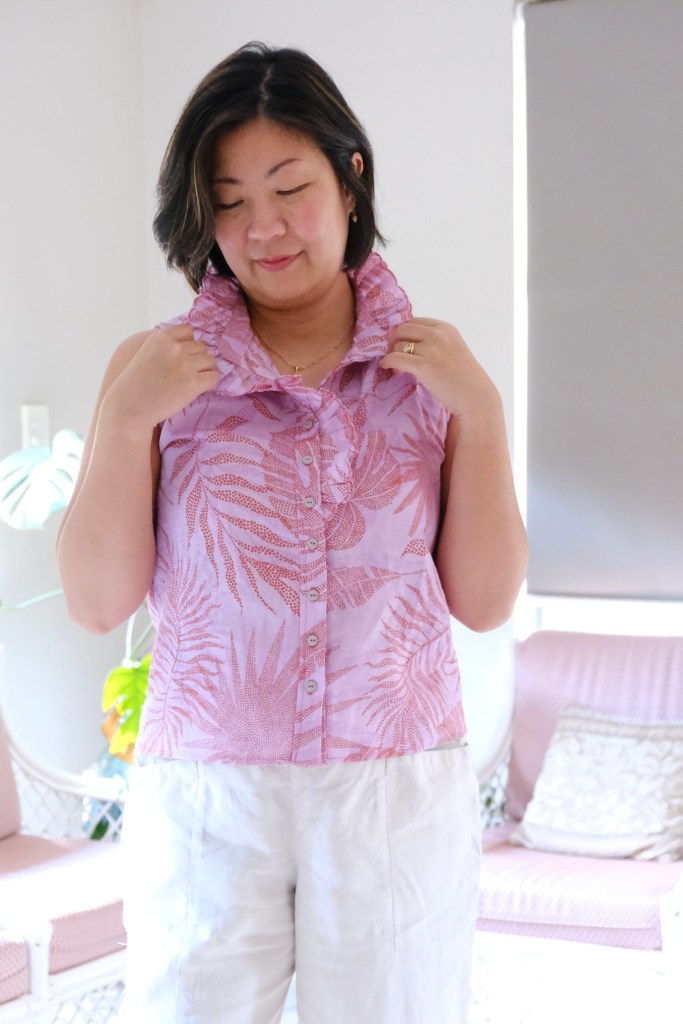
This pattern features the faux collar which attaches only to the front of the shirt. It is comfortably oversized without sacrificing style. The cropped version stops at the natural waist which is perfect for pairing with my high waisted skirts or pants. It is also a button down with an inverted pleat at the back which gives a slight flared shape. This pattern is feature packed and this is only one of the versions!
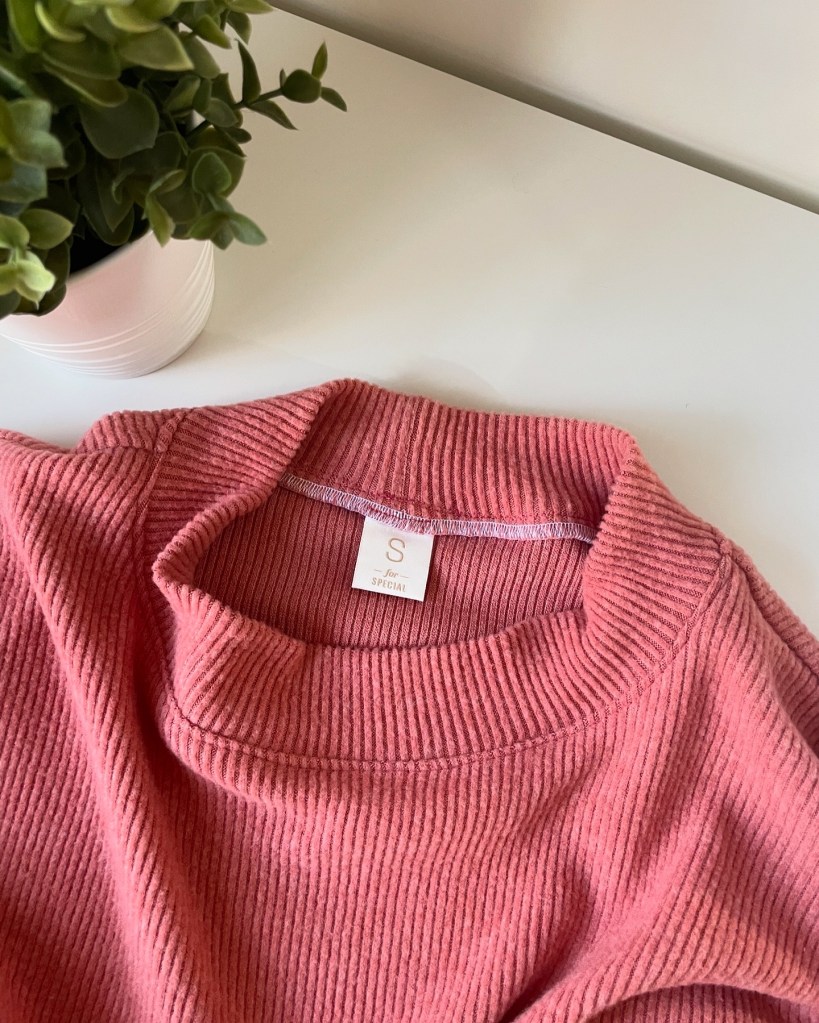
As with any pattern test, there are some adjustments made along the way. I enjoyed the pattern as it was, so I made the test version twice. I made the size 12 without any modifications for my measurements of 38-inch bust, 33-inch waist and 40-inch hips.
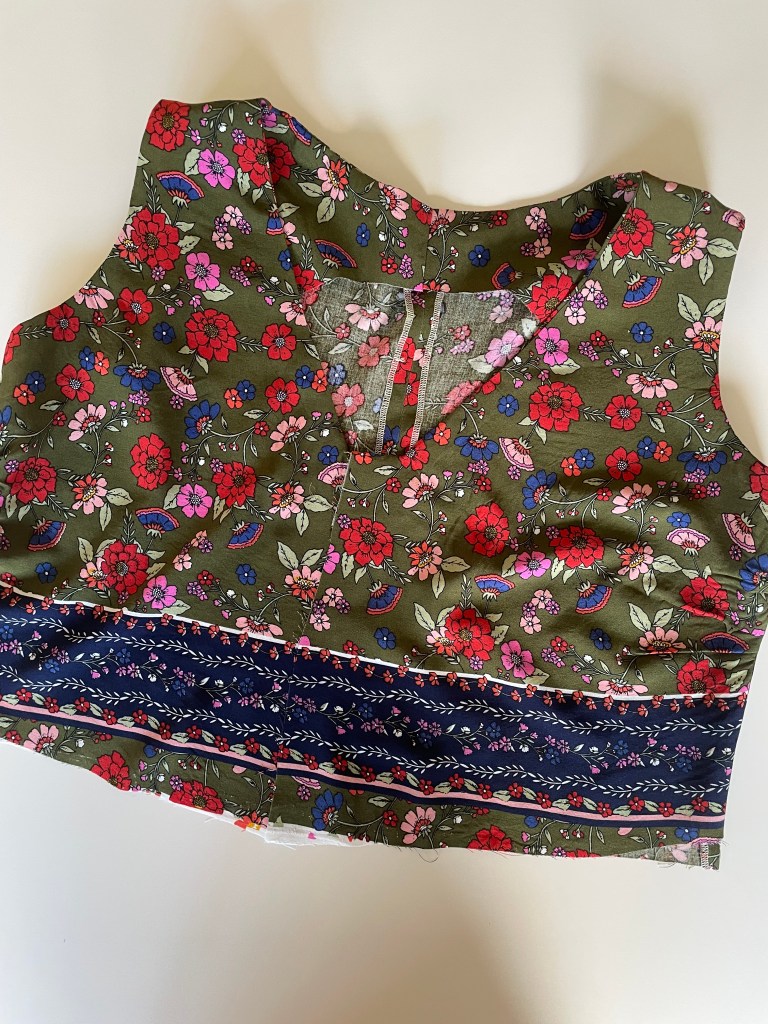
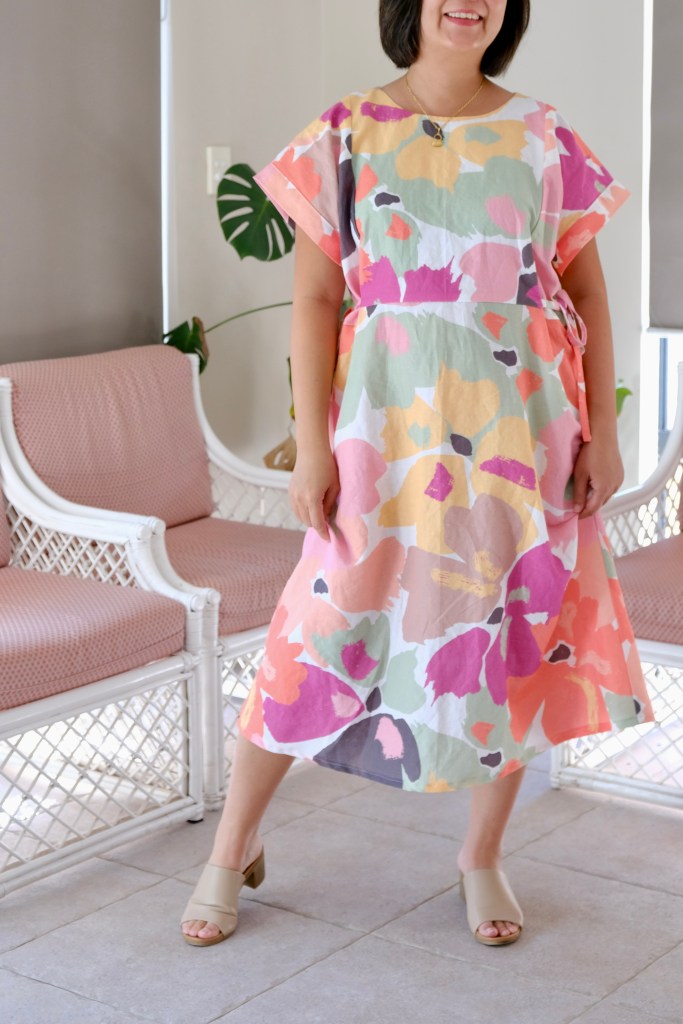
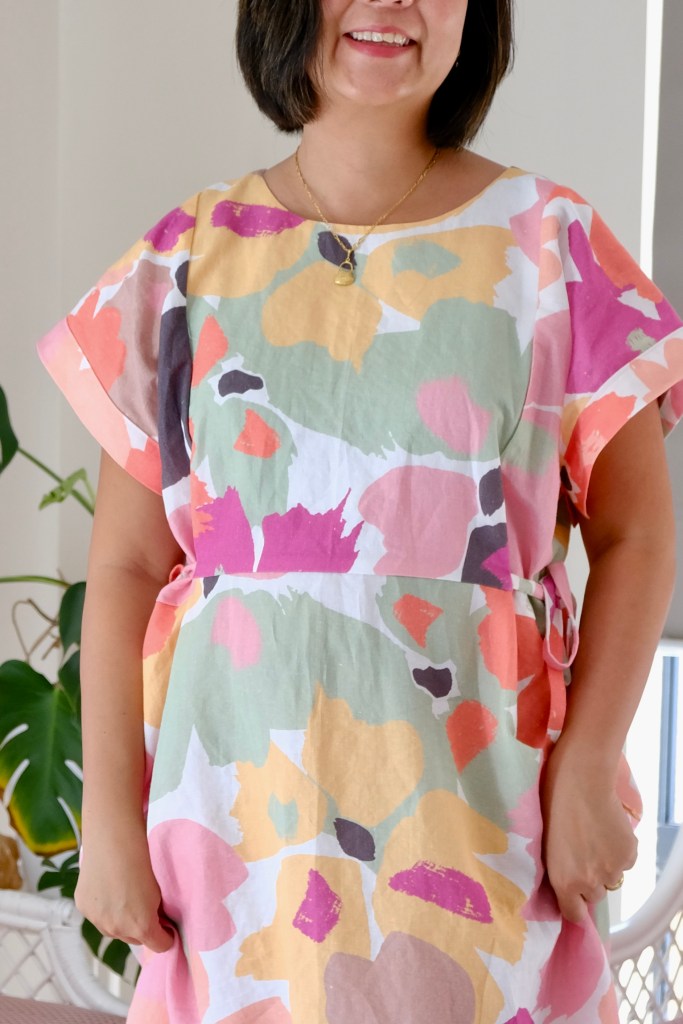
My first version was made using this colourful cotton batiste fabric which was beautifully sheer and lightweight.


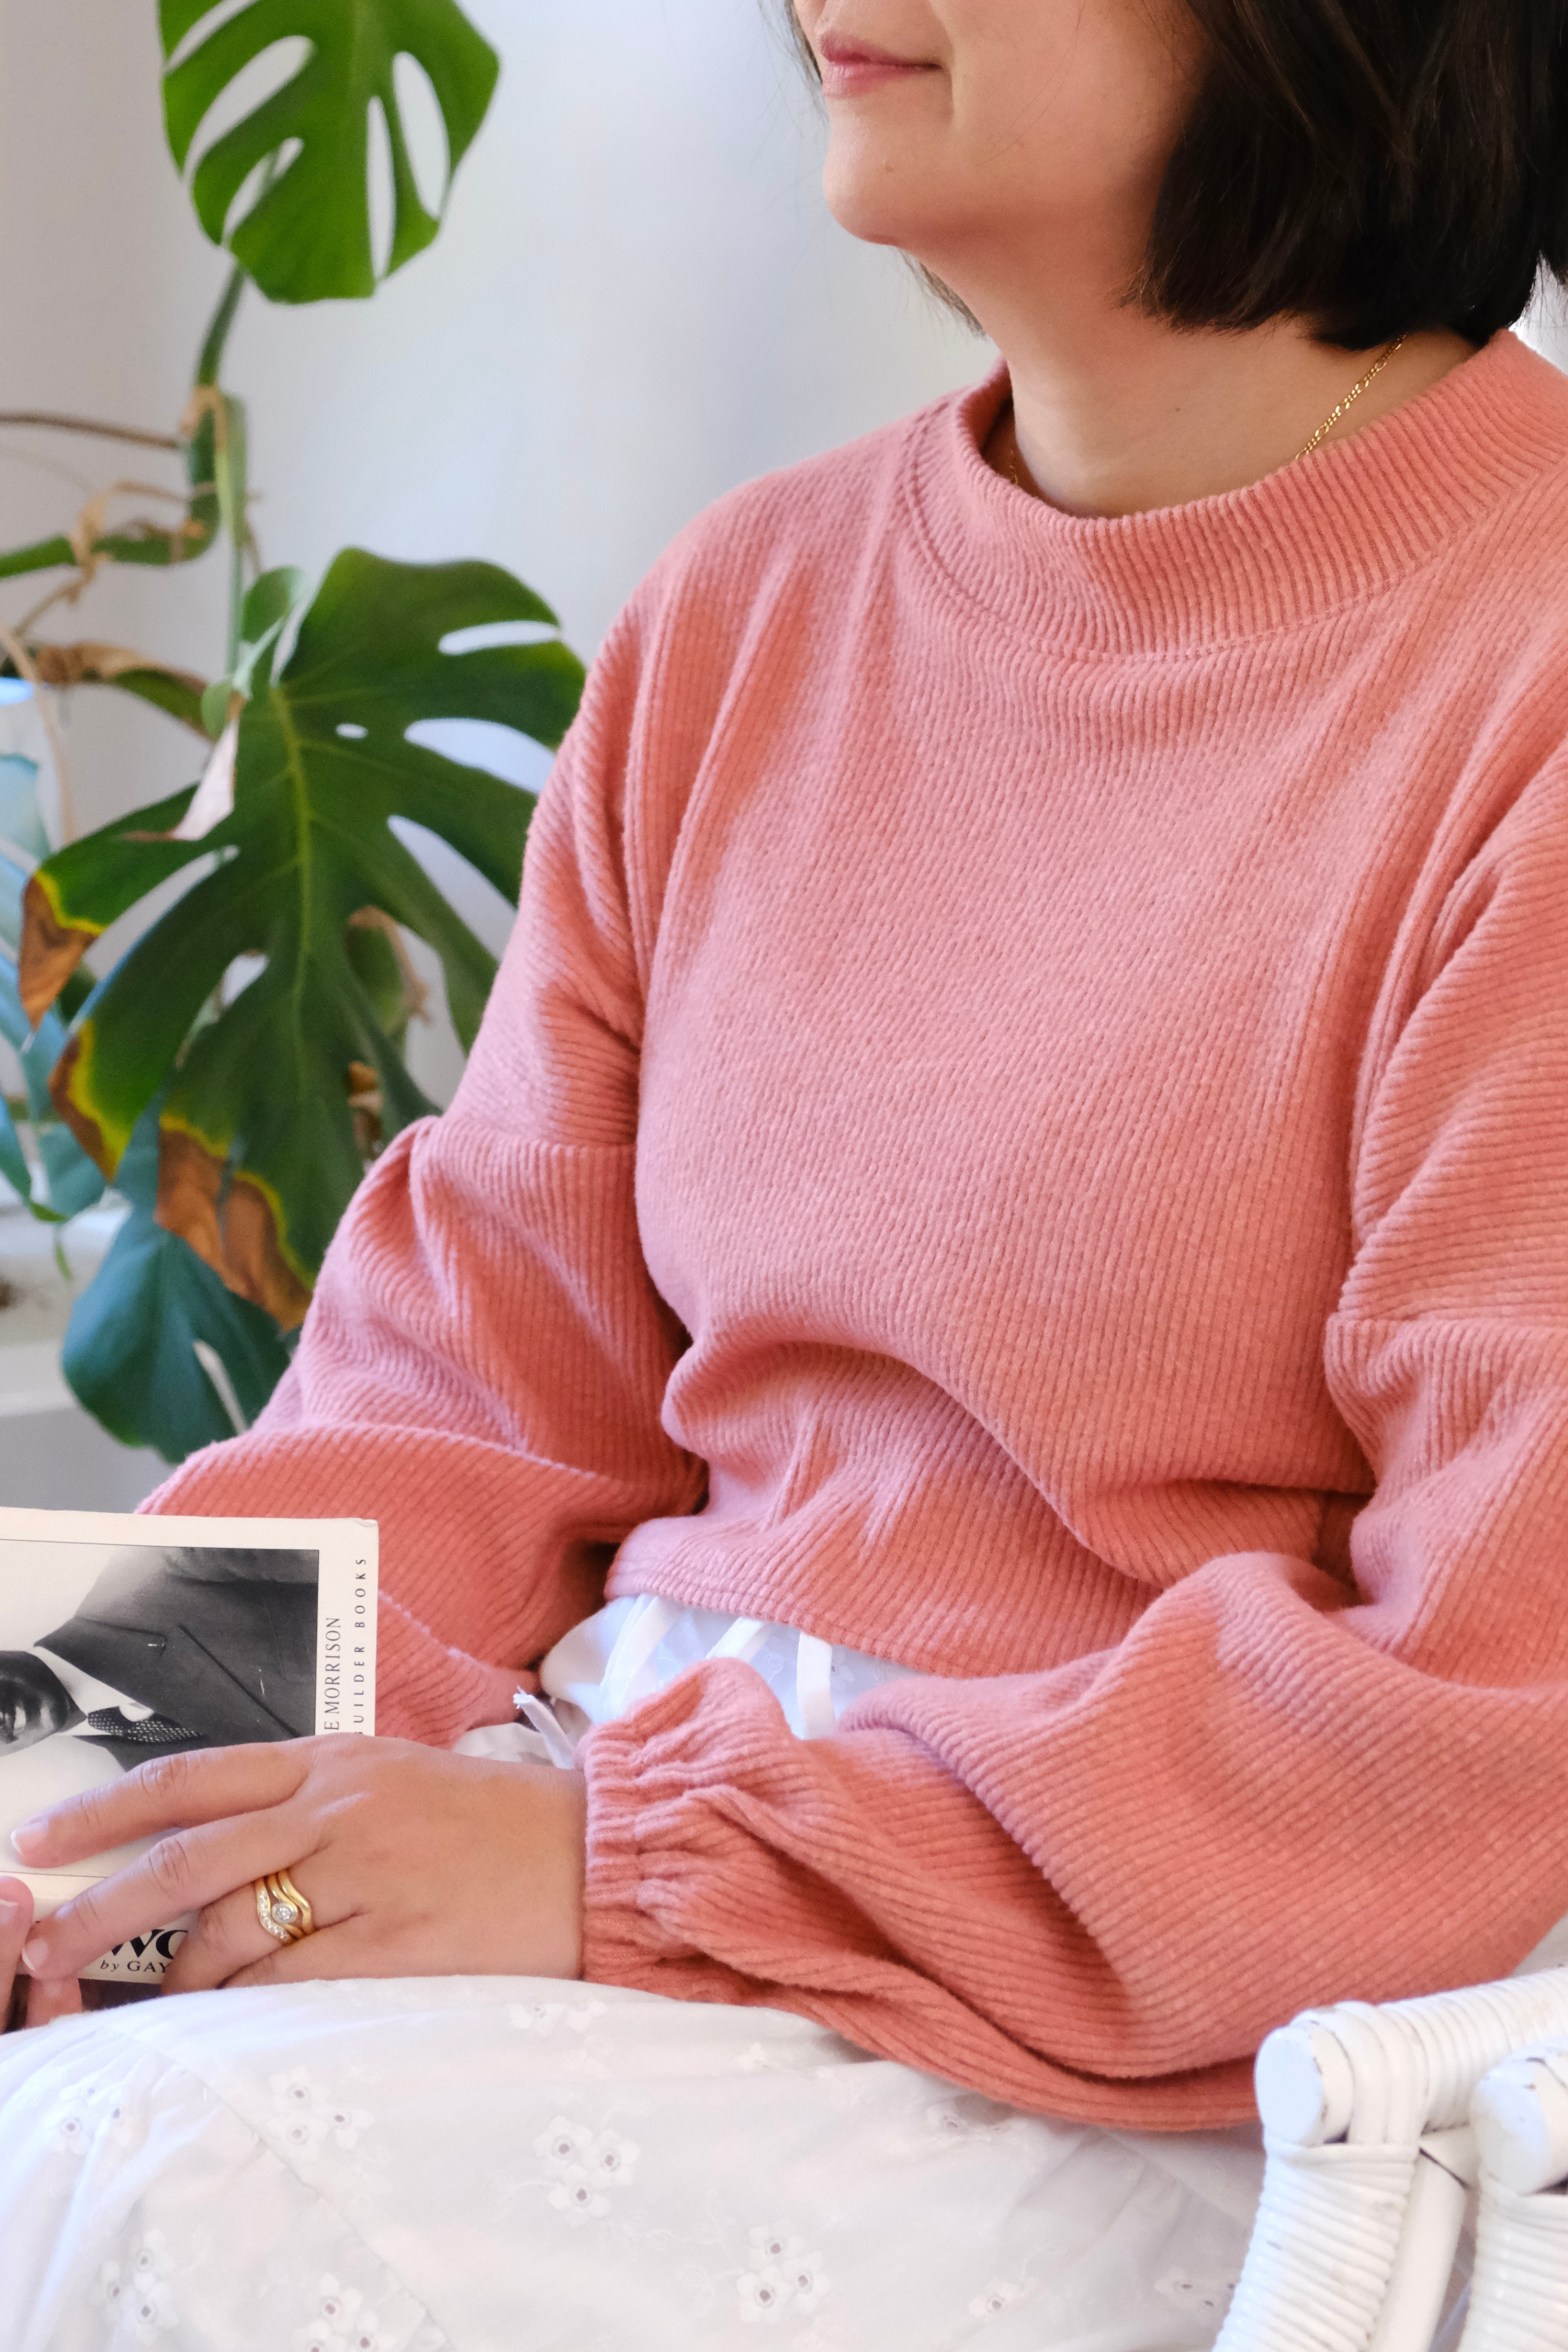
Everything went smoothly with the test and the pattern instructions were great. Sara always includes videos at some stage during the test. These are usually abridged versions, but we watch and help test those as well. I had finished my test in time and was happy to send off my fit and styled photos. So, it was a shock to me to receive a message from Sara asking me if I might have accidentally sewn my sleeves upside down! I immediately ran off to check my photos and sure enough, they are flared so I had in fact attached them upside down. Sara was very gracious, and we both had a giggle. She immediately went to include markings on the sleeve pattern to help the 1% of sewers like me. This is why she is so good to test for!
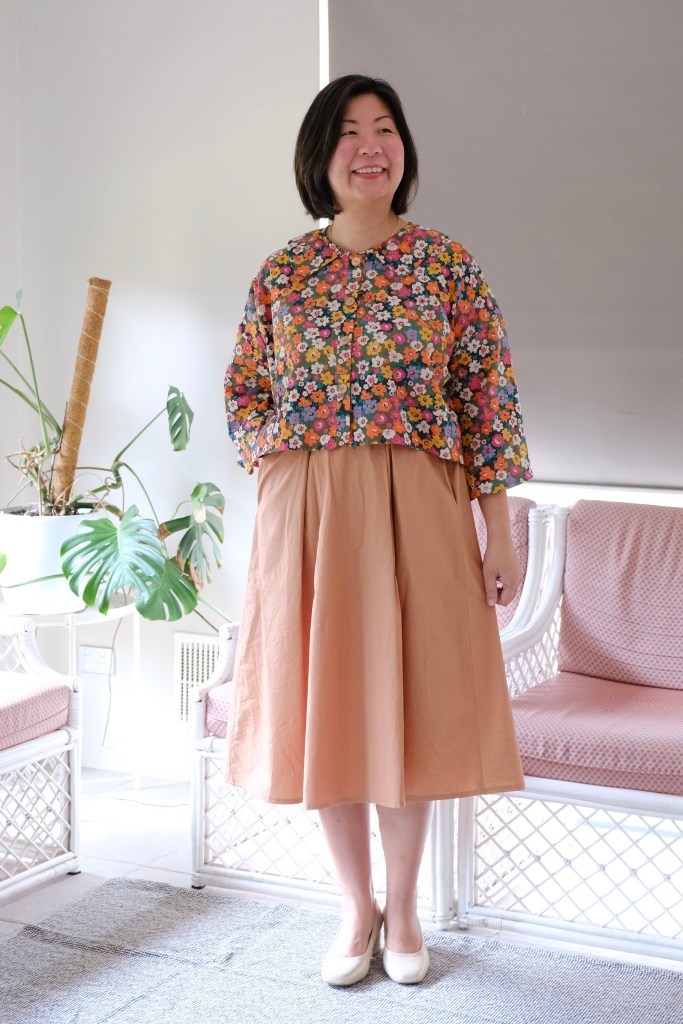

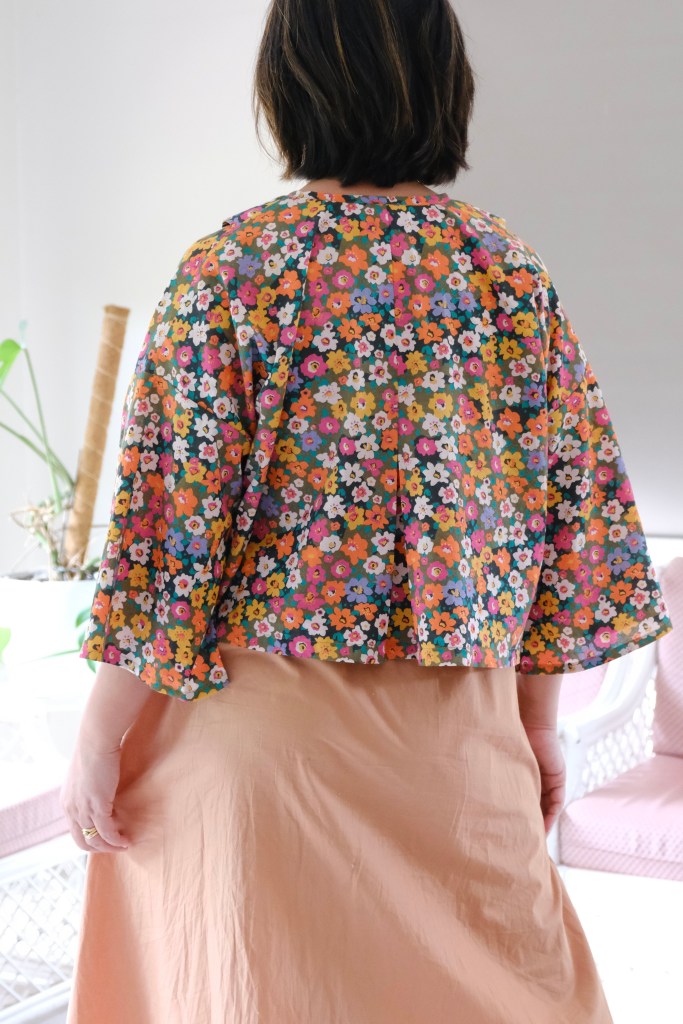
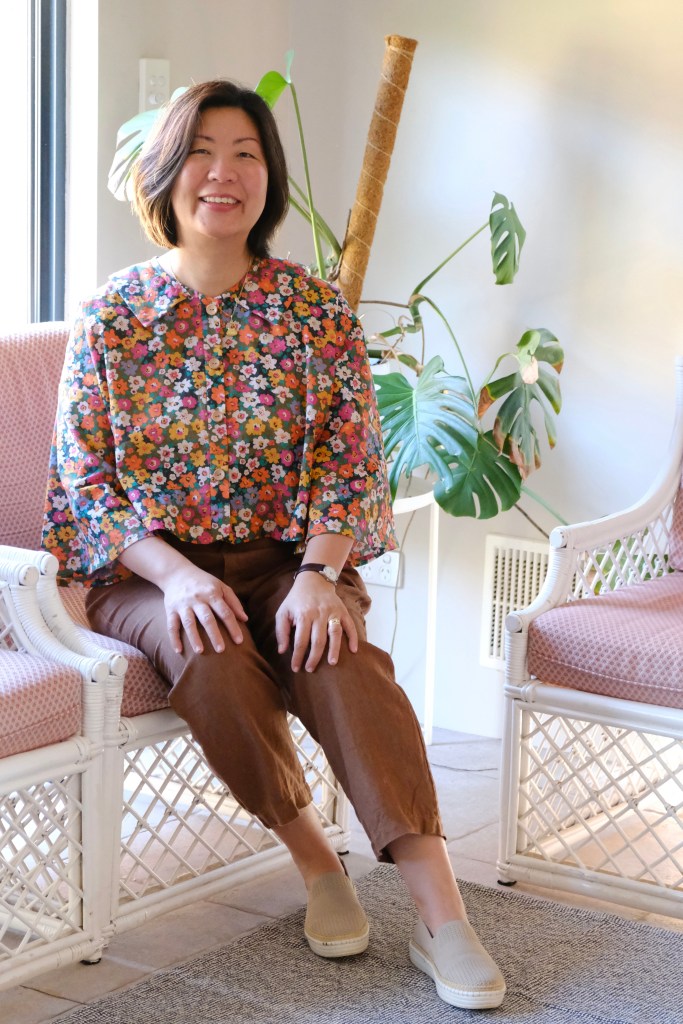
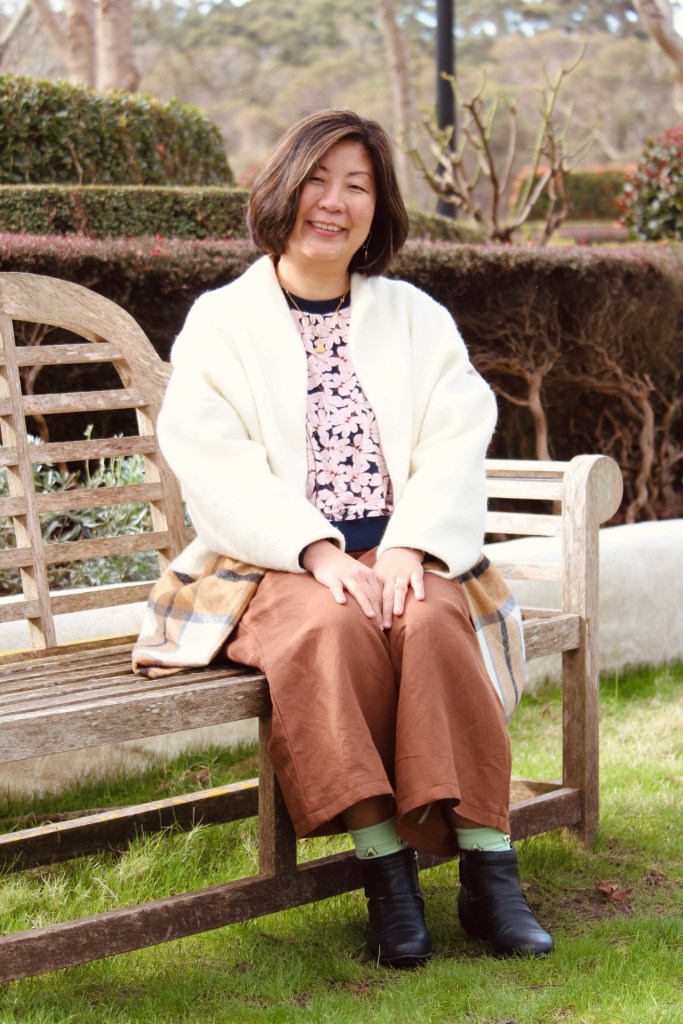
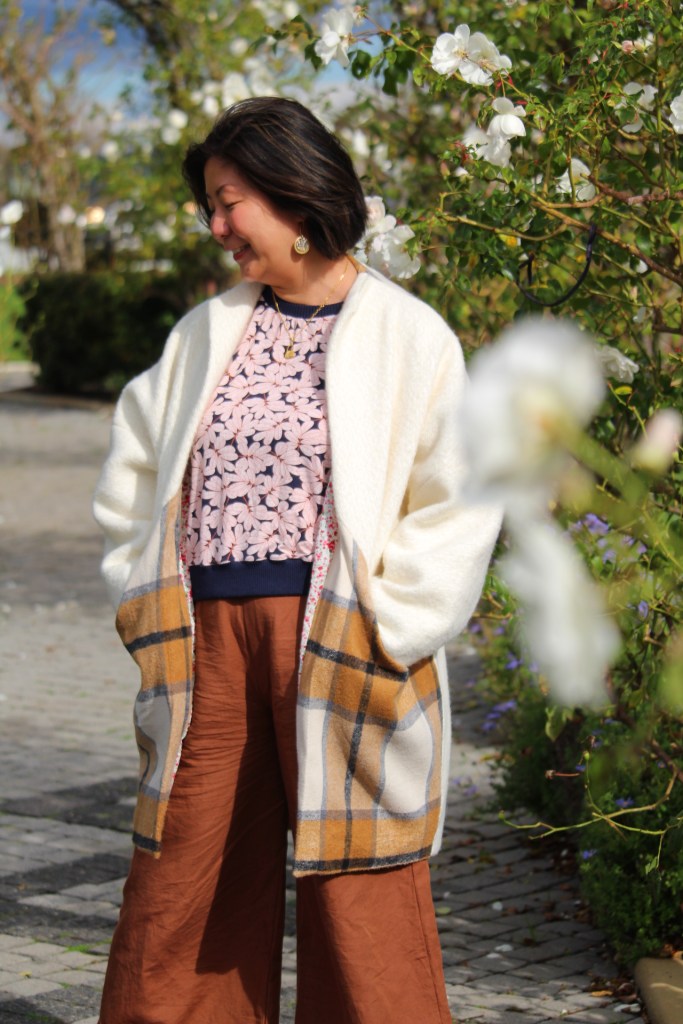
I decided to sew the pattern again with the sleeves as intended by the pattern. This time I used a plain sage coloured linen-lyocell fabric. It’s slightly heavier than the batiste I used but drapier. Lyocell is beautifully soft, lightweight, absorbent and a bit more wrinkle resistant that pure linen. My choice was mainly influenced by the fluid drape of this fabric. Again, I made the Crop Faux Collar Shirt in the size 12 without any modifications, this time attaching the sleeves correctly! In fact, the sleeves can be interchanged with other Sewing Therapy patterns like the Tie Dress or the Infit Pattern.


It feels great to be testing again. I really enjoyed the process and was so excited to share the fantastic new pattern from Sewing Therapy.
Thanks for reading and happy sewing!
X Em