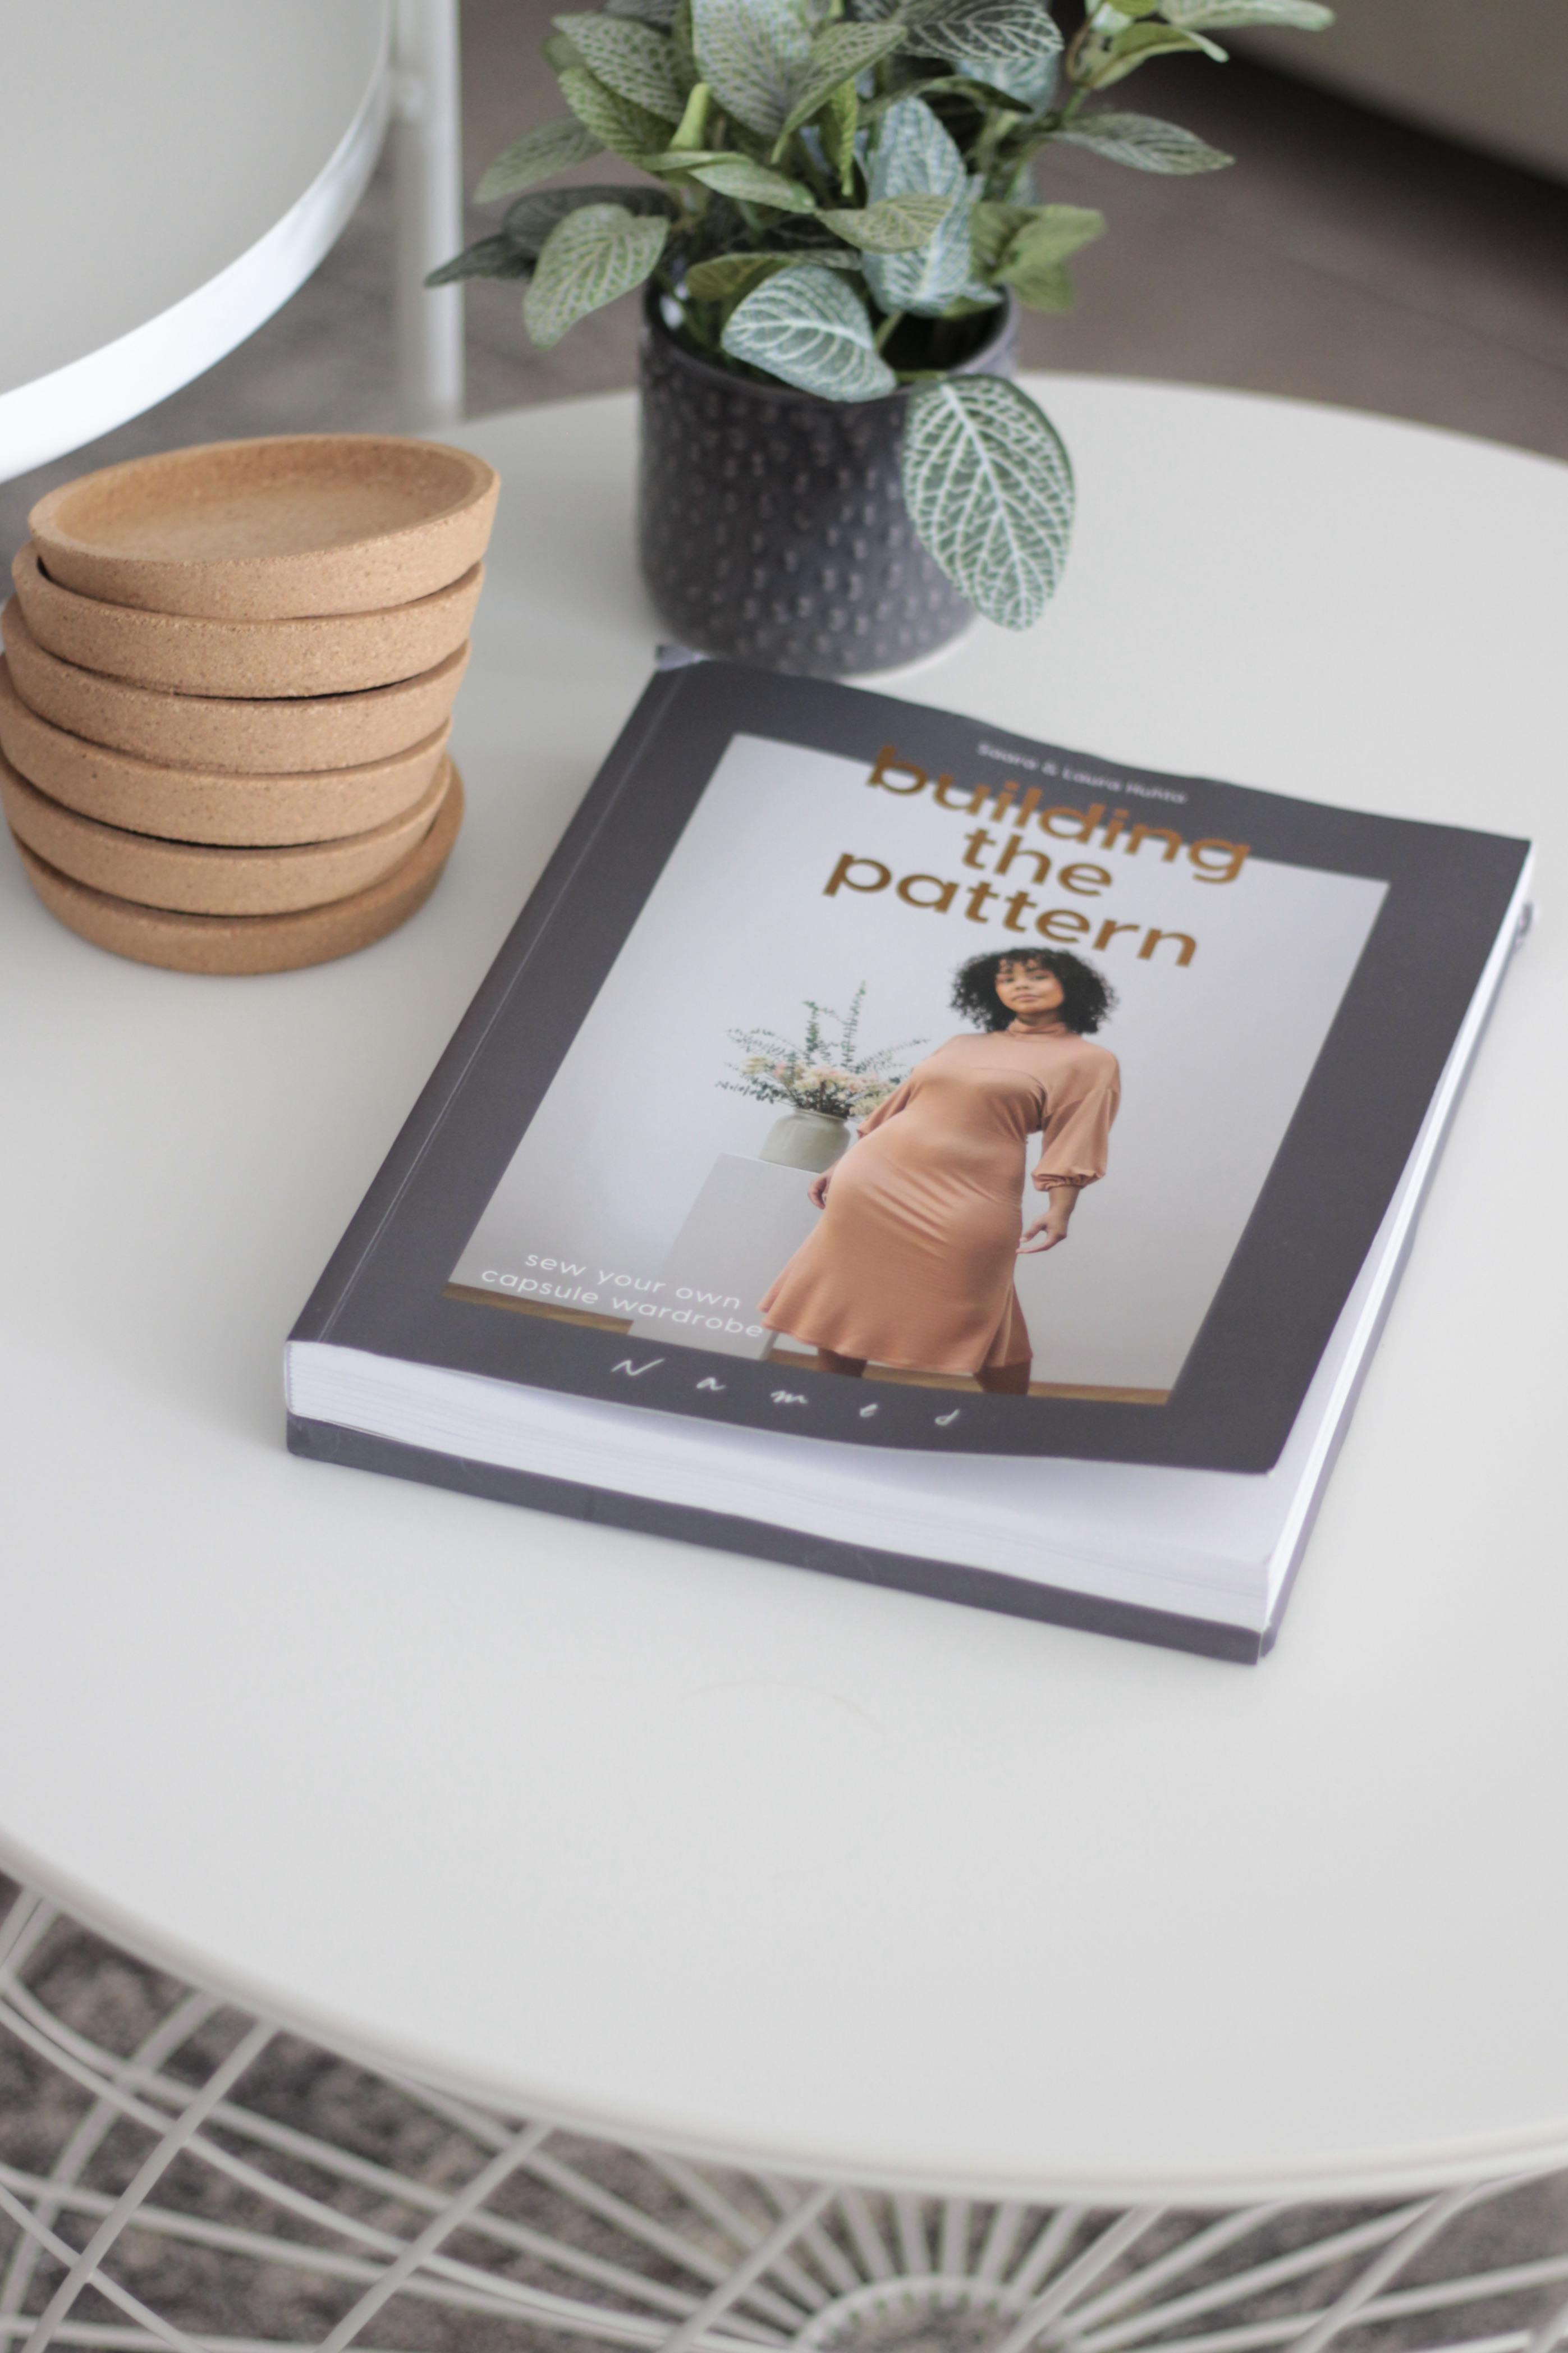
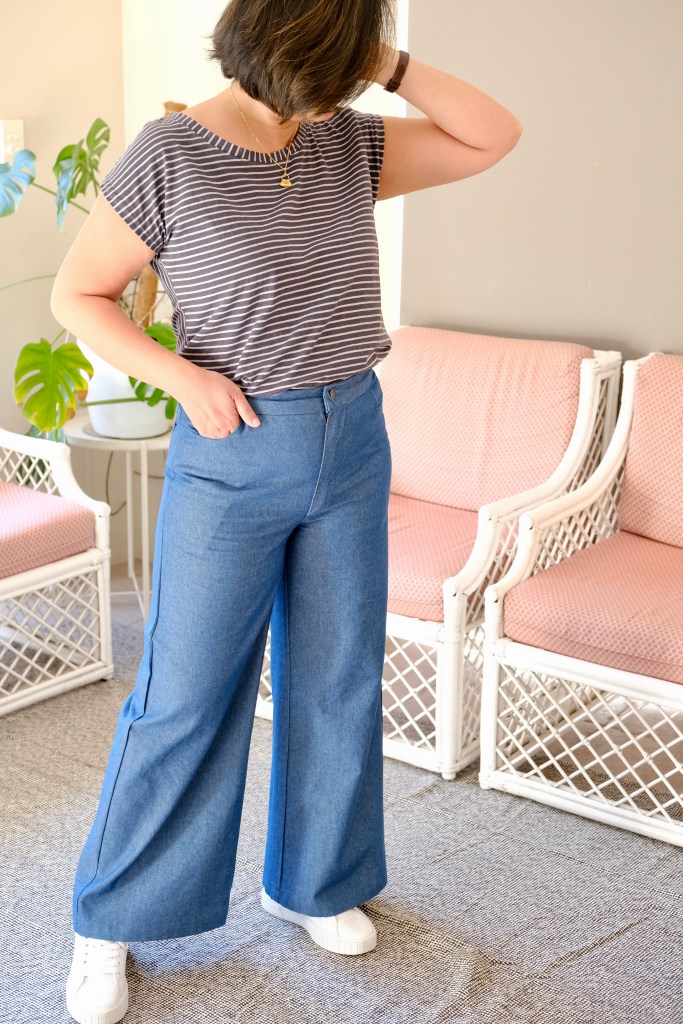
I made jeans! I’ve had this pattern now for about three years. Each year, I take the pattern out to put on my “Make Nine” list and then chicken out and the whole cycle starts again the following year. The barriers have been slightly varied each year including needing a better sewing machine, needing more skill, denim can be expensive, so I didn’t want to outlay the cost only to be disappointed. In the end, this has been the right year for me to attempt this pattern.
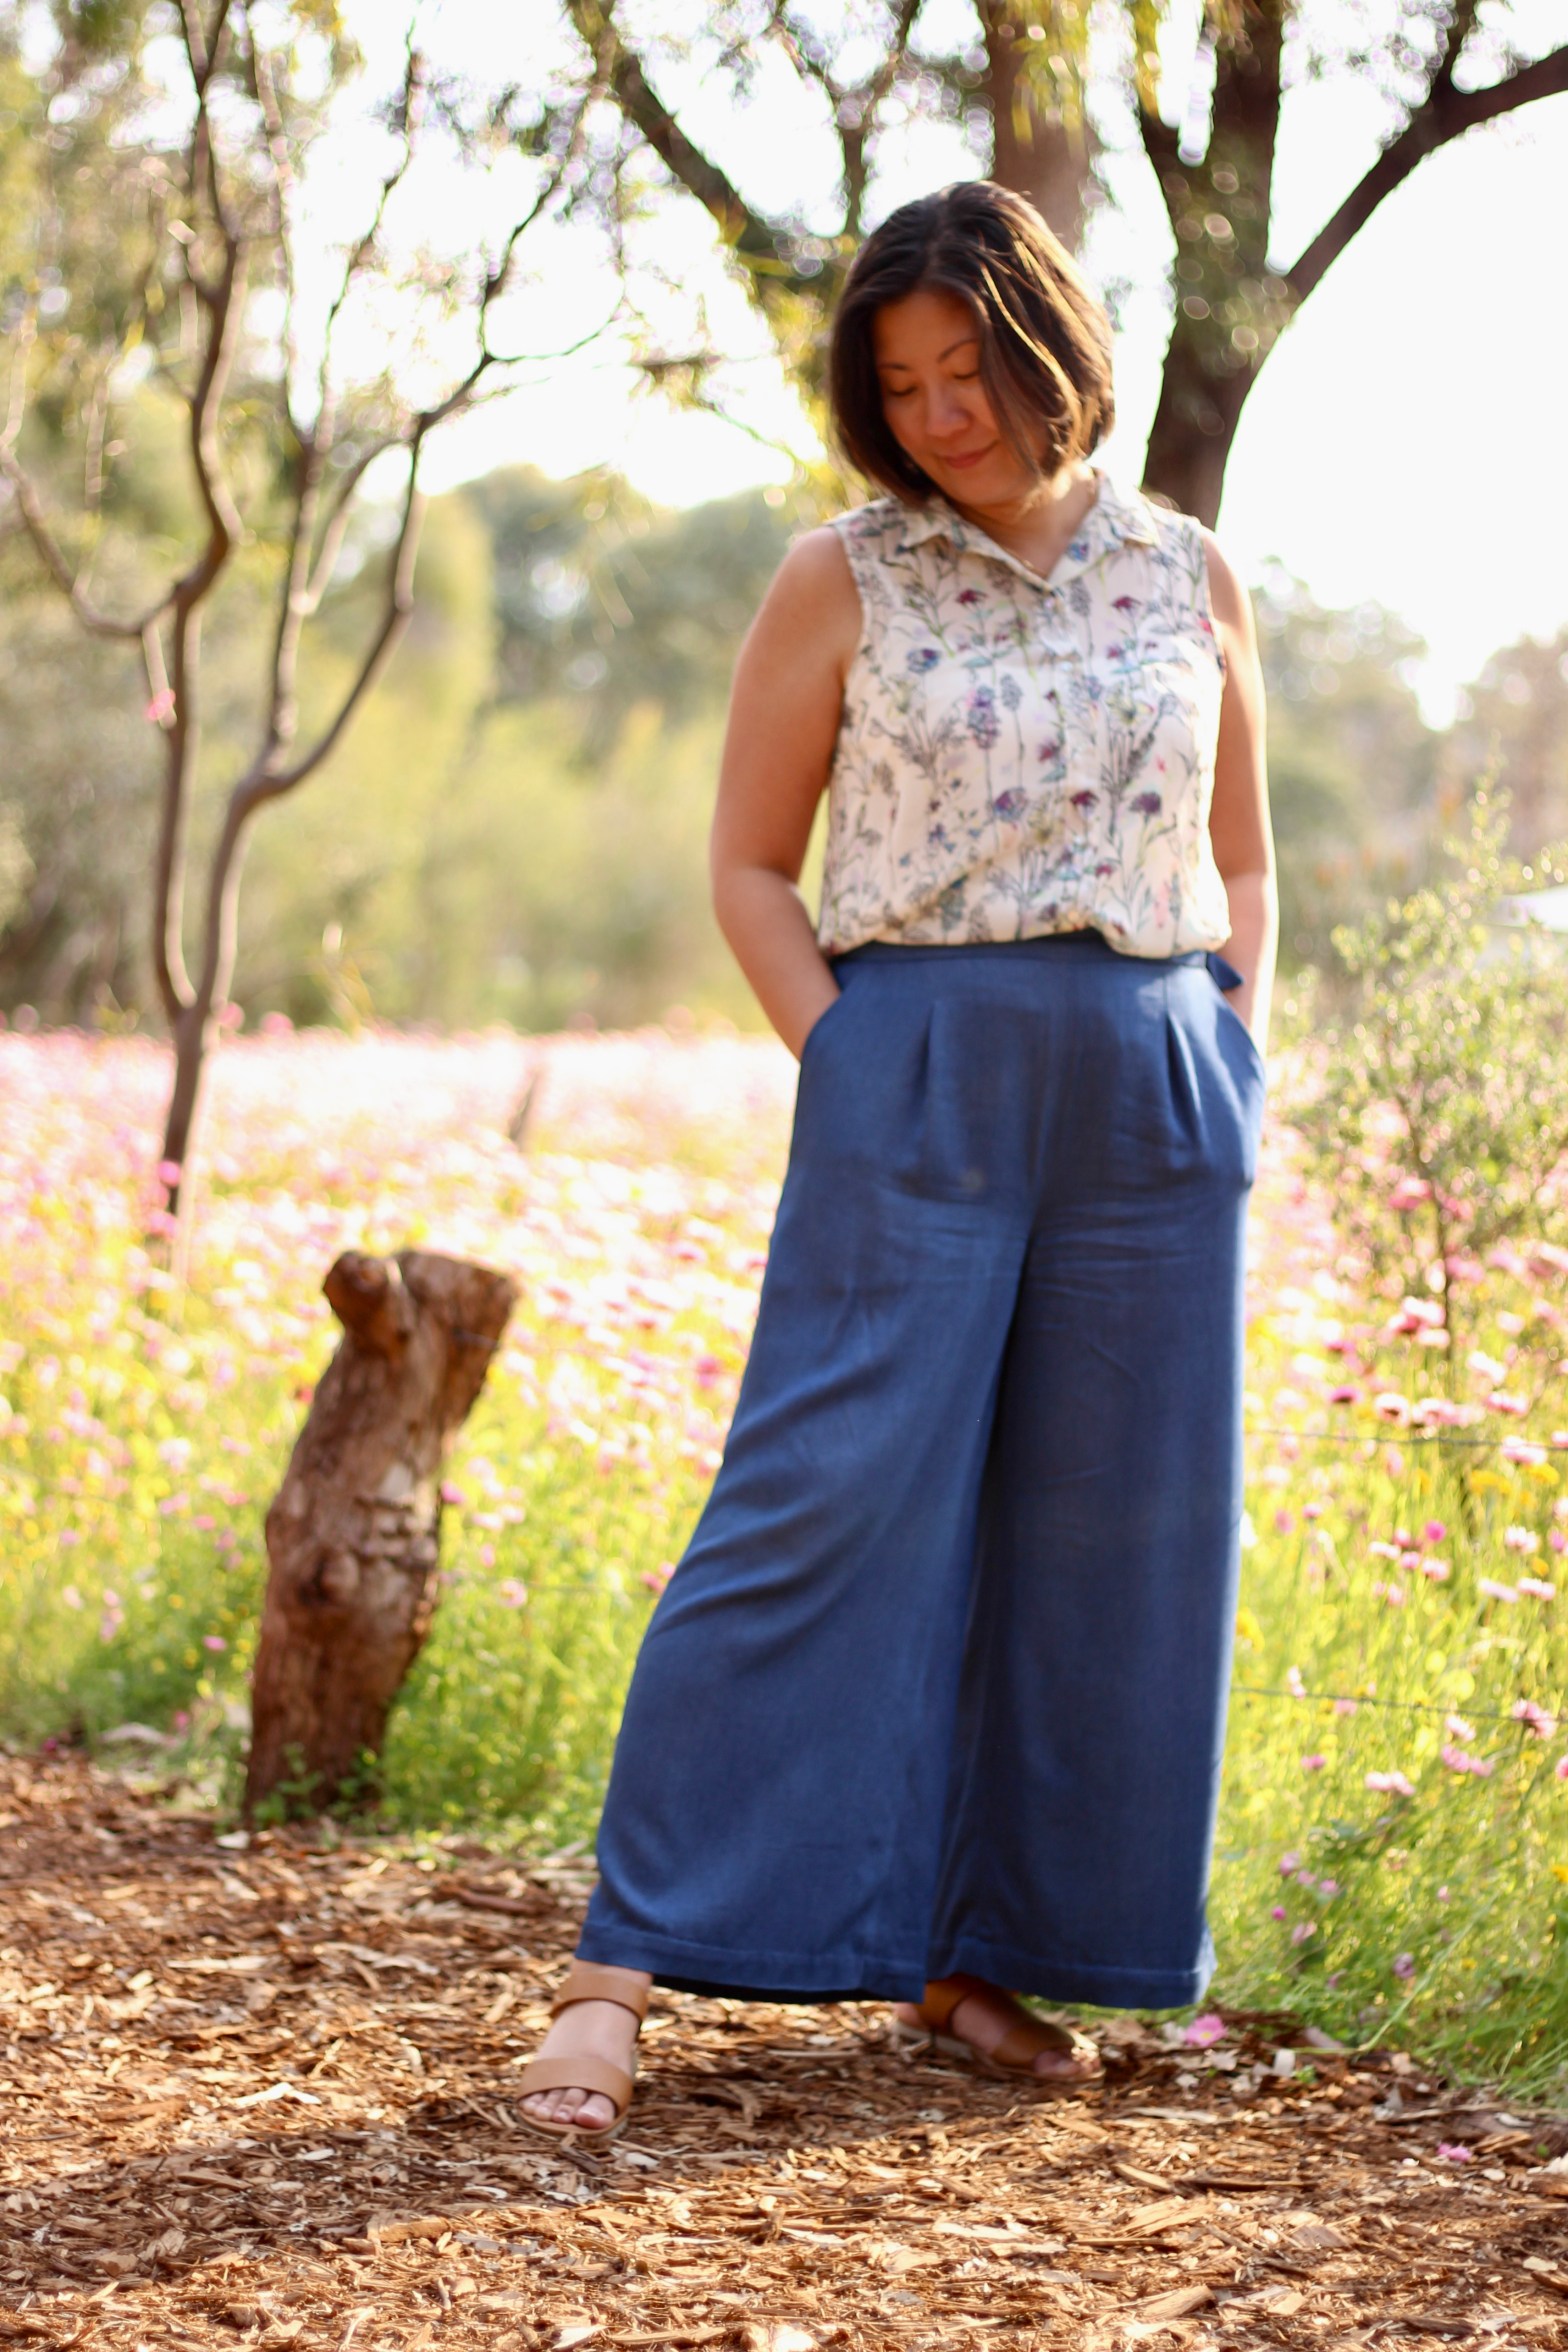
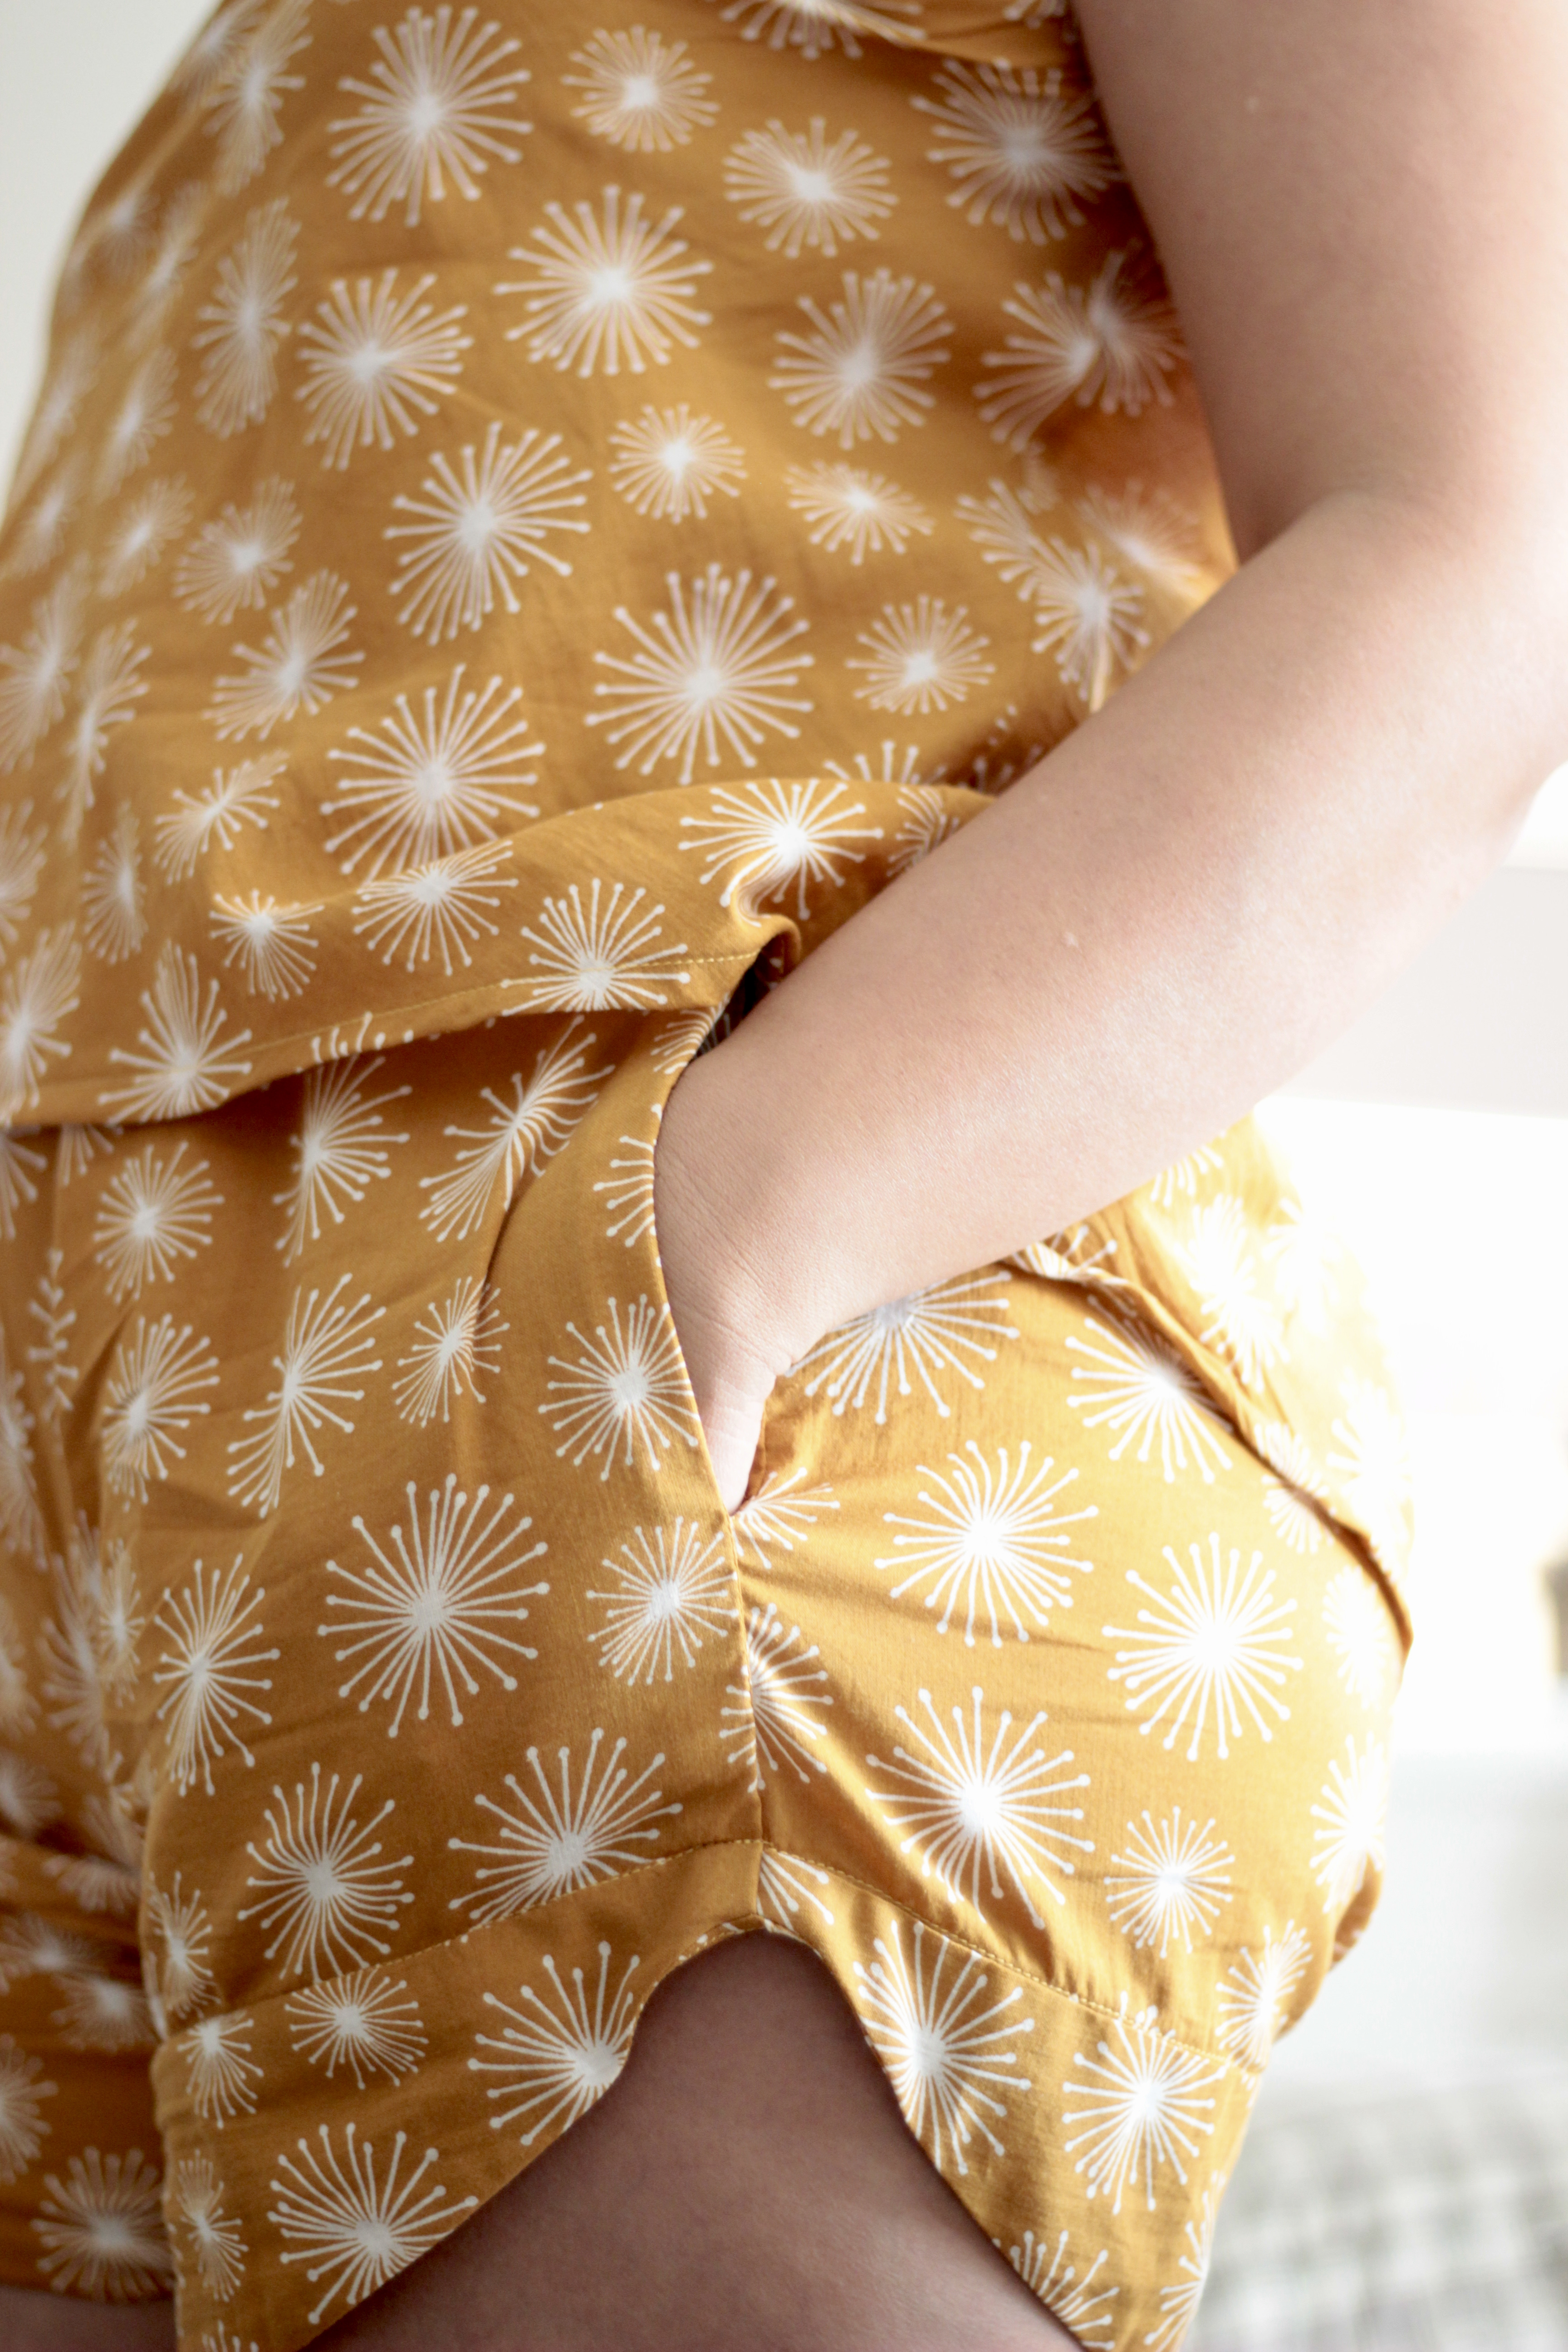
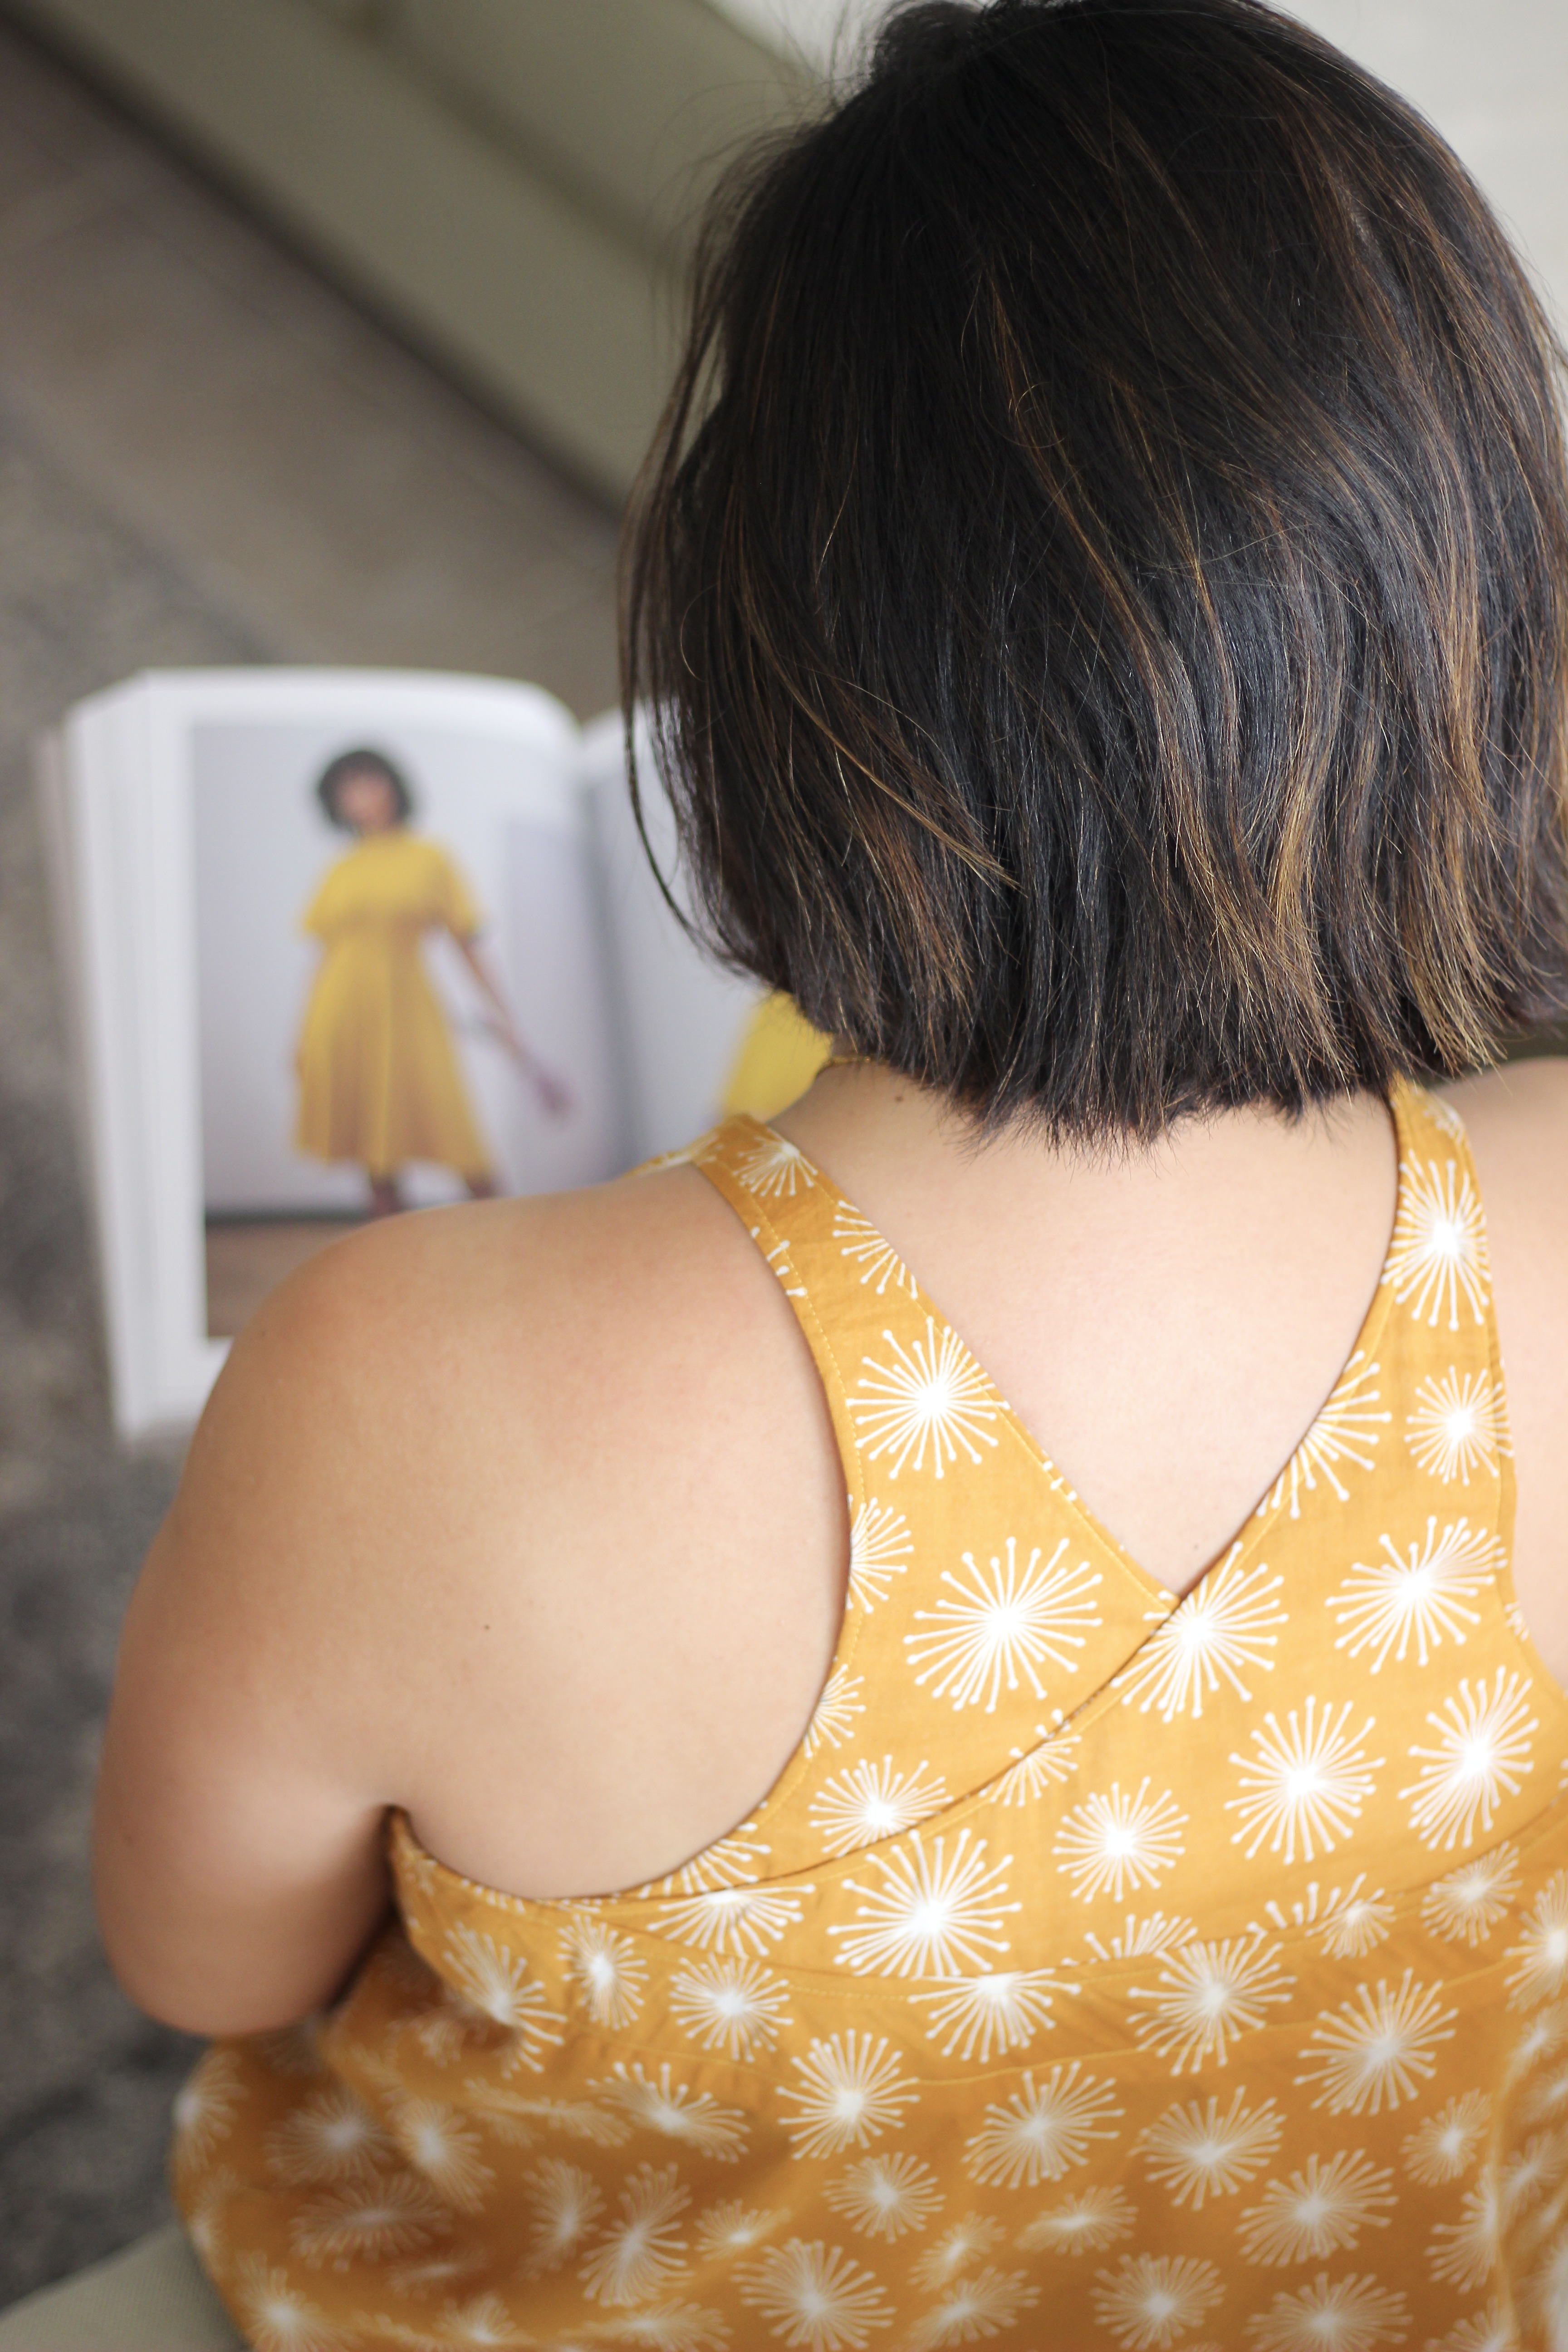
The Dawn Jeans comes in four variations, and I’ve chosen to sew the wide leg version. There is also the straight leg version which I will return to sew as well. I love that everything is customisable and there are lots of suggestions on how to do this. I started out thinking I would use a contrasting brown topstitch but after seeing on the zip-fly, I decided to use matching thread for a more modern sleek look. This was also because it’s my first iteration of the pattern and I was more interested in making sure the fit was right.
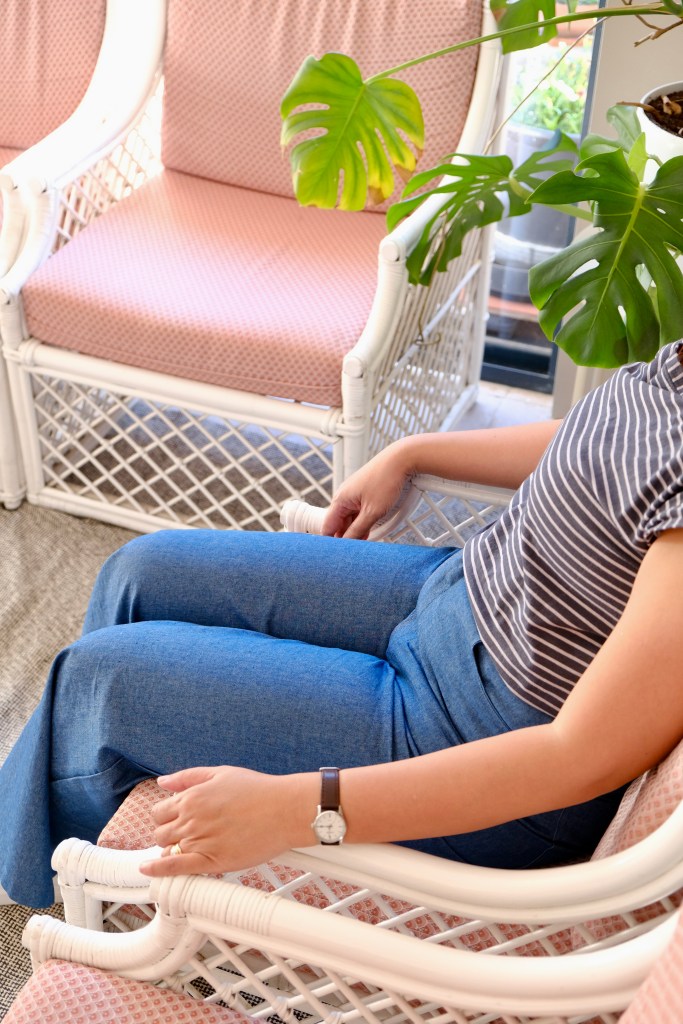
So, the pattern has a vintage inspired fit with minimal ease at the hips and is high waisted. I was worried about fit because I’ve never had a comfortable “ready to wear” pair of jeans. I find that I often don’t fit into high waisted fitted pants because of my belly. Measuring myself just at the waist and hips does not really give me a good guide to how my body would fit so I went to the Cashmerette site and used the measuring guide for the Creston Jeans. I haven’t made those jeans yet, but I love the guides on fitting that Cashmerette provide. I’ve put my measurements in the table below, but you can also check out the Cashmerette Blog for their guide. I used the elastic band method to get my measurements.
| Natural Waist | 33” |
| At Waistband | 36” |
| Crotch length | 27 ¾” |
| Rise | 12” |
| In seam | 28” |
| Hip | 40” |
Using those measurements, I decided to grade the Dawn Jeans from a size 14 waist to size 12 at the hips and to use the regular full inseam. The sizing options cater for tall and crop inseam as well. I couldn’t decide if I should sew the shorts first as a toile, but impatience made me jump into the deep end.
The pattern is drafted for non-stretch denim, so I chose a rigid ring spun 6oz (200gsm) denim. It’s a lighter weight denim which still holds its shape but easier on the sewing machine. I’m ordering a 10oz (338gsm) vintage denim for my next attempt.
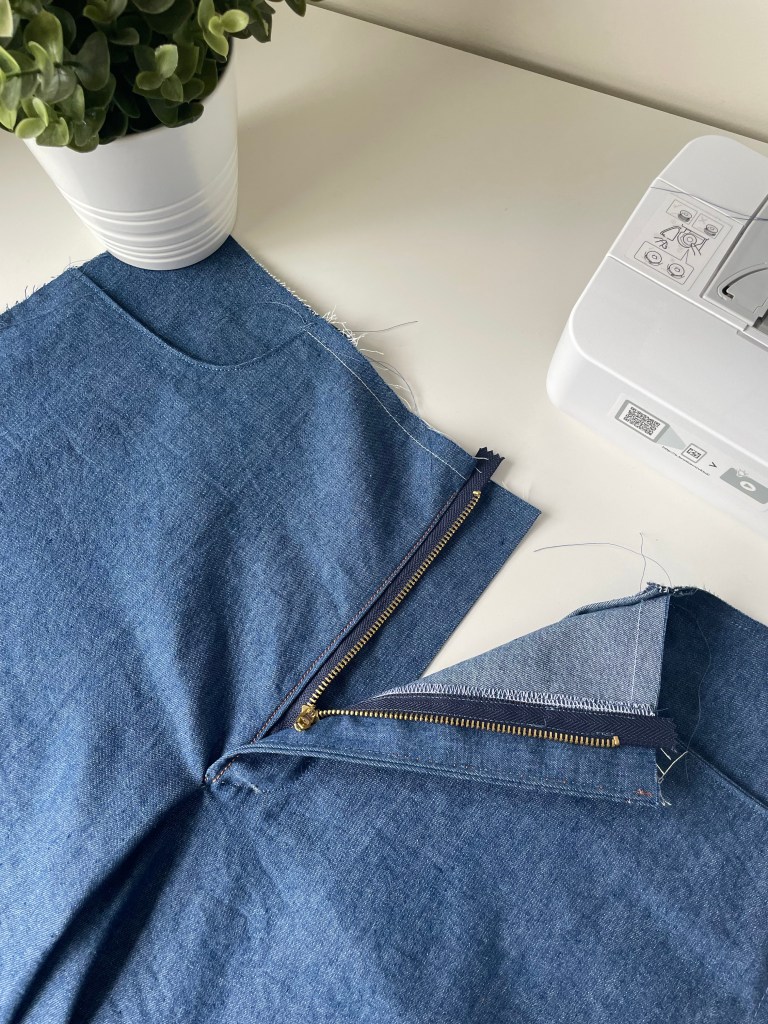
Making jeans was not a weekend project for me. It took several weeks to work through all the details which made it thoroughly enjoyable. I love how the first thing you tackle in the pattern is the zip fly. I’ve only ever done this once before when I made the True Bias Dani Pants. It was a lot easier this time. I haven’t made a comparison of the methodology, but my zip extension sits very neatly, and I was so happy with the result. I think slowing down also helped.


I did attempt to topstitch but the sound that my machine made stressed me out. I did learn that to have neat topstitching I needed a longer stitch length and a slight increase in tension. It would also be handy to use a second machine for the topstitching. This will be something I return to in the future. The instructions for the topstitching are incredibly detailed and it will give it a “classic jeans” look. Instructions throughout the pattern were very comprehensive with illustrations. I found the online photo tutorials were very helpful and referred to them often. Luckily, I had saved the initial email sent when I bought the pattern with all the links because I couldn’t find them by myself on the website. It’s because the Ash Jeans are used for the Dawn Jeans as well.
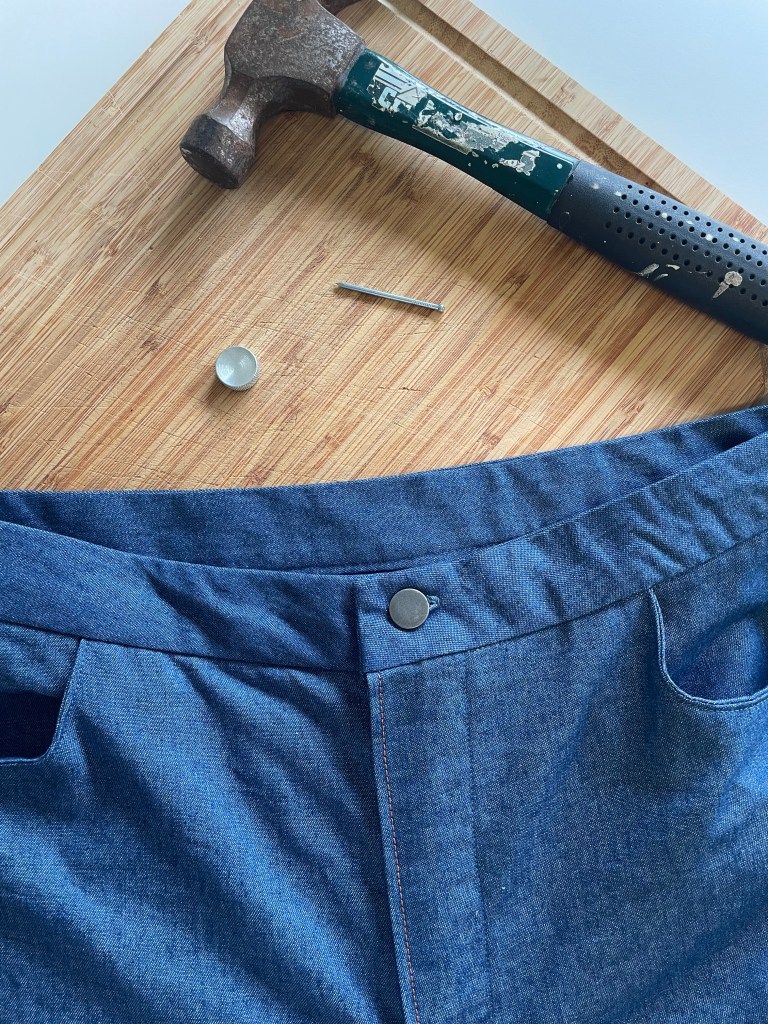
Attaching the shank jean button was not as difficult as I thought it would be. I bought the button kit a while ago when I bought the Dawn Jeans pattern. My pattern came with a few options and a separate instruction booklet for these options. There’s a button fly, exposed button fly, and zip fly options. My toolbox did not have an awl, so I used a nail which worked fine.

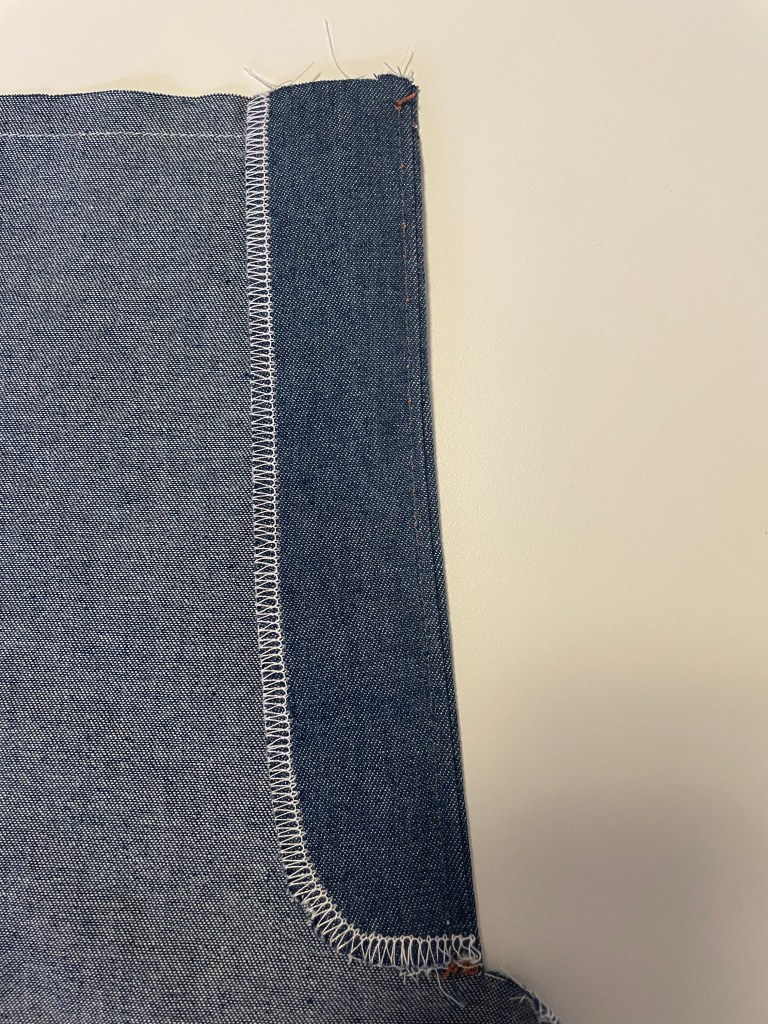
There are a few things I would like to improve the next time I make this pattern. There are instructions to clip into the curve of the front pant seam. I followed the instructions, but I regret this as I think this will weaken the seam and might disintegrate with laundering. I wish I had left it unclipped. Would anyone know why this was instructed? I’m going to try the contrast stitching but using two spools or maybe I’ll be brave and use the topstitching thread on my spare machine. Oh! Also, I put the coin pocket on the wrong way so now it’s a secret pocket. It faces inwards instead of out. I was so sure that the instruction says to put the pocket facing and pocket bag wrong sides together, but it was too late to correct it by the time I realised. I’m not too upset, I think it’s handy to have a secret pocket.


I’m not going to wait so long to make this again. I’ve really enjoyed the challenge and the details of this pattern. Hopefully this will give you a push if you’ve been wanting to try sewing jeans.
Thanks for reading and happy sewing!
X Em