Setting down some goals for the new year like everyone else! Creatively, I don’t think the way I’ve sewn in the past year, has advanced my sewing. It’s been a bit random, and I’ve just listed a bunch of patterns that I wanted to sew. When I first started, my sewing was more targeted like when I wanted to learn how to install zips, I chose a lot of patterns that had zip installation in the pattern. Returning to those learning based goals, I’m going to slow the process down and really think about each detail of the process which will also mean that I document the process a bit differently. Don’t get me wrong, I’m still quite spontaneous in my sewing endeavours and when inspiration hits, I will probably still want to have a speedy sew or two but generally, I think it will be useful to record some of the work in progress in more detail.
Back to thinking about documentation, I find documenting my makes helps my learning process so I will continue to do it. I’m mainly focussing on skills but I want to expand my knowledge on fabric. I’ve built up quite a collection over the few years so this year I’m combining my Make Nine with a new prompt called Sew What I Have. The idea is to sew what fabric you currently have in your stash. I’m not promising not to get more but I’m going to be better at reaching for what I have before I go shopping.
What will this mean for my Blog? I’ve been recording my makes according to the items made. I’m thinking of expanding this to highlight some of the skills that are featured in each pattern which might make the blogs more useful and more of a discussion platform. I’m mainly interested in learning so I’m always grateful when other makers tell me how they might do something. I’m happy with constructive feedback. Afterall, I’m only self-taught and have only been sewing for three and a bit years. I fully respect the industry experts and the makers that have been sewing since they were able to reach the sewing machine.
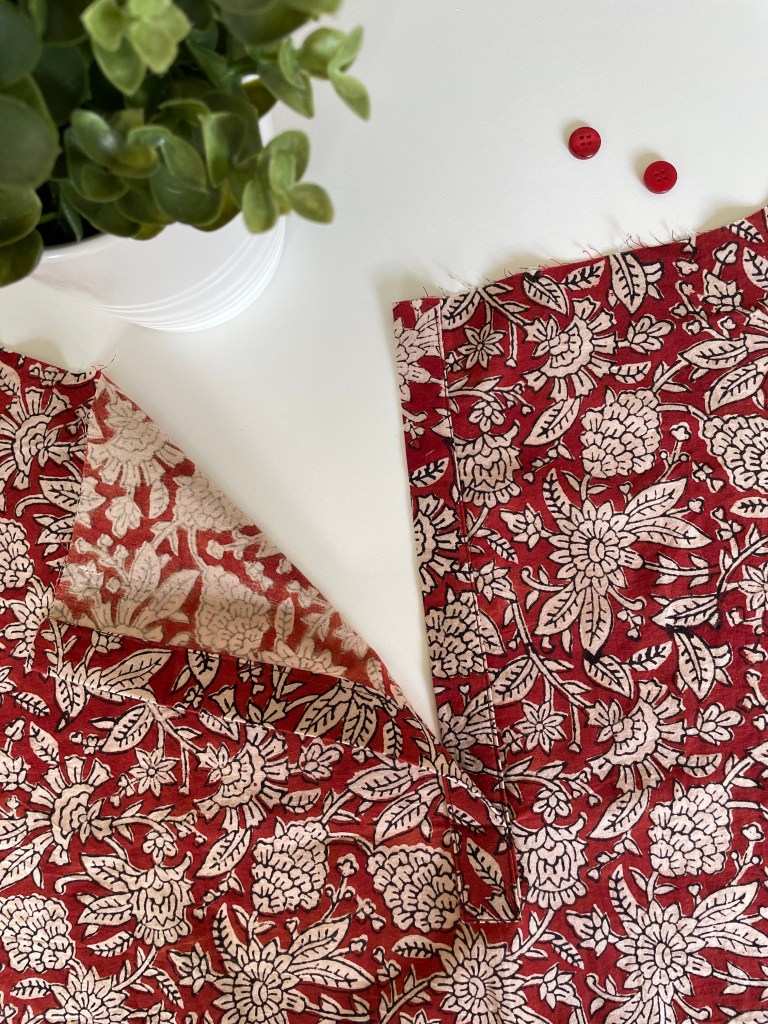
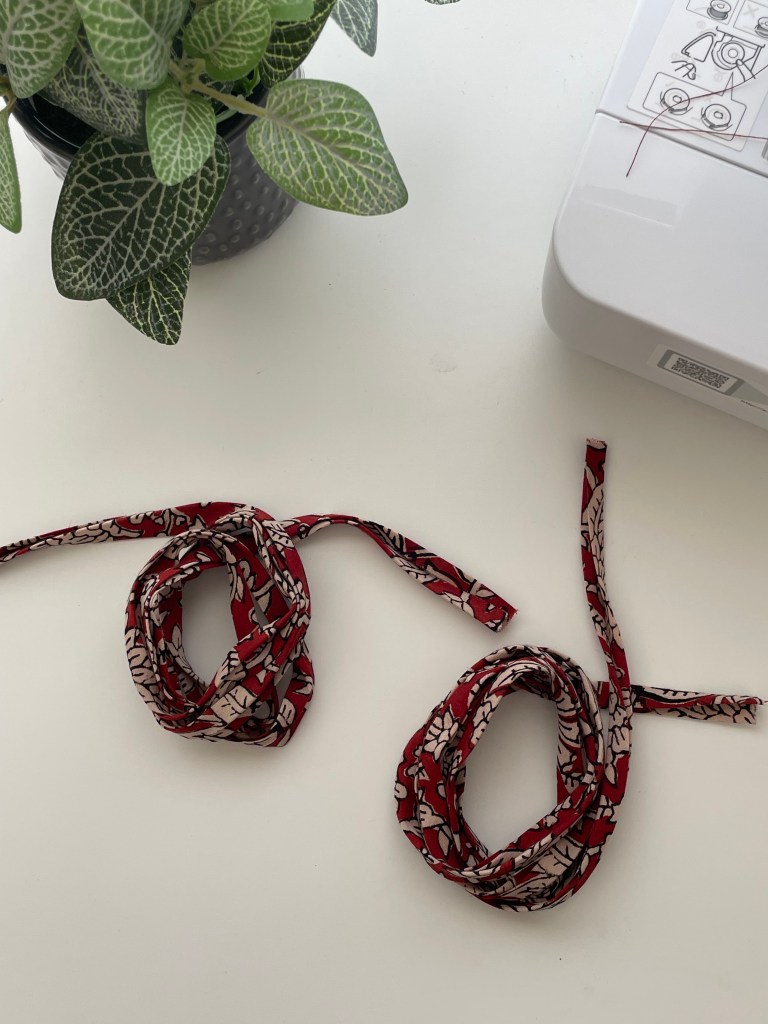
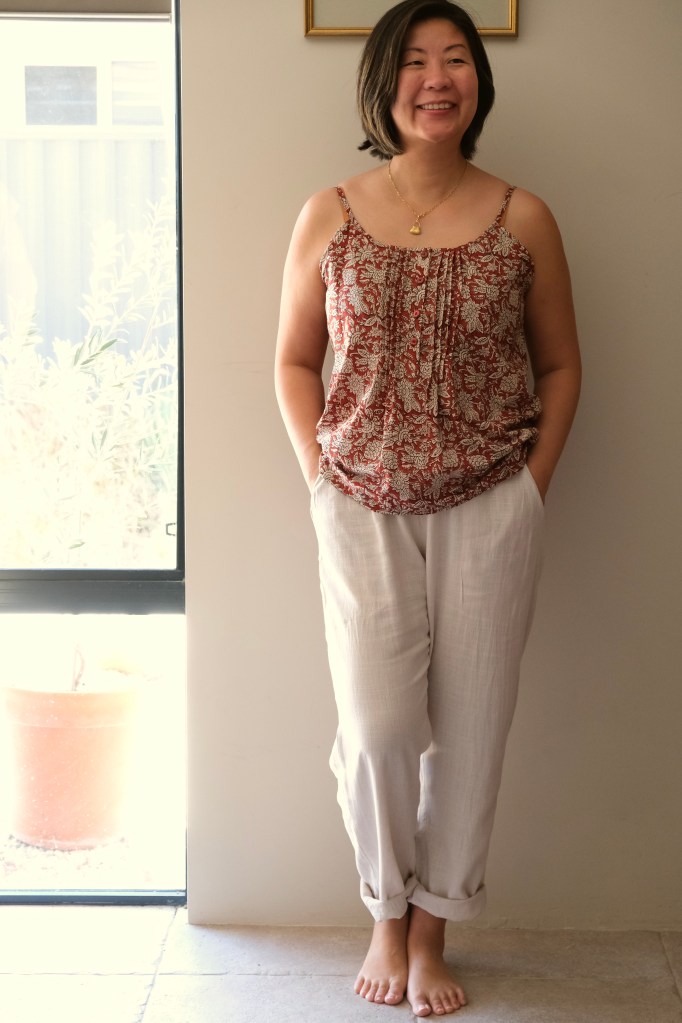
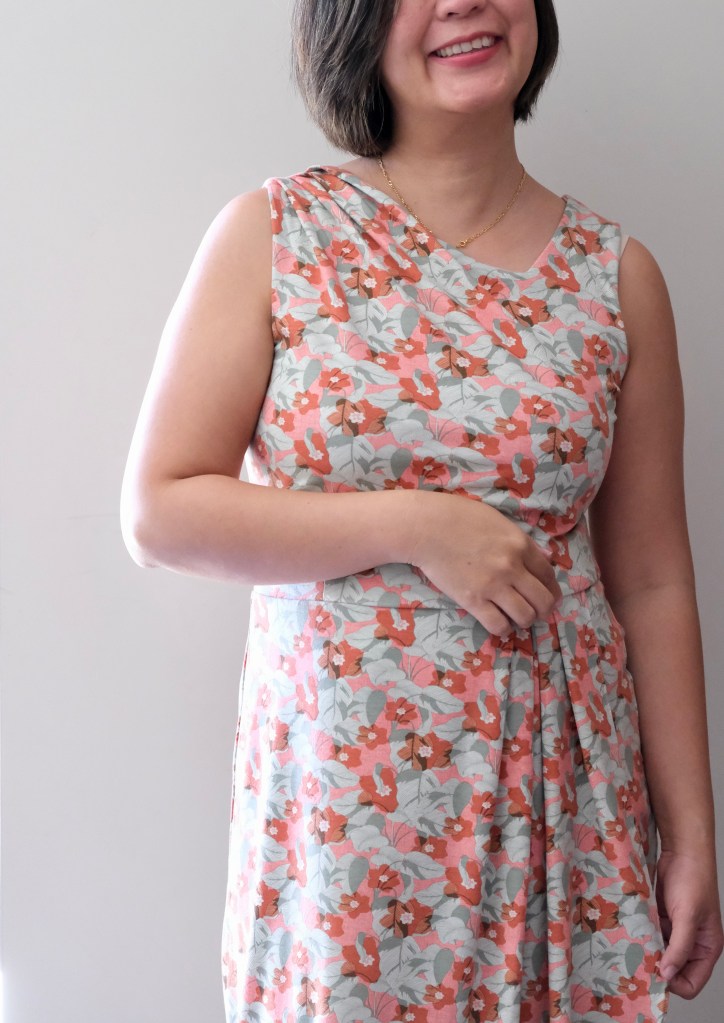
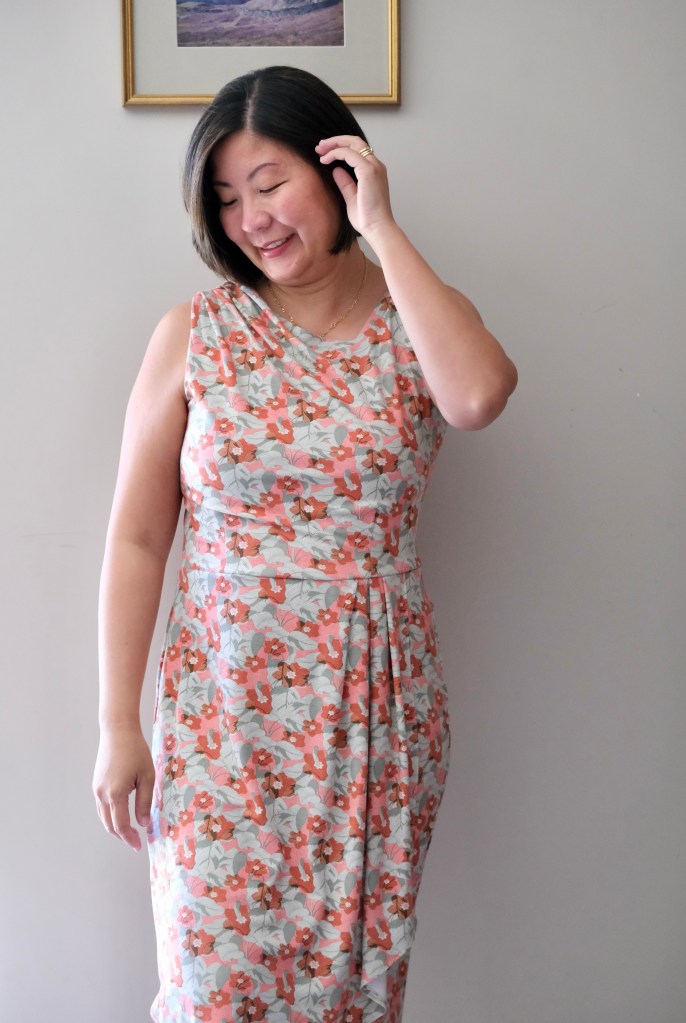
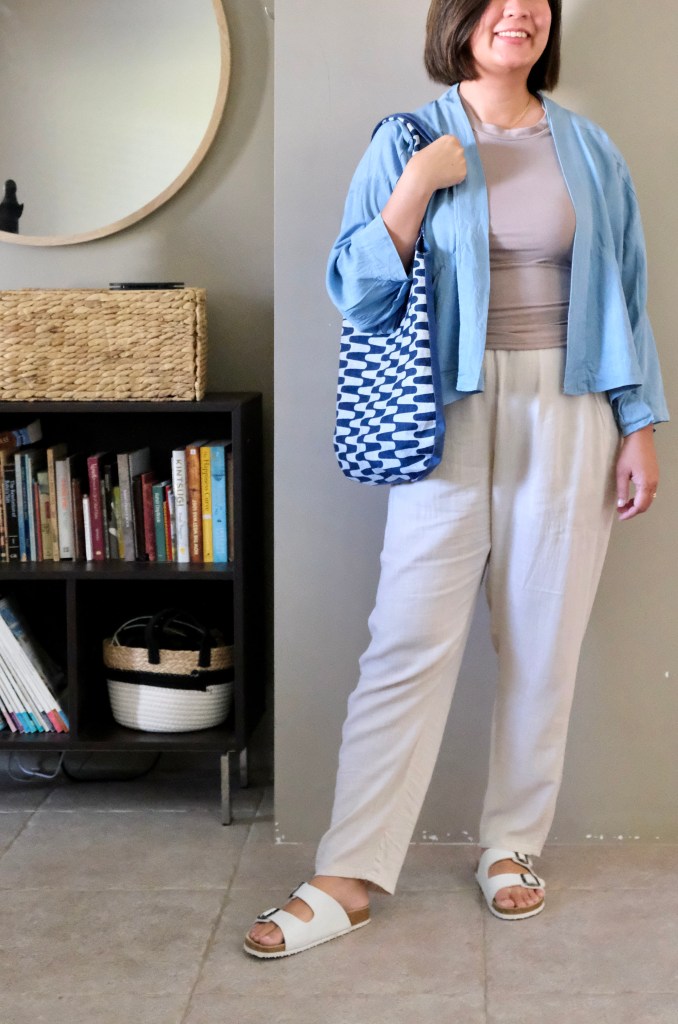
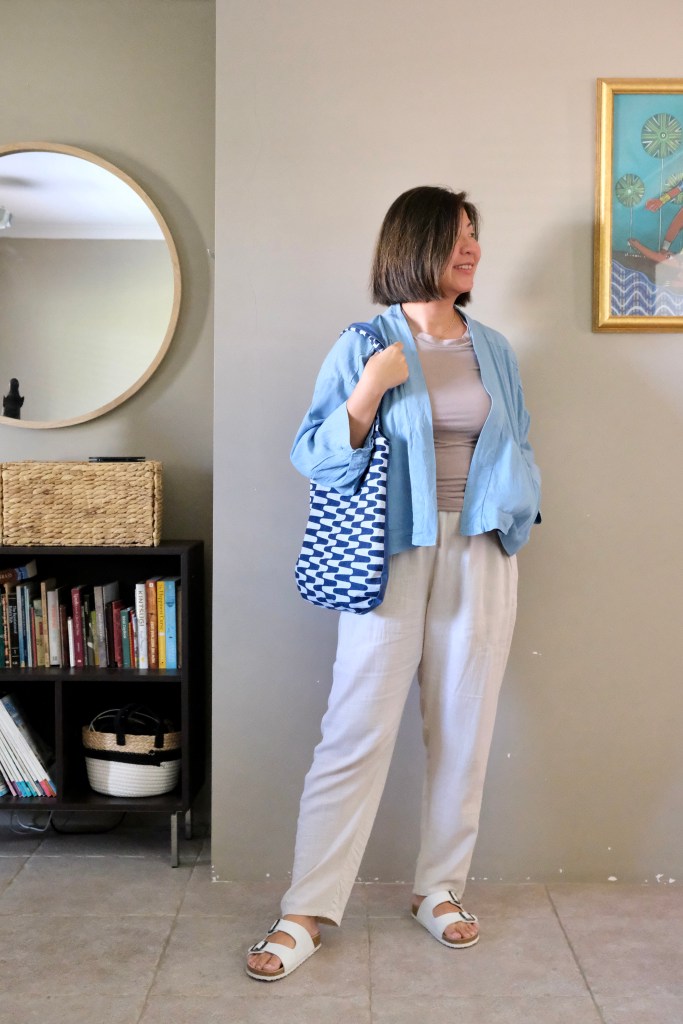
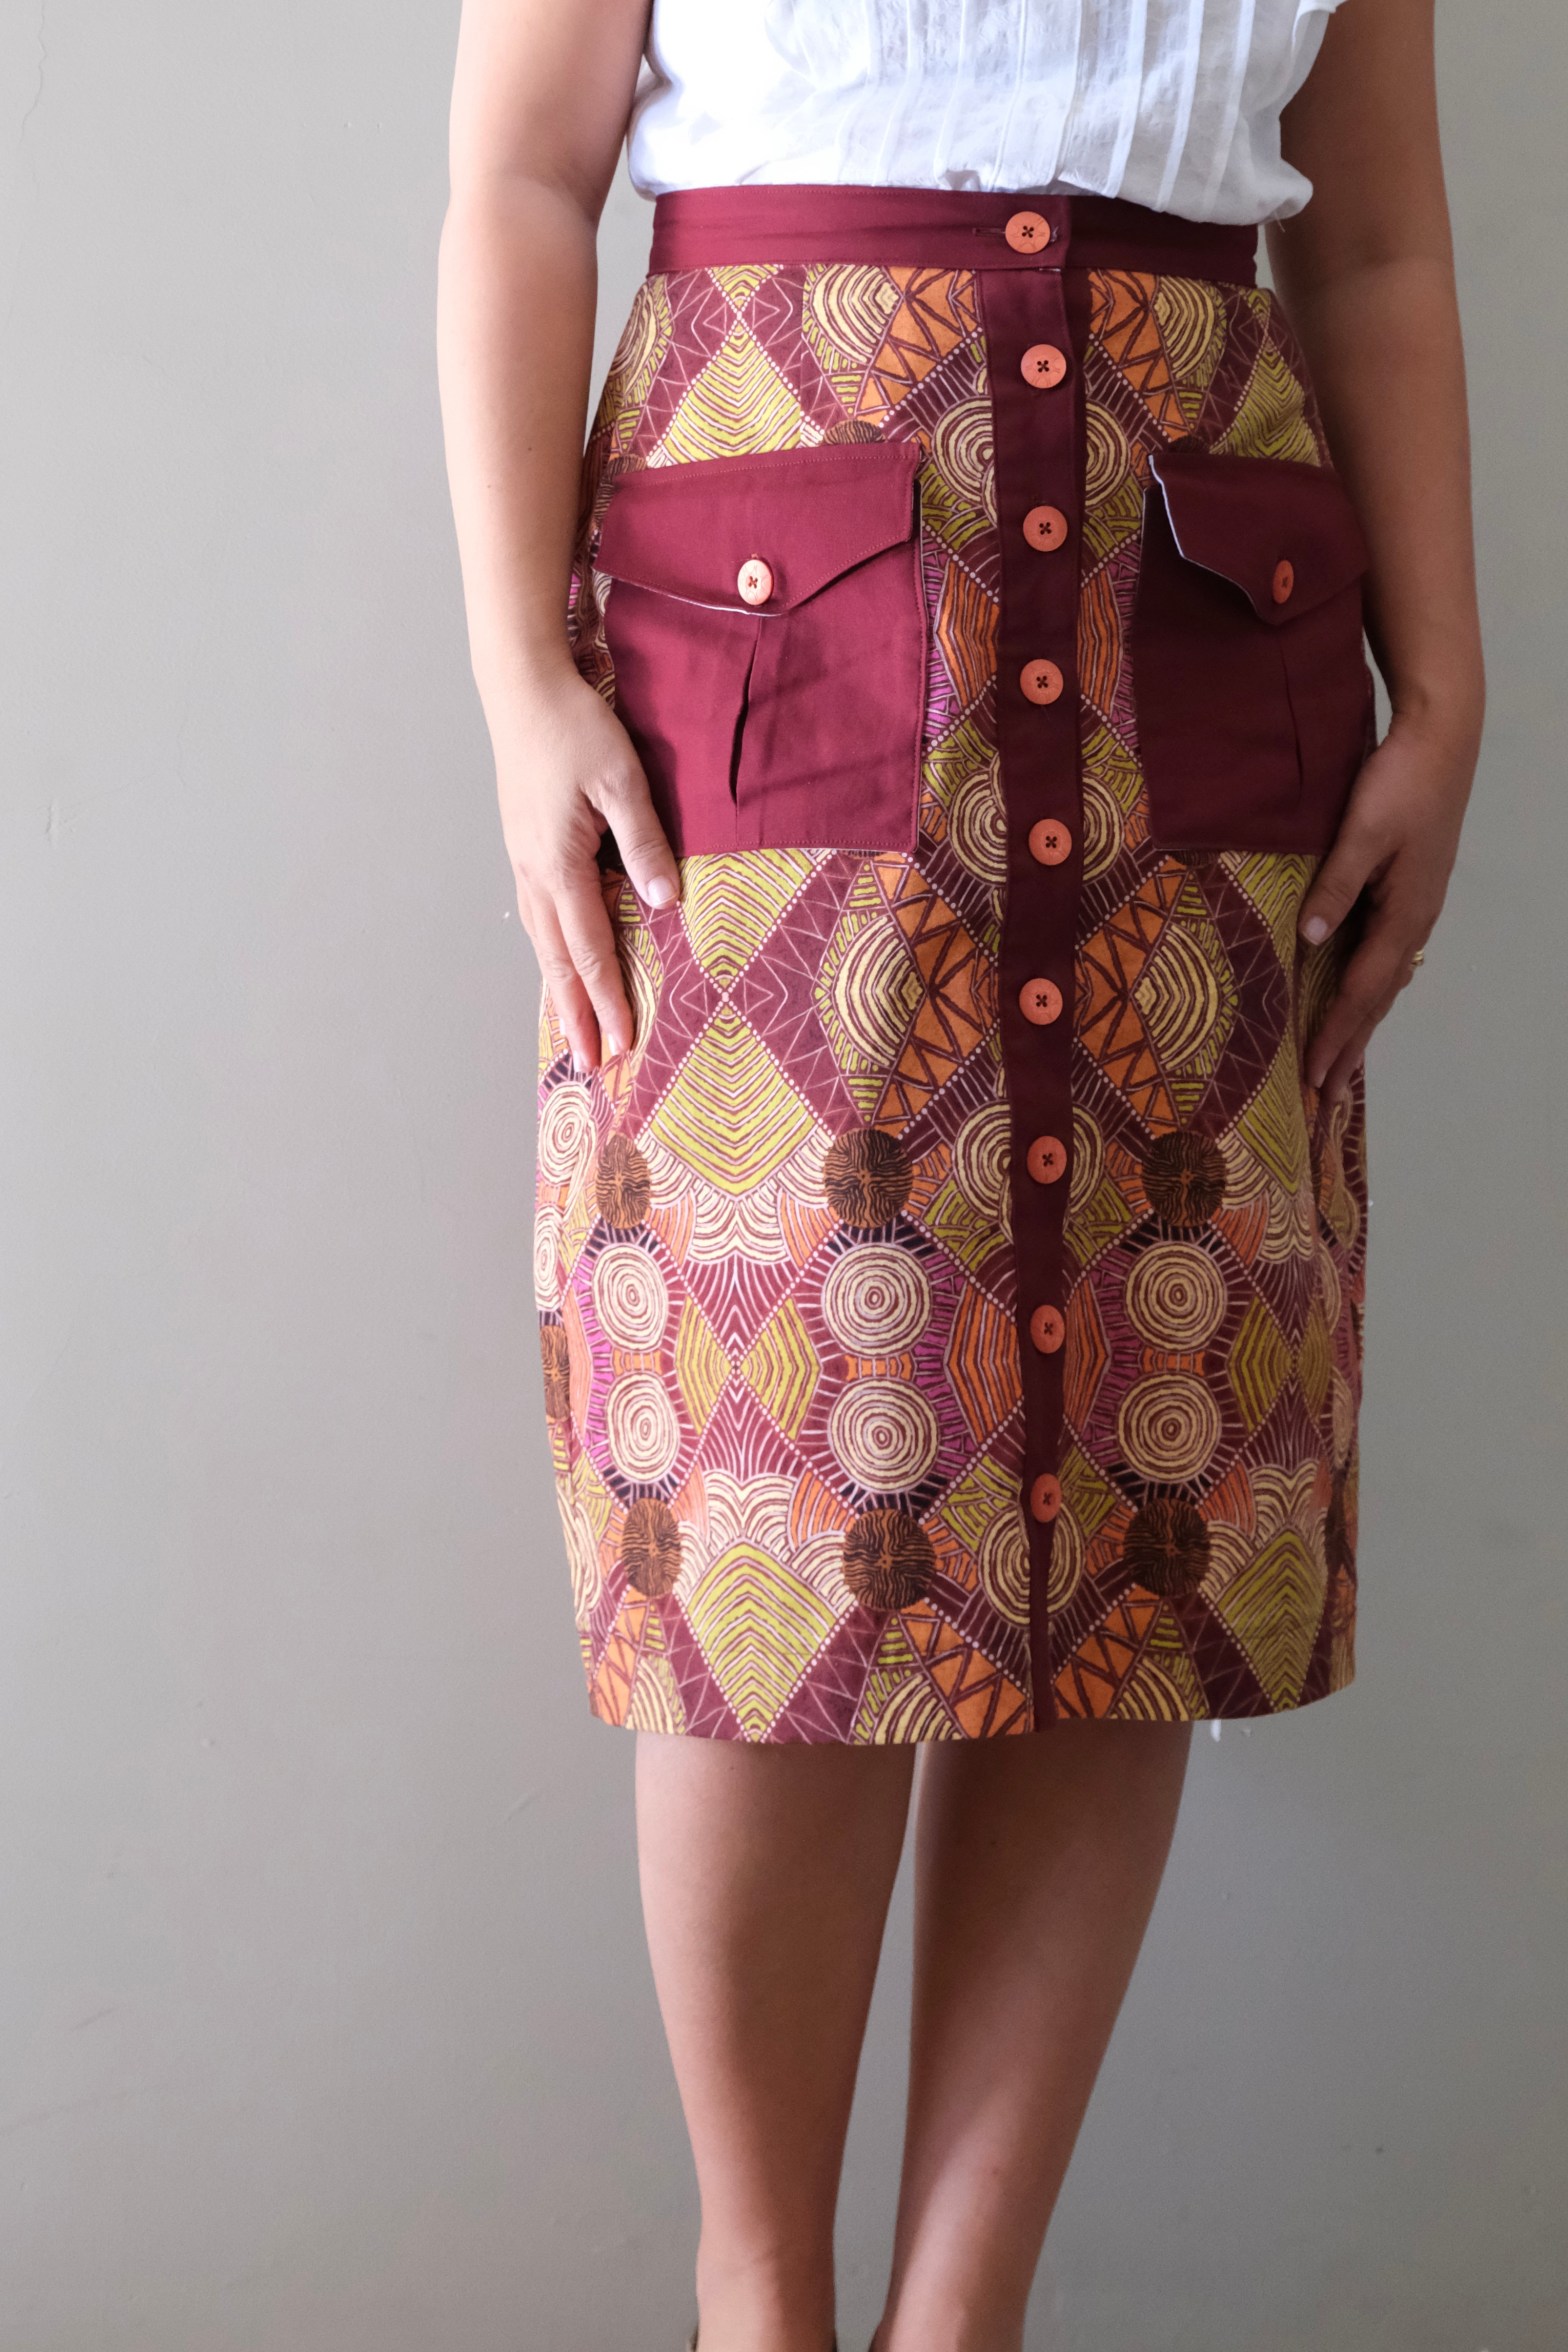
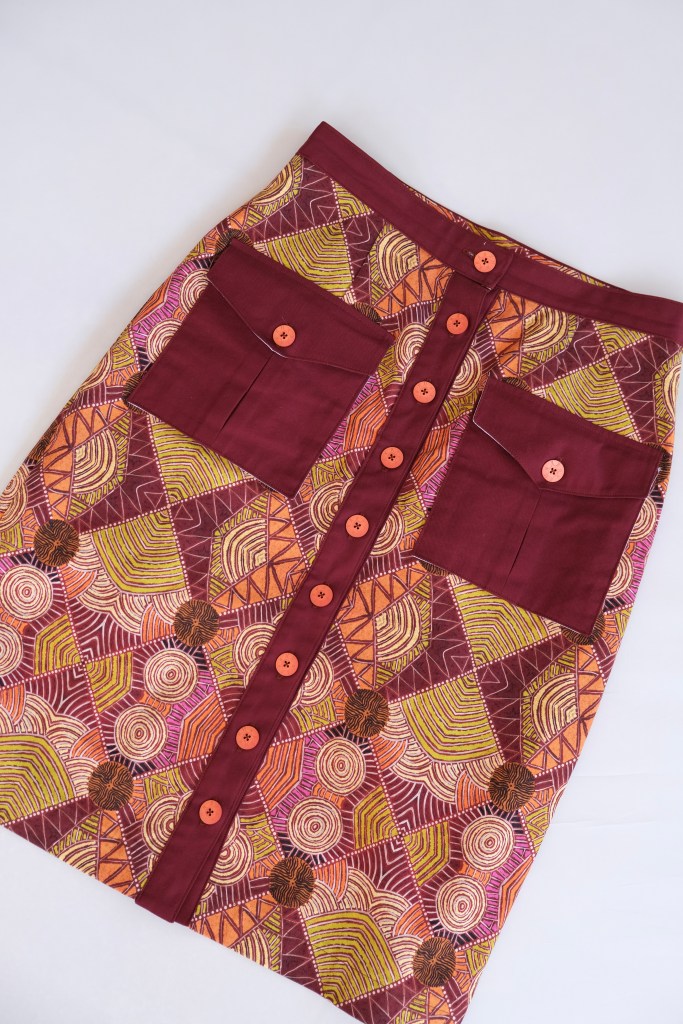
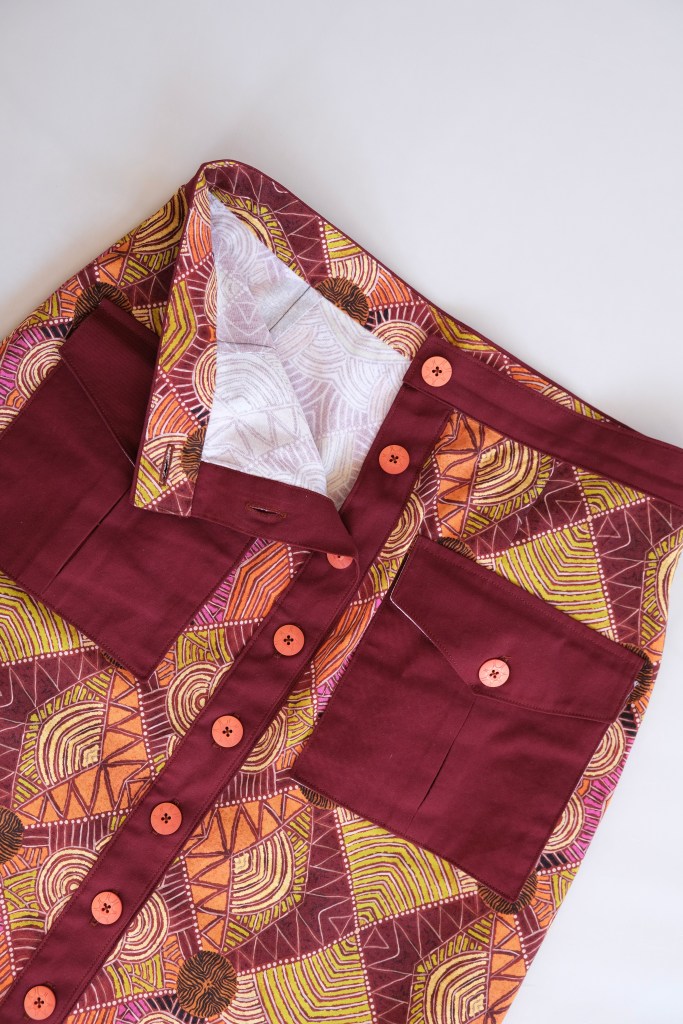
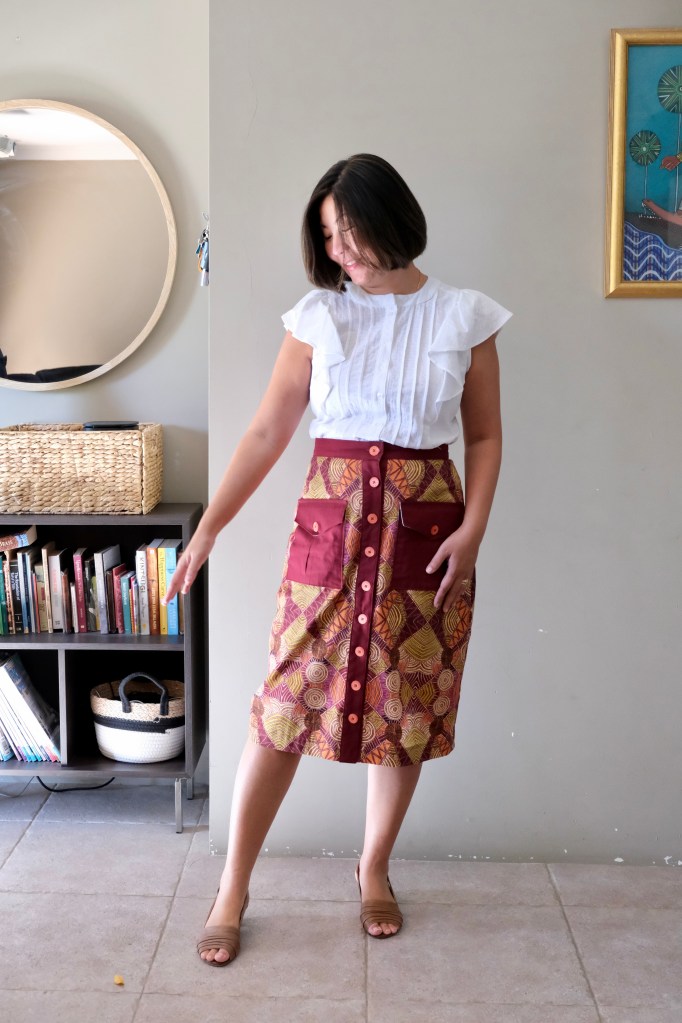
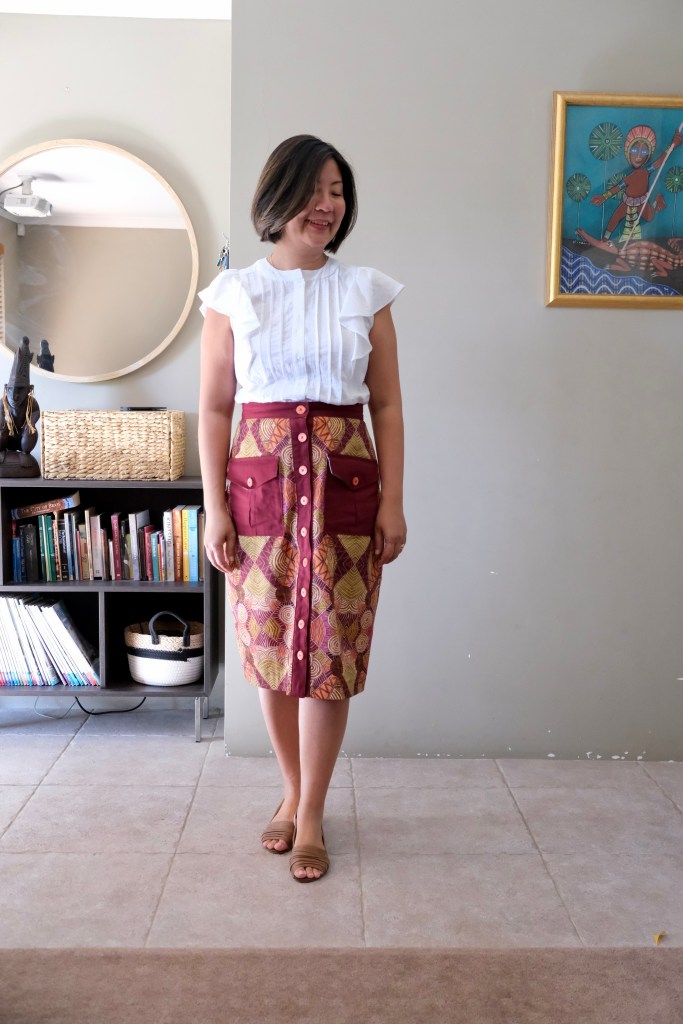
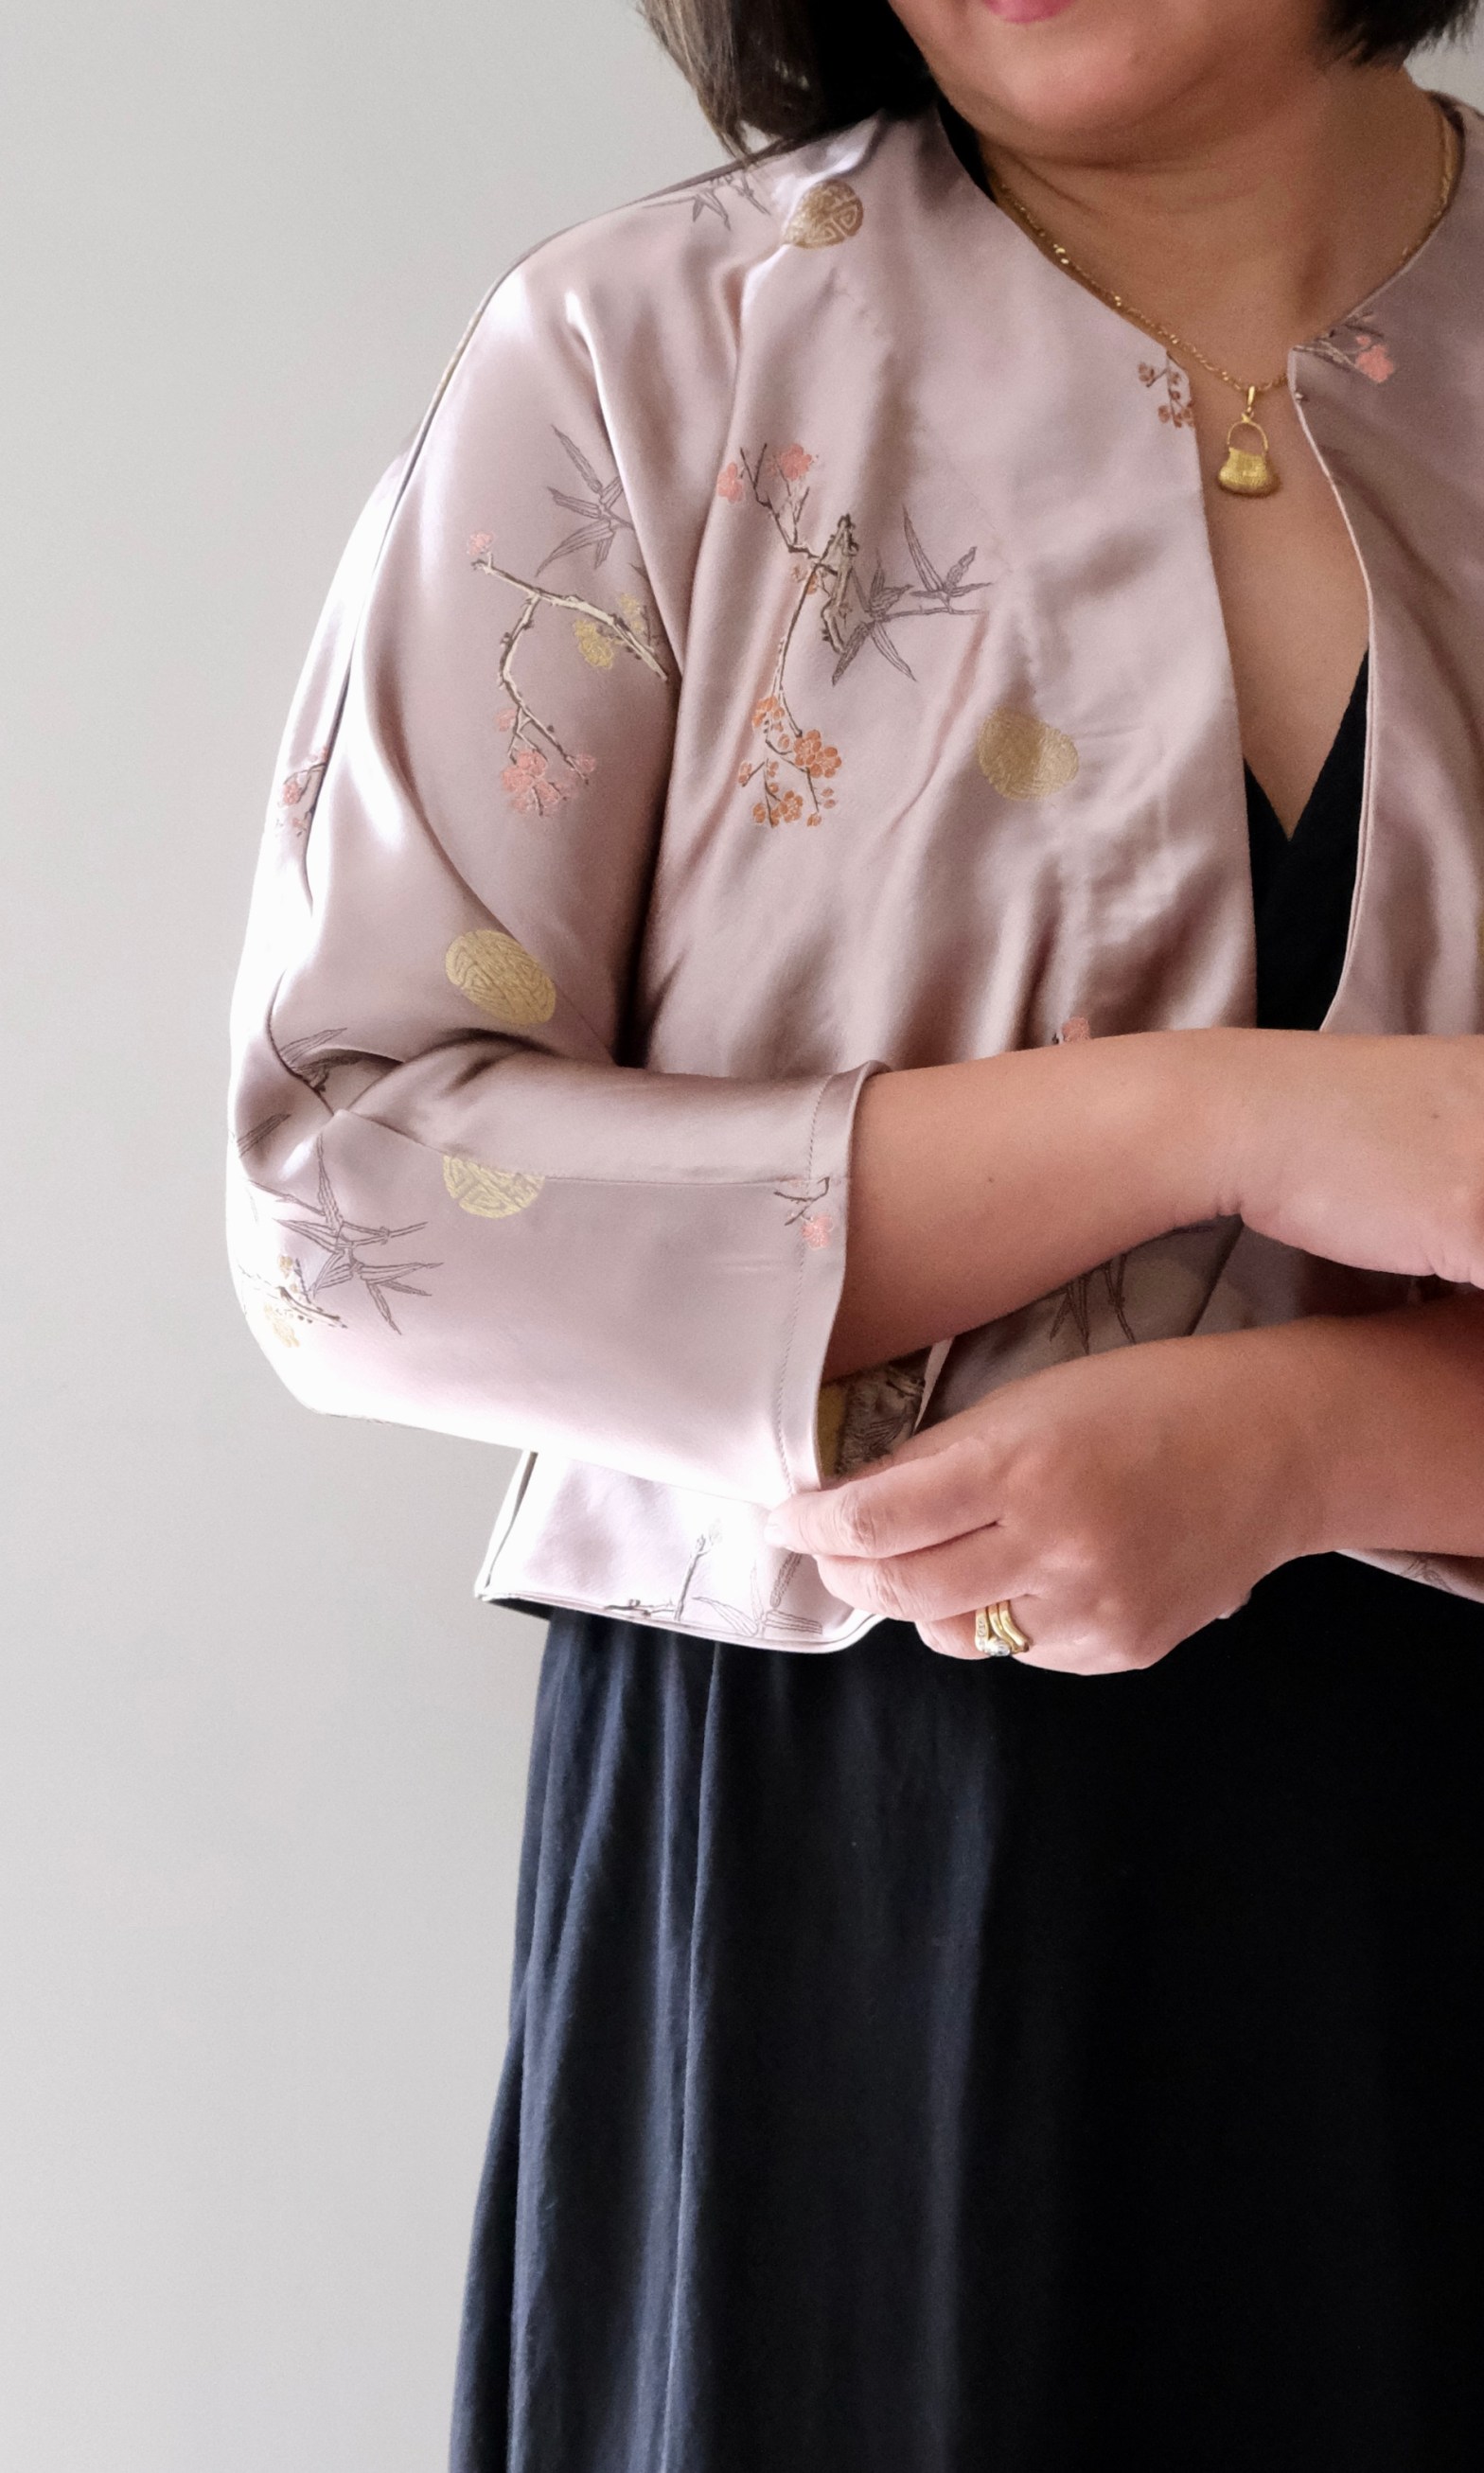
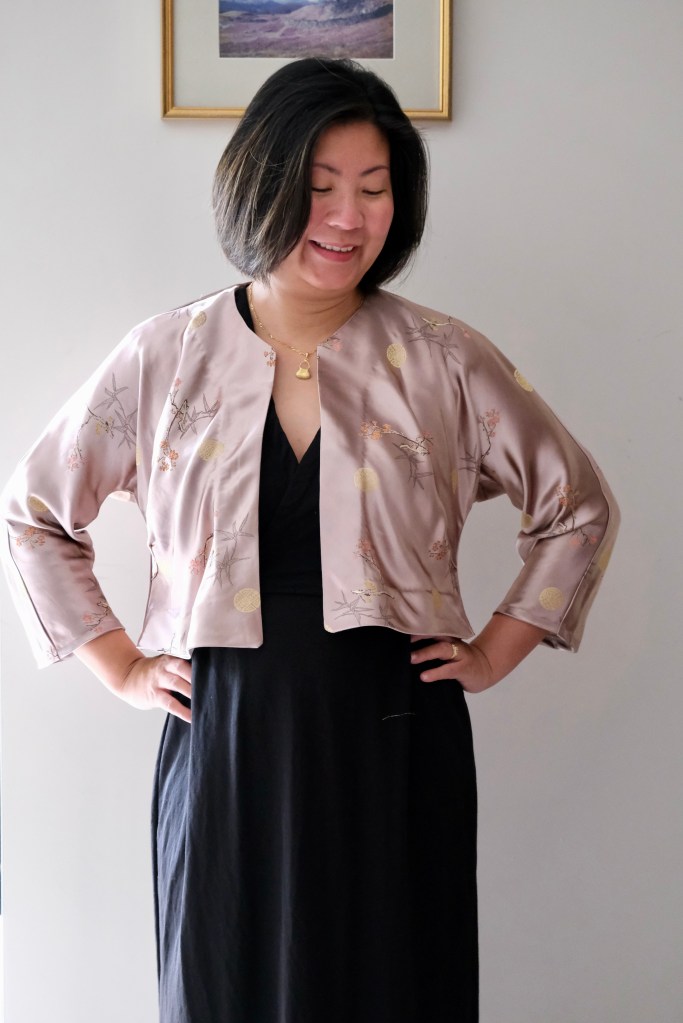
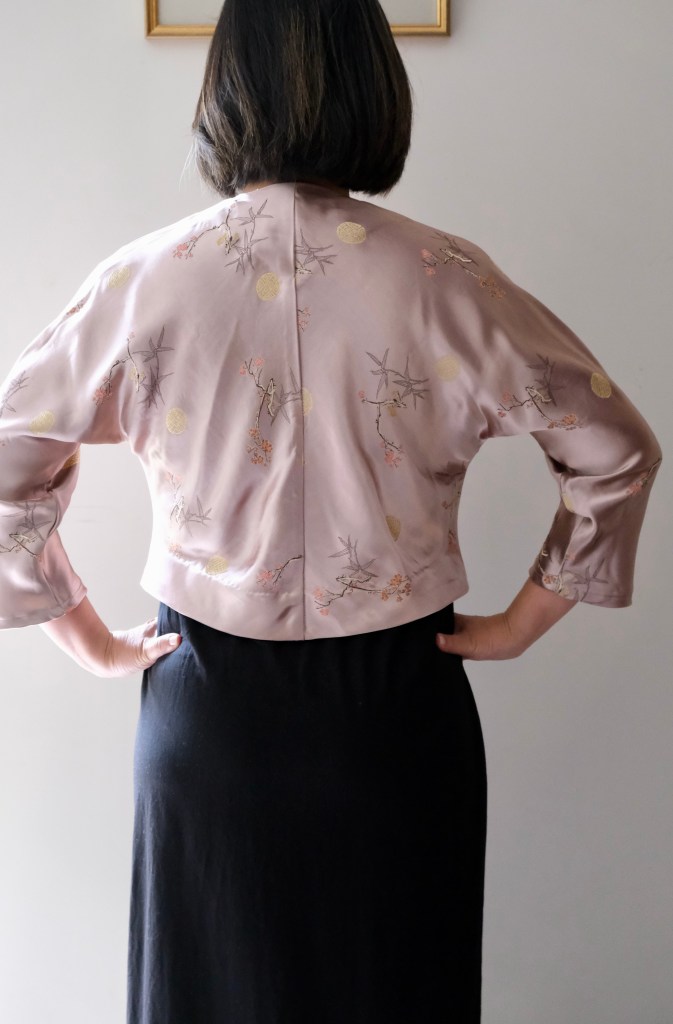
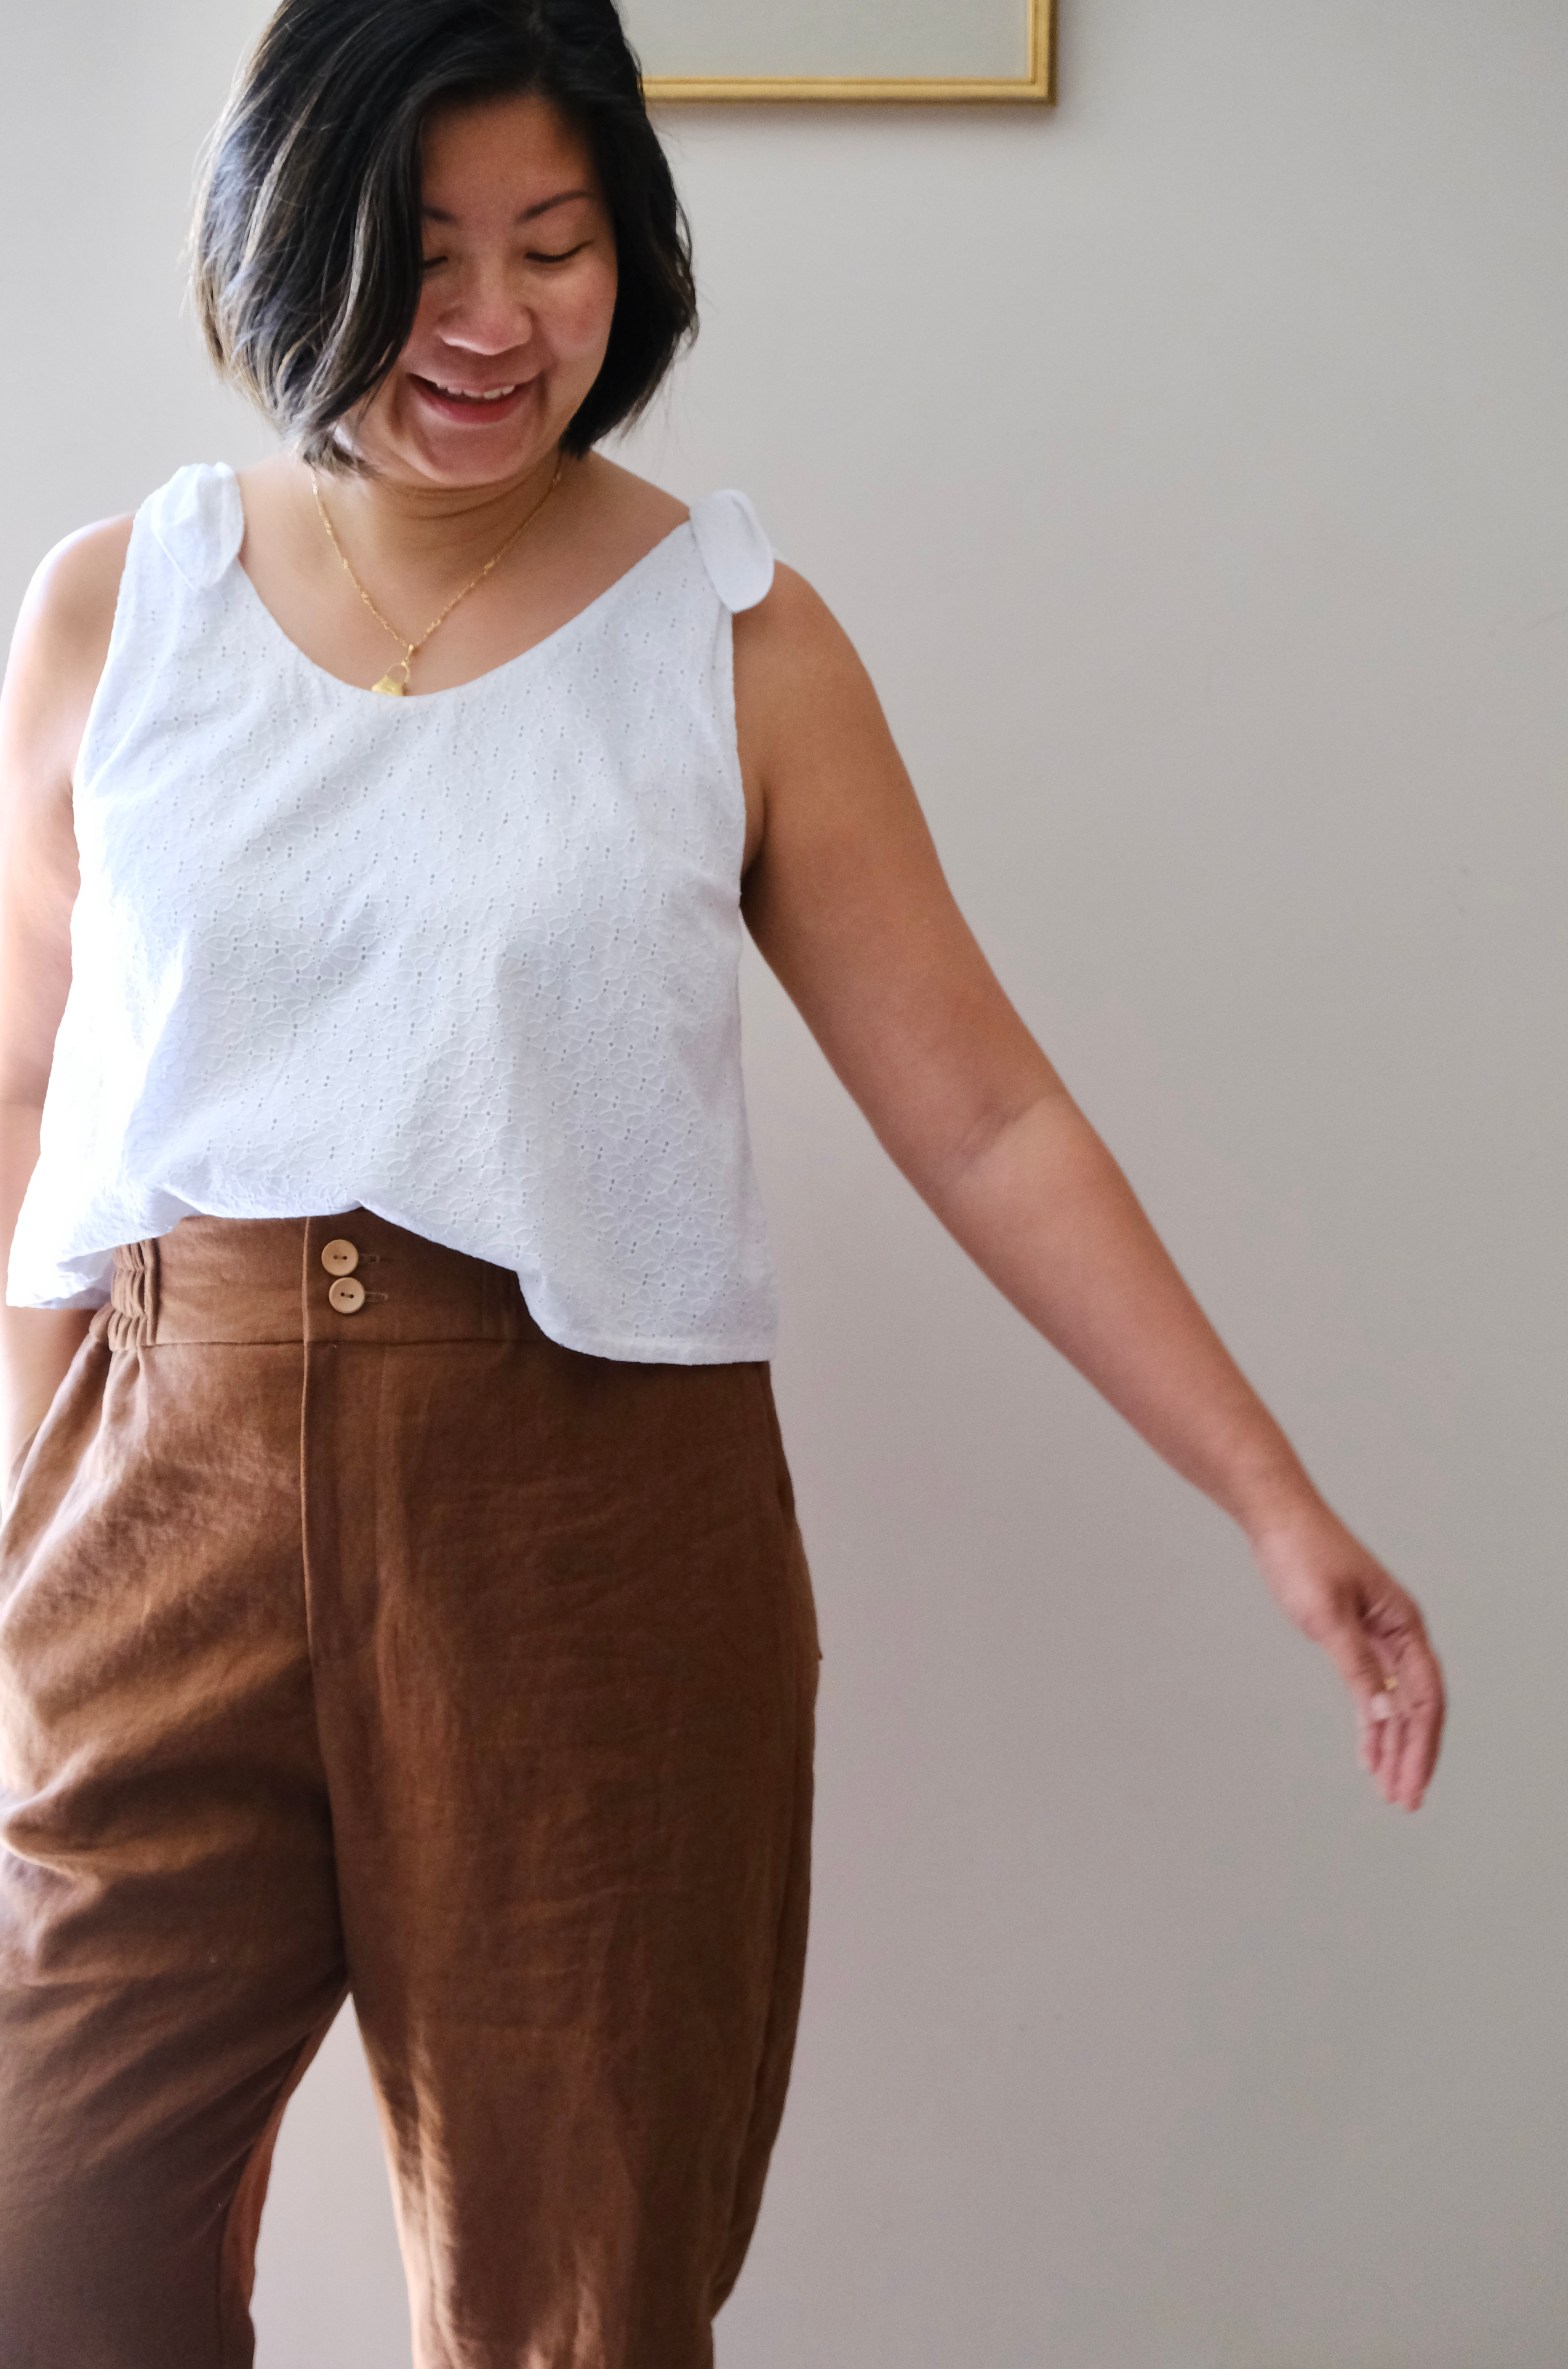
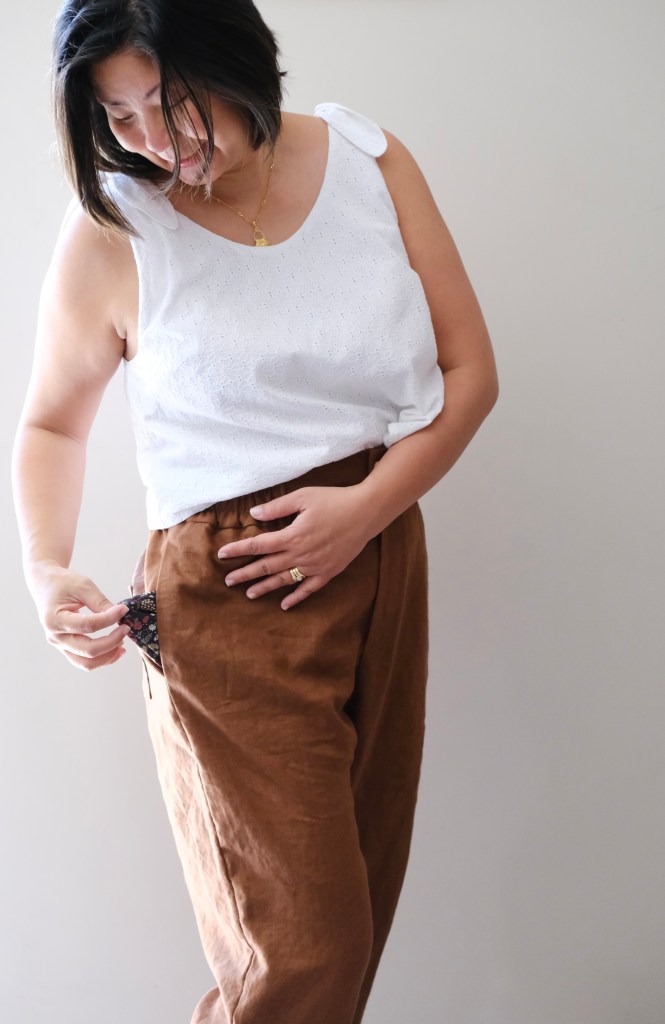
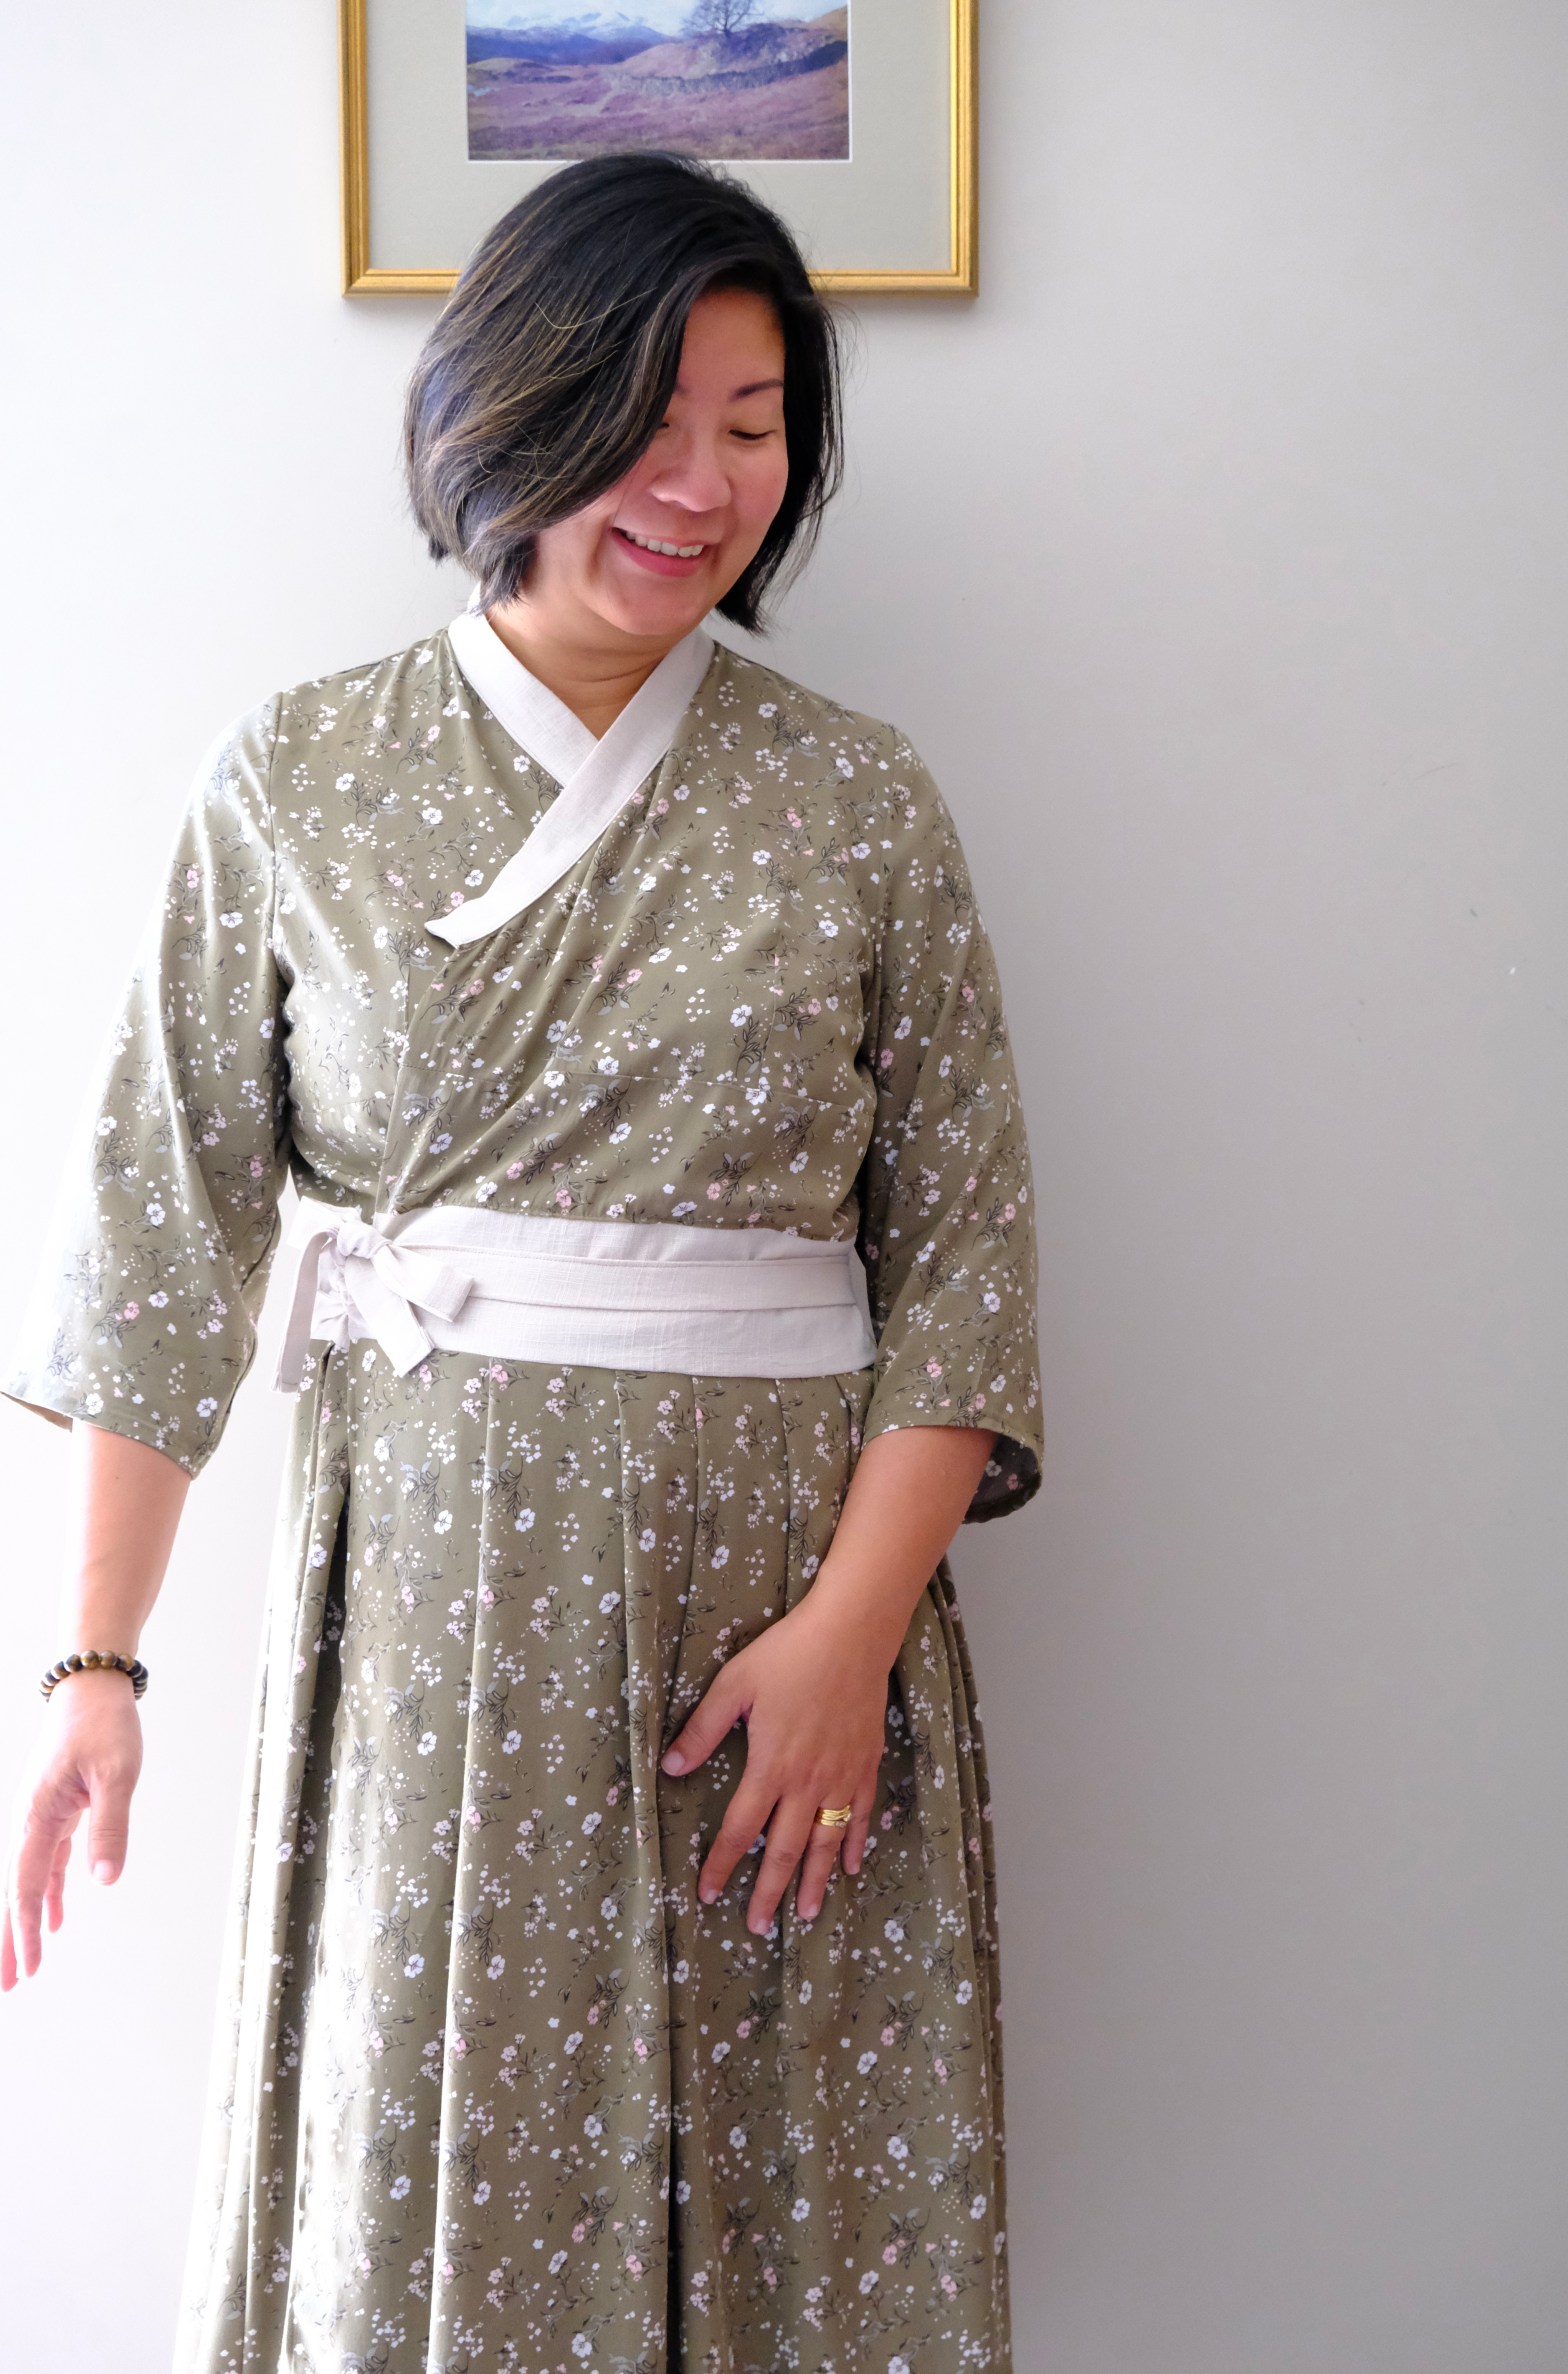
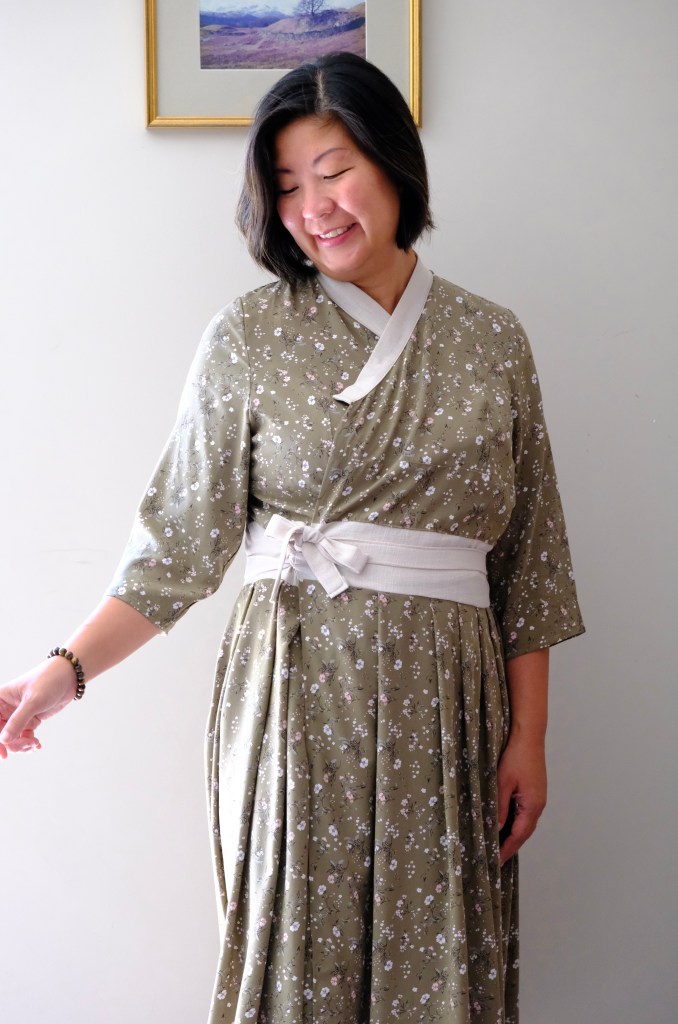
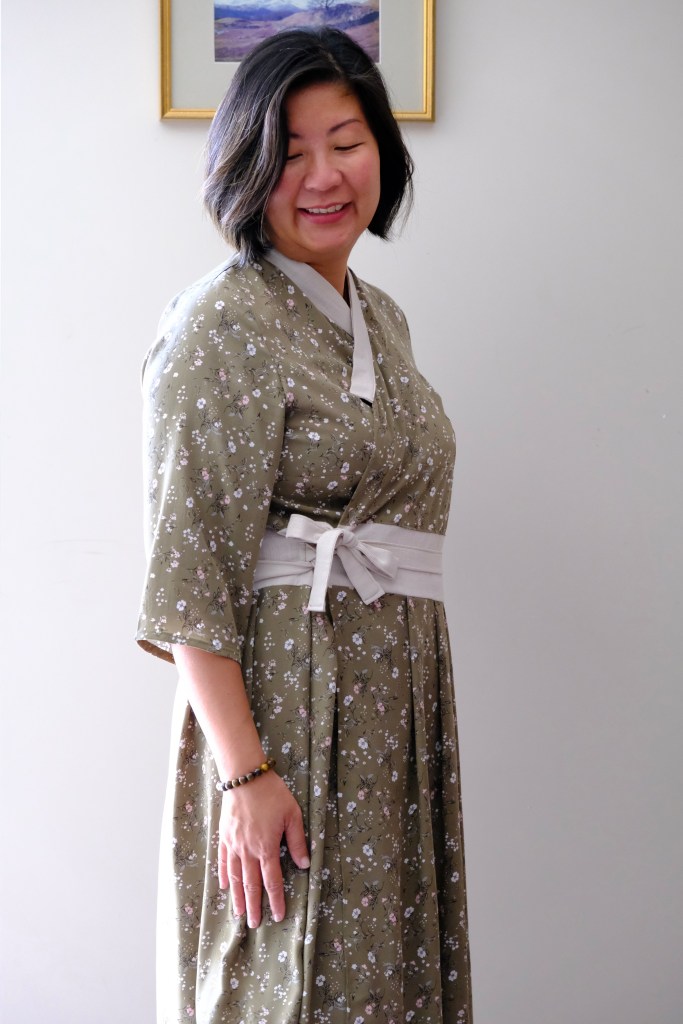
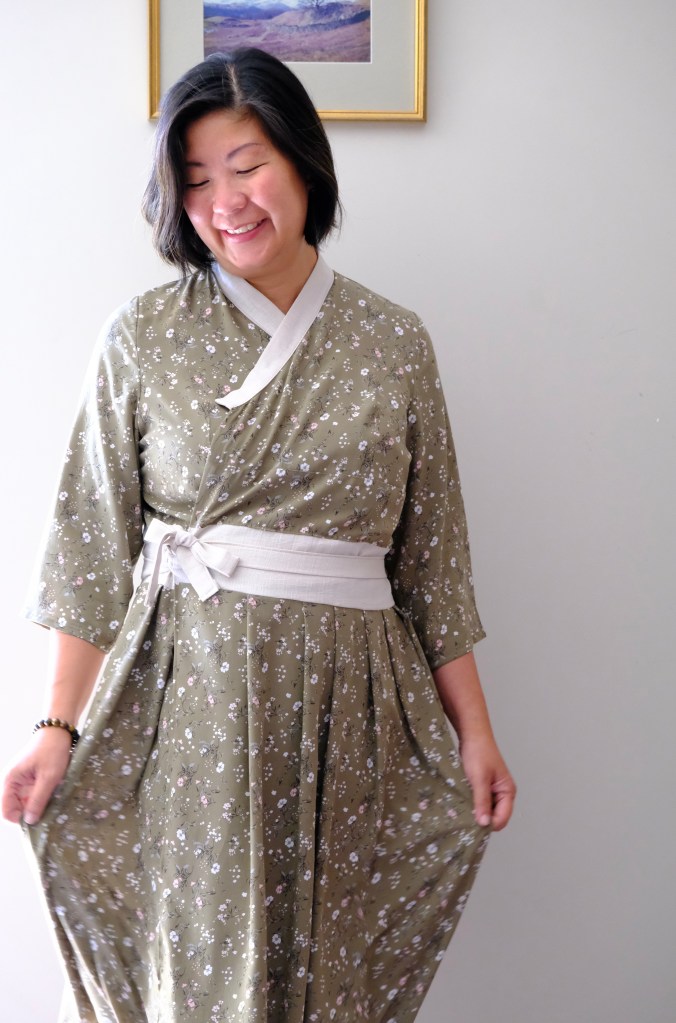
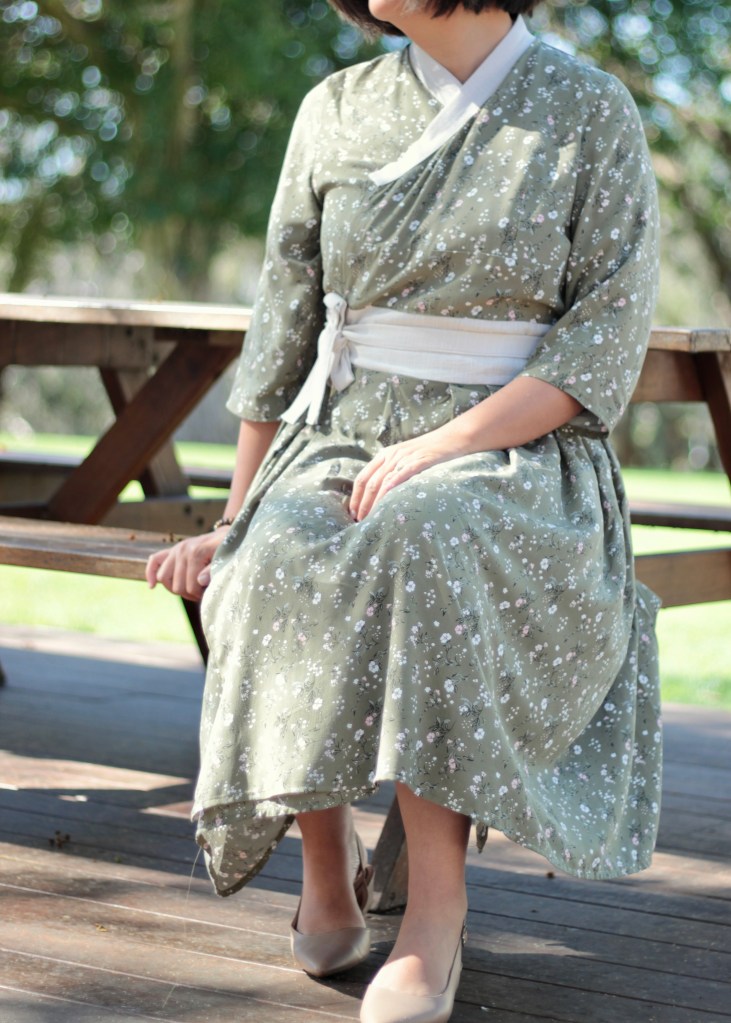
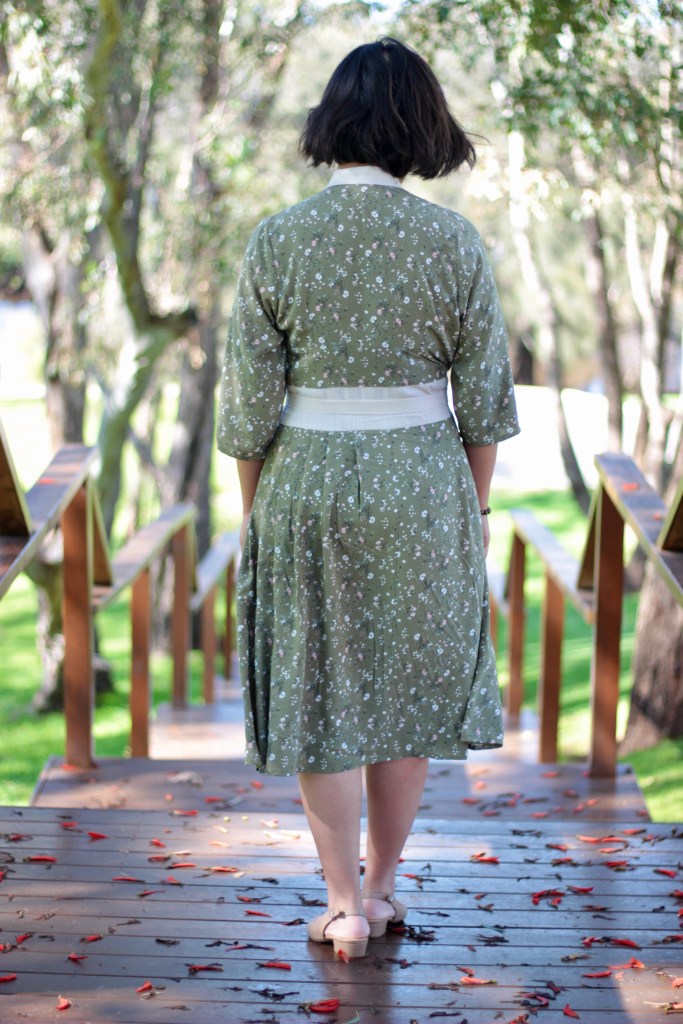
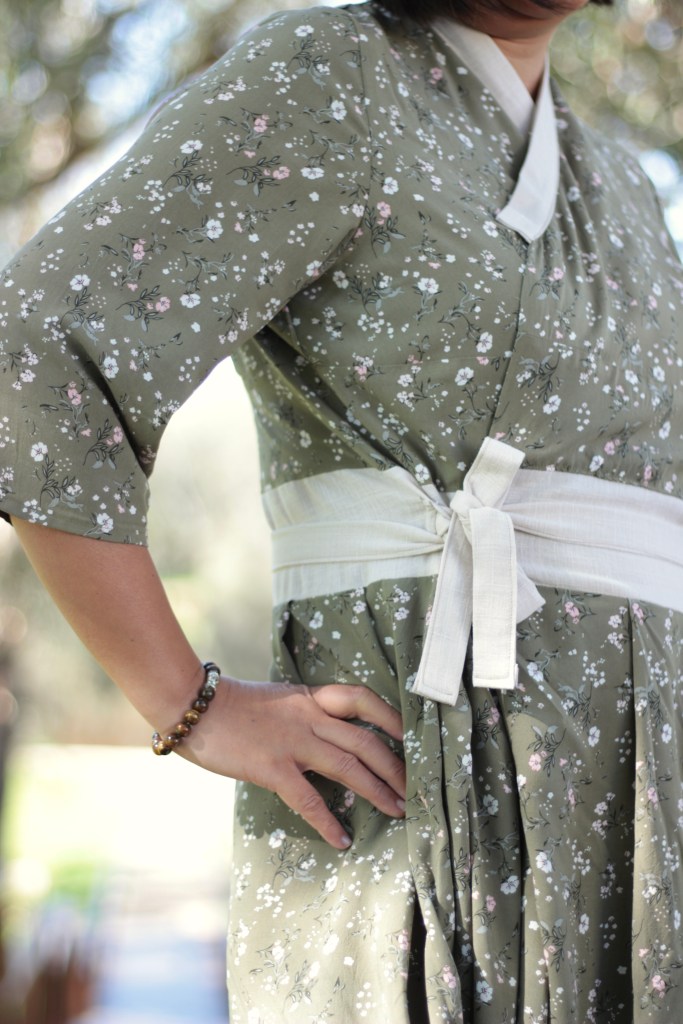
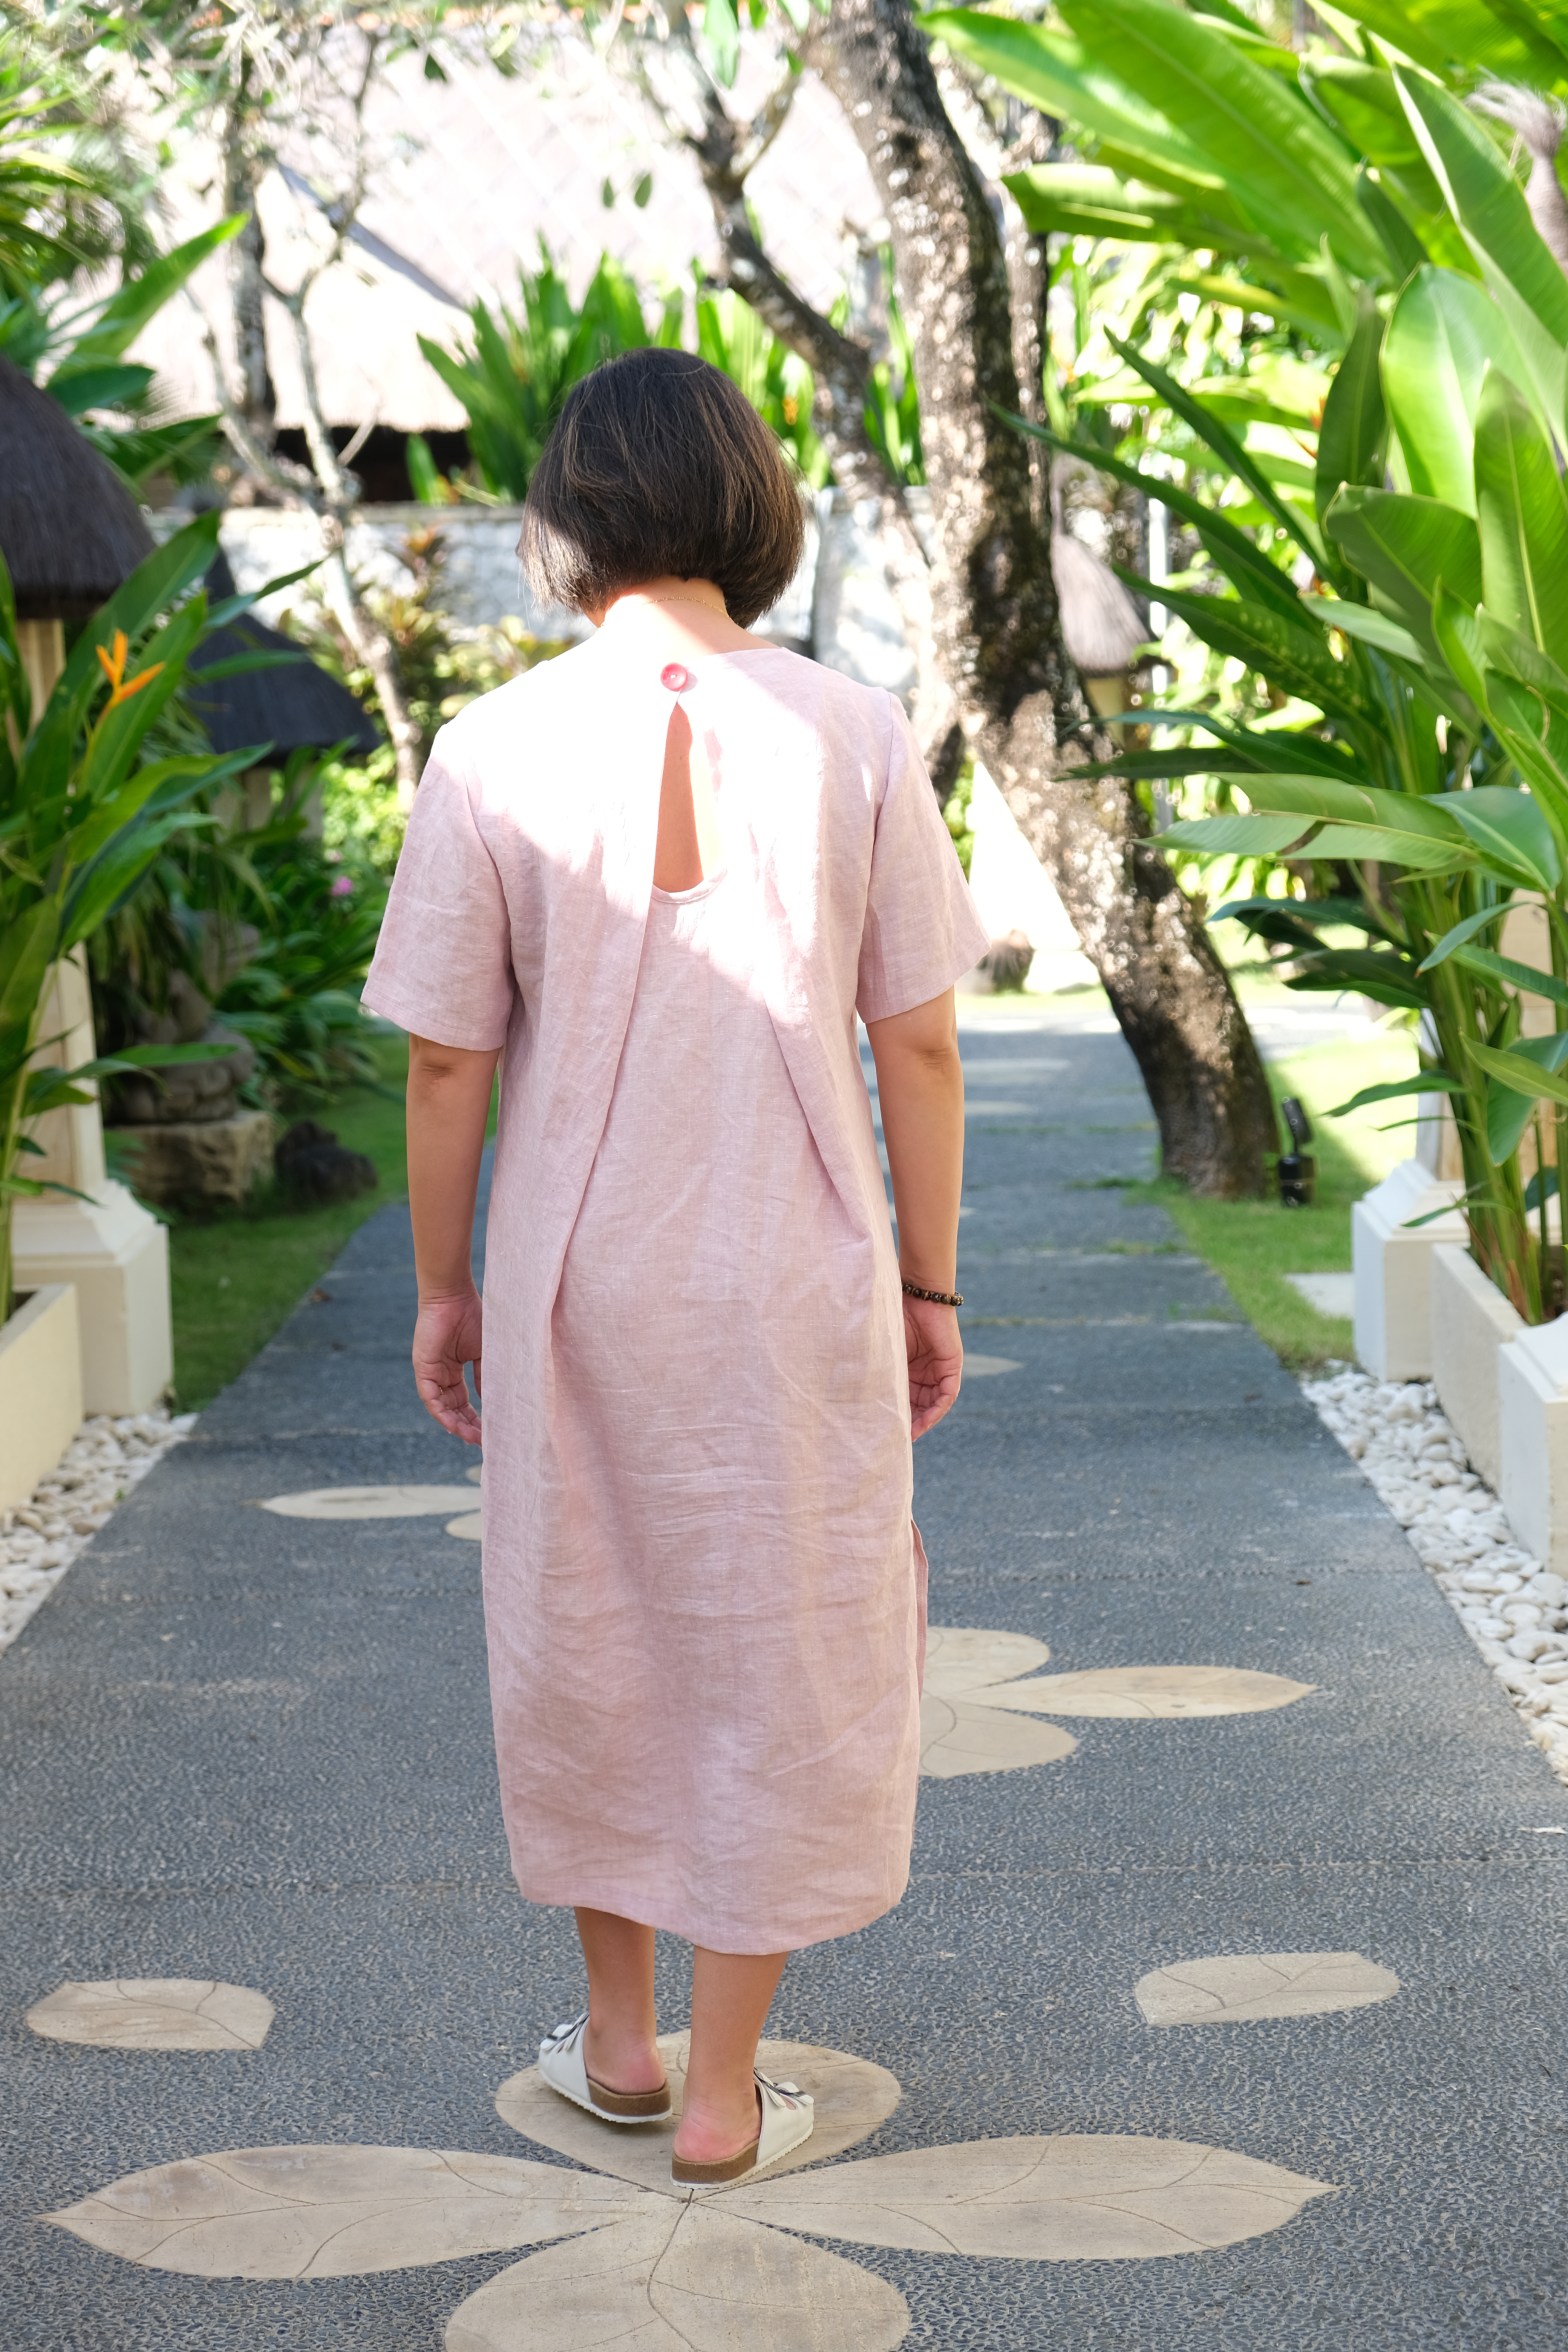
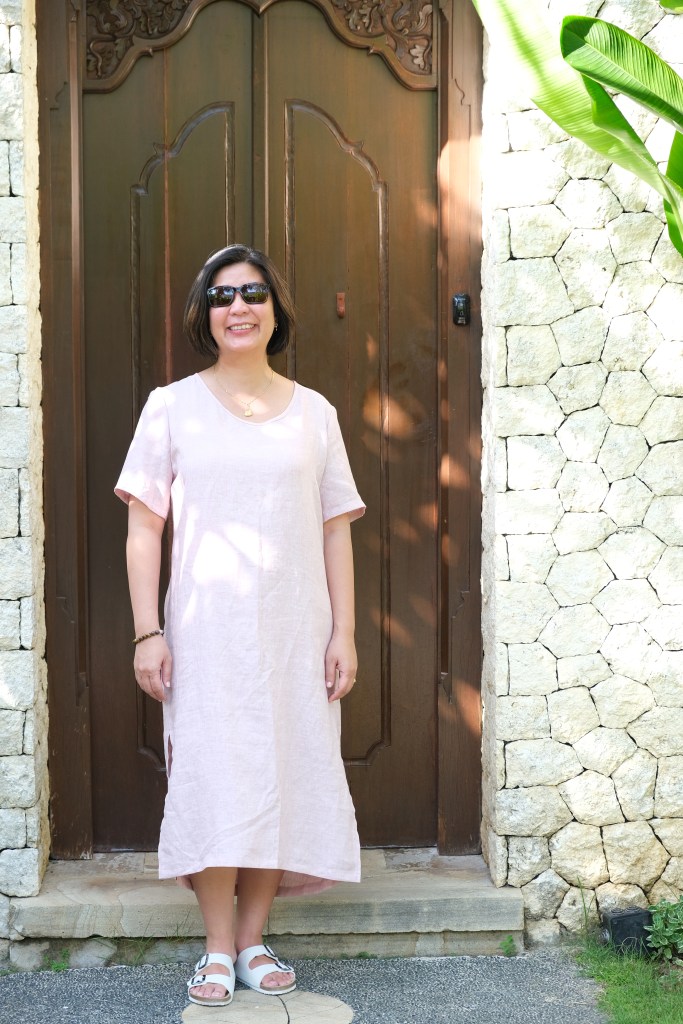
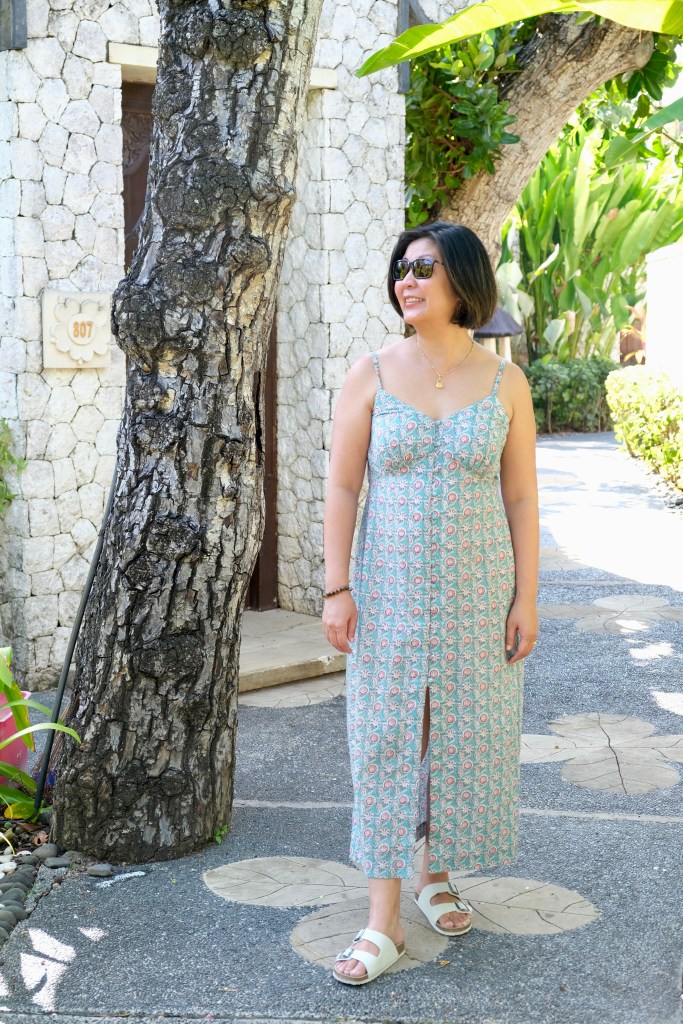
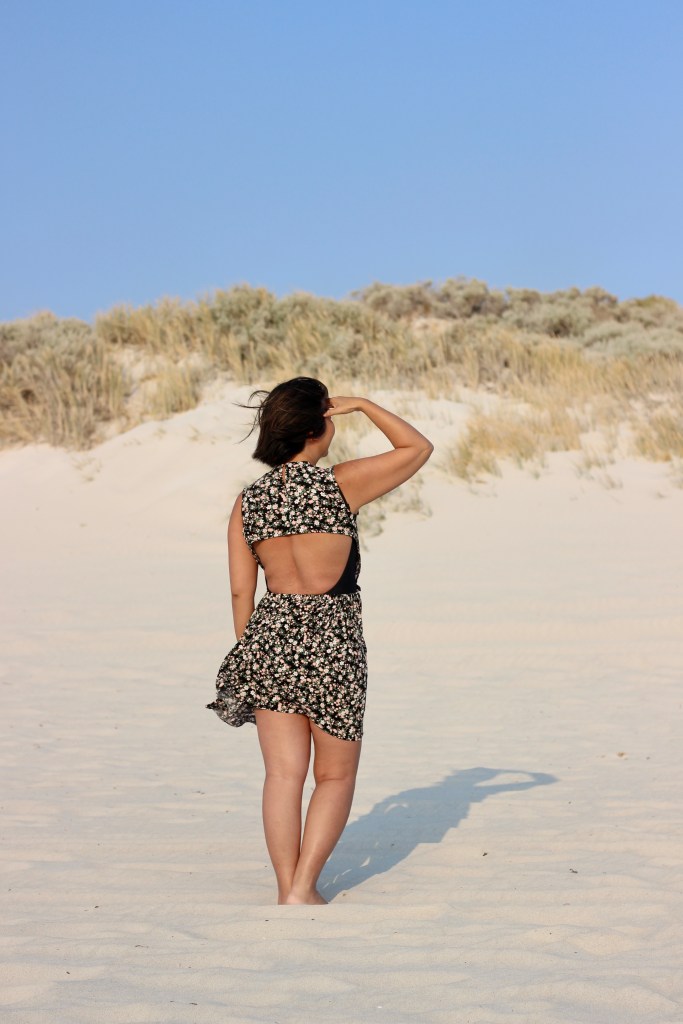
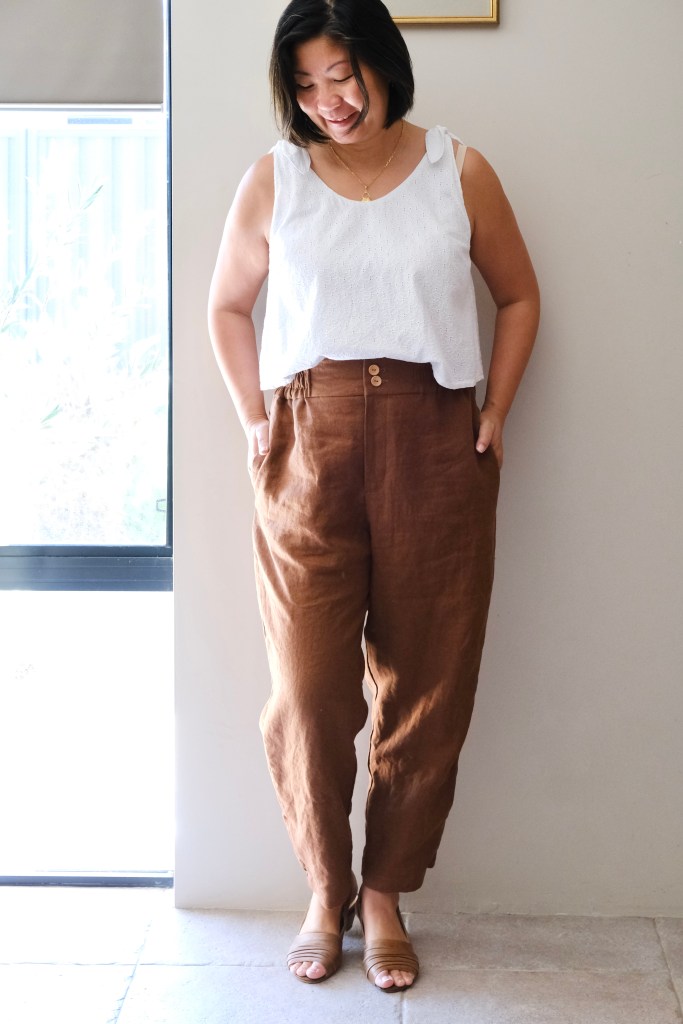
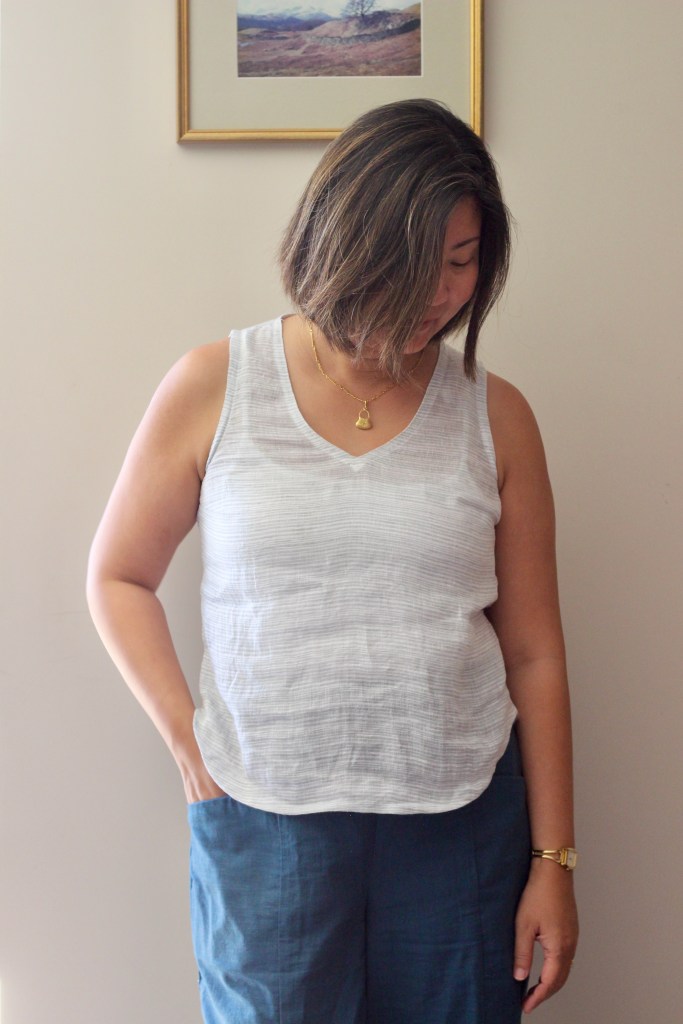
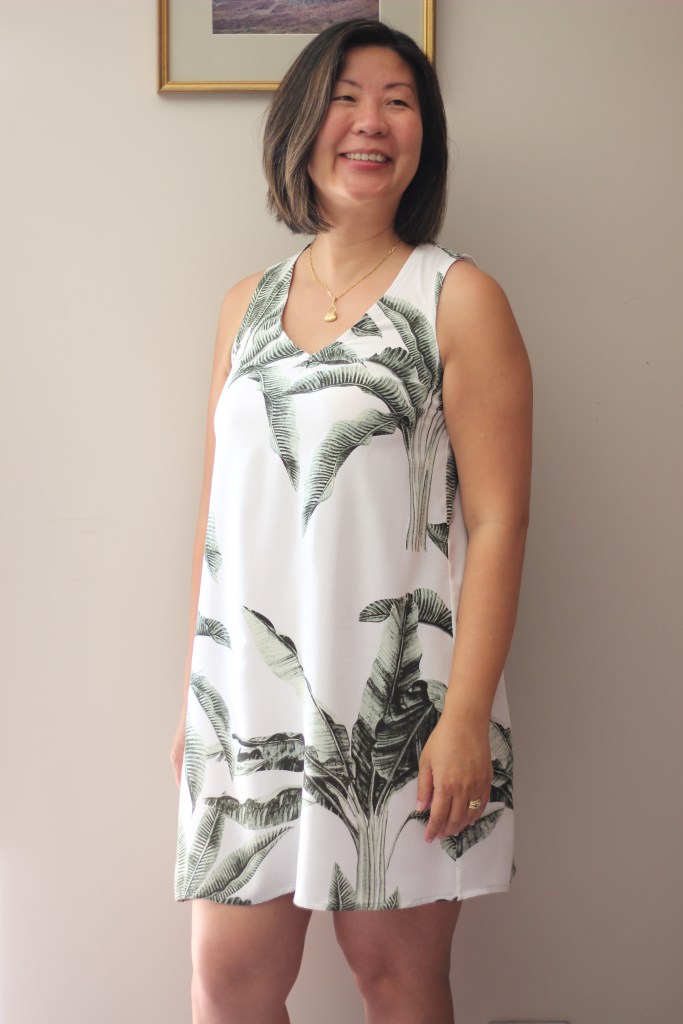
Here are some completed makes from 2023 that were from my Make Nine list. I deviated from it which meant that I ran out of time and motivation so I did not sew everything on the list.


Thanks for reading and happy sewing!
X Em