Featuring Fabric from the Devonstone Fashion Summer Abroad Collection by Lindsey Rae
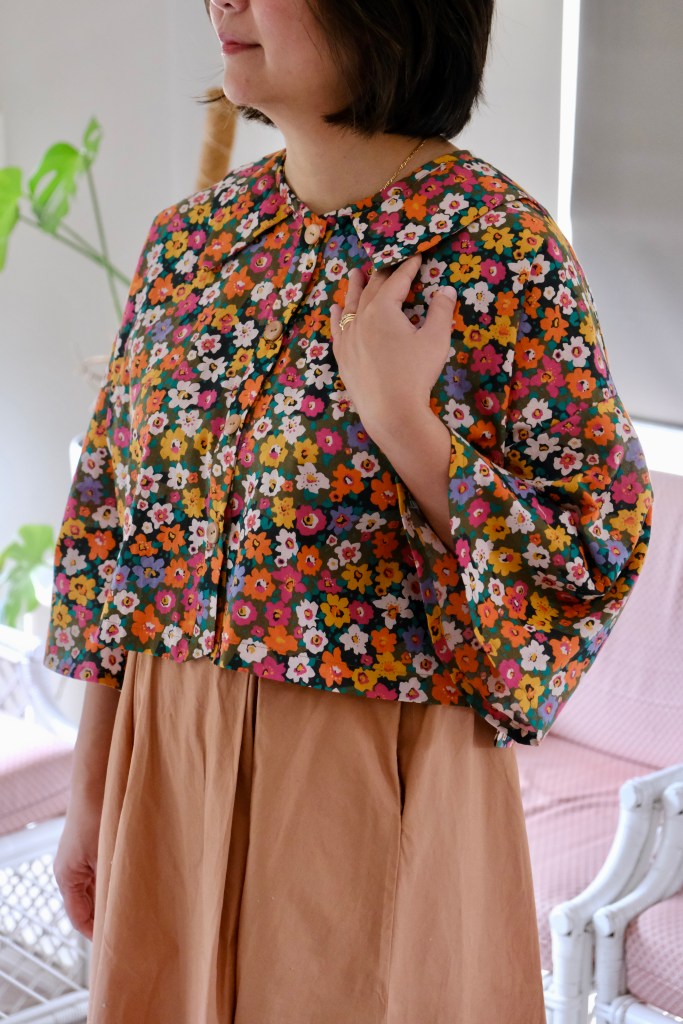
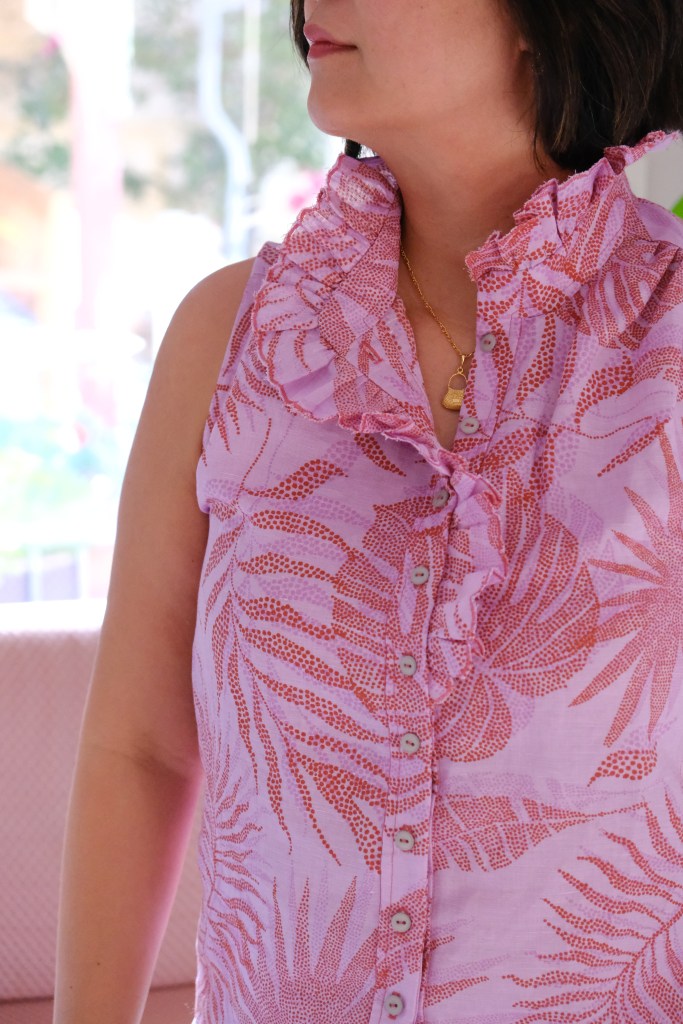
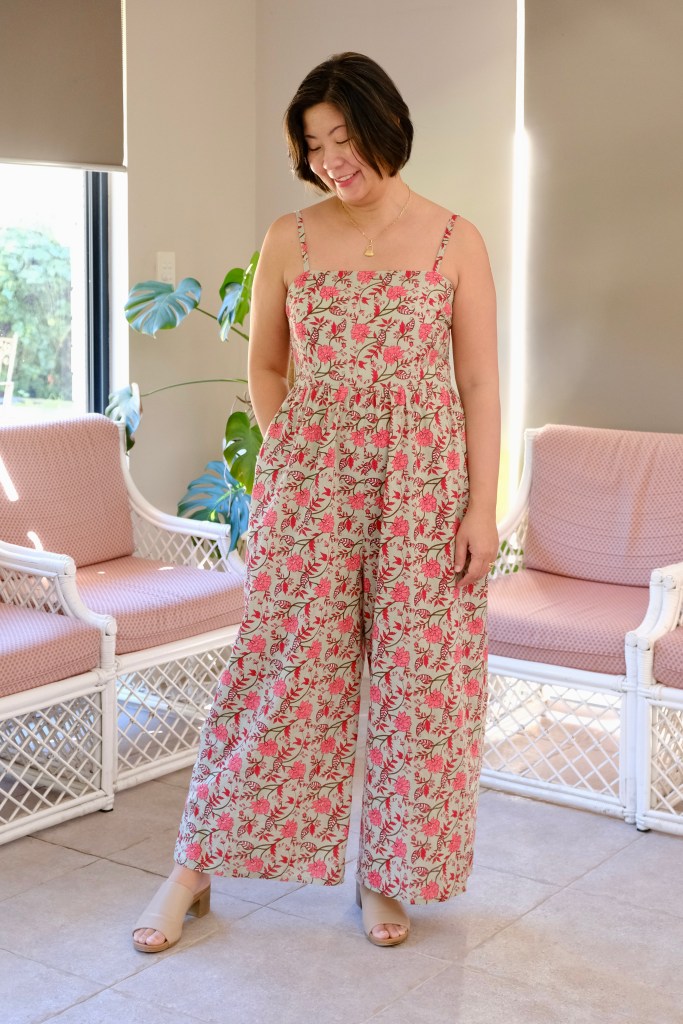
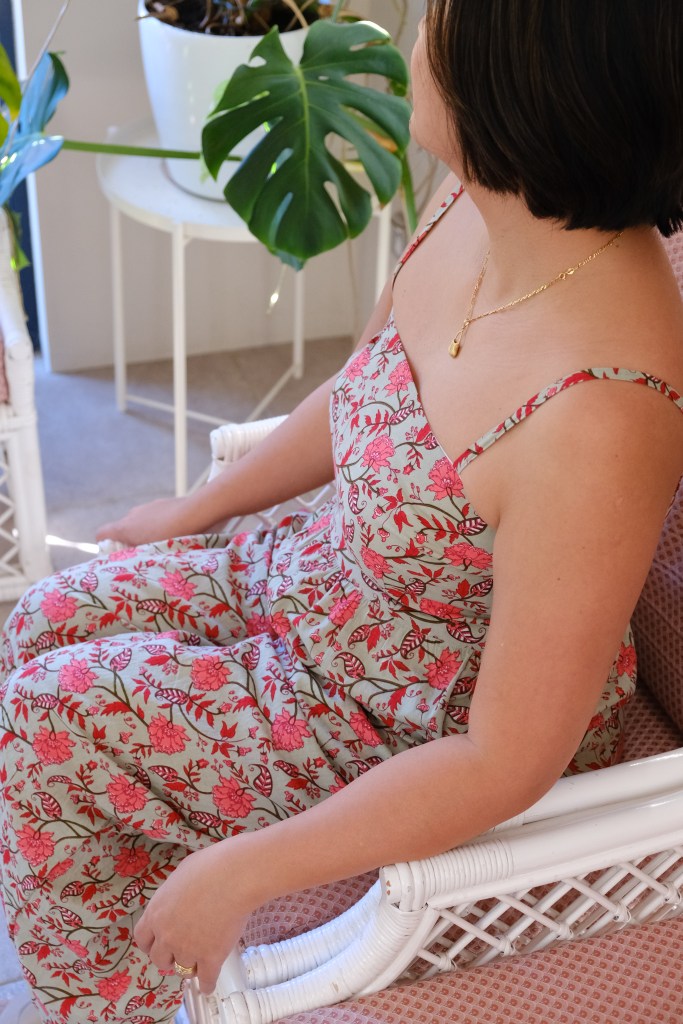
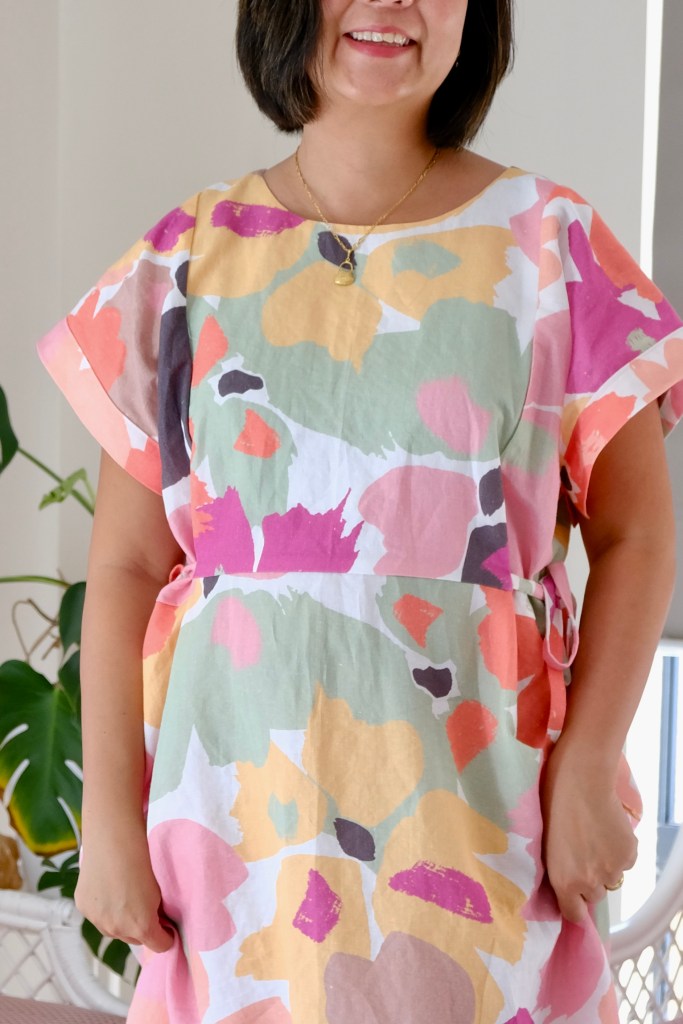
So excited to feature the latest fabric collection from the immensely talented Lindsey Rae @sewtogrow. It’s currently available for wholesale through Devonstone Fashion. It was hard to pick which design I wanted but I settled on the Cornwall Oceanside Print in a luxe linen cotton blend. It is fifty-five percent linen and forty-five percent cotton, 180-185 gsm and 145cm wide. The pattern is reminiscent of wildflower fields. I love the riot of colour in this collection. Best of all, it will also be available in a variety of substrates like rayon, poplin, and jersey to name a few.
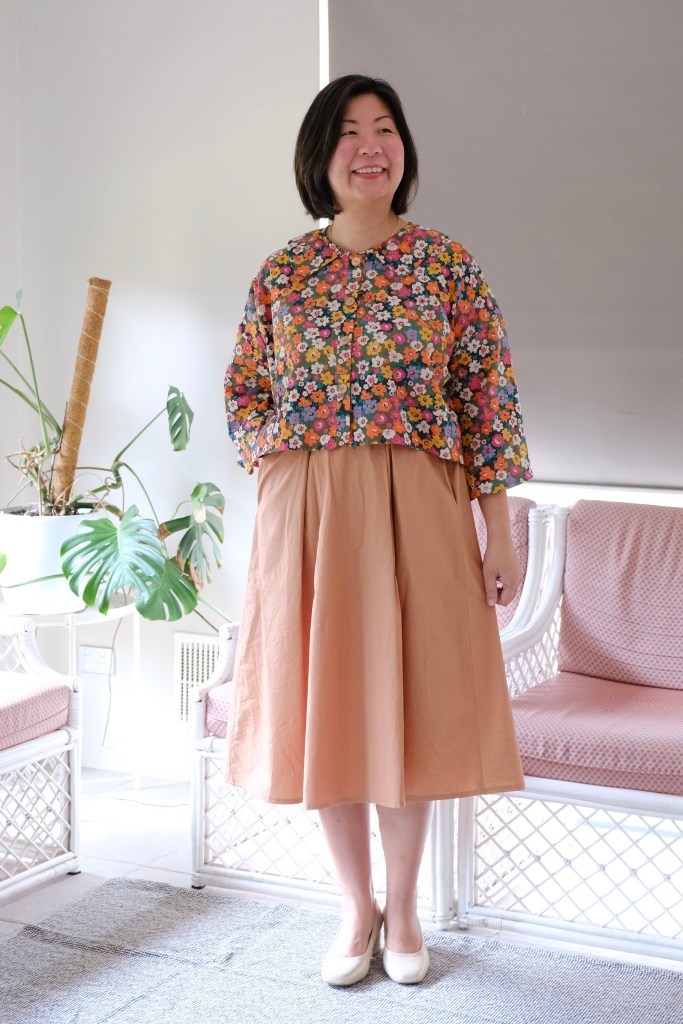
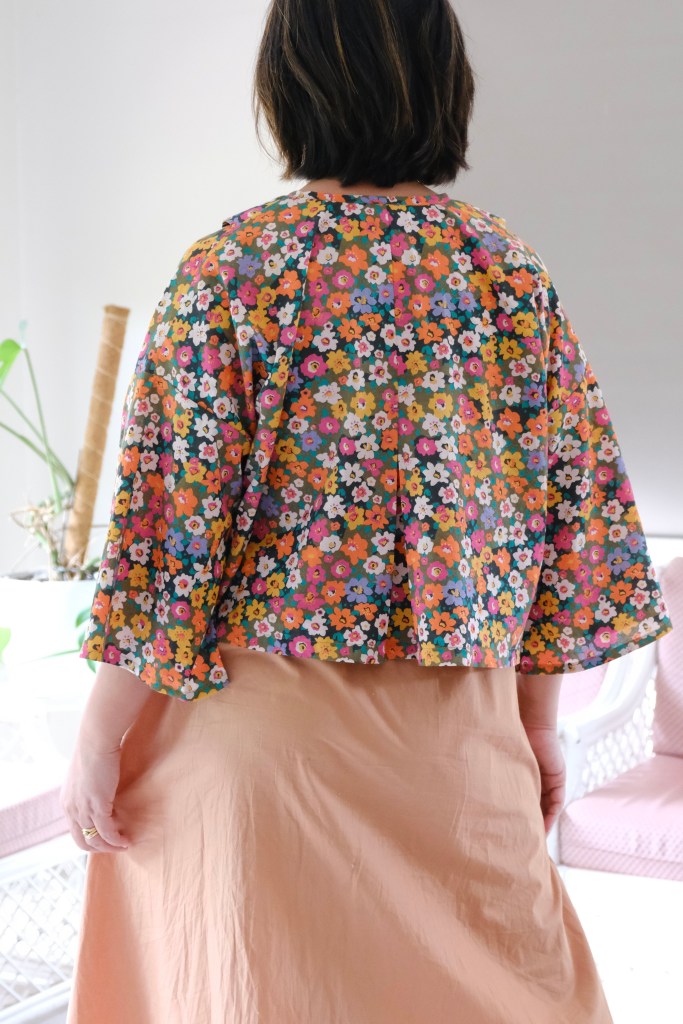
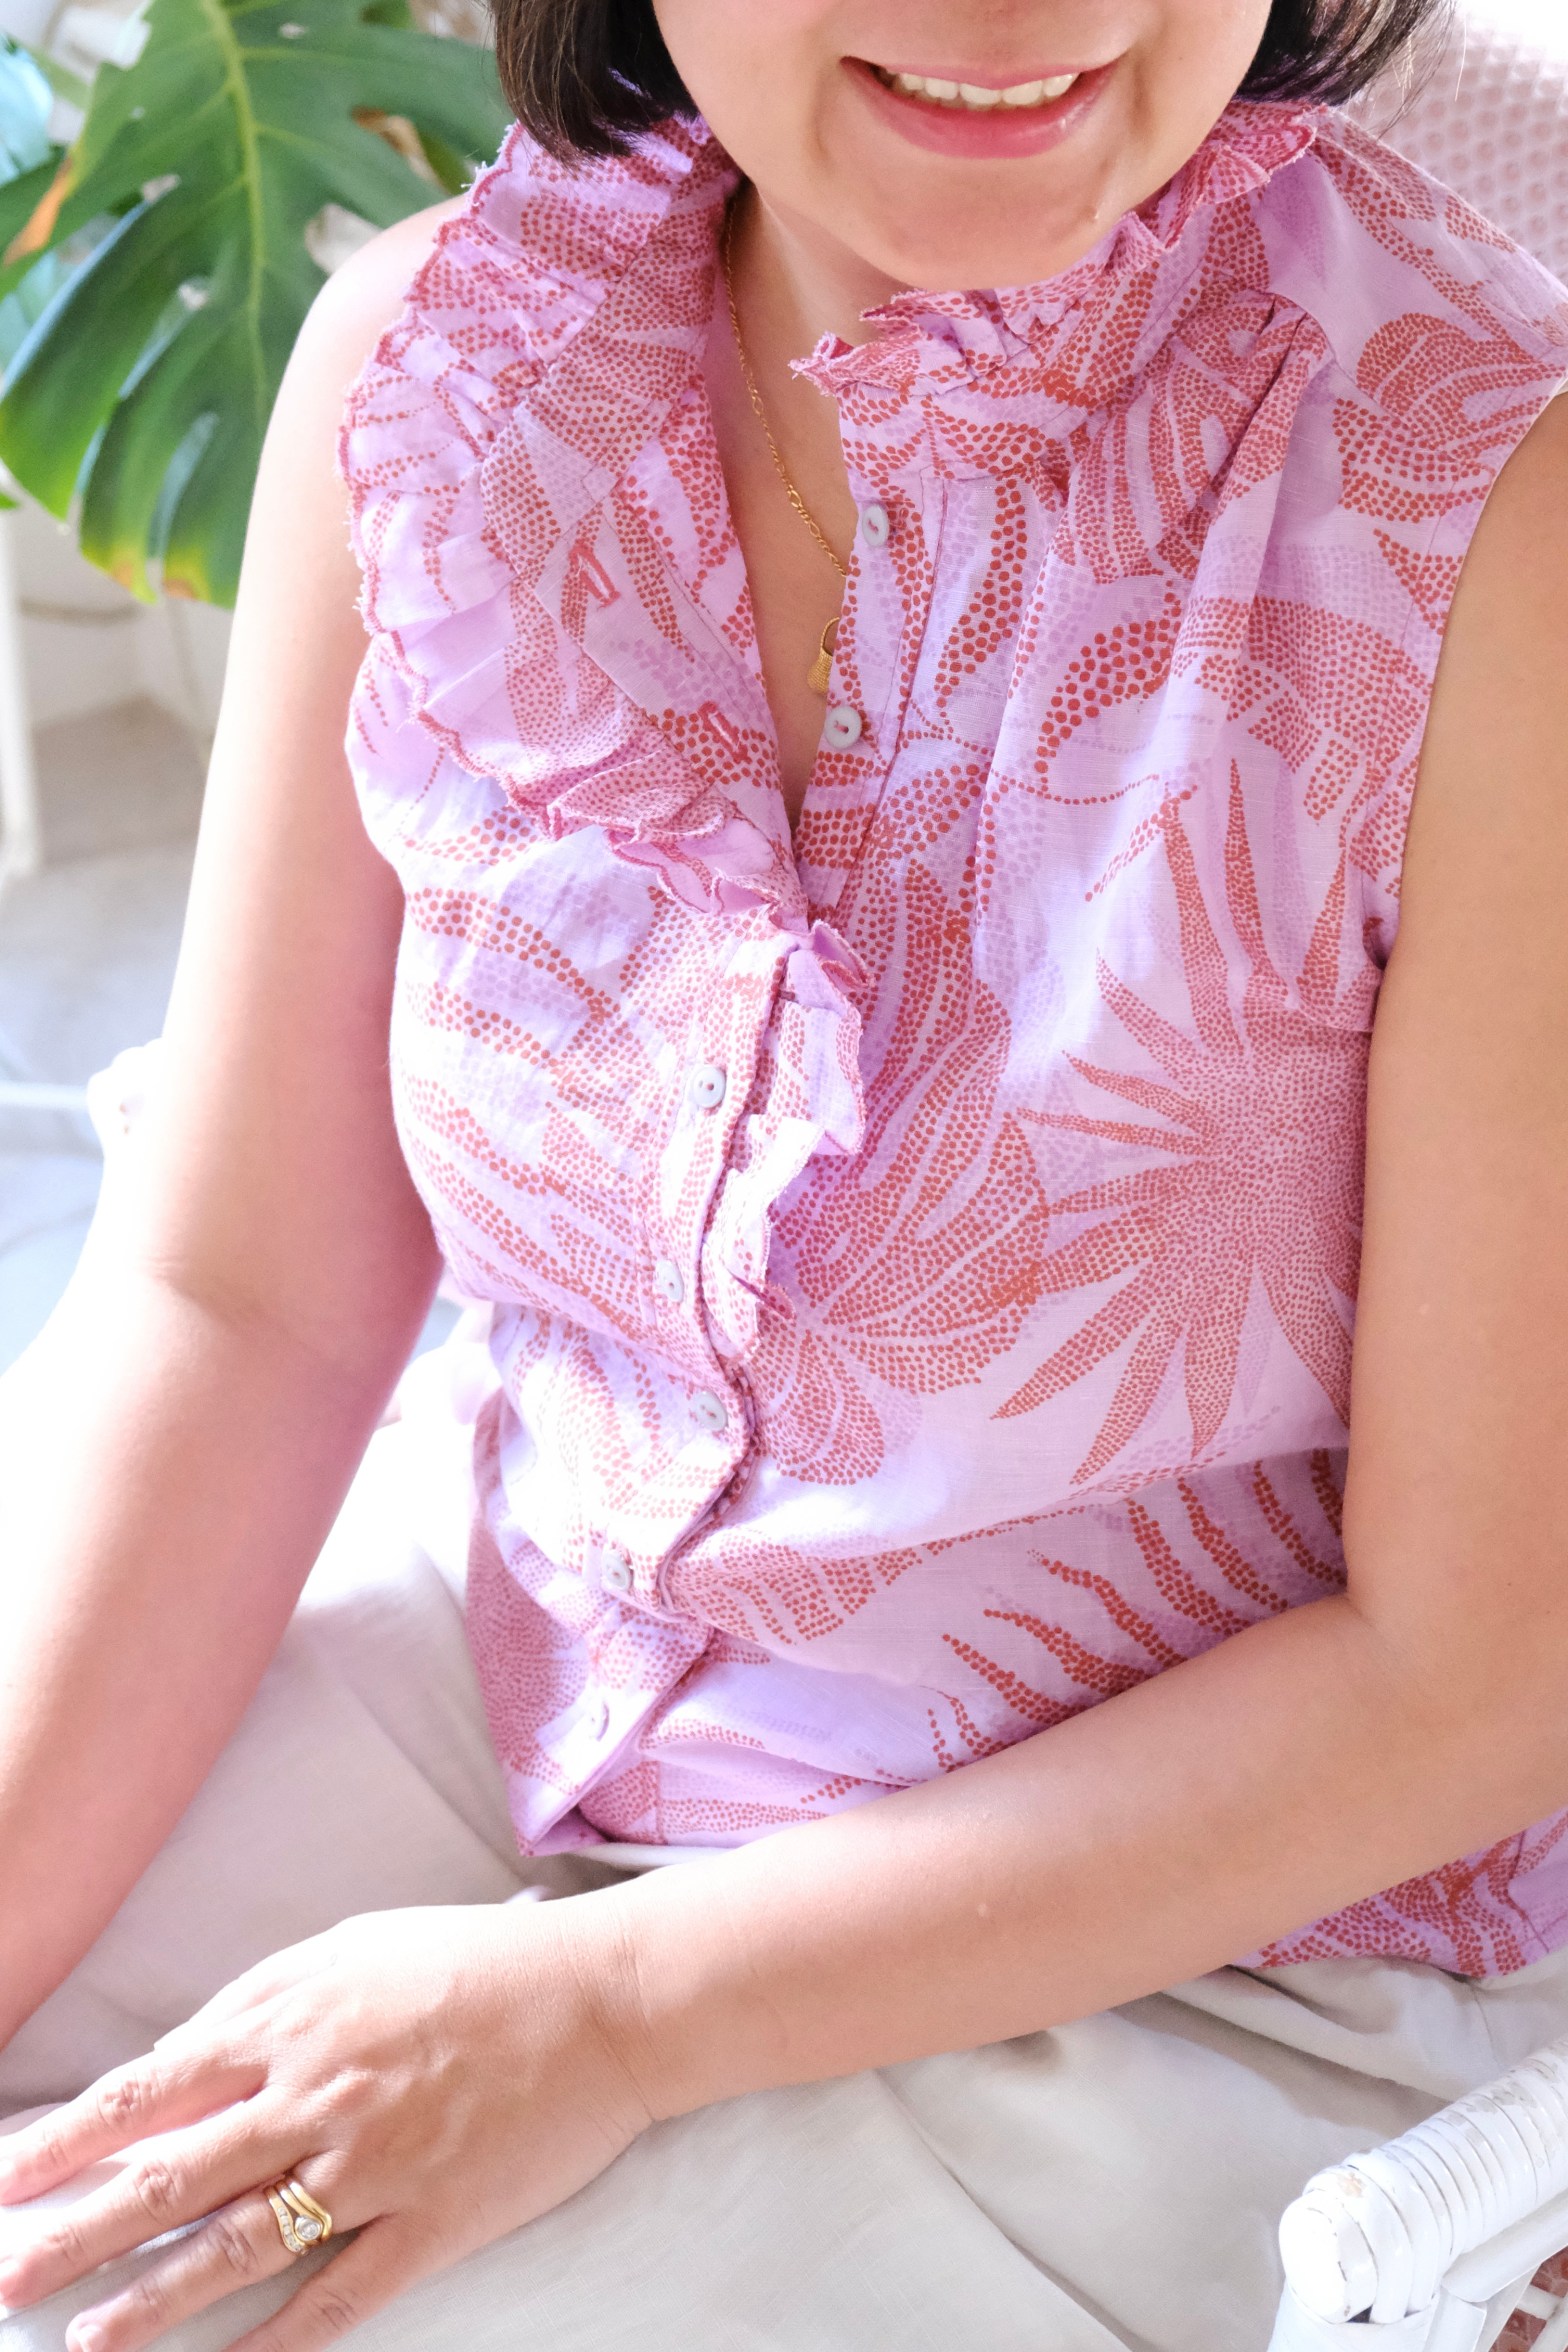
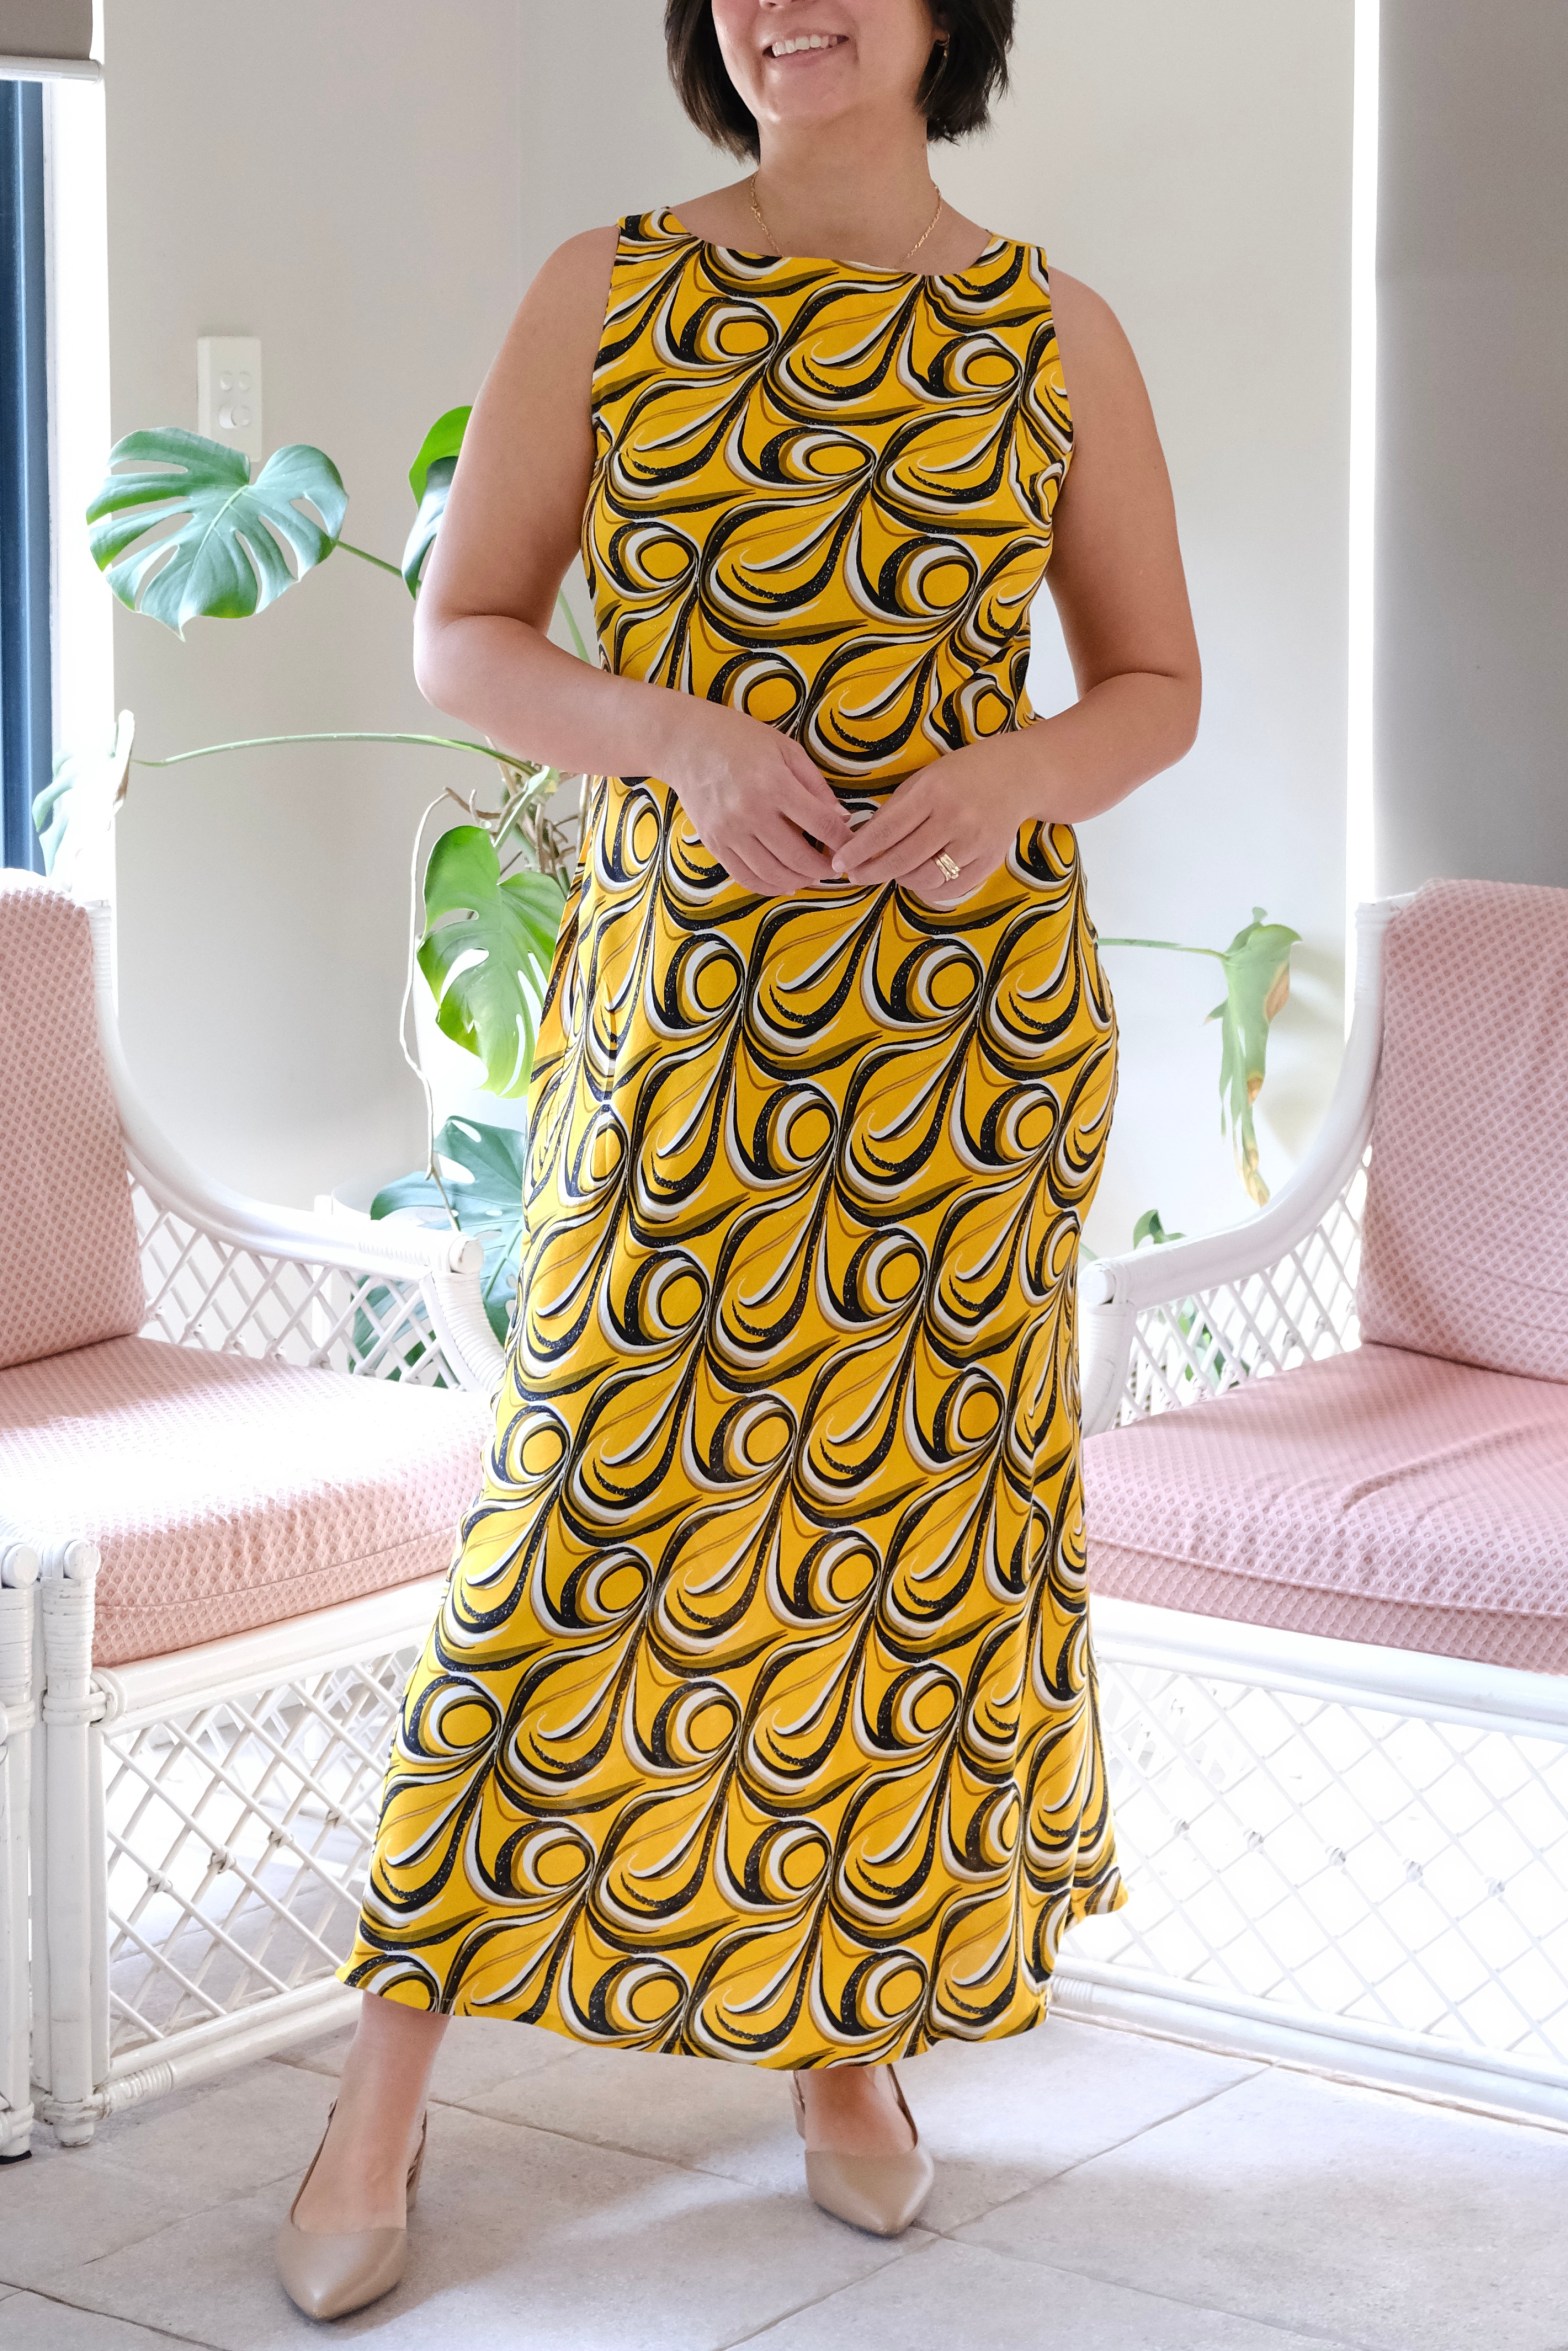
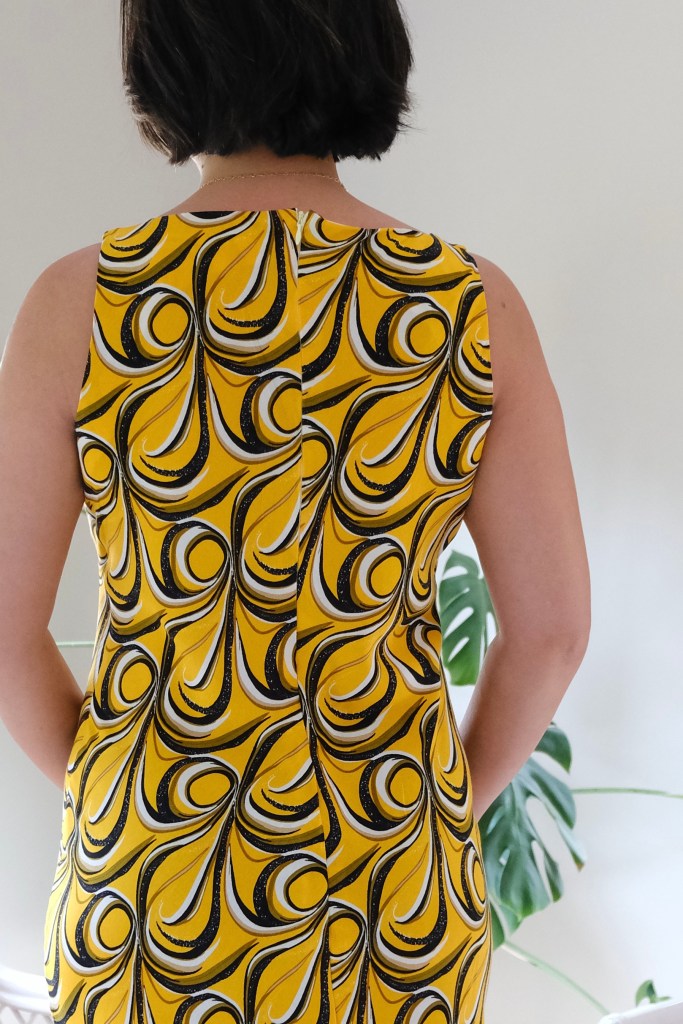
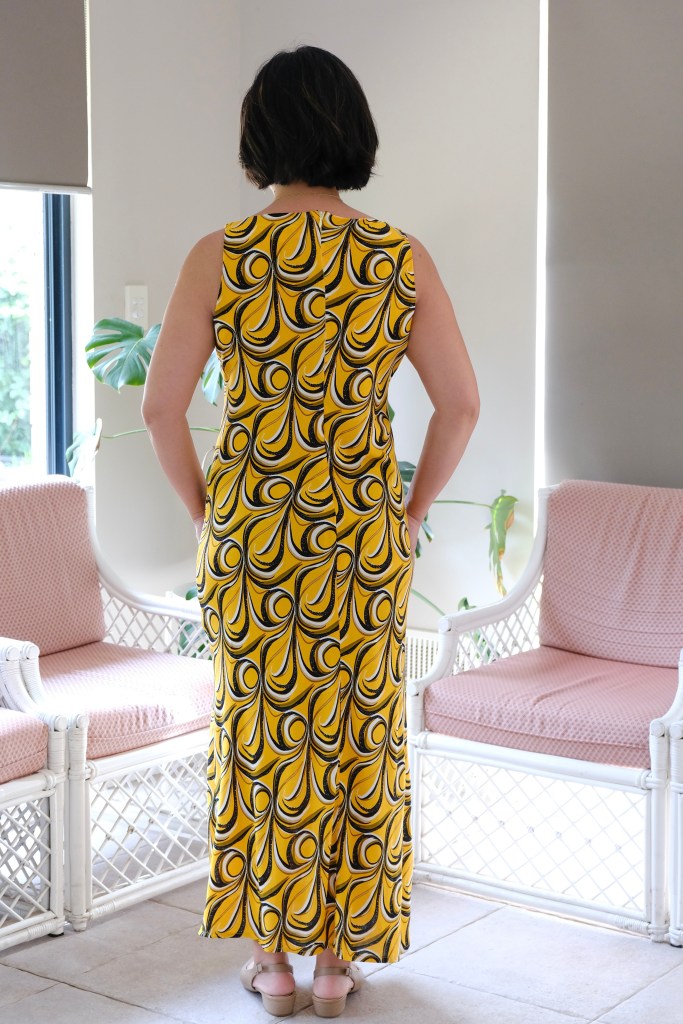
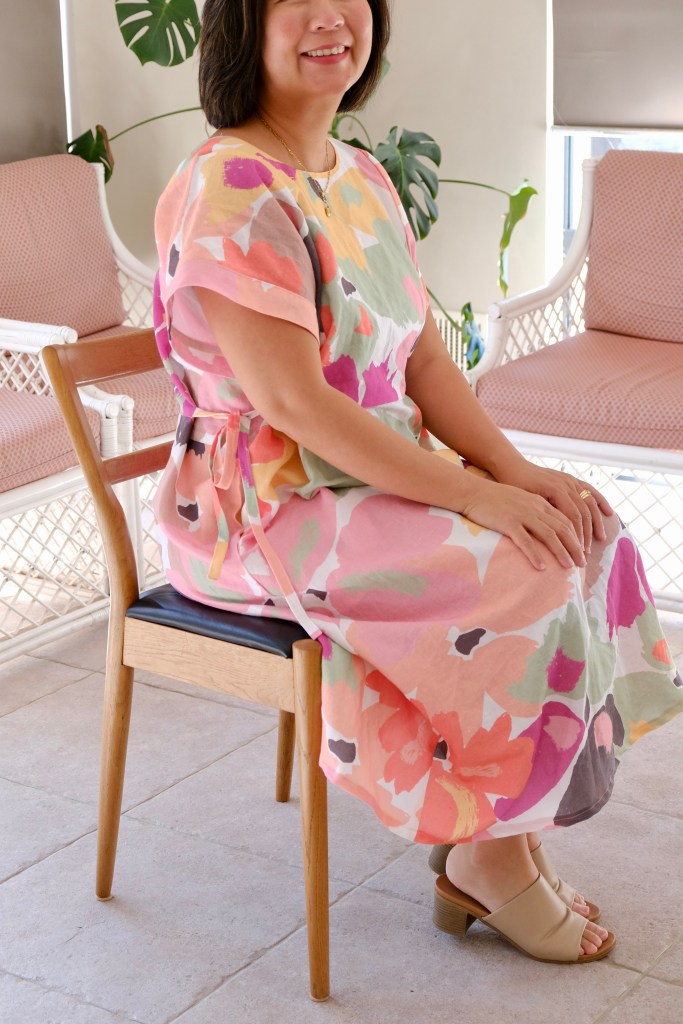
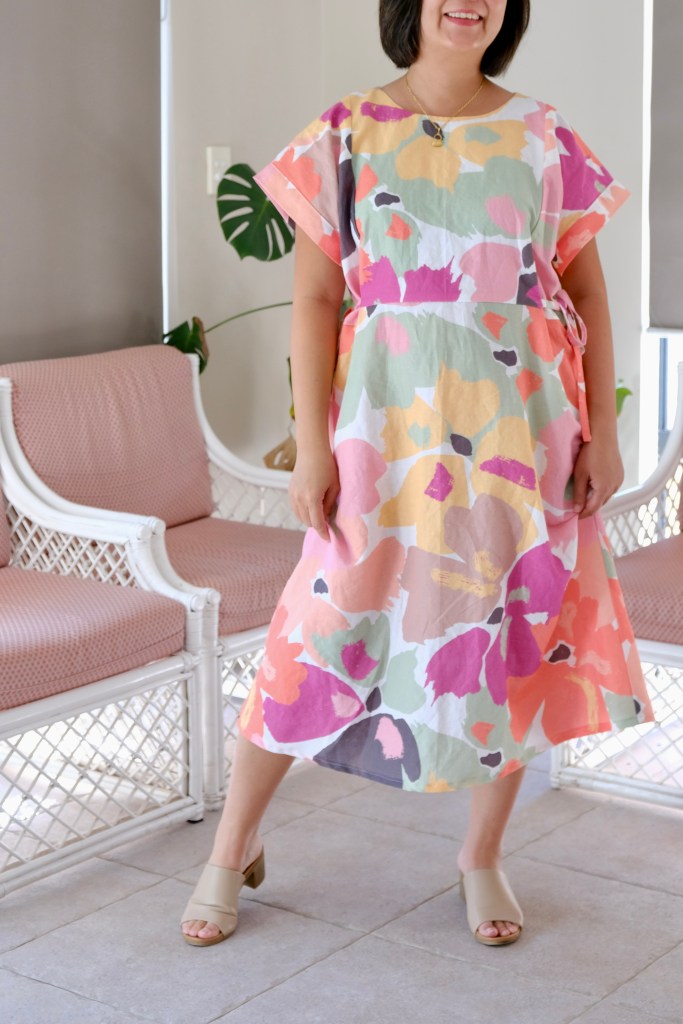
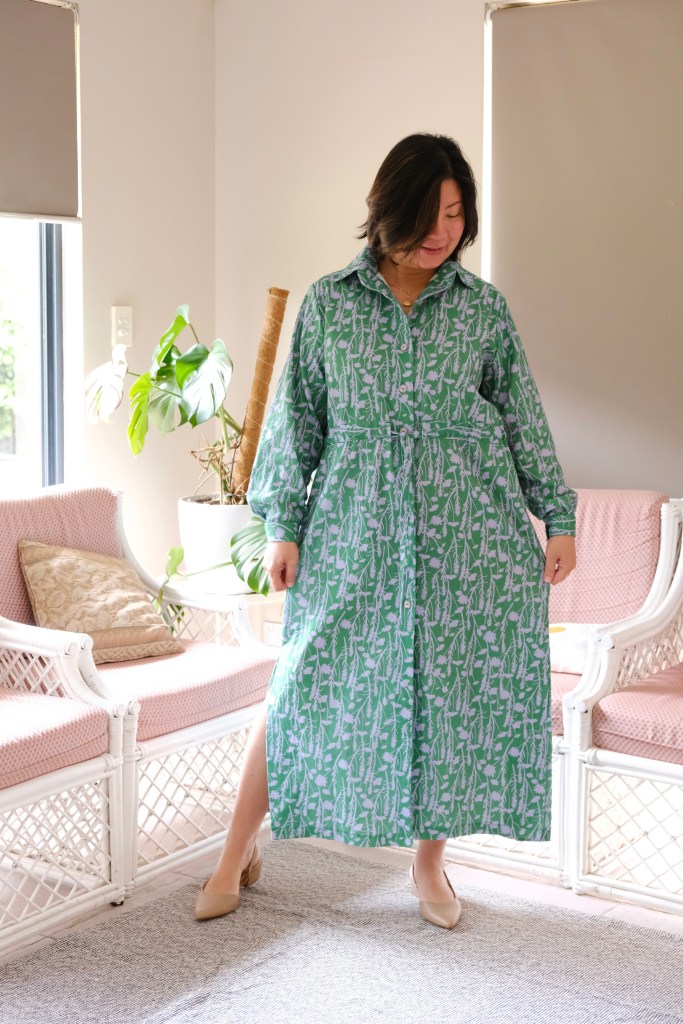
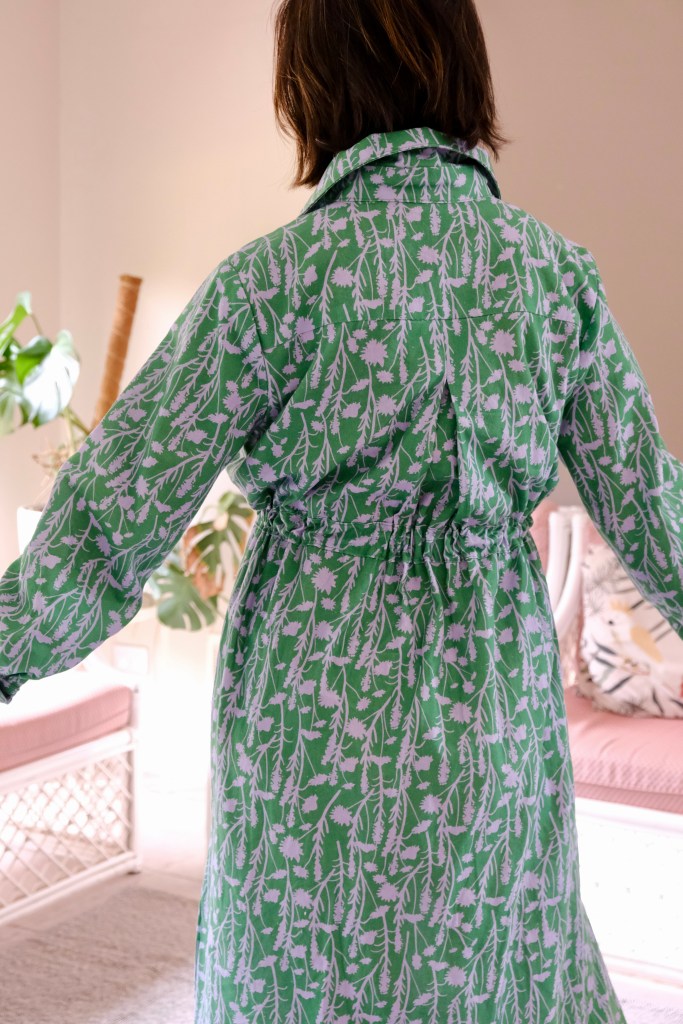
The pattern that immediately came to mind when I received the Cornwall Oceanside Print Linen was the Swimstyle Ritual Dress. I had bought this pattern last year but was waiting for the perfect fabric to match it. It’s basically a shirt dress but with the additional features of the drawstring waist casing in a maxi length. I haven’t had the opportunity to sew many collars and cuffs, so this was another consideration in my choice. The instructions for these are superb for entry level sewists.

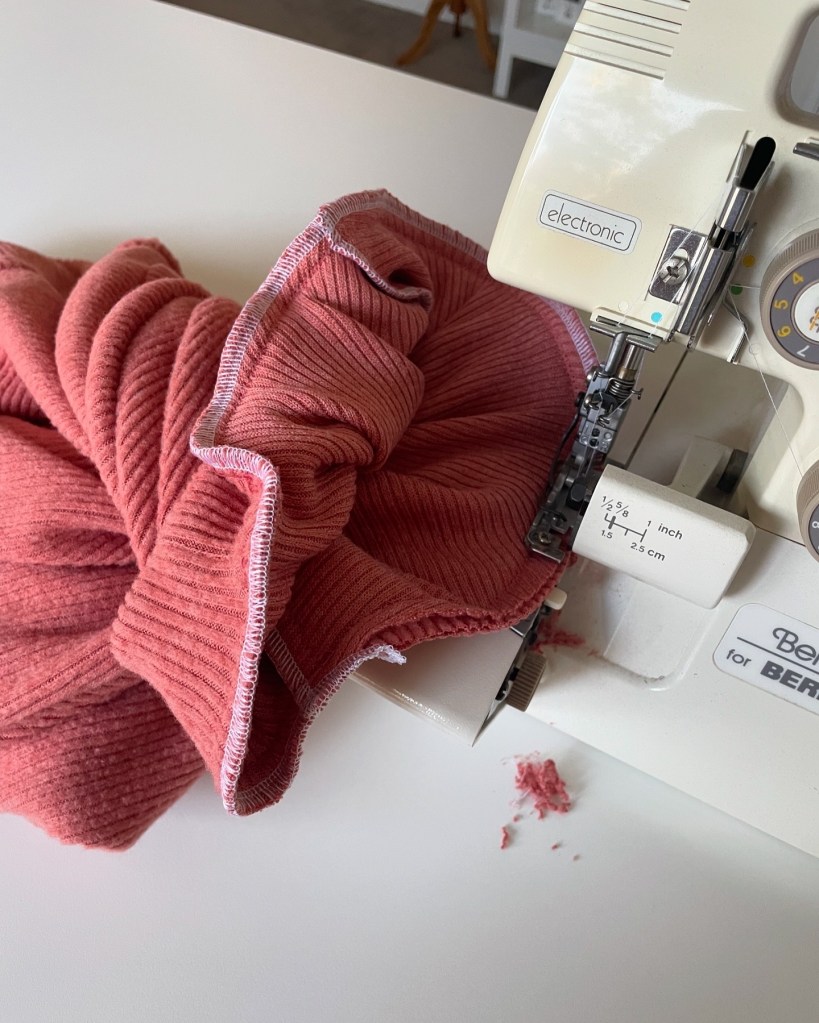
As with any other sew, I washed the linen cotton on a cold cycle and popped it on the medium setting in the dryer. There was no noticeable shrinkage and no fading of the dye. I like how the addition of the cotton to the linen helps to reduce wrinkling and cuts down the time it takes to iron. I do appreciate that relaxed vibe that wrinkling in linen can give but I prefer to start wrinkle free and earn the wrinkles along the way.
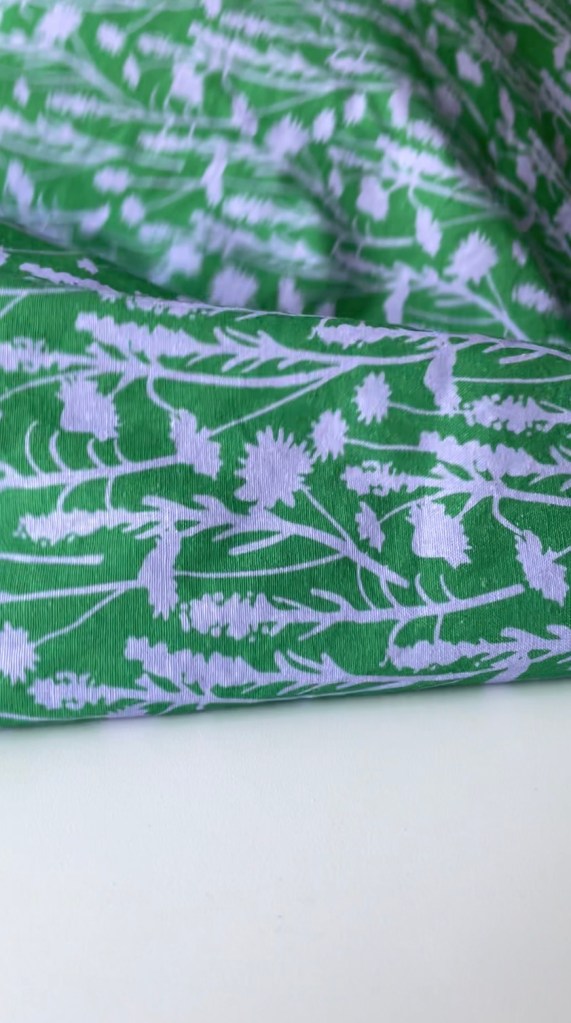
Of course, I also checked my needle. I left it on the universal 90/14 gage needle that I had been using. I matched the fabric with the Gutermann CA 02776 thread. I’m not sure the colour of the print shows up in the photos, but the print consists of shadows of mauve flora on a background of green.
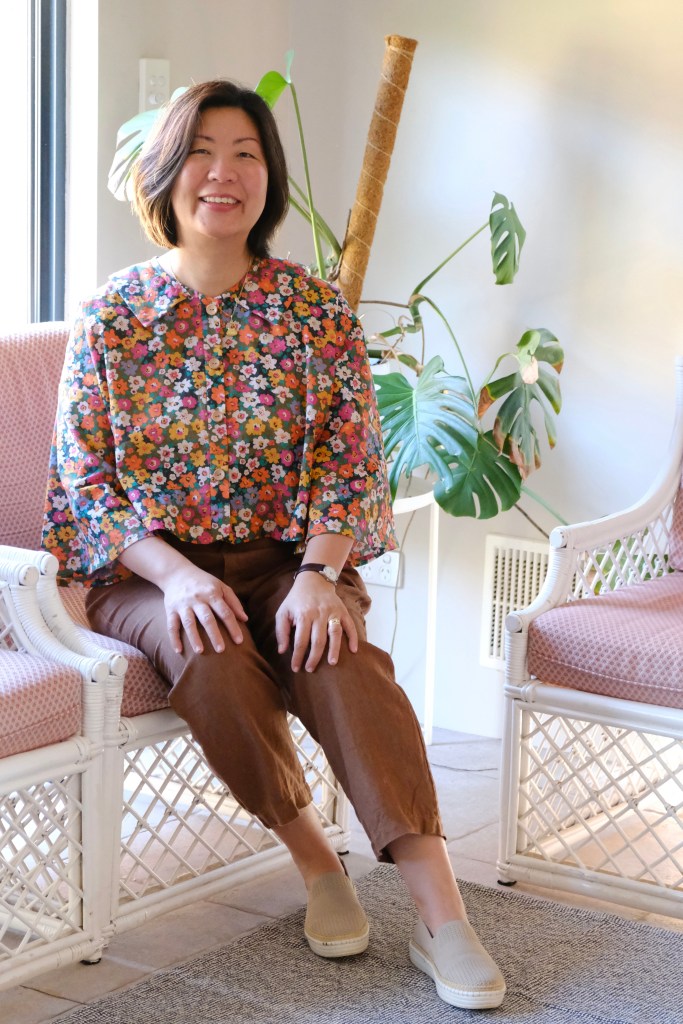
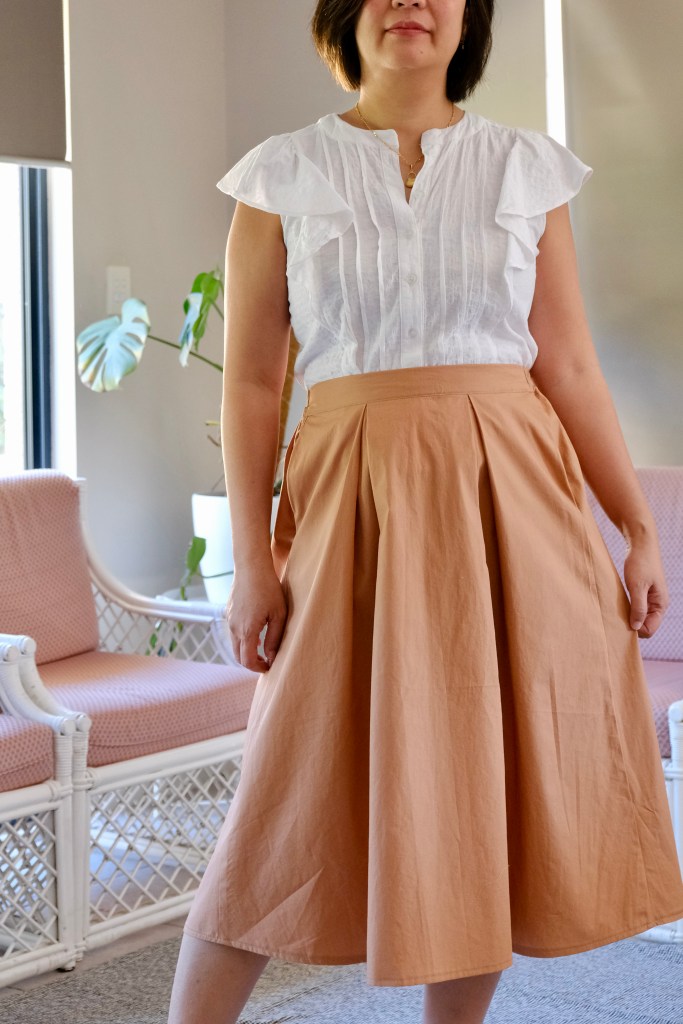
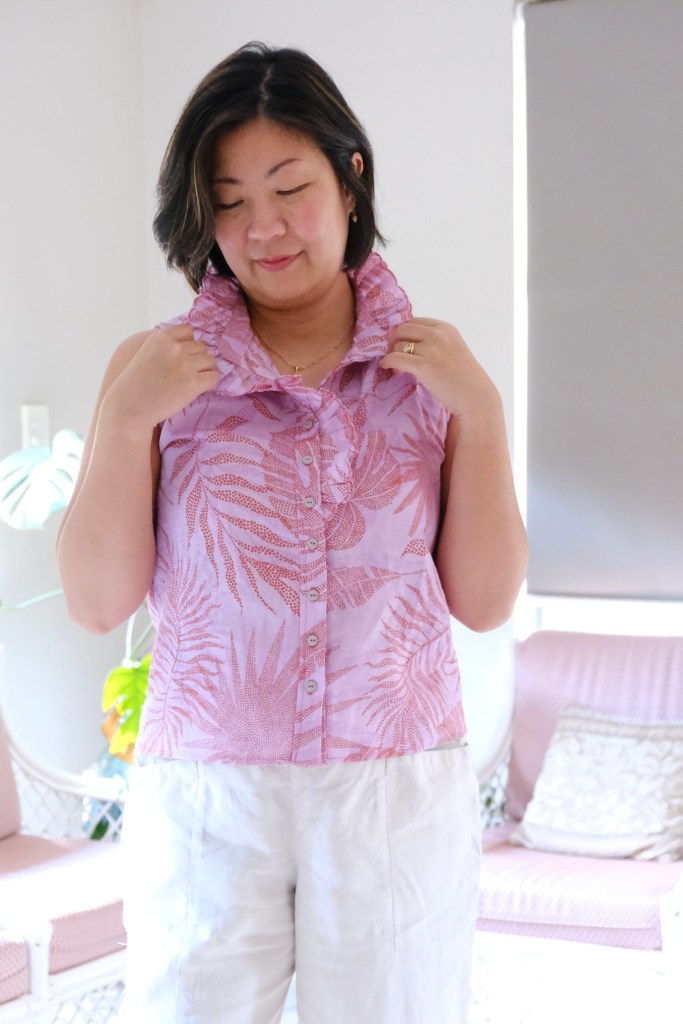
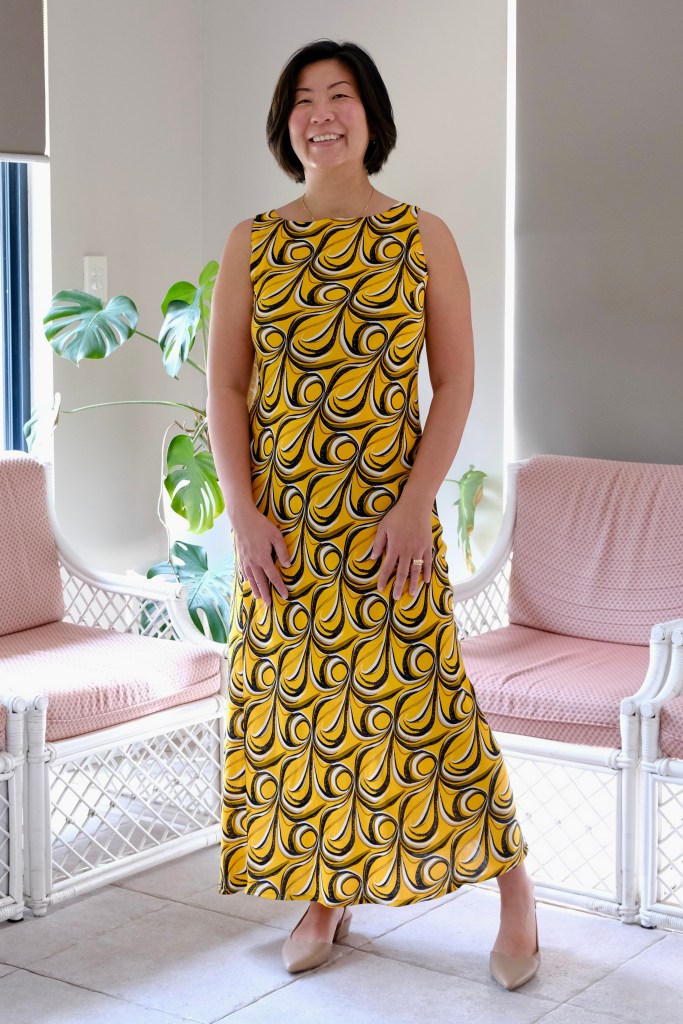
The Ritual Dress has quite a lot of ease in the pattern sizing, so I chose my usual Size L for my measurements of 38-inch bust, 33-inch waist and 40-inch hips. I did not make any modifications. My height is 167cm. I felt the pattern was true to size and fitted comfortably. Perhaps the sleeves could have been shortened slightly but I wanted to have the full-length sleeve and a properly maxi dress. I guess I’m great at sewing summer outfits, but I really need to make items that will see me through the cooler weather. I think this dress fits the bill nicely.


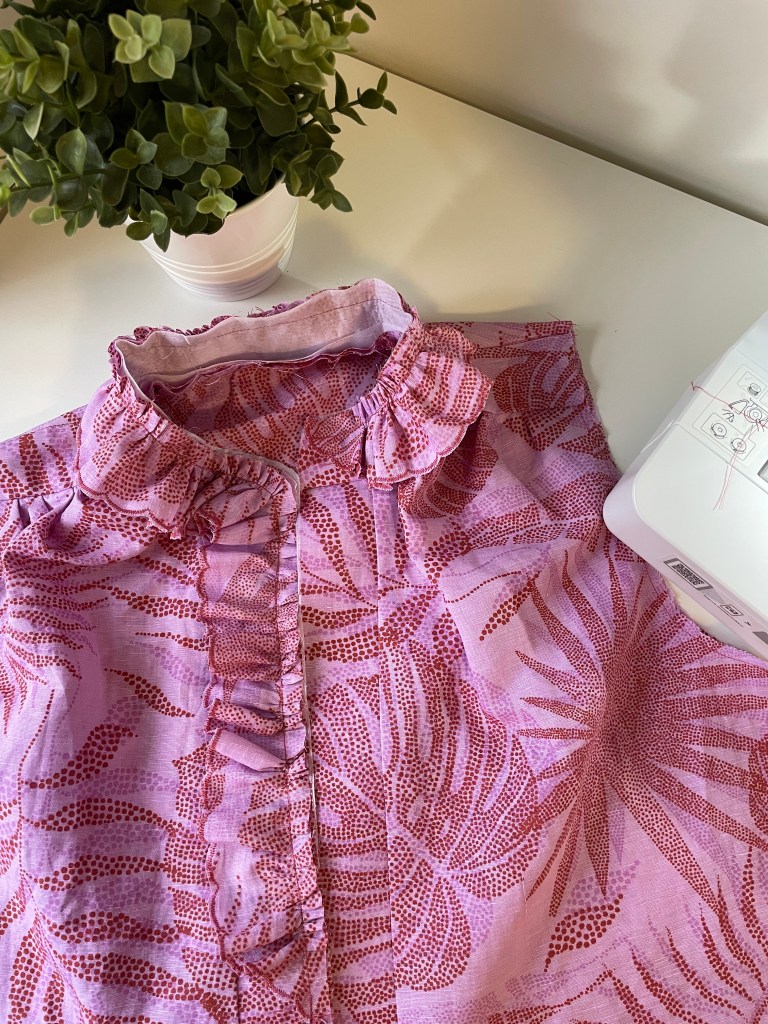
The collar and cuff instructions were great if you lack experience in this area. It’s really made for novice level and can highly recommend it. The Summer Abroad linen cotton has been such a good quality fabric to sew with. It still has that slight stiffness that linen starts with so it feels a little bit course on the skin but that will soften with a few washes. I know that’s sometimes a concern with linen, but it really doesn’t take long for it to season to a soft and pliable garment.
Hopefully, the Summer Abroad collection will be available for purchase soon from your favourite fabric store! Currently, it’s available for wholesale through Devonstone Fashion. Keep your eyes out for it from the Sew To Grow newsletter.
Thanks for reading and happy sewing!
X Em