There are moments when undertaking a small, manageable project provides the perfect boost for motivation and delivers quick satisfaction. The Motif Studio Ruffle Tote is an ideal example of such a bite-sized project, offering both a sense of accomplishment and enjoyment in a short amount of time.

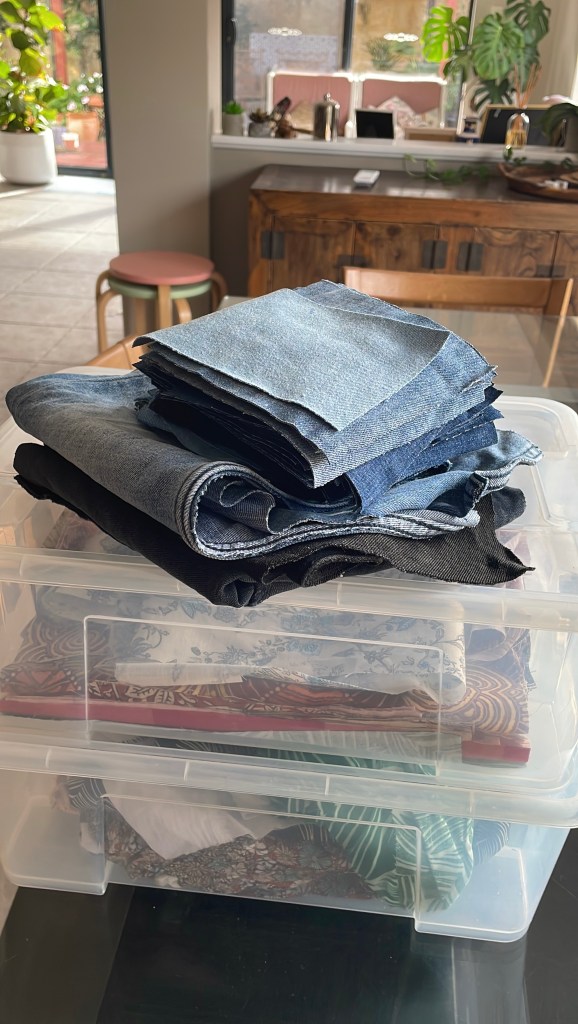
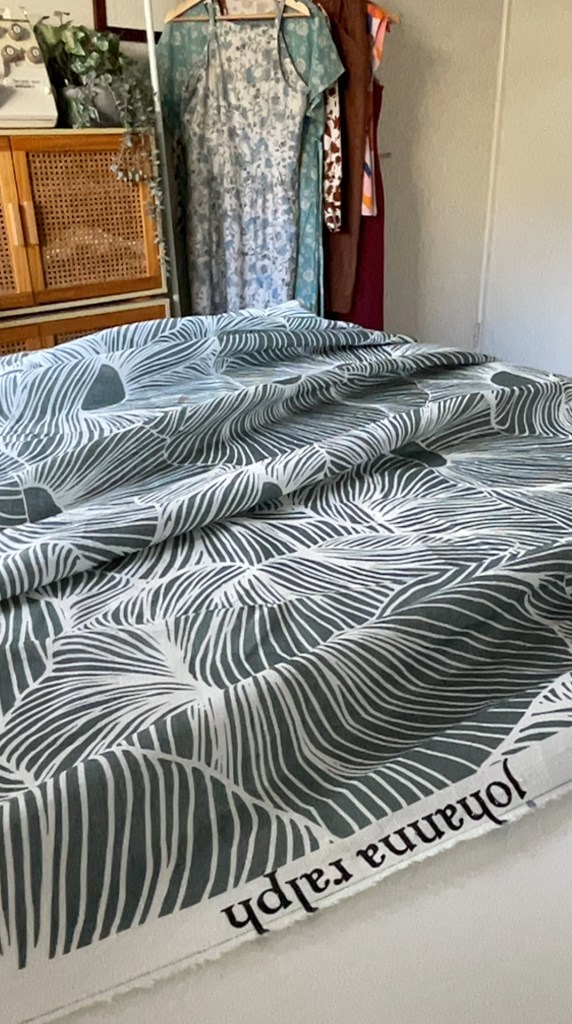
This project is ideal for utilising fabric scraps efficiently. My goal was to repurpose small pieces of fabric and offcuts from previous garment sewing projects. Consequently, the initial stage involved creating the material required for the tote’s exterior. To refine my approach, I consulted the Instagram Sewing community and incorporated several valuable suggestions and recommendations. The following guidelines emerged:
- Use fabric of consistent weight.
- Join fabric pieces with ¼ inch seams.
- Attach all pieces to a backing such as interfacing, lining fabric or batting.
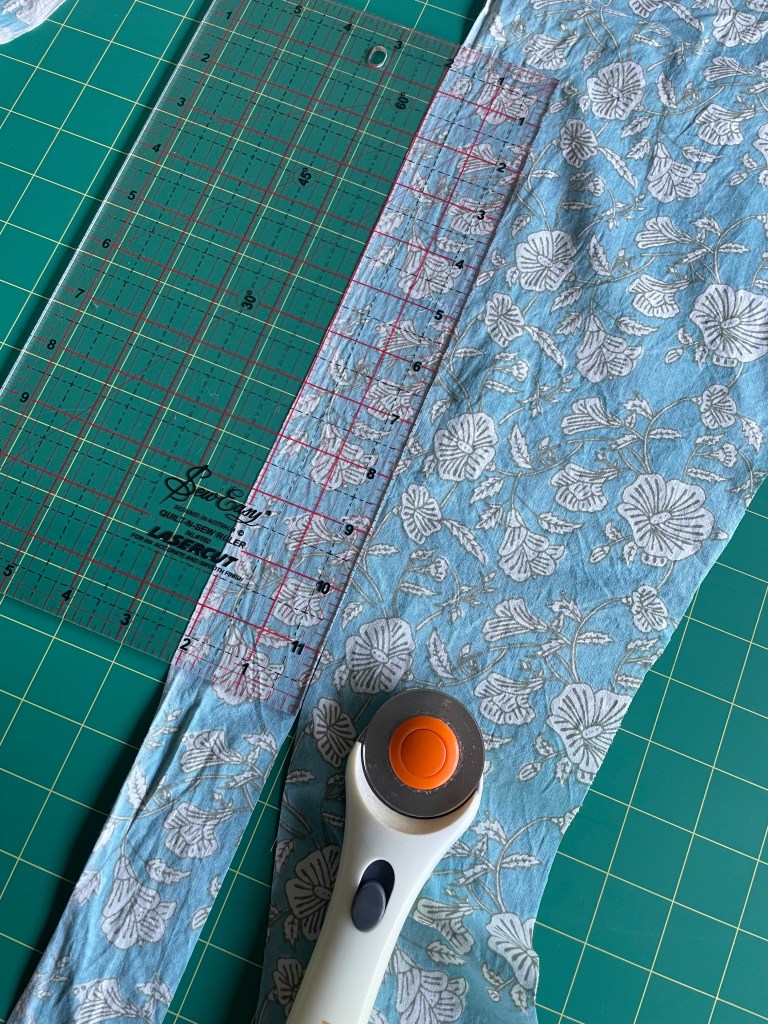
- Once assembled, use a quilting ruler (available in various sizes) to trim the fabric to the required dimensions.
- Sew the trimmed squares onto interfacing, then stitch the seams at ¼ inch.
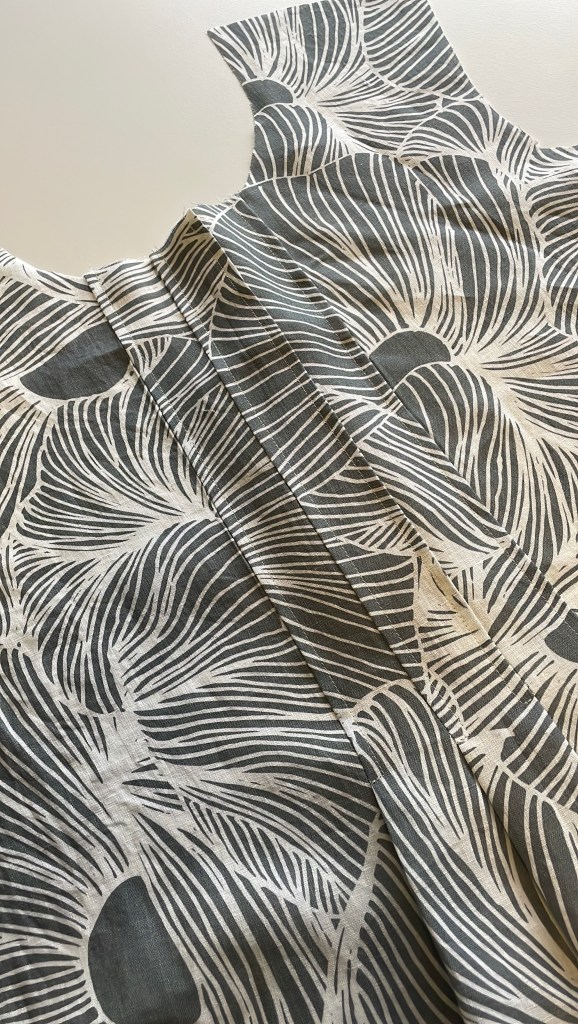
- Press the seams as you progress.
- After completion, trim and press the seams flat.
I am grateful for the valuable advice and support provided throughout this project. The tradition of quilting, passed down through generations, is clearly reflected in the thoughtful guidance I received. I sincerely appreciate the encouragement offered as I worked on my project.
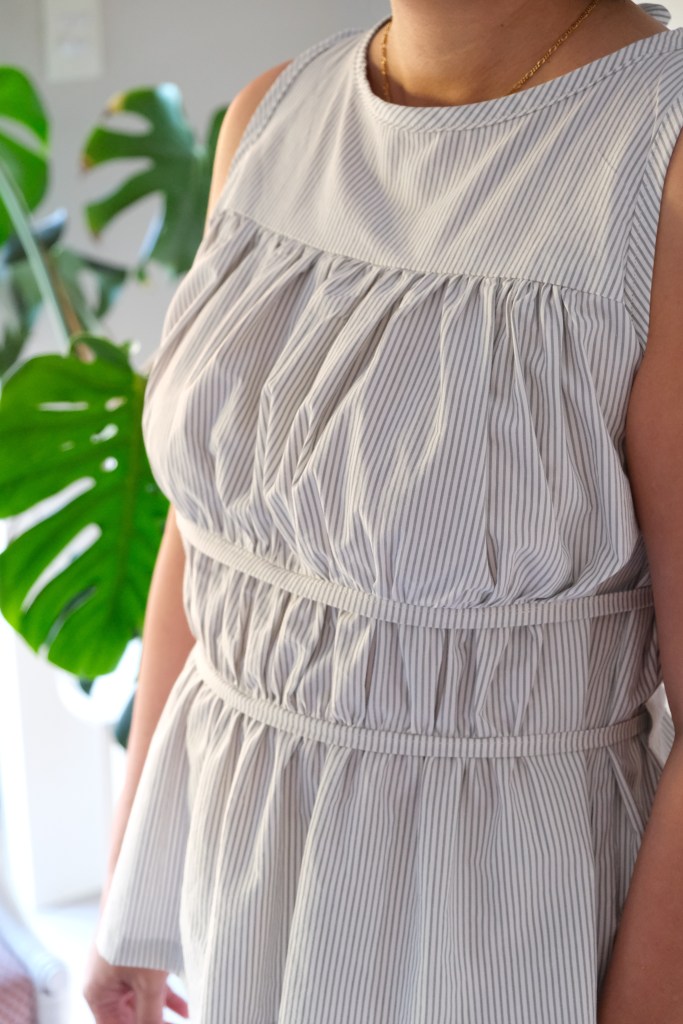
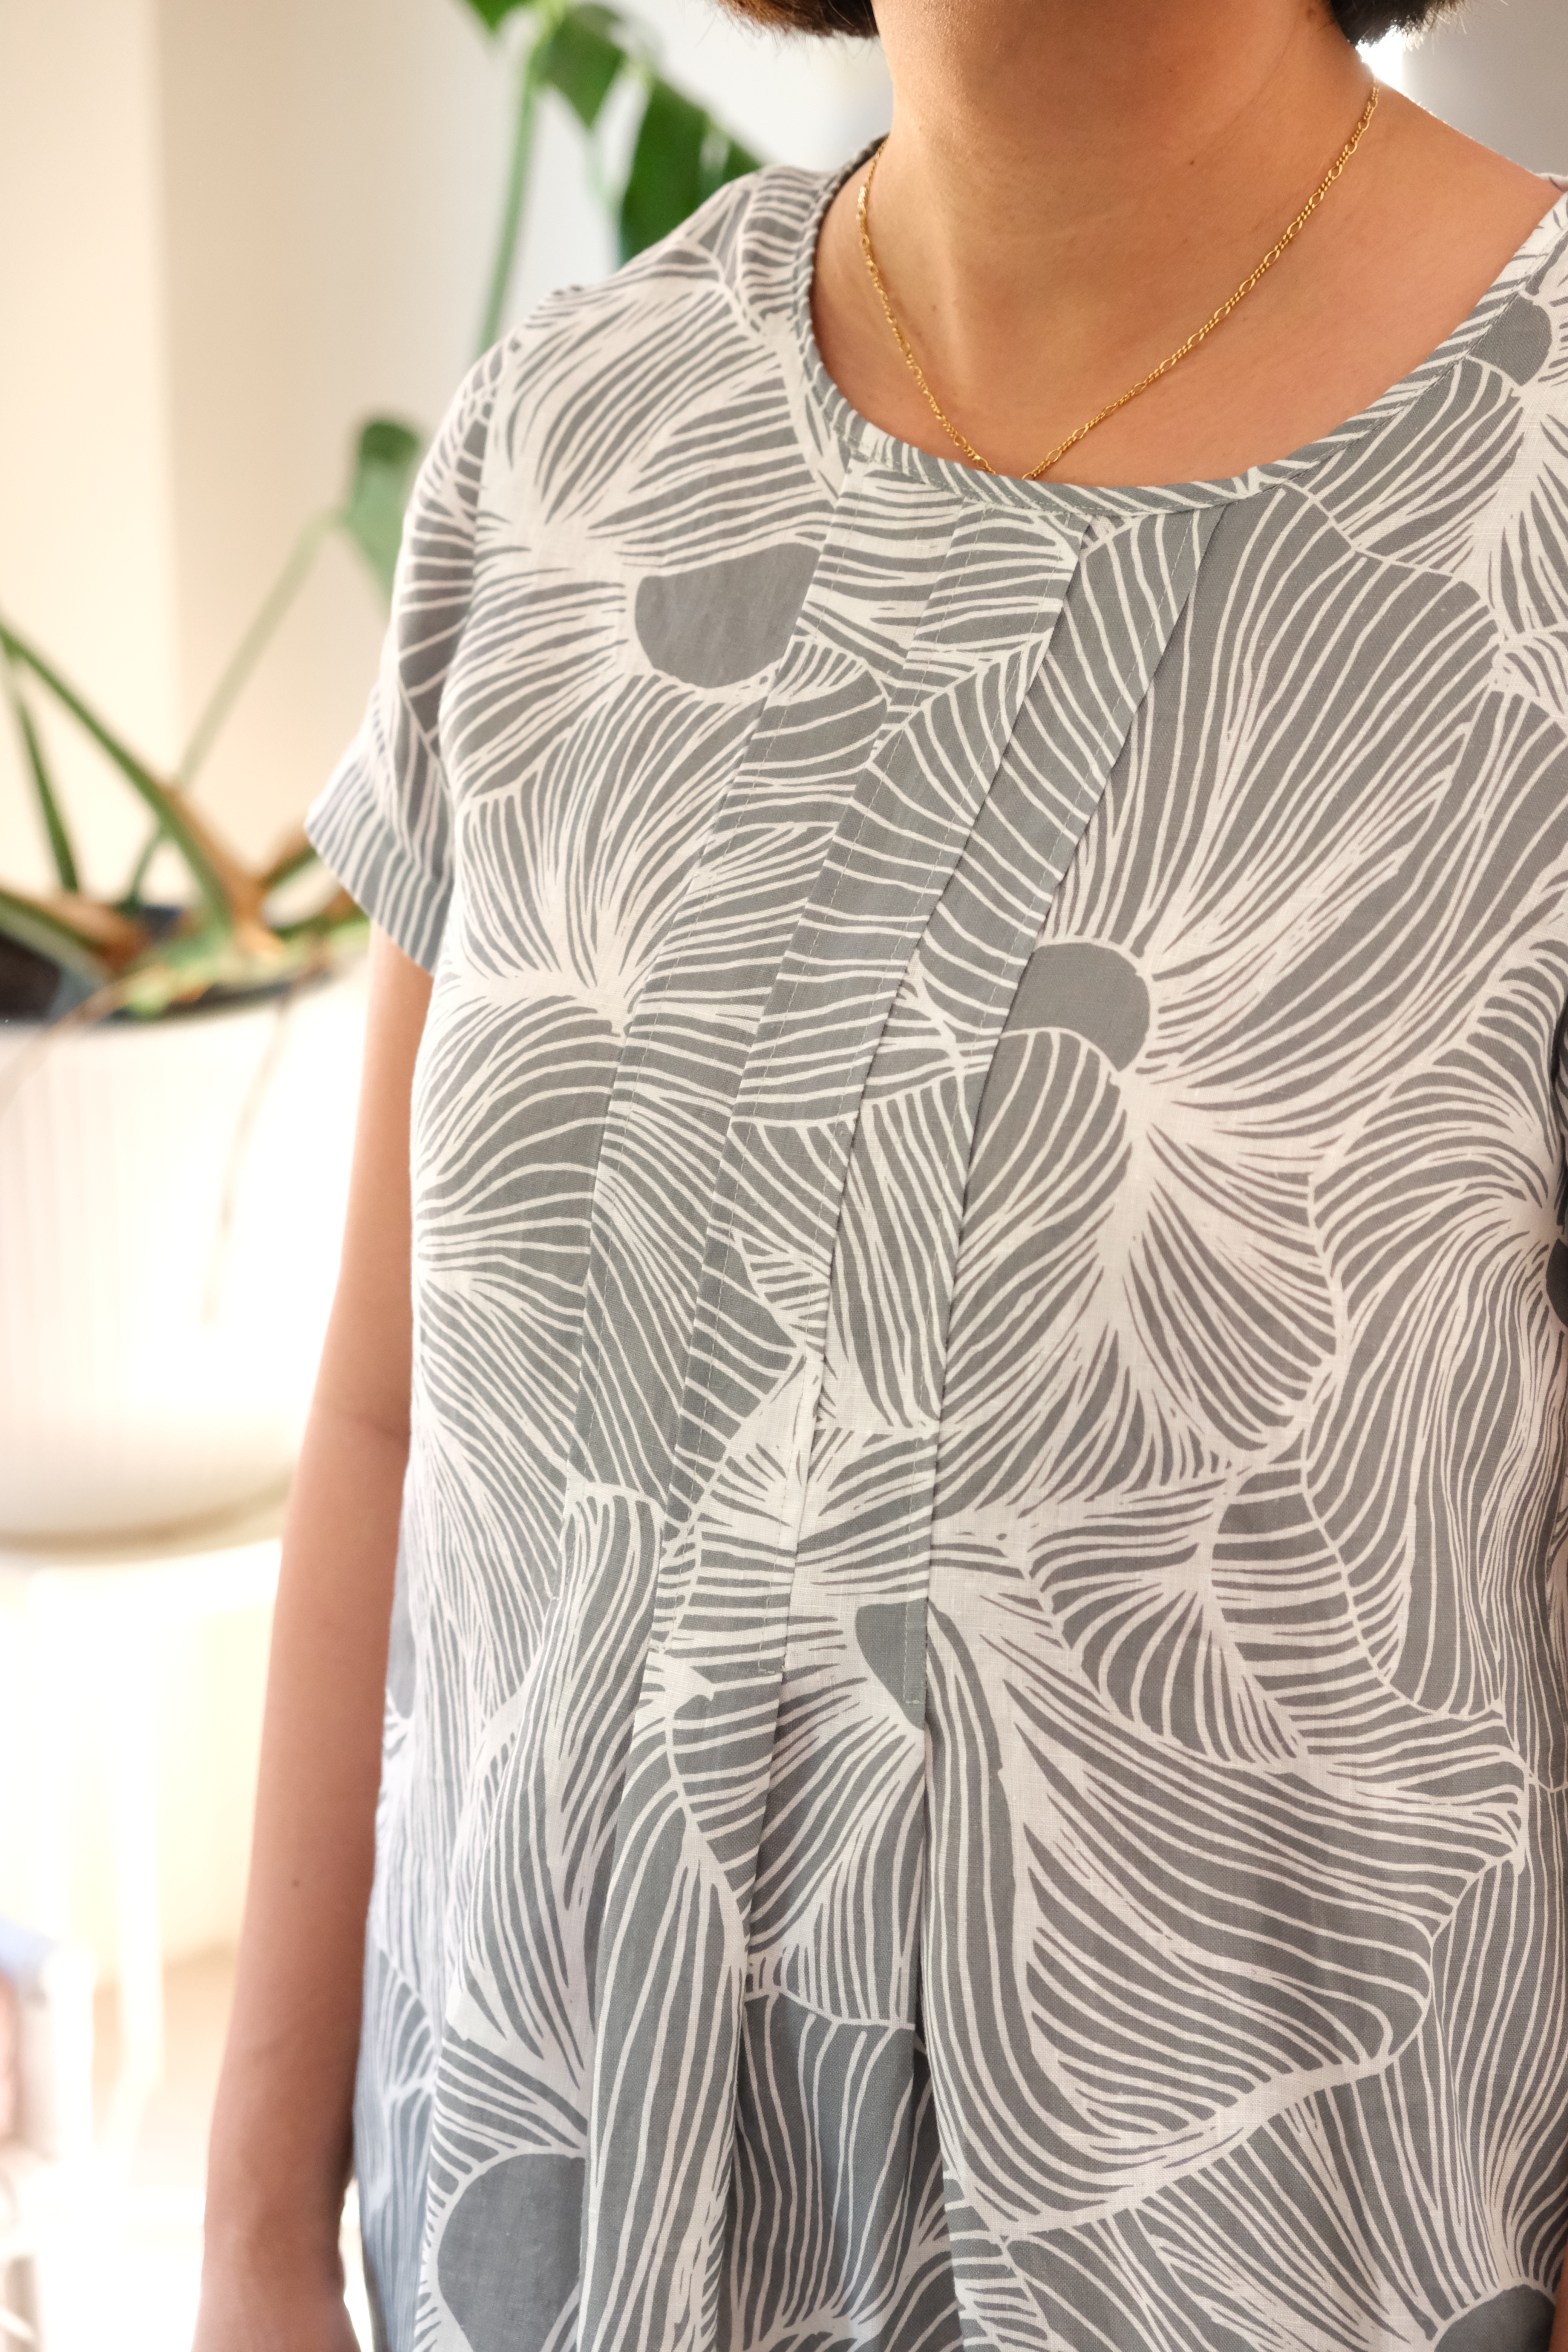
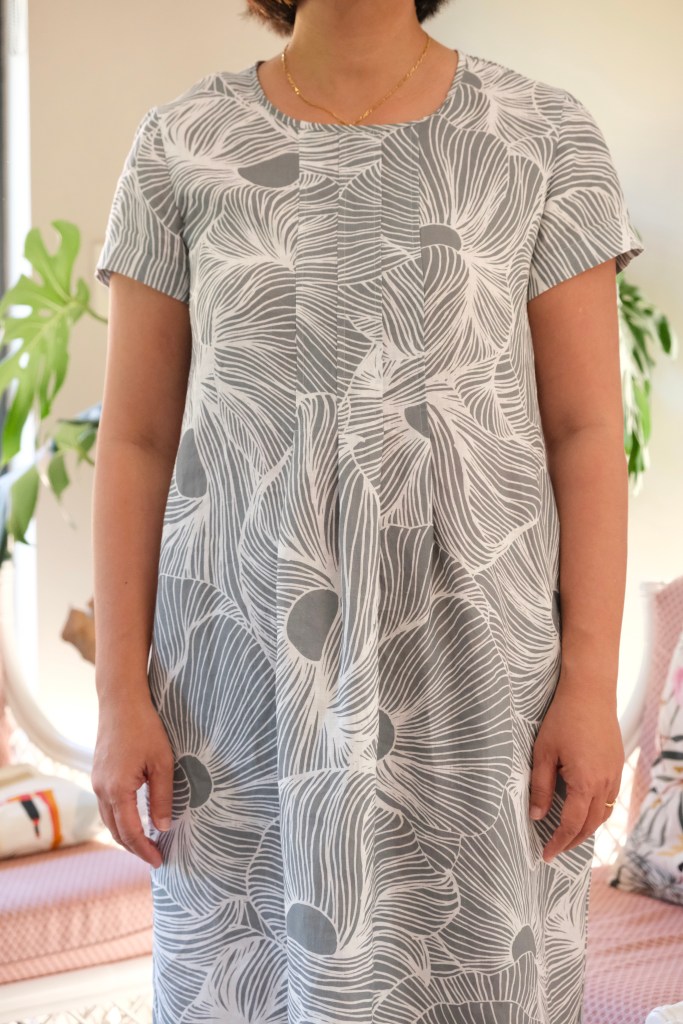
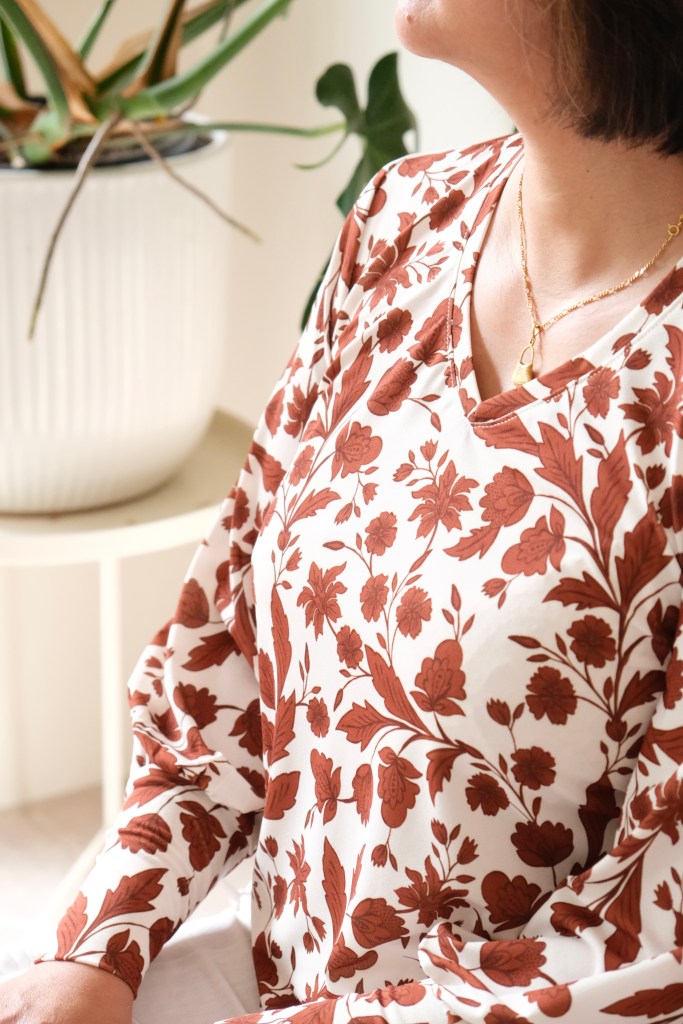
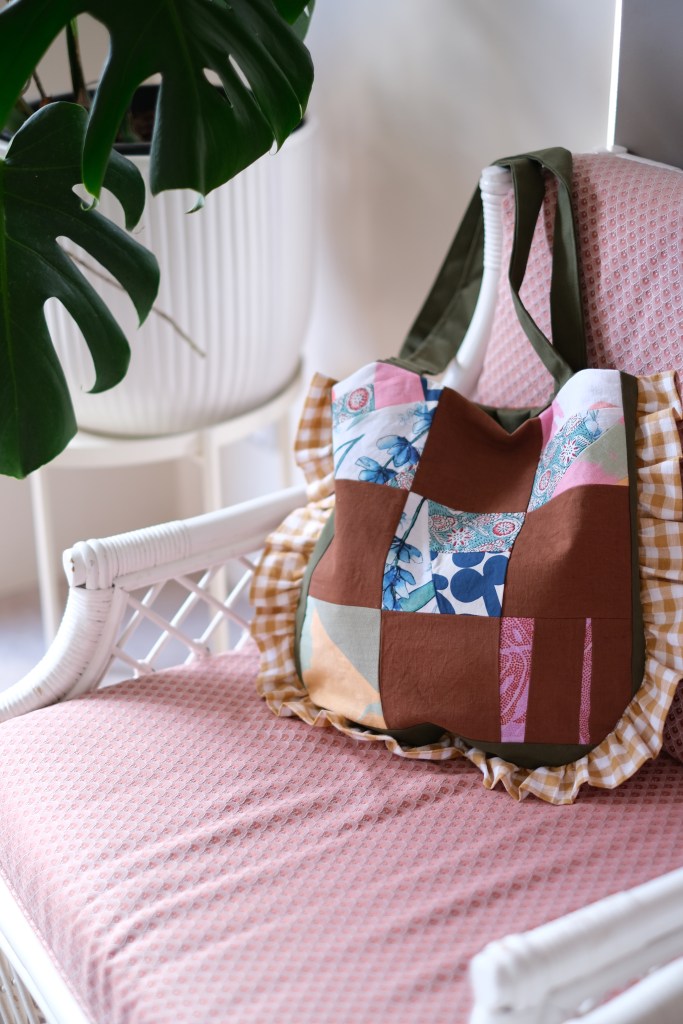
The Ruffle Tote is fully lined on the inside and has an internal pocket. It has two long handles and an optional tie which I skipped. I used some leftover green cotton drill for the lining and handles and a remnant piece of linen from my scrap collection. The ruffle was made from leftover gingham.

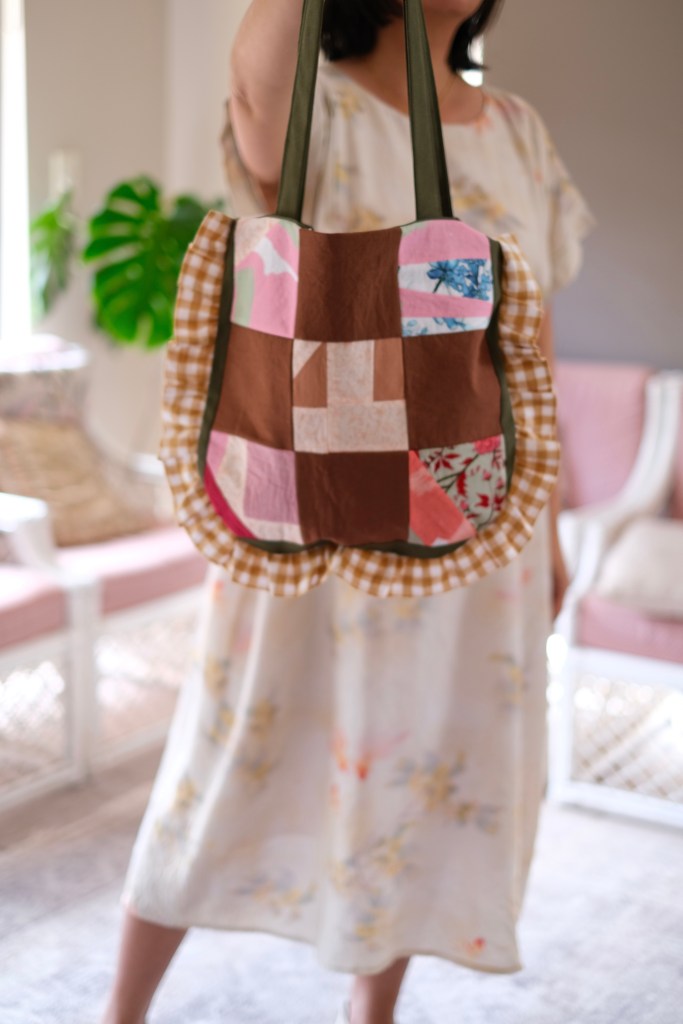
The Ruffle Tote comes in three sizes. I chose to make the medium size. I’m keen to now try the large size as I can see myself using a large one for the beach. The sewing experience was excellent due to the superb instructions. I tend to use the instructions off my computer because there are photos that accompany the written instructions. These would be excellent for true sewing beginners.

Perhaps this will encourage anyone feeling stuck with sewing to start a small project. Sewing has brought me a lot of happiness, and I truly value the relationships I’ve built through it.
Thanks for reading and happy sewing!
X Em