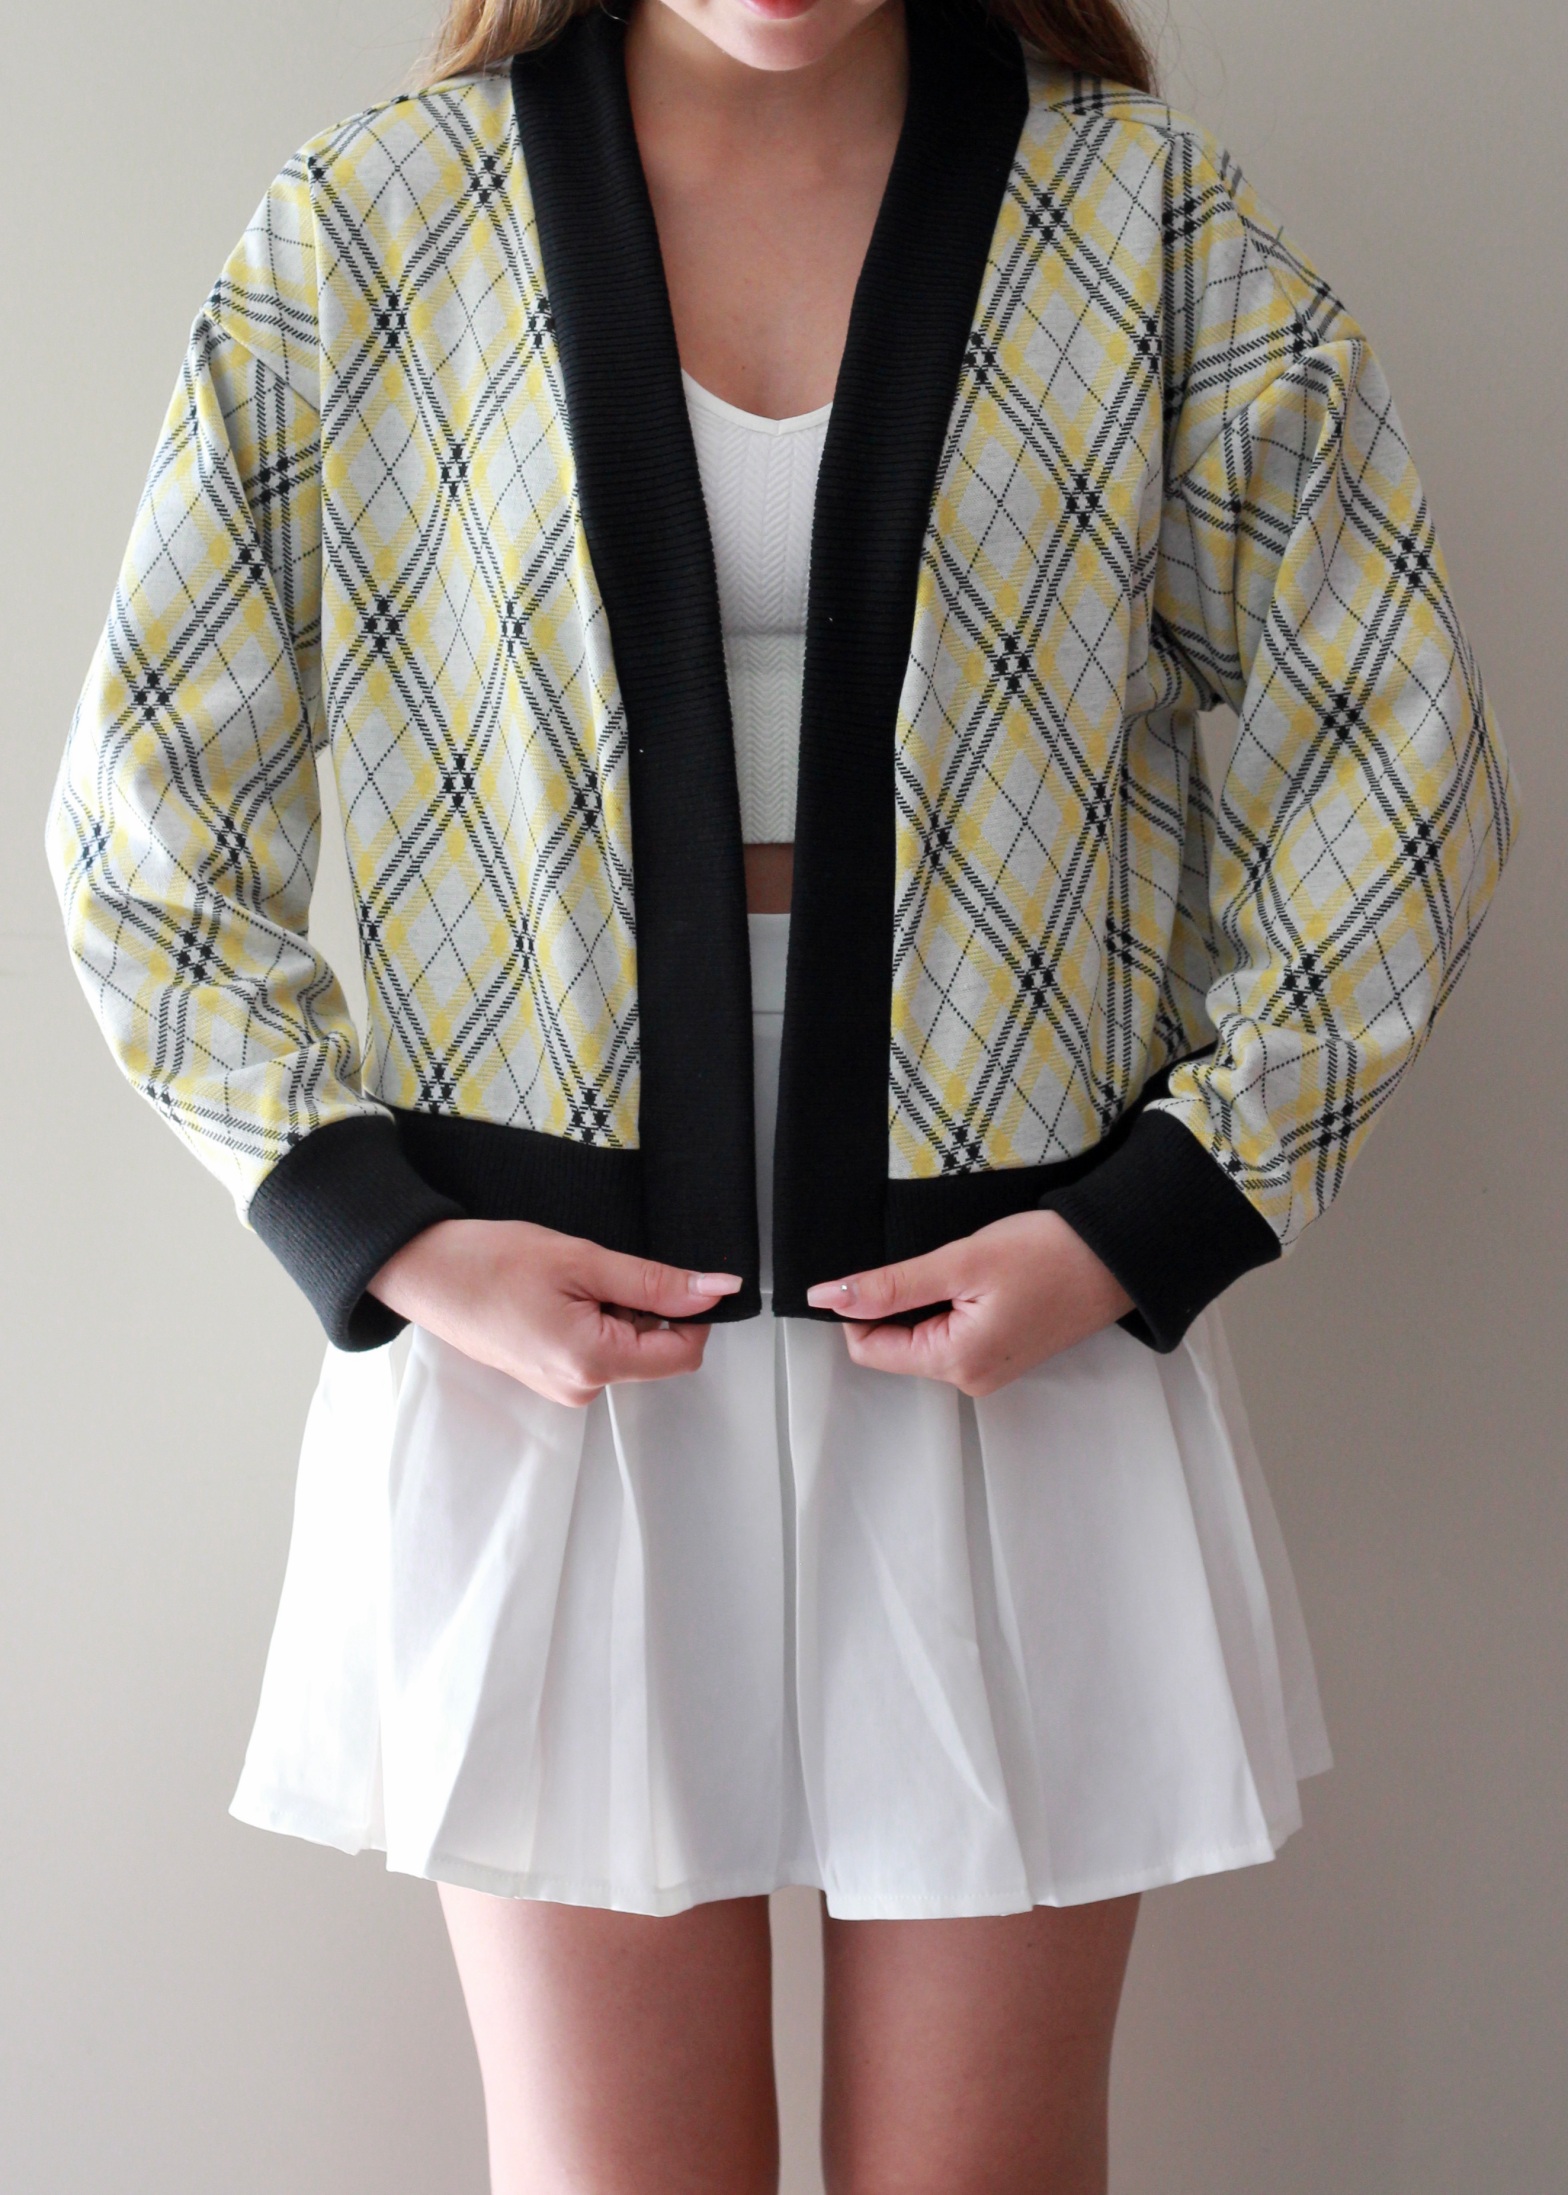
My daughter and I fell in love with the Marlo Sweater by True Bias at first sight. I always find it amusing that to my daughter’s generation, the 90s are regarded as “retro” which of course it is now but the 90s are still so fresh in my mind and the years of my youth! This pattern paired with the argyle patterned fabric that I found conjures images of the outfits that Cher Horowitz wears in the movie, “Clueless”. I love the bond that my daughter and I have formed over sewing. My daughter’s textile course in her final years of school was the catalyst to my sewing obsession.
So, back to the Marlo Sweater, I decided to make the cropped version. My daughter was happy with a very oversized sweater, so I made it to my sizing which was the size 8. My closet is often raided by her so it’s understood between us that my sweater will eventually be worn by her. Hence, why she is modelling it as well.
The instructions for construction were very comprehensive and easy to follow. I’ve sewn True Bias a few times now and the patterns are always well thought out and logical. Everything went smoothly. I started by pattern matching the argyle pattern of the fabric. To match the fabric, I had to cut the pattern piece individually instead of two paired pieces.

The next step was to cut the ribbing. The width that the black ribbing came in did not allow me to cut the bottom ribbing piece in one length. Instead, I cut one length for the back then two equal pieces for the front. These three pieces were sewn together before attaching to the body of the sweater.
My second-hand overlocker has been the best bargain buy of my sewing journey. It’s been such a worthy investment. It allows me to sew directly onto knit fabric without having to zig-zag sew on a sewing machine. This makes it so fast to put together a knitted outfit.


My real challenge (and the one that stalled this project) was the installation of buttonholes. There is a piece of interfacing that is already attached to the inner side of the front ribbing however, when I attempted to sew a buttonhole on a tester piece, the ribbing kept getting caught in the teeth of the machine. This meant that the fabric could not move forward. It was a test to my patience as well as my sewing skills.

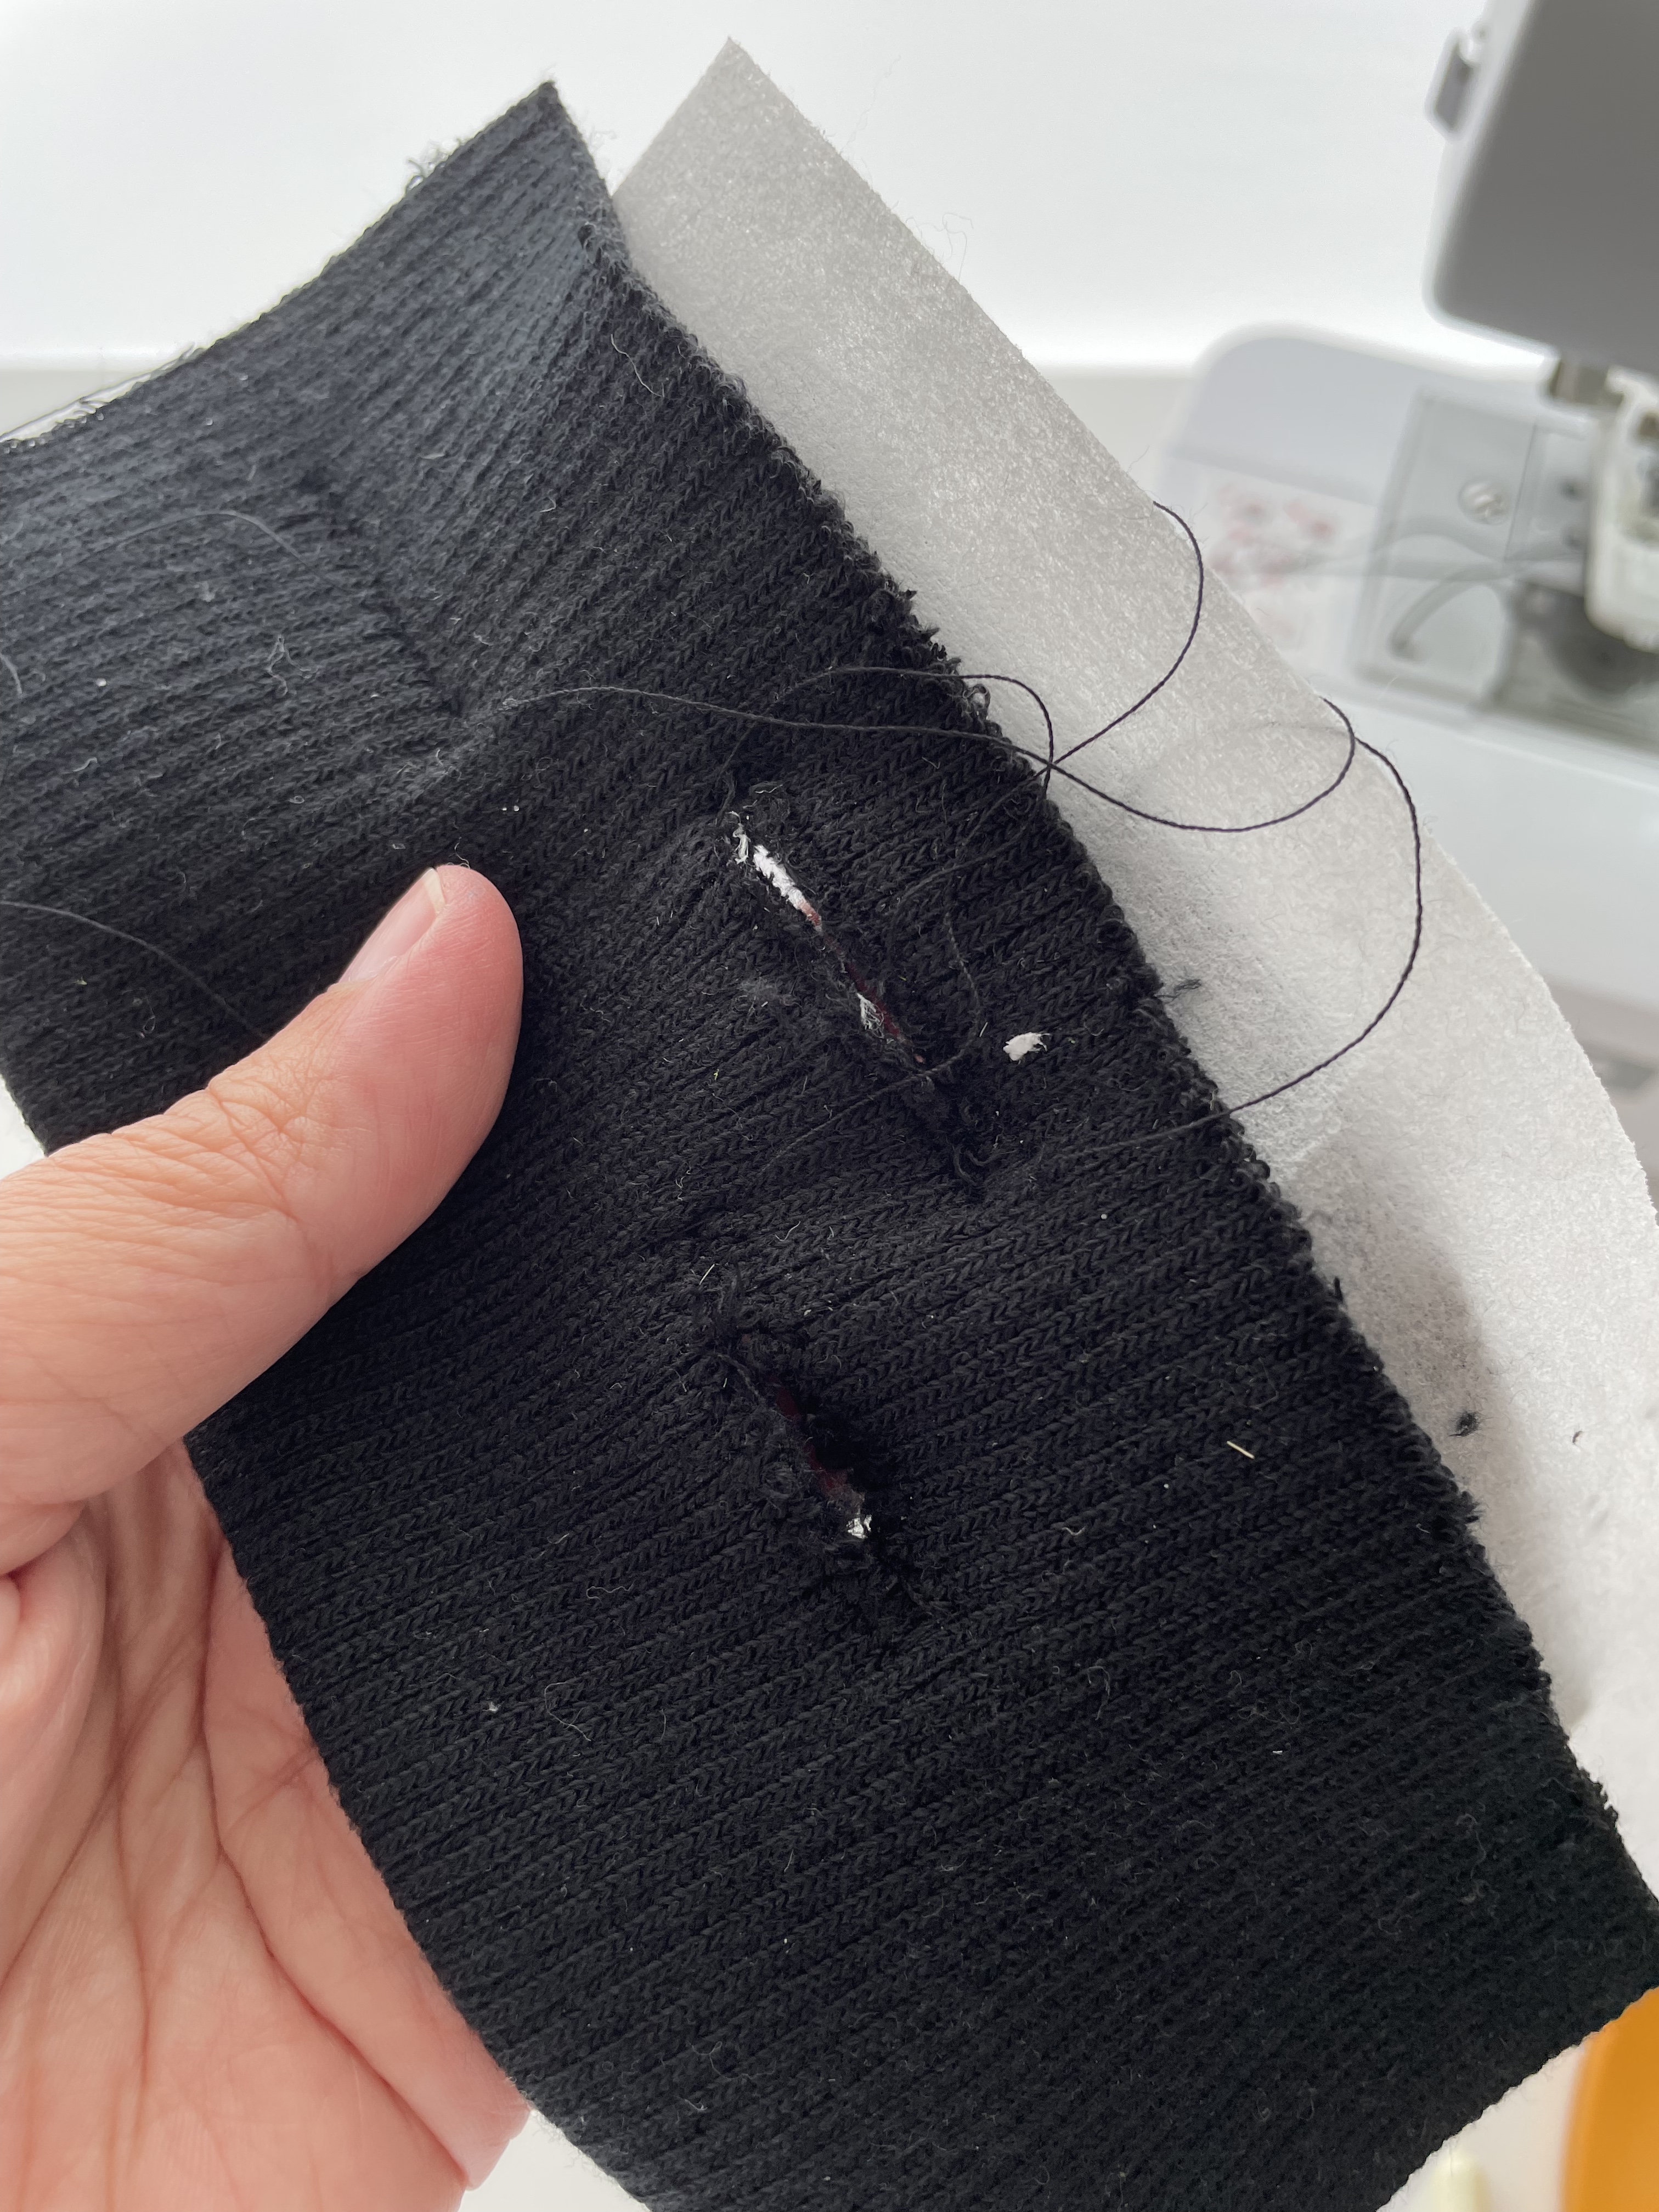
After a couple of days of frustration, it occurred to me that the brain bank on Instagram could help me, and they did come to the rescue! The consensus was to line the back and if needed, the front of the ribbing with tear away interfacing or freezer paper. I promptly tested it and it does work well. However, after consulting my daughter, she said she preferred it without the buttons so after all that, I have left the buttons off.


I’ll definitely be making Version B which is the longer cardigan with patch pockets. My preference will be to put buttons on that!
Thanks for reading and happy sewing!
X Em

Such a cute sweater!!
LikeLike
Thank you so much!
LikeLike