Orchidee Blouse

Making a toile

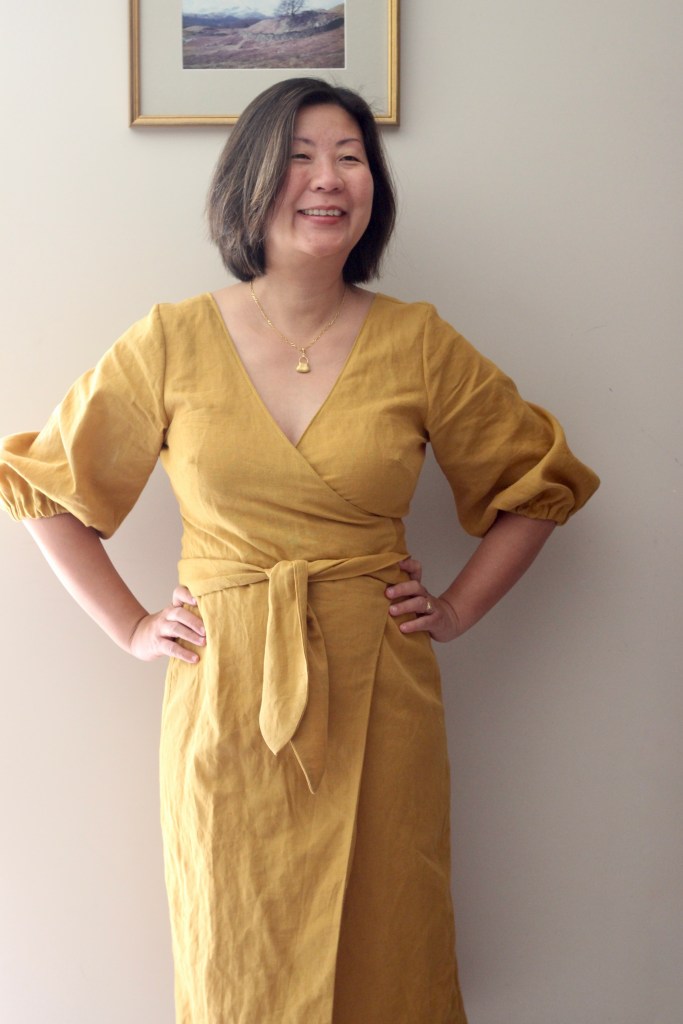
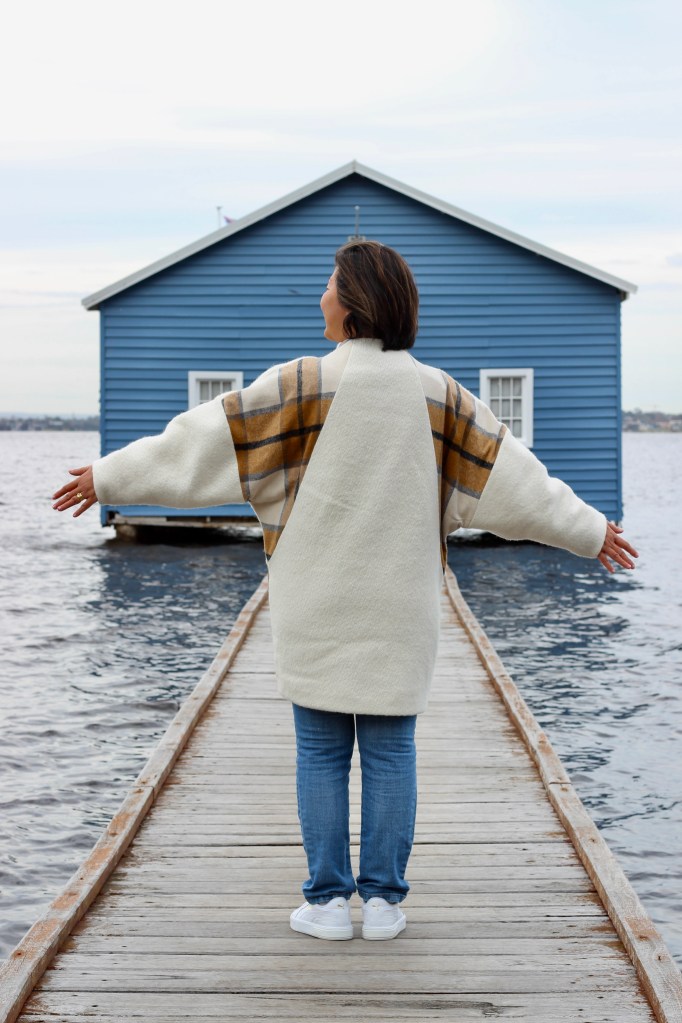
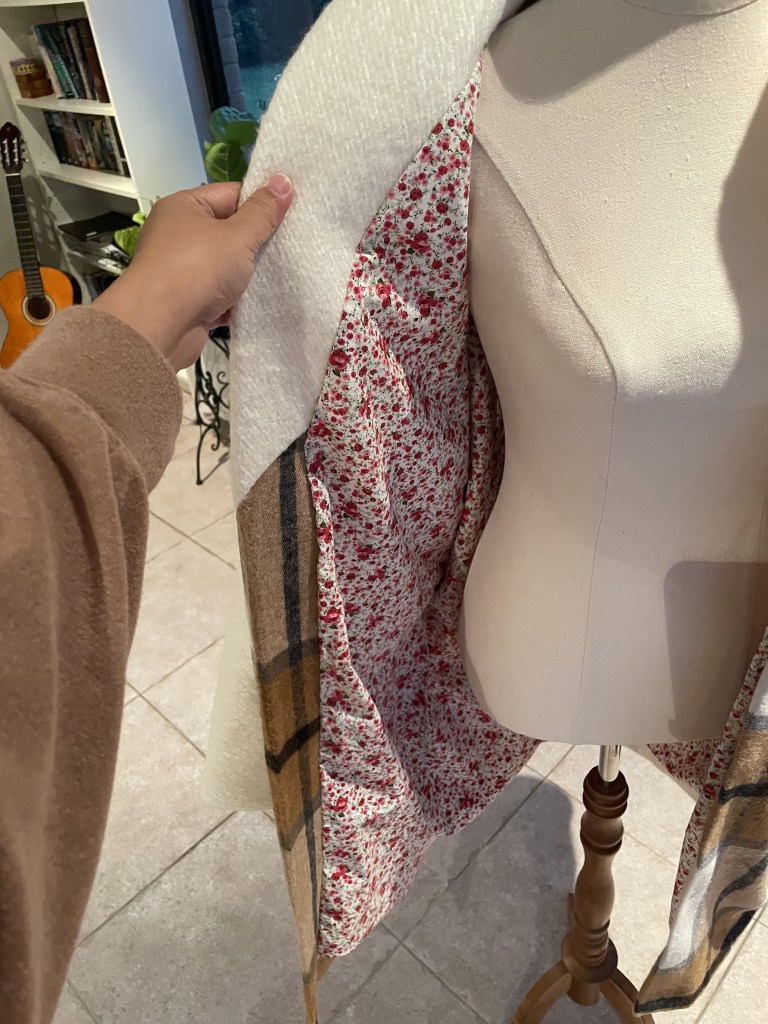
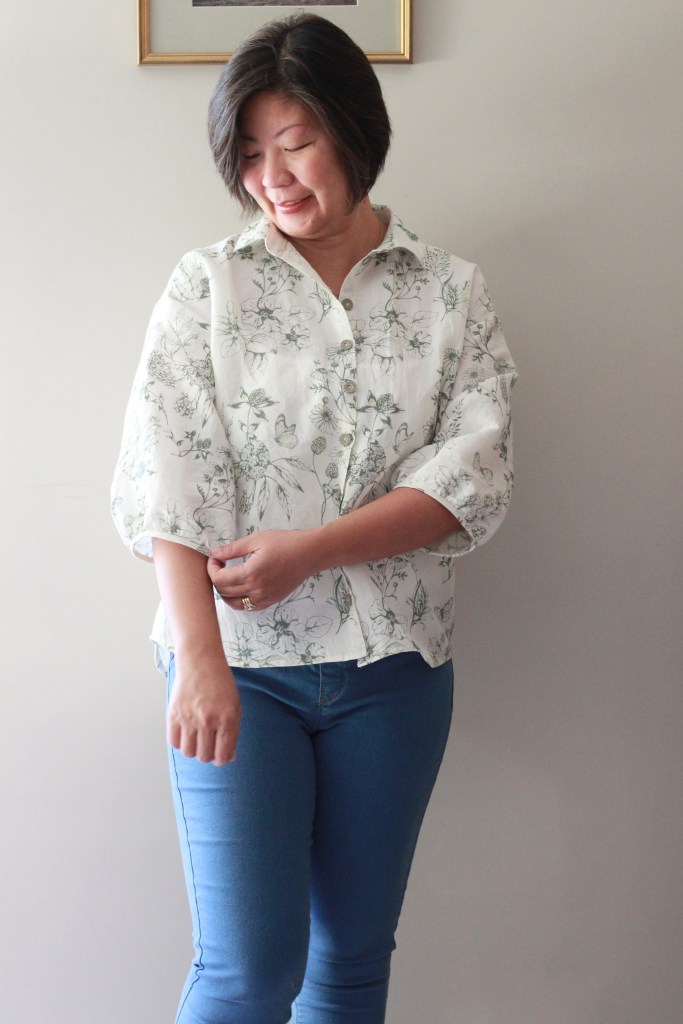
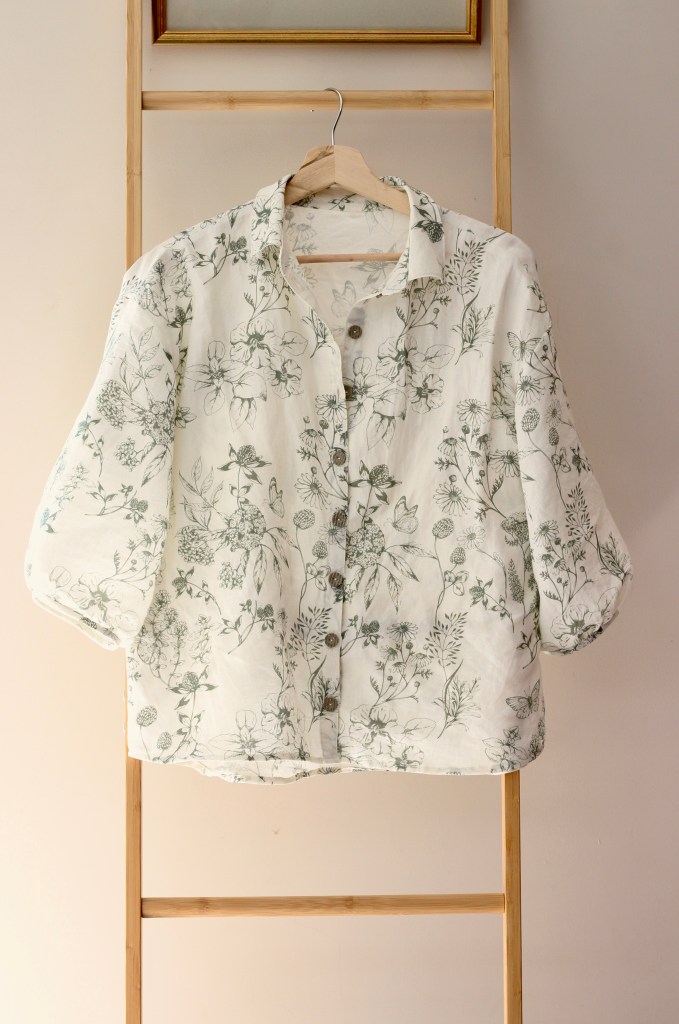
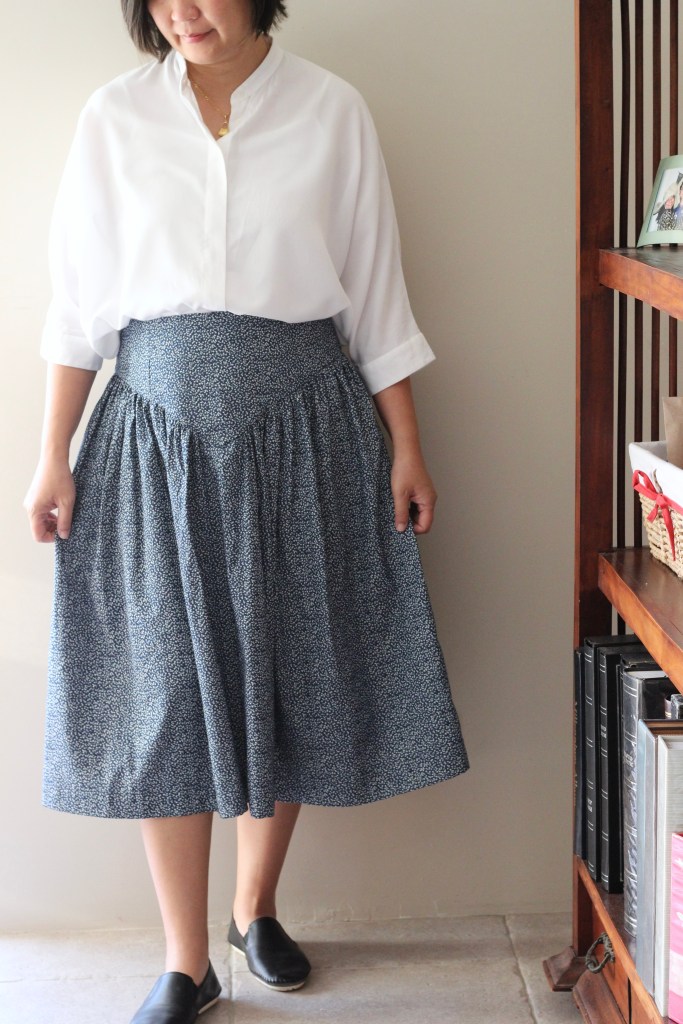
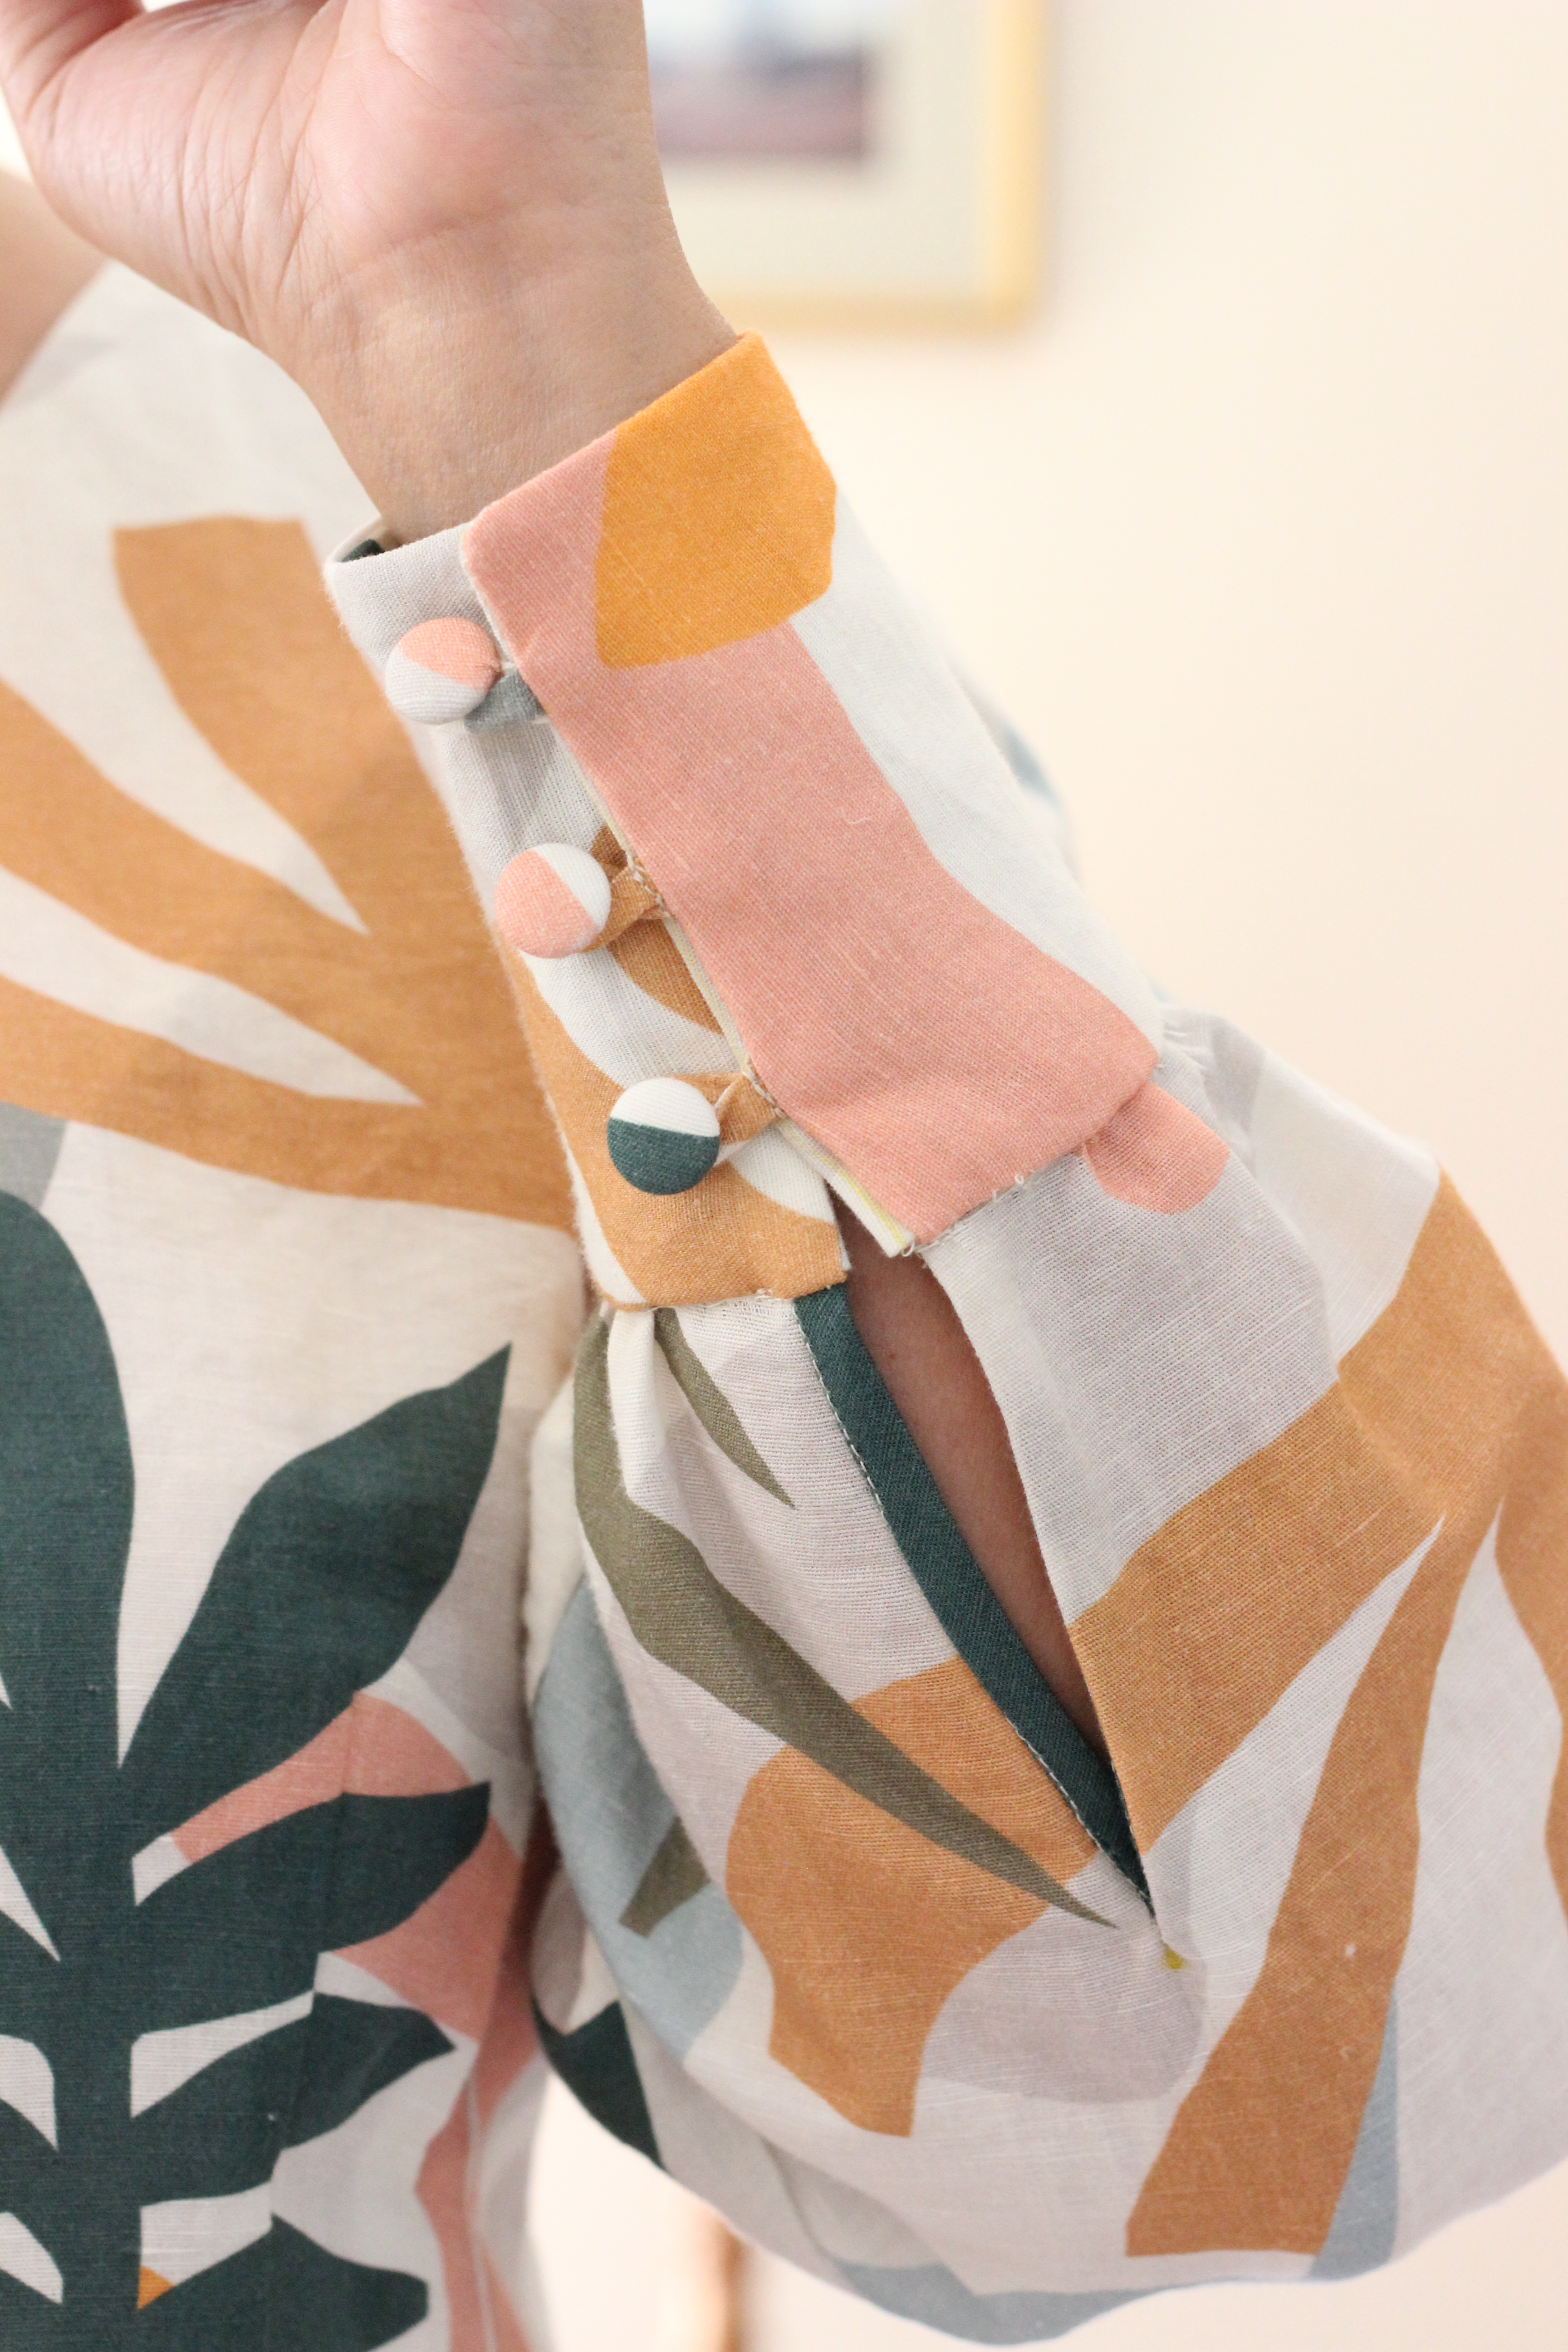
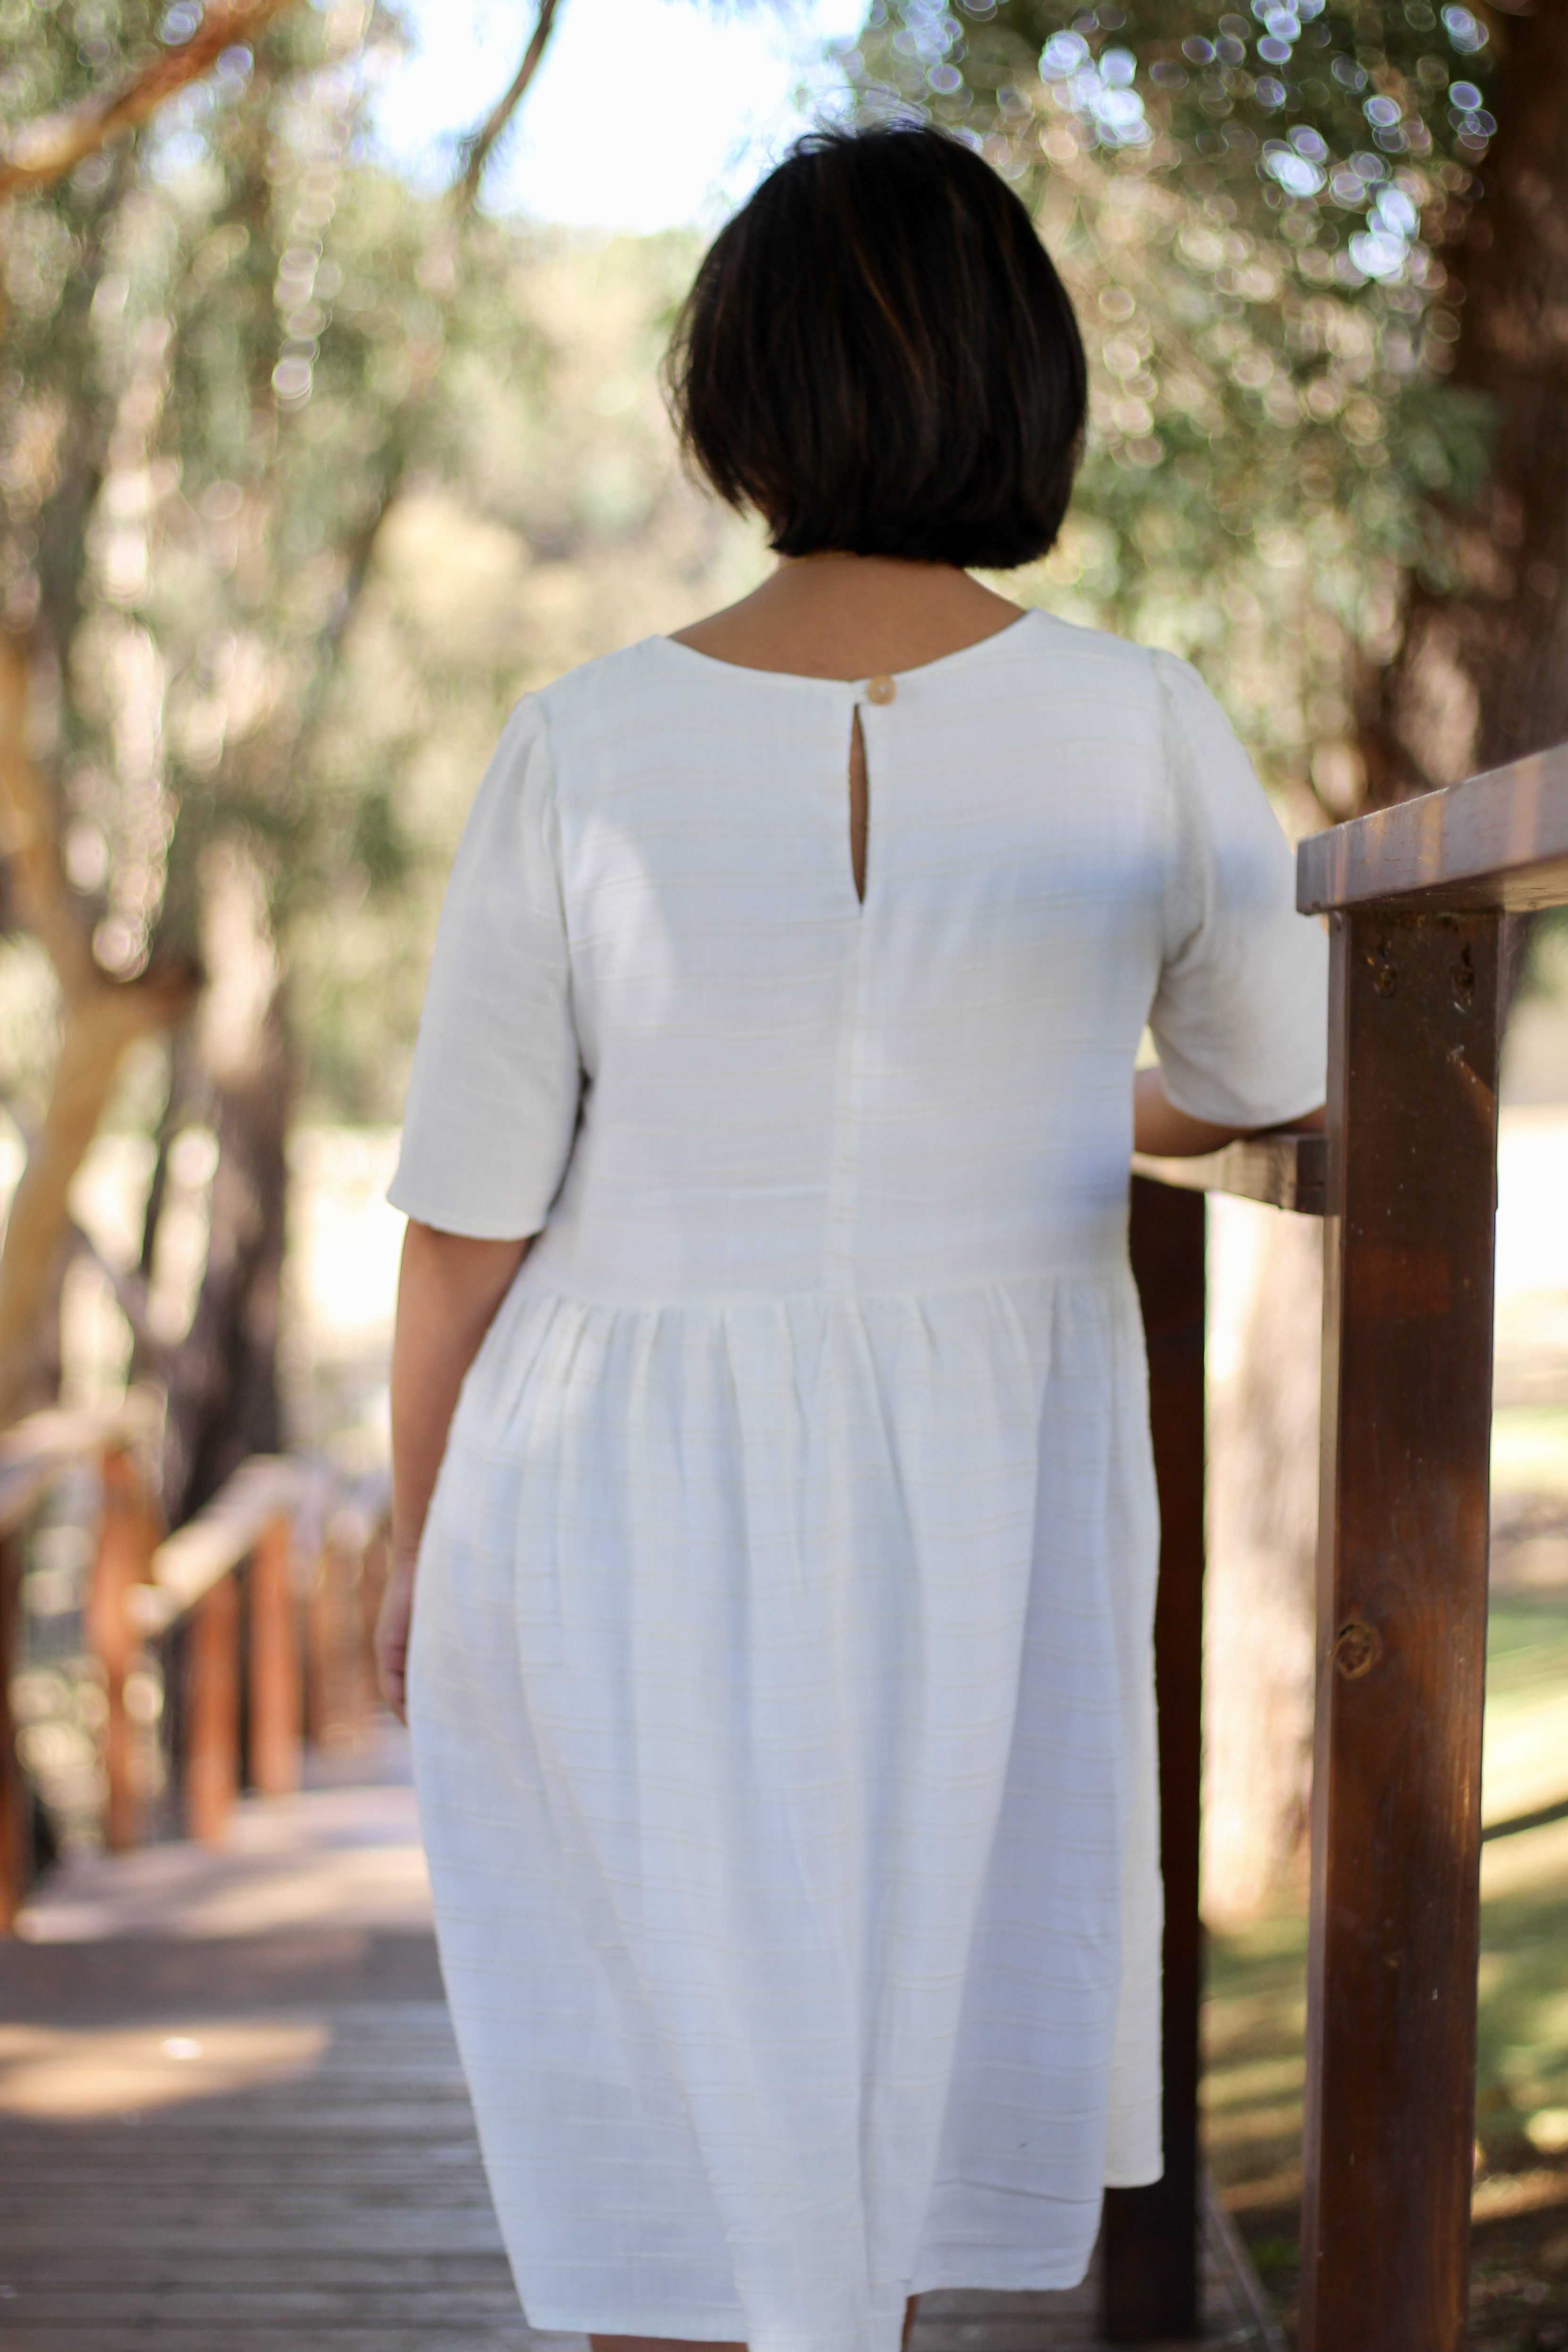
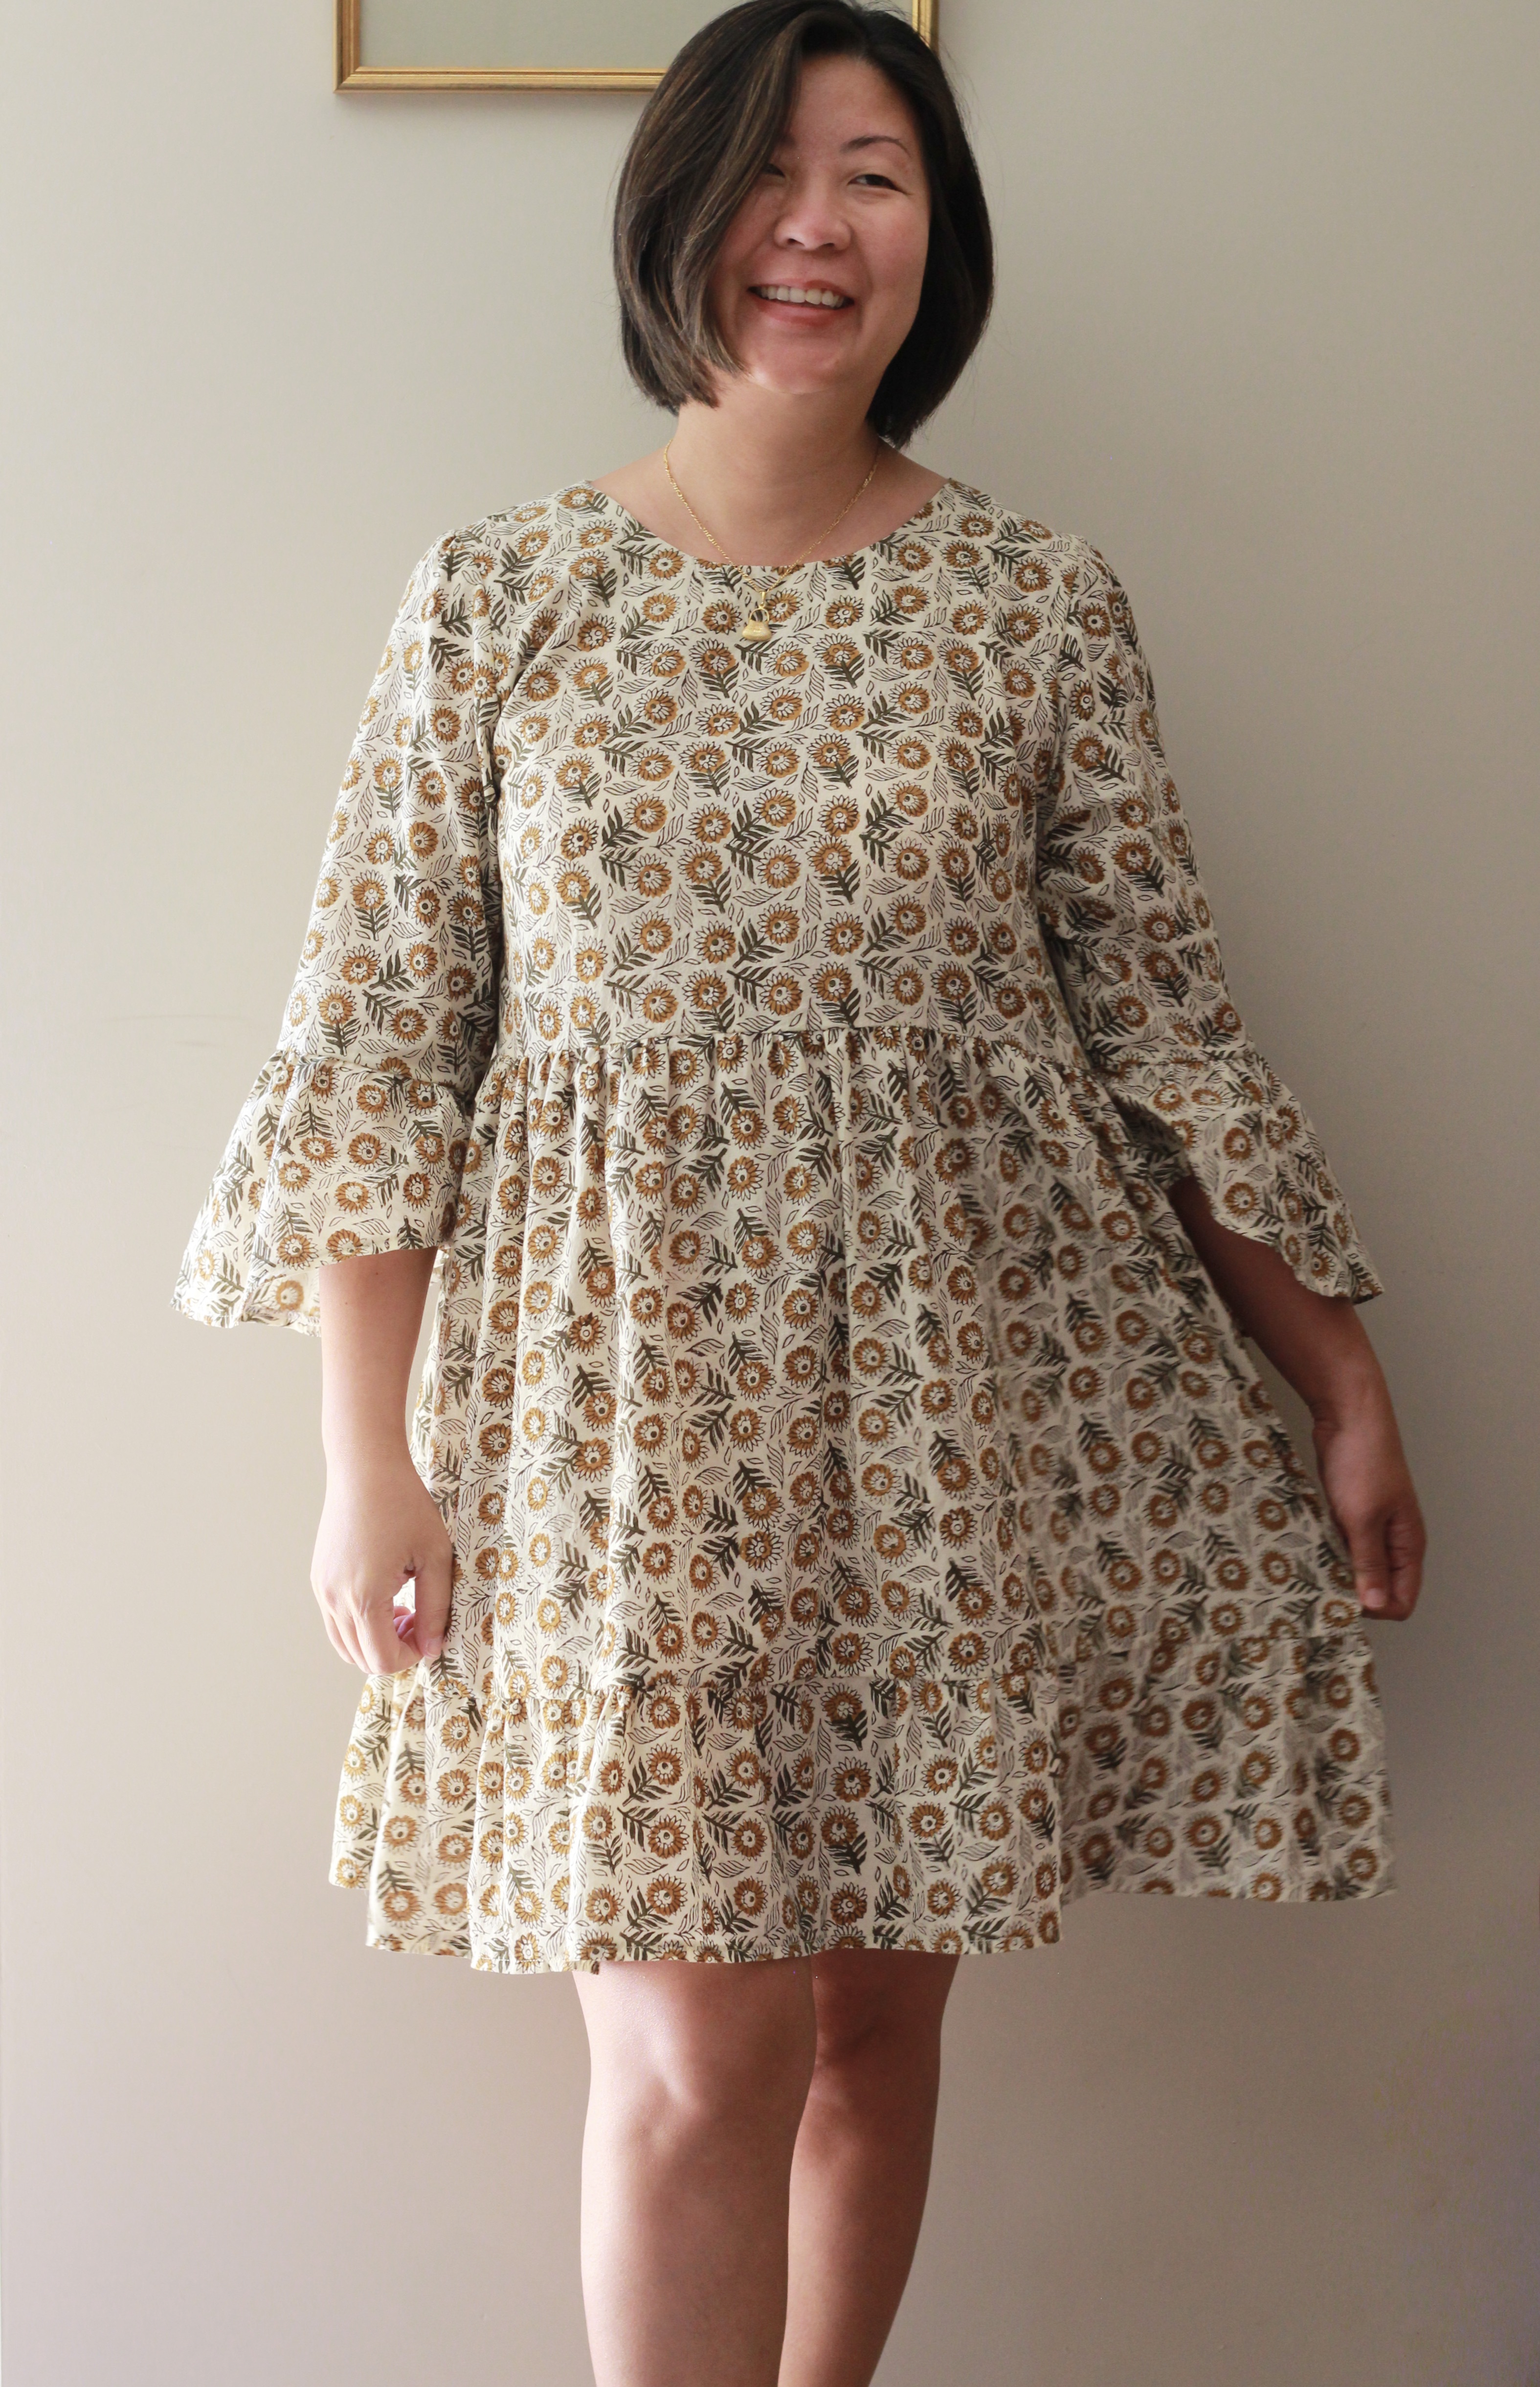
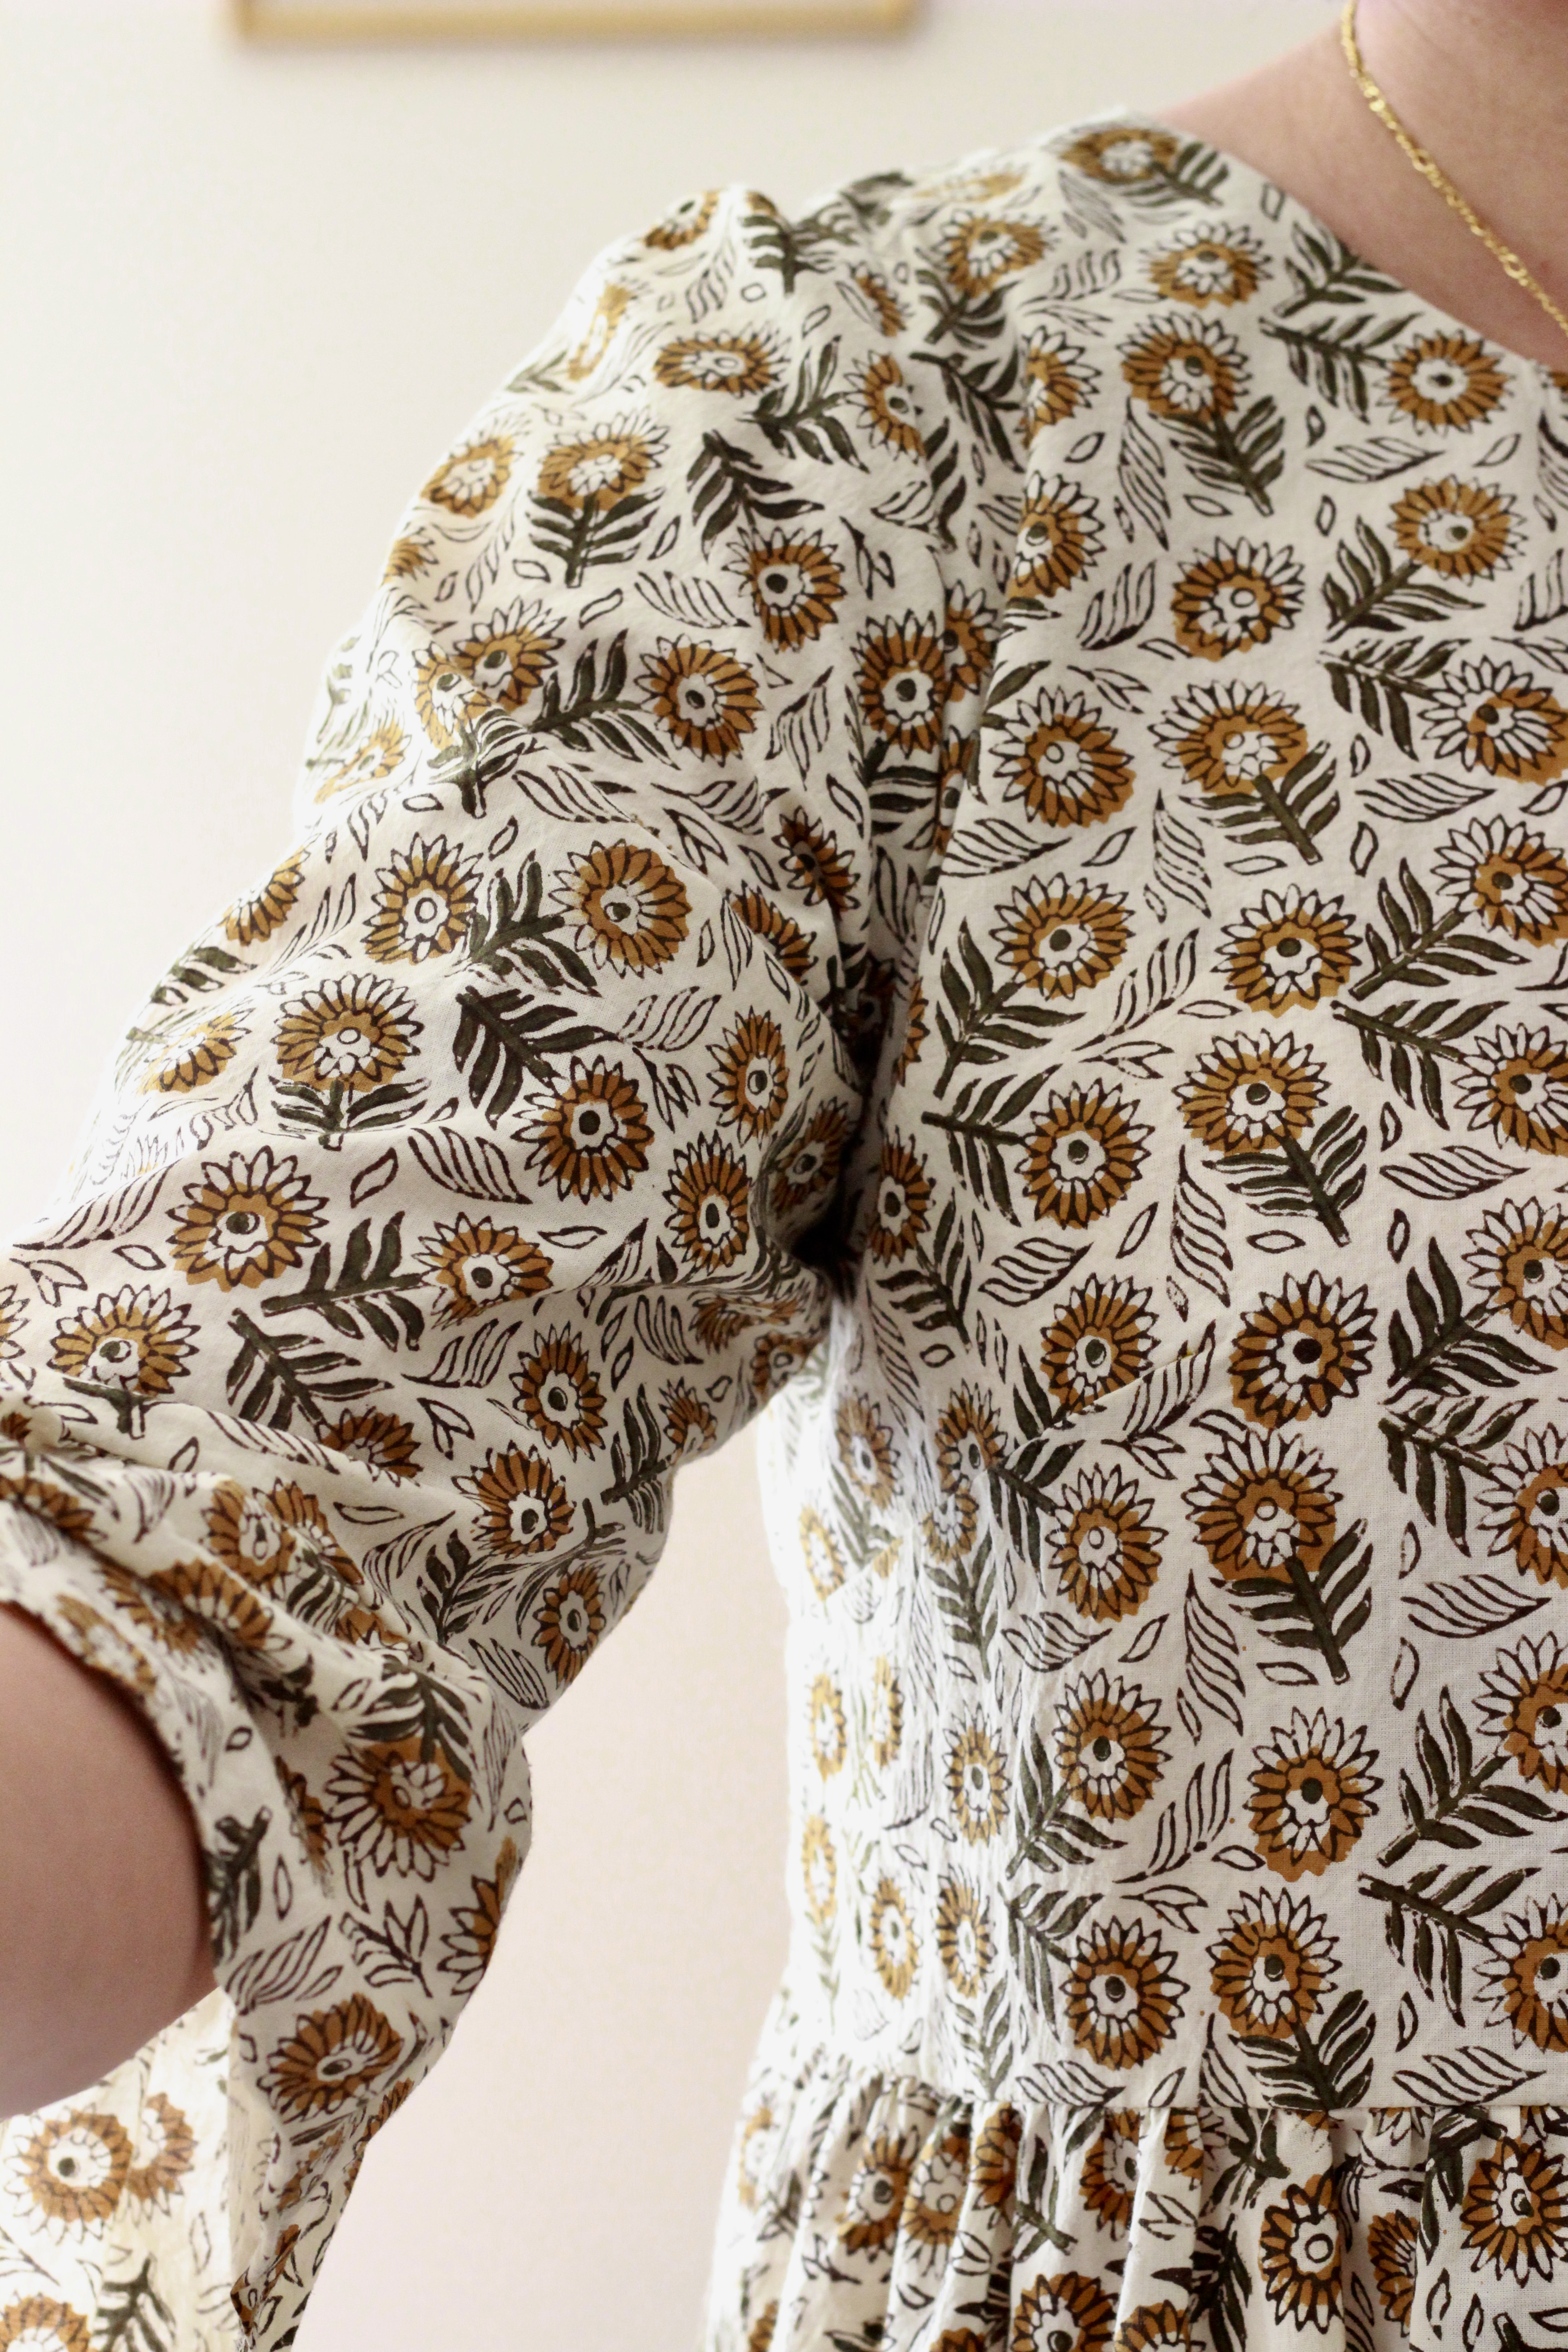
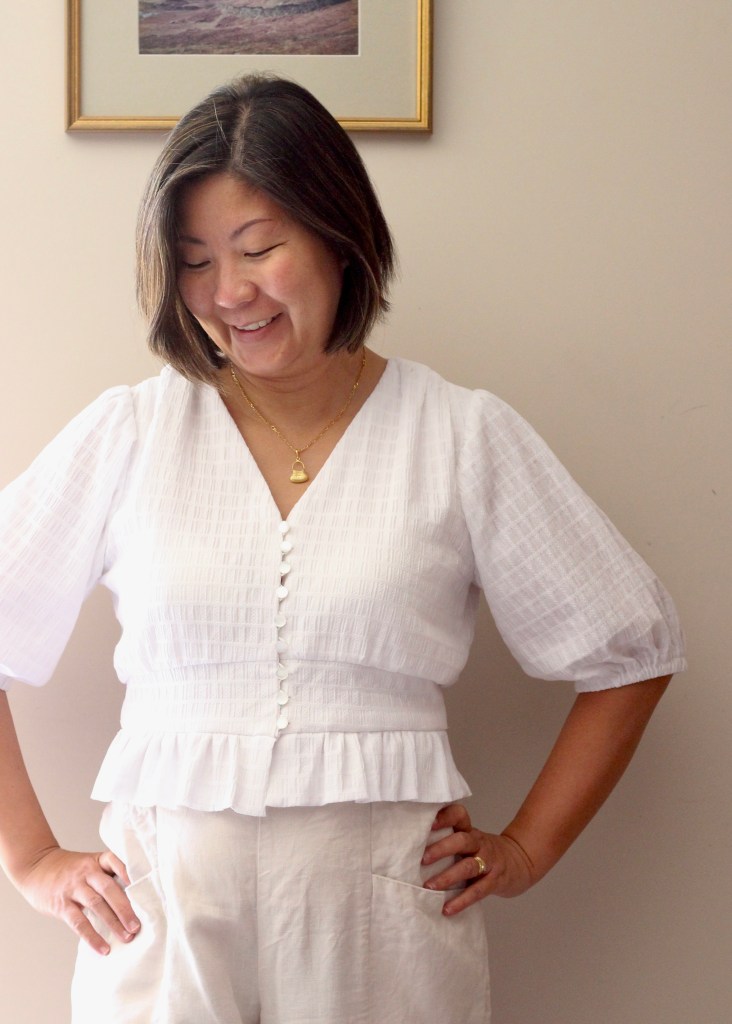
This is my first attempt at a Deer and Doe Pattern. The Orchidee pattern can be sewn as a dress or a blouse. I’ve chosen to start with the blouse. It has beautiful puffy sleeves with a short peplum cinched in at the waist and the most intriguing component for me, the button loops or sometimes referred to as bridal loops as they are commonly seen on bridal gowns. It’s also fully lined which adds to the quality of the make.

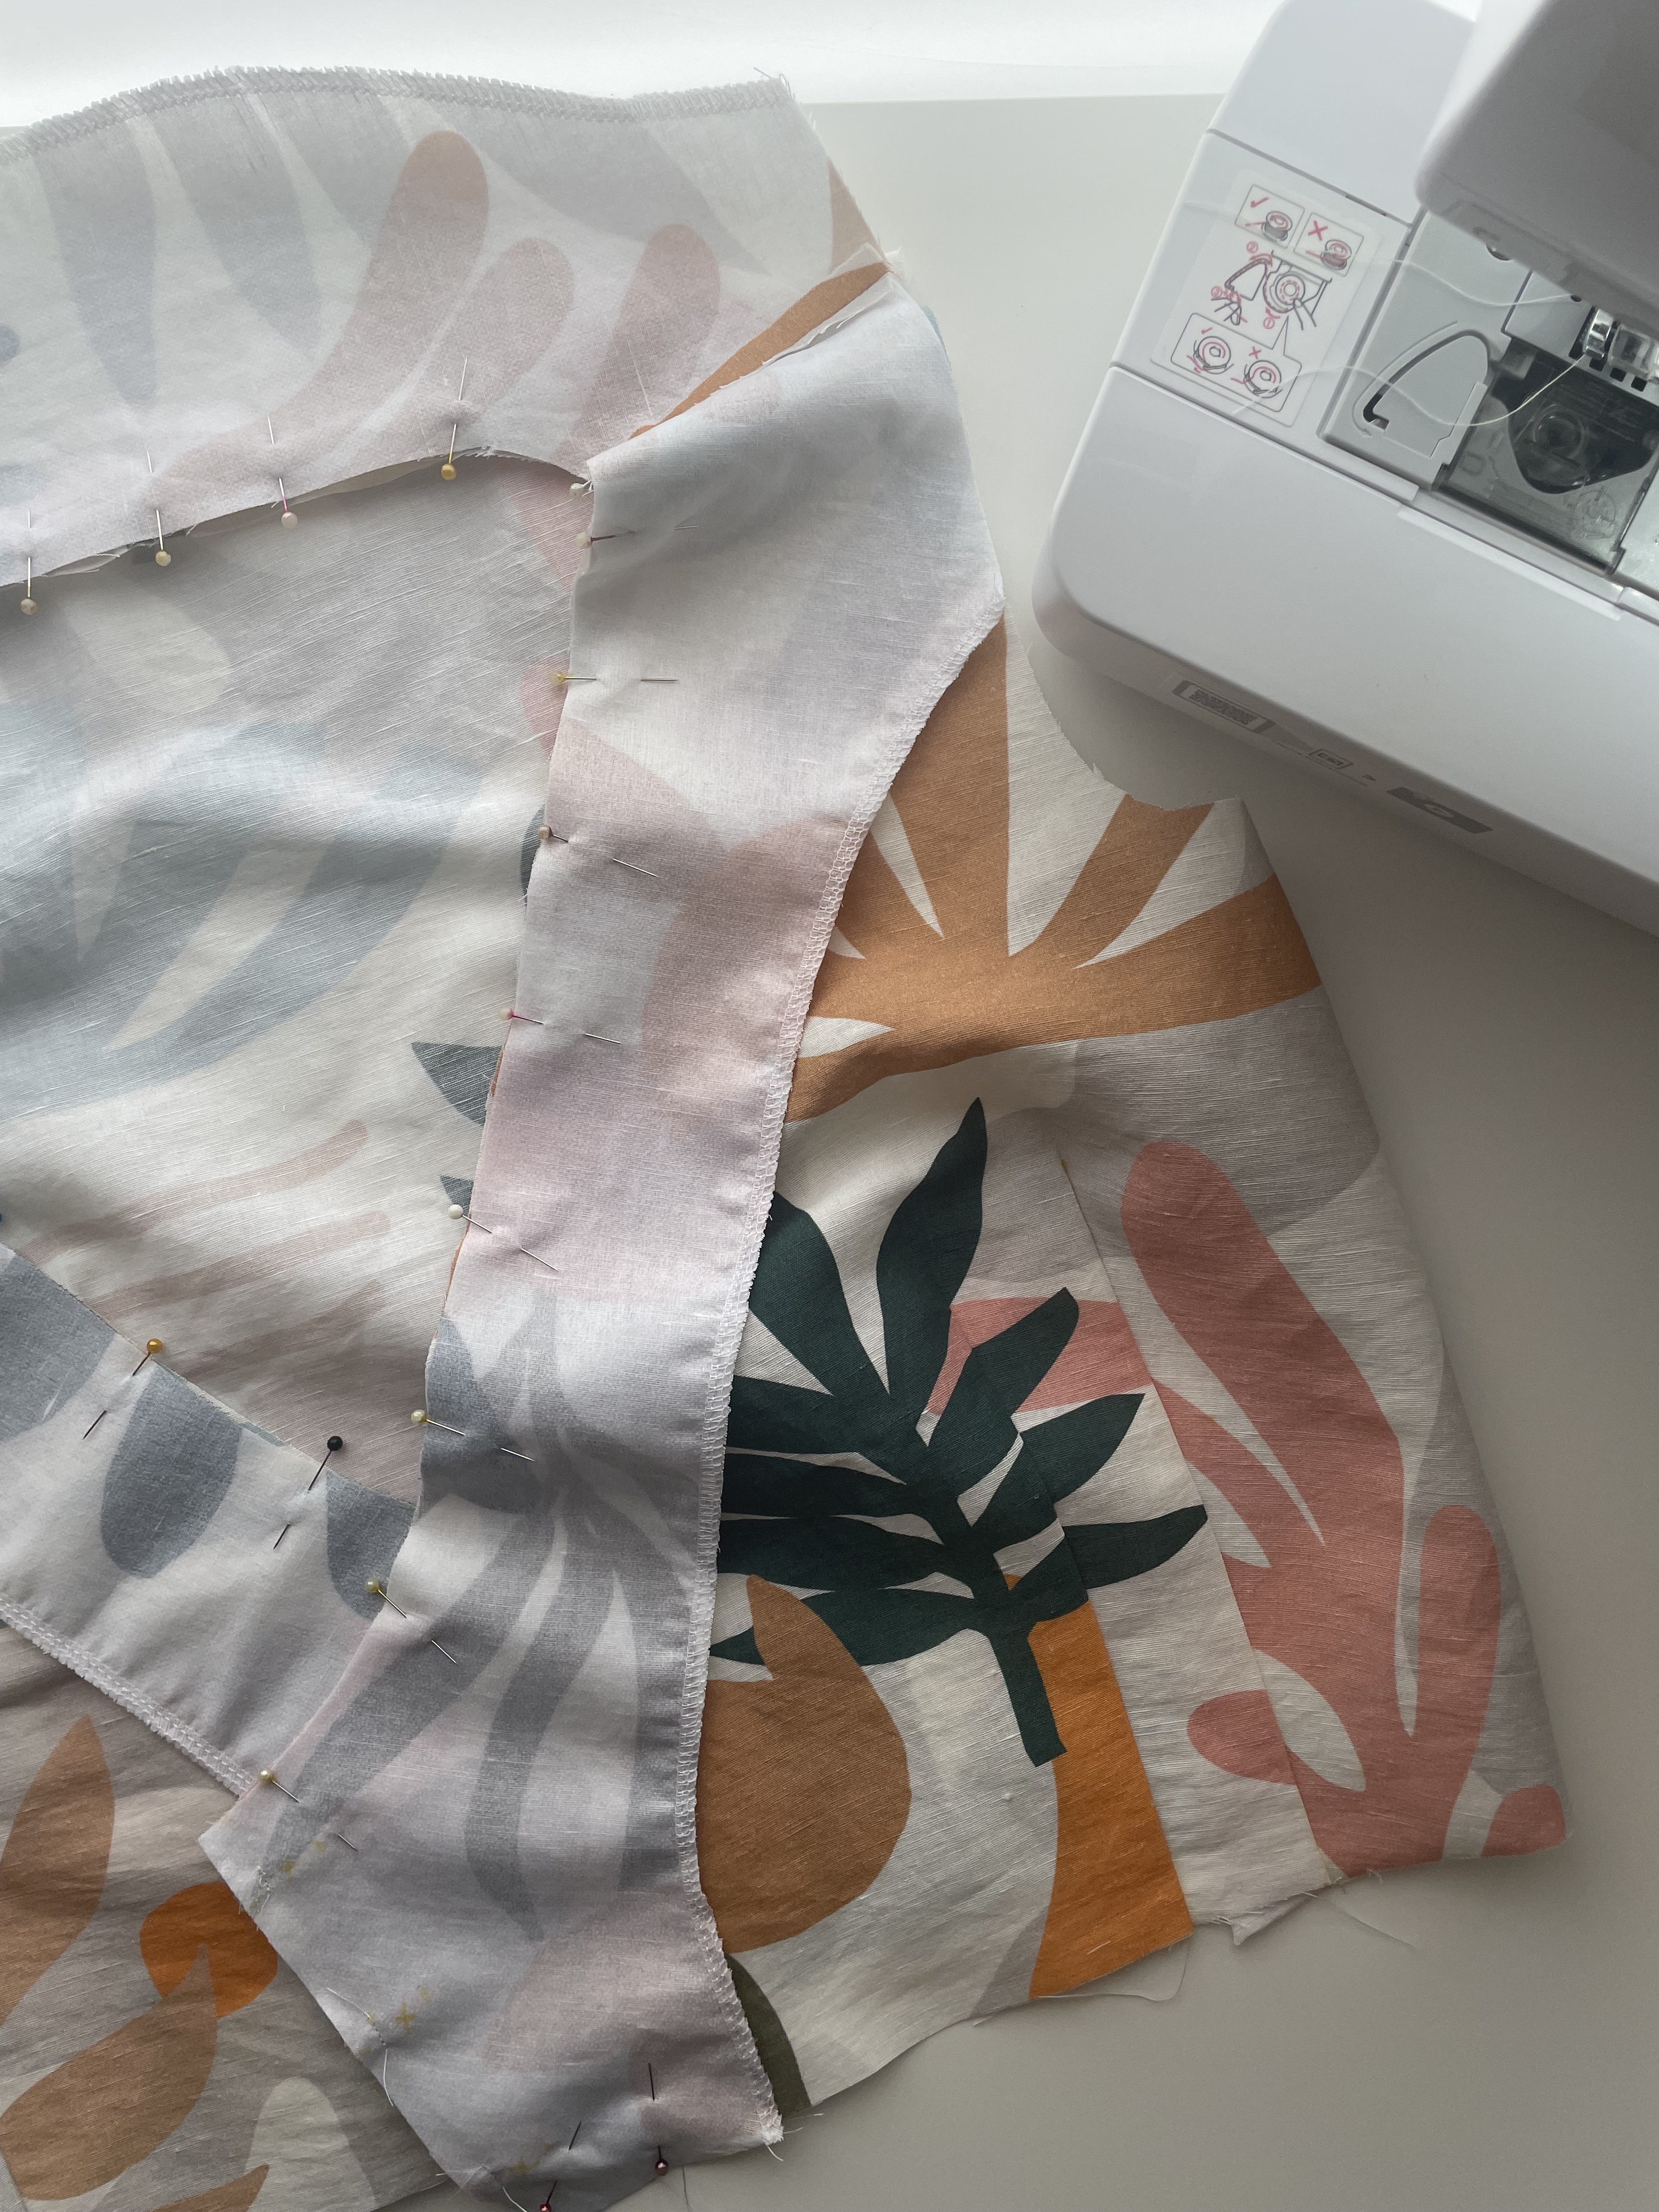
When I started sewing, I would often read the warning in a pattern to toile, or I’ve also heard it being referred to as a muslin. Basically, it’s always a good idea to sew the pattern or part of it with cheaper, or in my case, remnant fabric. It was a struggle at first to understand how to make an effective toile, so I thought I’d document my process in this blog post. There are some good articles of how to fit things properly, but this is my personal process. When I was learning, I found it hard to follow more professional tutorials so I hope this more basic process will be helpful to someone just starting out.

Talking about fit, that’s where I started. Looking at the sizing chart, I sat between size 42 with a 37-inch bust and size 46 with a 33-inch waist. It was also important to check the finished garment measurements as this informed me that there isn’t much ease in the fit meaning that it should sit quite snug or fitted to the body. From here, I printed the size 42, 44 and 46 so that I could grade between the sizes. I would start with the size 42 bust and grade to the size 46 waist.

Now, I know that some people like to print every size out and then trace but I really love the option of just printing my sizes and then modifying the pattern and cutting into the paper. I usually buy my patterns as a PDF version for this very reason because even if I cut into the pattern and my size changes next time, I can still print and repeat the process. 

So, before cutting into the fabric, I usually try to figure out what I’m most unsure about with the fit of the garment I’m making. In the case of the Orchidee blouse, I needed to know from my toile, whether the waist would fit, where the neckline ended and where the under bust seam sat. This then really clarified the process for me as I don’t tend to follow the instructions in order. I used to just use cheaper fabric and sew up exactly as instructed by the pattern but in my opinion, that wastes time, effort, and material as even cheap fabric costs (if not monetarily, then environmentally).

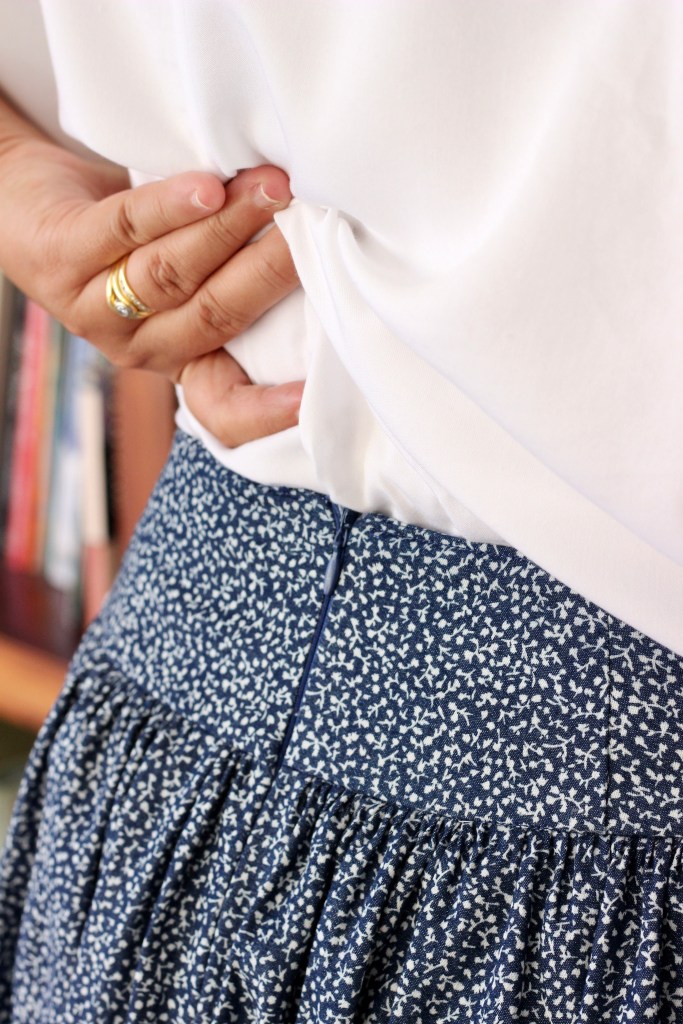
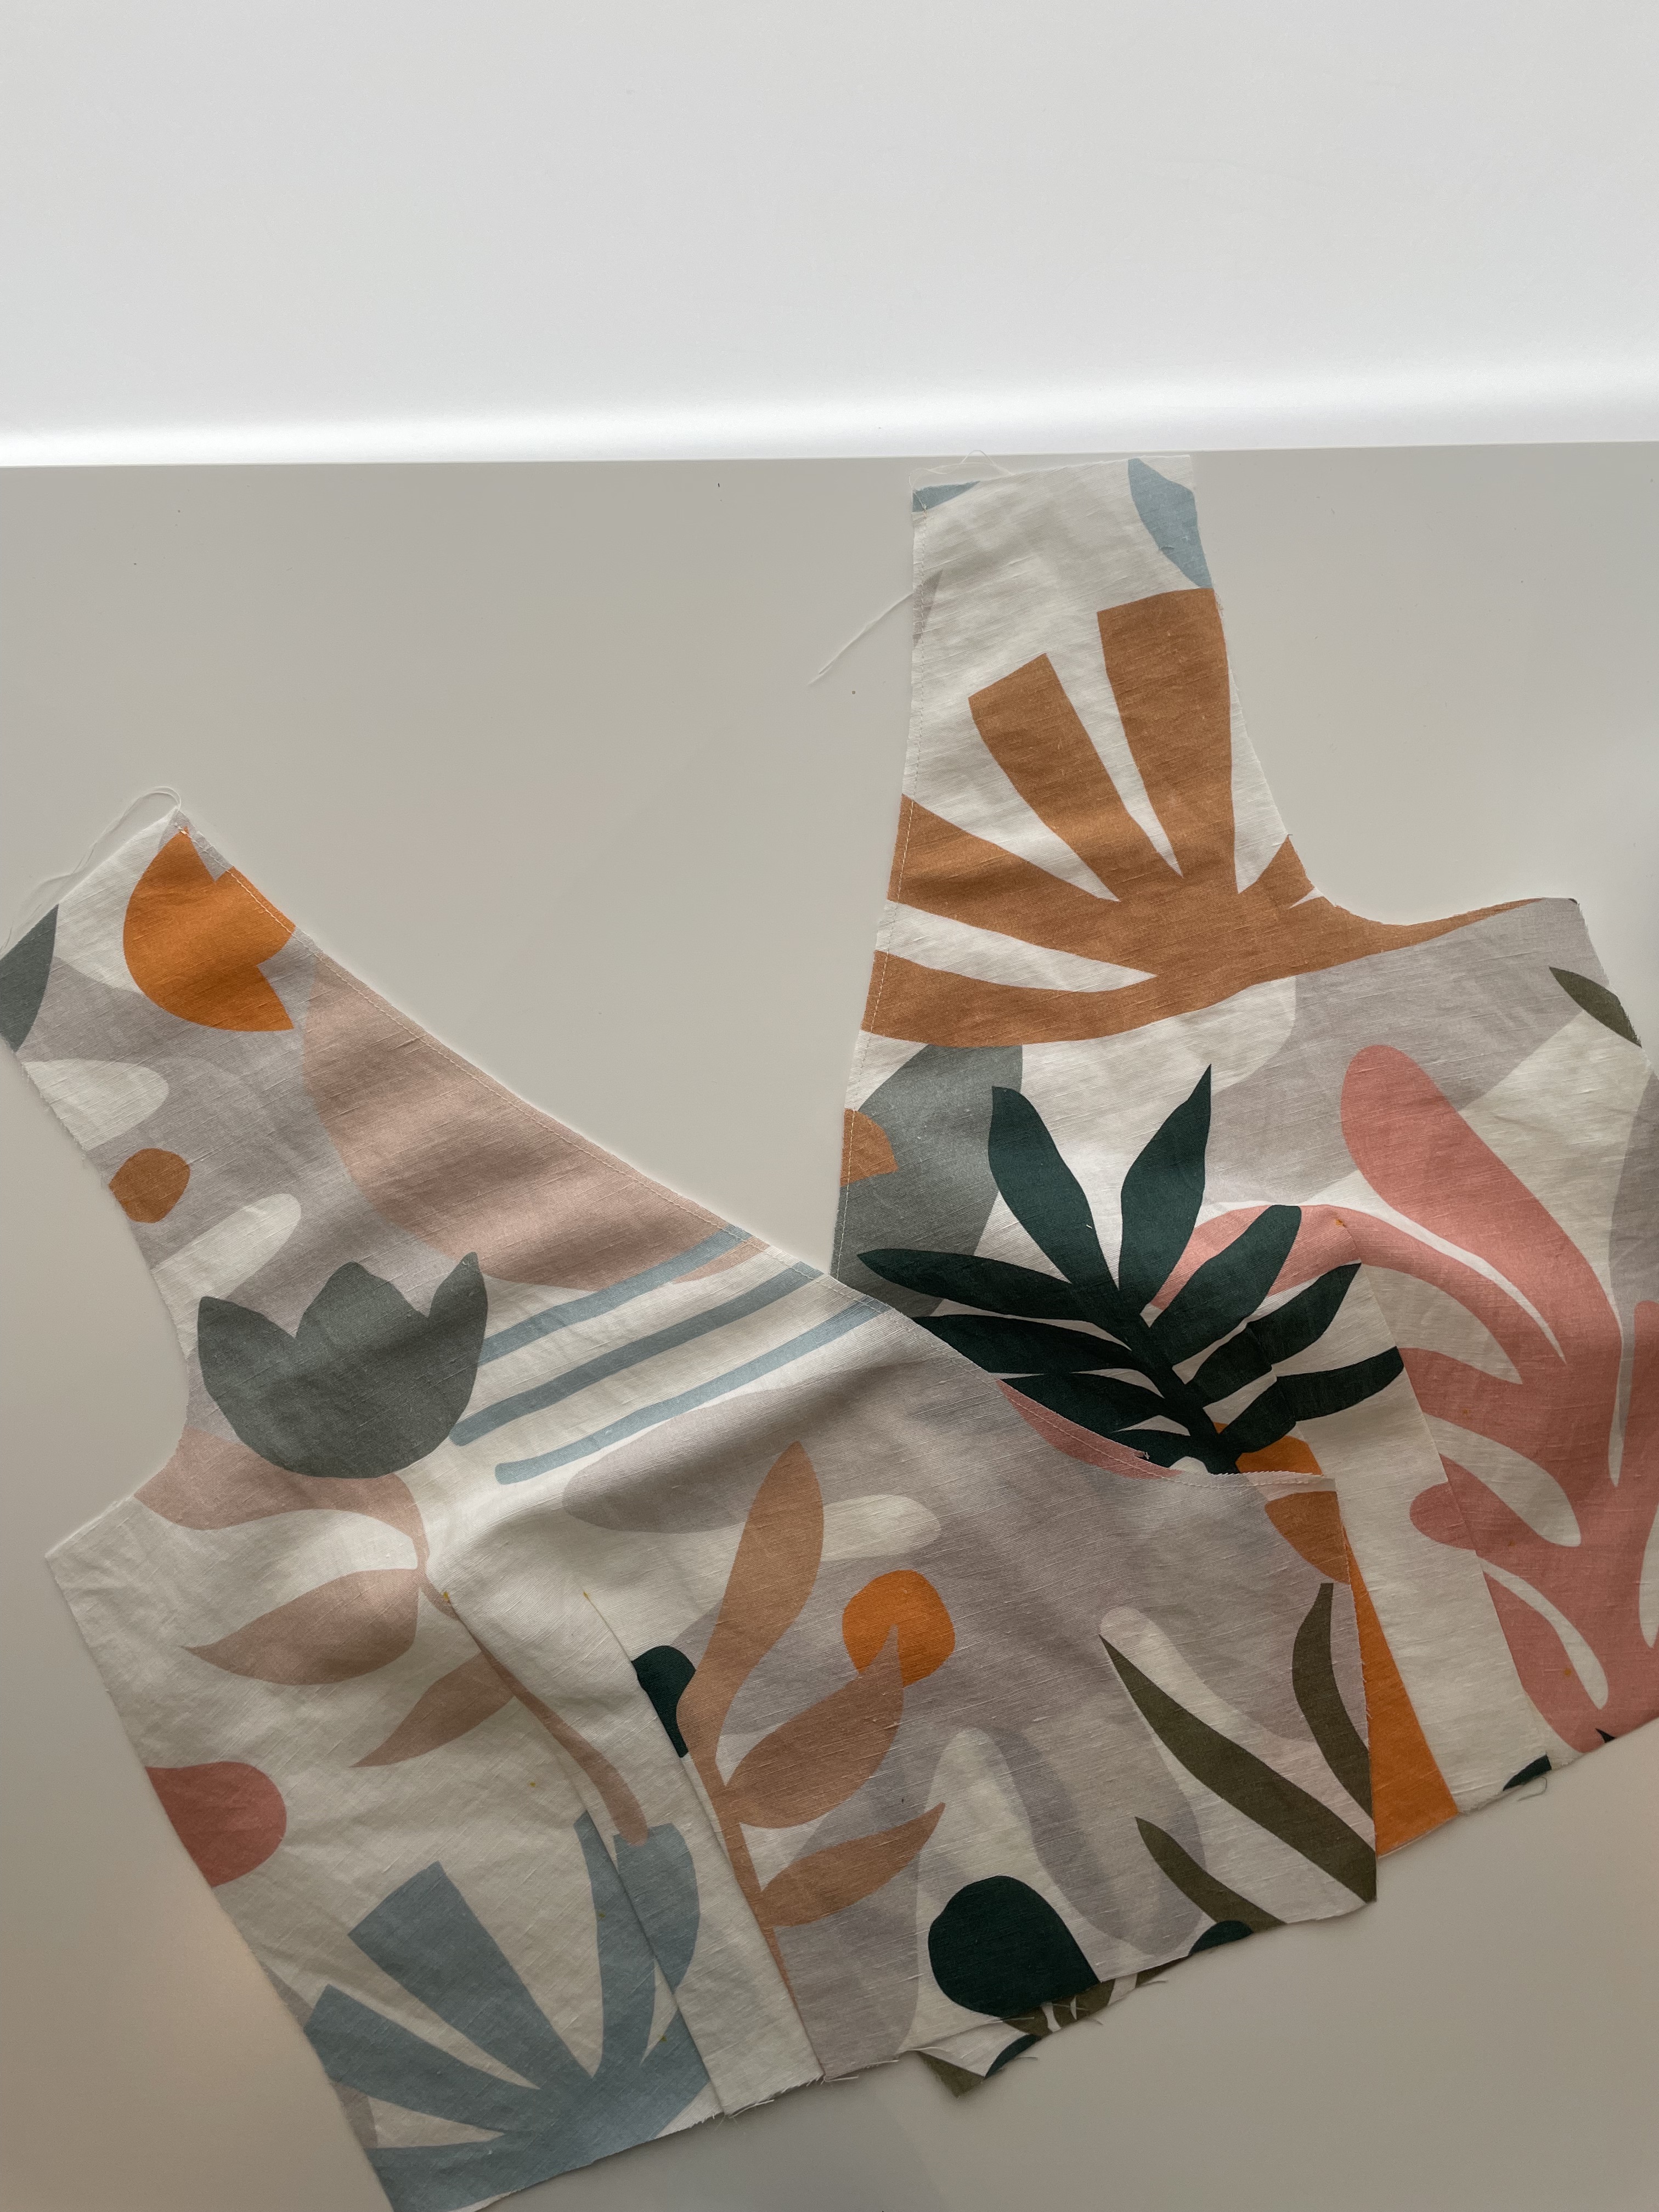
The first part I tested was the waistband as this must cinch the waist in. I cut the size 46 and sewed up and found that it fit well. Having confirmed that the waist is a good fit, I now went back to the pattern pieces and graded from the size 42 to the 46 at the side seams of the bodice. 

The next part was to test the length of the bodice. I had measured from my shoulder to waist but unfortunately, most patterns do not include this measurement. Instead, I cut at the lengthen/shorten line on the bodice pattern piece to add some paper measuring about two inches extra. I then measured the paper with the original length and the added length and found that the original length was fine. The idea of adding the length to the pattern piece is that you can play around with where your bodice piece is with some real measurements. In the Orchidee blouse, it’s imperative that the bodice piece ends just under the bust. 

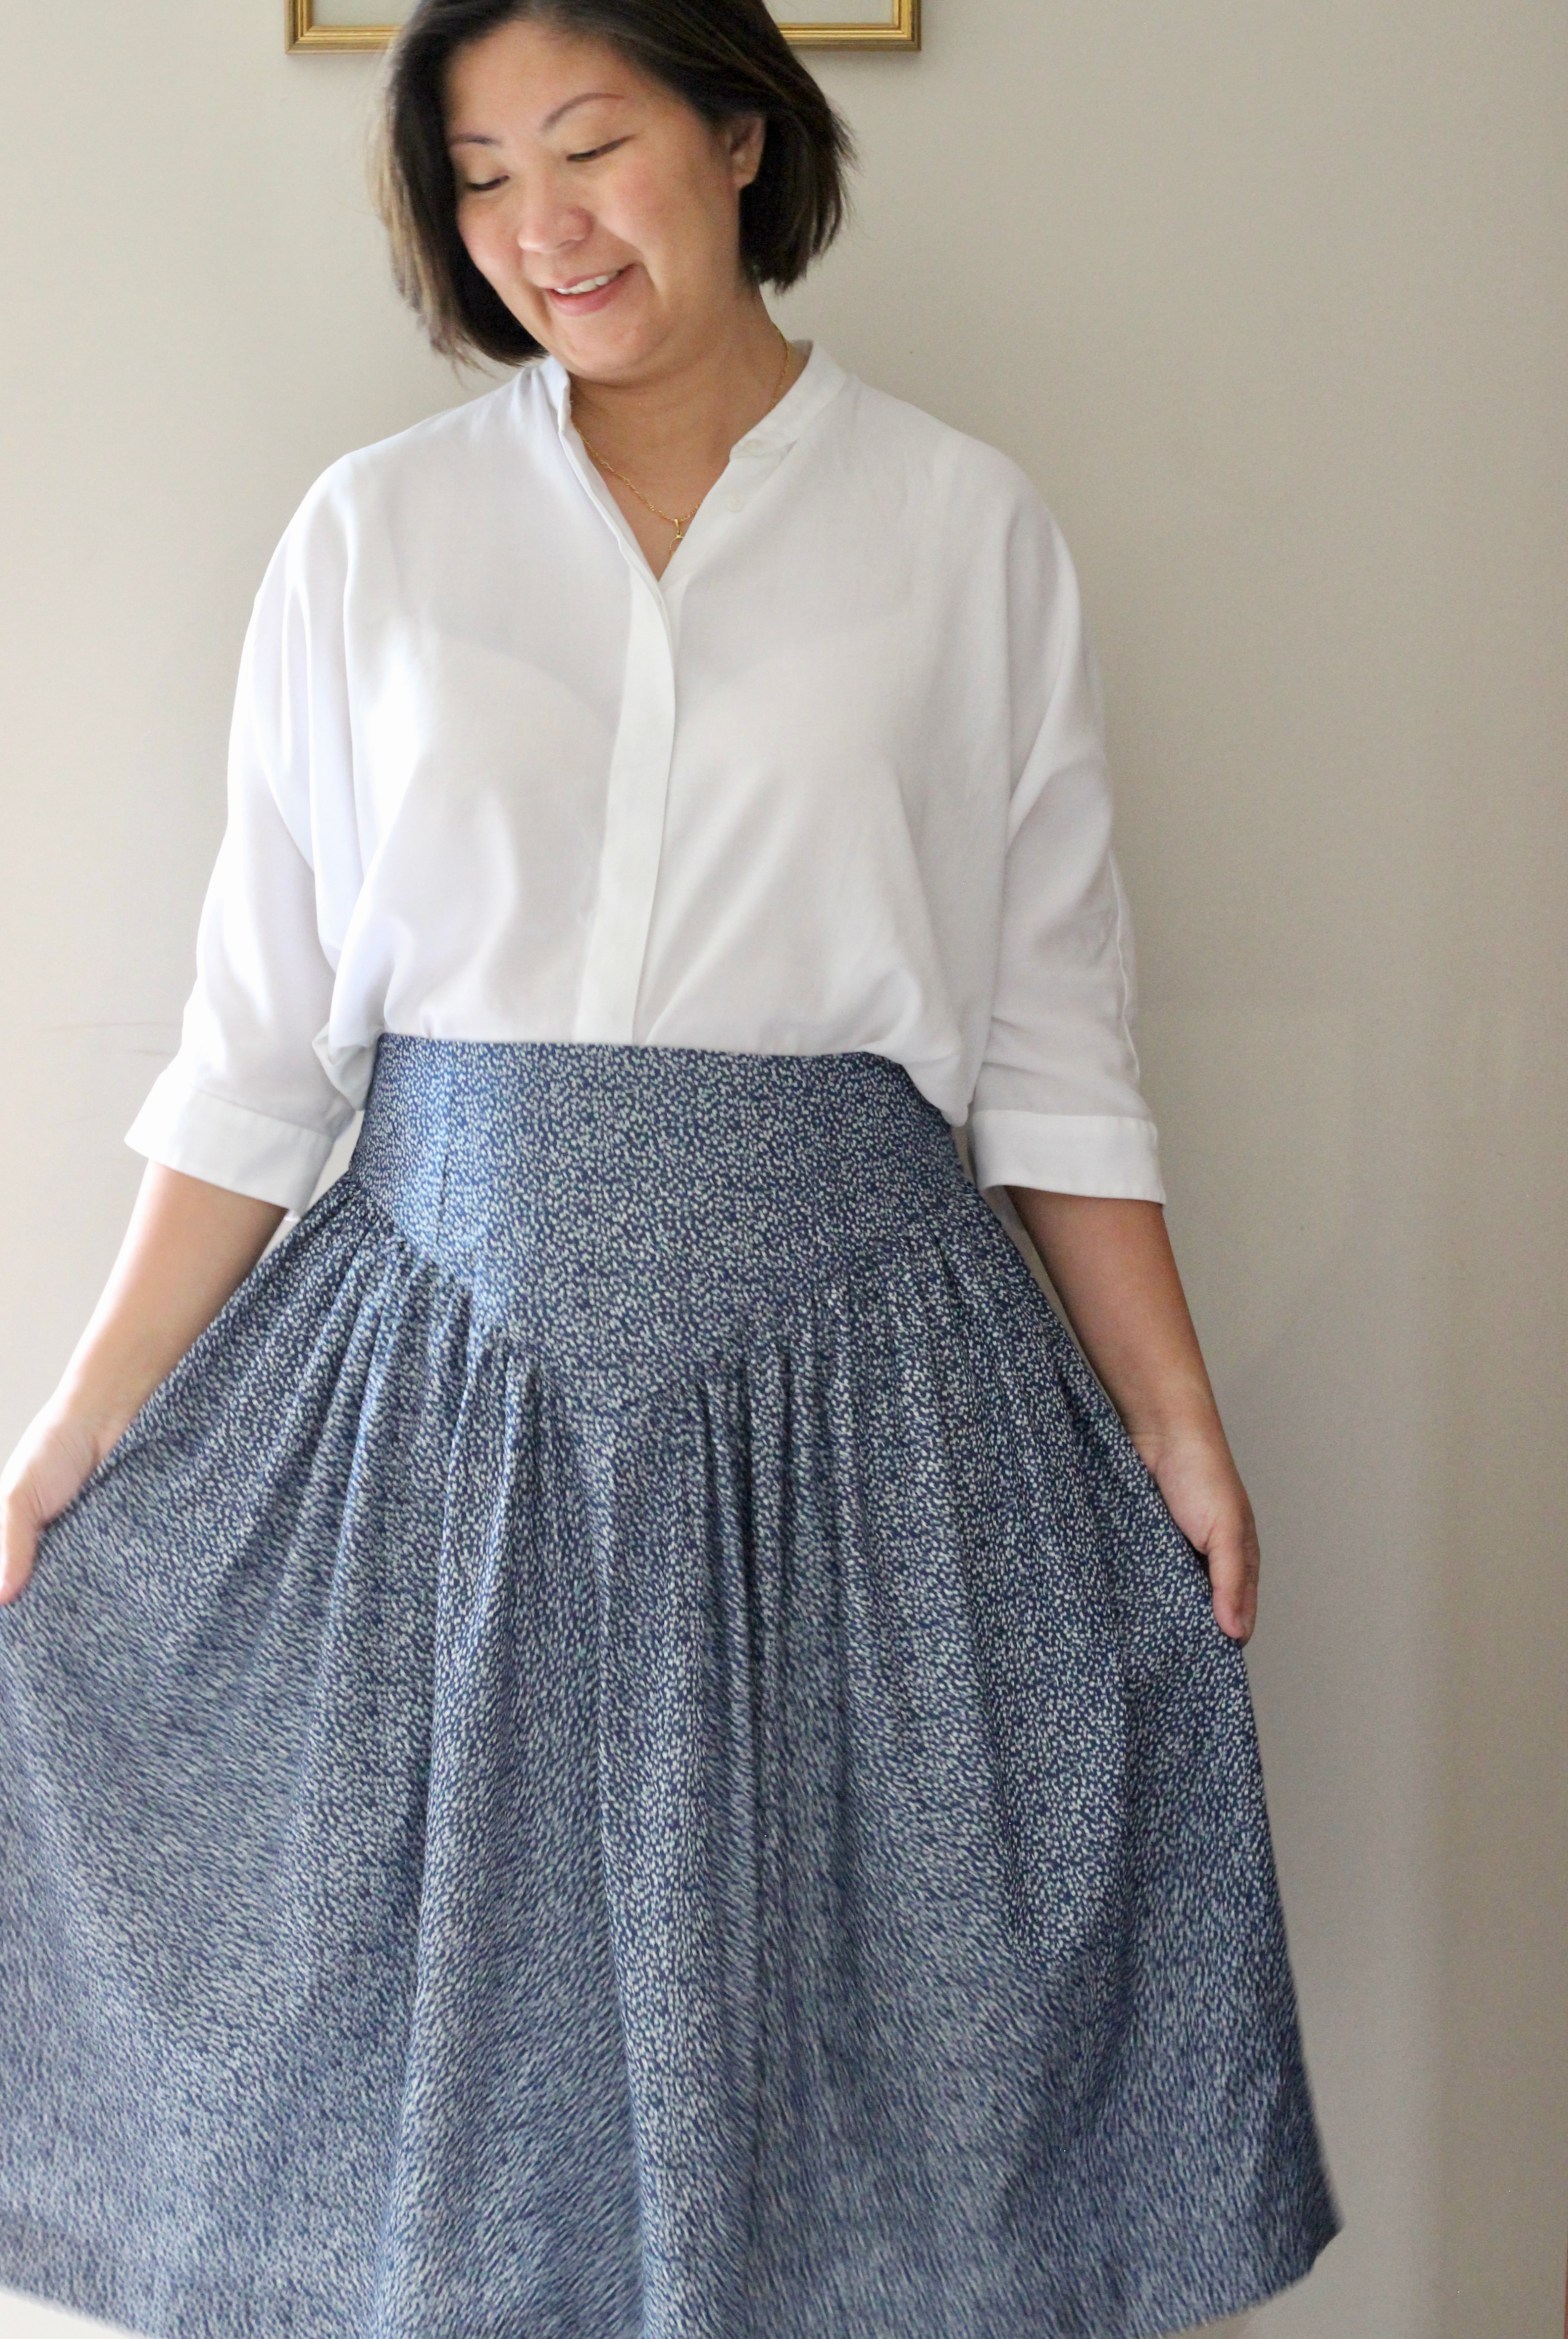
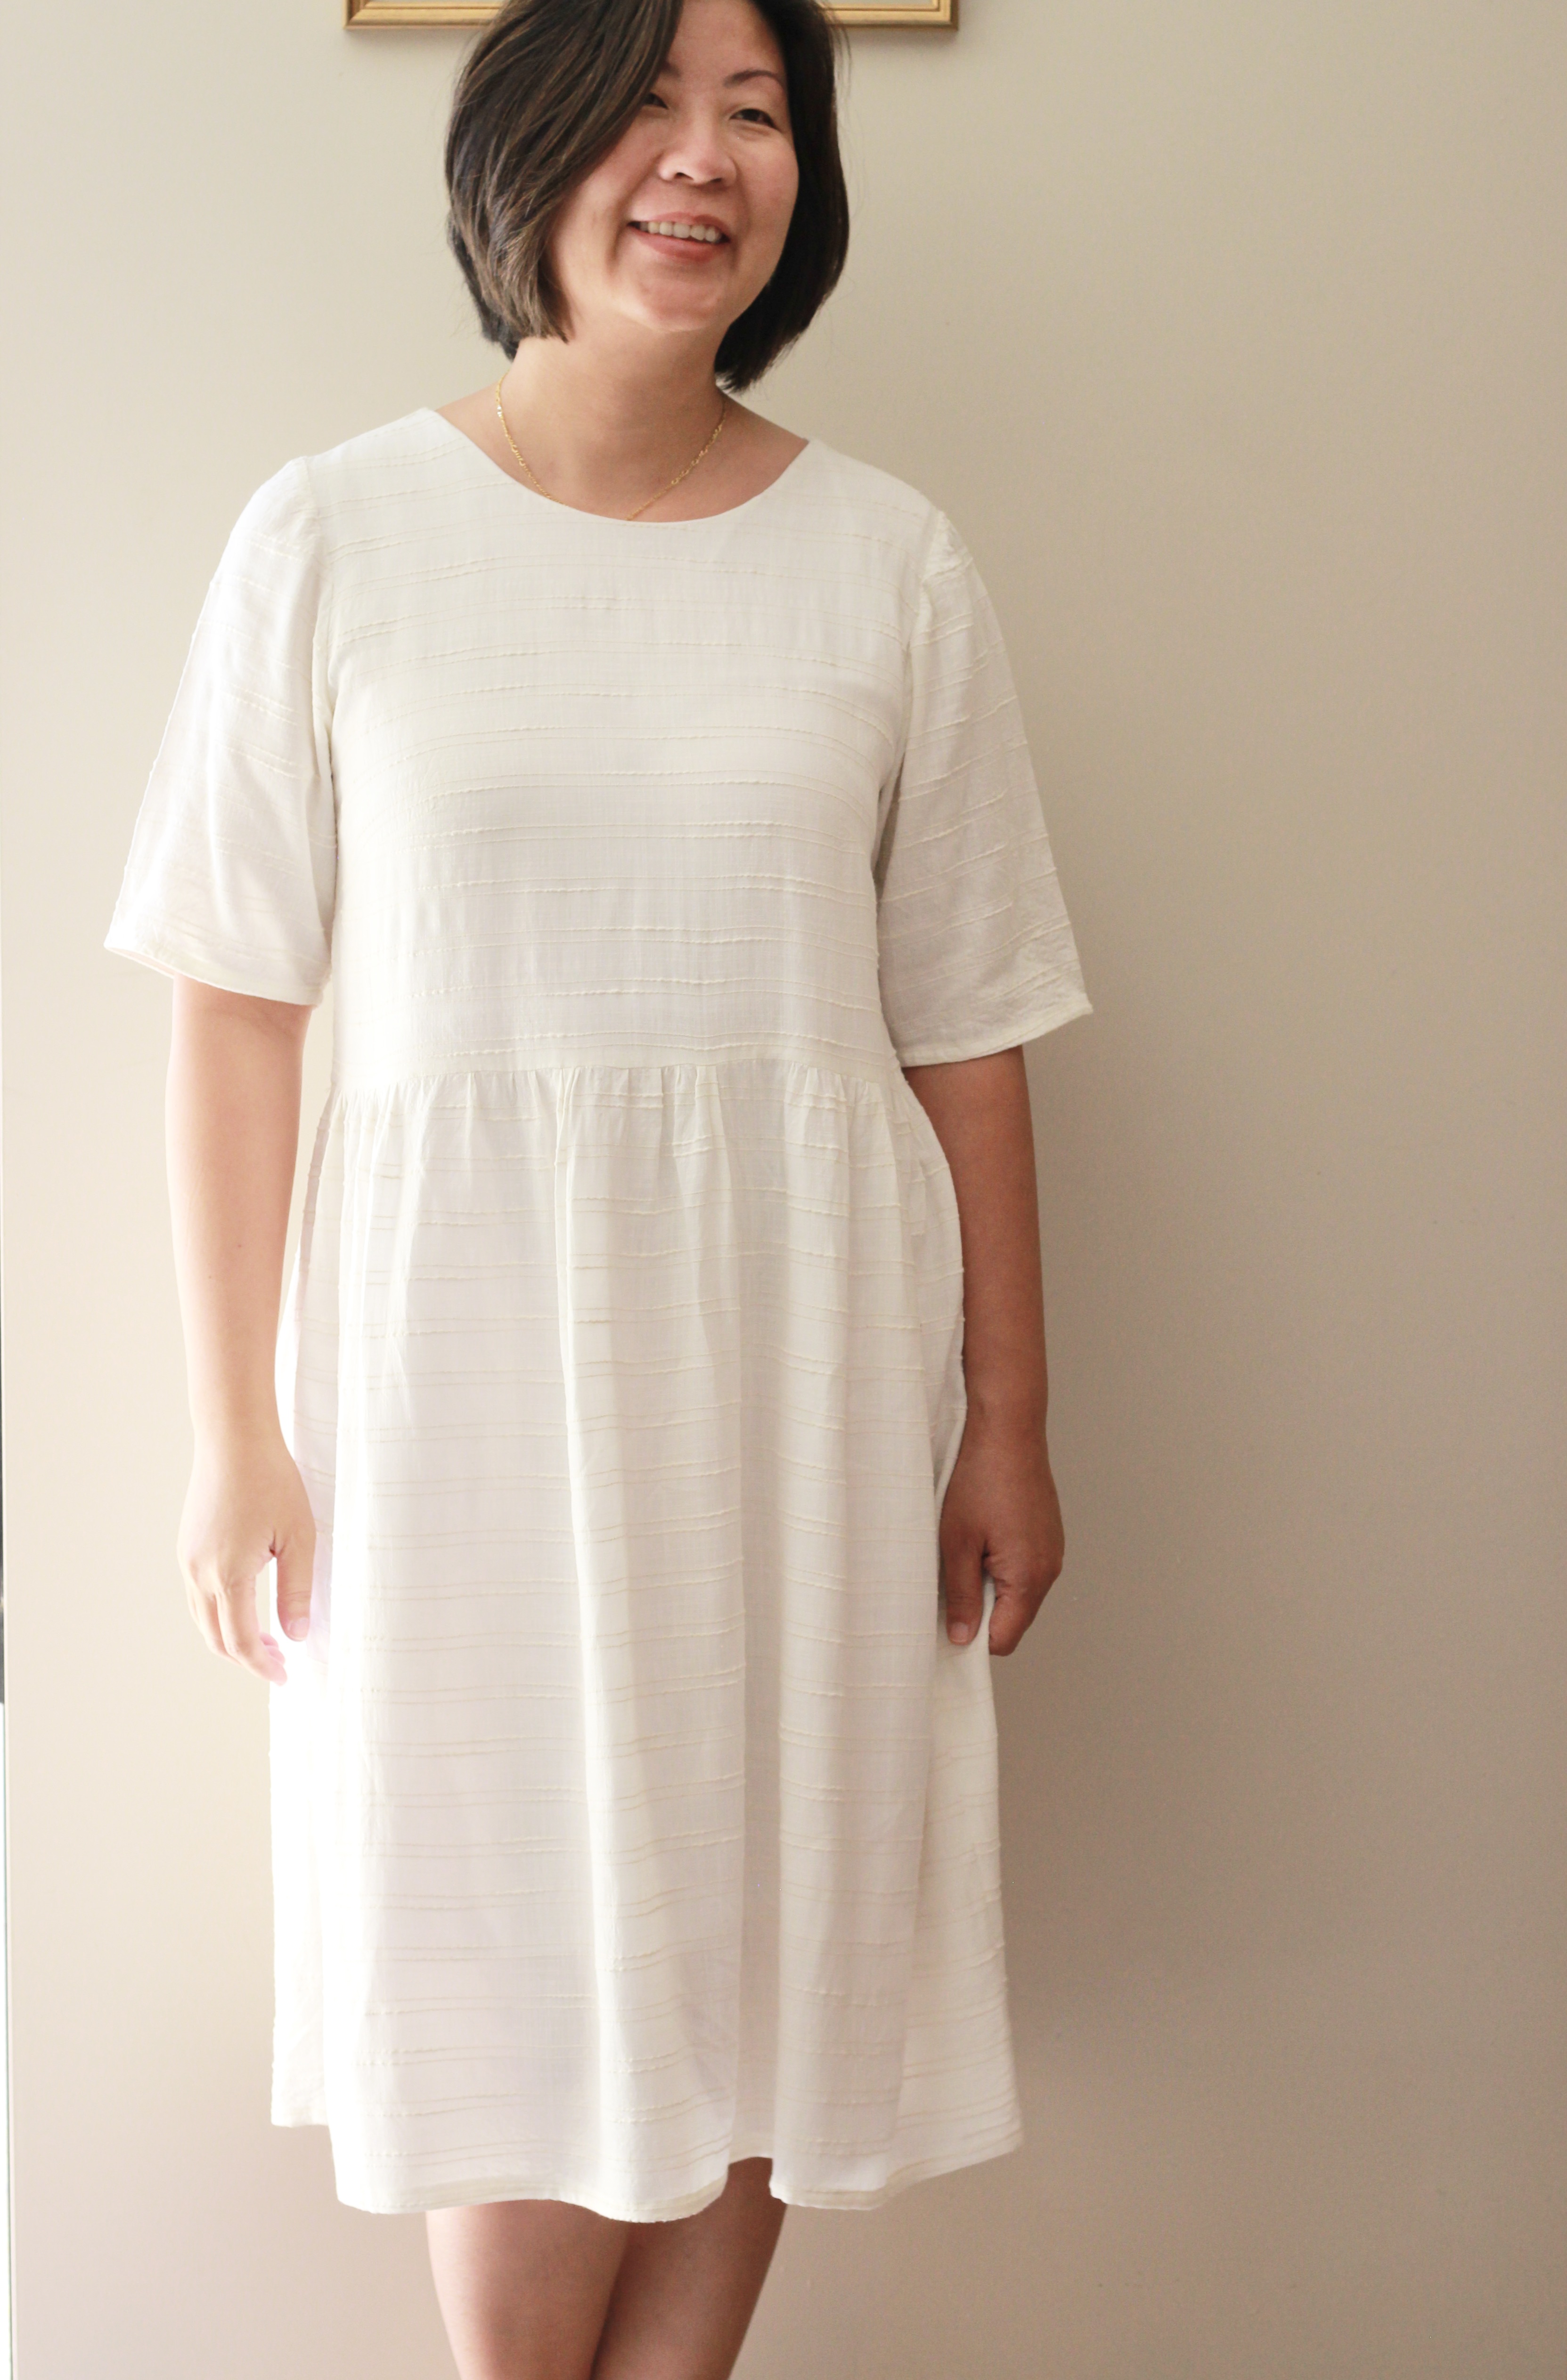
The neckline was another question mark for me. I’m more comfortable with a modest neckline. I could see with the toile, that it sat an inch too low for me, so it was simple to trace the original neckline onto a blank piece of paper then keeping the top of the neckline in position, I just brought it out by and inch and joined the lines. I then made sure I added the same length to the button loops.

In the end, my toile consisted of the two front bodice pieces, the waistband pieces, and the back bodice piece. From there I sewed the lining which allowed me to check the fit again. It was then an easy process to sew the outer shell of the blouse. 

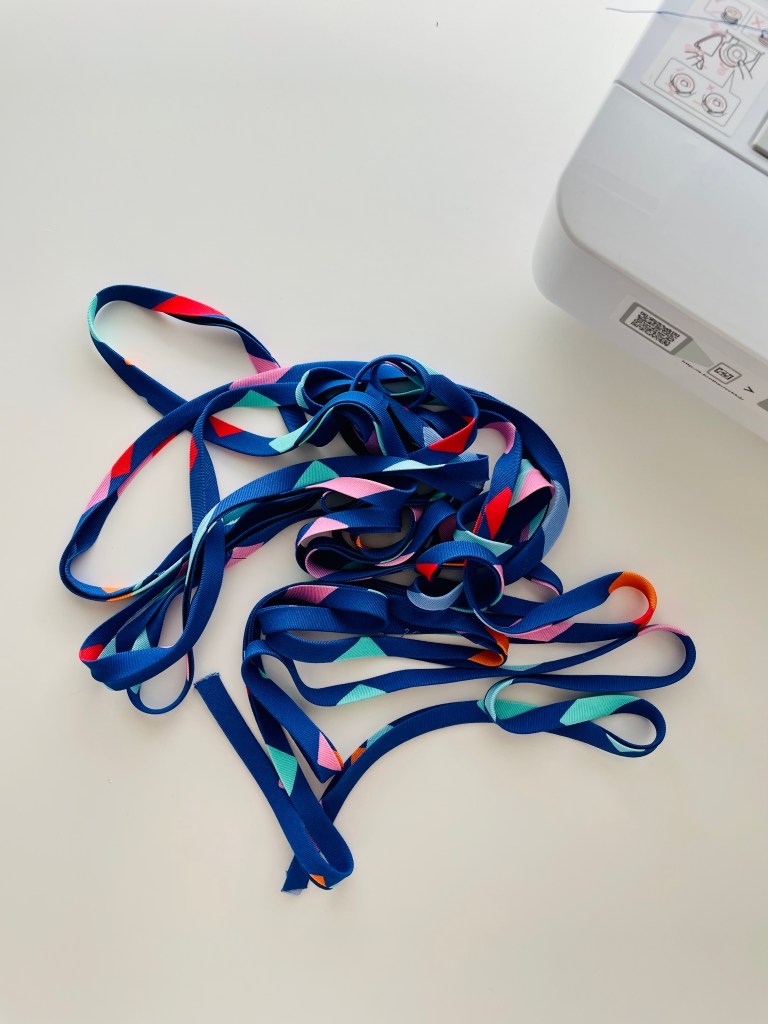
The button loop did terrify me at first, but the instructions were great, and the tutorial included photographs, so it was easy to follow. I always like to research the many different methodologies. What worked best for me was to hand tack the cord first then sew with the machine which gave me more accuracy. I found that the double-sided tape suggested was okay, but the cord would bump and that movement lead to unevenness in the loops. 

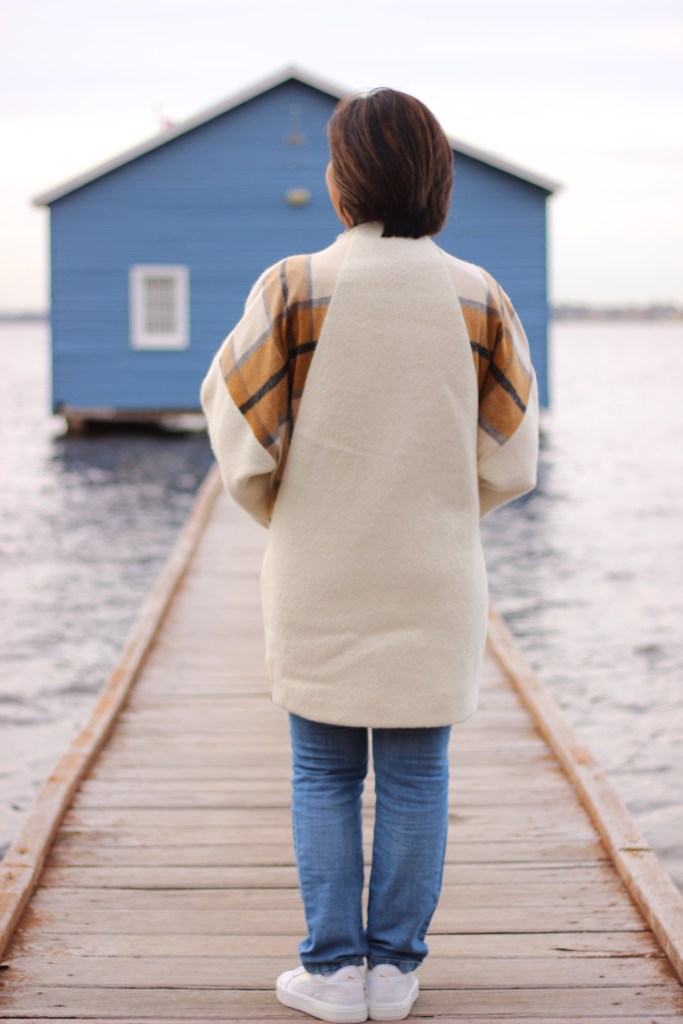
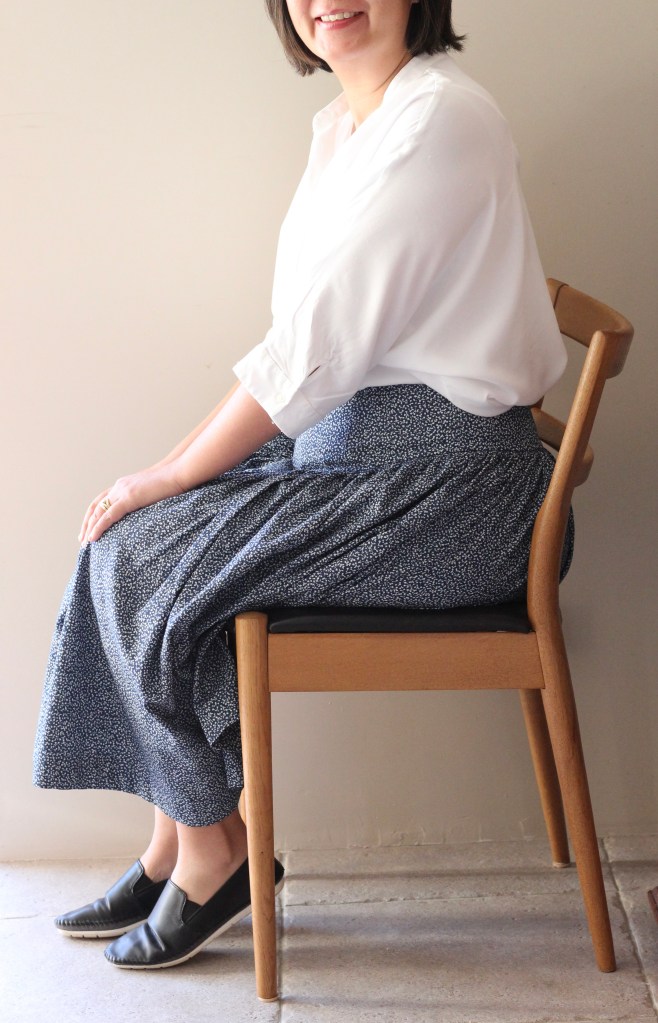
The final dilemma was the peplum length. I initially thought the peplum looked too small, so I decided to double the length of the peplum however, once I finished and wore it, I knew I had made a mistake. It just sat very awkwardly, and I humbly admit that the designers are right and there’s a good reason to trust the original design elements! Out came the seam ripper and it was fixed easily.

All in all, I really enjoyed this sew. It had so many puzzles for my brain, and I enjoyed all the new elements that were tackled in the sew.

Thanks for reading and happy sewing!

x Em

Aura Dress

Frocktails 2022

October zoomed by in a blur. There’s been a lot of making but very little time for documenting. So, it’s nice to be sitting with my cup of tea to write about the Aura Dress which I made for Perth Frocktails! What is Frocktails? In very simplistic terms, it’s a social gathering of people that love to sew and is hosted by the Australian Sewing Guild. Everyone dresses in their beautiful handmade frocks or outfits. I was awed by the creativity and talent around me. Some people were dressed in completely bespoke items down to self-made shoes and bags. 

Initially stepping into a big crowd without knowing anyone else apart from my daughter was a bit daunting and put me out of my comfort zone but as quick as the thought passed through my mind, I found myself chatting to so many others that I was soon at ease and having so much fun! I was curious about where everyone’s beautiful fabrics came from and how they started their sewing journey. It was also fun to have my daughter along as everyone was so lovely to her. We had a great night and hopefully this will mean a few more sewing meet ups in the future!

Now onto my Aura Dress which was a lucky win from Papercut Pattern’s monthly sewing challenge. I had entered my Nova Coat for the challenge and was so happy to learn that I had won a free pattern. I knew I wanted to sew the Aura Dress which is a wrap dress with beautiful puffy sleeves and the skirt has the silhouette of a pencil skirt. 

I had three meters of turmeric coloured linen in my stash which was perfect for the dress. I sewed the size 4 and because I had started the sew so late, I did not have a chance to toile the dress. Luckily it fitted but I had to wear a slip on the night as the temperature is still dropping at night (remember, I grew up in the tropics). If I were to make this dress again, I would adjust the skirt size to a 5 to fit my 33-inch waist size better. It was very funny and slightly distressing when I sat down in my dress and realised the split in the front rose very high which was also another reason for the slip and the strategically place handbag whenever I sat down on the night!

Perth Frocktails was a blast, and it was good to be part of a real world event in a time where online life has proliferated. I still enjoy and appreciate my online sewing community but now I’m hoping to be able to show someone in the same room what I’m making and say, “Is it supposed to be like that?”.

Thanks for reading and happy sewing!

X Em

Flint Pants

A couple of Christmases ago, my lovely sister-in-law gave me a voucher for Tessuti Fabrics. I had just ventured into sewing and didn’t dare sew with “good fabric” yet. I was so excited to be able to choose this beautiful chambray fabric. I bought two metres and then lost the nerve to cut into it! So now with a bit more sewing experience under my belt, I knew it would be a good match for the Flint Pants pattern from Megan Nielsen Patterns. The flint pants are a wide leg cropped pants. This wide leg cropped pants with the hidden pocket opening can be called a classic in the sewing community. I decided to make View B of the pattern which has the cute tie closure on one side.

The chambray is buttery soft and has beautiful drape. I prepared it by putting it through the cold cycle in the washing machine and then air-drying it. I then ironed it once dry. Chambray might look like denim but it’s a plain weave cotton unlike the twill weave of denim so it’s great for floaty breezy relaxed items and a lot easier to wear in hot weather. I used a universal sewing needle and matching thread. The pattern called for 2.5 metres of fabric but I could comfortably cut the pattern pieces from the 2 metres of 150cm width of chambray that I had. 

My sizing for Megan Nielsen patterns sits between a size 12 and a size 14. My measurements are 33-inch waist and 39-inch hips. I decided to use the size 14 waist and graded to a size 12 in the hips. I could have also just sewn the size 14 straight, but I wanted the nice taper from the waist to hip before it flares out to the legs. I also shortened the rise by 5/8 inch. I’m finding it easier to adjust the fit with more experience which is making sewing my me-made wardrobe so rewarding. Another small change I made was to sew the button to the inside of the waistband. I wanted to put two buttonholes to the inside to make the fit more flexible. I’m sure I’m not unique in my weight fluctuating between sizes.

As usual, the instructions for the construction were easy to follow. I have always recommended Megan Nielsen Patterns to anyone starting out. I sometimes joke that Megan Nielsen taught me how to sew. It was one of those patterns that I couldn’t put down once I started sewing so I completed the pattern between binge watching The Crown on Netflix in one day. 

A sign of a good pattern is one that you want to sew again straight after you’ve finished! Also, I wore it out straight away to the Spring Festival at King’s Park. We’ve been having some glorious weather and the wildflowers are in full bloom.

Thanks for reading and happy sewing!

X Em

Near and Far Rayon Fabric from Sew to Grow

Featuring: Hannah Dress

Rayon is my favourite fabric for spring and summer. It’s so soft, has beautiful drape and stays cool and comfortable in the heat of the warmer seasons. It’s also super absorbent so it’s great when the humidity of summer sets in. I was so excited to be invited to collaborate on the re-launch of the Near and Far Fabric Collection from Sew to Grow. I adore the beautifully vibrant Oeko-Tex certified fabrics featured in the collection. I’m sewing “Market Place” which is reminiscent of Lindsey’s travels to many marketplaces on her travels. 

I’ve matched the Hannah Dress with the rayon fabric because the fullness of the gathered skirt required a floaty and drapey fabric. Usually, patterns that need something breezy and loose are the best match for this fabric. It is great for summer because of its softness and how breathable it is. These are all features of the Near and Far Rayon. It is a bit heavier at 150gsm (normally rayon sits at 113 gsm to 142 gsm) which, in my opinion, gives even better drape. I noticed that there is a twill weave in this rayon which gives the fabric more strength compared to a plain weave.

To begin my sew, I made sure that I washed my fabric. Rayon can shrink and it’s not a fabric that recovers well (you can’t rewash and re-stretch it after). I also overlocker my fabrics before washing but you can choose to skip this step if you wish. I tend to airdry my fabrics but if your dryer has a cool setting, you could also risk putting it in the dryer. I then go over the fabric on the wrong side of the fabric with the iron. I must be especially careful as my iron only has one heat setting and if you overheat rayon fabric on the right side, you could leave a shiny residue on the fabric. I was really happy to note that there was no shrinkage after the cold wash and the fabric remained brilliantly colourfast!

Next, I made sure that I inserted a sharp new needle. I used a 10/70 needle to avoid snags in my fabric. The Hannah Dress is a gorgeous wrap dress from By Hand London. This required a bit of staystitching on the wrap front and the back neckline. It’s a good idea to staystitch when you use rayon because it can stretch out when you’re sewing. A great feature of rayon is the drape of the fabric, but it also means that you need to stabilise the fabric. It’s the same treatment you would give for fabrics sewn on the bias. 

The other tip when sewing with rayon is to make sure you transfer all your markings accurately and you need to use as many pins as it takes to match your markings. This was the case when I was fitting the sleeve to my Hannah Dress. I’m making the dress with the bishop sleeves this time and I found that I had to ease in the sleeve fabric to ensure that the markings matched up. You can also sew a line of gathering stitches to help ease the sleeve in, but it was easy enough to use some pins.

Next, I used the fabric to make some biased binding for the neckline and front bodice. This was my first experience of making bias binding using the continuous method. This is by far the best way to do it! 

Bias binding

Overall, I can honestly say that sewing with the Near and Far Rayon from Sew to Grow did not disappoint. All my pattern pieces stayed in shape, and it was enjoyable to sew with. It has a beautiful quality with the slightly heavier weight. Wearing the rayon is even better. I love the drape and here are some pictures from the Spring Festival! Oh! Final tip, don’t forget to let it hang for a day or two before finishing the hem.

Thanks for reading and happy sewing!

X Em

Full Disclosure: Fabric was gifted in exchange for review and sponsored Instagram Post but all opinions are my own.

Nova Coat

I was trying to think of when I first made plans to sew the Nova Coat and checking my records, it looks like I purchased the pattern in May last year. Soon after getting the pattern, I enthusiastically went to Potter and Co. to buy my fabric. I was all set to sew until a sewing friend asked me how I was going to prepare my precious wool fabric. Yikes. I lost my nerve and now, 17 months later have finally decided to give it a go.

So, it turns out that preparing the fabric was not such a big deal after all. If I had just read page 12 of the pattern instructions, I would have seen that Katie tells us how to prepare the fabrics. If it’s dry-cleaned only fabric, don’t wash it. If it’s something that can be washed, wash it first. I’m not sure if it was fog brain from Covid or momentary lapse of common sense but I washed my dry-cleaned only wool fabric and it shrunk. Luckily, it remained soft, and I had remembered to use wool wash, but I nearly cried when I pulled it out of the machine and was wondering what possessed me to do the unthinkable? So, to make up for the shortfall in fabric, I bought a meter of the plaid. My coat is made from a luscious white wool blend and a soft neutral coloured plaid fabric. There have been many examples of colour blocking and mixing fabrics in the making of this coat. 

Due to delay in starting the project, I had time to stalk the pattern on social media. I found that most people had recommended sizing down the coat. Sometimes there was a recommendation to size down as much as two sizes. My sizing would normally sit in the Size 4 range. I wanted the oversized look and most importantly, a roomy jacket that could easily go over a chunky knit sweater. I find ready to wear coats never comfortably accommodate bulky winter wear. With this in mind, I only sized down to a Size 3 and am very happy with the fit. If you’re undecided, have a look at the “Finished Garment” sizing including the sleeve length as this will give you a better idea.

Sewing the coat took less time than what I thought it would. I genuinely love the drafting and the construction of the coat. I was a little stuck at step eight but I think I misunderstood the picture in the instructions. Also, my instructions steps were numbered differently to the sew-along steps (it doesn’t take much to confuse me). 

Attaching the liner was easier than I thought it would be. The instructions are so clear. My lining fabric is a mid-weight cotton in a bright pink burst of micro floral pattern. Most jackets have a slippery lining, I could have used satin or something similar, but this fabric caught my eye, and I wanted something cheerful and bright on the inside. It’s been such fun to watch people reaction when I reveal the bright lining!

This is a big tick off my “Make Nine” list. It’s being used at the moment, and I can’t wait to wear it a lot more next winter. I might even attempt the jacket version of the pattern!

Thanks for reading and happy sewing!

X Em

Alea Shirt

One of my sewing goals this year was to expand my repertoire especially in creating separate pieces. A blouse is such a wardrobe staple, so it was great to find a shirt with some feminine elements. The Alea Shirt has these wonderful full sleeves as an option, and I explored sewing both the three quarter and full long sleeves. This was also the first time I’ve made a stand-up collar. This is a fantastic collaboration between Marsha Style who is one of my favourite pattern designers and the awesomely talented Sewlala.

The sizing is spot on. I made the size 8 for my measurement of 37 Bust and 33 Waist. The only small modification I made was for the sleeve when I made the full long sleeve option. I initially finished the sleeve with bias binding but found that it was too loose and hung halfway down my hand. It was an easy fix and instruction are included in the pattern. I just replaced the bias binding with an elasticated sleeve hem. This made full use of the shape and fullness of the sleeve. Some glorious puffiness!

The shirt option called for 1.5 meters of fabric. I found that I needed just a little more with the long sleeve version. I had left the pockets off as well which saved some fabric. To be safe, I bought 2 meters for the long-sleeved version. My first blouse was made with linen and my second version was made with a cotton. Both were a great match for the pattern and easy to sew with. 

I’m not very experienced with sewing collars or plackets but the instructions made the process so easy! I’ll definitely be referring to this again for the instructions on these. It’s great to have a few ways for constructing the same thing.

Another great learning moment for me on the sew was the attachment of buttons. With the excitement of the finish line in sight, I had sewn the buttons on and then finished the hem. To my disappointment, the two front pieces did not match up when buttoned up. The obvious solution was to resew the hem, right? Well, when I checked the instructions, I saw that my construction was out of order. The instructions recommended hemming first then attaching the buttons. So, the issue was quickly resolved by detaching the buttons and realigning them. Problem solved! A reminder for me to keep checking my steps. 

I’ll be hoping to tackle the dress version for summer. I’m especially keen to sew Version D. 

Thanks for reading and happy sewing!

X Em

Opal Pants

When I was looking for a relaxed fit pair of trousers for an upcoming getaway, I had initially dismissed the Opal Pants because I thought the tapered trousers would be a tighter fit and also, I didn’t want to sew something with a paper-bag waistband which is often styled with a shirt tucked in. I wanted something loose with no tucking in required. Basically, I was searching for the ultimate secret pyjamas! 

I started to do some research and was close to getting the Sew House Seven Free-range Slacks, but Megan Nielsen Patterns had a mid-year sale which made me have a closer look at the Opal Pants. I then realised that the paper-bag waistband was interchangeable with a normal elasticised waistband. The other reason I bought the pattern was that I thought I would get more out of the pattern in the future as it has more options than the Free-range Slacks.

My size at the moment is 33 waist and 40 hips. According to the sizing chart, I’m towards the 14 in the waist and size 12 with the hips. I chose to sew the size 14. As mentioned before, I was looking for a relaxed fit. I didn’t toile this make which can be a disaster, but I have sewn a lot of Megan Nielsen Patterns and I know my sizing sits well in the size 12 and size 14. I’ll probably sew this in a size 12 in the future as it’s very roomy especially with the elasticated waistband. Luckily, I had opted to include the belt loops and the belt.

There are different pocket options included which is always good because it’s these little customised details that make it more unique. I chose the in-seam pockets for this make. It would be interesting to have a look at hacking some cargo style pockets and to have back pockets too. I’m just lazy at ironing pockets so I went with the easiest ironing option!

In Seam Pockets

One little customisation that I added, which is not included in the pattern, was the cuffed trouser leg hem. I used the regular inseam measurements but shortened by 2 inches. I then made a pair of cuffs and sewed this on the right side, finishing with my overlocker. I then folded the cuff up and sewed the cuffs permanently in place by blind stitching on the inner and outer seams. I think it adds to that “relaxed” holiday look.

Cuffed Hem

My fabric is a heavyweight textured slub linen which is an oatmeal colour. Oatmeal is such a great neutral. I have a pair of wide leg Pietra Pants that I’ve made with the same colour and it goes with everything. It would also be nice to sew this with Tencel or Lyocell (same but different) or even a cotton. Just making mental notes for a future make. I think if I was making the paper-bag waisted option, I would try a lighter weight fabric.

There are only good things to say about the instructions. As usual, Megan Nielsen Patterns are logical and easy to follow. I also appreciate the extra tutorials which are emailed to you once you purchase the pattern. It’s great to have those sew-alongs with photos and it’s all set out by category which makes it less overwhelming when you’re tackling a new project. I’ll enjoy having this included in my holiday capsule wardrobe! 

Thanks for reading and happy sewing!

X Em

Carrie Skirt

So many good things to say about this pattern! Where to start? The Carrie Skirt is a newly released pattern from Vanessa Hansen Studio. I find Vanessa’s patterns to be very fashion forward which comes from her background in the fashion industry. The Carrie Skirt has a fitted yoke which then flares out to a full gathered skirt. It comes in a high waisted version and a natural waisted version. She also added lacing to the back of the skirt as an option which cinches the waist in but gives the fit some flexibility.

Fitted yoke of the Carrie Skirt

The pattern is made for woven fabrics. Fabrics such as viscose, rayon, Tencel were popular amongst the testing team. I’ve used a very lightweight denim in my version. It really looks best with some drape but using such fabric will need a lot of stabilising for the yoke as the fit is crucial for the look of the skirt. I’m not an expert in fit so found the yoke to be quite challenging but Vanessa acknowledges this in the pattern and provides very detailed notes on fit. I took it slowly, followed the fit notes step by step and checked at each stage that the yoke was fitting.  Once that part is worked out, the rest of the sew was a breeze!

Lightweight Denim

A high point of my Carrie Skirt make was the instalment of the invisible zipper. Casting my mind back to my first invisible zipper, it had just been a relief to be able to get it on, but it was gaping, the sides did not match and it was clearly not invisible. You’ll understand then why I did a happy dance when I installed this zipper without having to refer to instructions. I did an extra happy dance when everything matched up when zipped up and works like an invisible zipper should!

Invisible invisible zipper!

My measurements fitted between size 12 and size 14 and I made the natural waistline version. I started by printing the pattern with both of those sizes. I really like it when PDF patterns have their sizes in layers, it really makes putting together the pattern easier. In the toile, I decided to cut the size 14 and followed the instructions to pinch and adjust the panels of the yoke. Another feature of the pattern is the option for topstitching. I haven’t included that in mine, but I love how a detail such as topstitching can make such a difference to the look of a garment. I’ll be trying it out in the future especially if I make it in a plain fabric.

This skirt can be styled in so many ways. I love how you can pair it with a t-shirt and a pair of sneakers in summer. Dress it up with a jazzy blouse and heels for a night out or boots and turtleneck for a cosy winter outfit. 

I don’t usually talk too much about personal life but the period during this pattern test was quite topsy turvy! I had a failure of confidence which was brought on by time pressures as I was also preparing to speak at a conference. Then as that weekend approached, covid visited my youngest which added to the stress (thankfully, fully recovered). What I was grateful for was Vanessa’s calming influence and reassurance. In fact, I was so surprised that I managed to finish the Carrie Skirt before the deadline which Vanessa had kindly reassured me that I didn’t need to meet.

I’ve really enjoyed sewing another beautiful pattern from Vanessa Hansen Studio and hope it does well during its launch! I was so happy to be able to complete this pattern even though I was sidelined in the middle of the testing period. Again, Vanessa is always so generous with her time and knowledge during the test and I felt that I learnt so much!

Thanks for reading and happy sewing!

X Em

Albion Blouse

The Albion Blouse is a collaboration between Vanessa Hansen Studios and Peppermint Magazine. Peppermint Magazine is not only great for their articles but also for their free sewing patterns. I was thrilled to be part of the tester team and so happy to be able to share it. When I started applying to be a tester for patterns, I didn’t realise there could be a gap between sewing and posting. Sometimes there’s no indication of when a pattern will be released which makes it so exciting when you can finally share! I was born in the Chinese year of the dragon and dragons are usually terrible at keeping secrets so I’m patting myself on the back for not letting anything out of the bag so far.

The Albion Blouse is a wrap top which is fastened by buttons and loops. It is quite fitted in the bodice and stops just below the natural waistline. There were a lot of firsts for me in this pattern. I’ve never had to make loops for fastening and it was also my first time making my own buttons. I consider my skill level sitting more towards the advanced beginner so I was happy to be able to complete this pattern which is made for intermediate sewers.

The size for the Albion Blouse runs between A to P and has cup sizes. I graded between size F and G as my full bust sat in the F range and my waist was in the G. I love the system on sizing and how Vanessa includes detailed fitting notes in her patterns. The wrap top allows for some flexibility too which helped me as I’m still learning in this area.

There are two versions to make in this pattern and my first make was a wearable toile of the short sleeve blouse. My final version was of the long sleeves with cuff which also fastens with buttons and loops. 

This blouse has such classic vintage features, so I chose a beautiful lightweight linen with a modern print to juxtapose this.  I always reach for a linen if I can because it’s a natural fibre and great in hot weather and cooler weather too.

The Albion Blouse is such a generous offering from Vanessa Hansen Studios. Thank you to both Peppermint Magazine and Vanessa for making this pattern free for all of us. 

Thanks for reading and happy sewing!

X Em

Lanti Swing Dress

When Sew to Grow put a call out for testers, I was quick to apply as I’ve been keen to challenge myself to sewing to a time frame and I have found testing to be invaluable experience especially when interacting with other more experienced sewers. Lindsey, the founder of Sew to Grow, is a sewing teacher so I find all her patterns have a quality of thoughtfulness and caters well for all skill levels from beginners or those who are trying to advance their skills in sewing. The Lanti Swing Dress was initially designed for her classes and with a beginner in mind. Now it’s been made available for everyone!

The Lanti Swing Dress is a versatile pattern that comes with three options. Option A is a smock dress, Option B is an A line dress and Option C is a blouse. There are also sleeve options for short sleeves with cuff or three-quarter sleeves with frill.  This dress is also a great wardrobe basic with potential for hacks which is what I did with my second make.

The first dress I made for the test was Option A and using the three-quarter sleeve but without the frill. I love making dresses but found that I lacked a neutral basic dress. The Lanti Swing Dress is a great core item dress which is designed to be versatile and a foundation piece for dressmaking. The fabric I used was a beautifully sheer flax coloured cotton which is lightly textured by a weave of beige coloured tread in a stripe pattern running horizontally. This dress can be styled with sandals for summer or layered with a jacket for autumn and spring. It can be left loose for a boho look or cinched at the waist with a belt for a stylish work outfit. 

My test was for the size 12 as my measurements of 37.5-inch bust, 33-inch waist and 38-inch hips fit well into that category. There wasn’t any need for adjustments, but I left out the pockets and the sleeve frill. My fabric was very sheer so instead of a facing, I fully lined the dress with a muslin which also served as the first toile of the pattern. The Lanti Dress is a great dress to practice installing a lining as the closure is a simple button closure at the back so no tricky zippers to line. In order to line the dress, it’s a case of using the bodices and skirt pieces but with your lining fabric which is often a lighter weight fabric. The bodice pieces are sewn up and the same instructions given for attaching the facing were followed. Once the bodice outer shell and lining pieces are attached, it is turned the right way and the skirt shell and lining can be attached separately. I should also mention that I lengthened my outer shell hem by 2 inches.

It was such a pleasure to sew that I made a second dress but this time with a fun hack and I wanted to try making those pretty frill sleeves. Again, the pattern is great to play with for a hack as it is drafted to be versatile. To make this hack, the bodice was shortened by 1 inch. The skirt was left the same width for the upper two-thirds and the bottom one-third was widened by 10 inches. This time the frills were added to the sleeves. The result is a fun party dress which can be dressed up or down.

It was so much fun to test for Lindsey of Sew to Grow and it was a lovely team of testers to join. She made it stress free and was always quick to give feedback when we needed it. It was also nice to have a bit of interaction with the other testers and see their beautiful creations. If you can, you should check them out.

Thanks for reading and happy sewing!

X Em