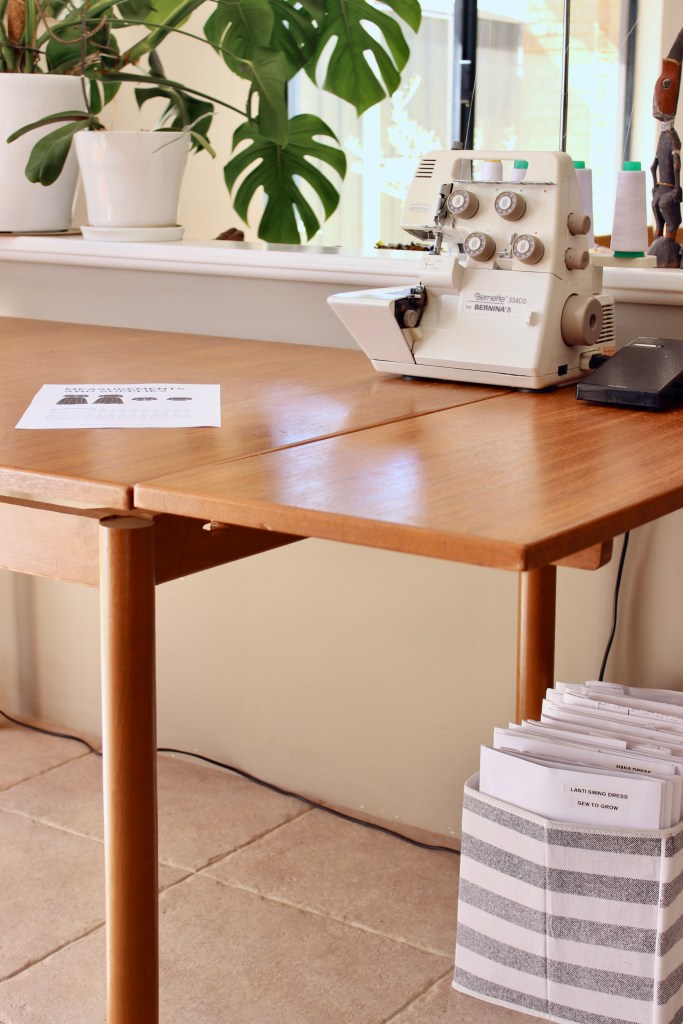
It’s always exciting to get onto the Sew to Grow testing team. Lindsey designs sewing patterns that are stylish and easy to wear for daily life. Among her many talents, she is also a sewing teacher so her patterns are always logically constructed and made to fit beautifully. I’ve been sewing her patterns from the start of my sewing journey and have learnt so much from them.
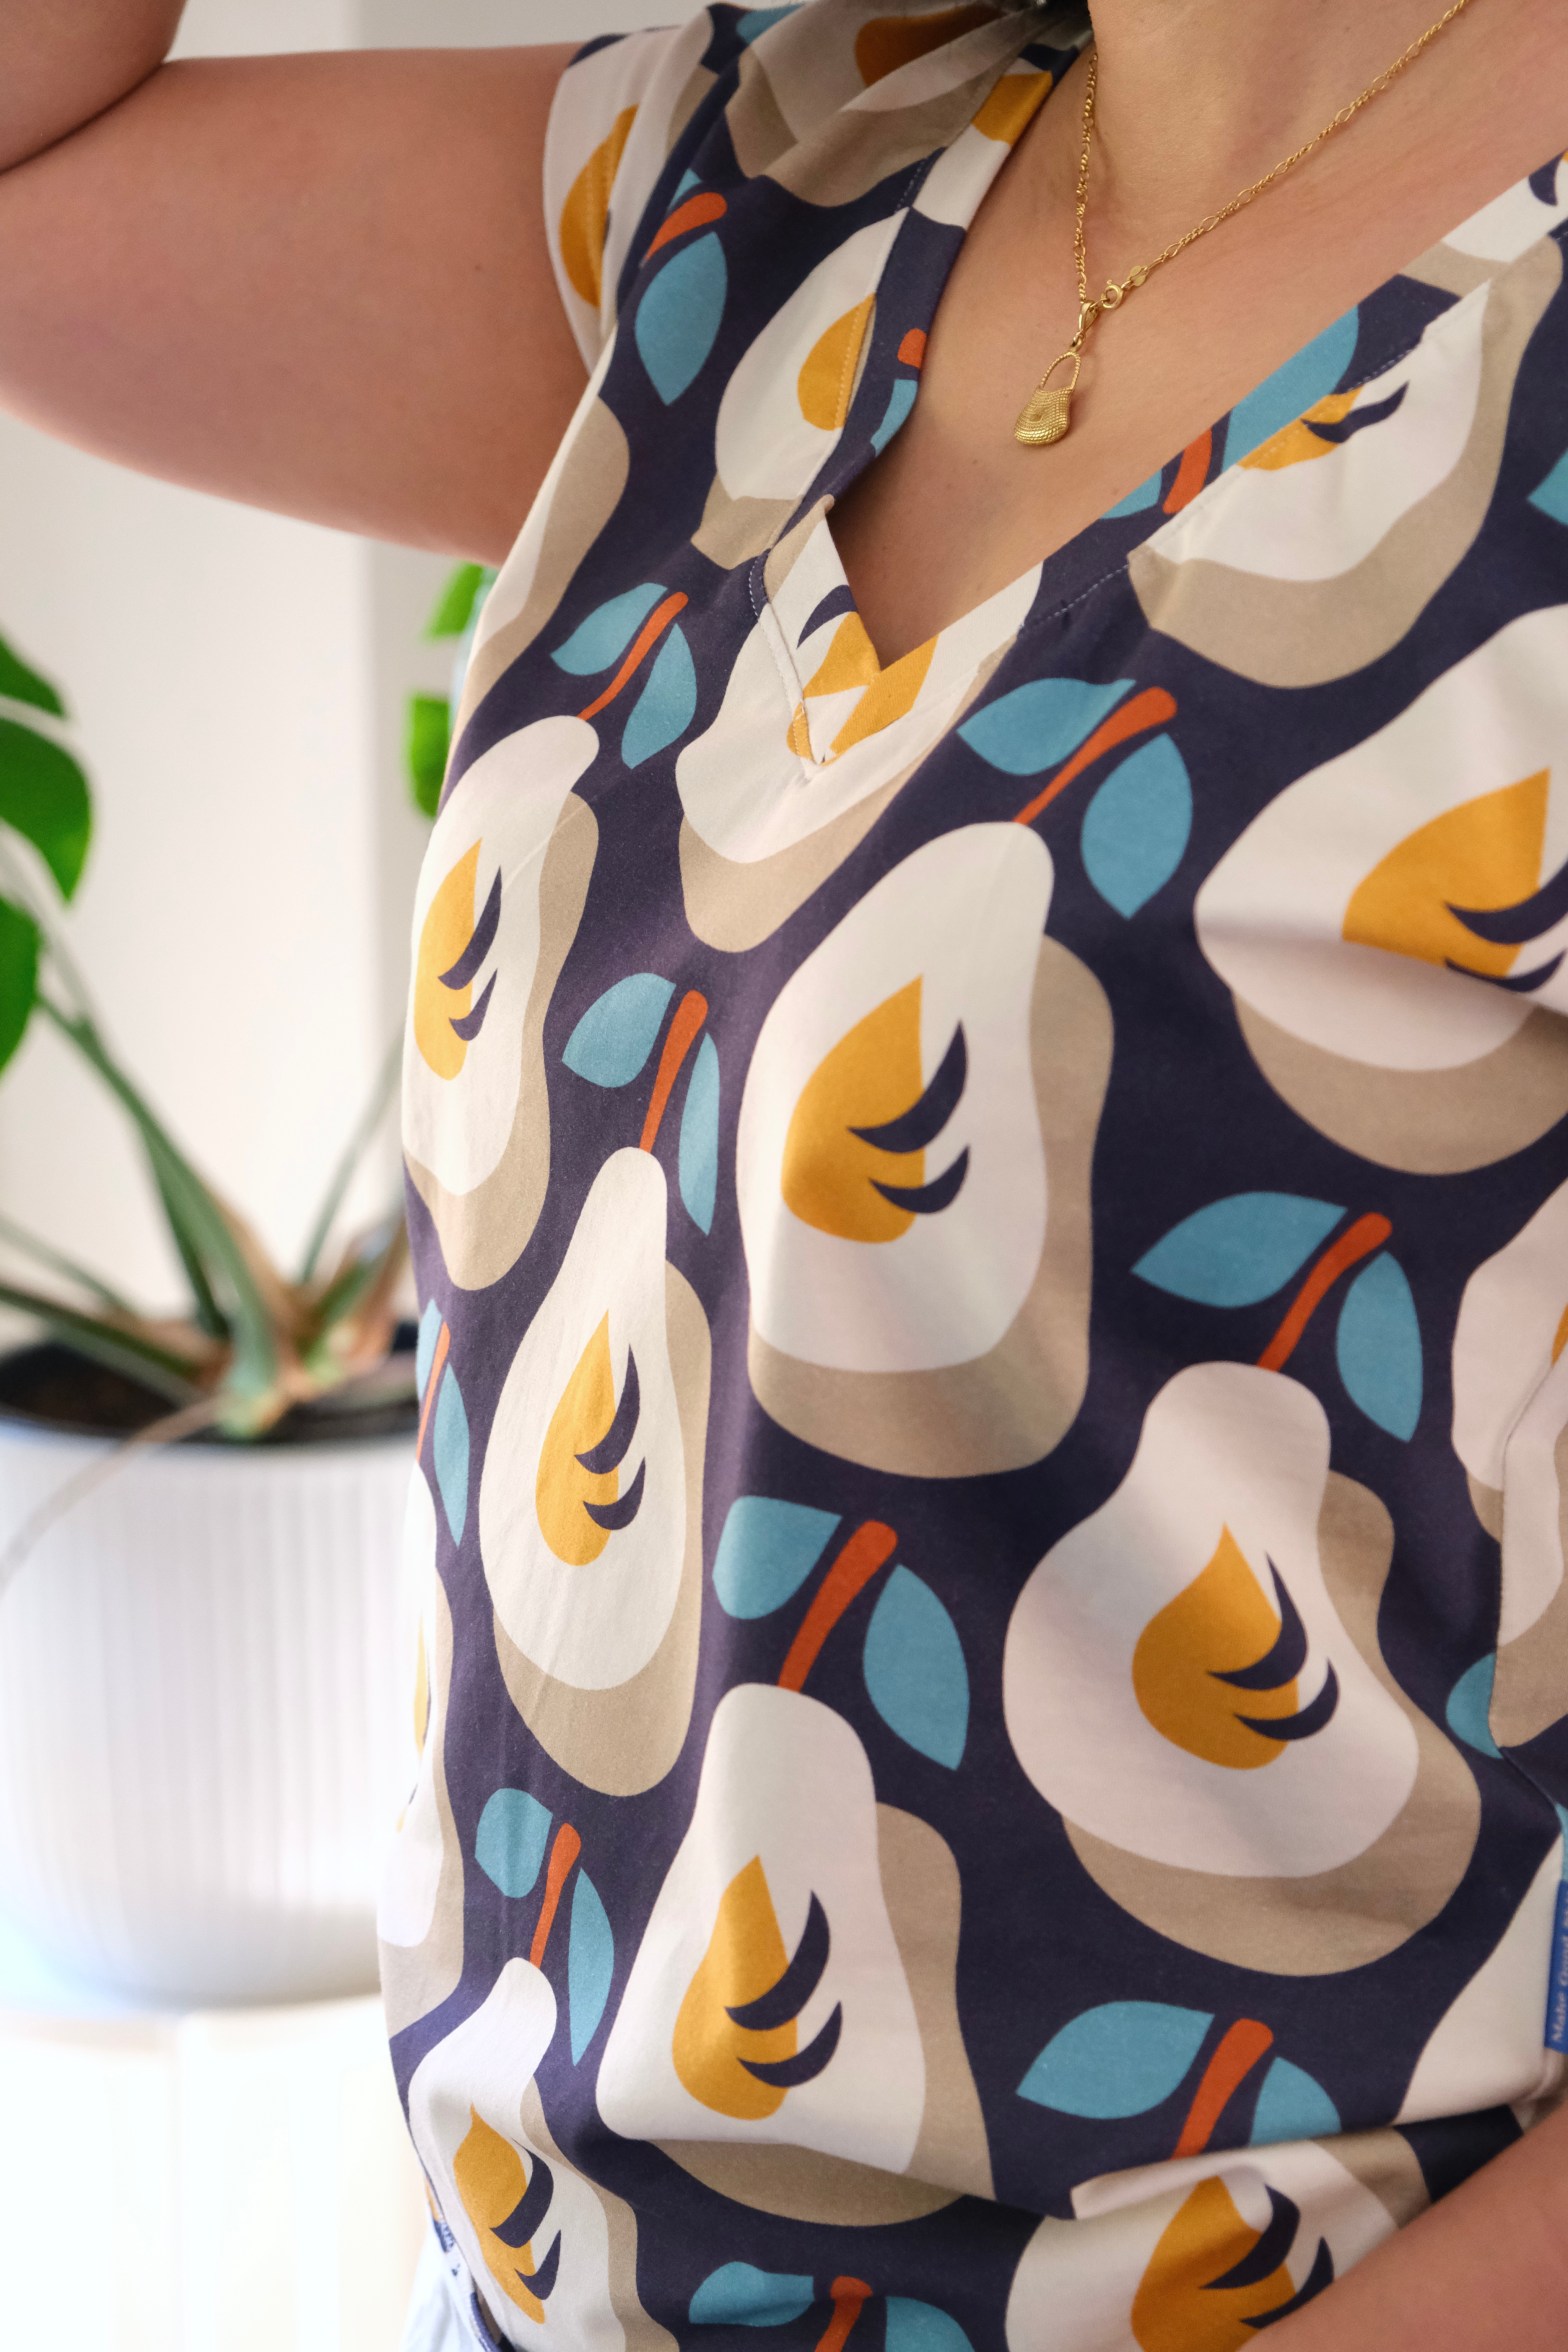
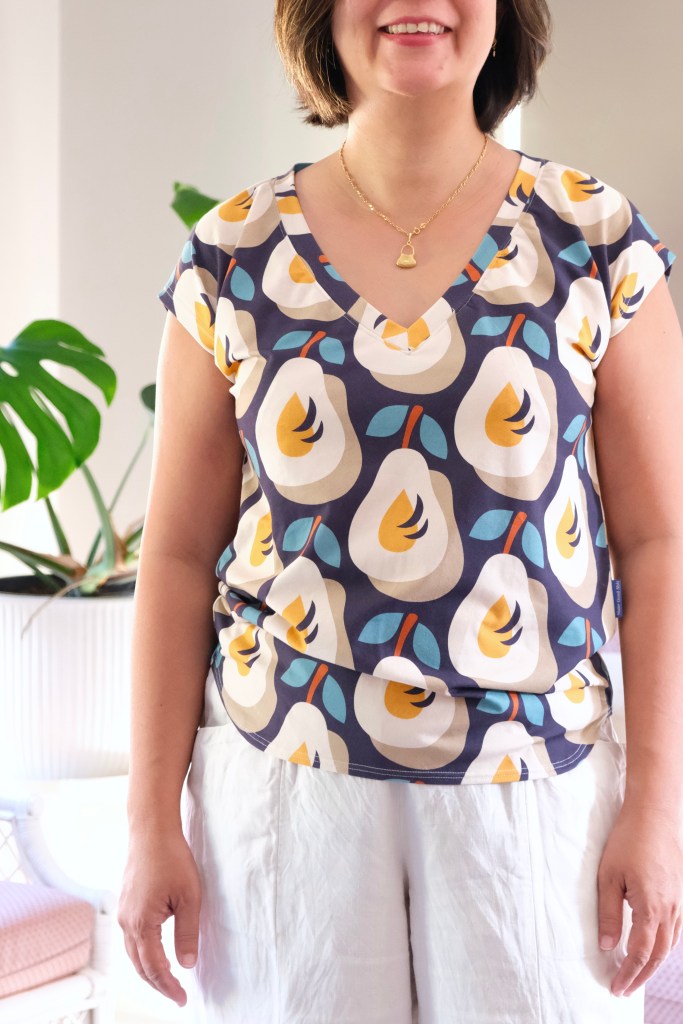
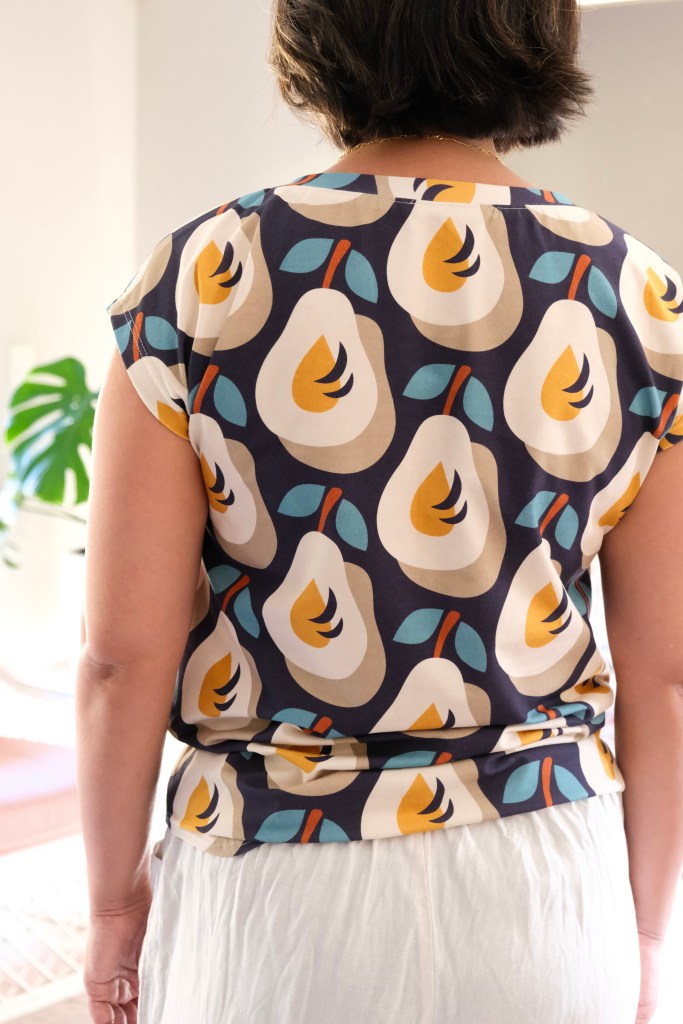
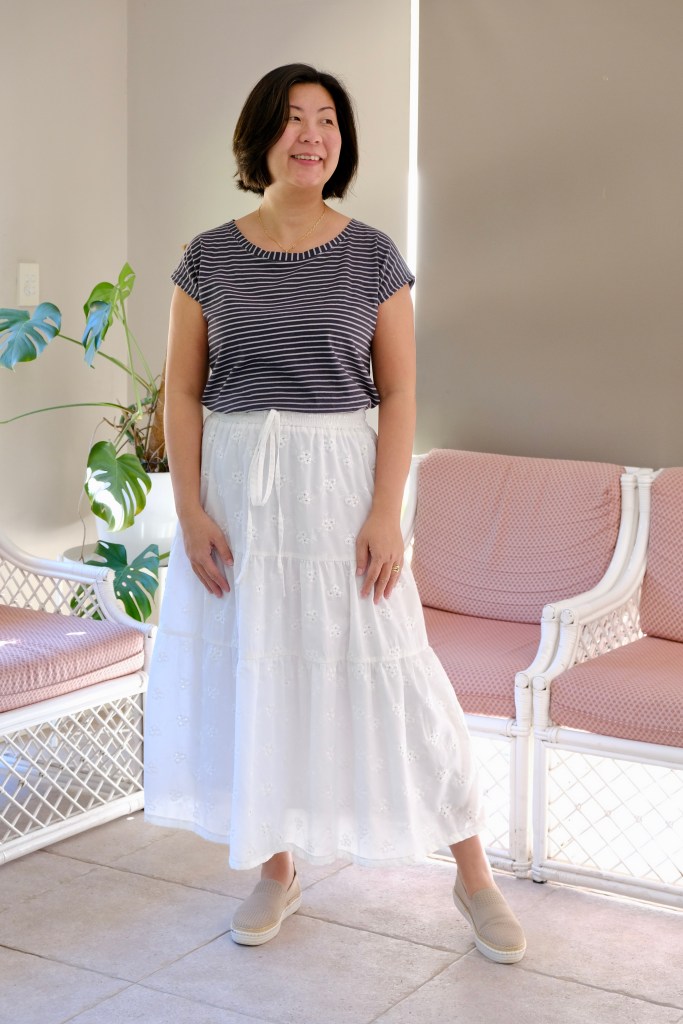
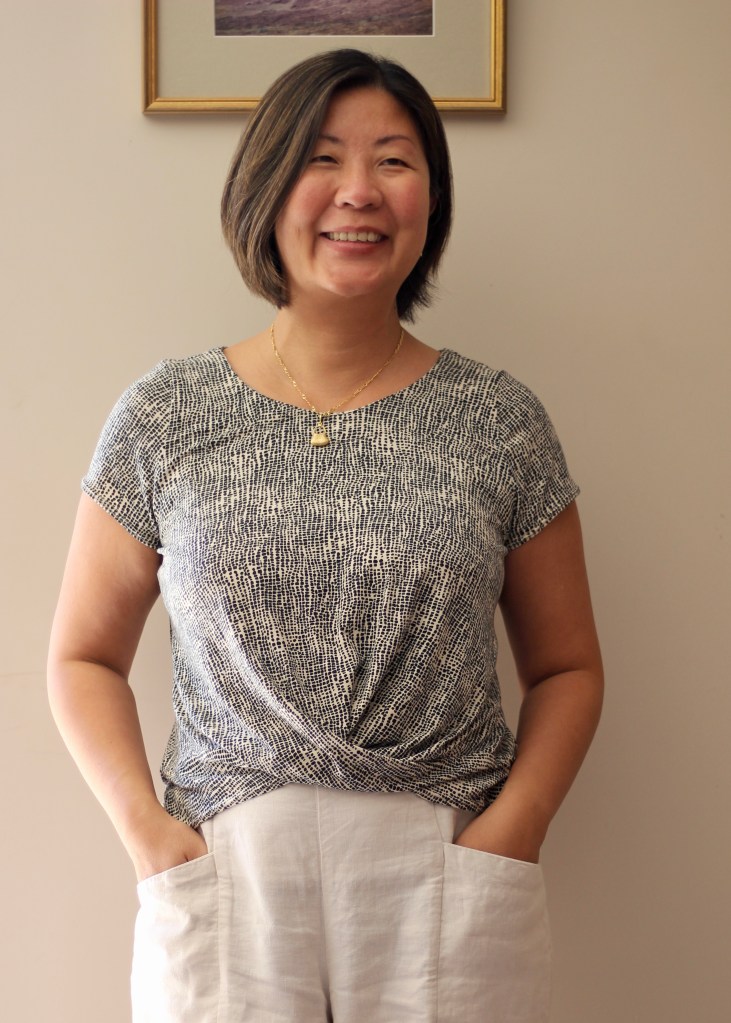
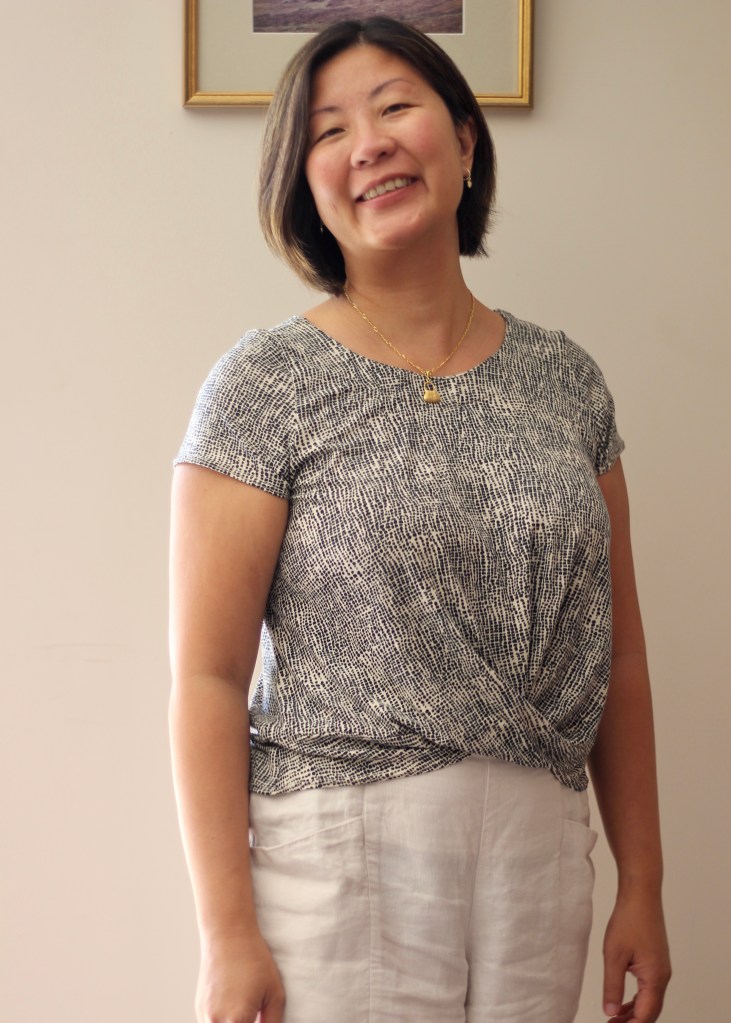
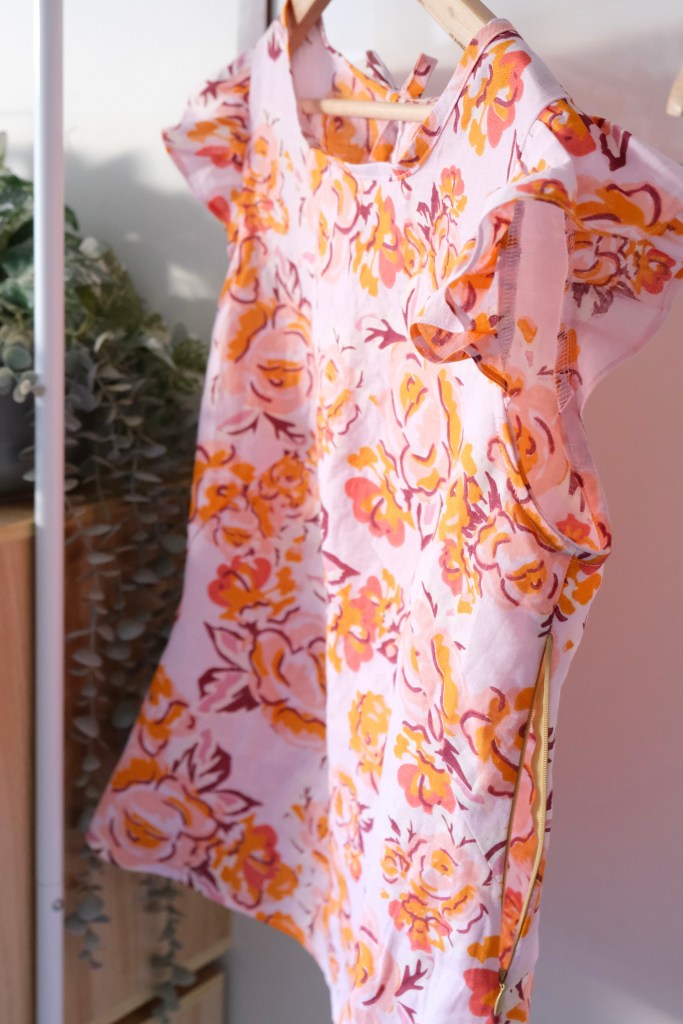
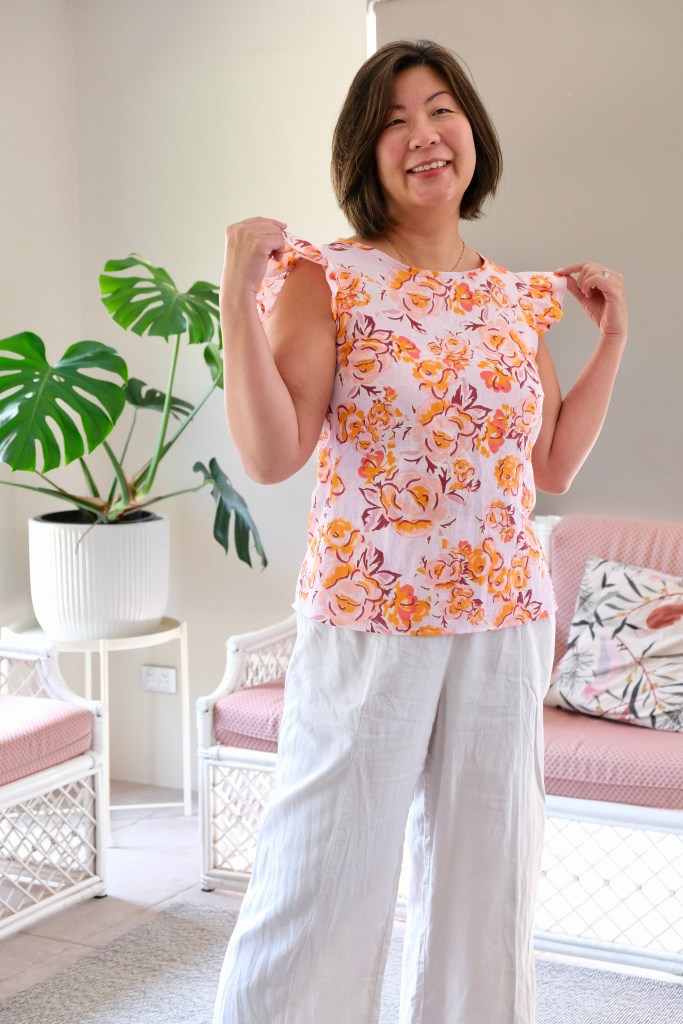
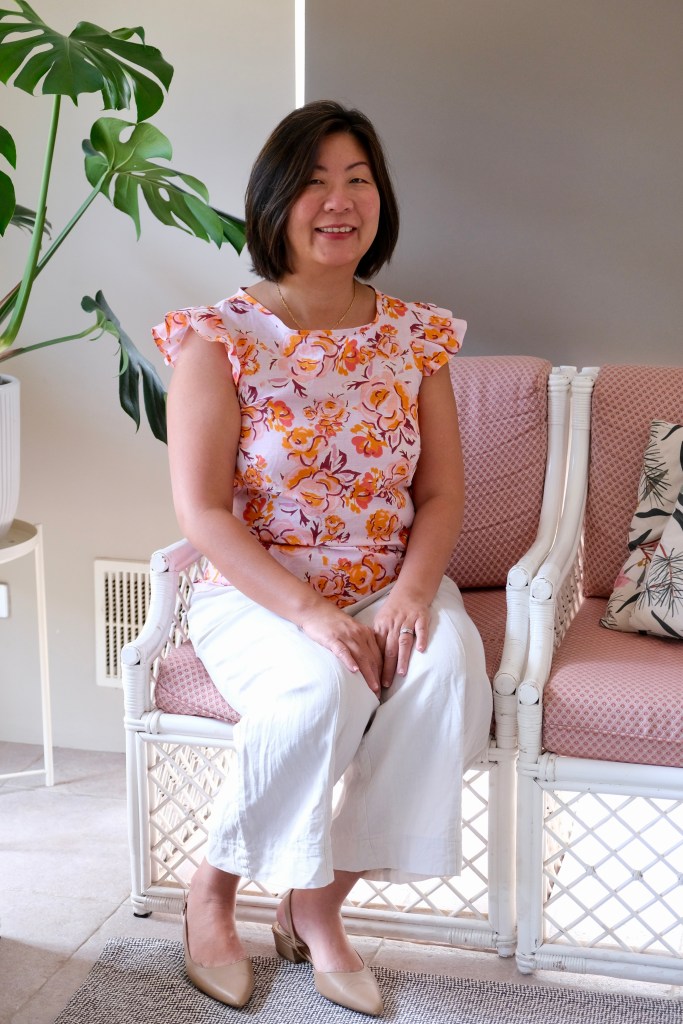
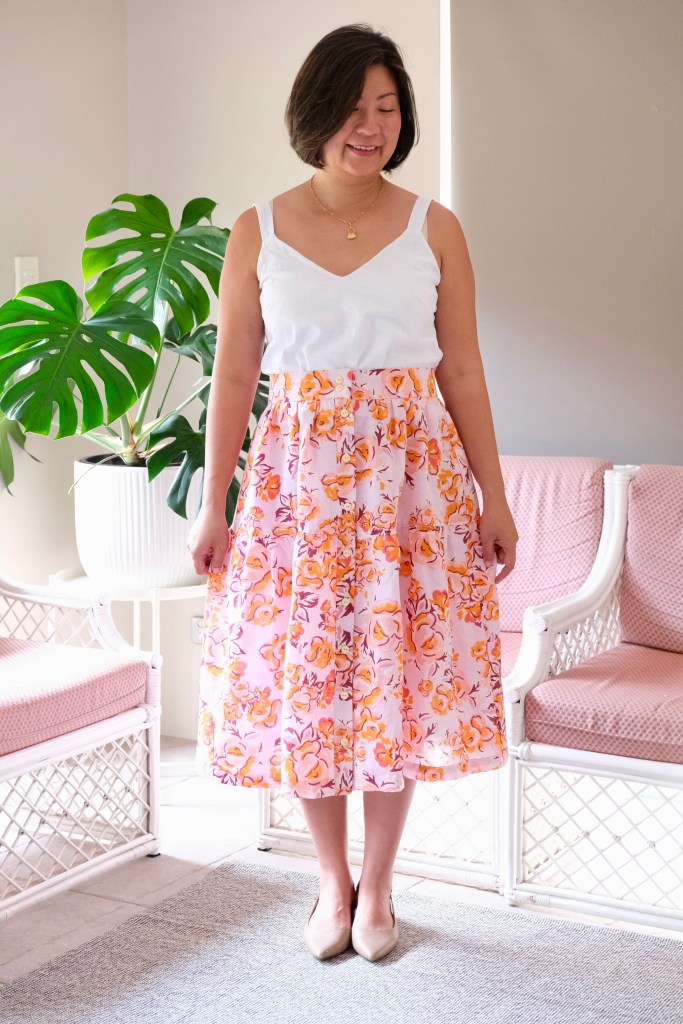
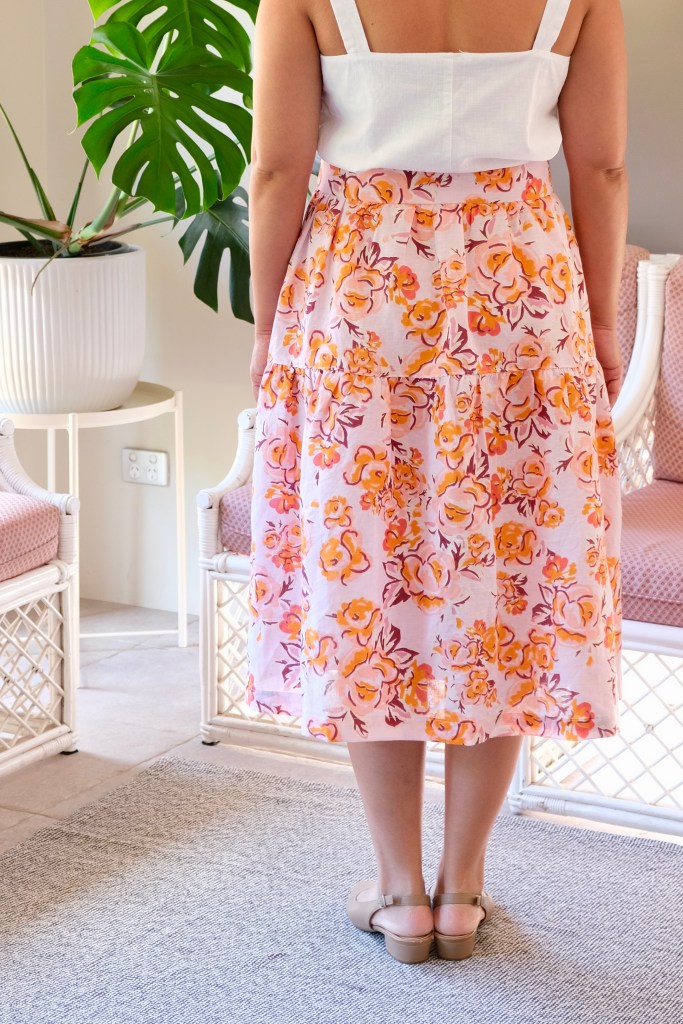
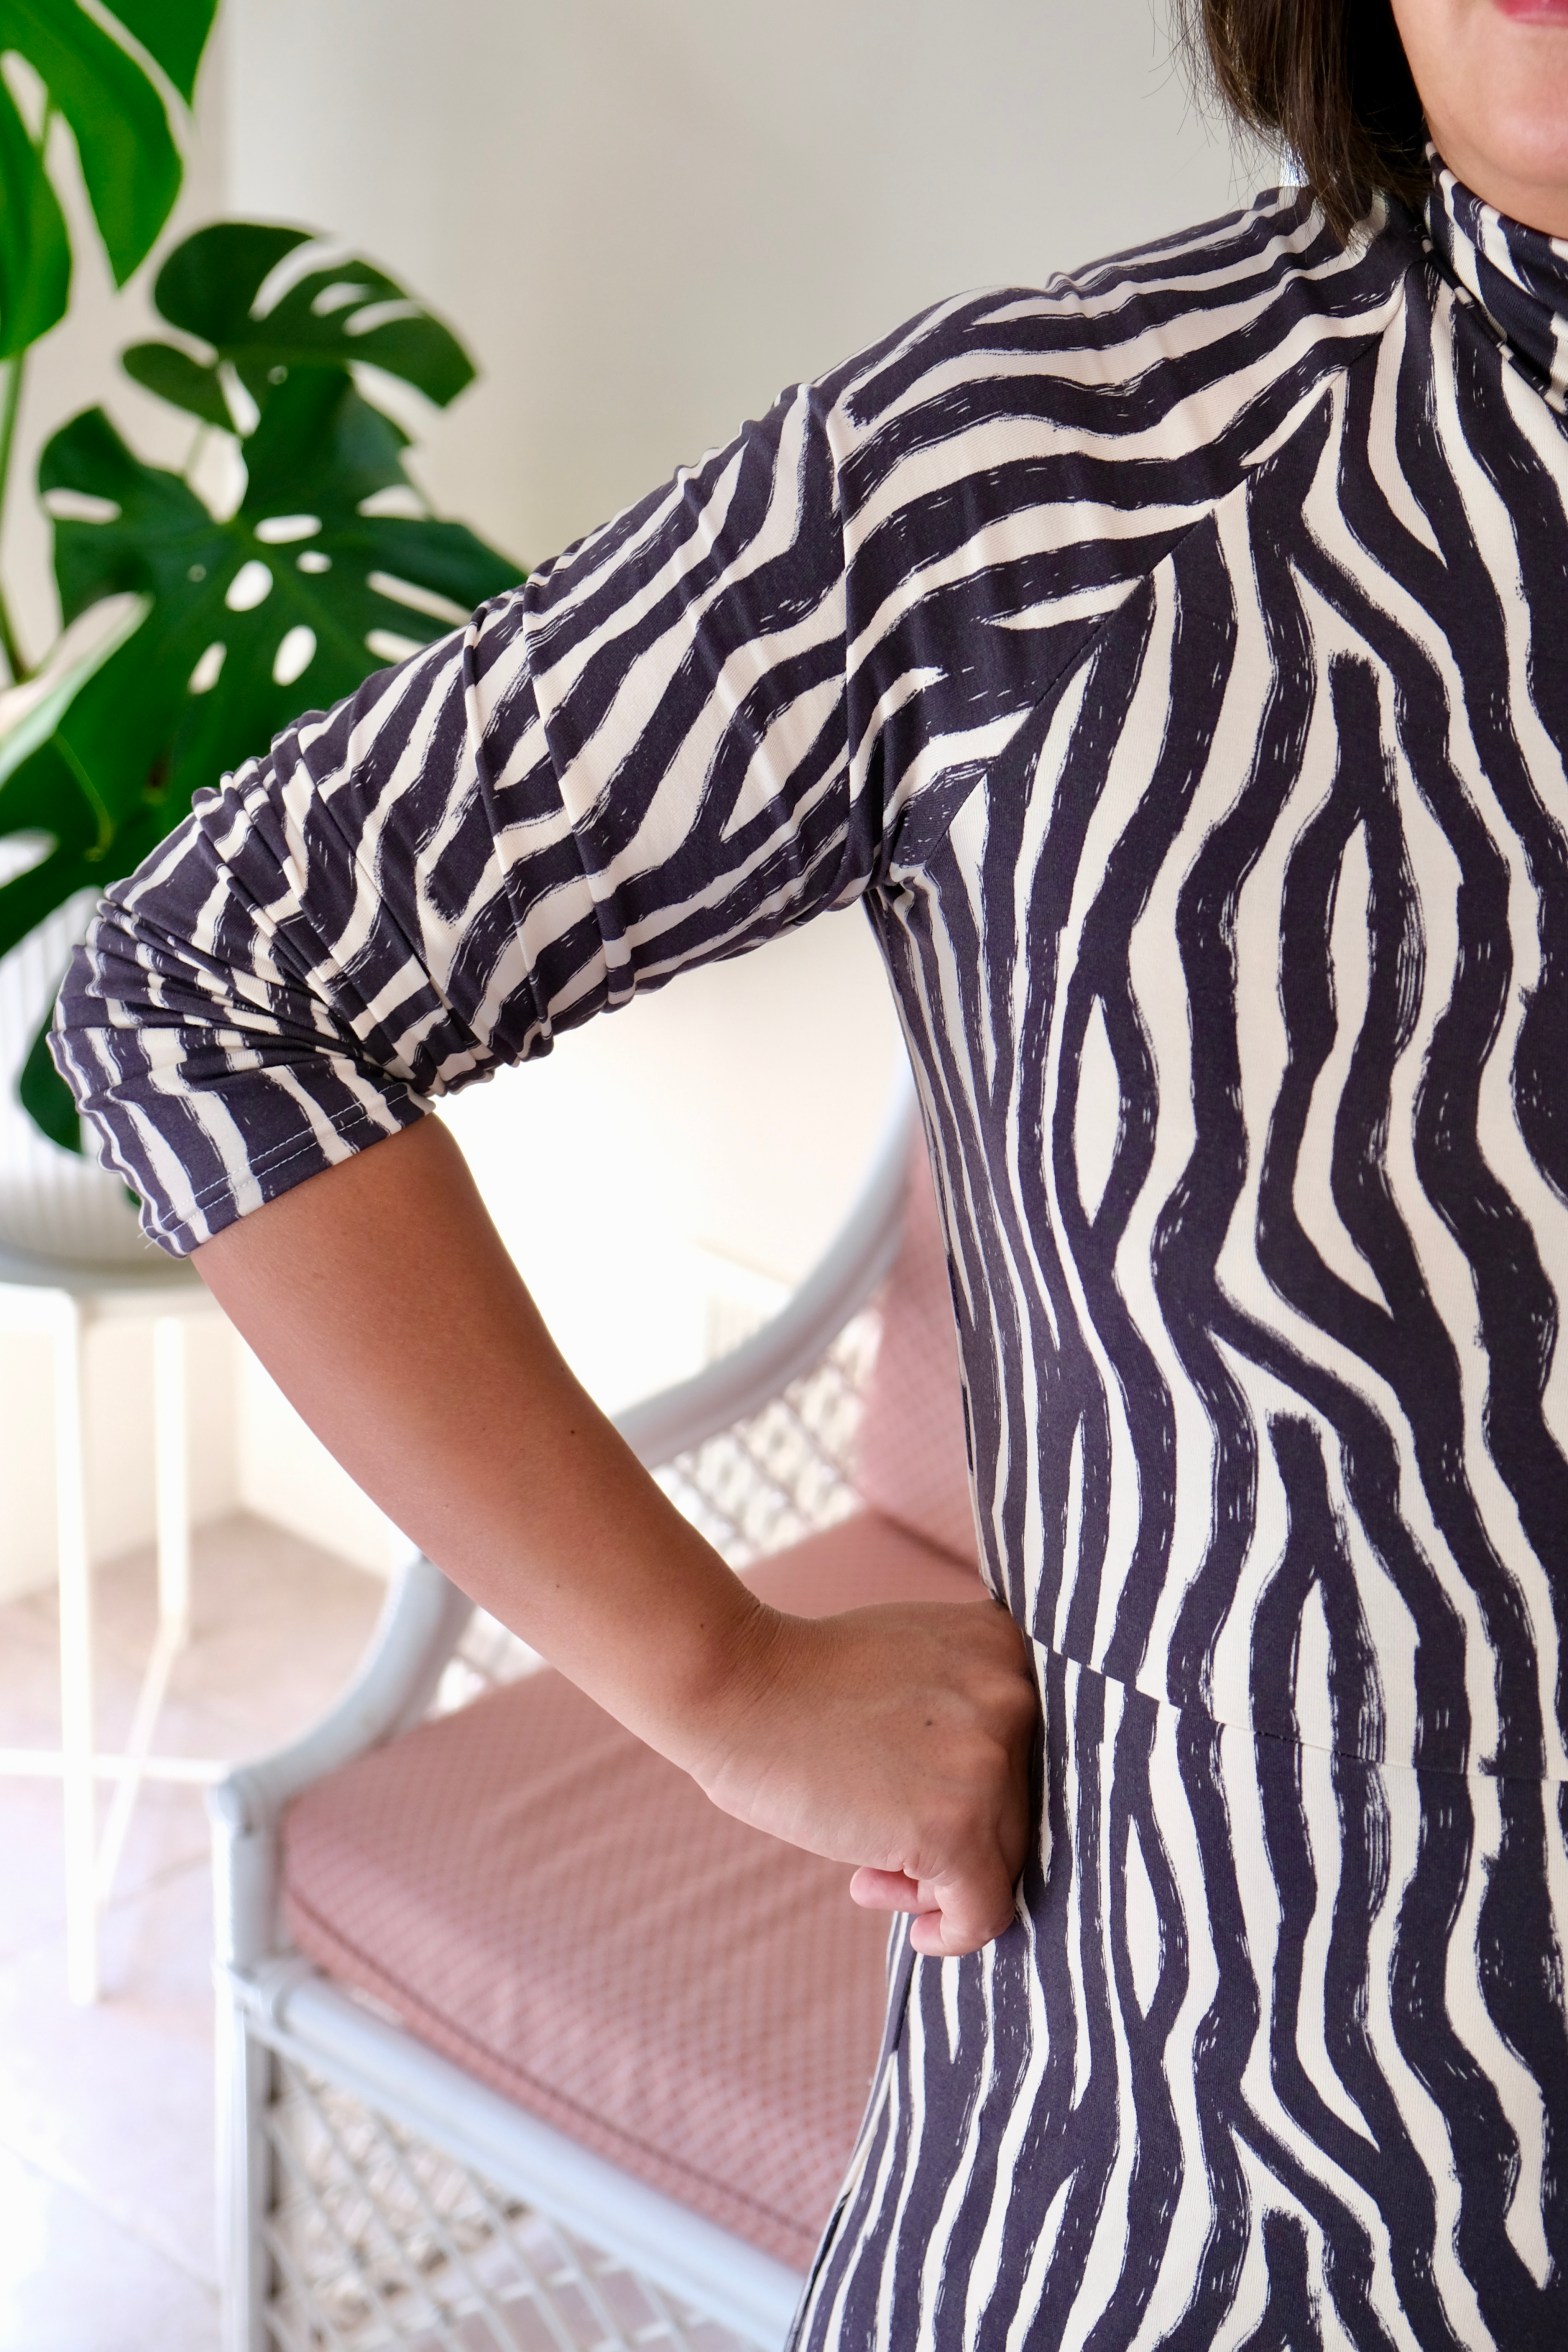
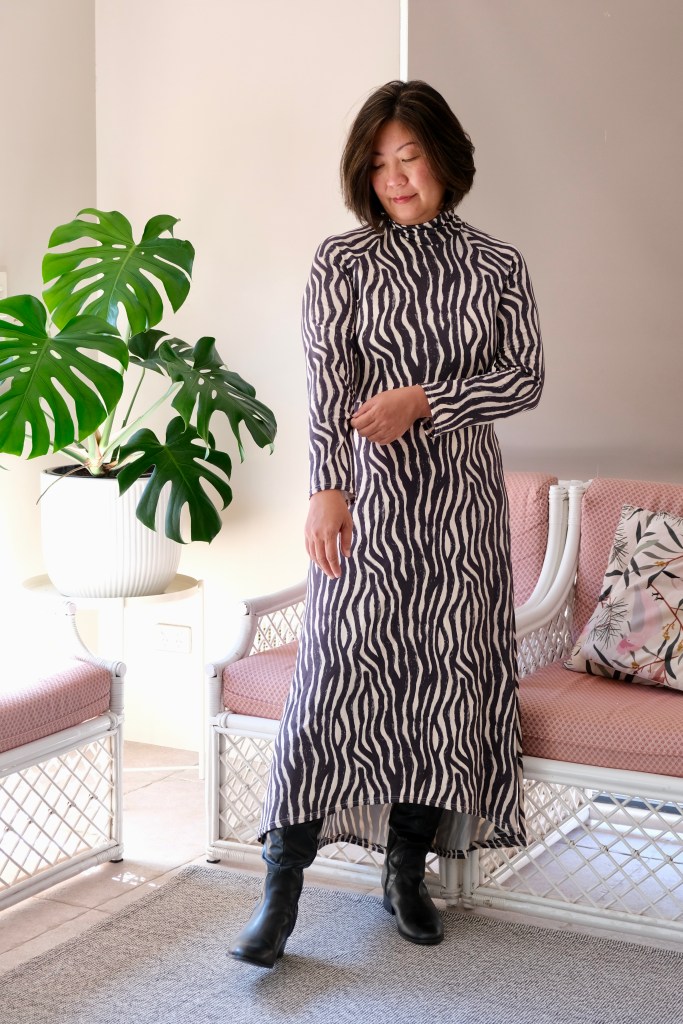
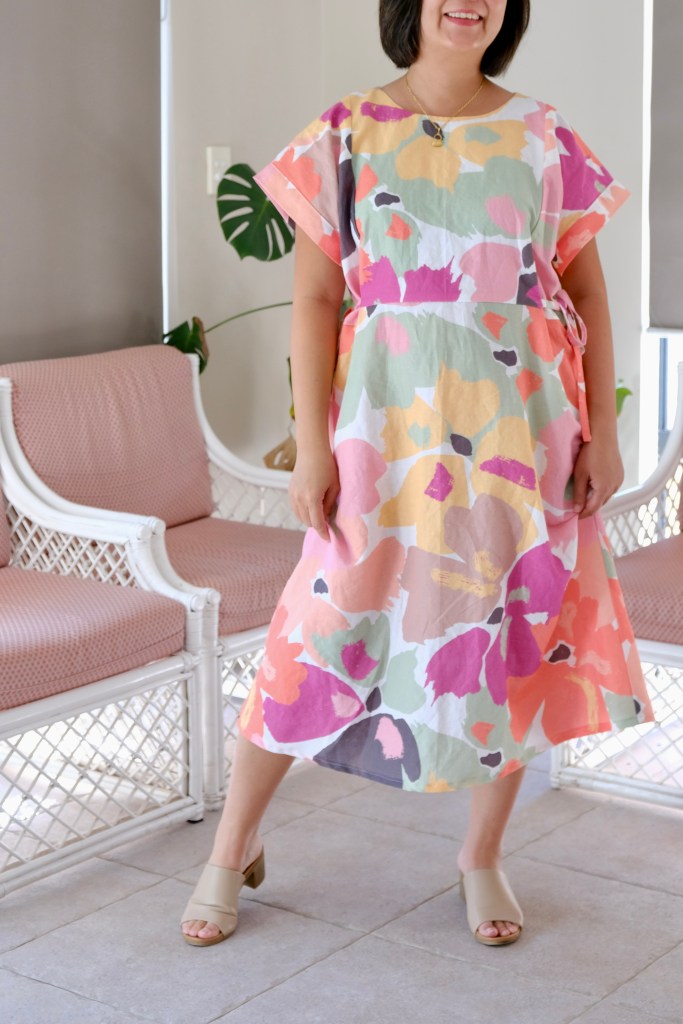
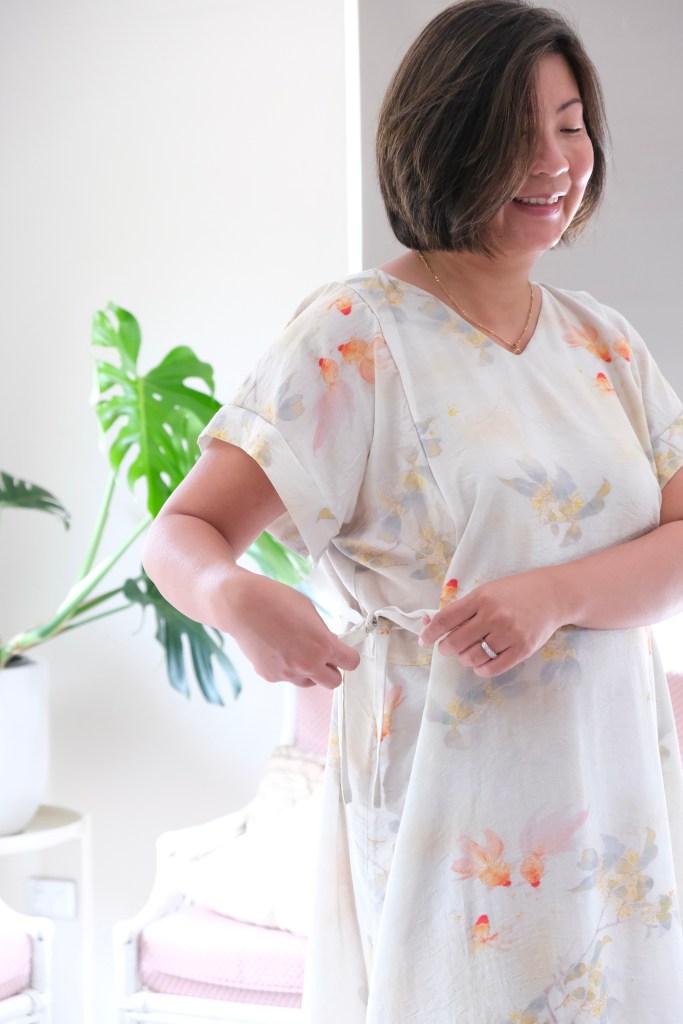
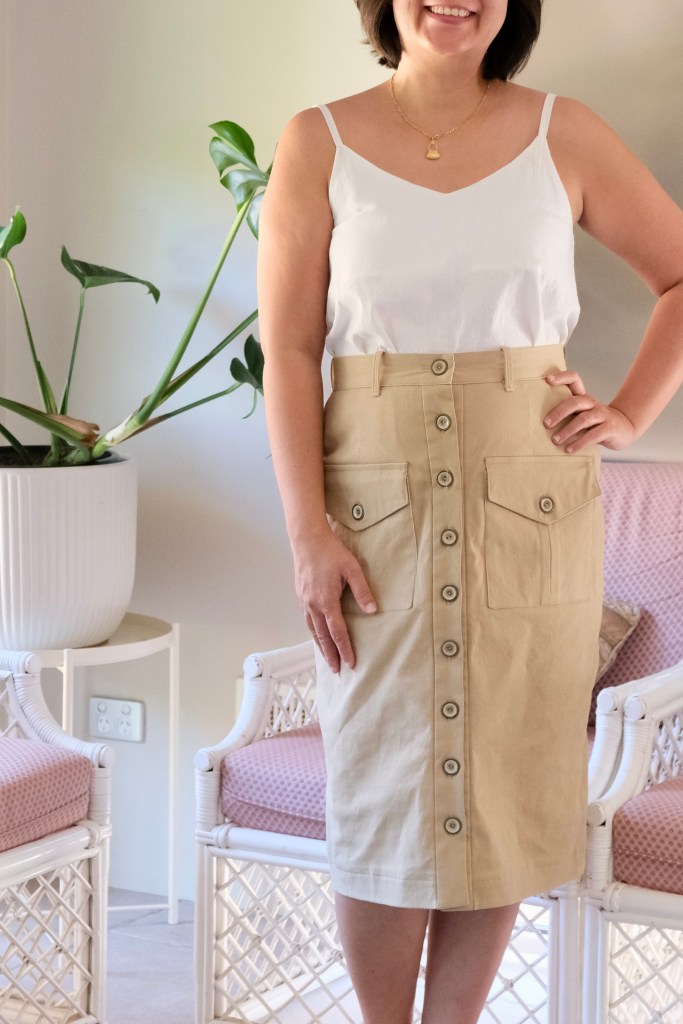
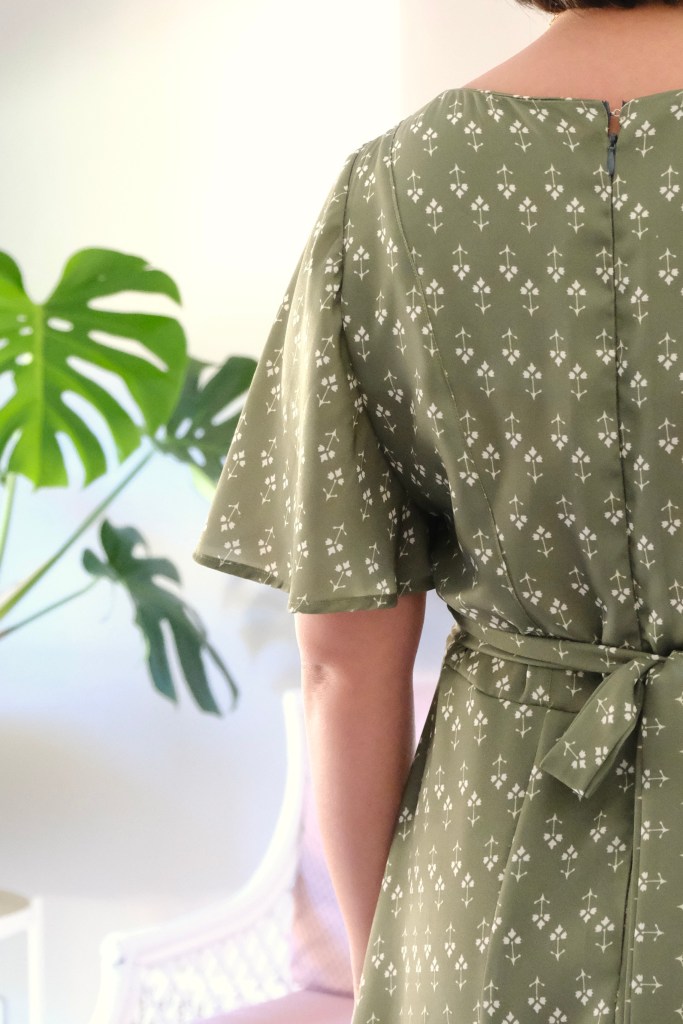
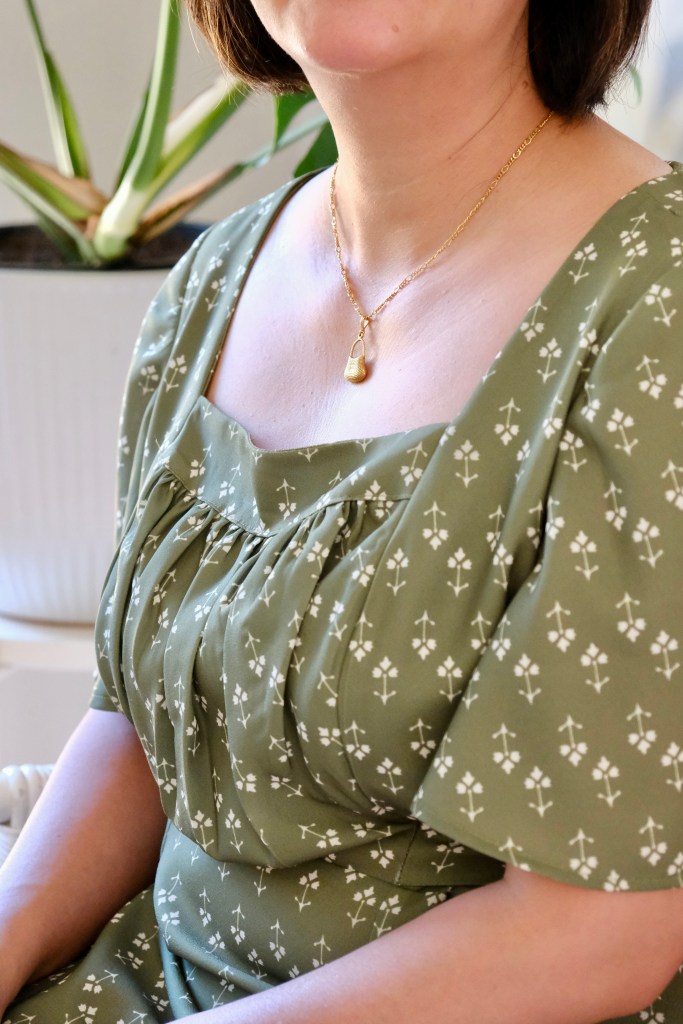
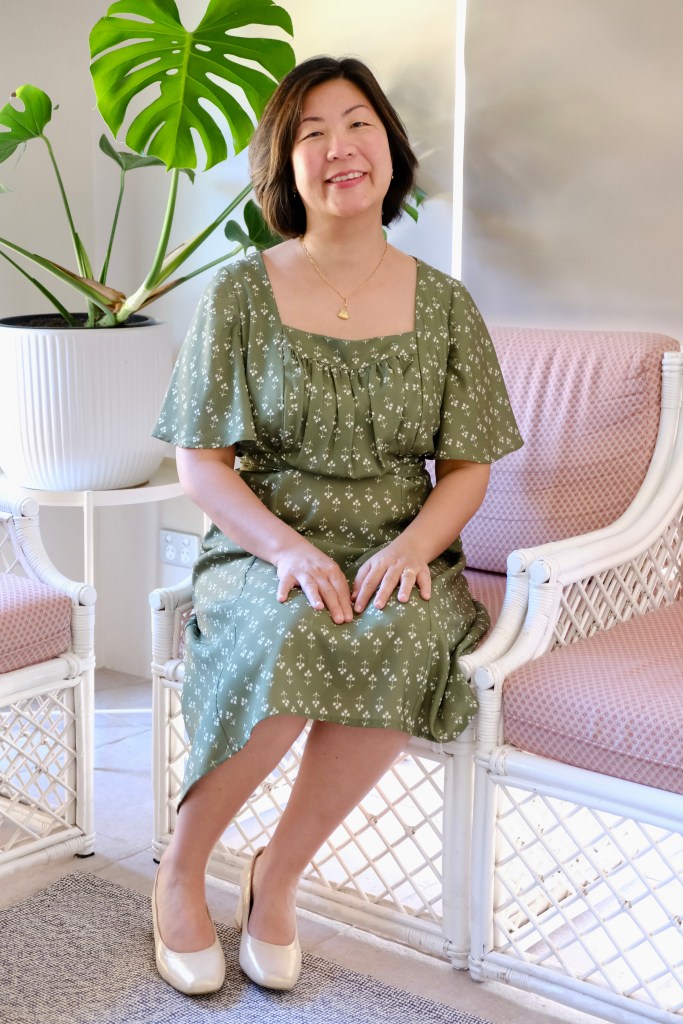
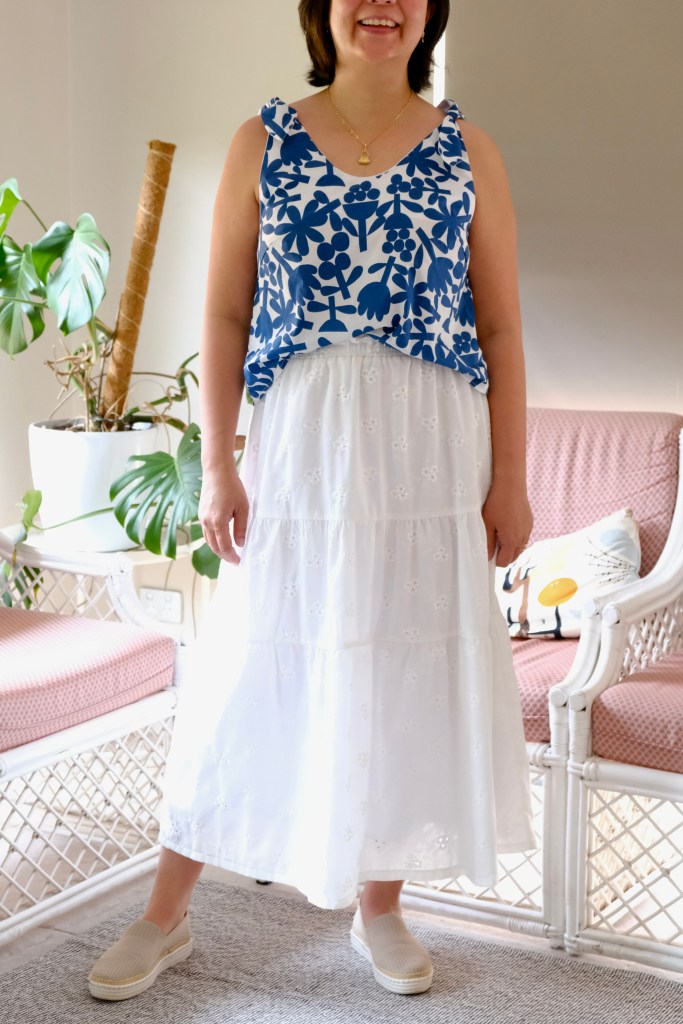
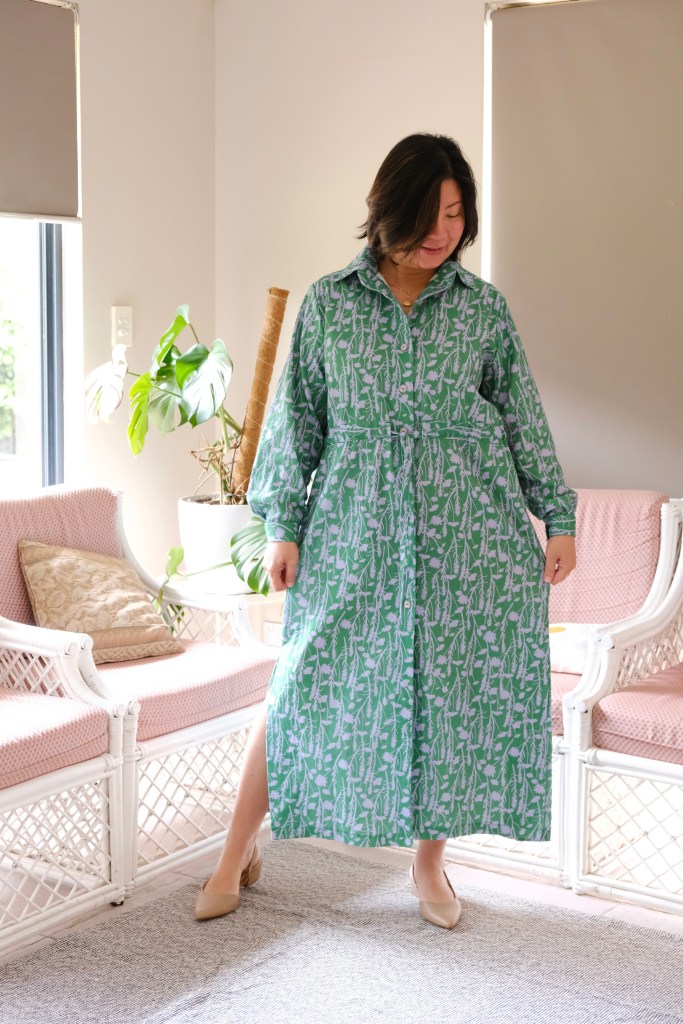
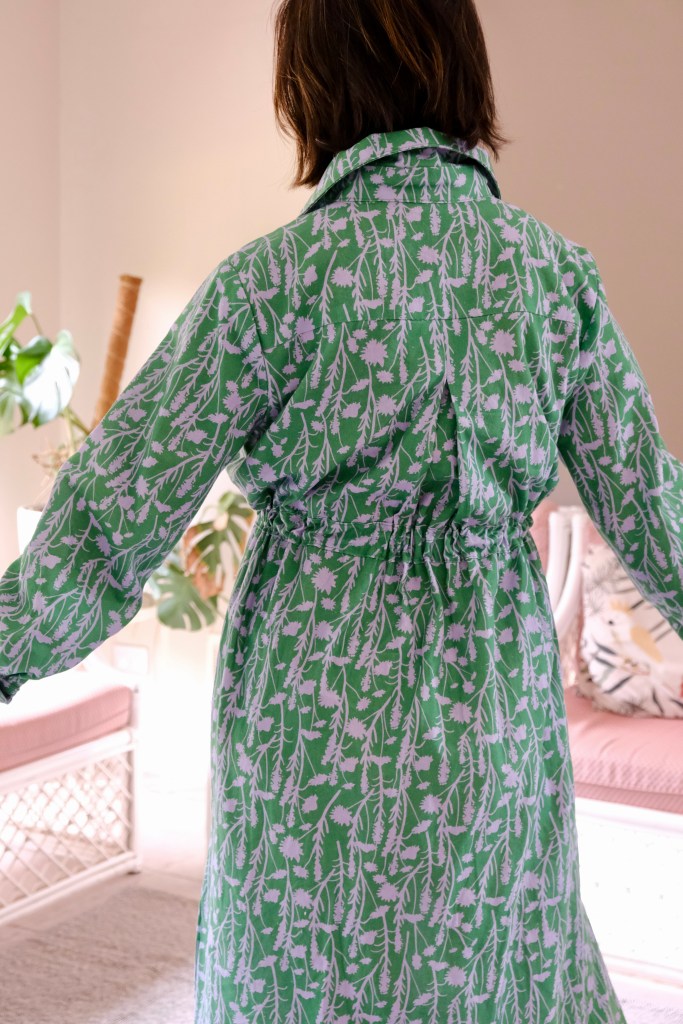
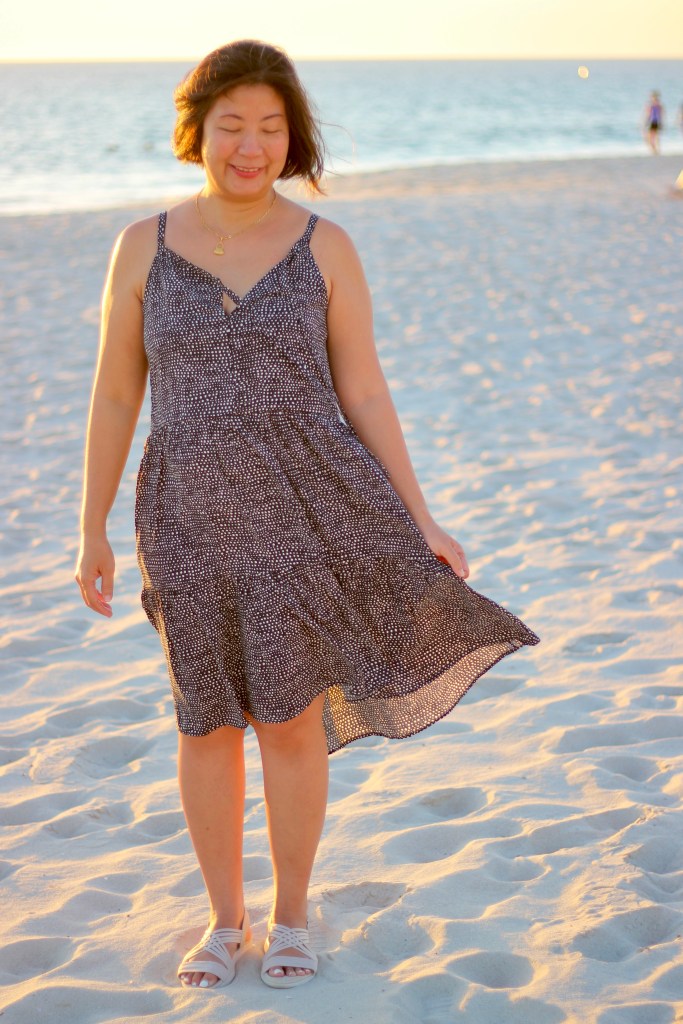
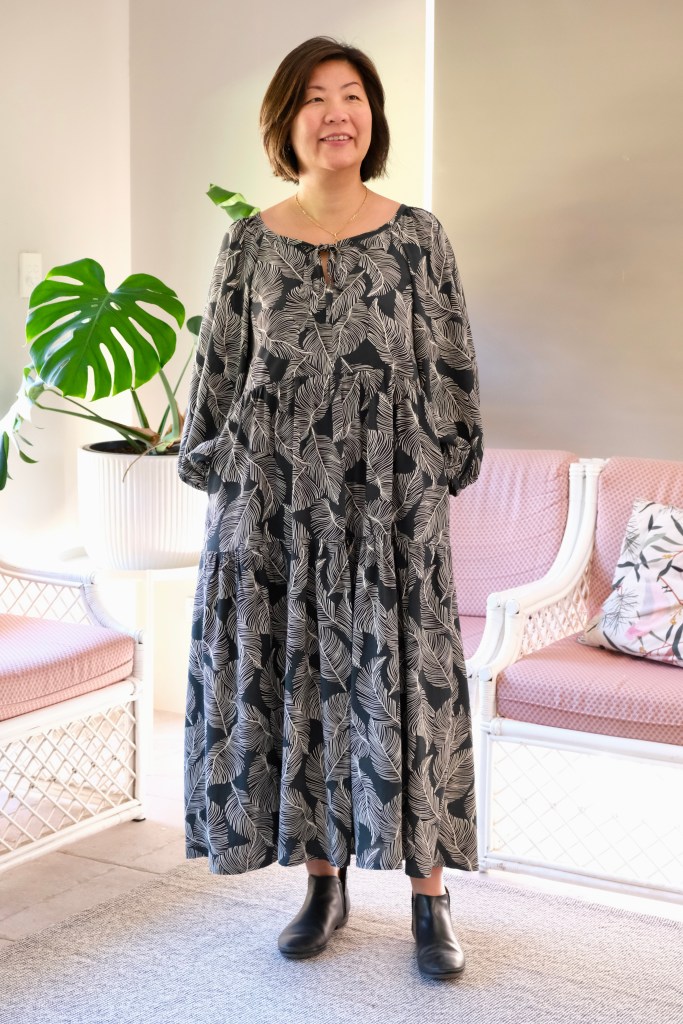
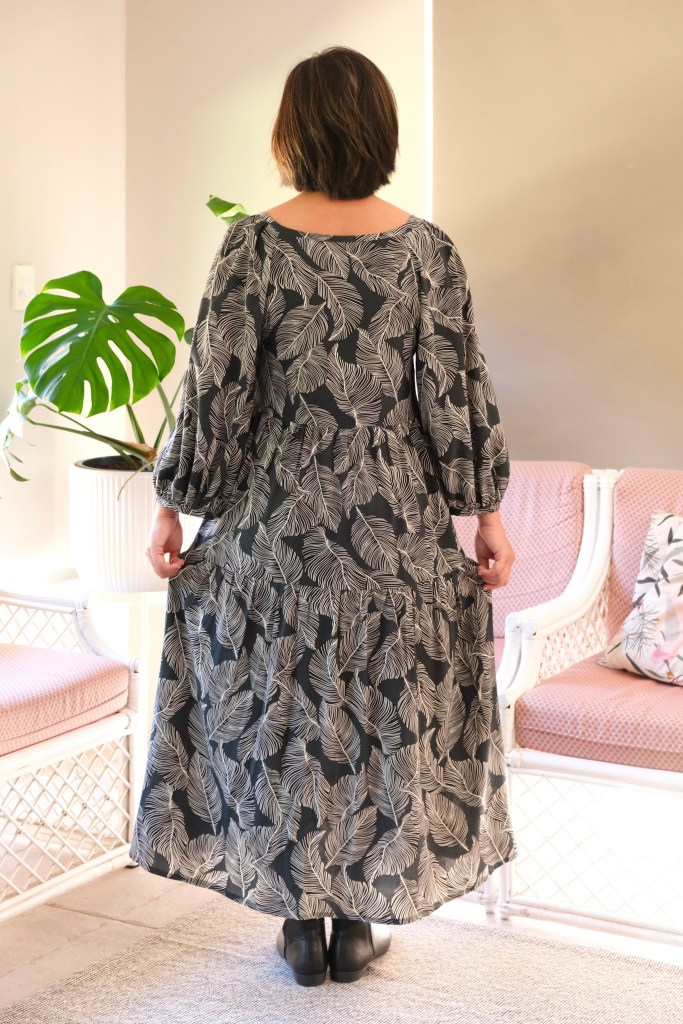
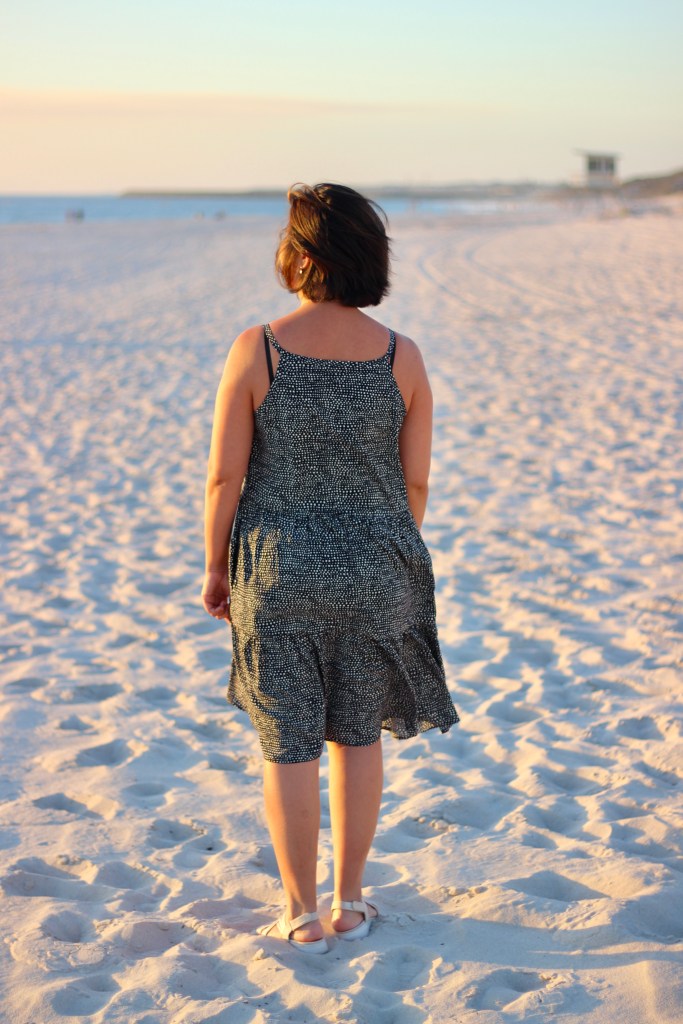
The Arcadia Dress is a versatile pattern that comes as a top and a dress. It can be sewn as a sleeveless or long-sleeved tiered dress with a front tie on a lined split V bodice. I made two versions, a sleeveless short version and a long-sleeved maxi version. I love the relaxed vibe of the pattern and it’s such a versatile pattern.

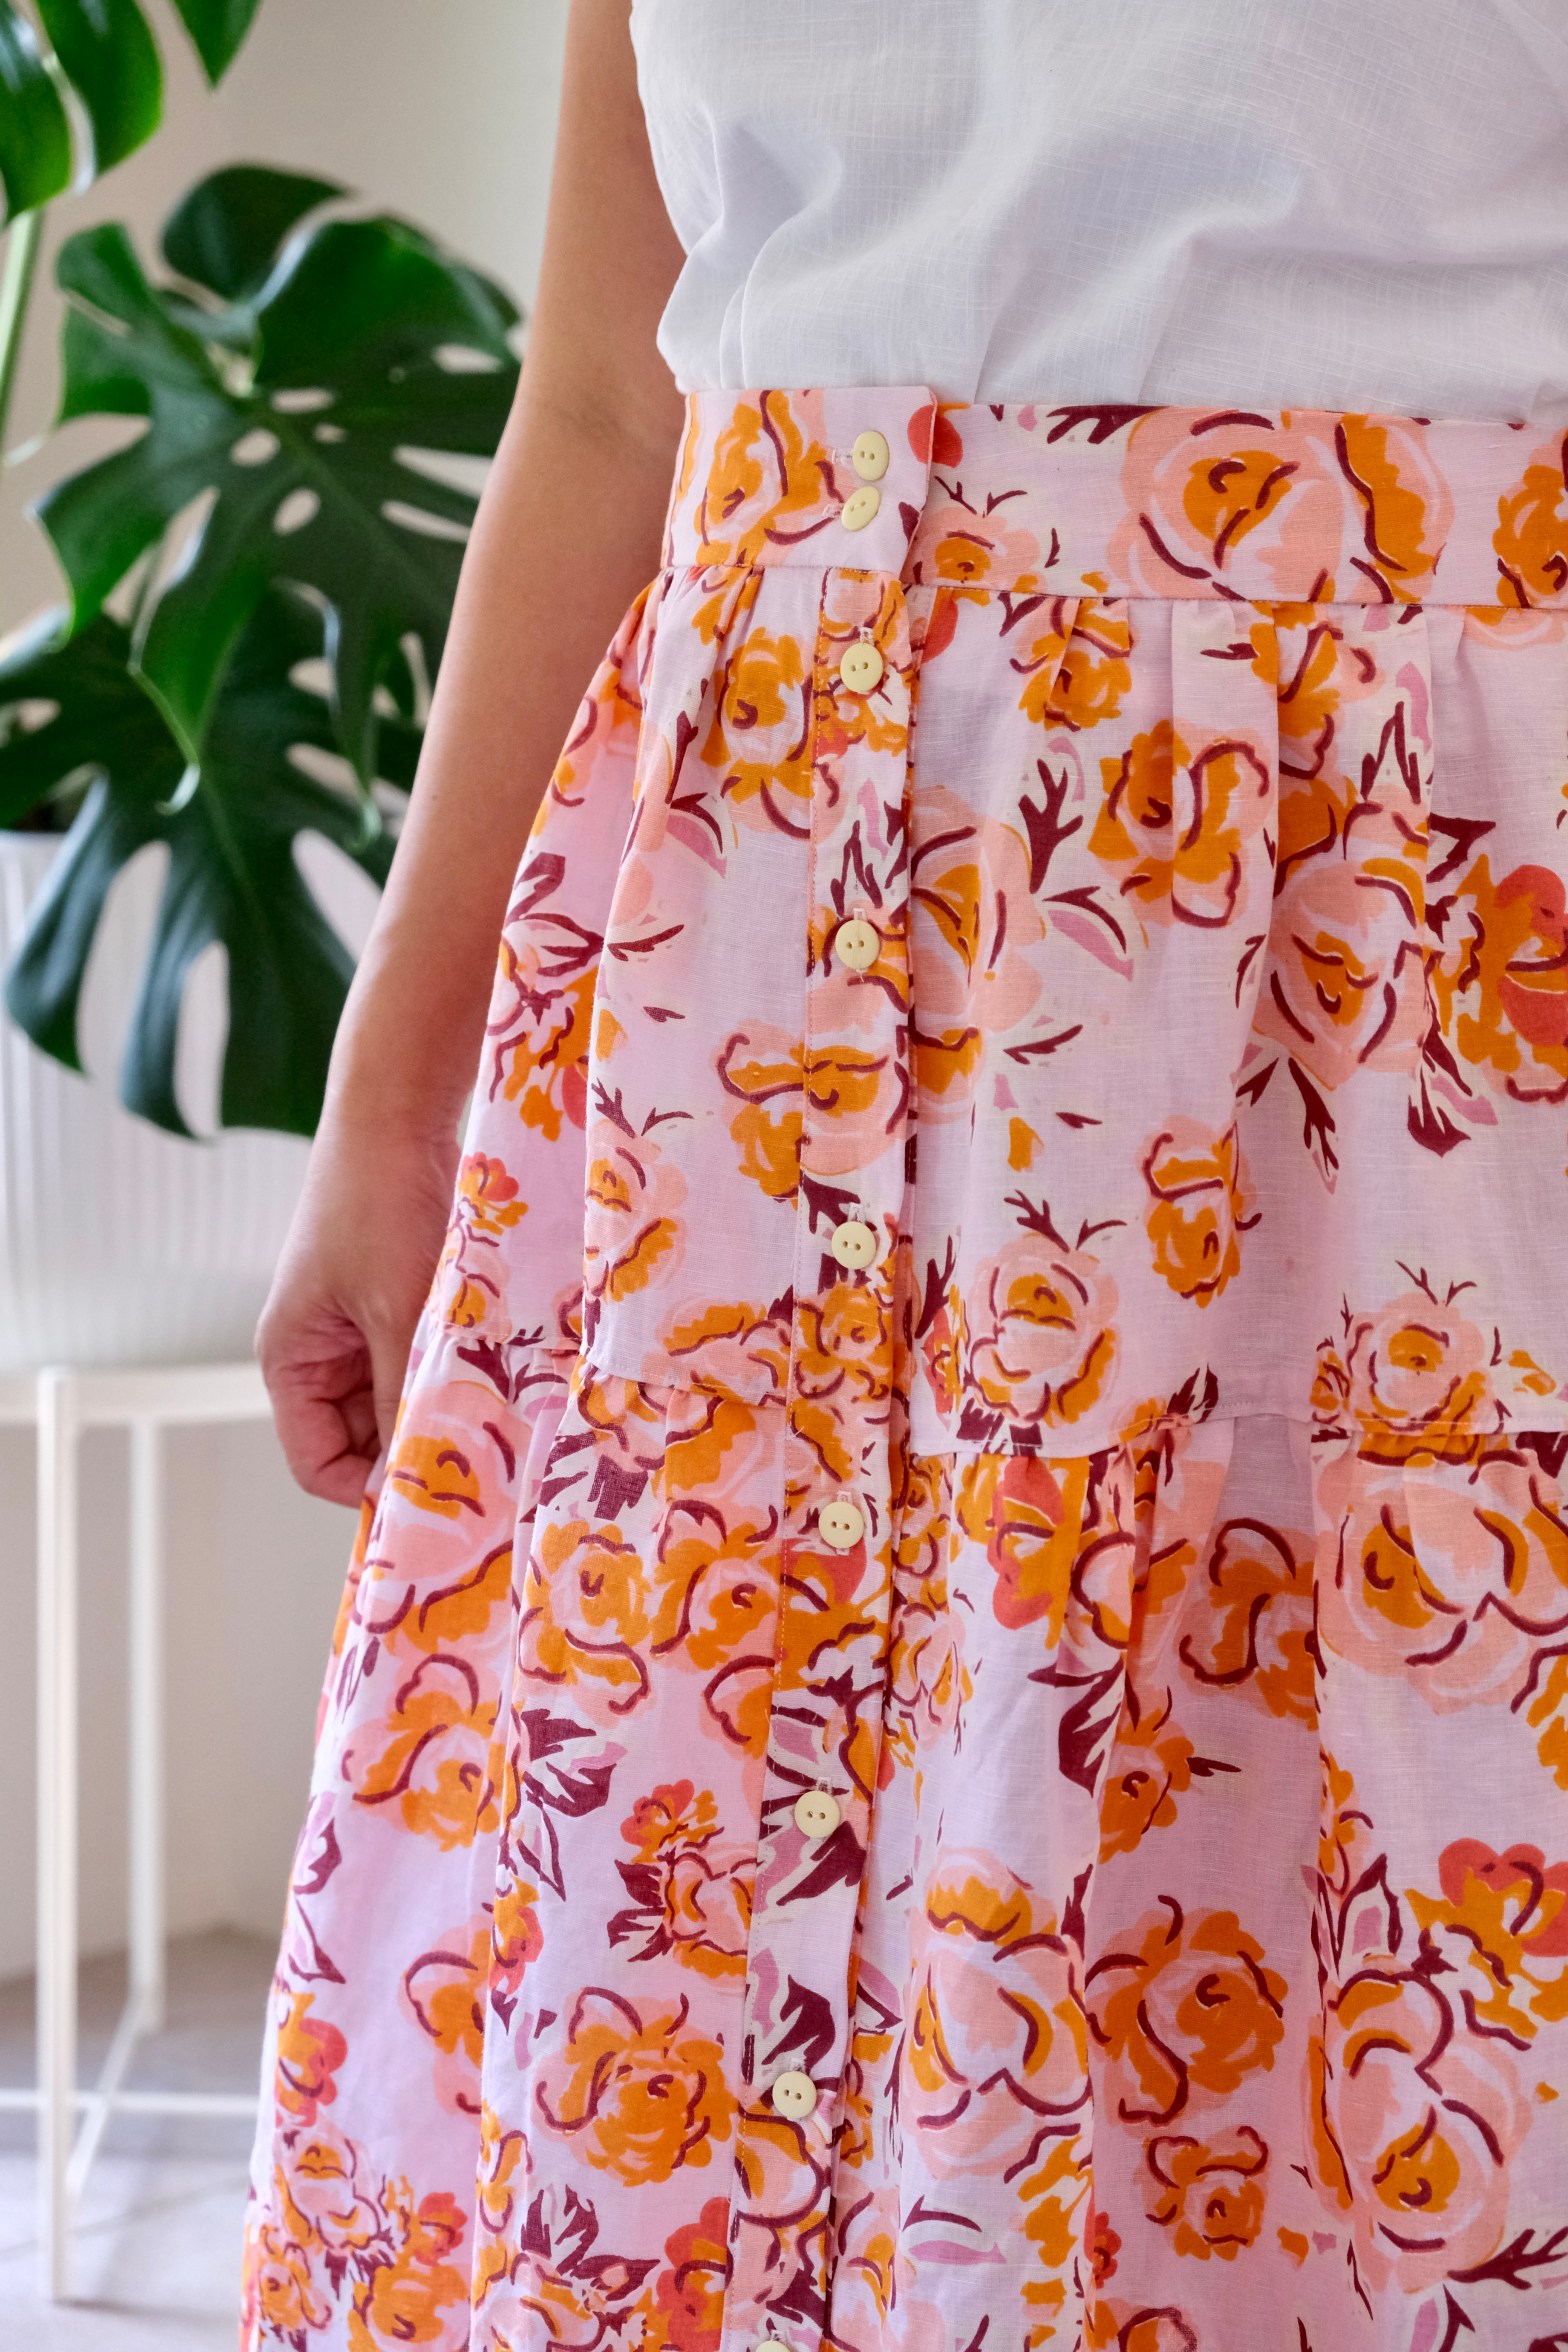
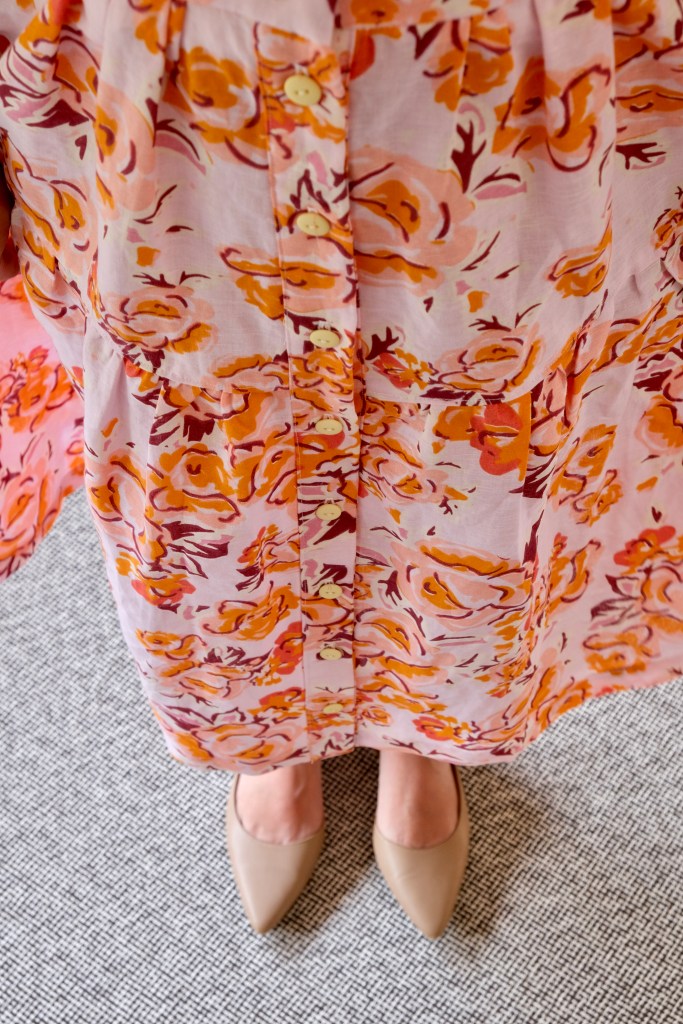
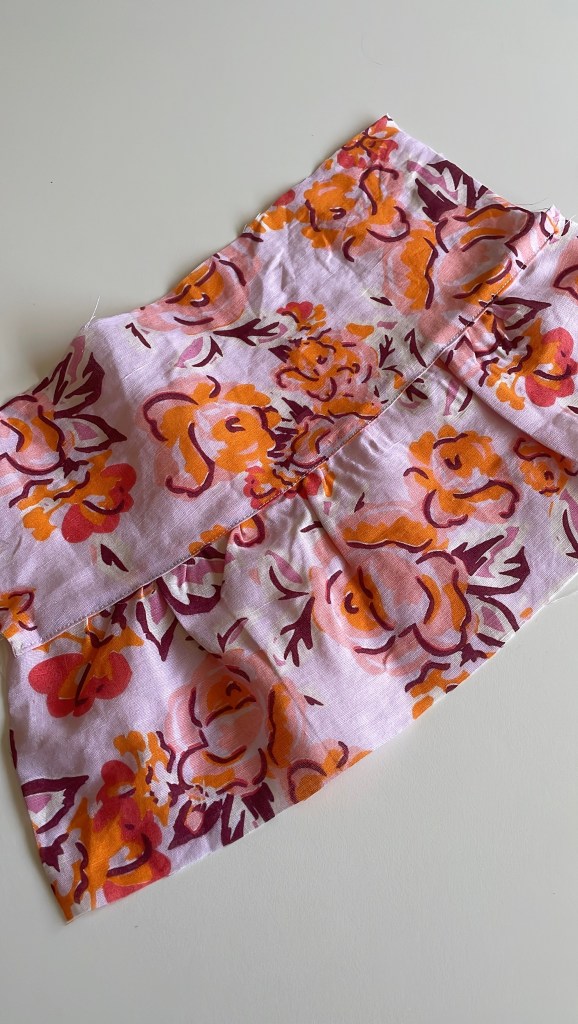
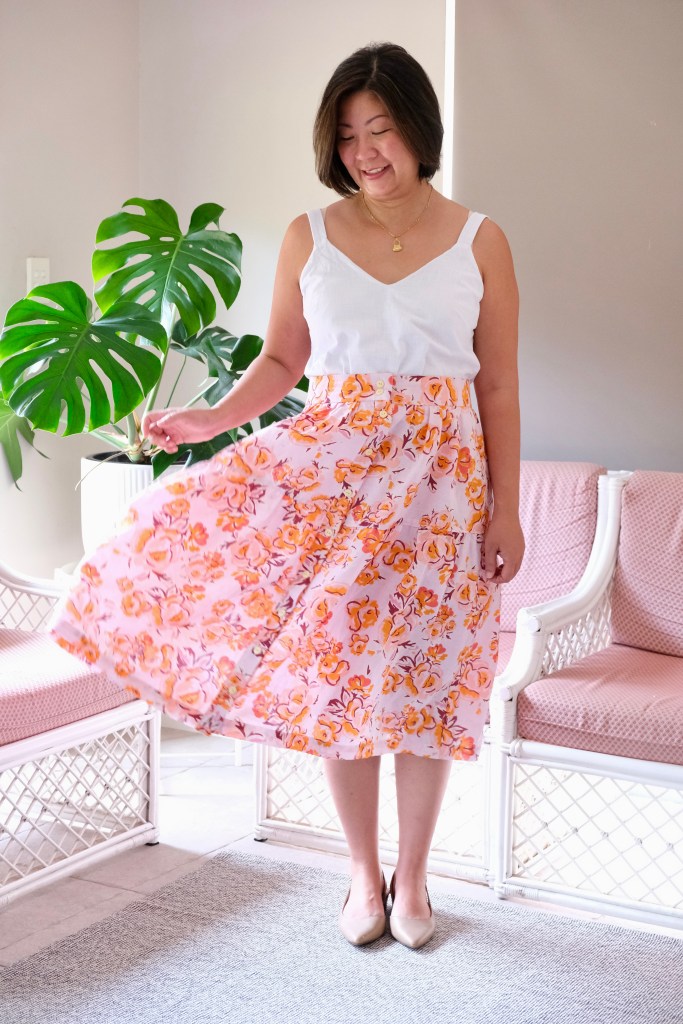
I sometimes find tiered dresses to be very oversized and worry about swimming in volumes of fabric, but the Arcadia Dress is sized to fit in a flattering way. My measurements of 38-inch bust, 33-inch waist and 40-inch hips fit into the size 12 and I found the pattern true to size. No modifications were made except for my maxi version. To achieve the maxi length, I doubled the width of the bottom tier.
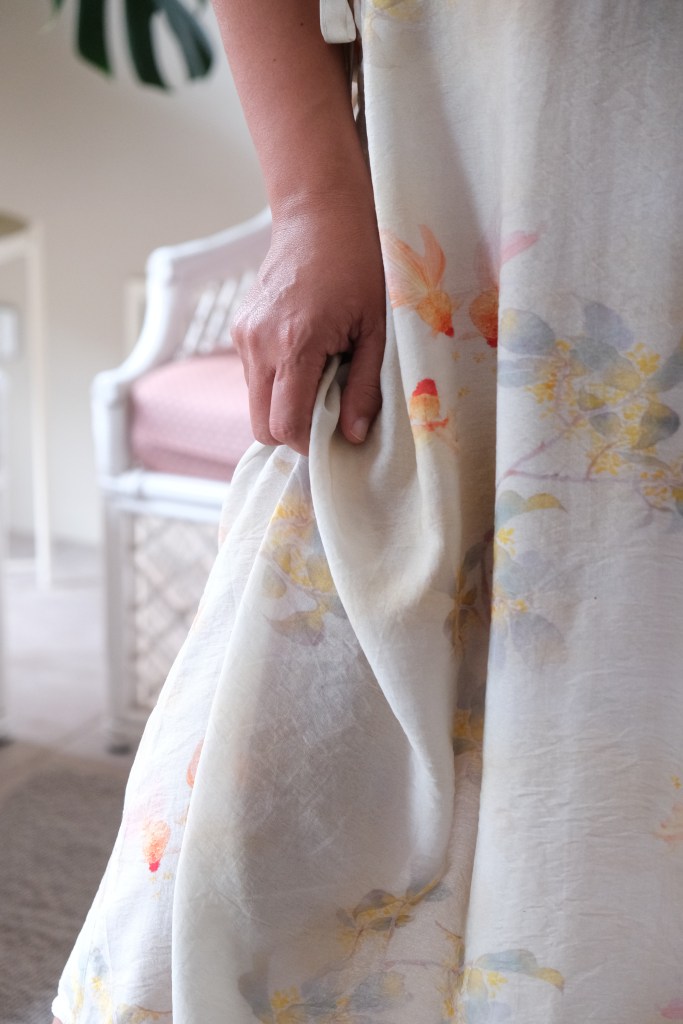
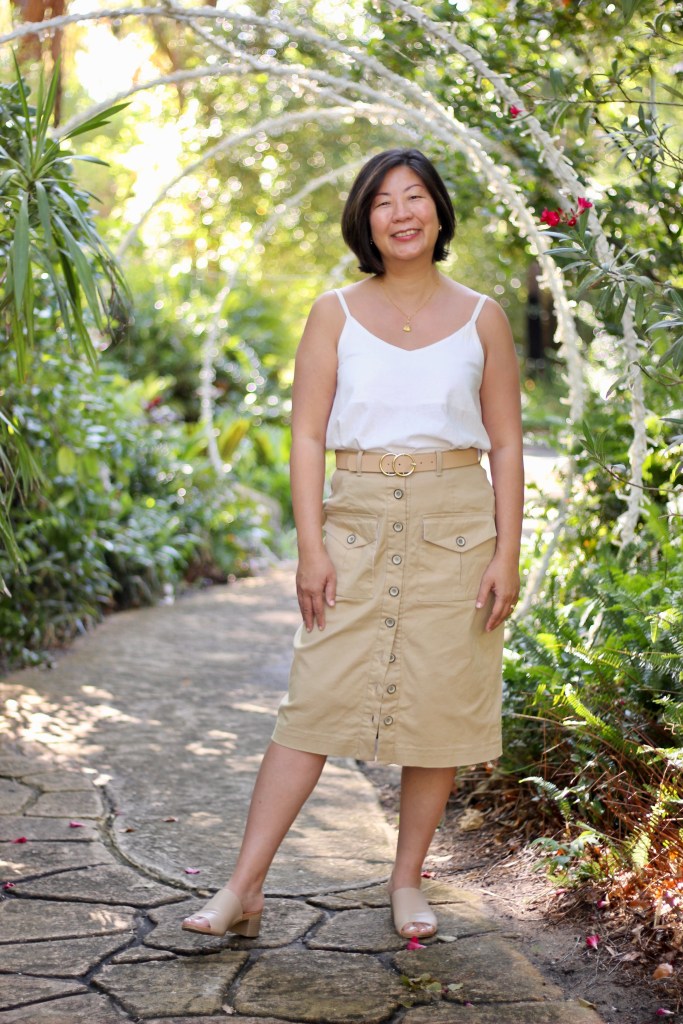
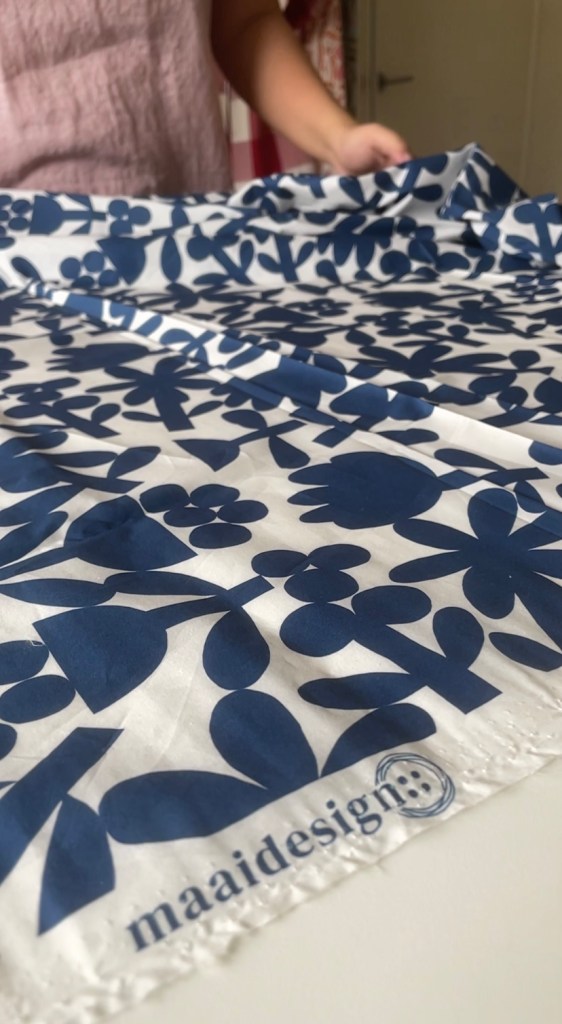
The sleeveless dress used about 2.5 meters of fabric and my maxi version required about 4 meters of fabric. Luckily, there was a good sale on rayon fabric at Spotlight! I decided on rayon because the pattern is made for woven fabrics, and I thought the patterns would be showcased best by something lightweight and billowy. I also generally find rayon to be so comfortable to wear in the Australian climate. I think my sleeveless version will get a lot of wear in summer, but my maxi dress will get worn all year round.

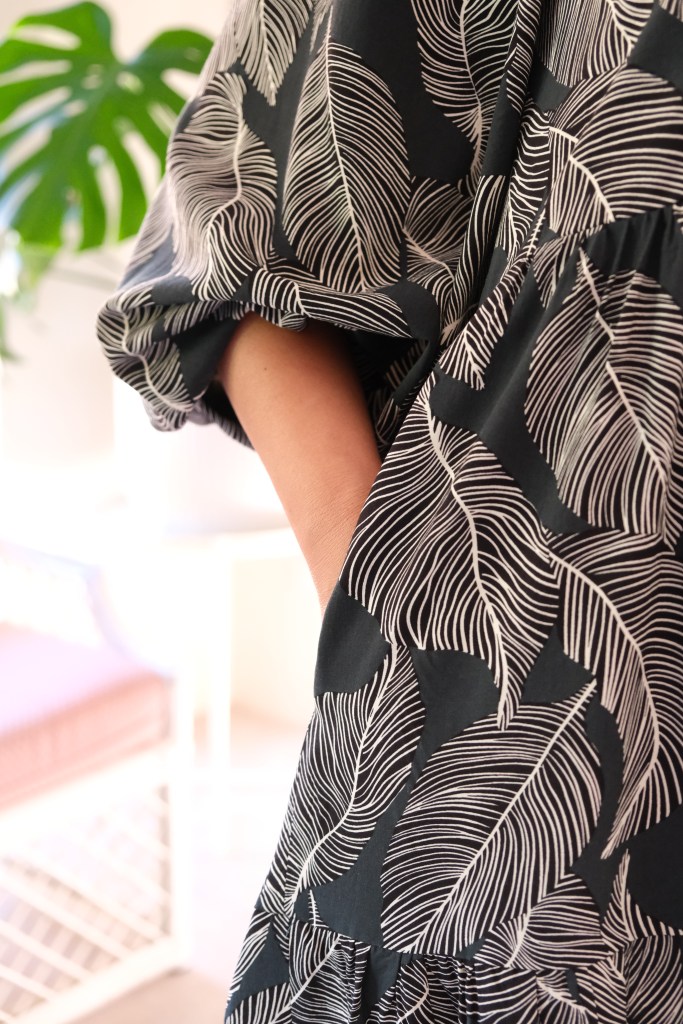

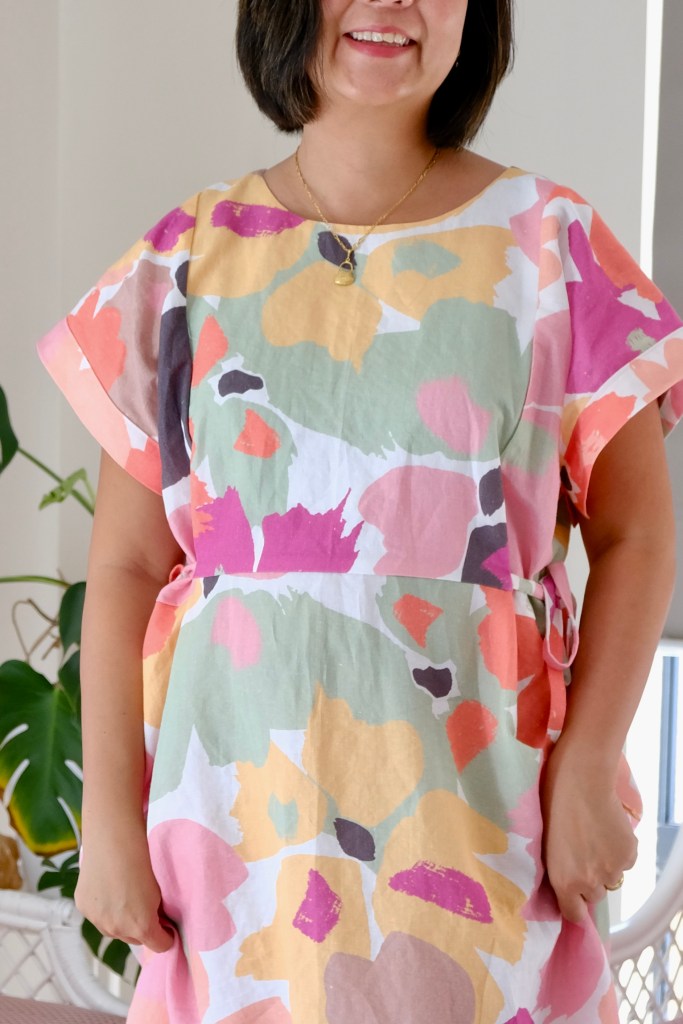
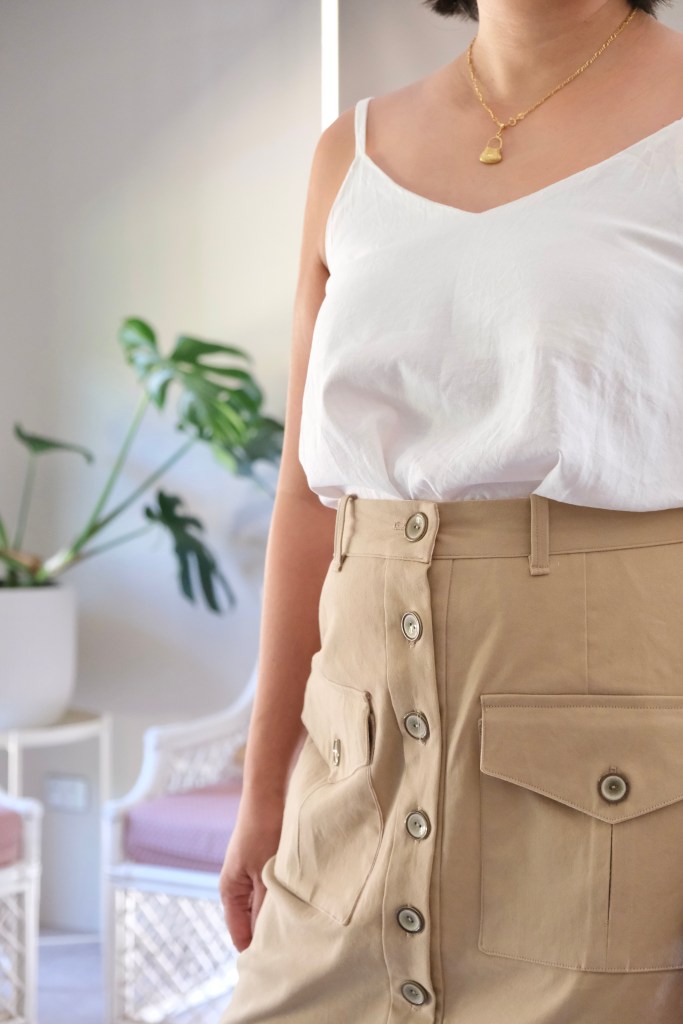
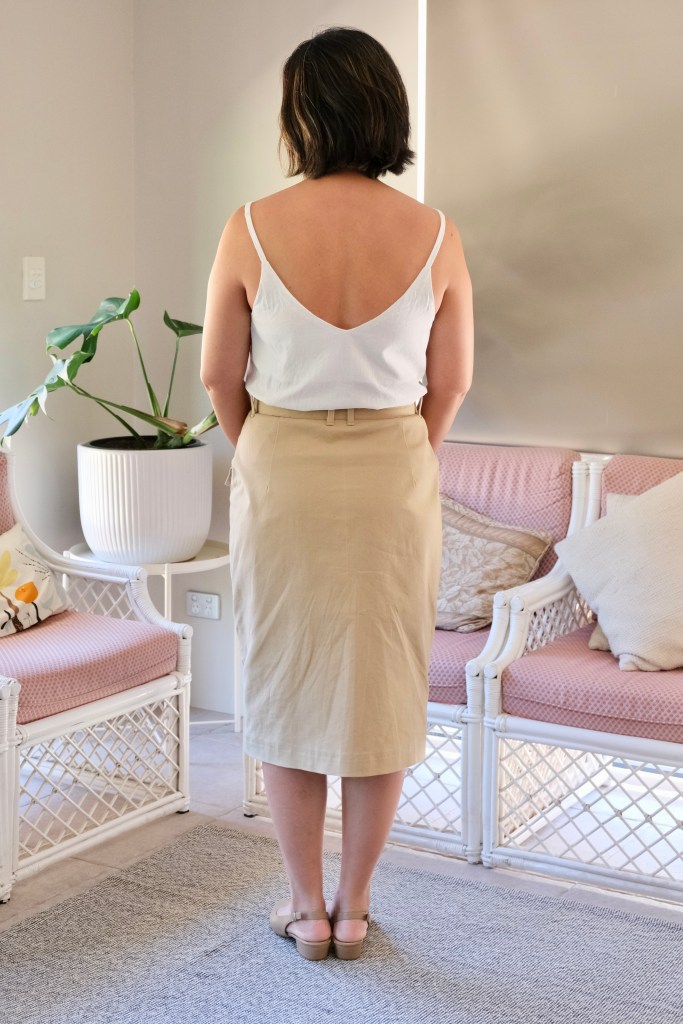
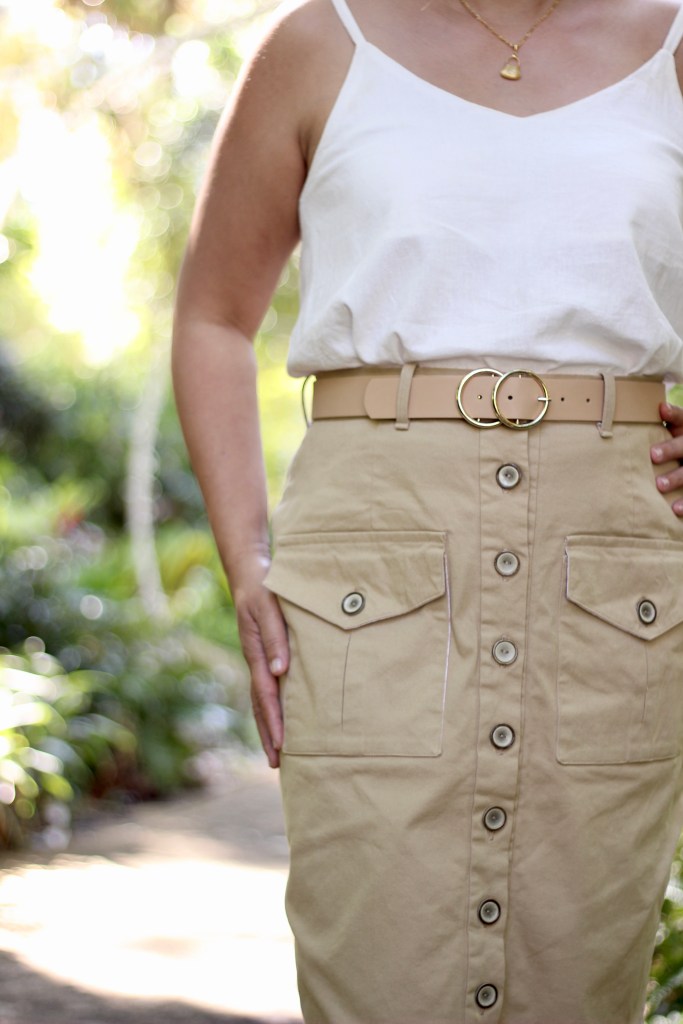
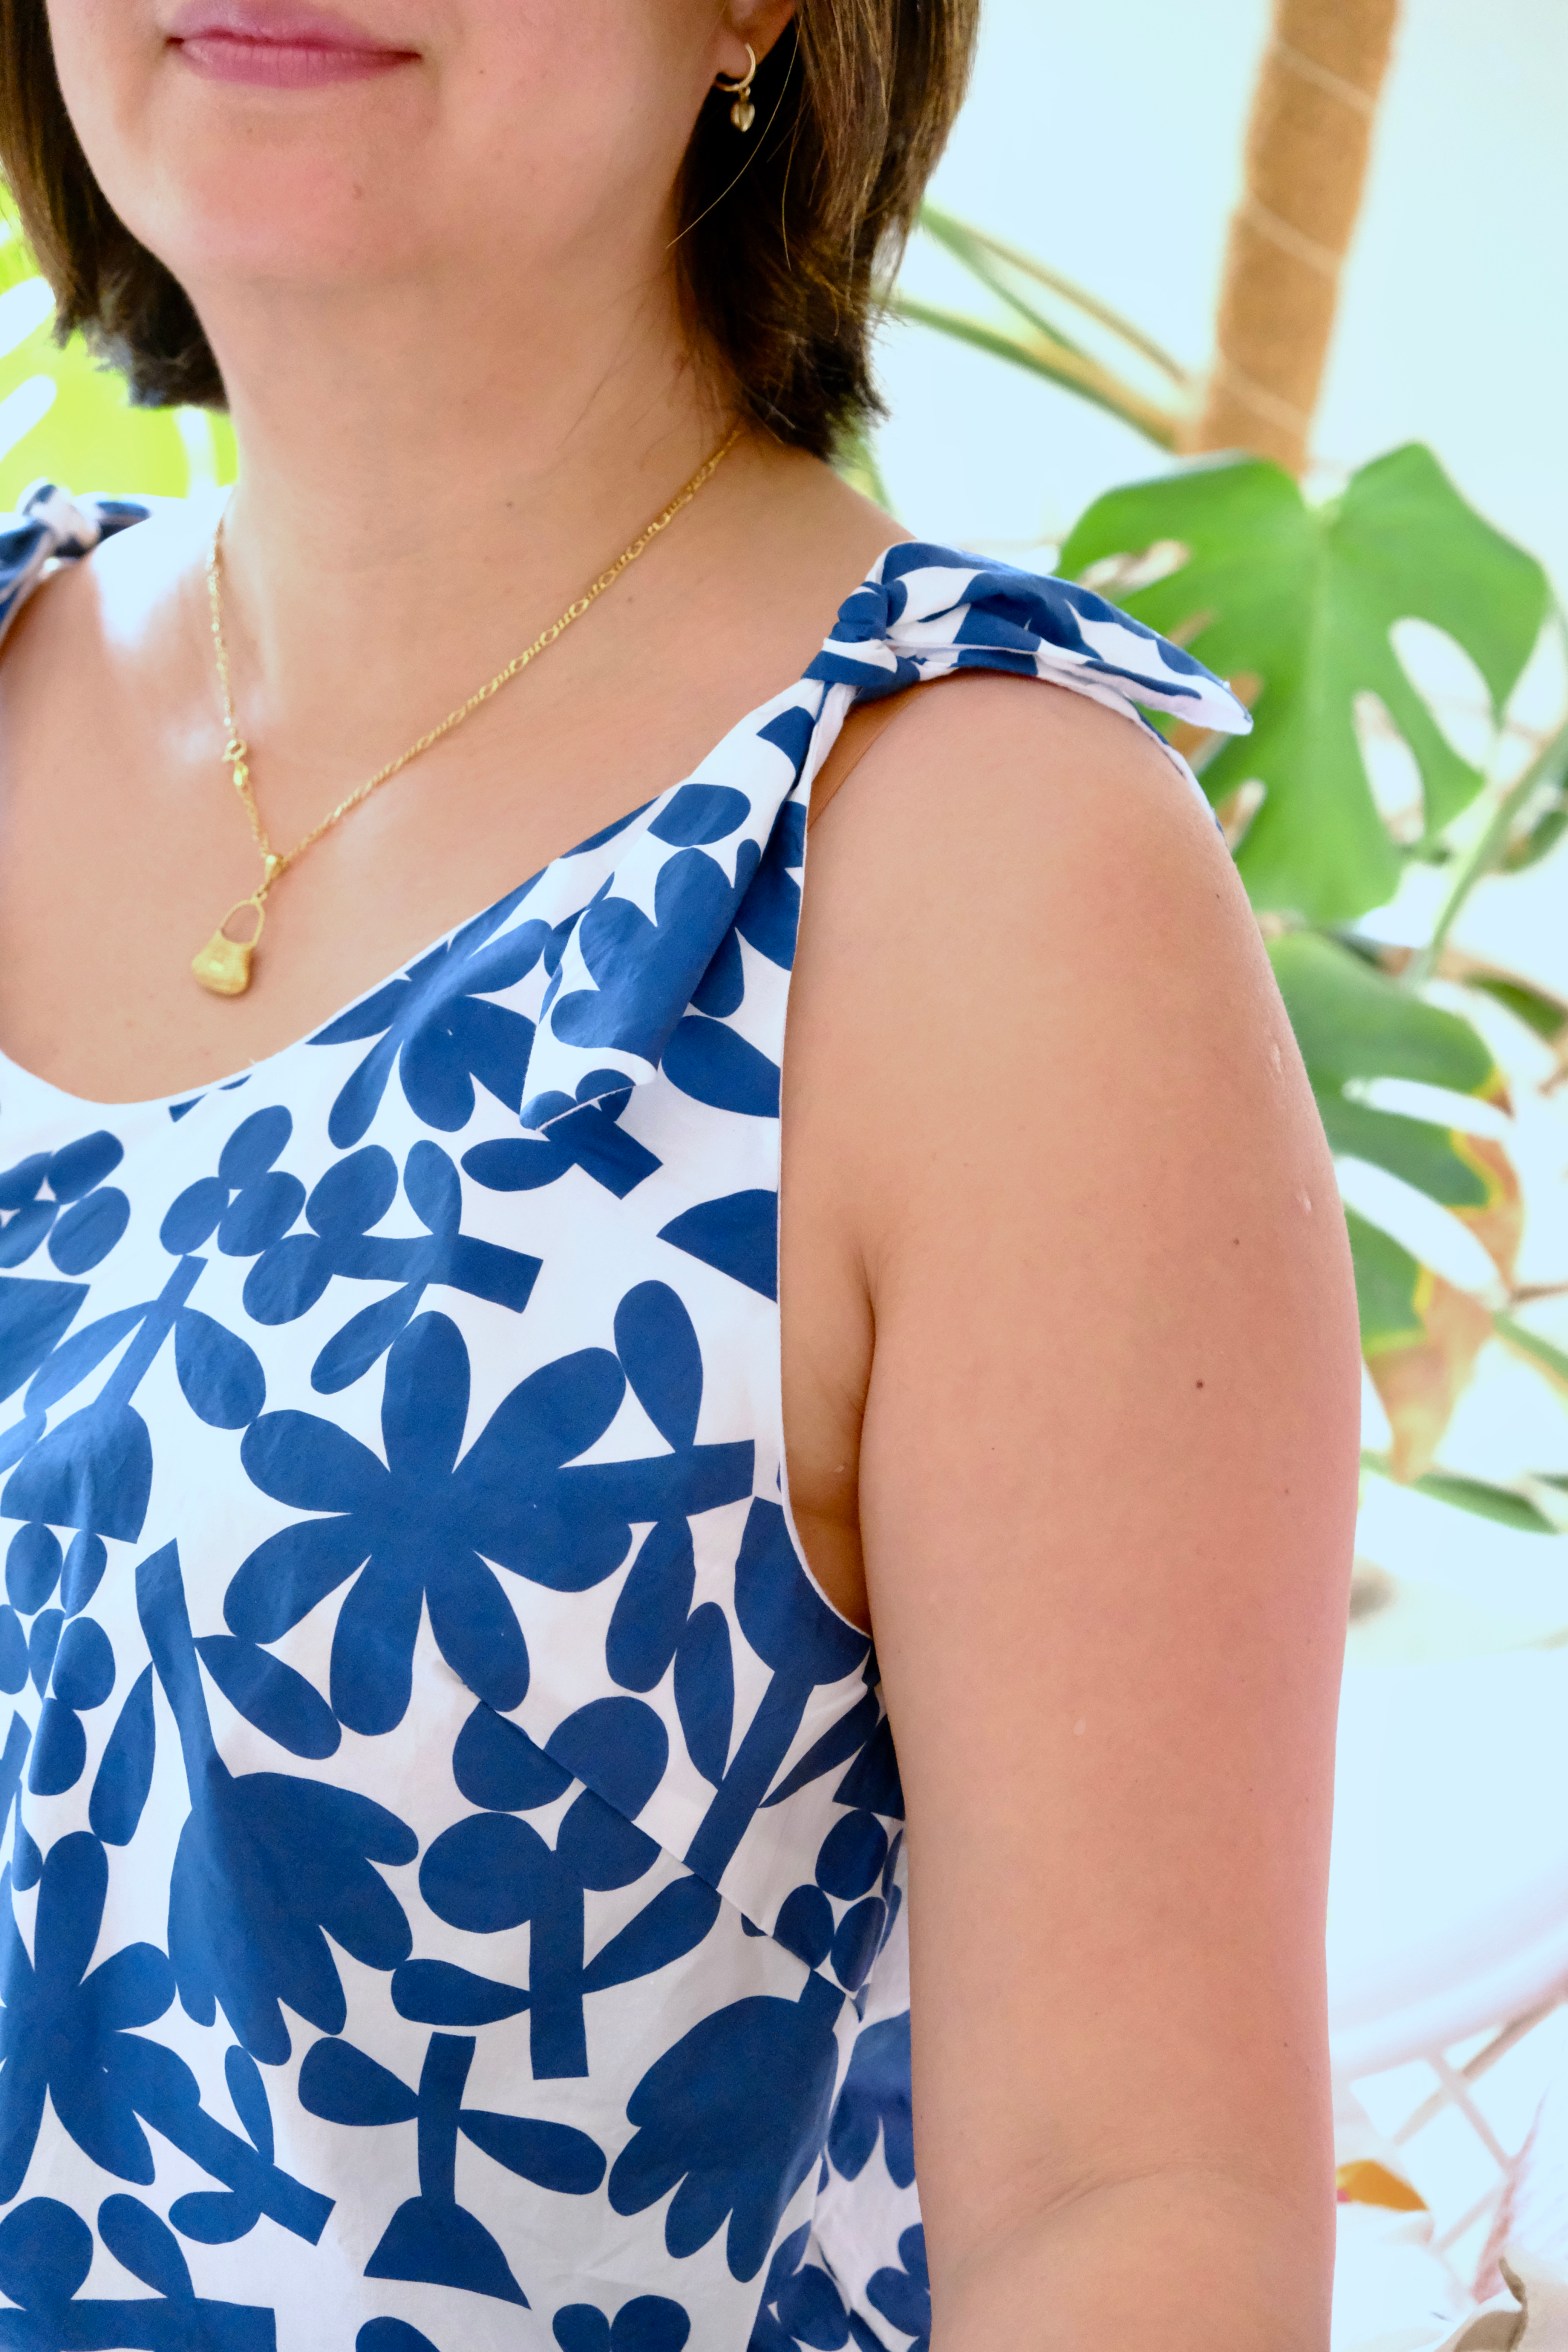
There are so many positives of the pattern. I’m often pulling up straps with my sloping shoulders so I’m always trying to modify straps to sit on my shoulders. Well, I think I’ve found the perfect strap design because I haven’t had to worry about that with my Arcadia Dress. My straps on the sleeveless version stay put because the straps join onto the neckline with a long length of bias binding, and they seem to sit perfectly without any chance or length for them to slip off the shoulder.


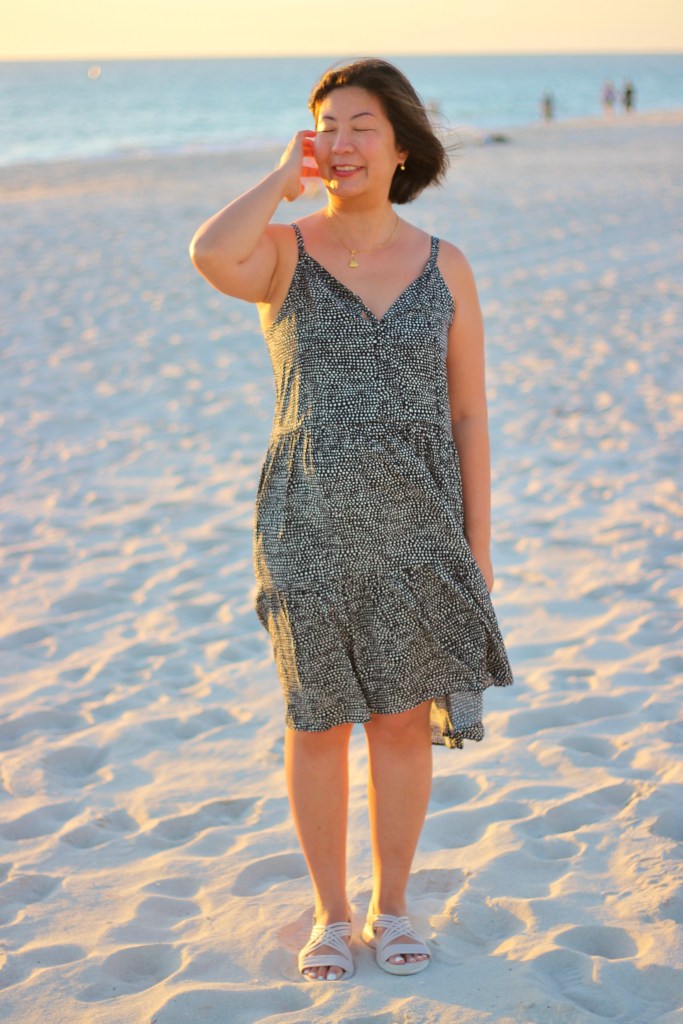
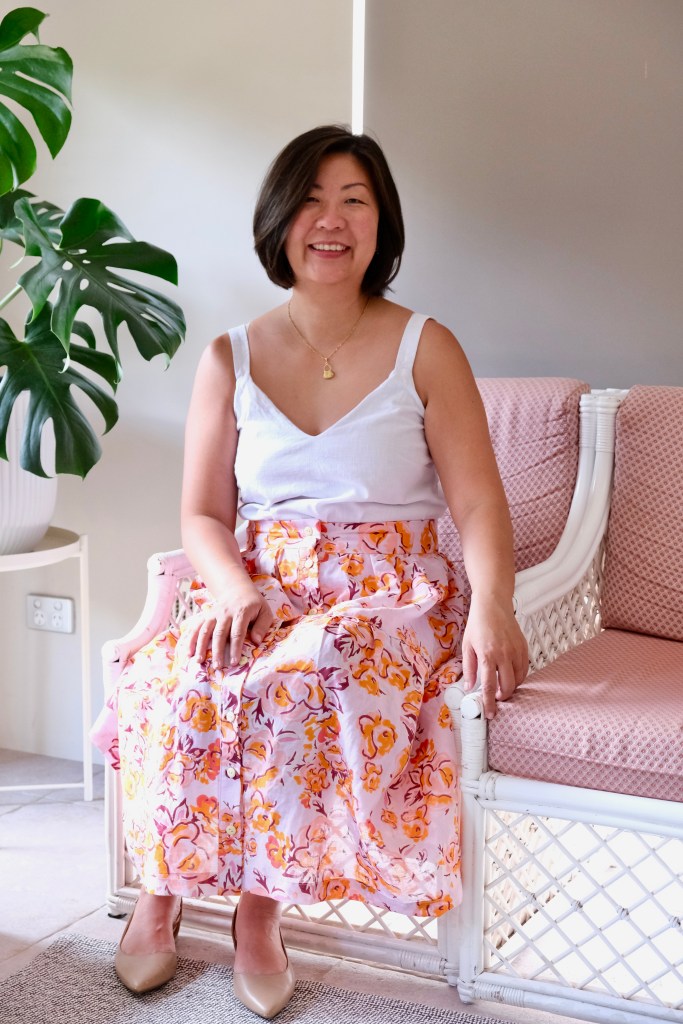
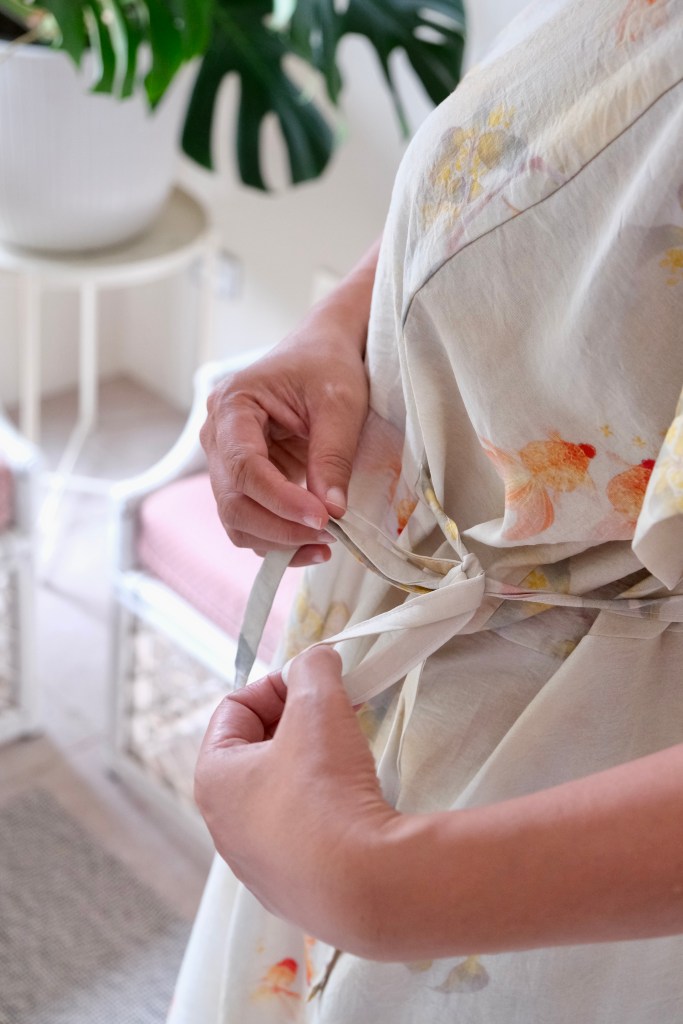
Another nice feature is the v-opening with the ties which eliminates need for zip or button instalments. It’s a great dress to slip over the head and go. The bodice is lined too which gives the dress a beautiful quality finish. It’s these little details that make sewing your own clothes so worthwhile.
I’ve loved seeing the other tester versions emerge and there’s been a few tops that have been made. I’d love to come back to this pattern in the future to make one. This will be added to my TNT (tried and true) patterns. Lindsey was such a pleasure to test for. It was nice help her bring this pattern to life.
Thanks for reading and happy sewing!
X Em