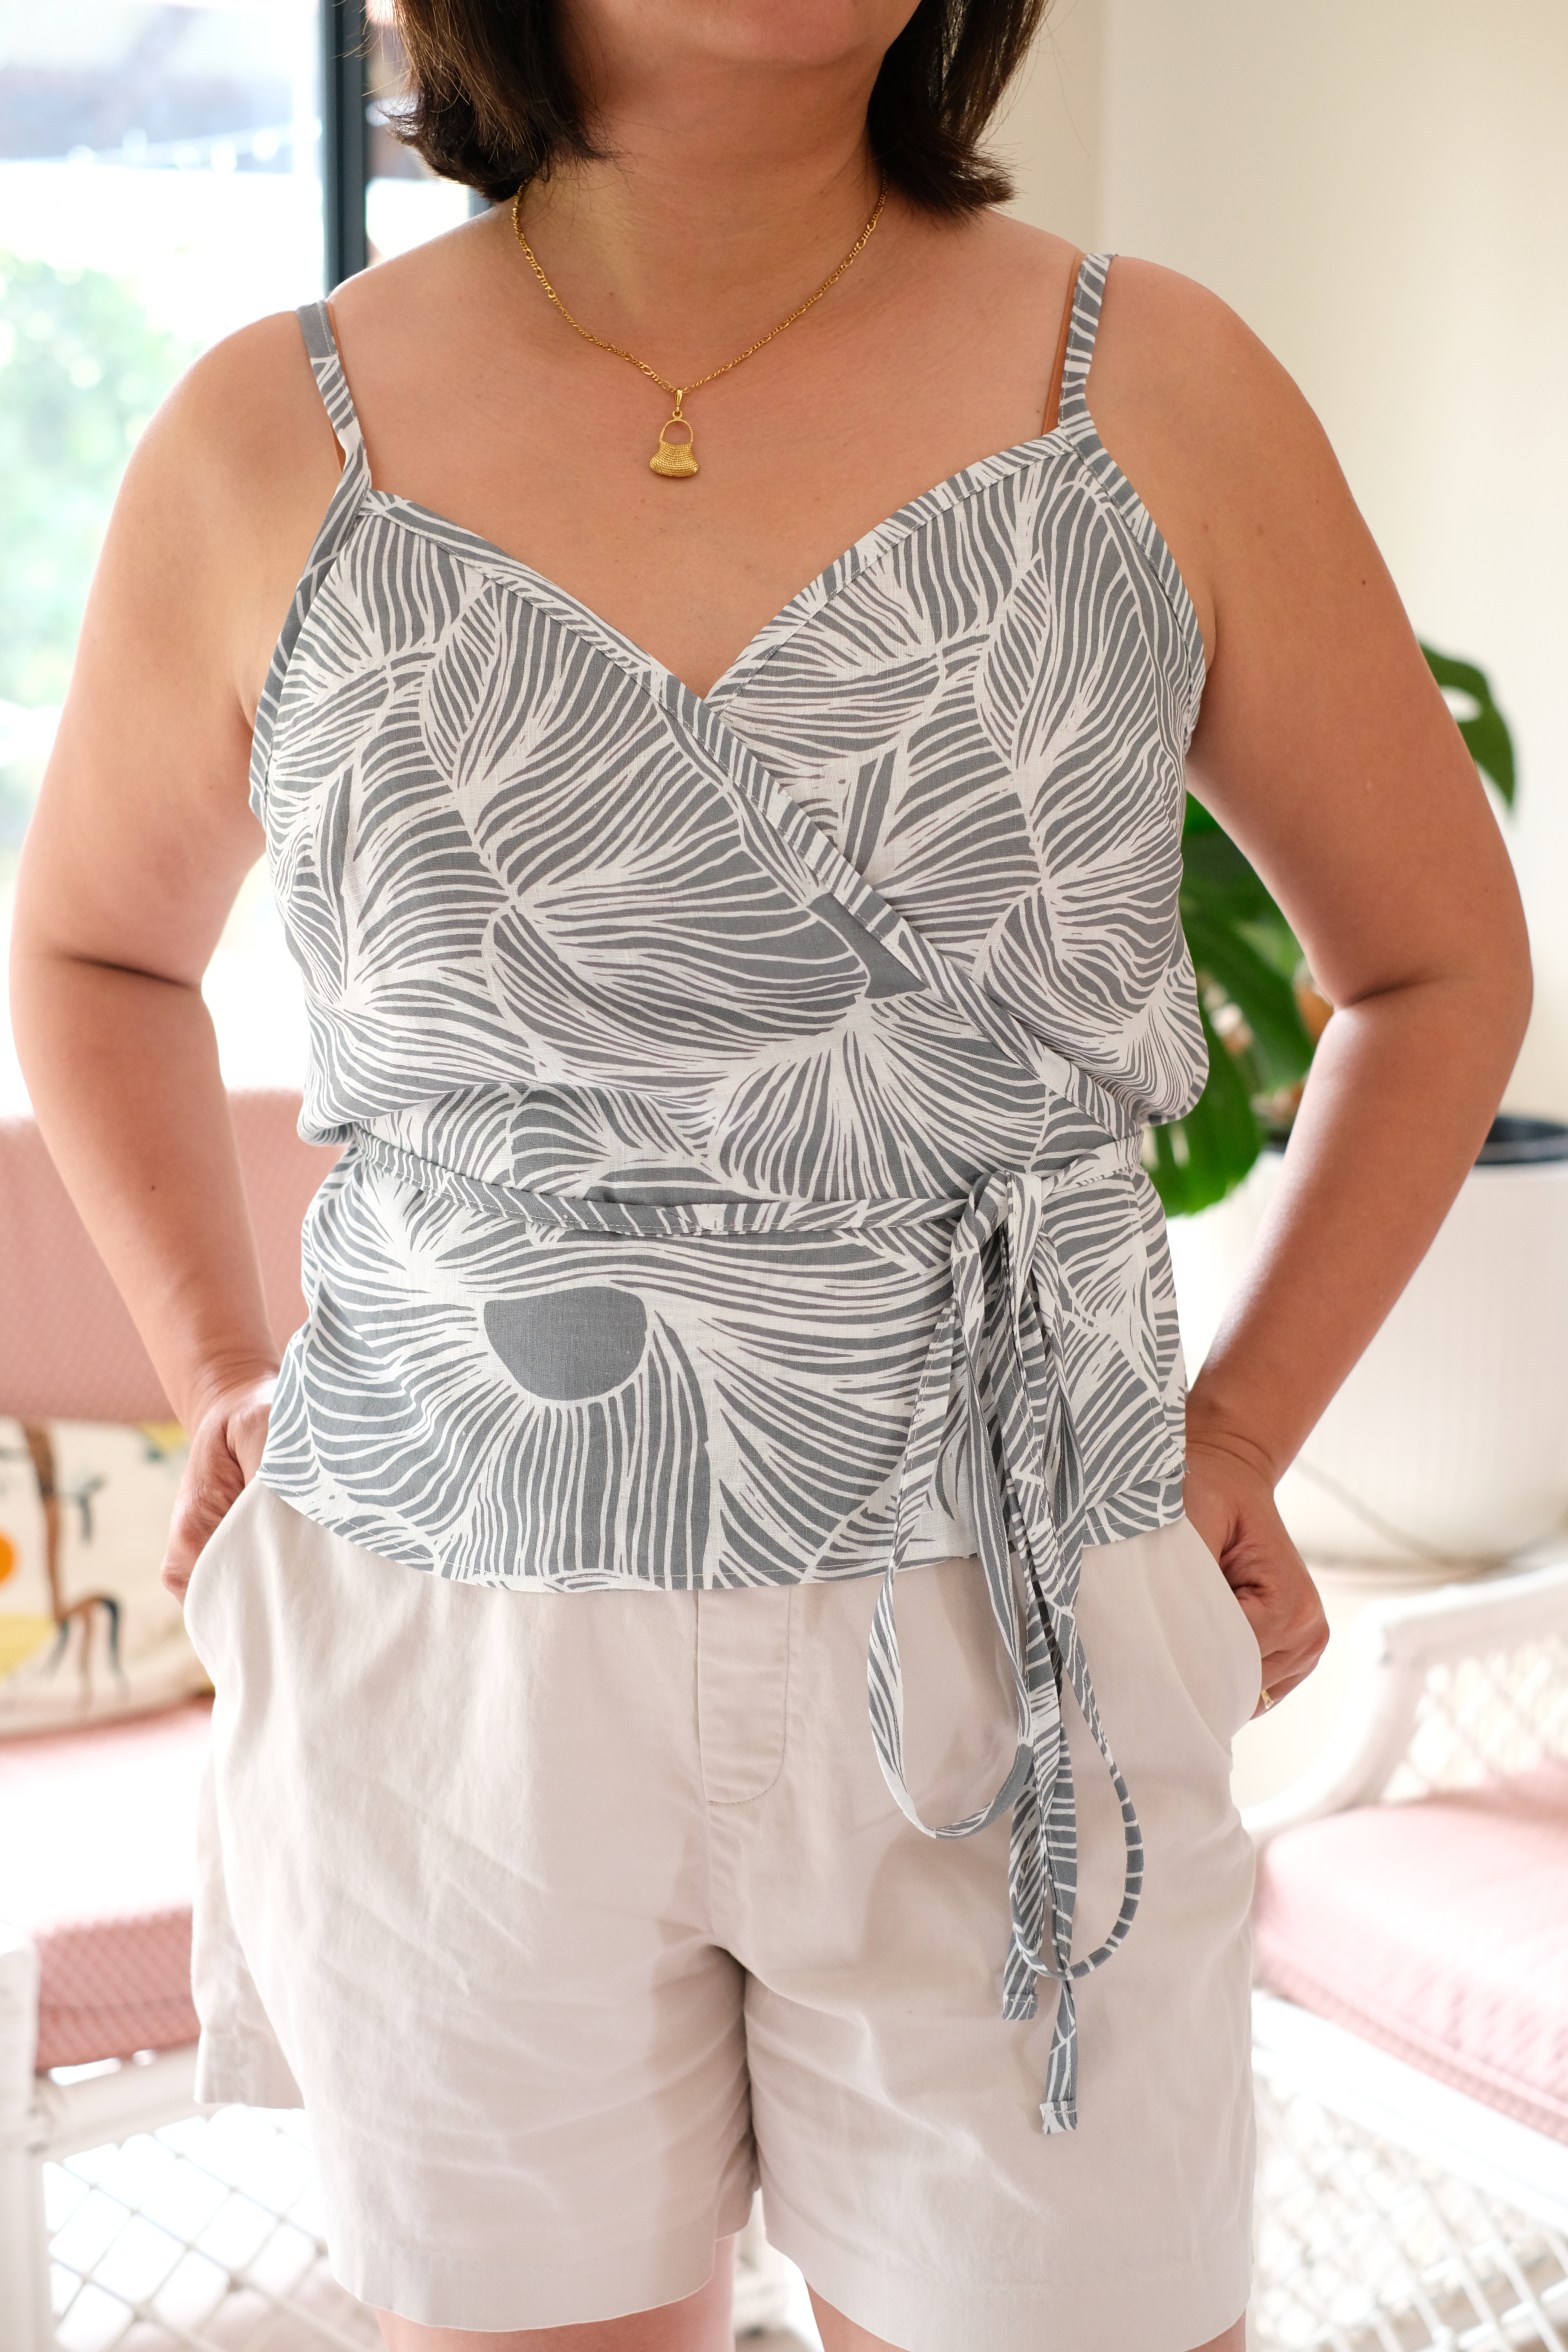
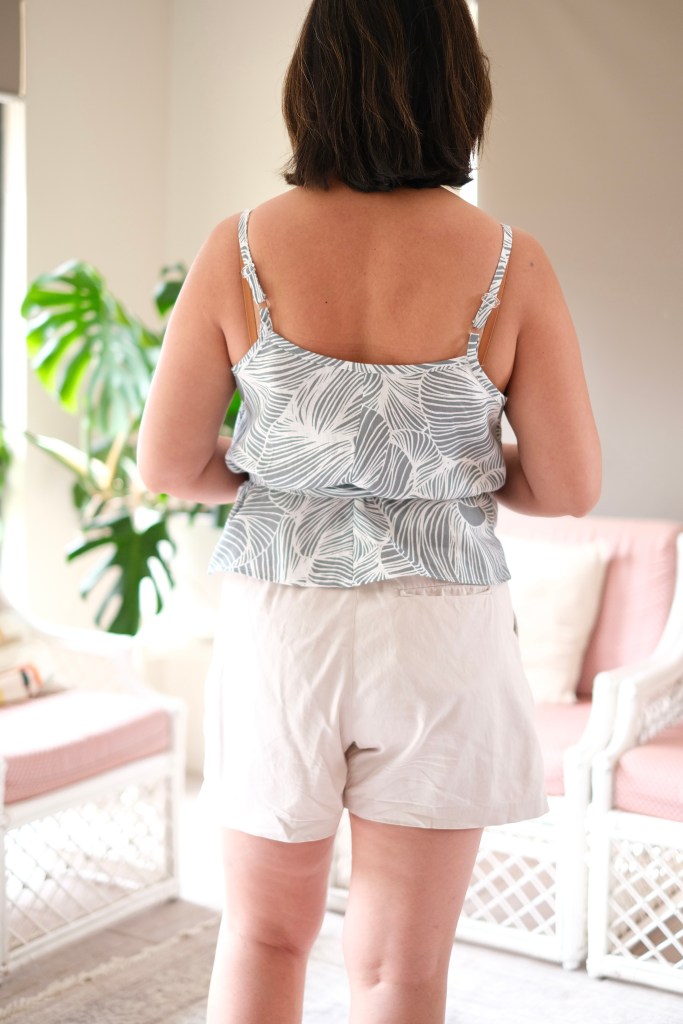
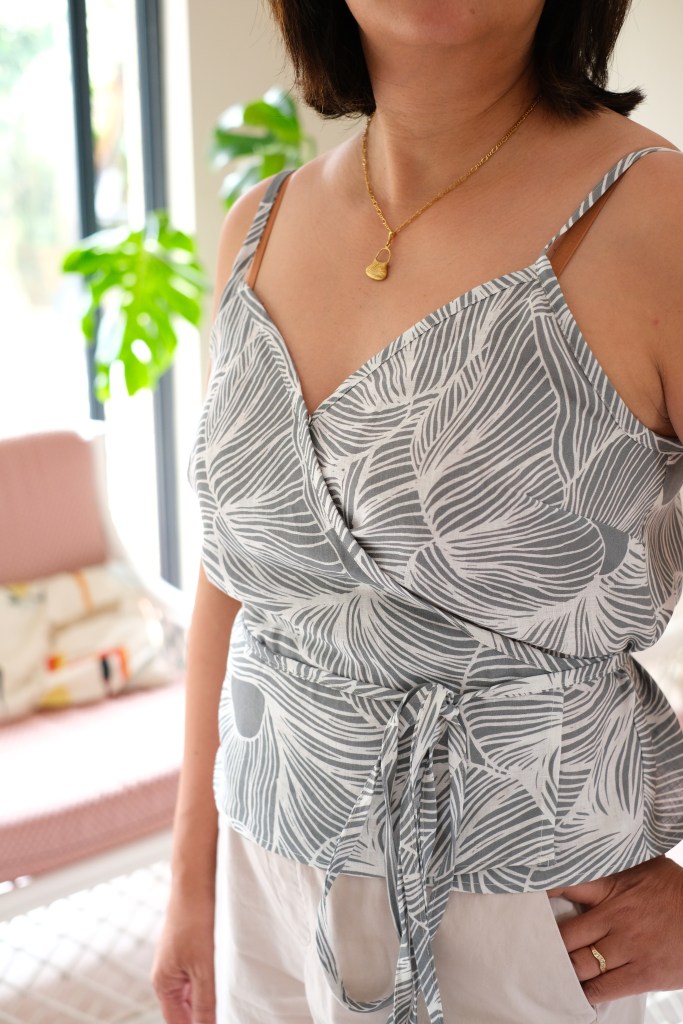
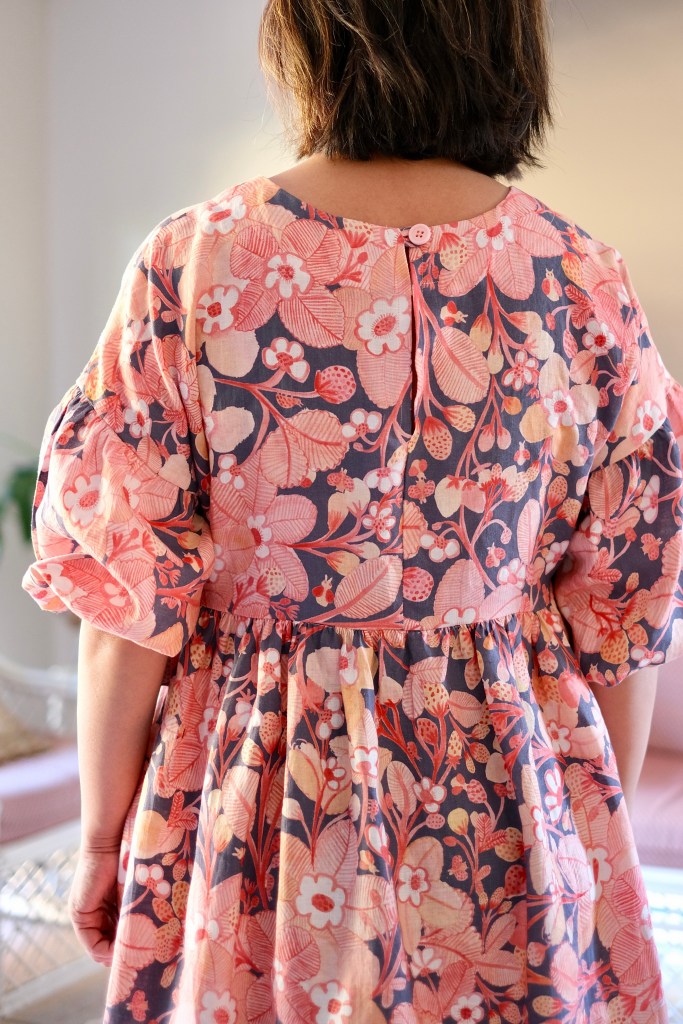
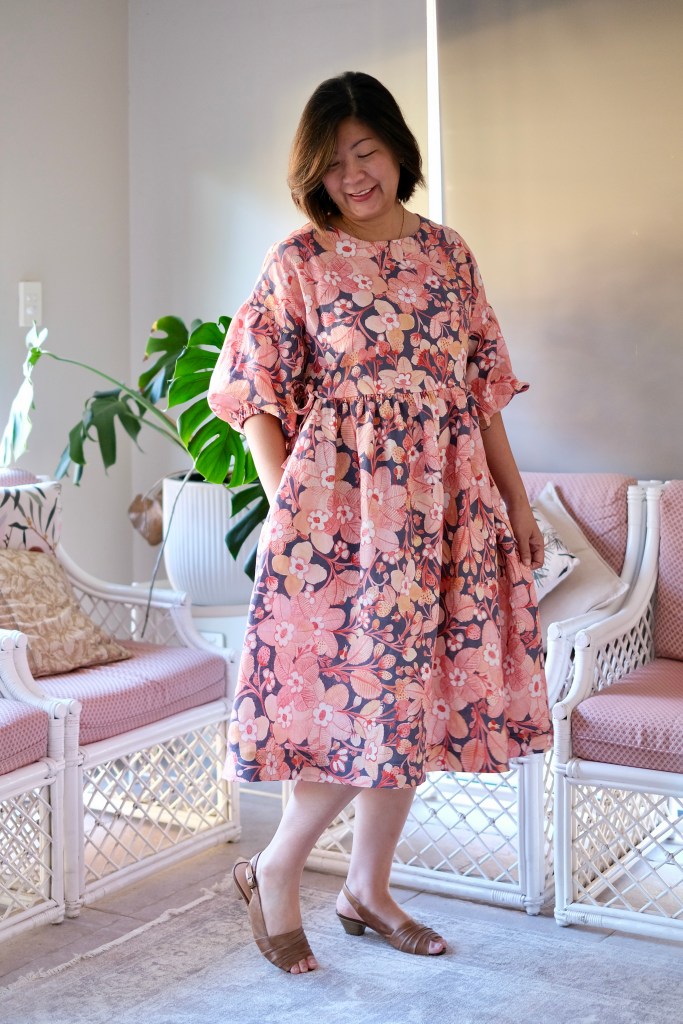
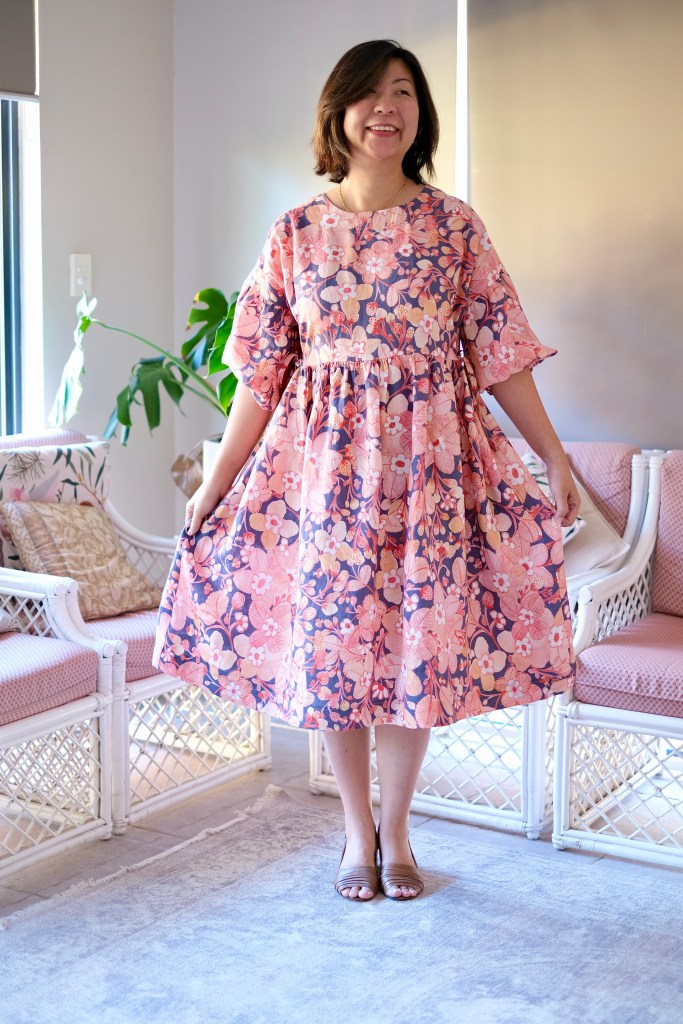
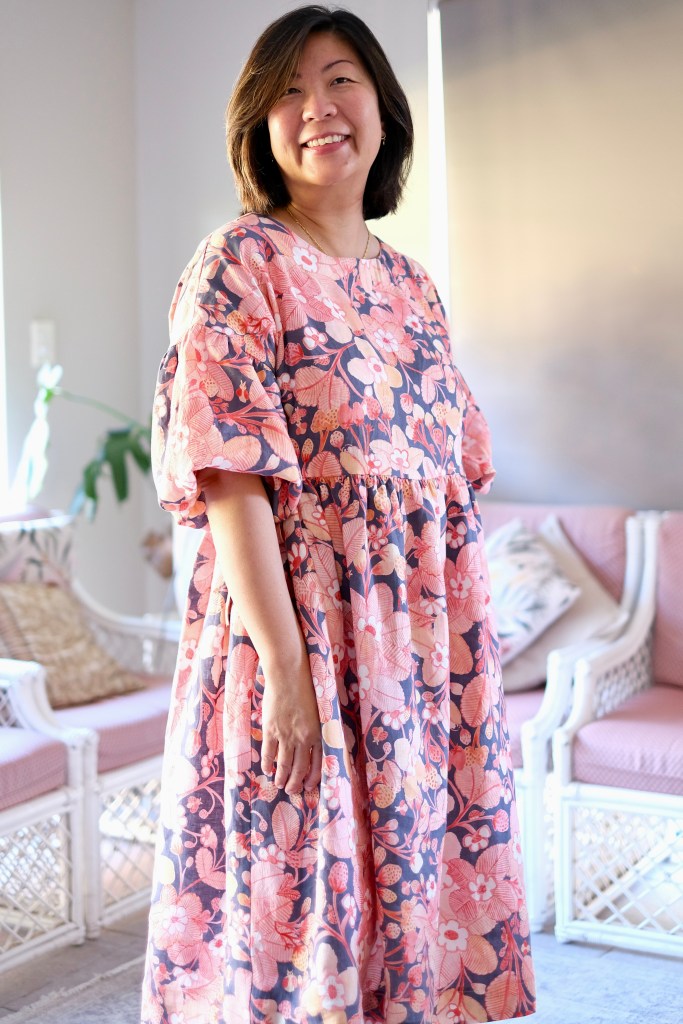
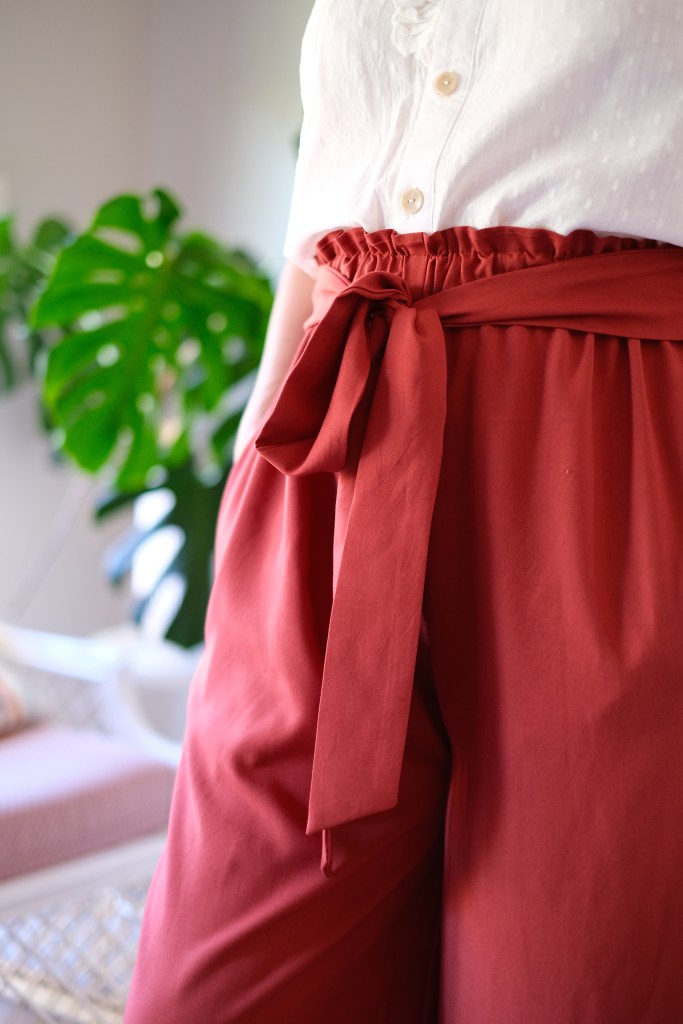
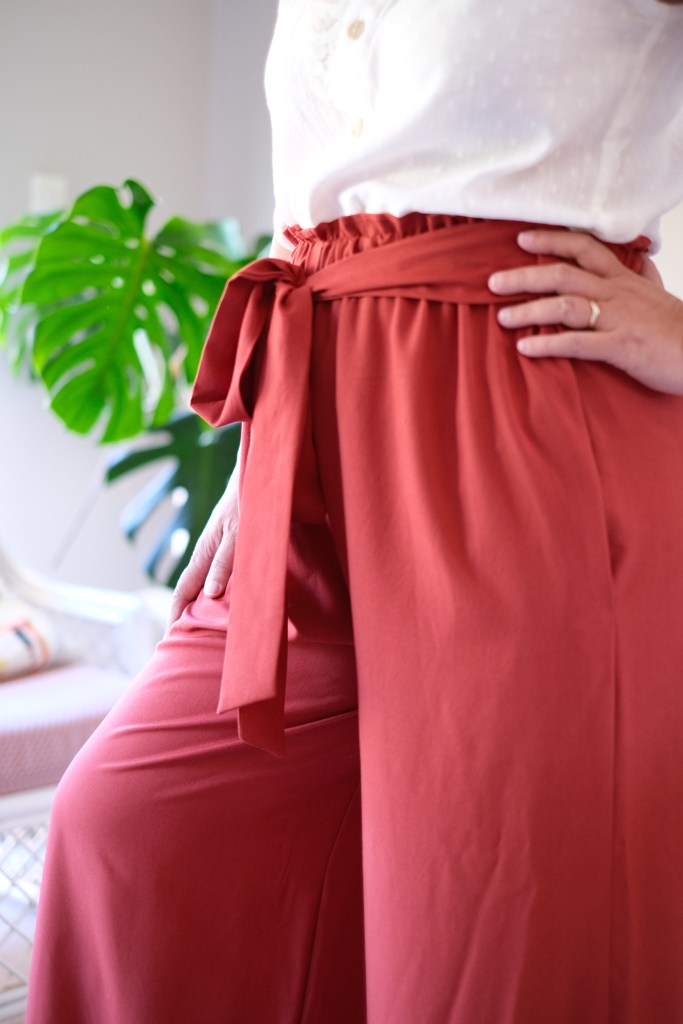
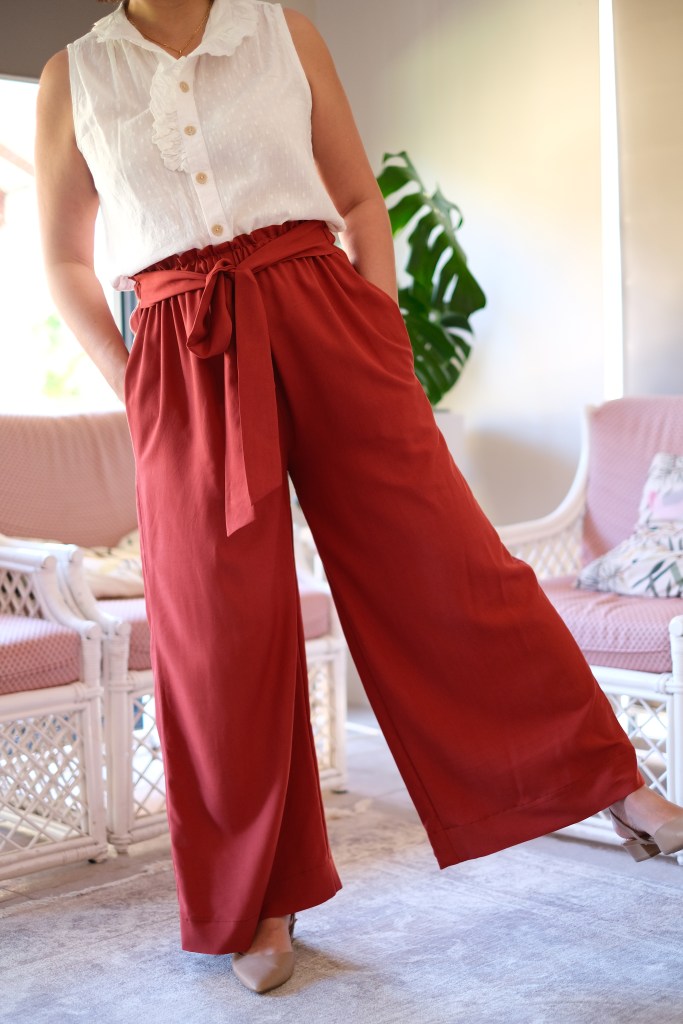
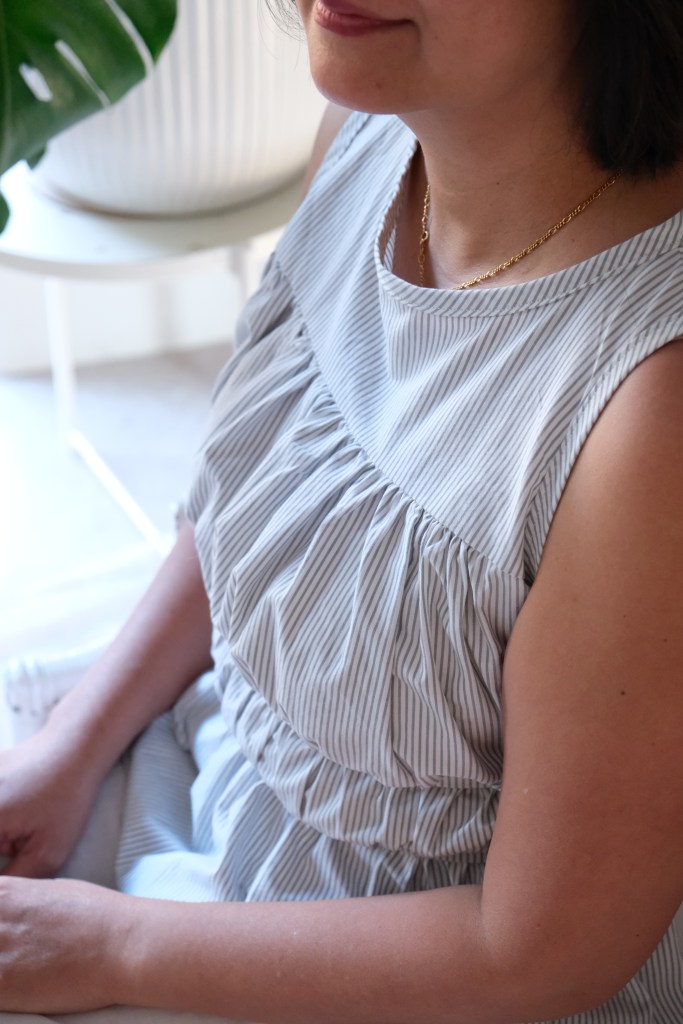
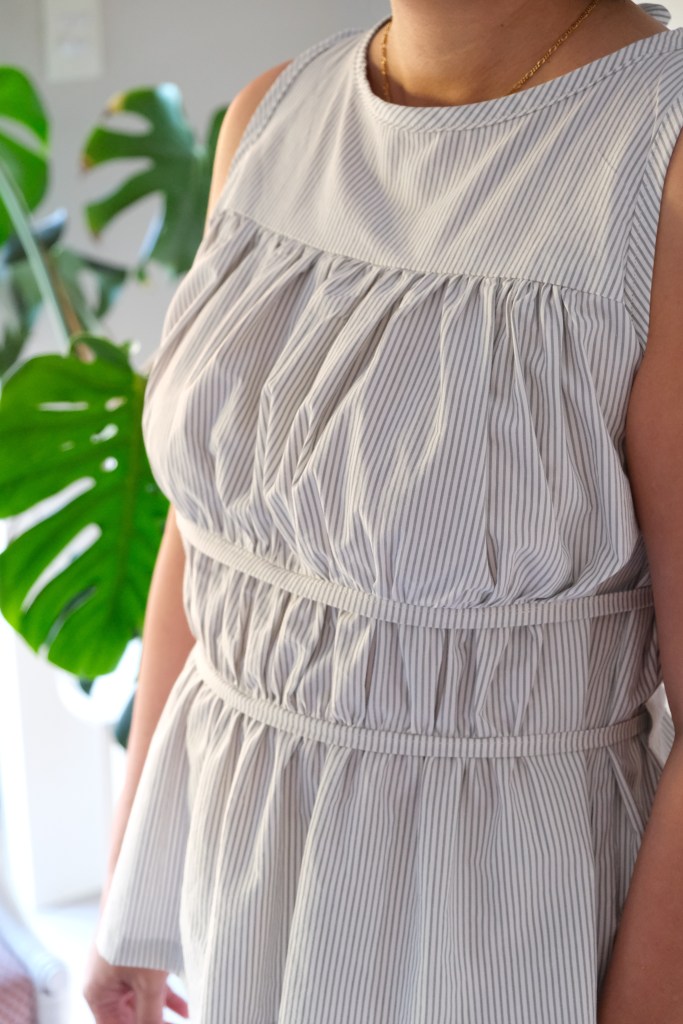
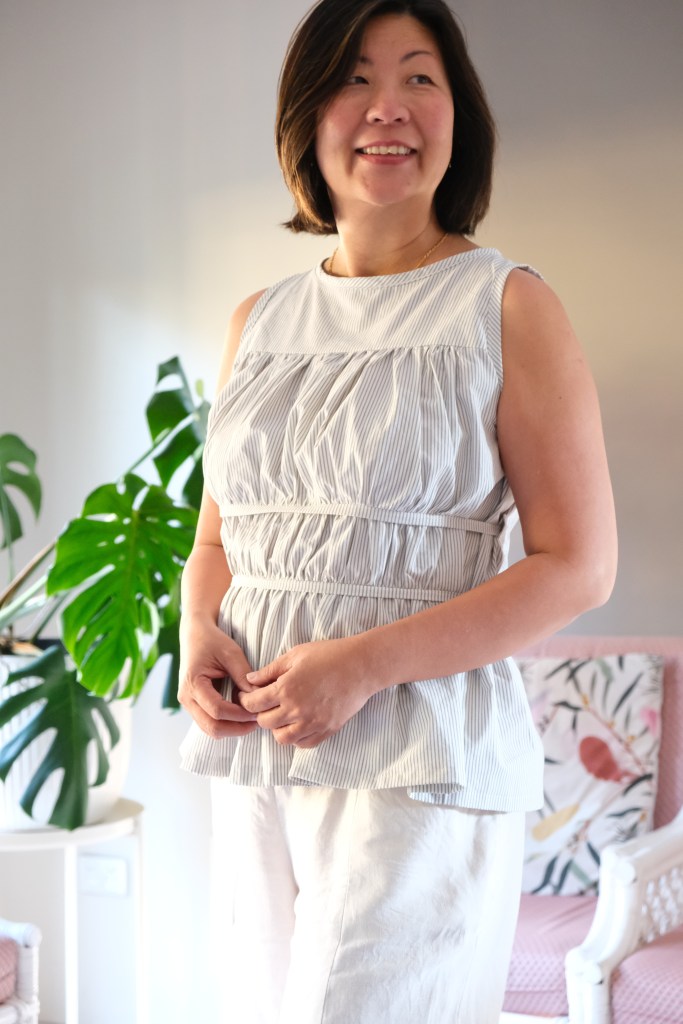
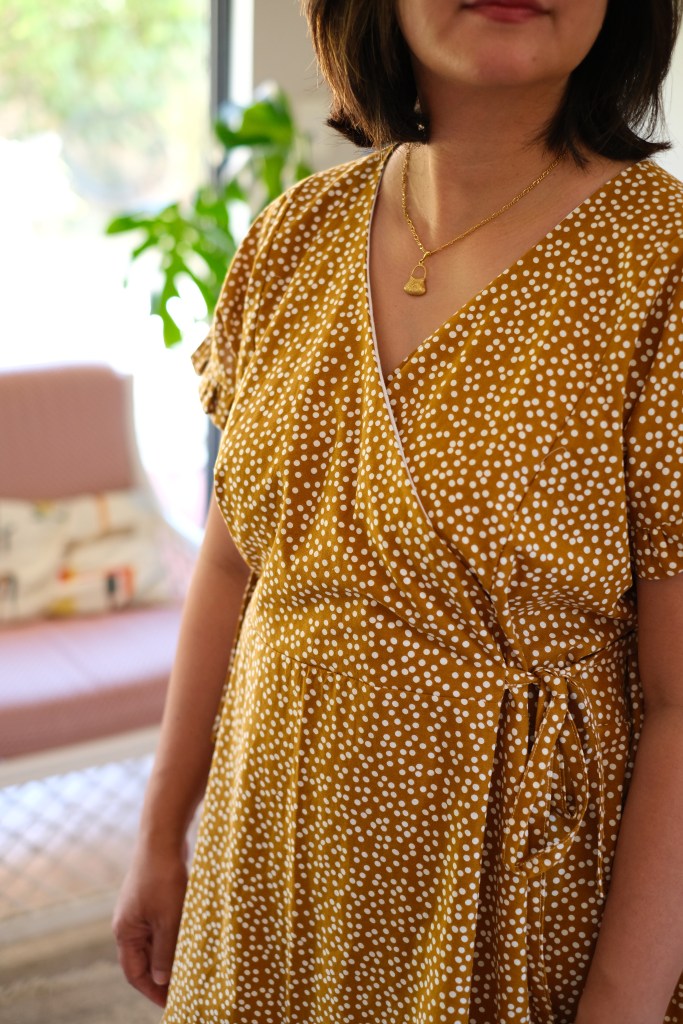
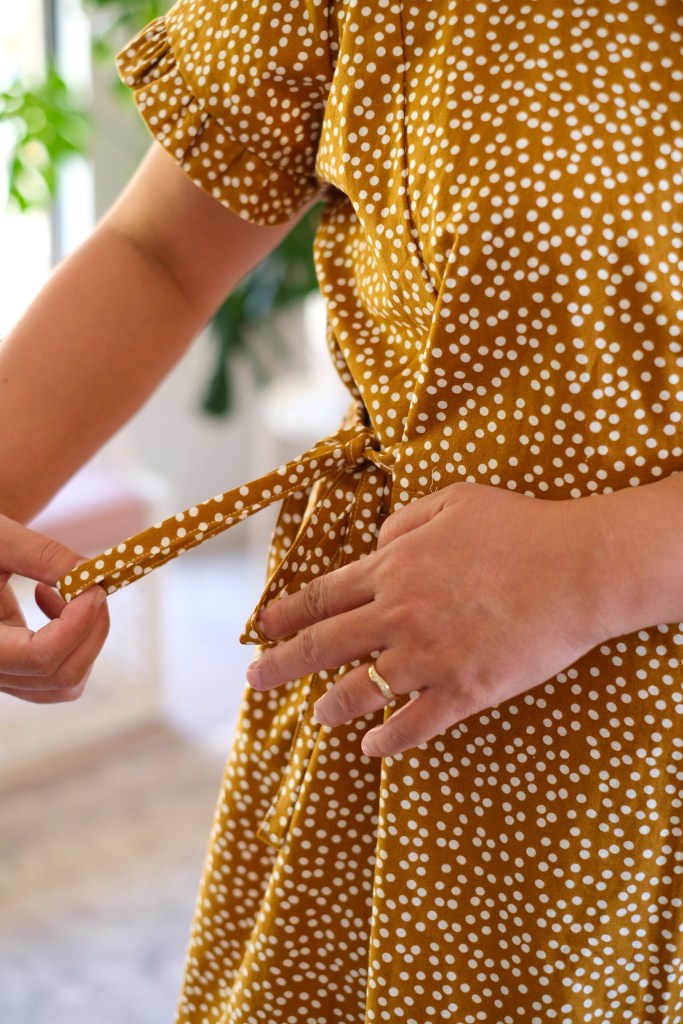
When Sara asked for testers for the Sewing Therapy Tie Dress No 2, I immediately put my hand up because the Tie Dress has been one of my tried-and-true patterns for a while now. I just love how adjustable the ties are and it’s a dress that is always comfortable. This second version of the Tie Dress comes with a button placket or a wrap front. There is also an option for short sleeves or long sleeves. I decided to test the wrap front, short sleeve version but I will probably be going back to sew all the versions.

Testing is always breakneck speed because Sara is an incredibly hard-working creative. She has produced a vast catalogue of patterns, each one beautifully drafted and detailed and each one come with written instructions and sew along videos accompanying them. She produces everything to a superb quality. It’s the same with her testing, she responds to questions and feedback so quickly that I think, did she have time to sleep yet? I hope so! Being on the other side of the world, I was always amazed at how promptly she could reply. The thorough testing means that the pattern comes together perfectly for the person sewing and the construction is logical and easy to follow.
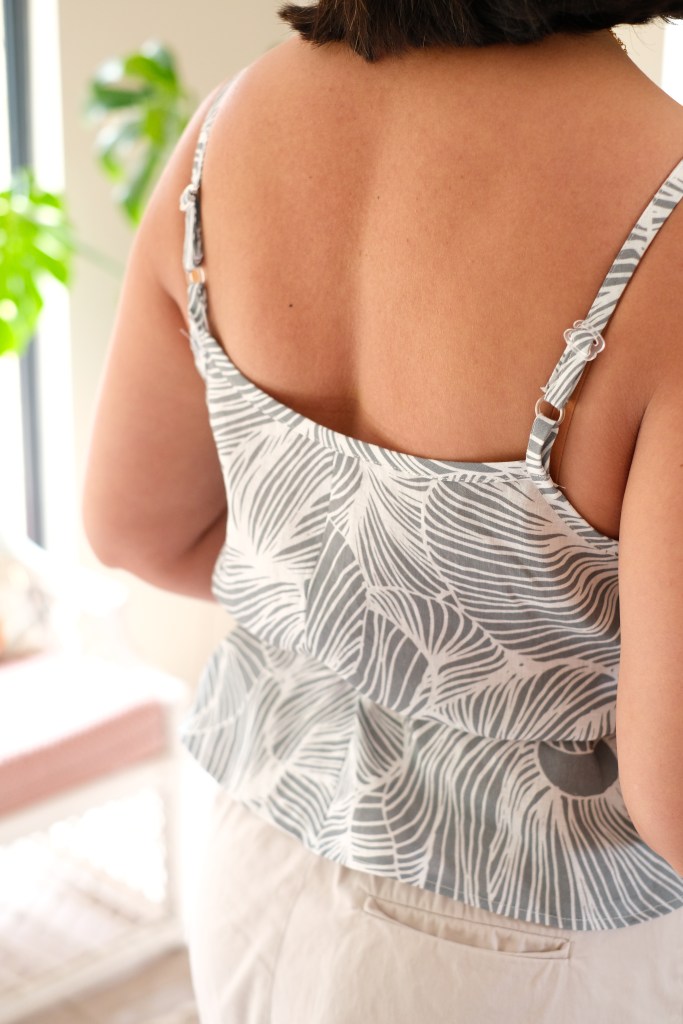
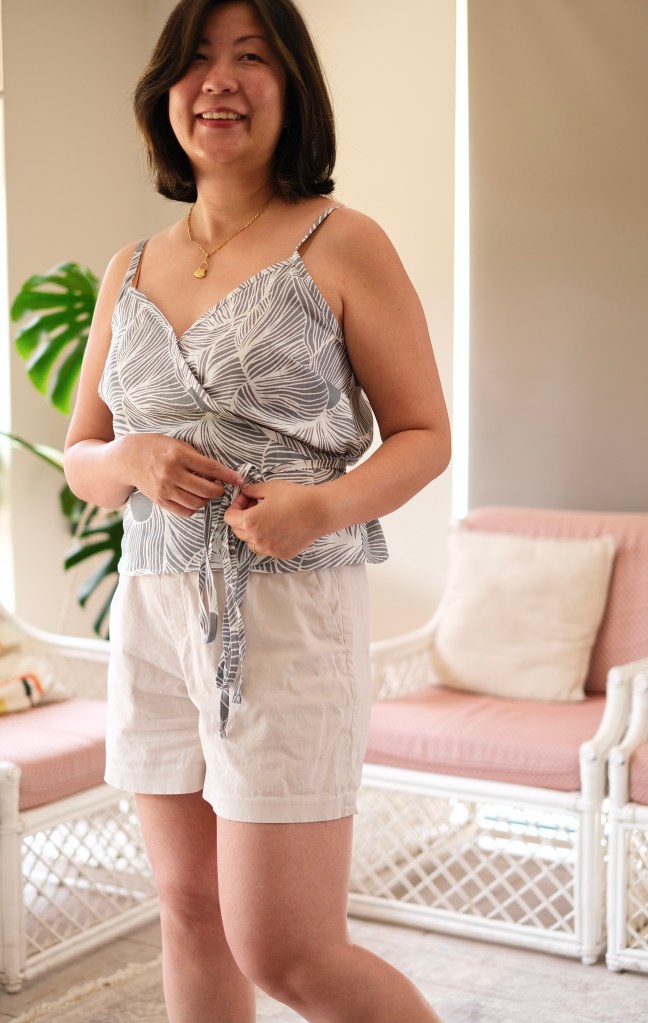
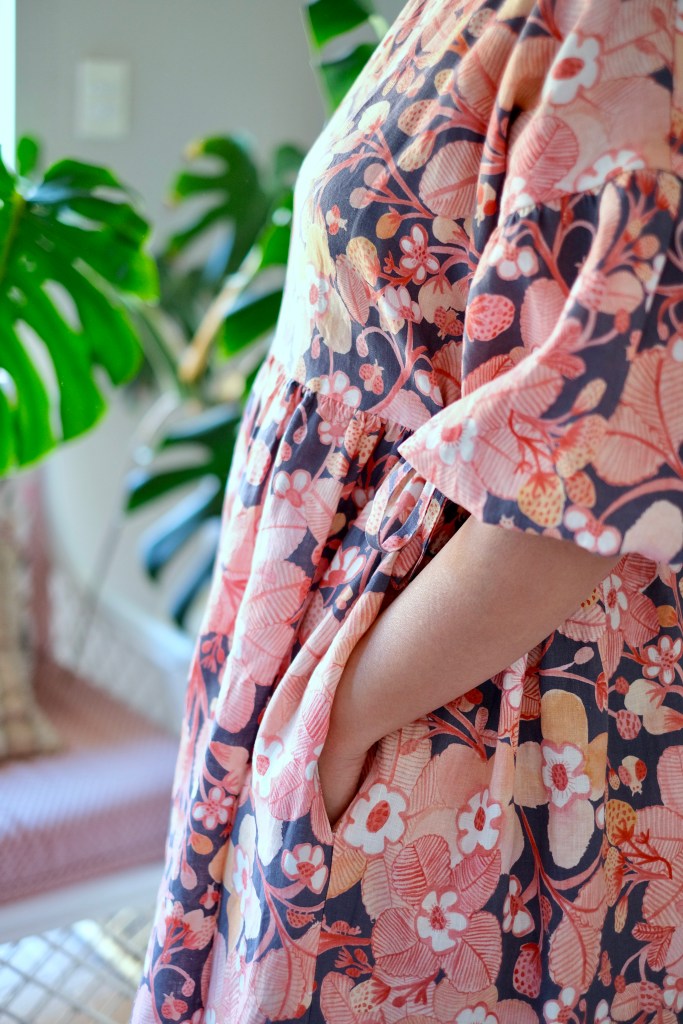
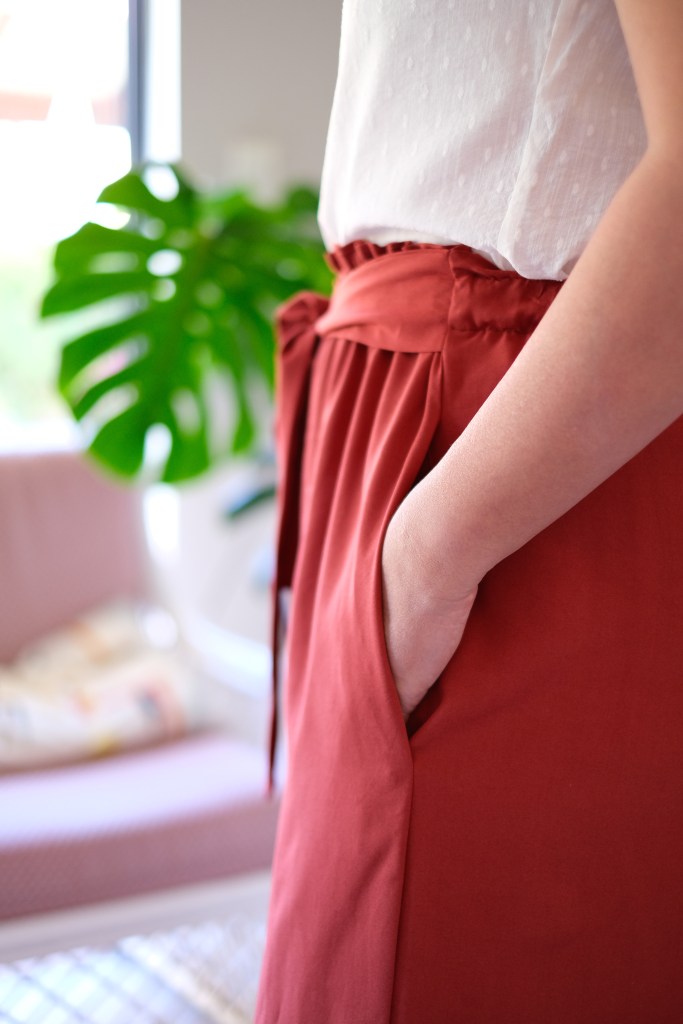
My version is the Size 12 without any modifications for my measurements of 38-inch bust, 33-inch waist and 40-inch hip. I really like how the wrap sits and there is no risk of it gaping. The dress is midi length or short. I was testing length and I left mine slightly longer than the midi it was drafted for.
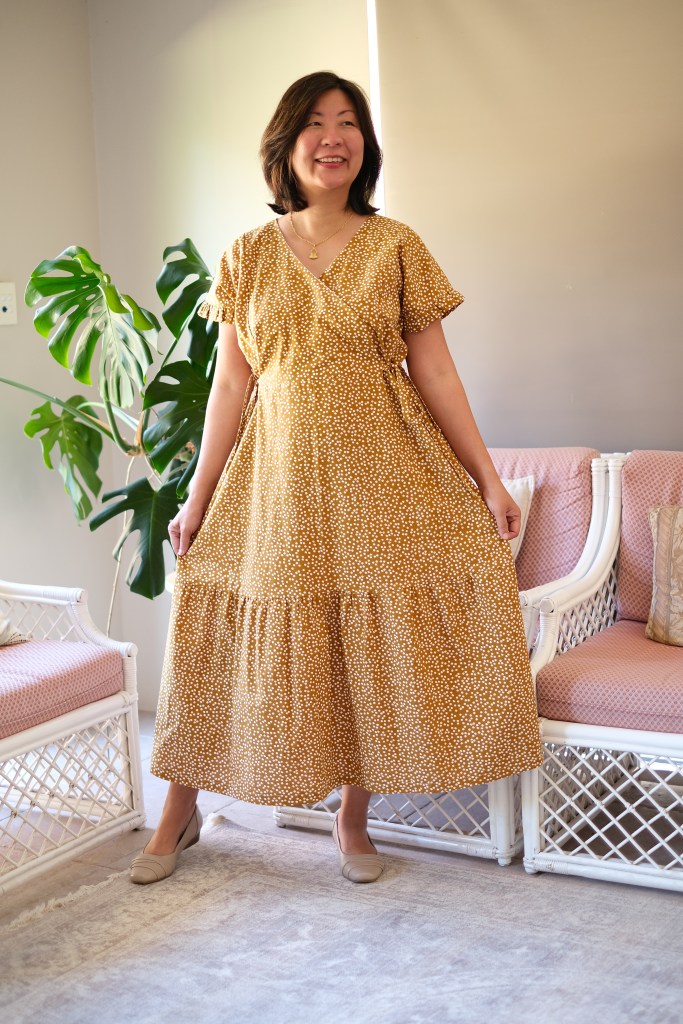

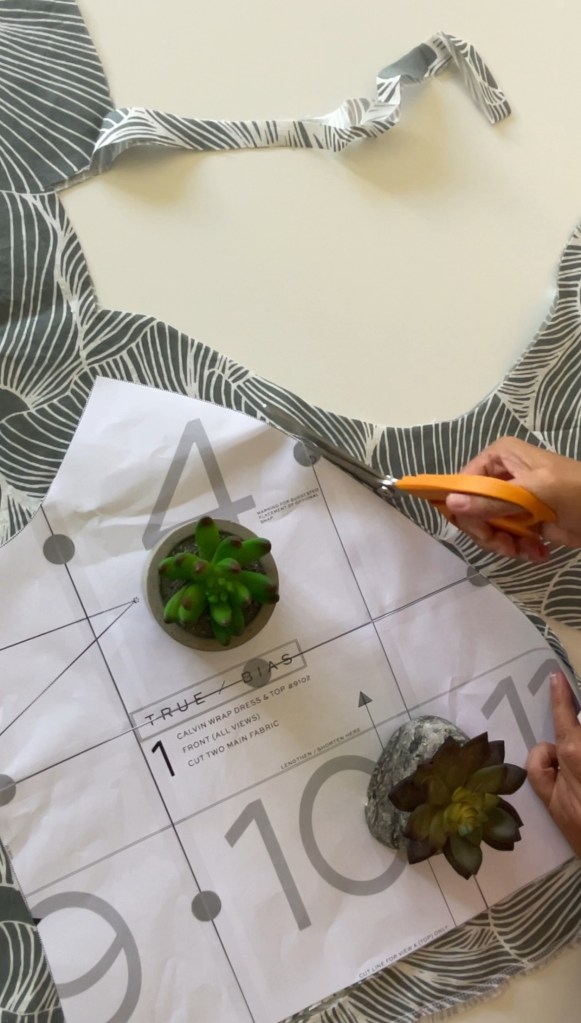
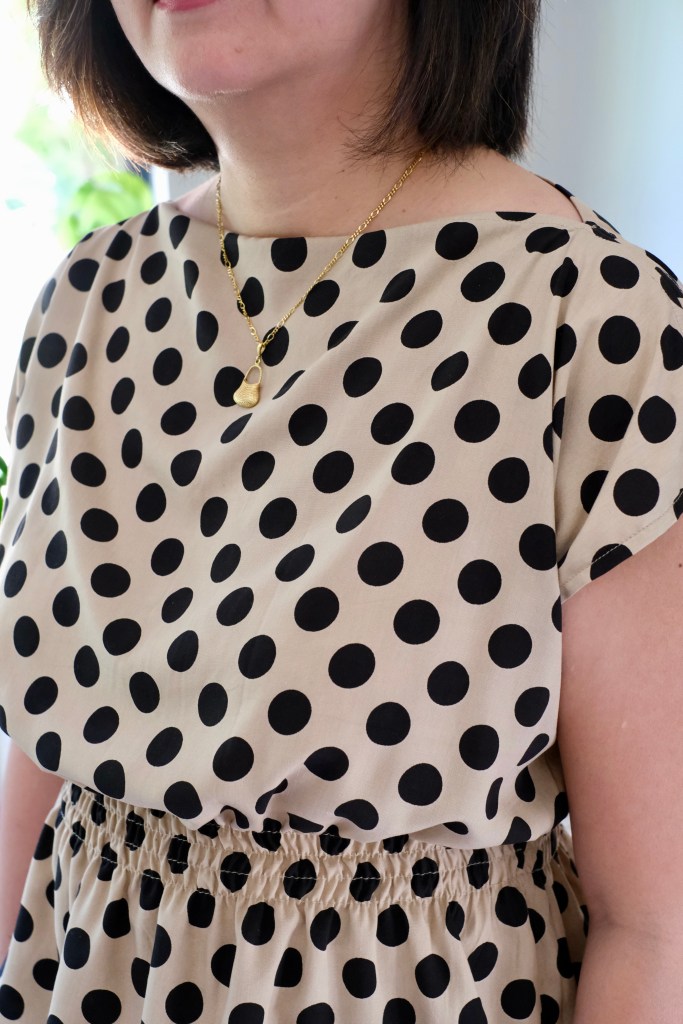
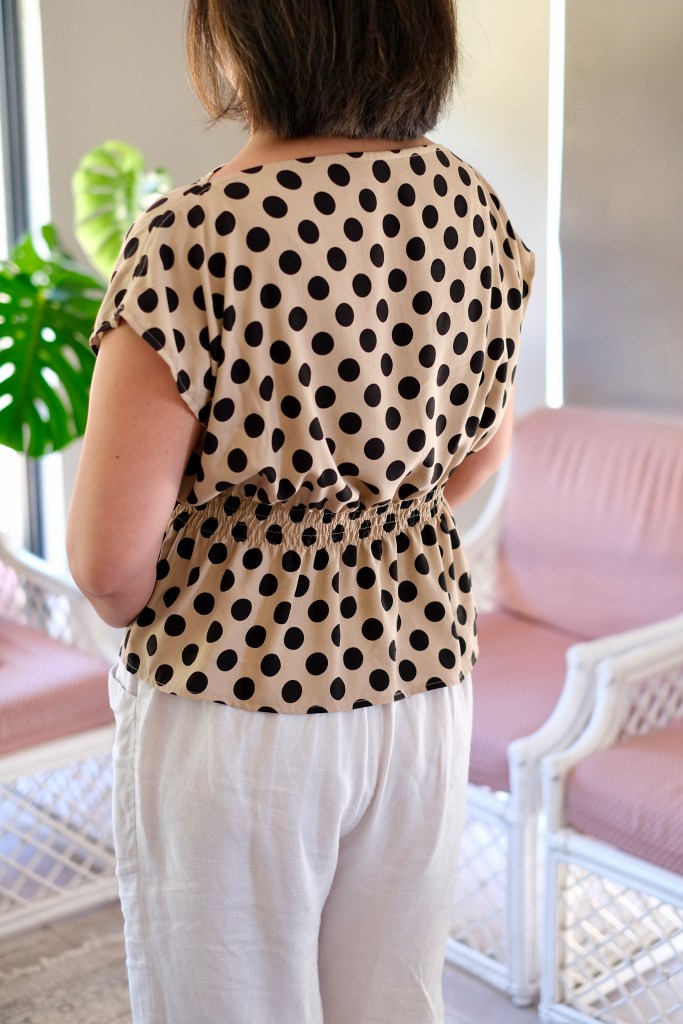
The Tie Dress No 2 is drafted for woven fabric. I was excited to find some midweight linen-cotton which was perfect for the pattern. I did also put together another dress for the test which I will finish soon where I used up a mix of gingham fabric. I think any stable woven fabric is great for this dress.
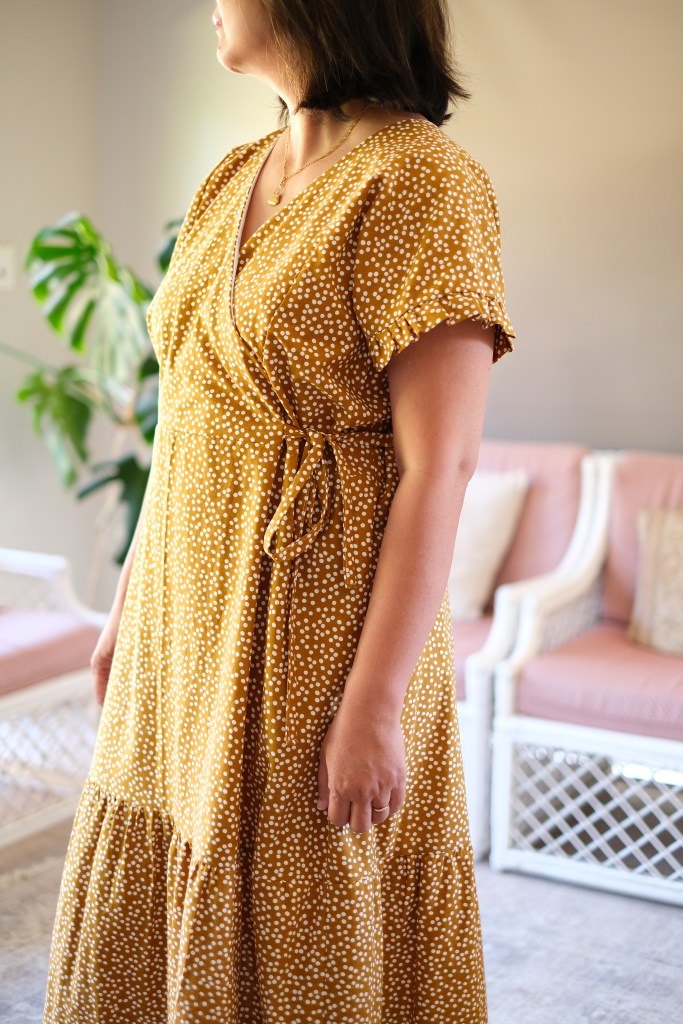
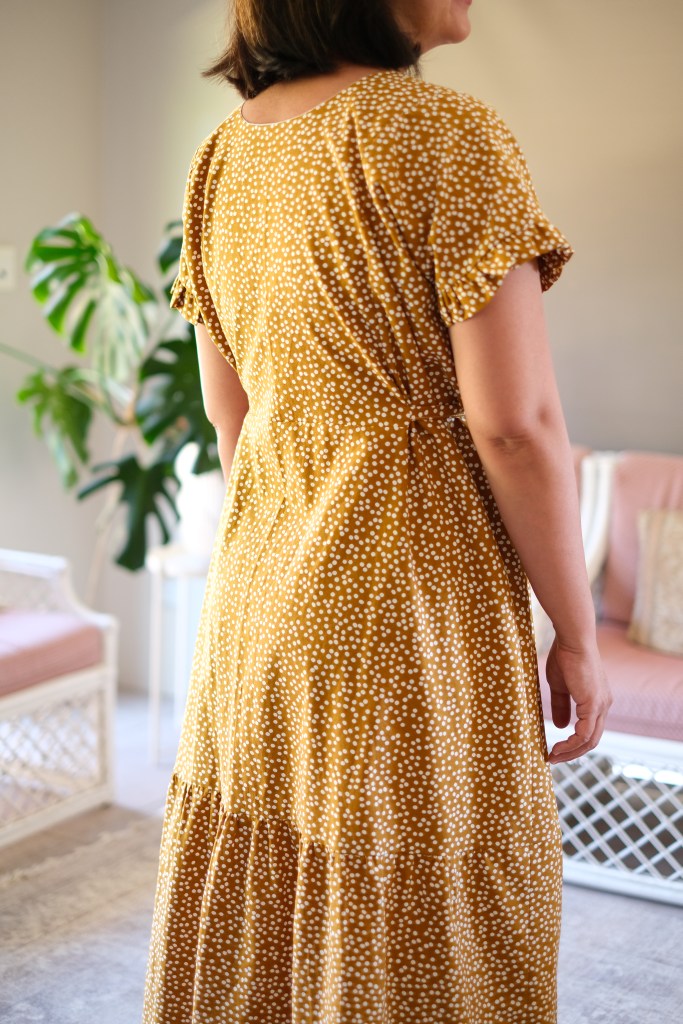
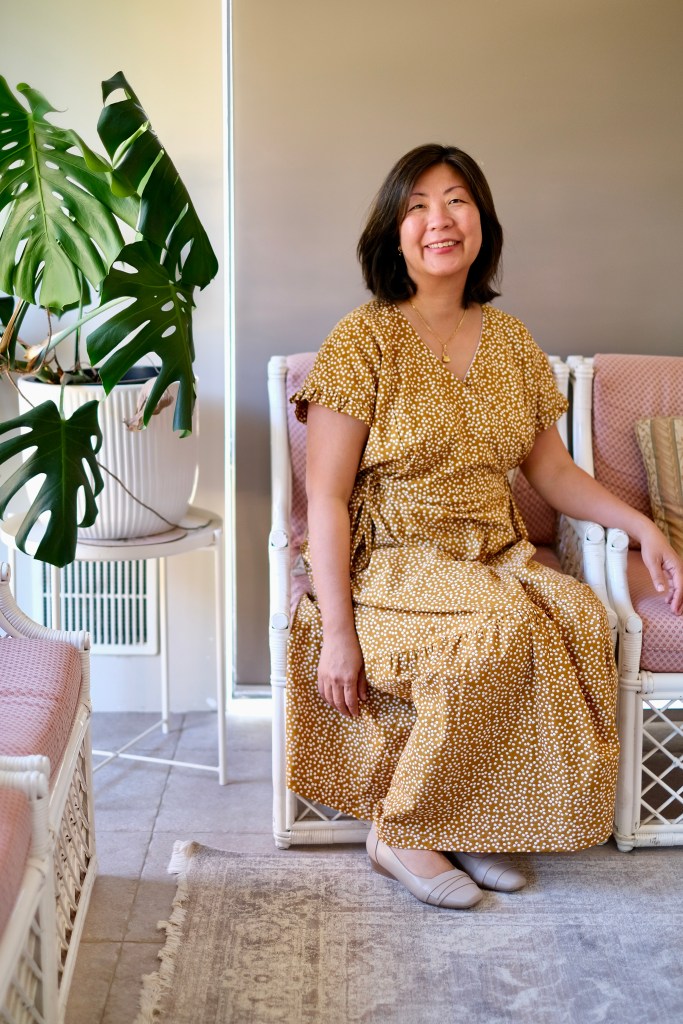
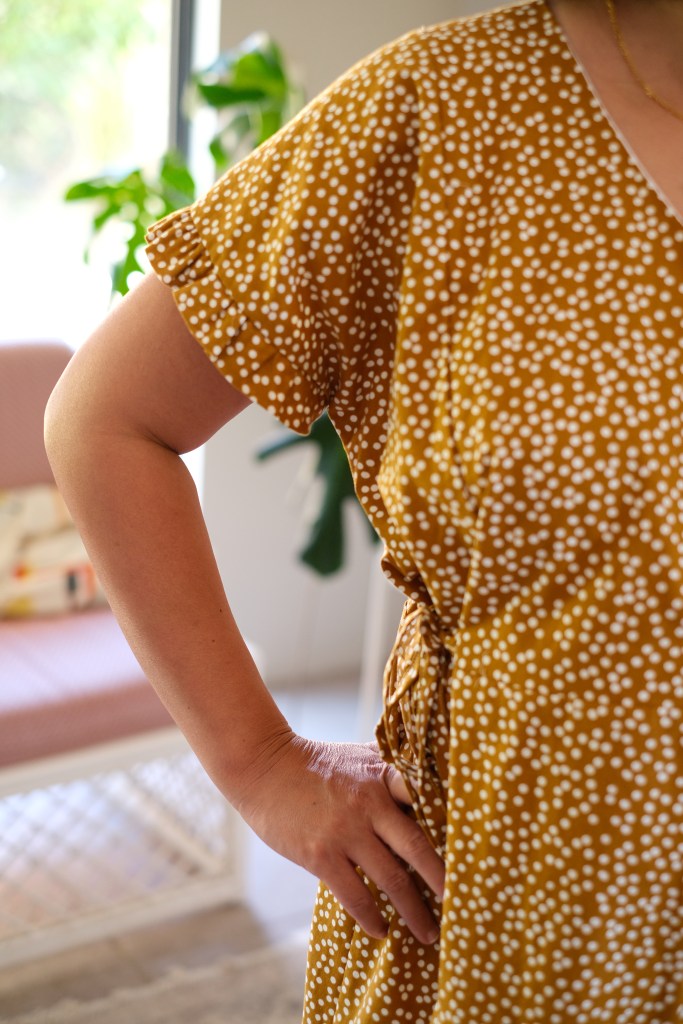
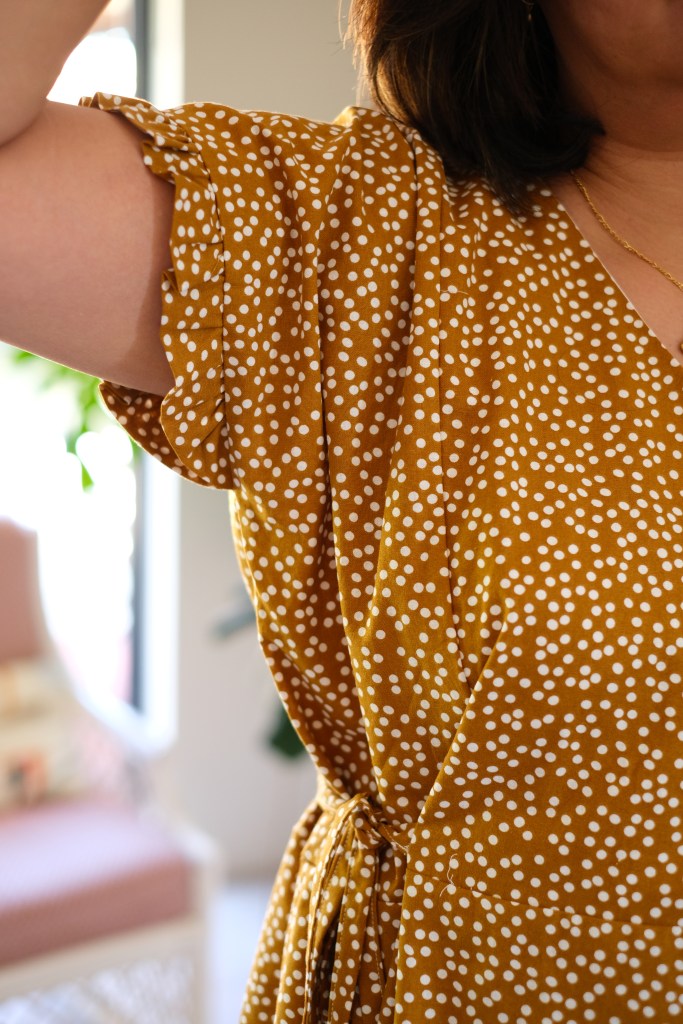
Sara has done it again with this dress pattern. I see myself sewing this pattern again with the longer sleeves when the weather starts to cool down. I love how this version of short sleeves are ruffled which is a cute feature. I’m loving how comfortable this dress is to wear as well. Having the adjustable ties means that there will never be a day where this dress is too tight or big to wear. I think that’s why I keep returning to make the tie dress. It’s been great to be sewing and testing again especially in a supportive and creative environment.
Thanks for reading and happy sewing!
X Em