Like an artist choosing a palette of paint colours, the right pattern must be paired with the right fabric. So, when this beautiful Linen Chinoiserie fabric was kindly sent to me from Longan Craft, I had to make a choice of what to sew with this fine and lightweight linen-tencel fabric.
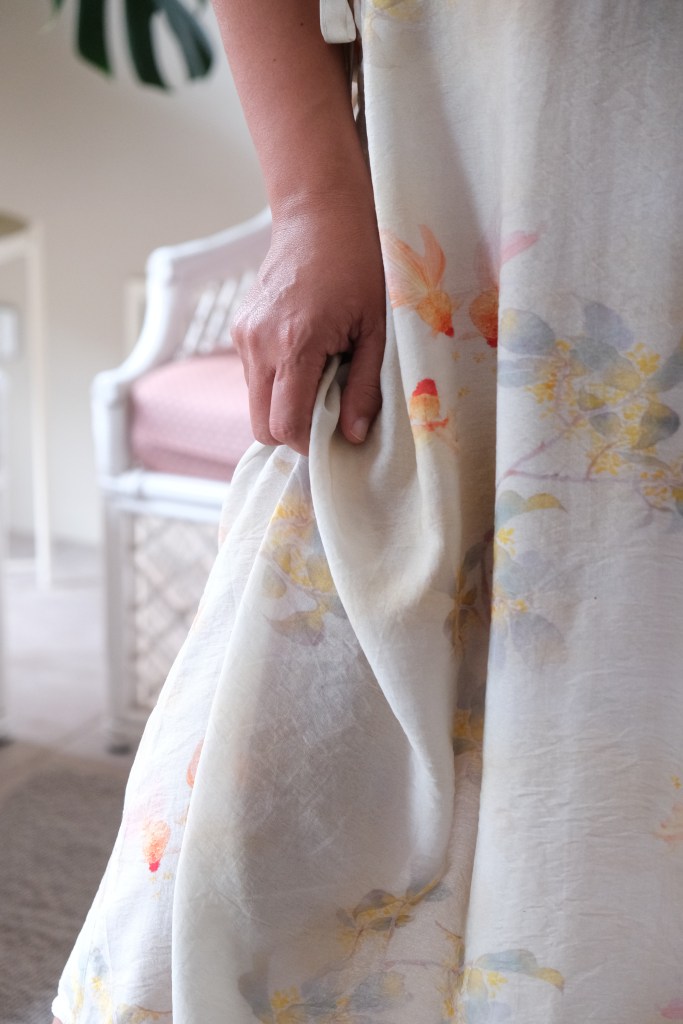

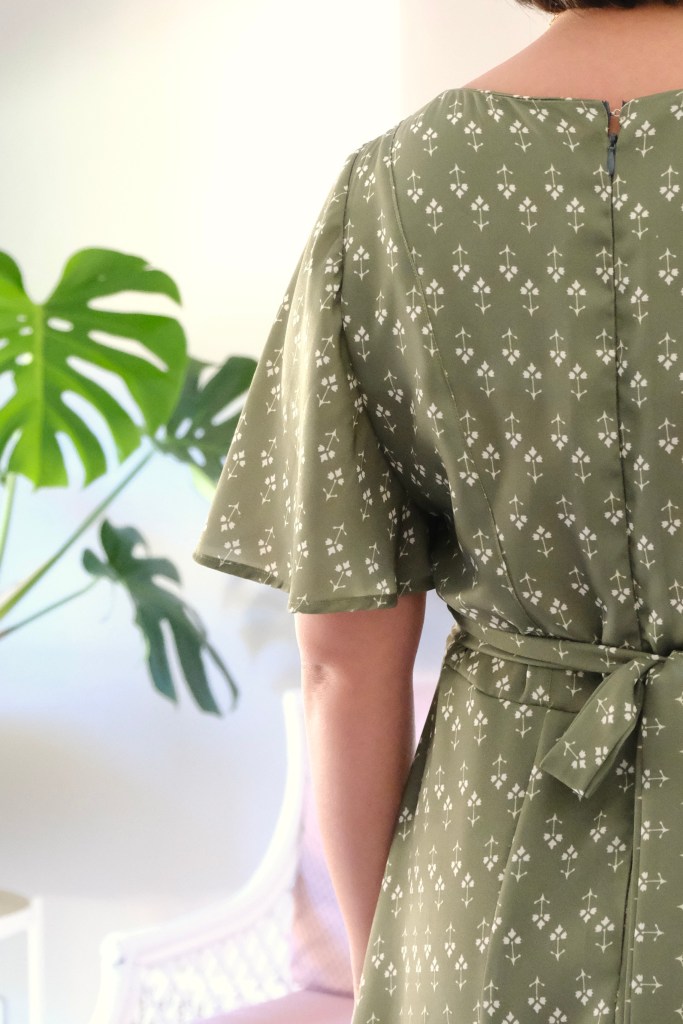
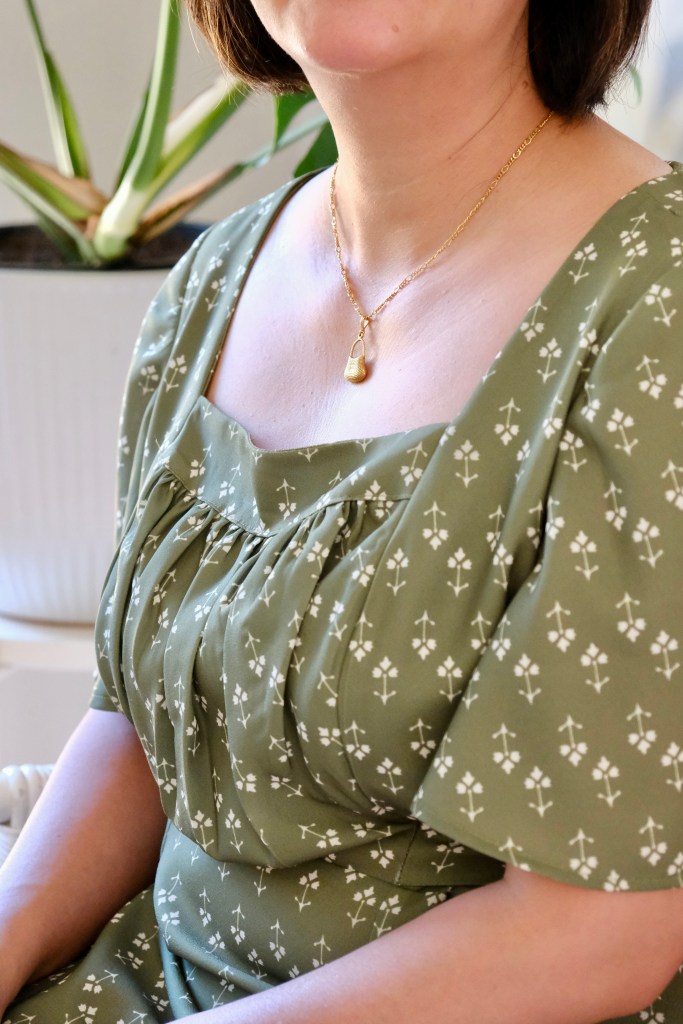
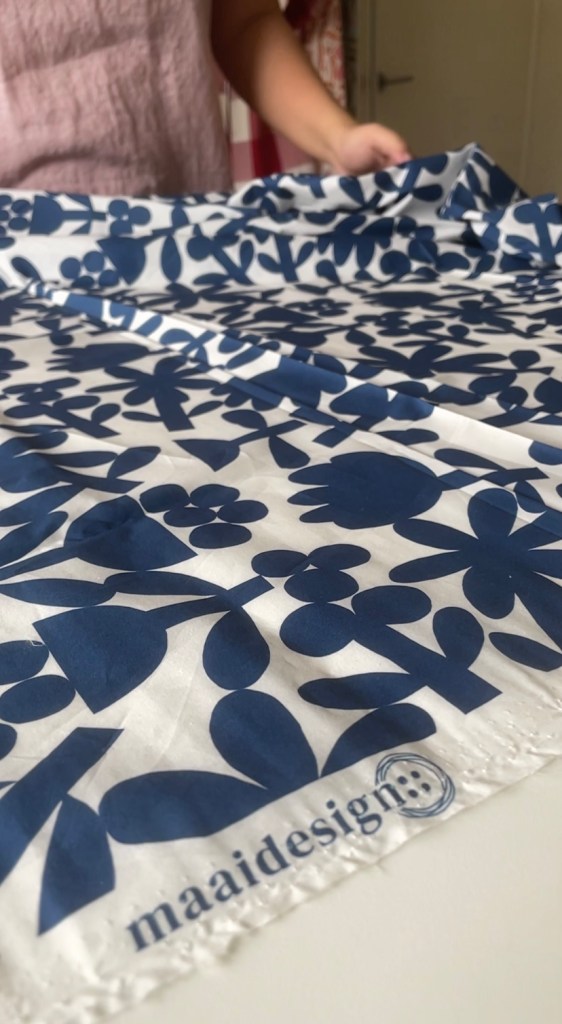
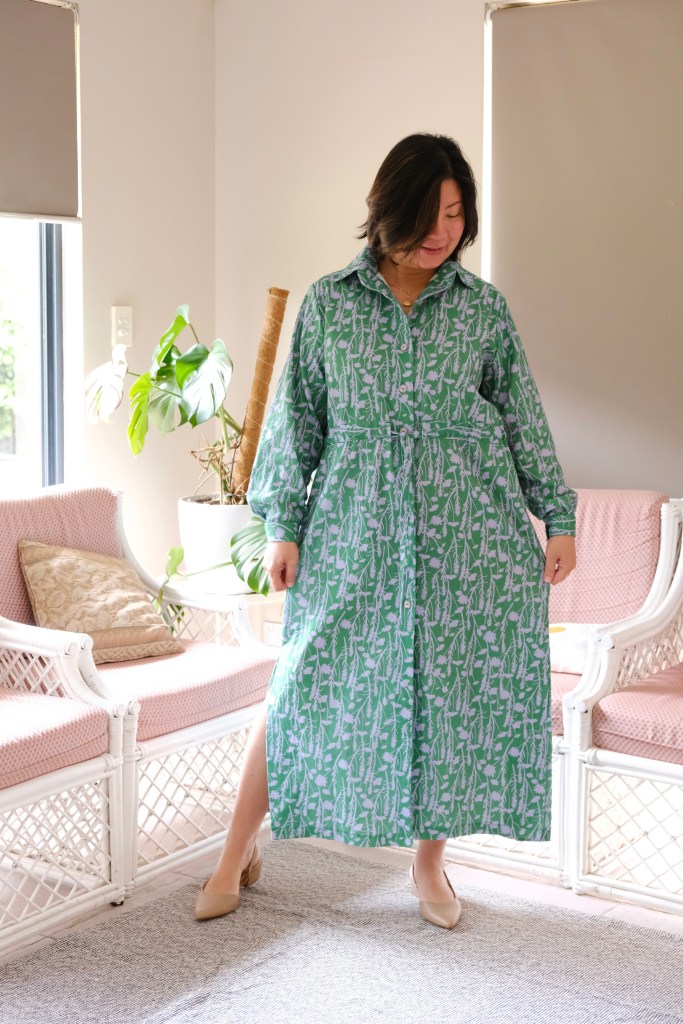
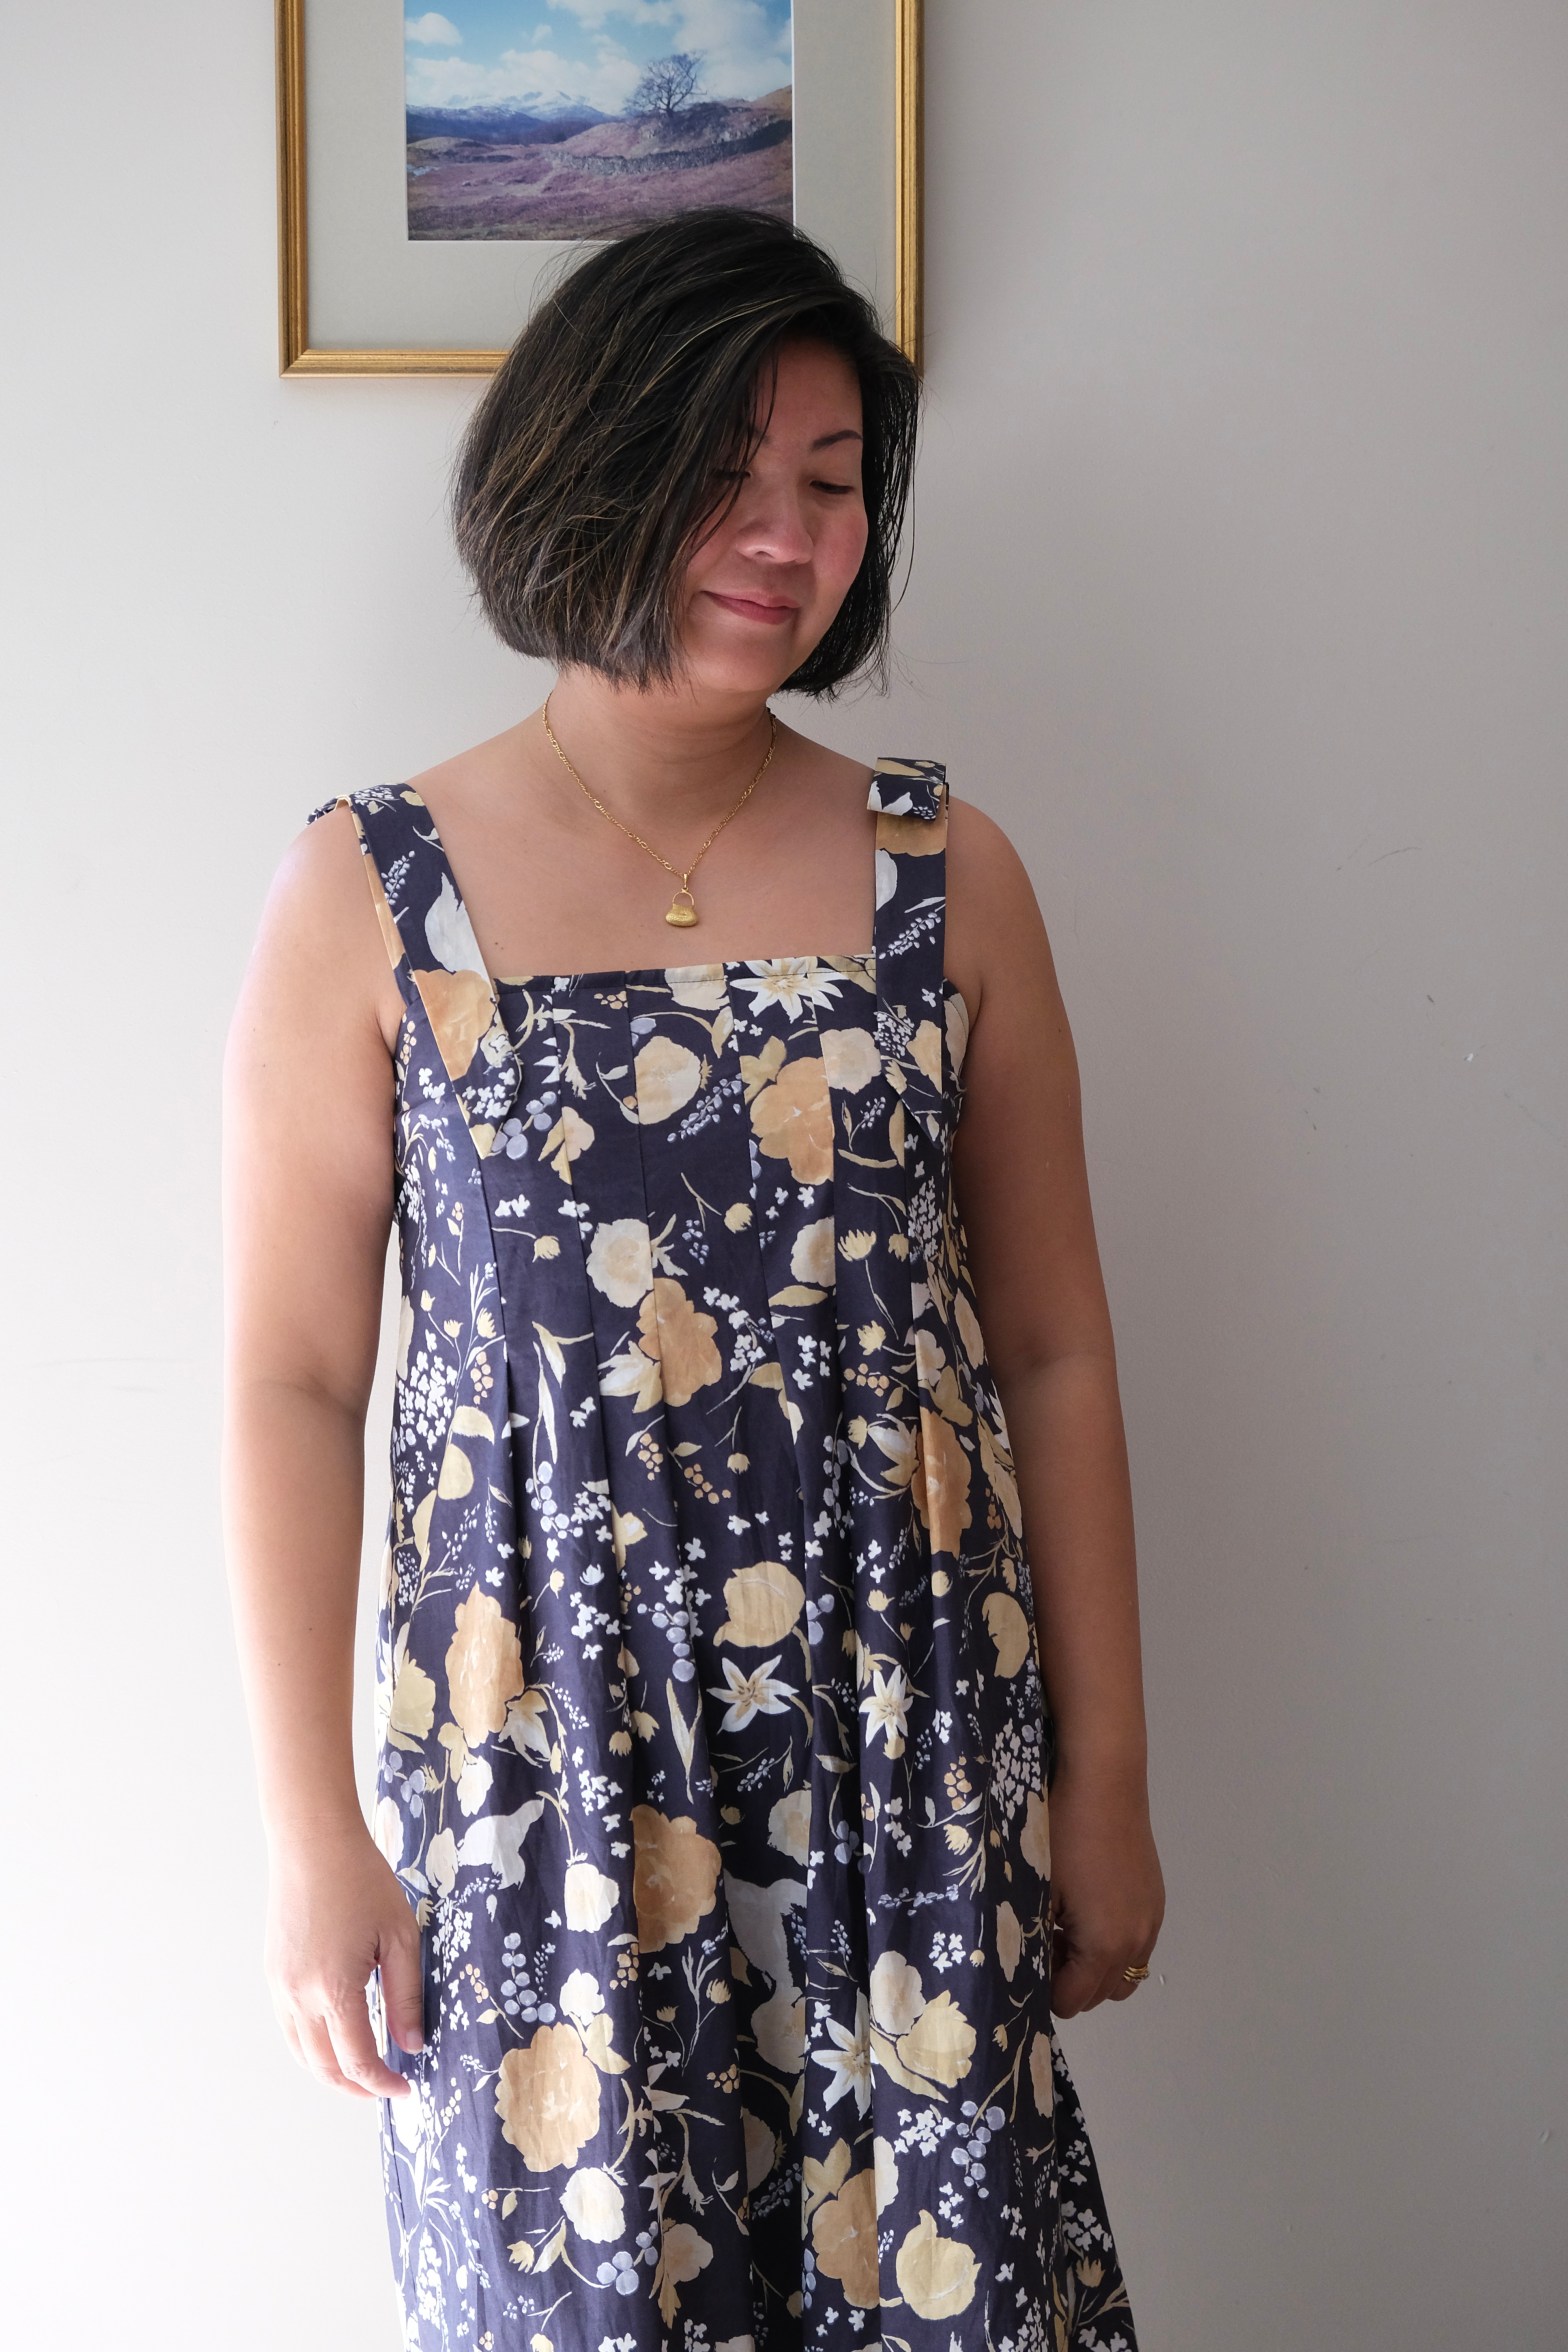
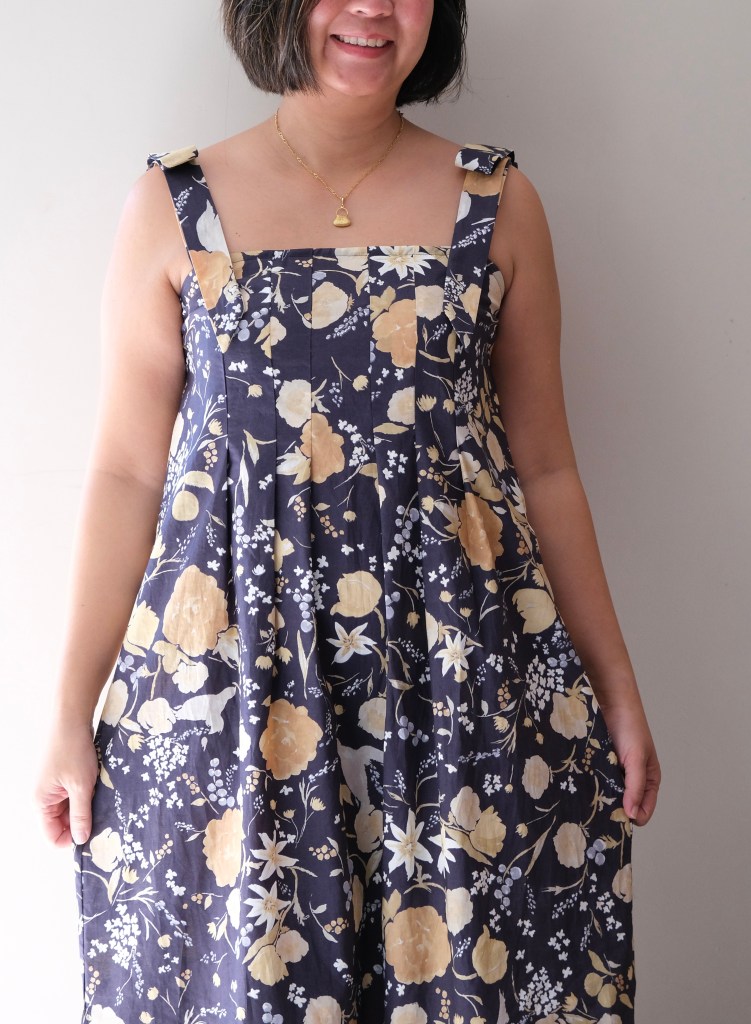
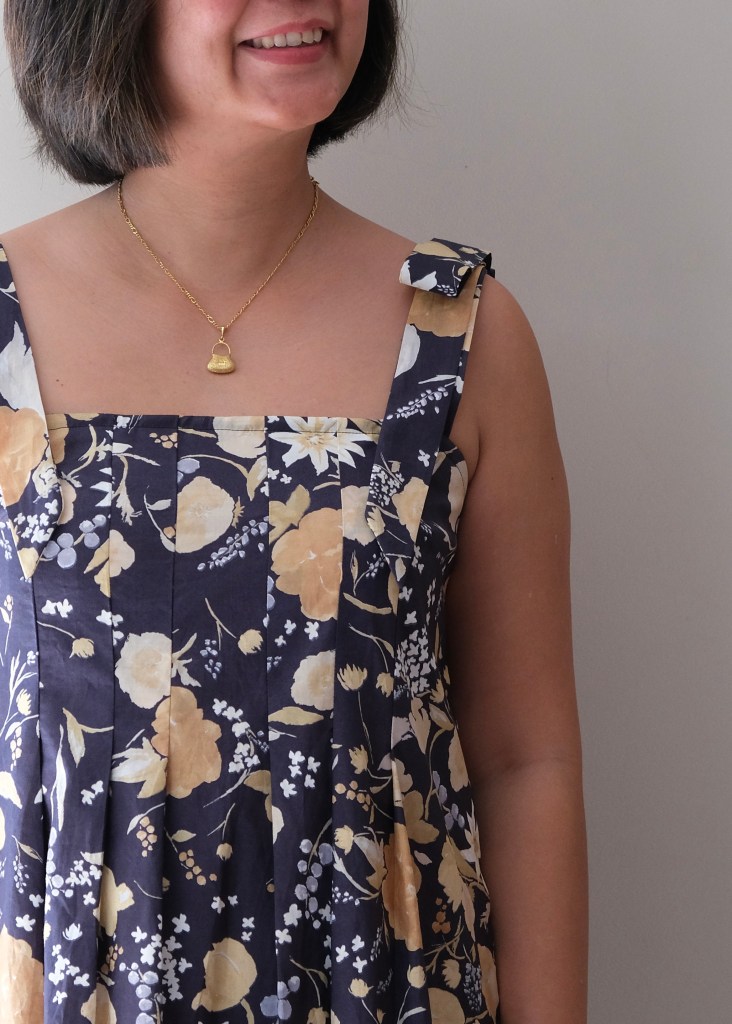
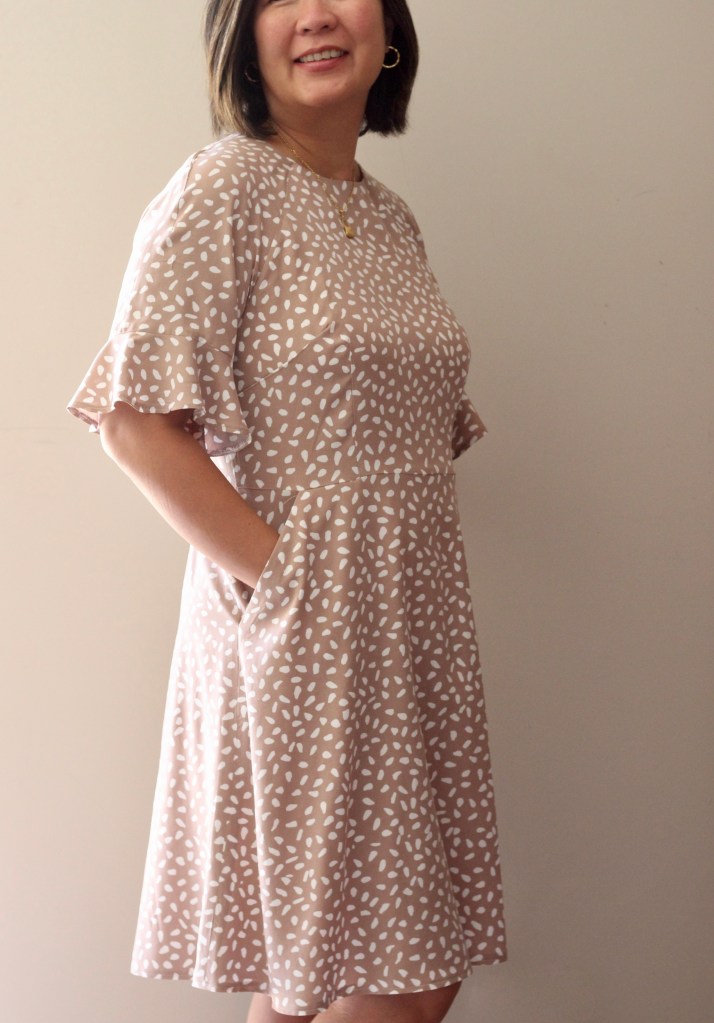
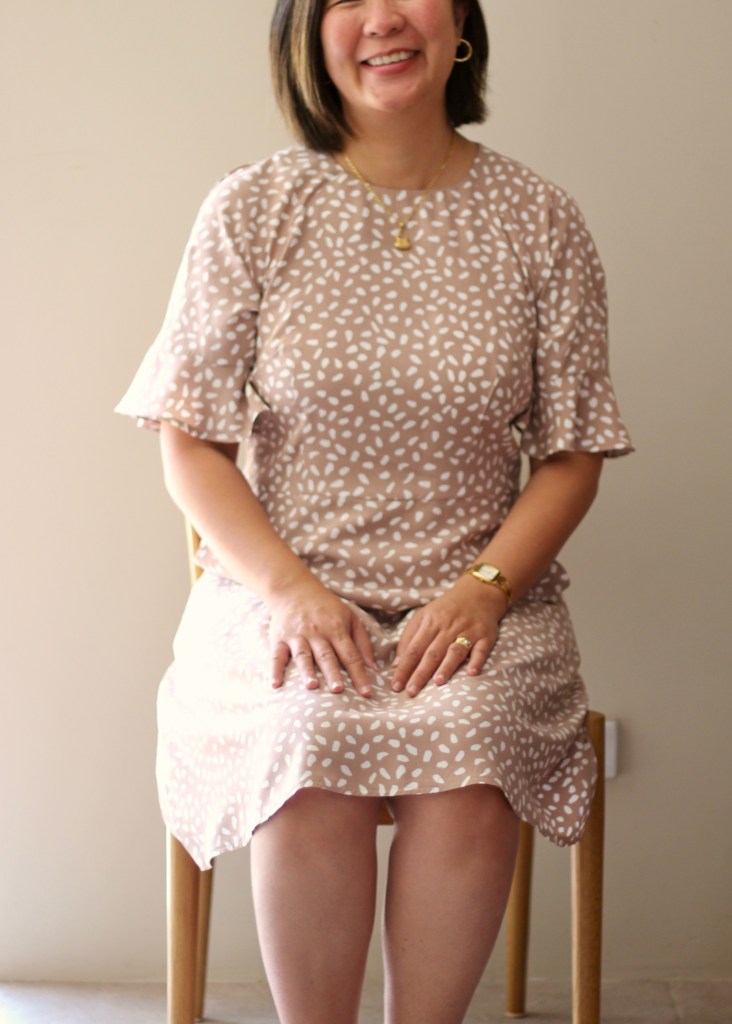
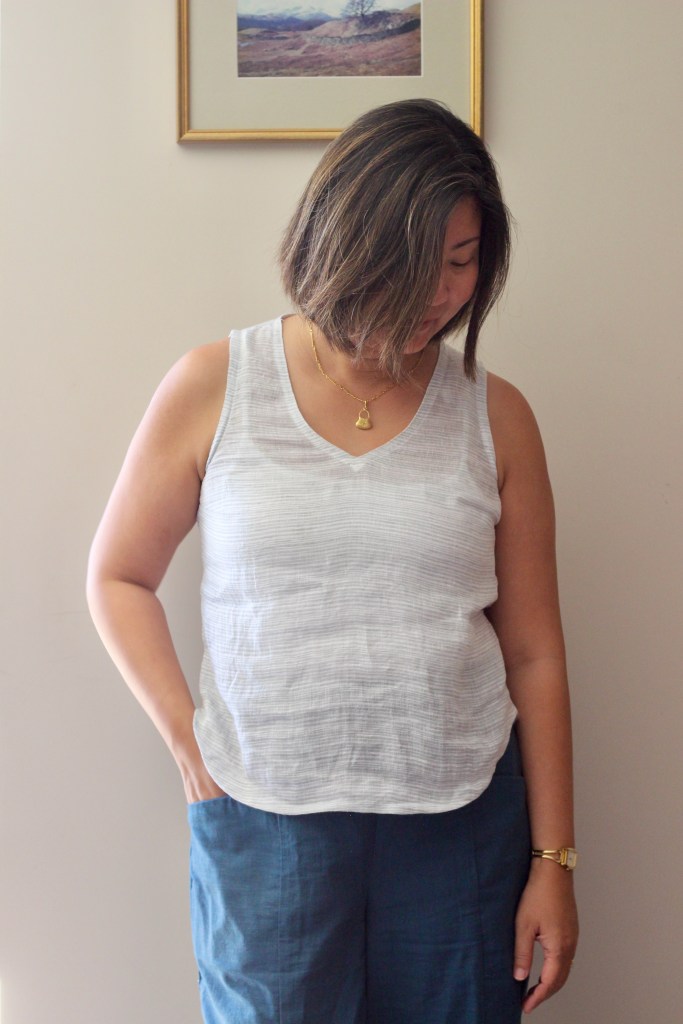
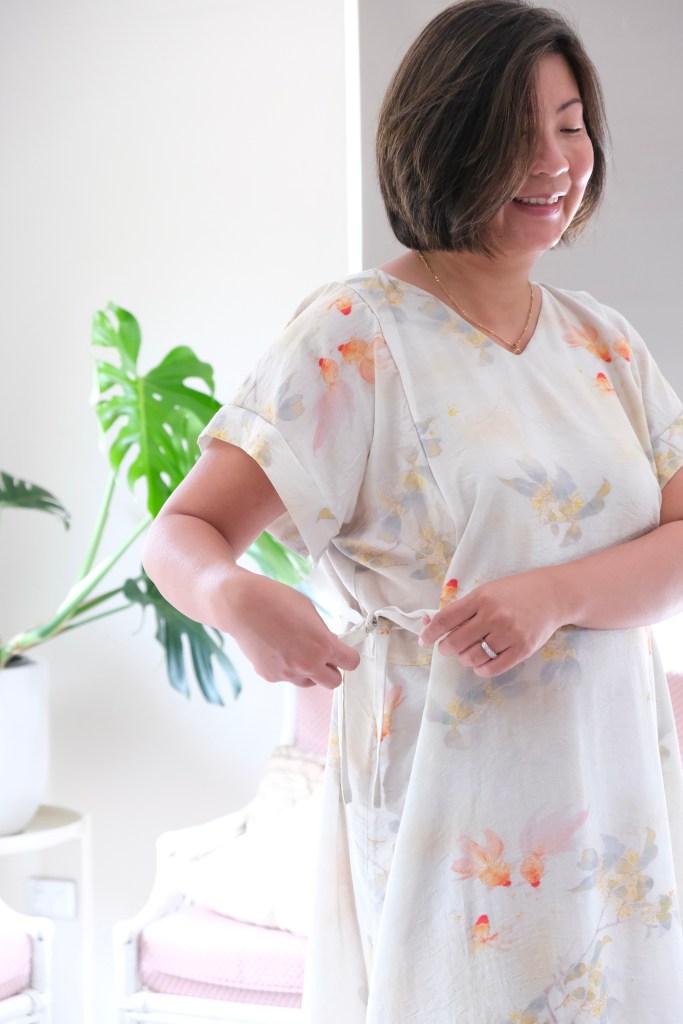
Initially, I had thought of a different dress on my summer make list. However, when the fabric arrived, it was drapier and finer than I anticipated. It reminds me of raw silk which was the material of my wedding dress, and it has the lustre and sheen of silk. There is also a subtle print of koi and flowers which I wanted to highlight so I didn’t want a pattern that would break that up with gathers or too many pattern pieces that break up the beautiful print. Searching through my files, I realised that the Sewing Therapy Tie Dress was the pattern that fit the bill! I was on the testing team for this dress and have made two which I constantly reach for, especially the short-sleeved version.

As usual, I started by washing my fabric. Even though it looks delicate, I found that it was okay to wash it in my washing machine on the cold cycle with a detergent for delicate fabric (one without enzymes). I then air dried it which is the normal way I would treat it once the dress is sewn. There was no loss of colour or changes to the fabric which was a relief.
The next step was to test a small piece of fabric on my machine and the overlocker so that I could decide on the type of seam finishes and the needle I needed. I did change my machine needle to a 70/10 gage needle which is great for finer fabric. Testing the fabric with the overlocker also worked out without any changes. I’m still learning about overlocker settings on my second-hand Bernina. Being second-hand, it didn’t come with a manual but luckily, I could find the manual online.
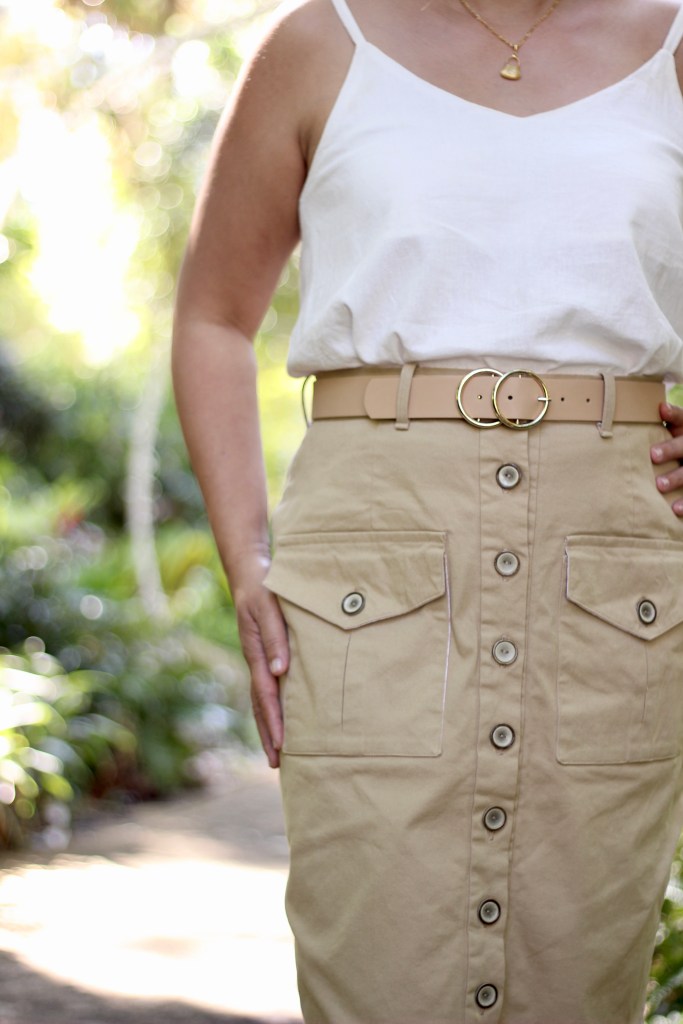
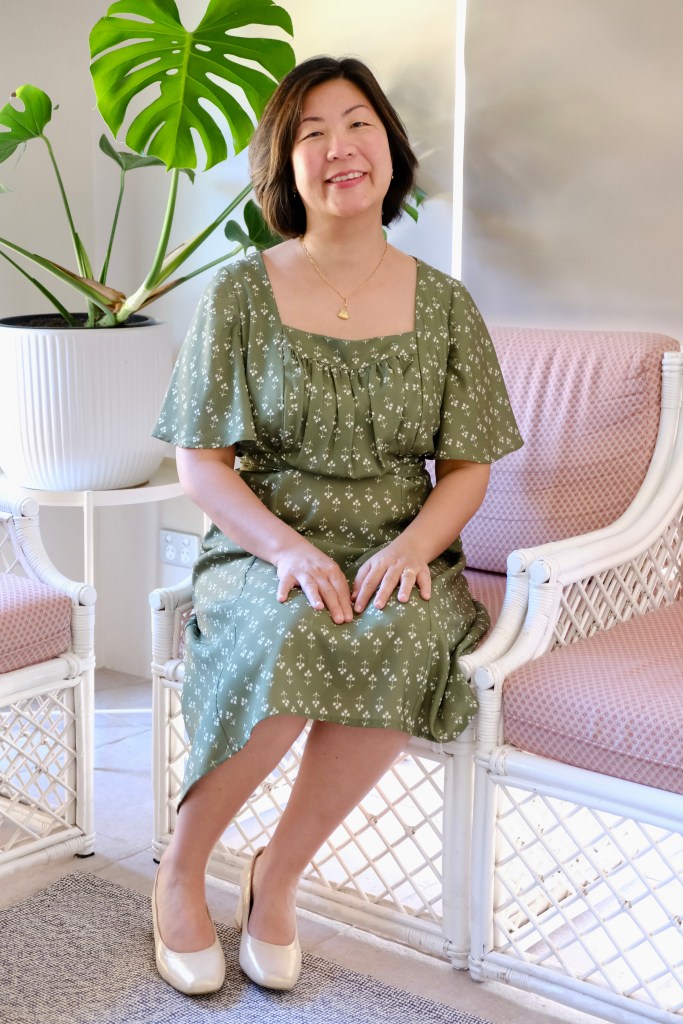
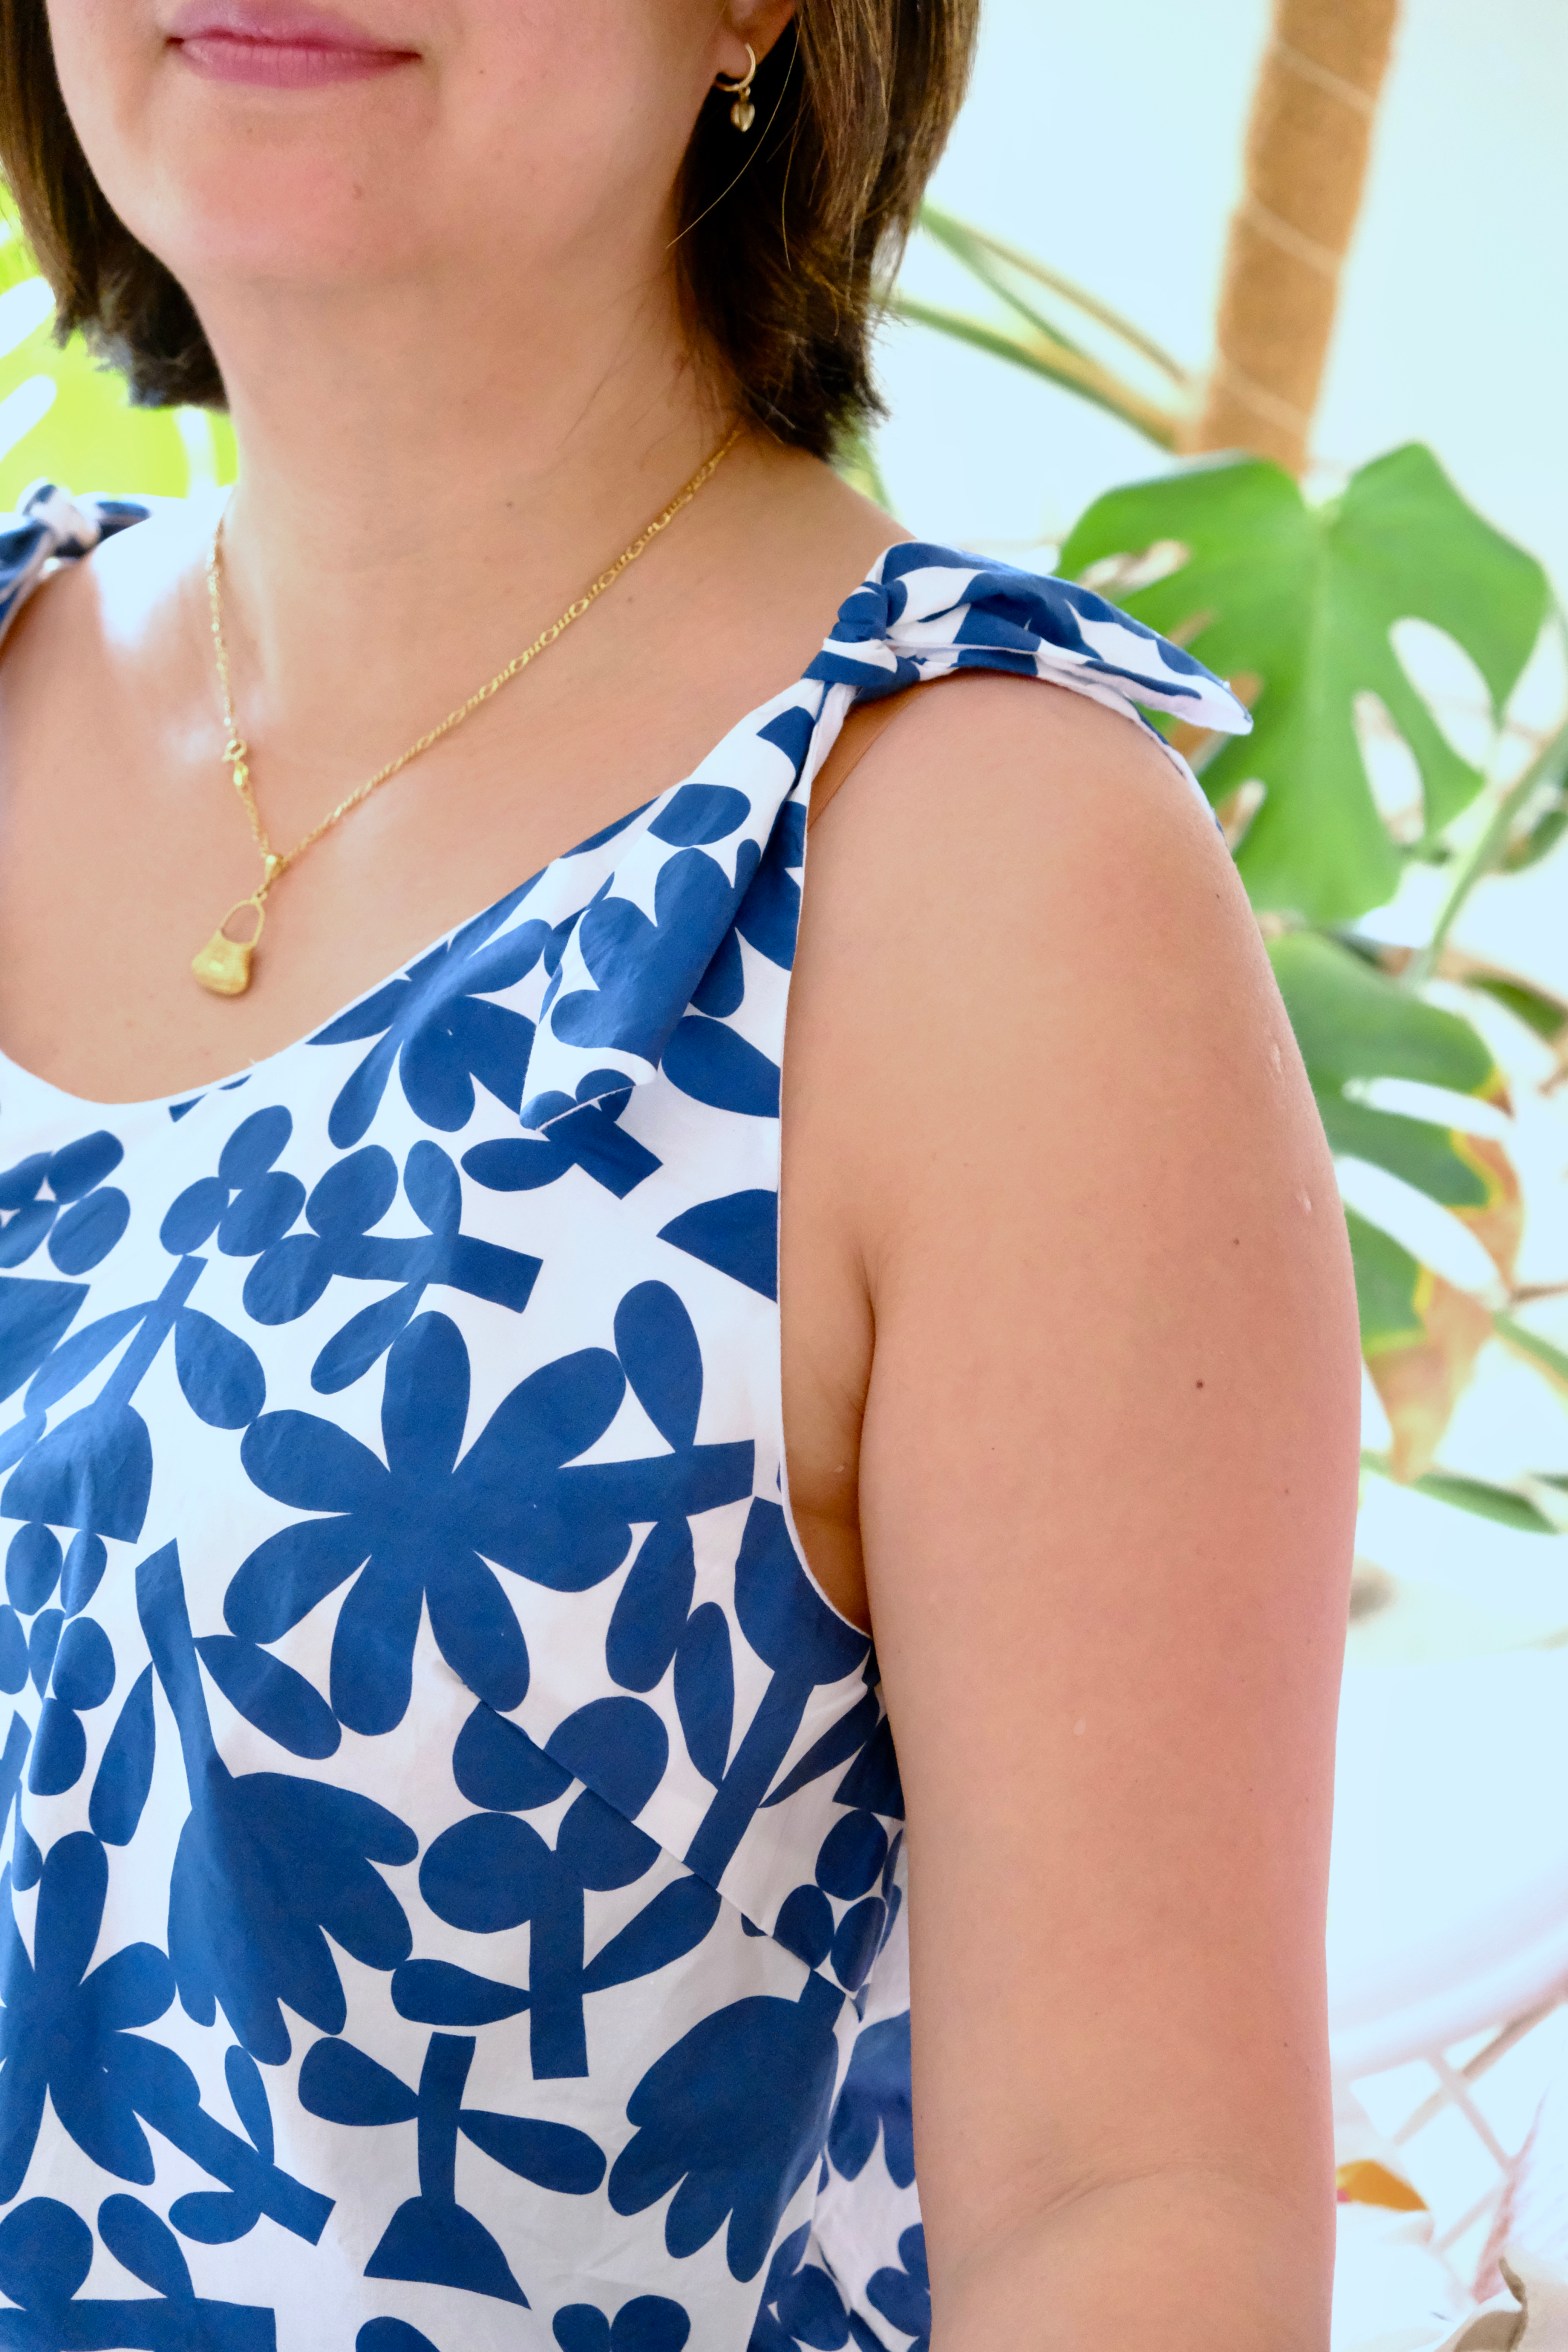
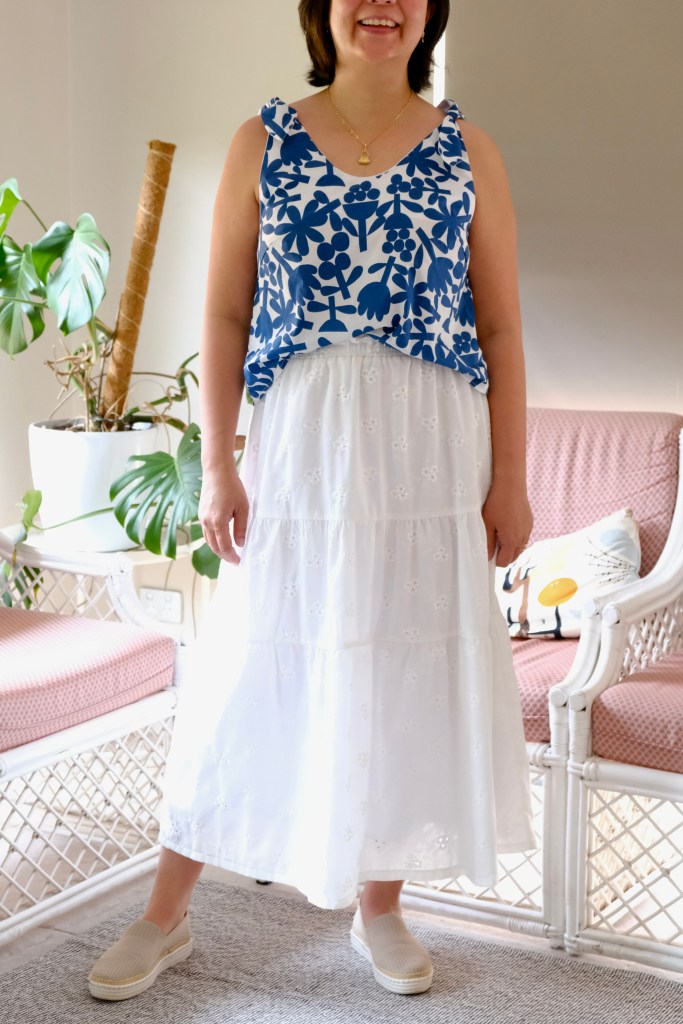
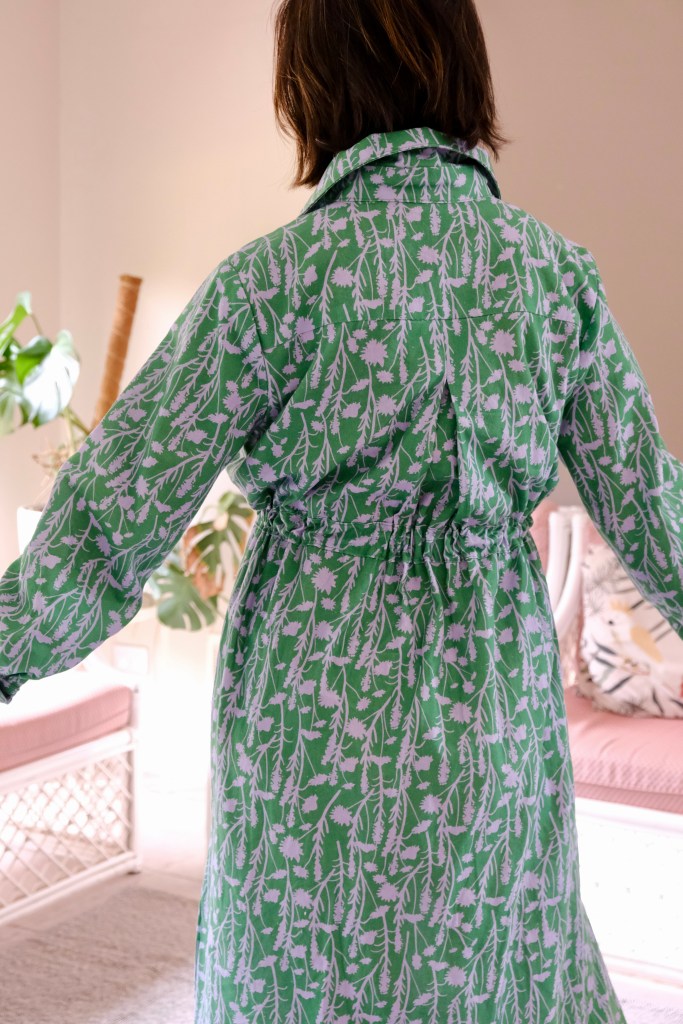
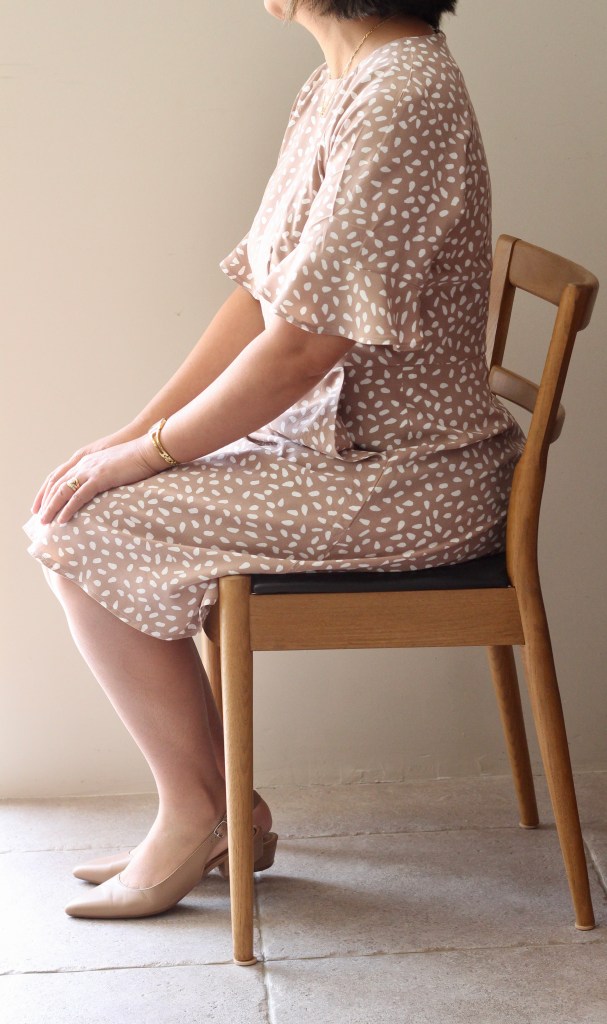
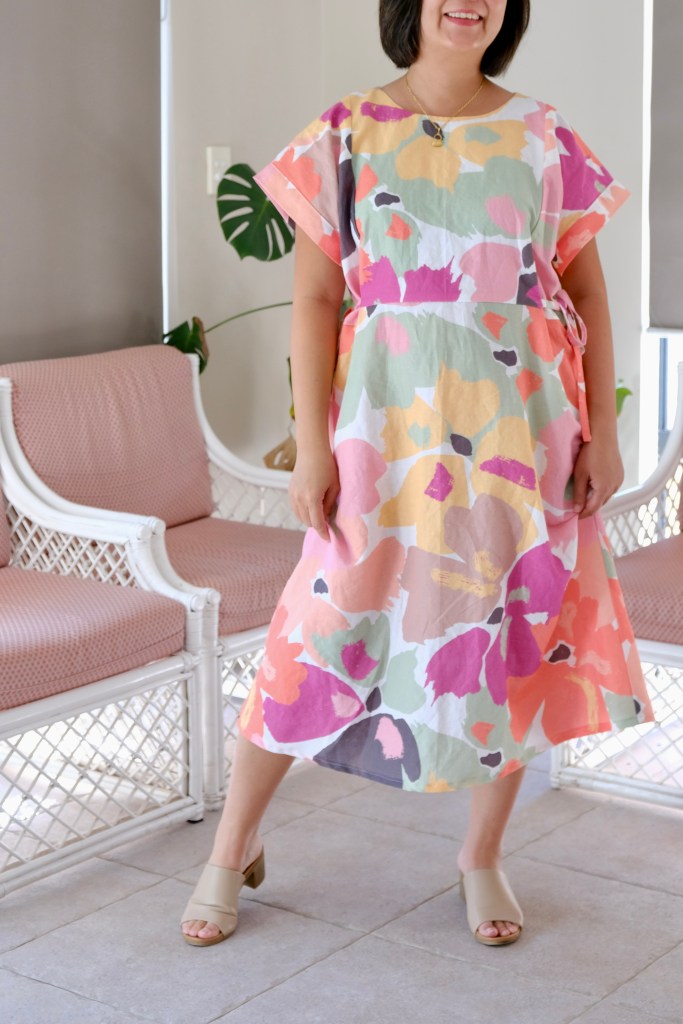
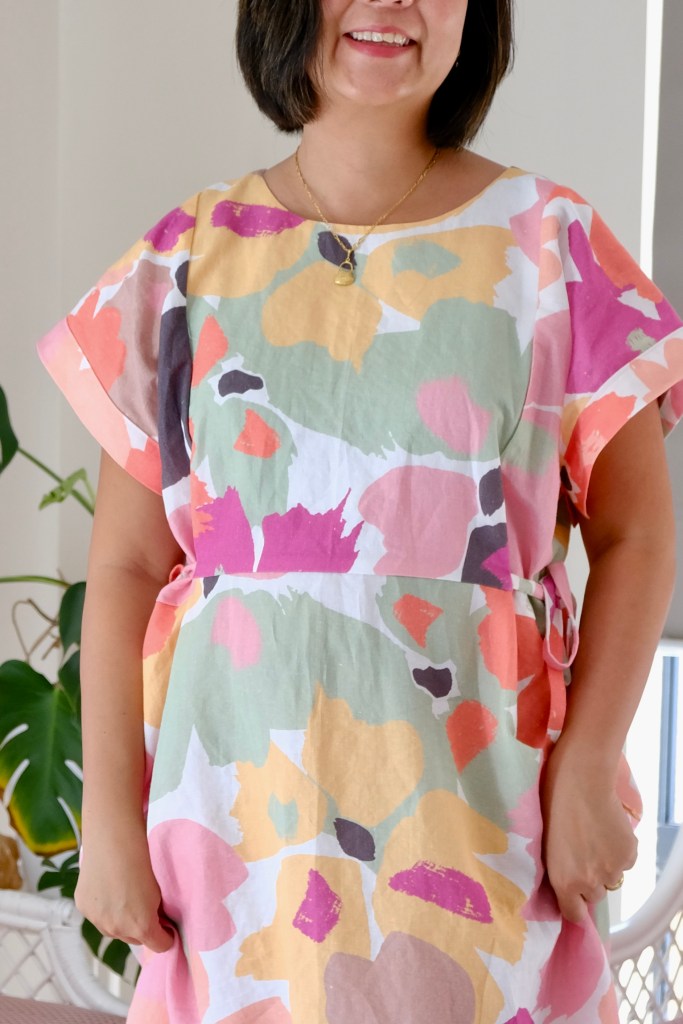
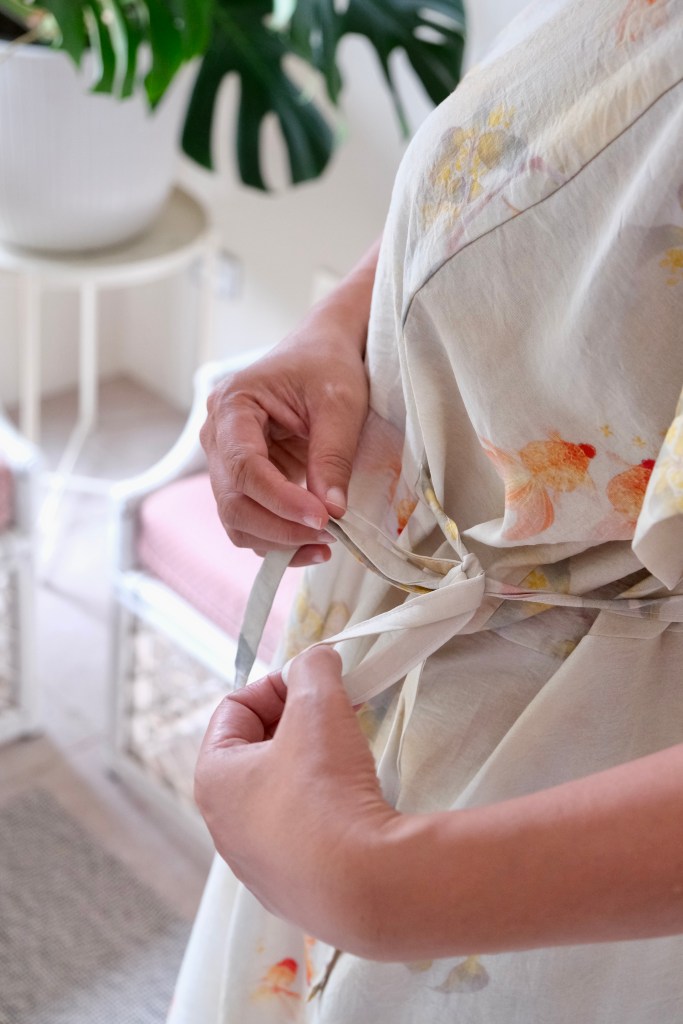
The Tie Dress is an elegant design with versatility in mind. The ties can be played around with, so the wearer can tie it in multiple ways to adjust for a loose or snug fit, be tied to the front and back or to the sides. It can also be worn as a v-neckline or round neckline. I’ve never known a pattern like this. I guess that’s why it has been worn so much. There’s never a time when I have avoided wearing it due to changes in my tummy size. Talking about sizing, I made the size 12 with my measurements of 38-inch bust, 33-inch waist and 40-inch hips without any modifications.


Sewing the dress is made easy by the instructions which are included with the pattern. It is also helpful that Sara has included a sew-along video on her YouTube channel called Sewing Therapy. It’s my go-to channel for sewing inspiration and a great resource for the sewing community.
I’m so grateful to be given the opportunity to showcase this delightful fabric from Longan Craft. I learnt a new word from my husband. When he saw the dress, he said that the fabric is diaphanous. According to google dictionary, it’s an adjective (especially of fabric) light, delicate, and translucent. It’s a great description of this fabric. The fabric composition is 60% linen and 40% Tencel but has the feel and lustre of silk. It comes in 59-inch width which is a lovely wide 150cm fabric. It’s beautifully lightweight at 92 gsm which converts to 2.71 oz. Longan Craft is a well-established online fabric store since 2020. The delivery of the fabric was prompt and I’m so impressed by the quality of the fabric. It has been a pleasure to sew their linen chinoiserie fabric, but they have a wide range of fabrics which cater for sewists and crafters from novice to professional level.


For my lovely readers who have read all the way to the end, Longan Craft have provided a discount code which you’re welcome to use! It’s not an affiliate link and doesn’t add to the cost of your shopping cart so don’t worry. The code is emsewhappy which will give you a 15% discount. Happy shopping!
Thanks for reading and happy sewing!
X Em
Disclosure: Fabric was supplied for review with no obligations to write a blog post. All opinions remain my own.