Earlier this year, I entered The Cloth Edit sewing challenge called Sew April Blouse, and I won a PDF pattern from Monsterfabriken. I was so excited to win the pattern amongst all the beautiful entries and was also excited to discover a new designer. The thing I admire most about Monsterfabriken is their philosophy of making their sizing adjustable to ensure that once sewn, those garments will last therefore helping to reduce clothing waste.

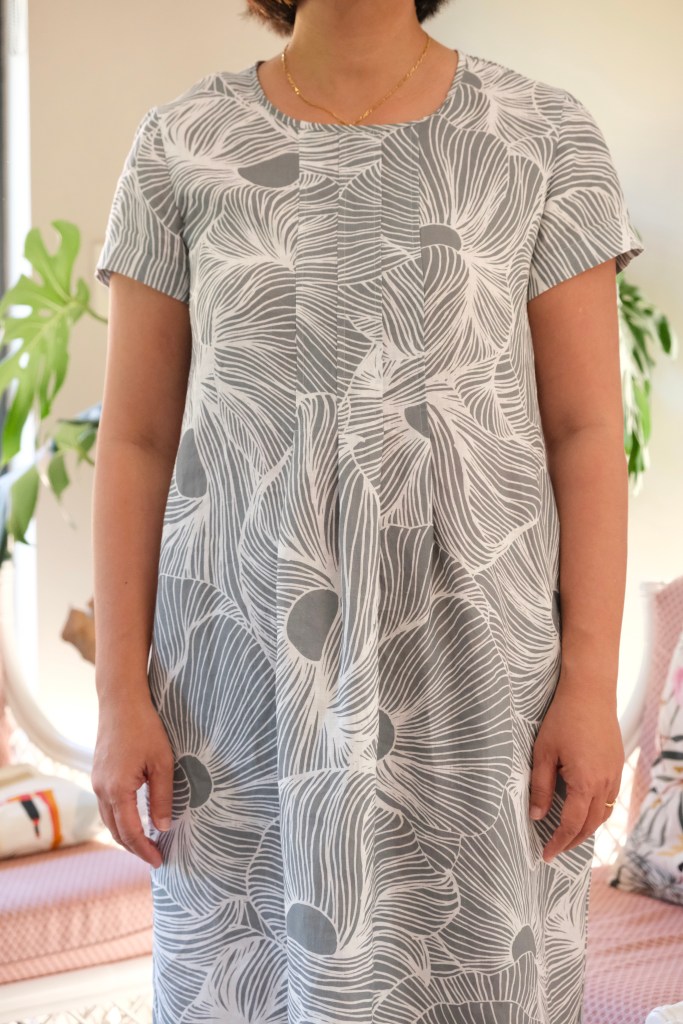
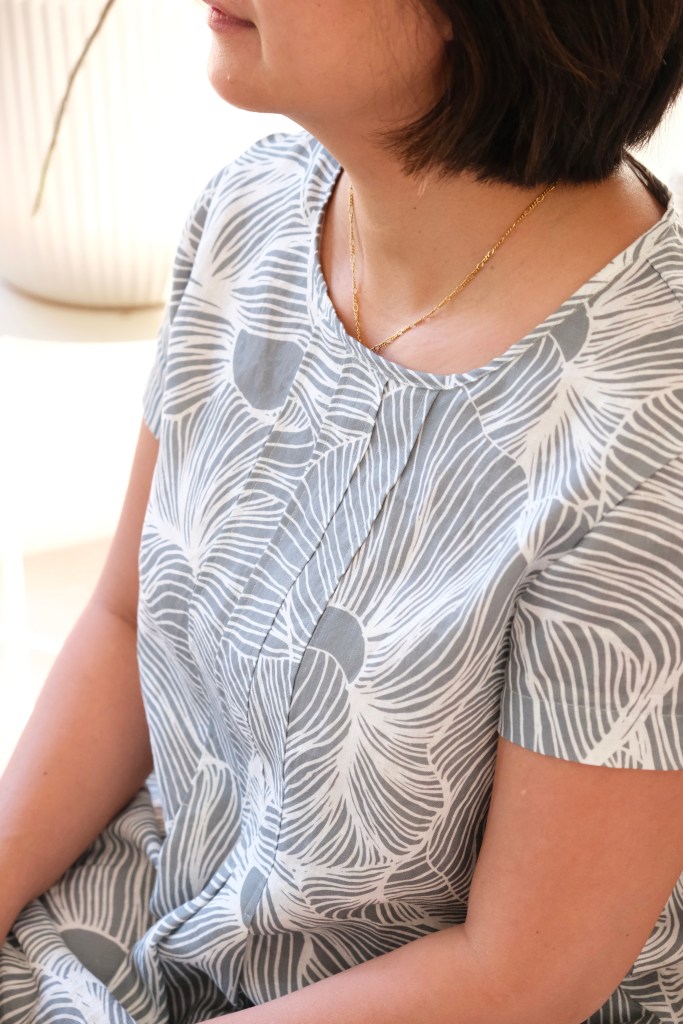
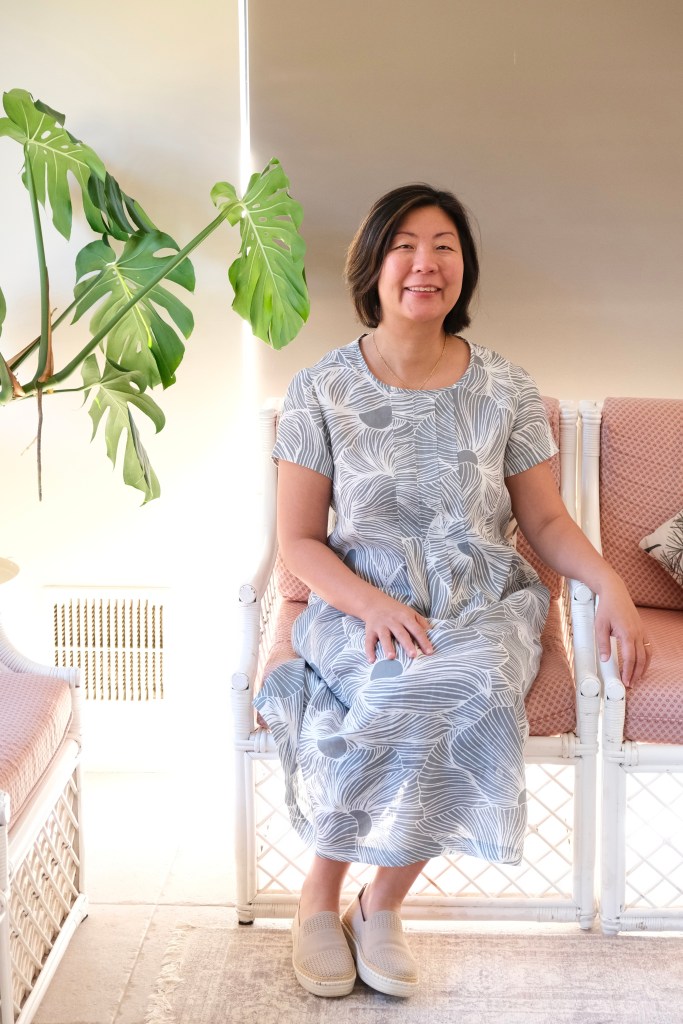
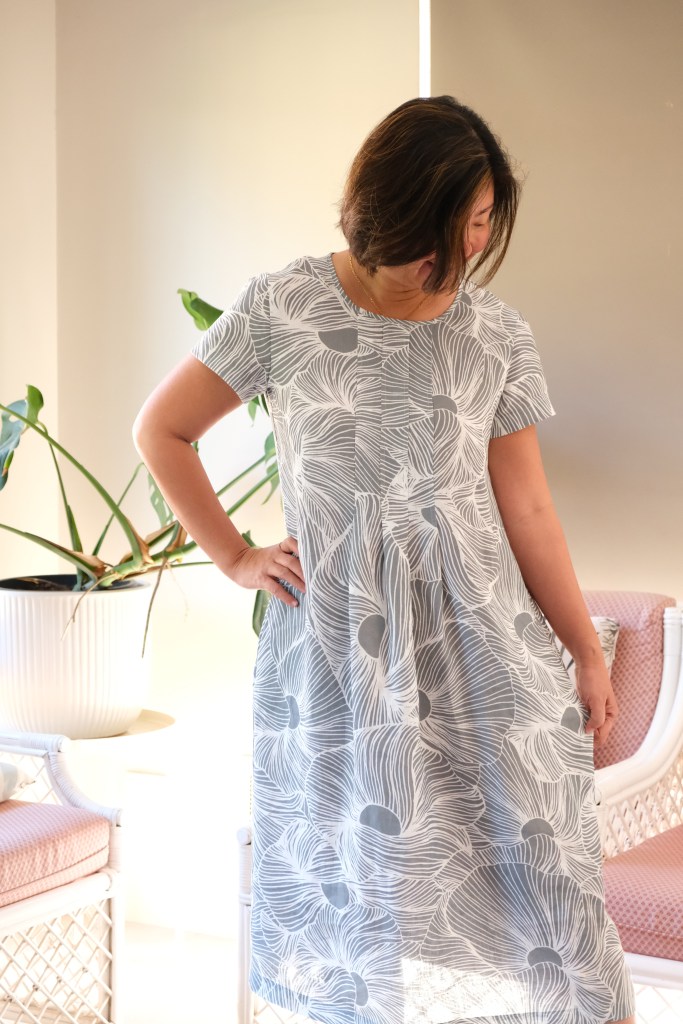
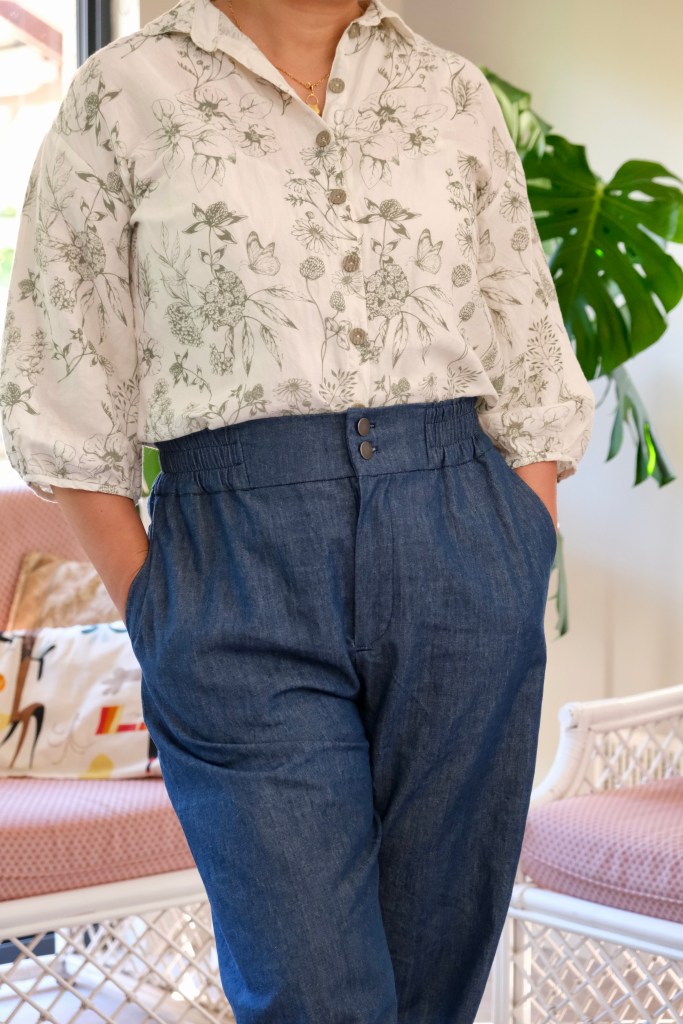
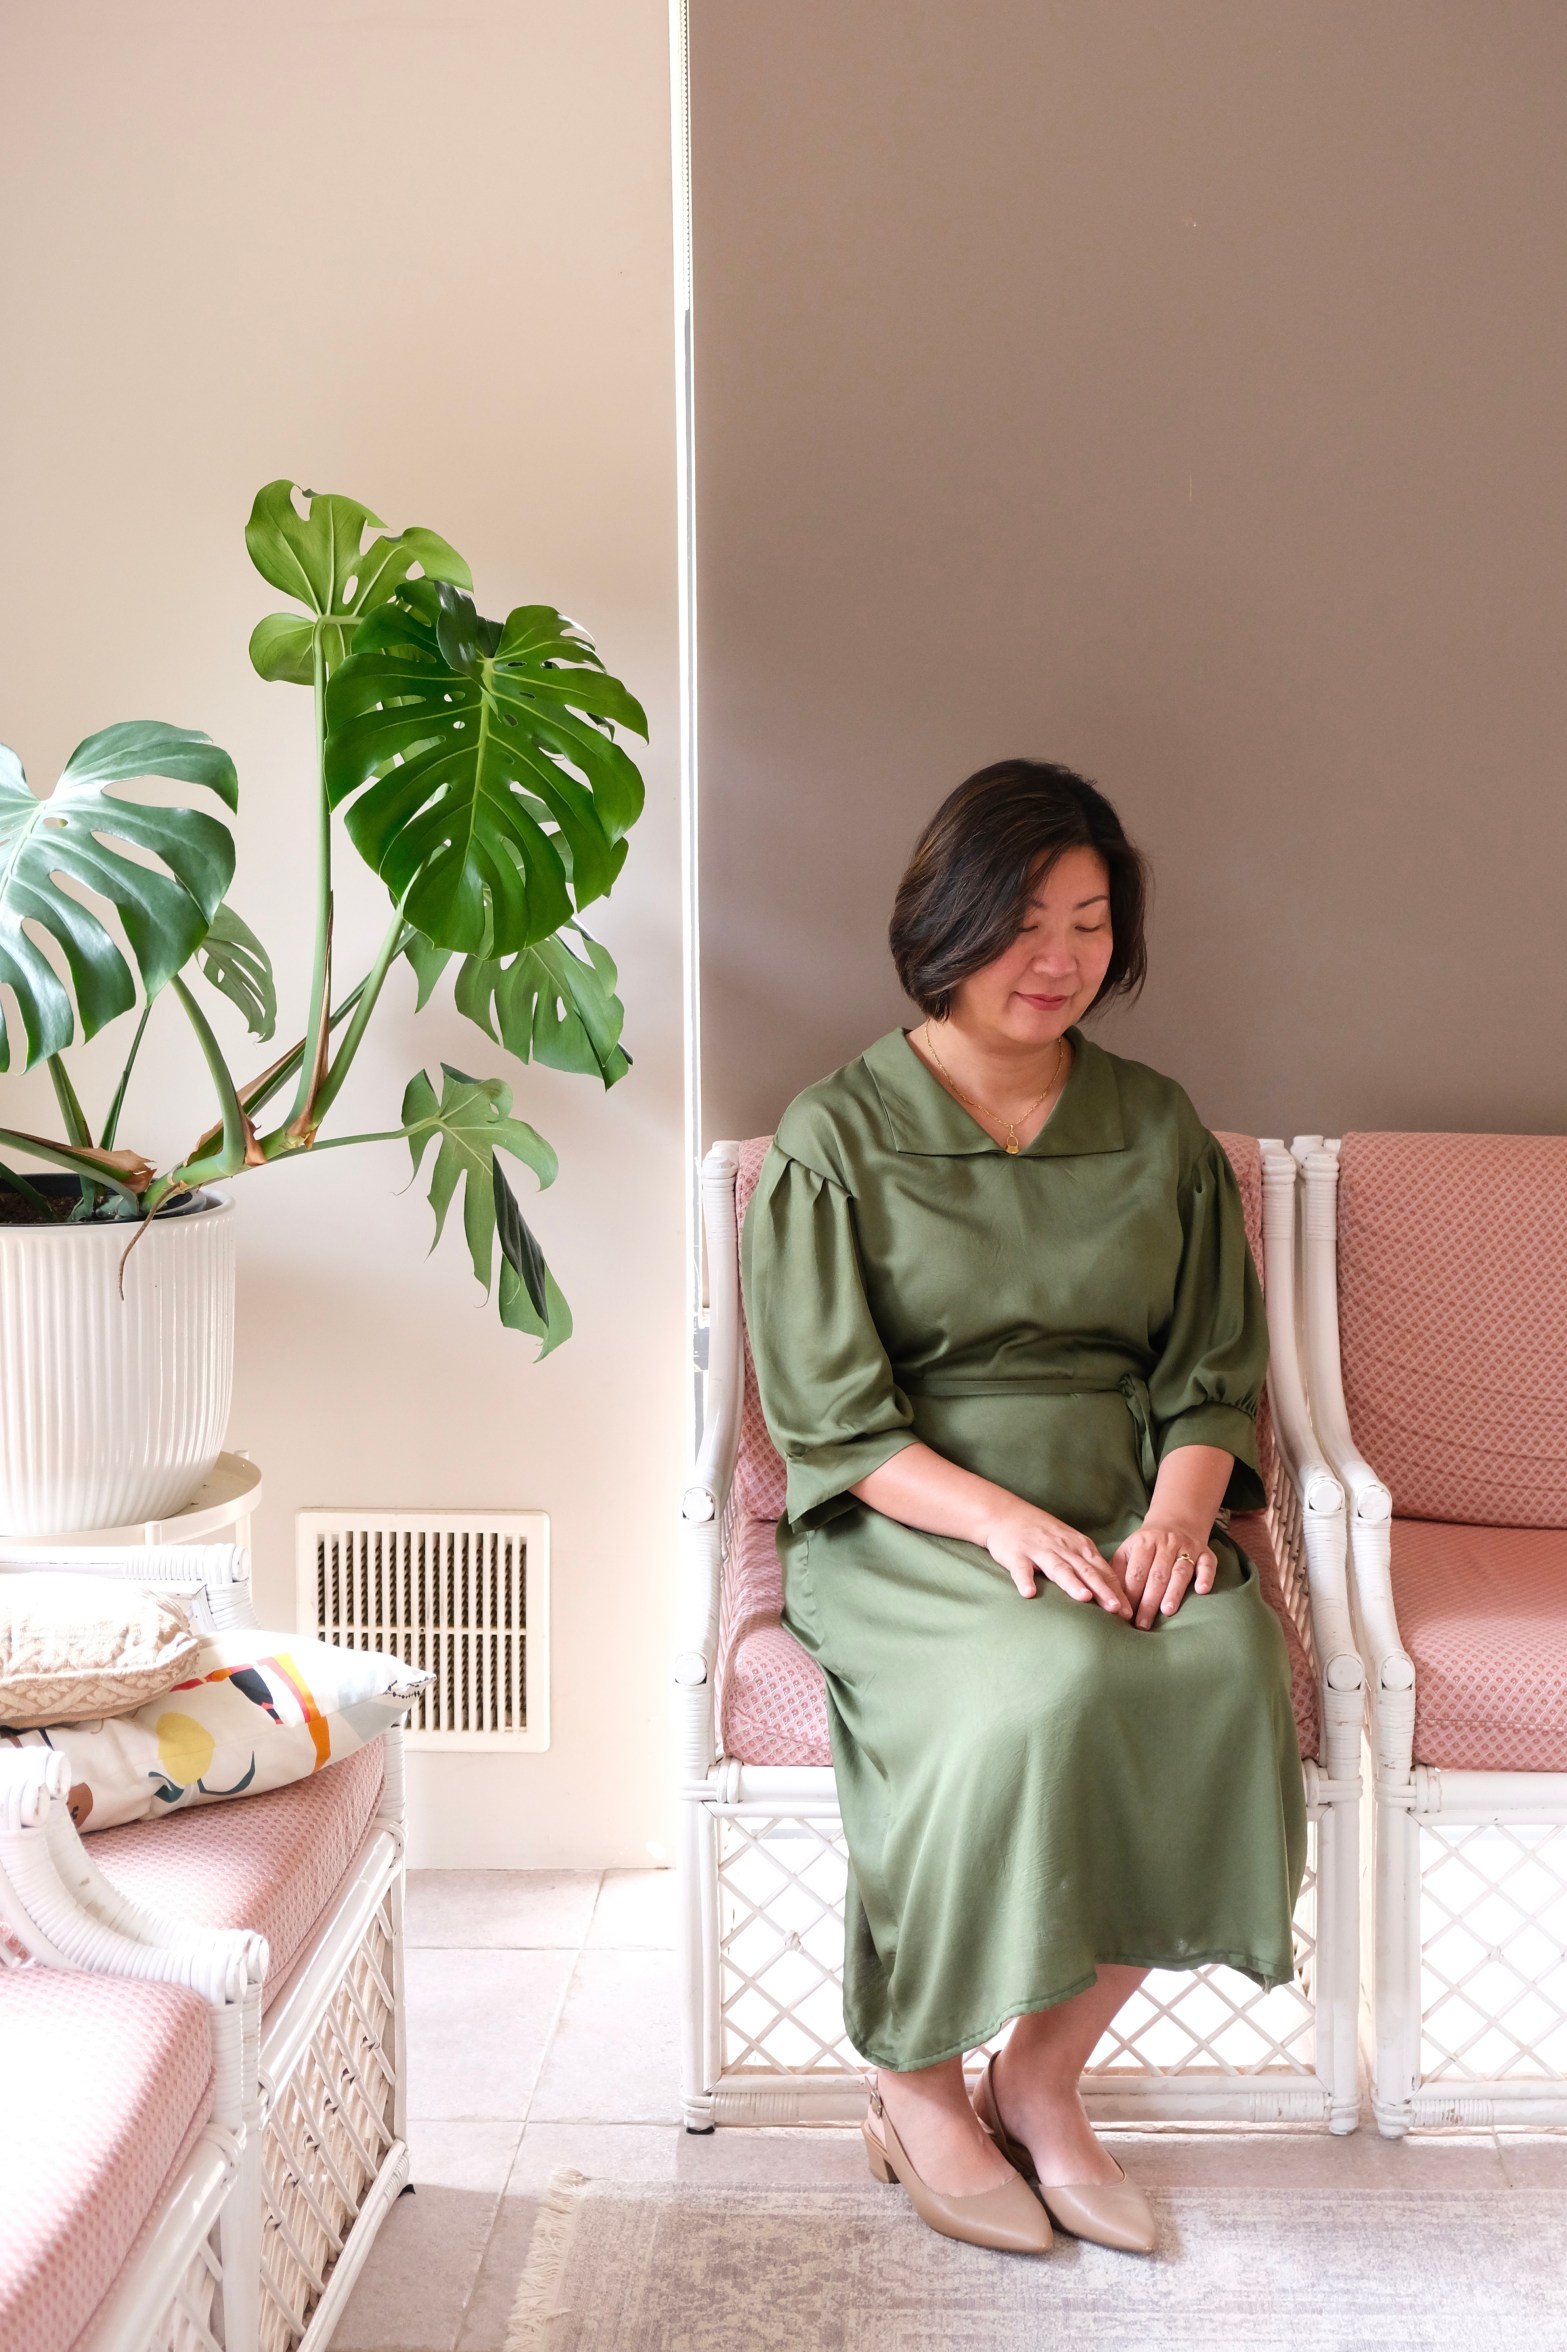
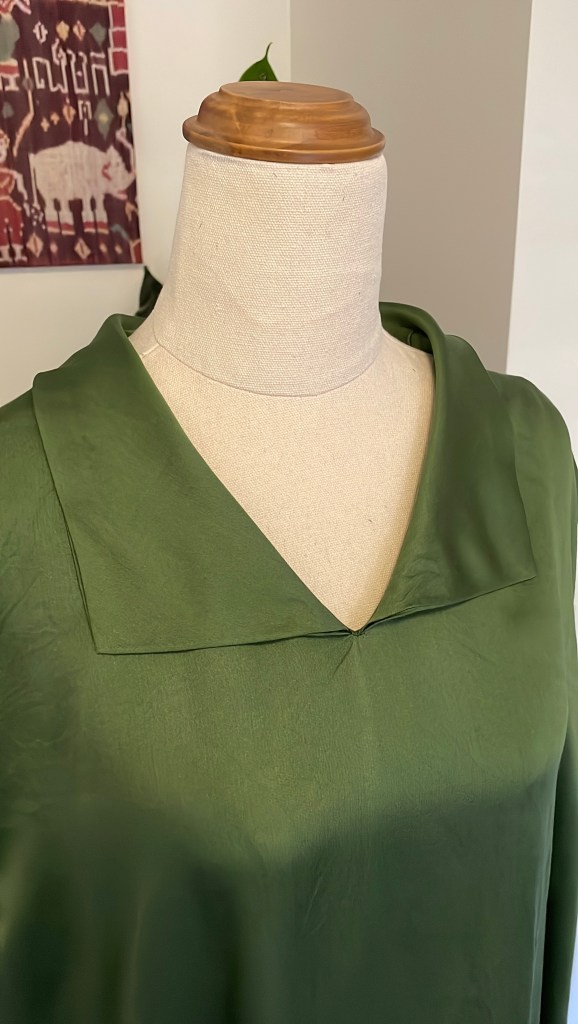
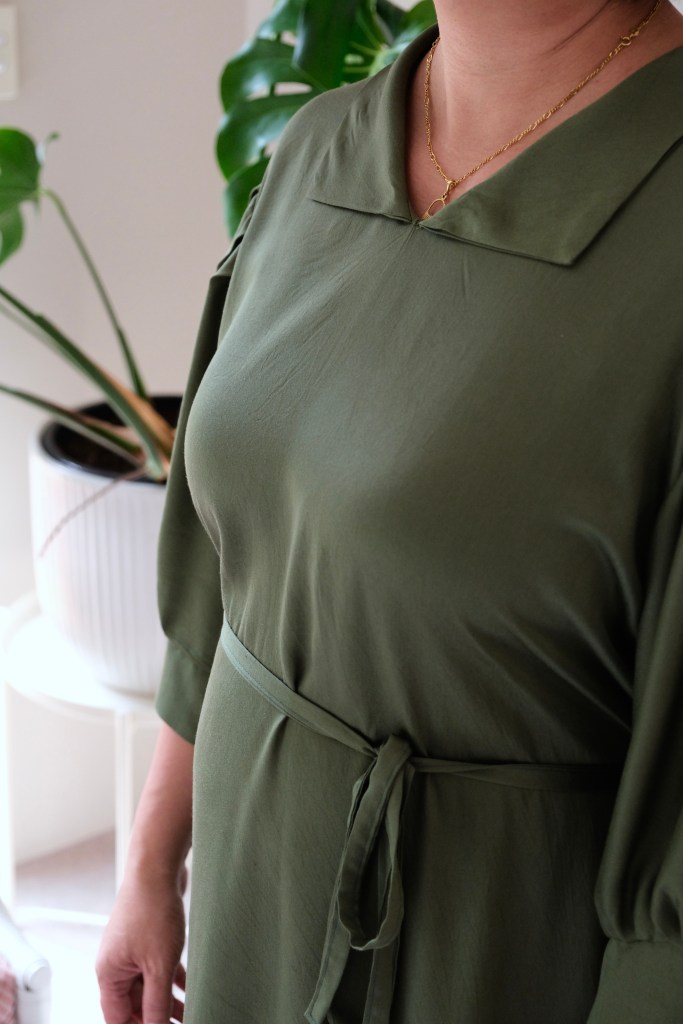
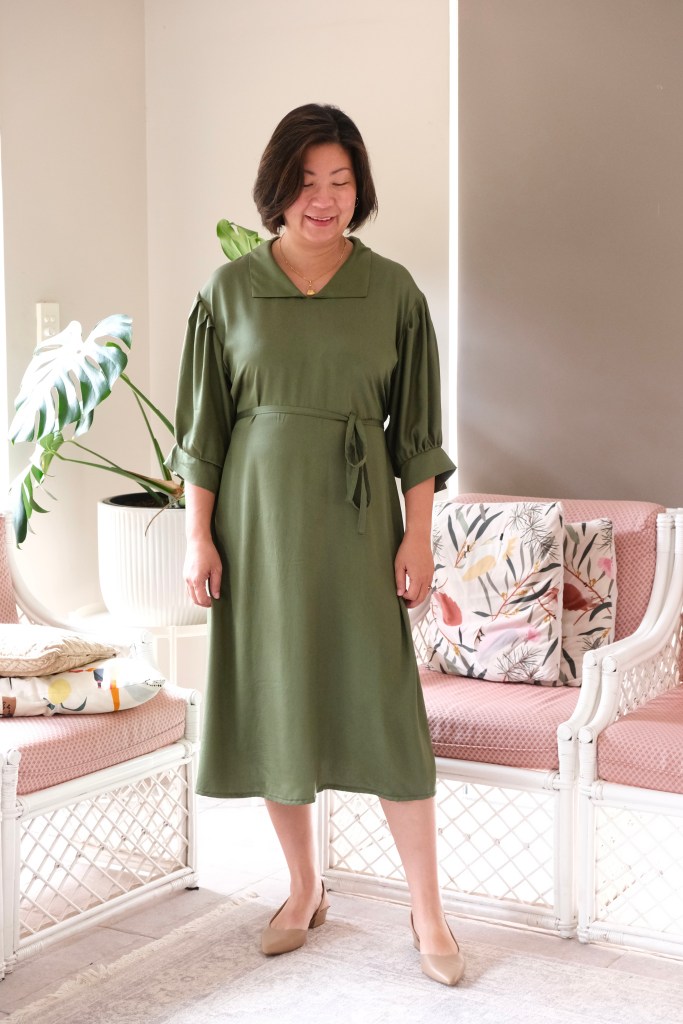
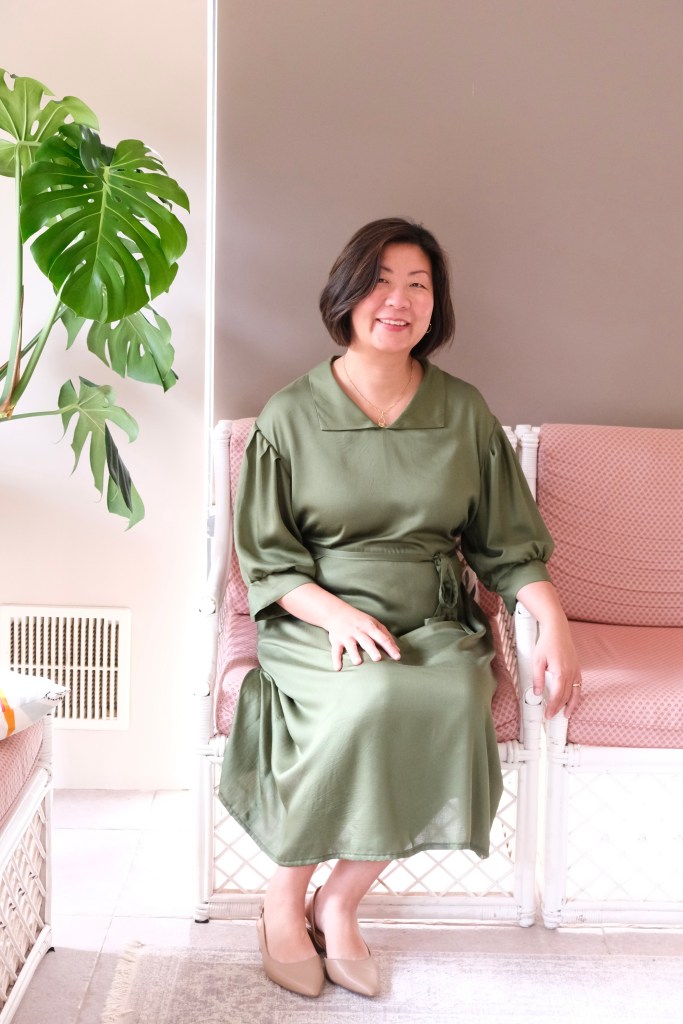
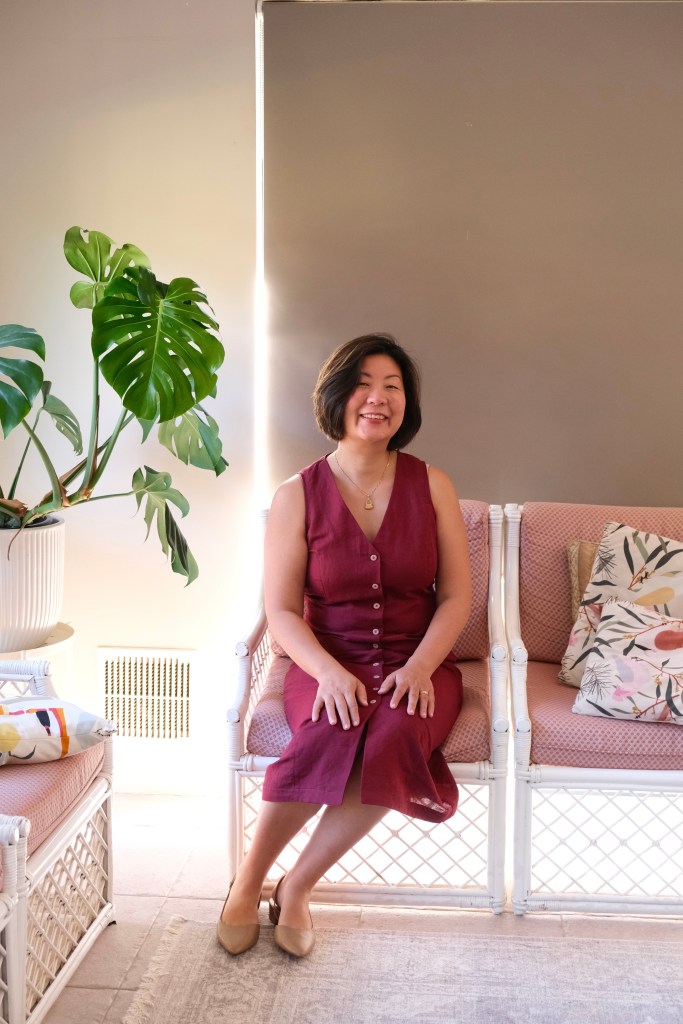
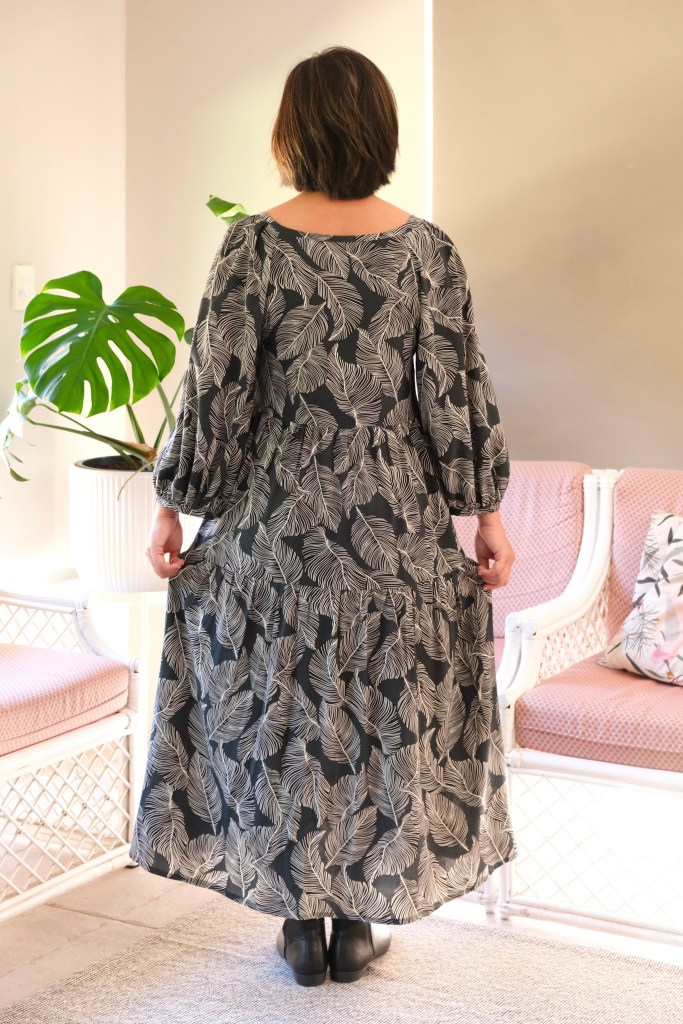
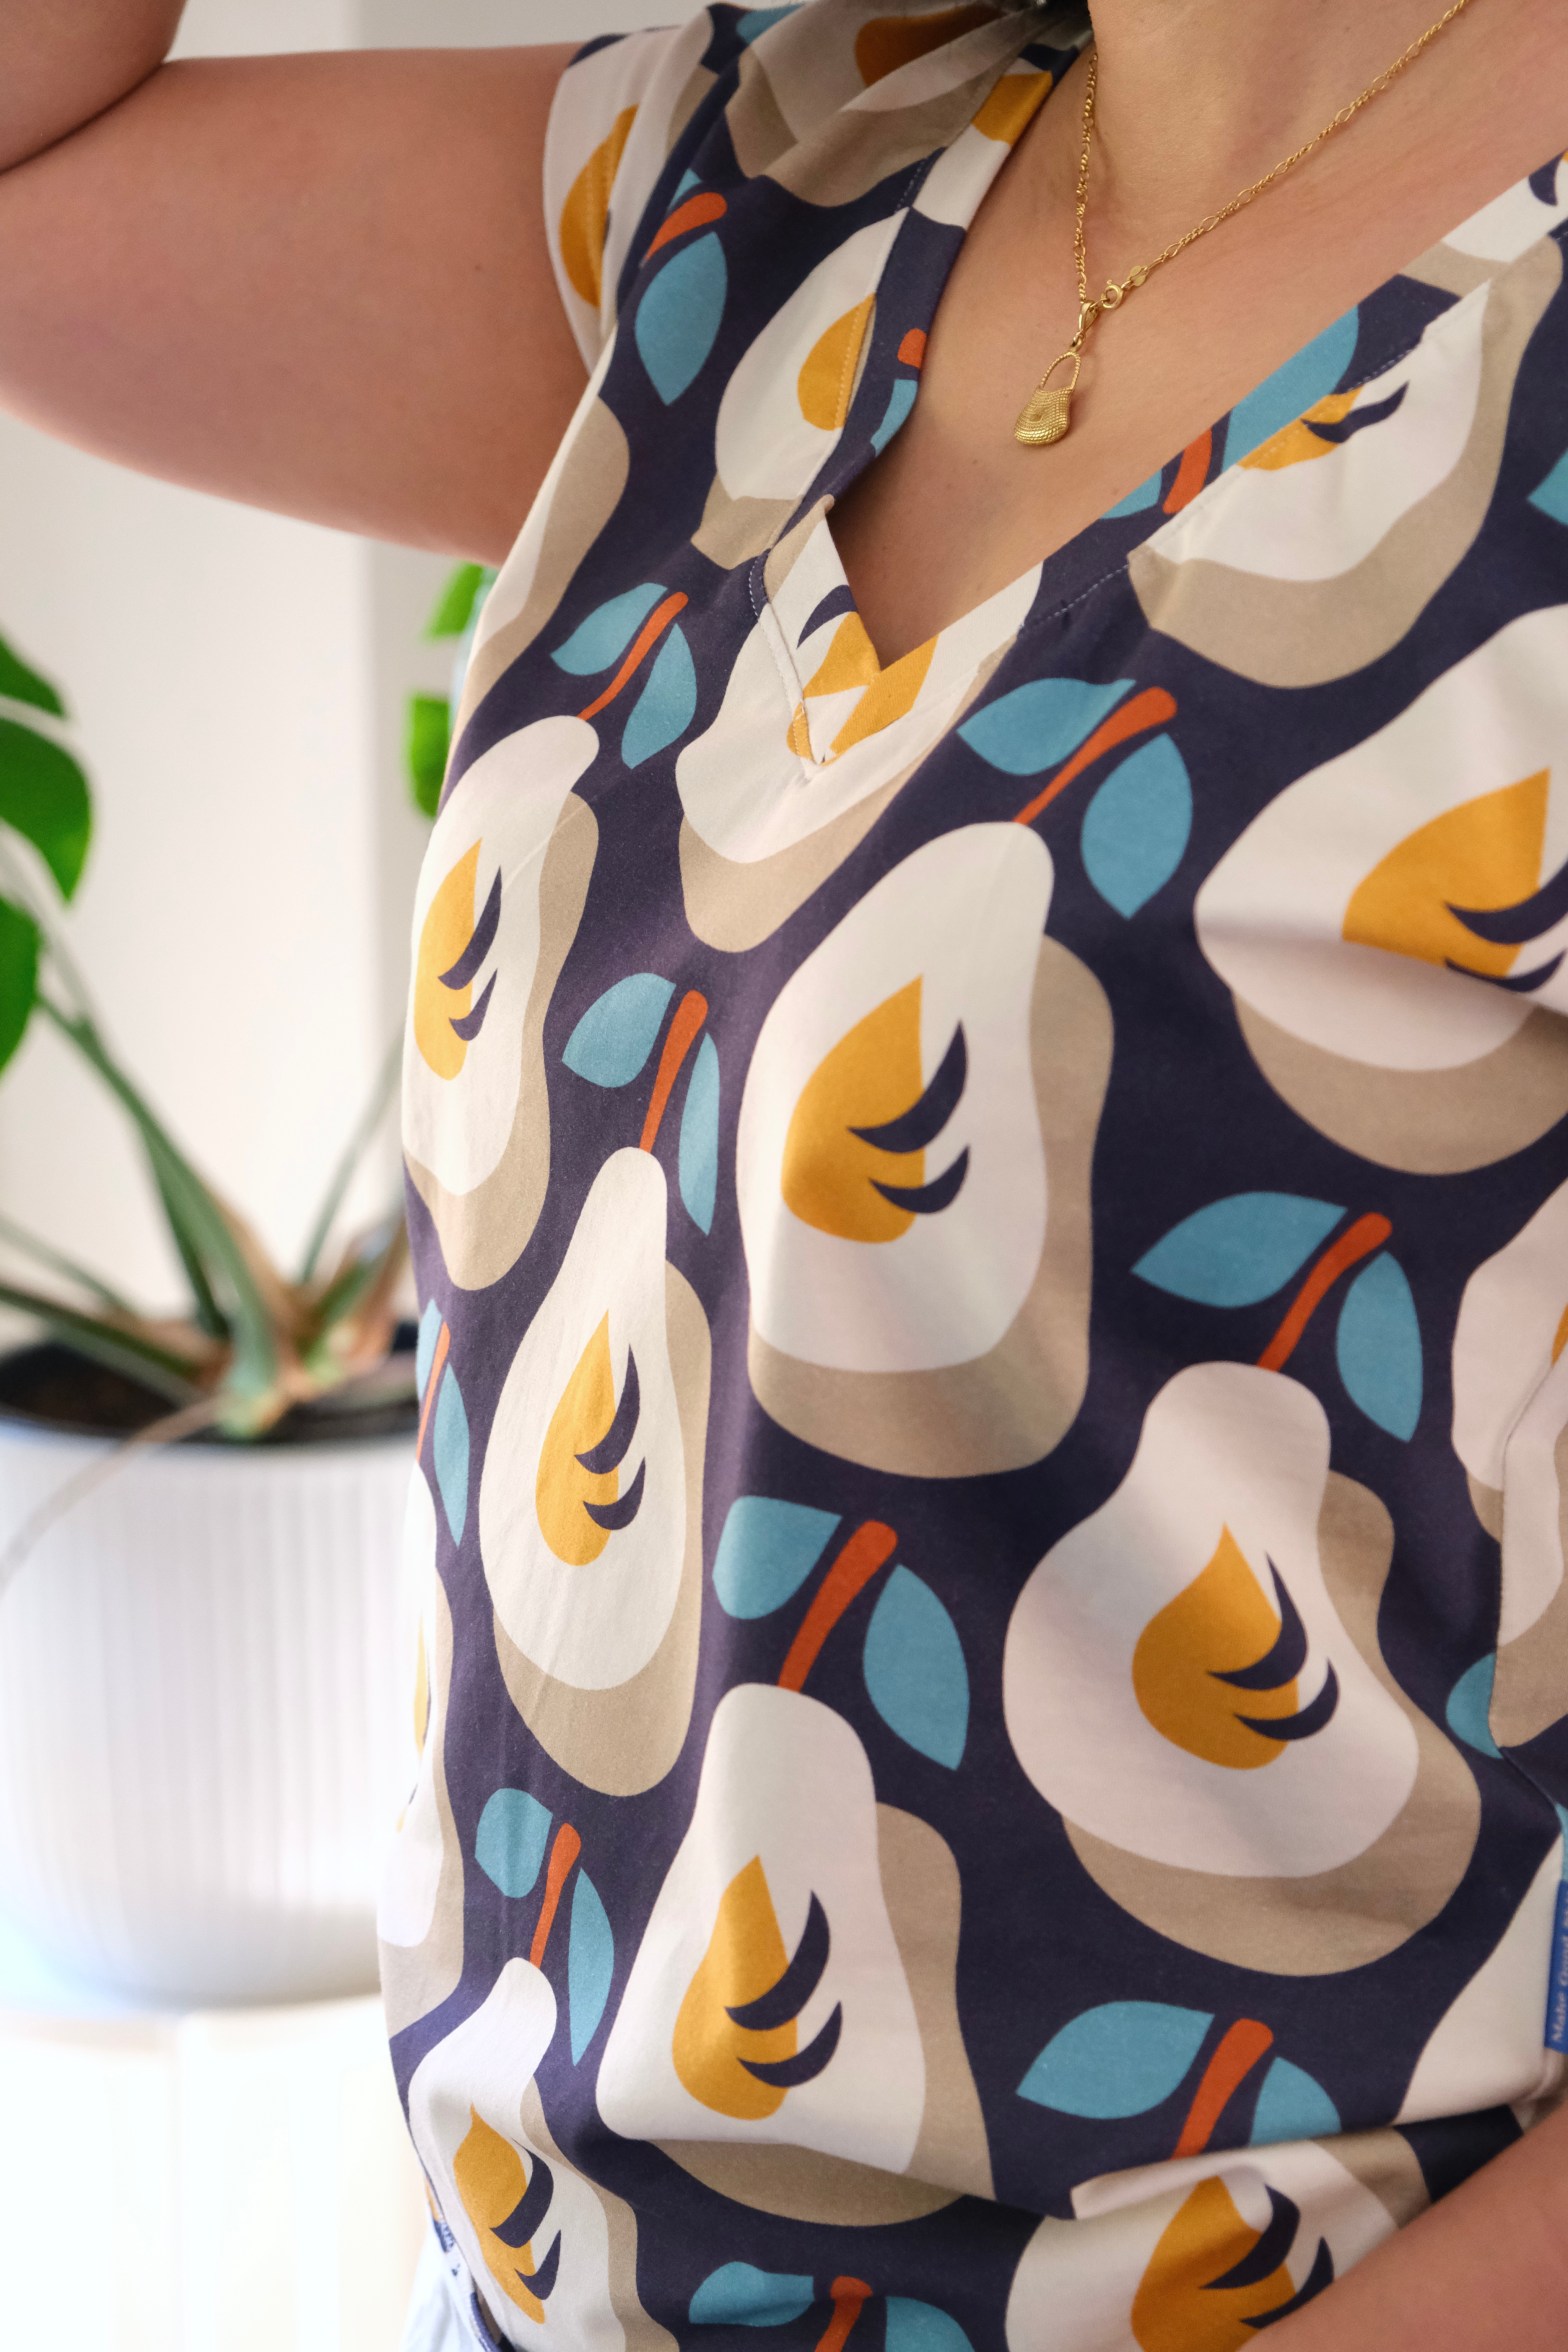
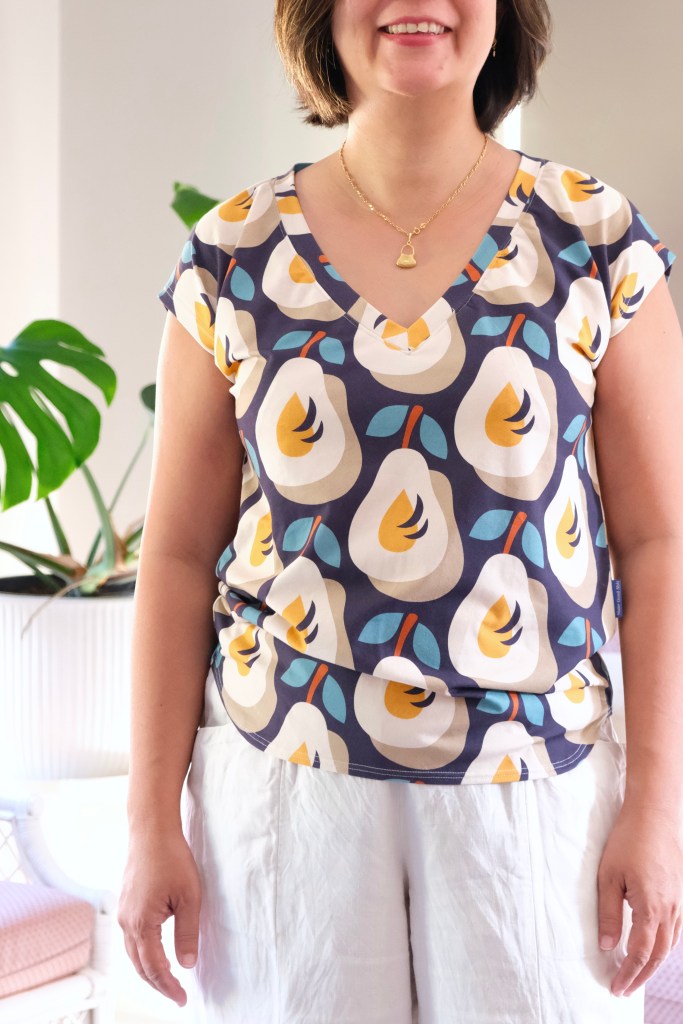
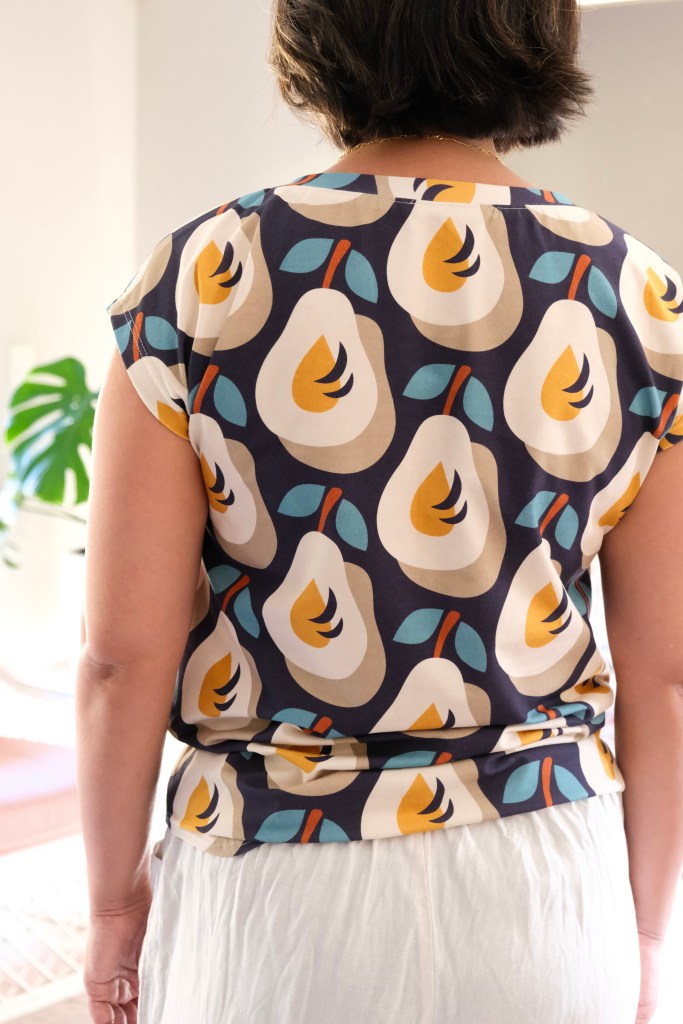
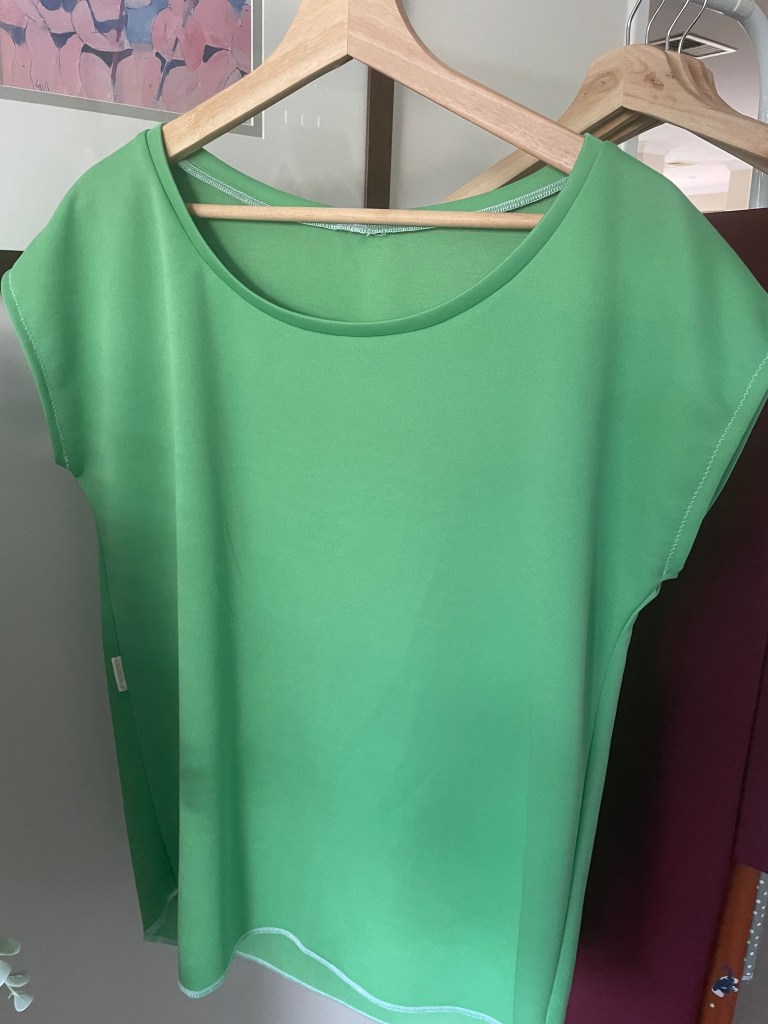
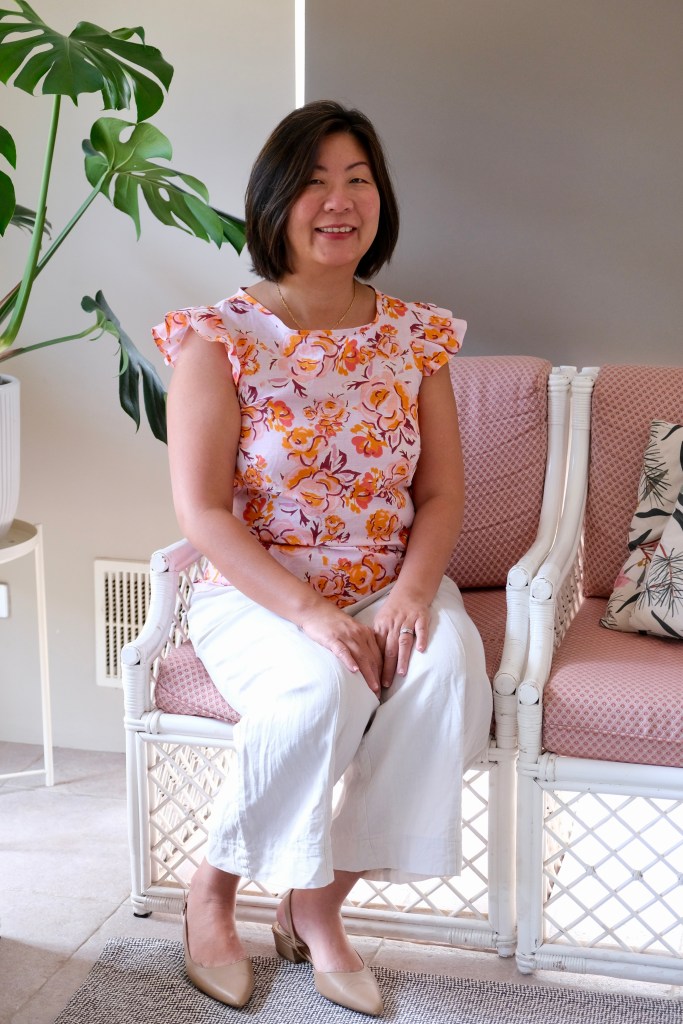
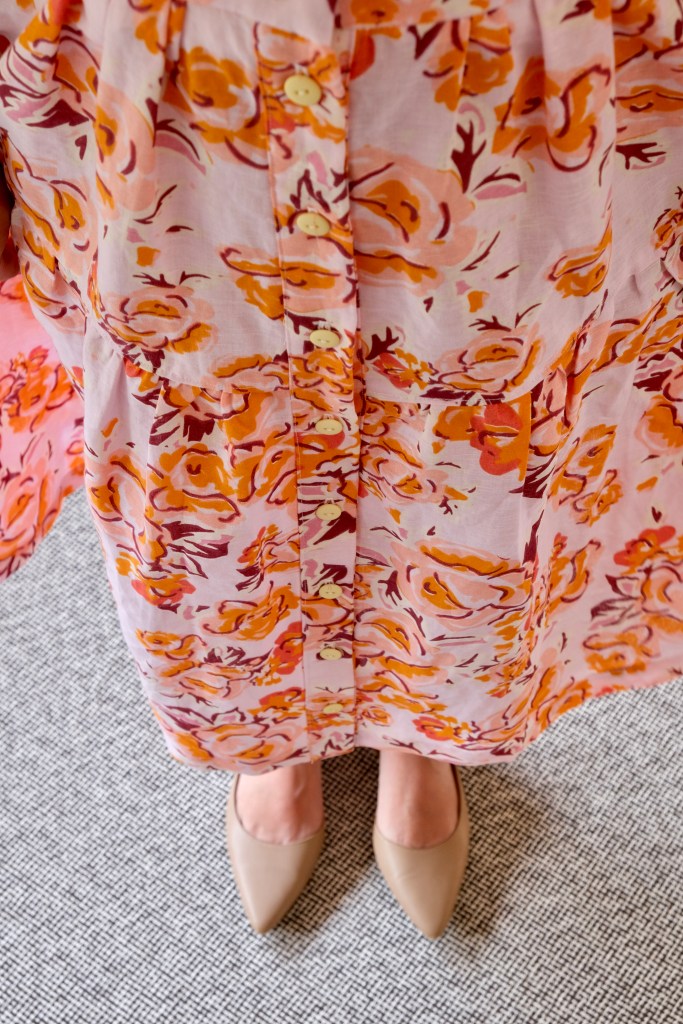
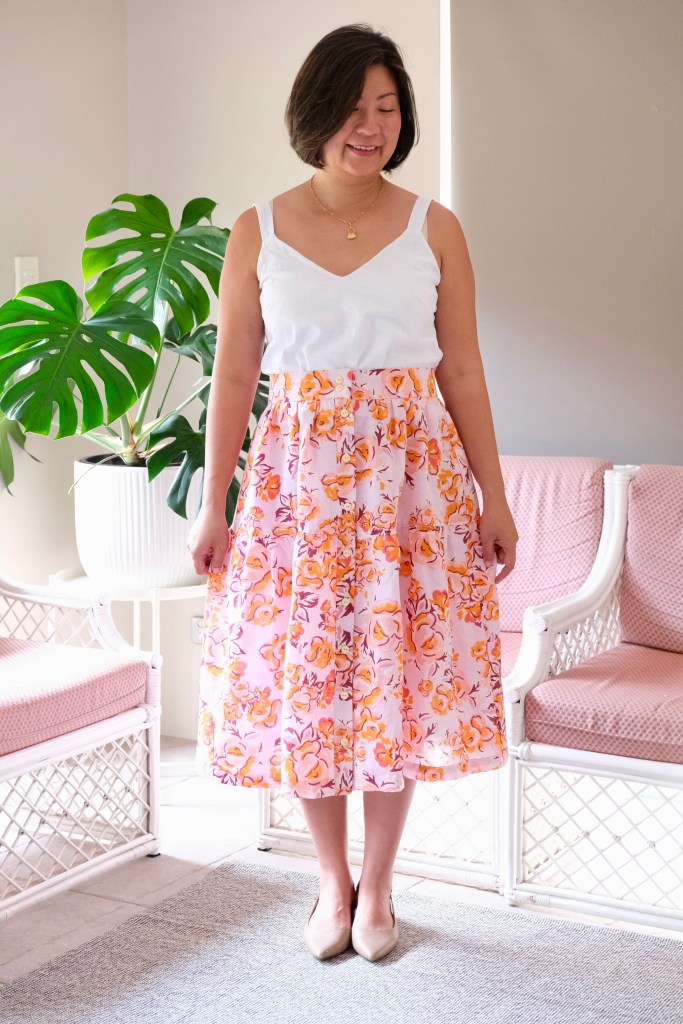
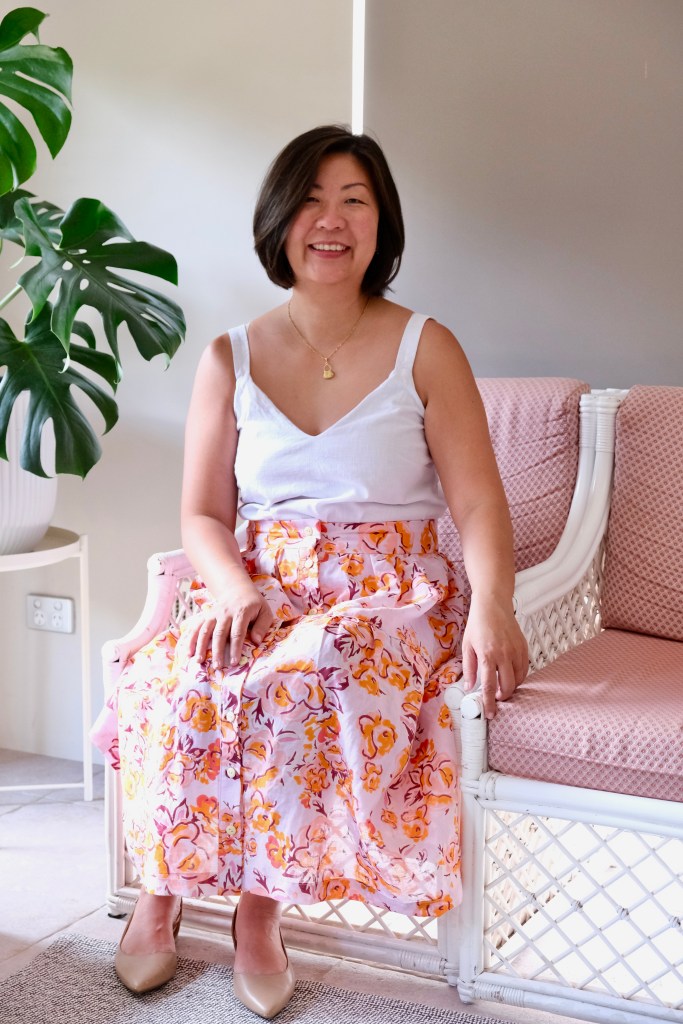
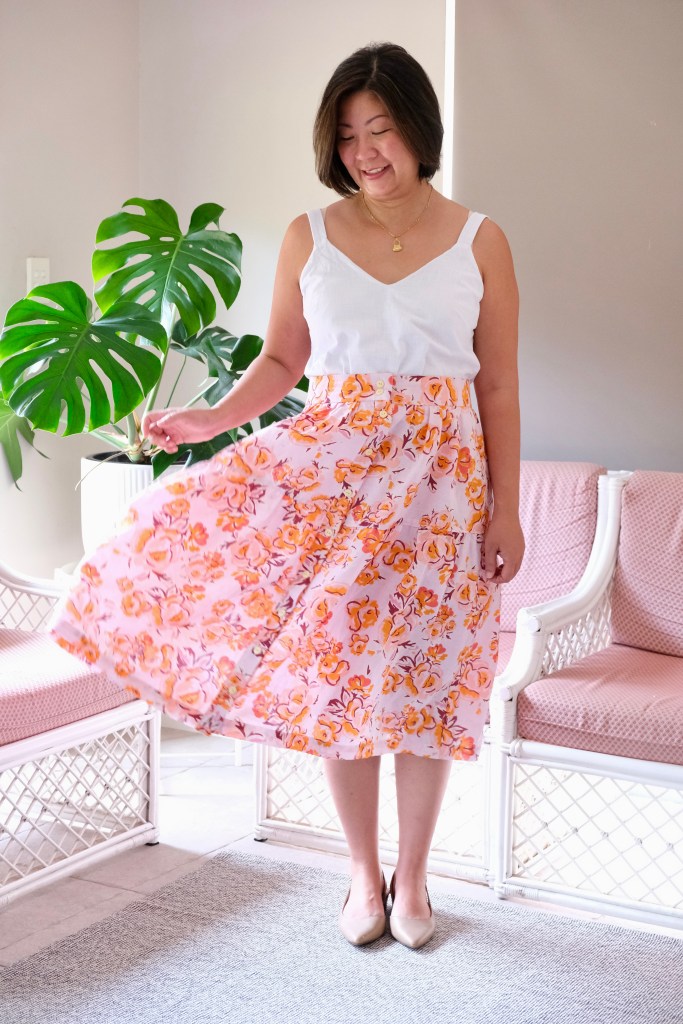
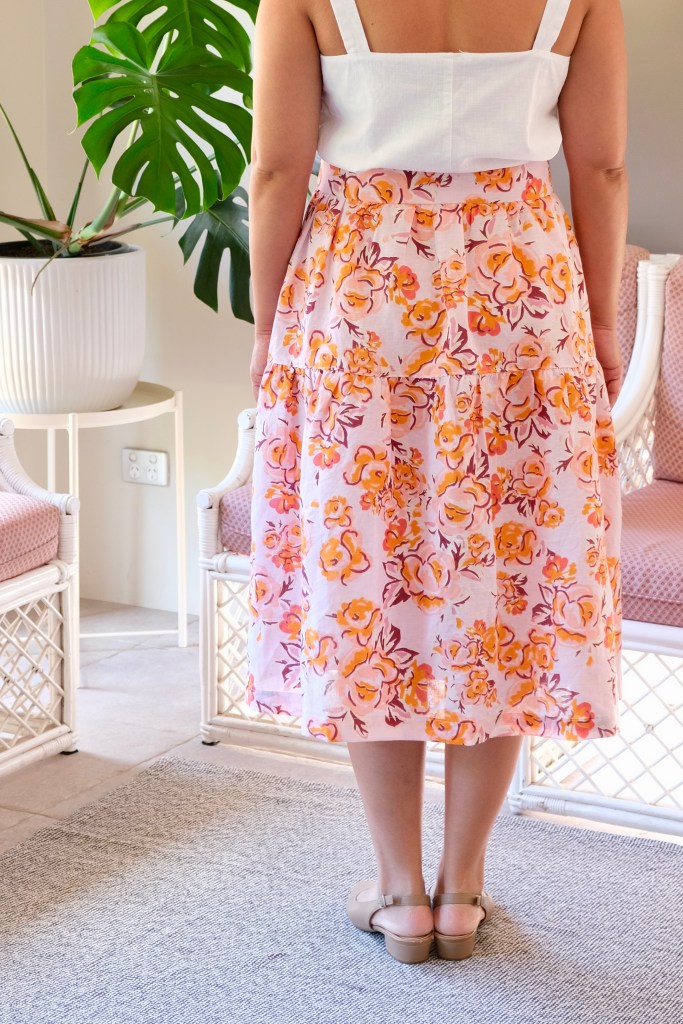
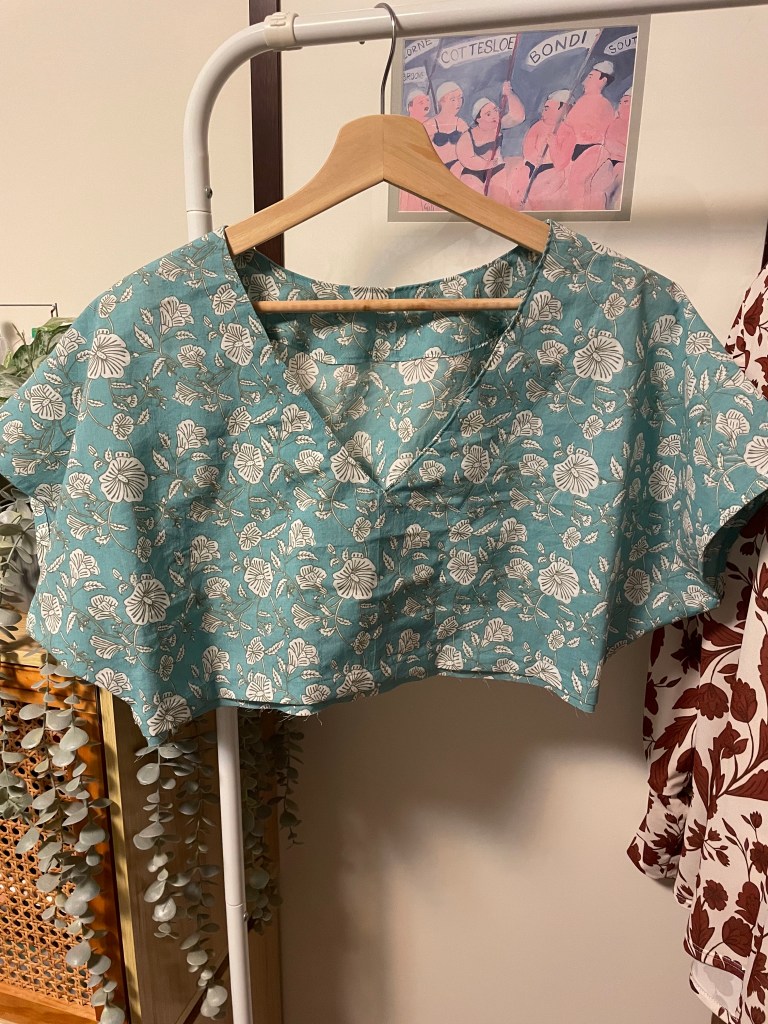
It was hard to choose a pattern from their beautiful library of patterns but in the end, I settled on the Vanja Dress which is a V-neck dress or top. It has an adjustable waist with ties, or it can also be sewn with a wide belt. I made the dress version which stops at mid-calf. There are slits on the side and of course, pockets! I jumped straight into the dress version, but I do love patterns that include a version that can be toiled. I didn’t make a toile because I thought that the sizing system was so good.


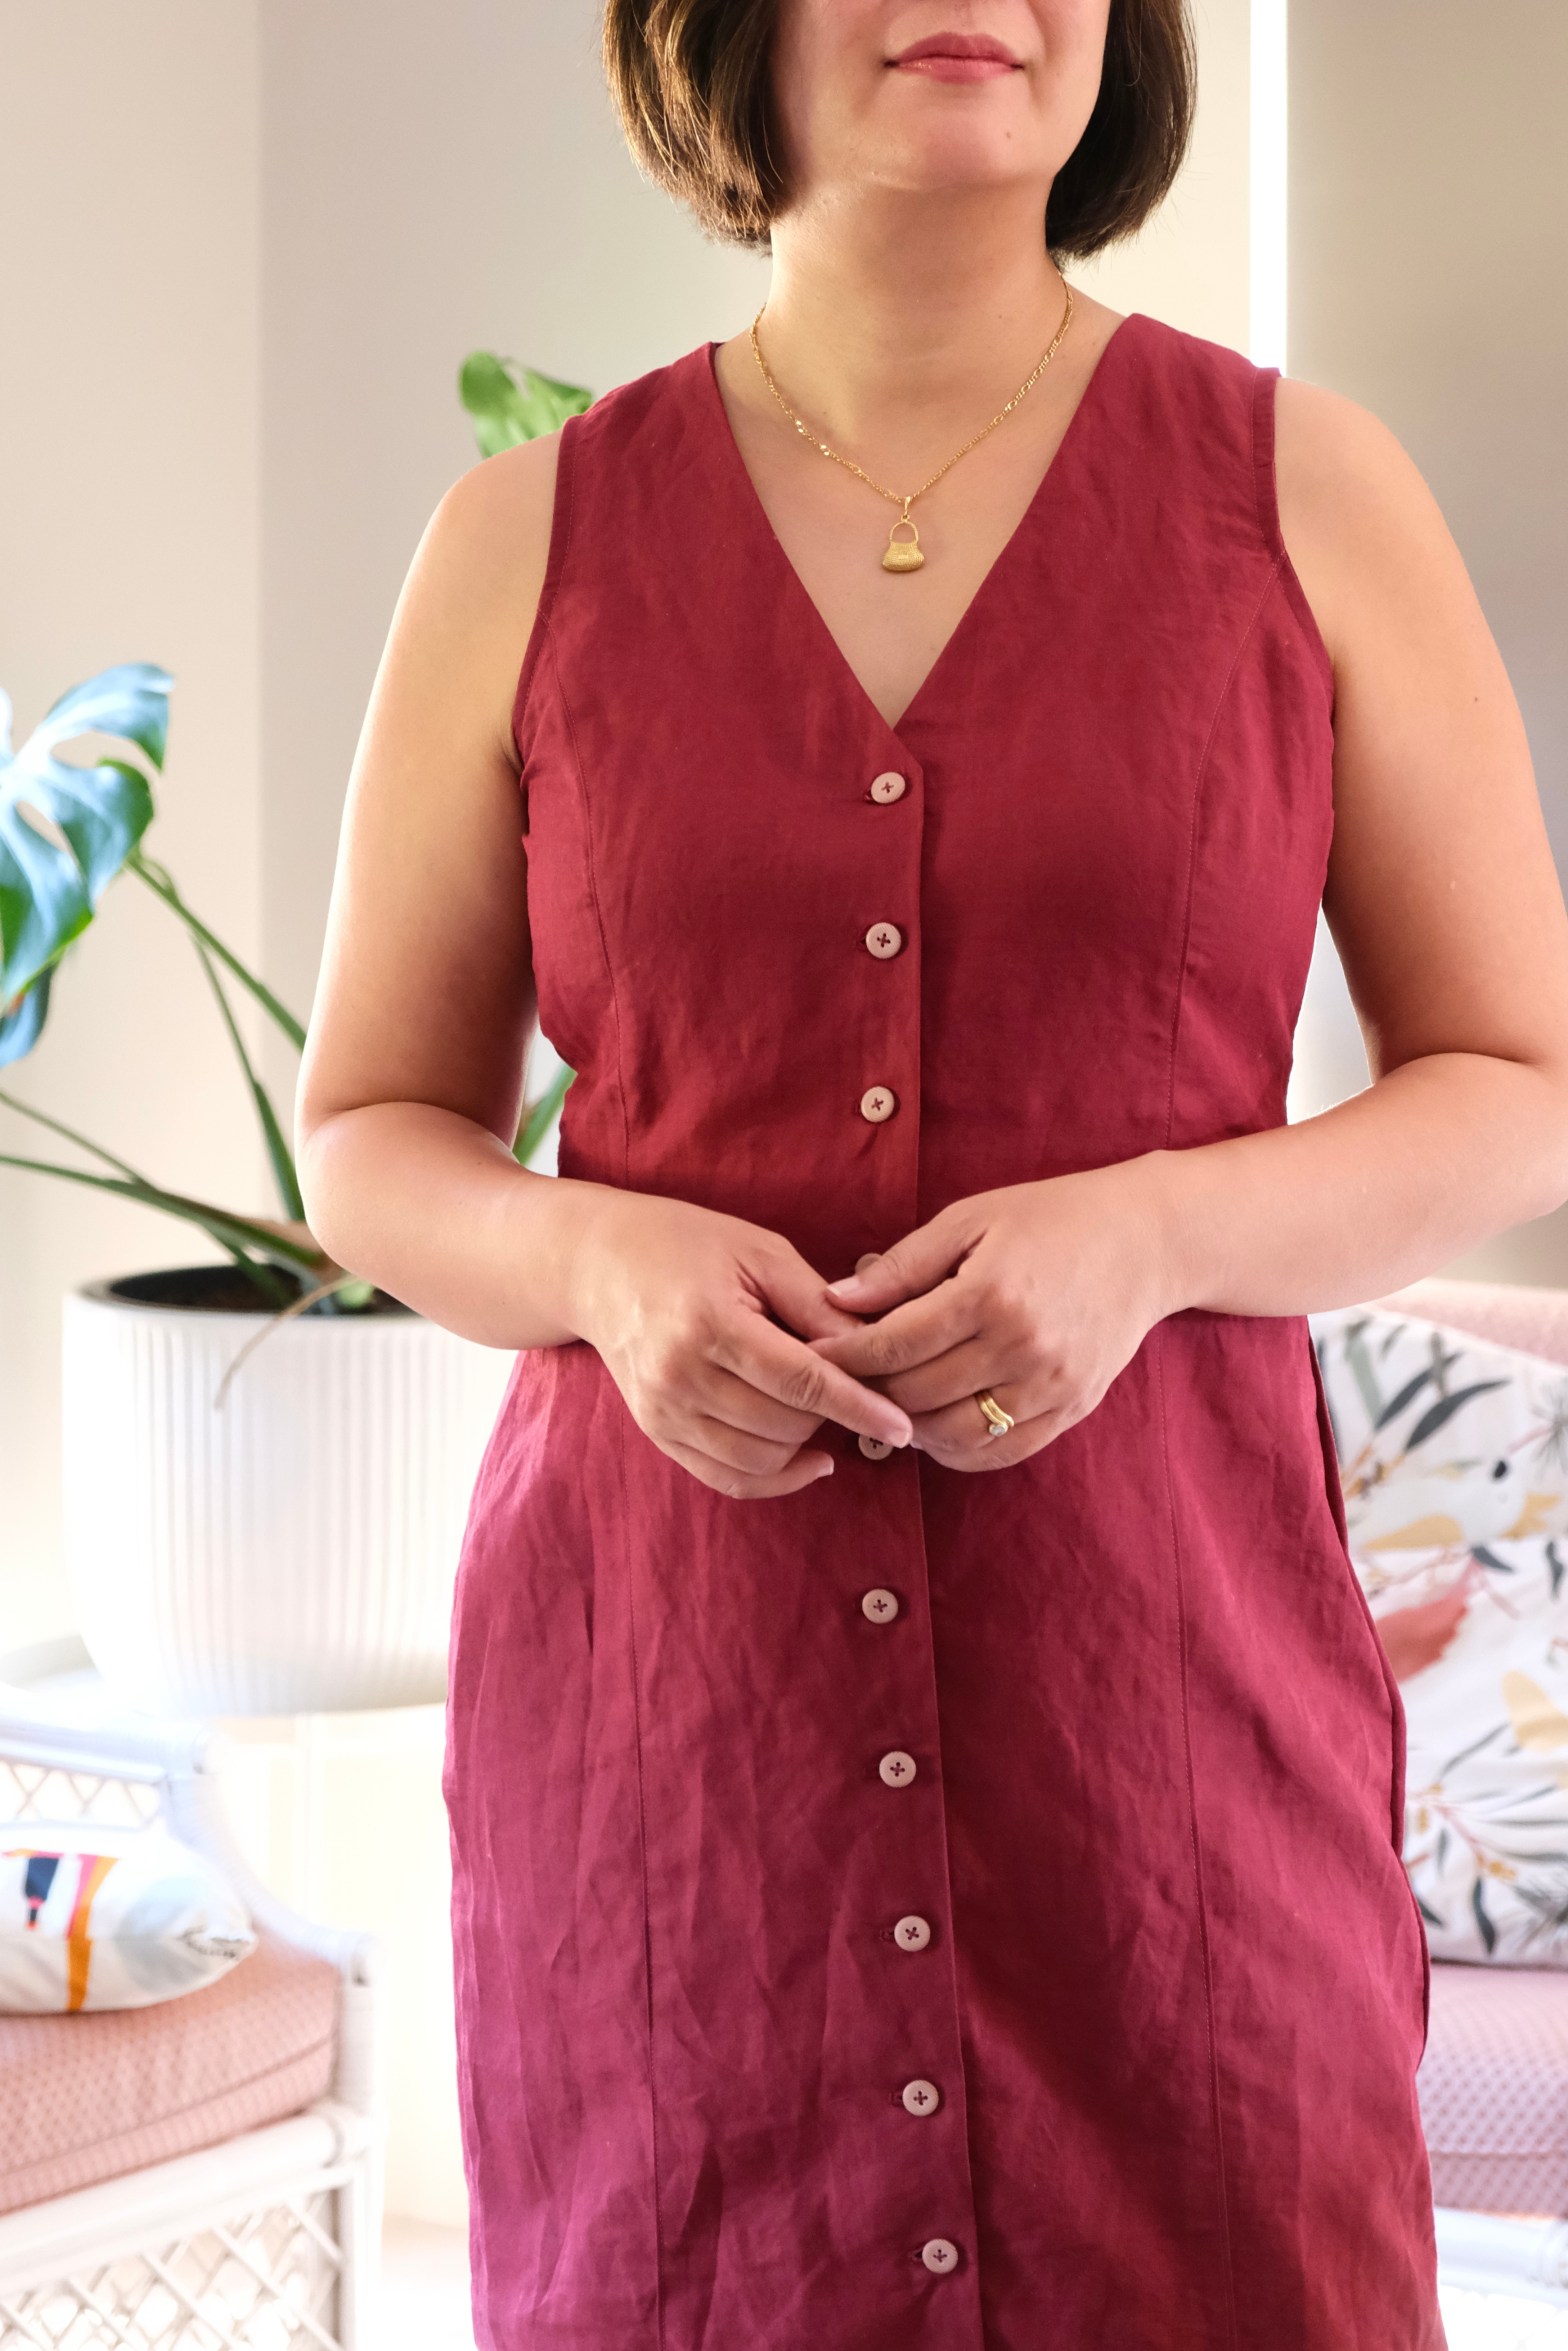
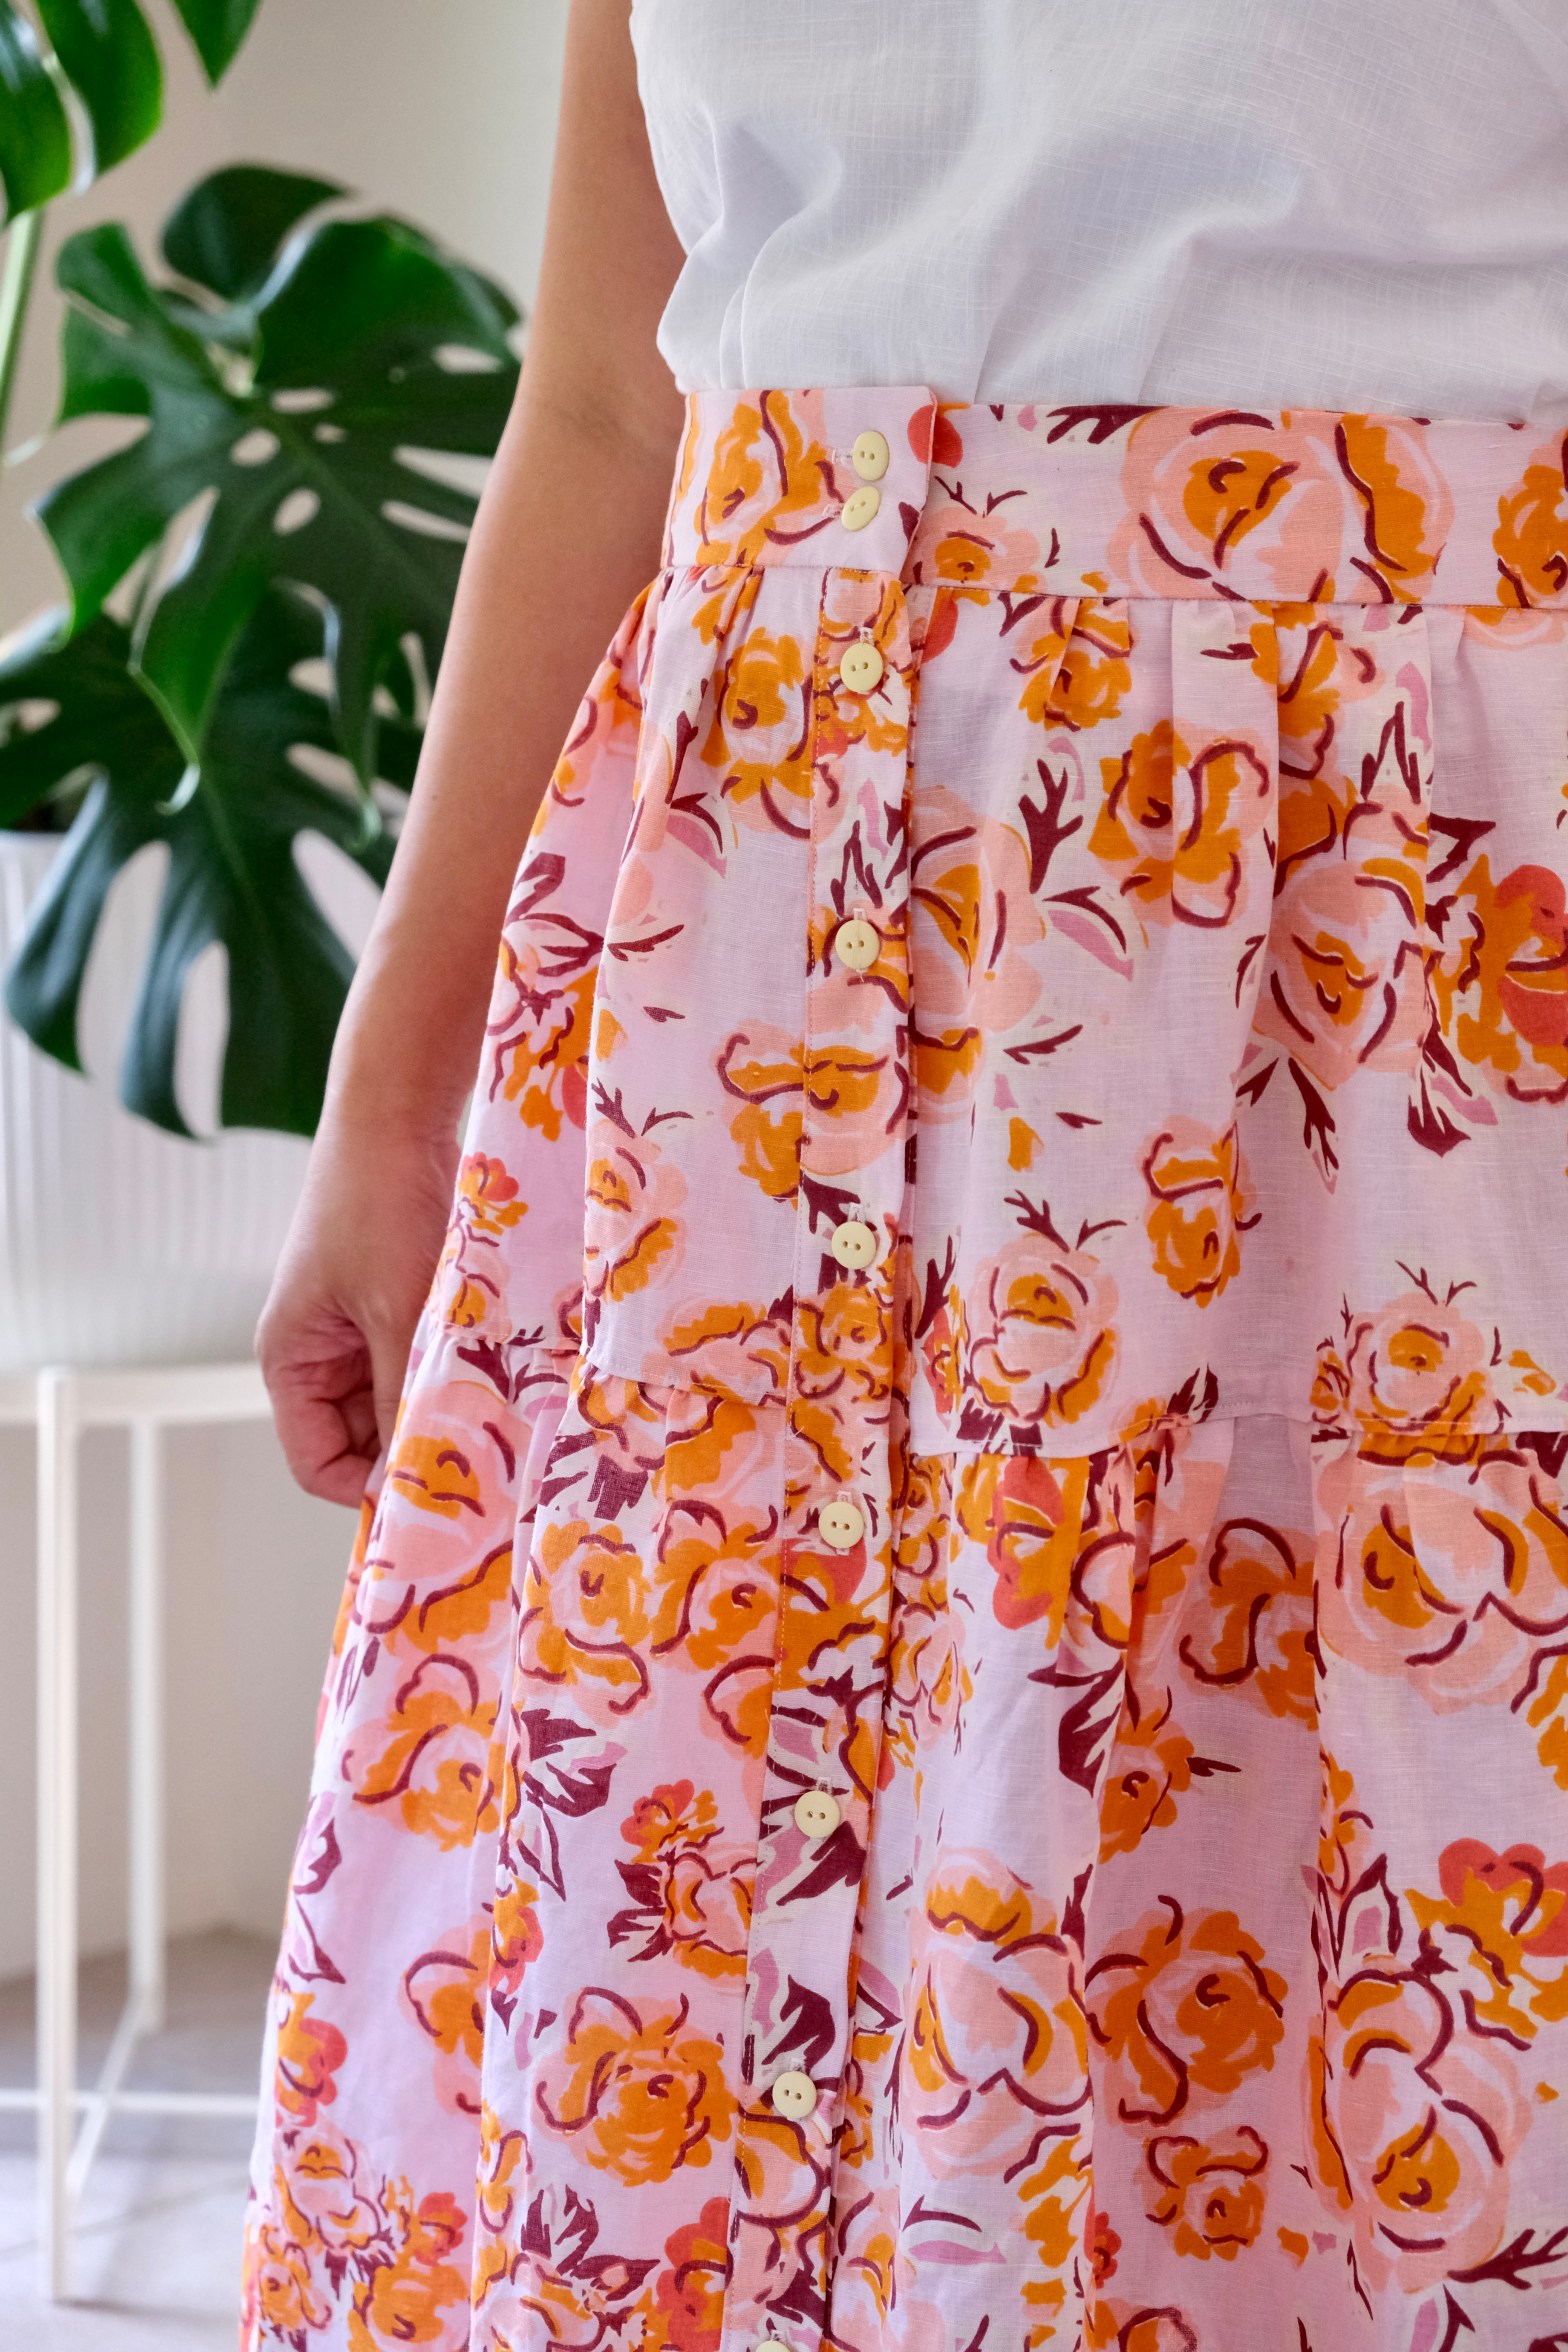
Talking about the sizing system, here is where Monsterfabriken is unique. Instead of the traditional sizing system which can vary from brand to brand, they base their sizing on primary measurements of the body. The tops are then based on the chest measurements, and the bottoms are based on the hip measurements. All the other measurements are secondary. It’s all very comprehensive and in the end, you’ll end up with a garment that fits the way you want it to. Once all the measurements are done, it’s an easy process to print the only size you need and there is an option to include seamlines. I chose to print without because I have confused myself before when it was an option and ended up cutting the wrong lines.
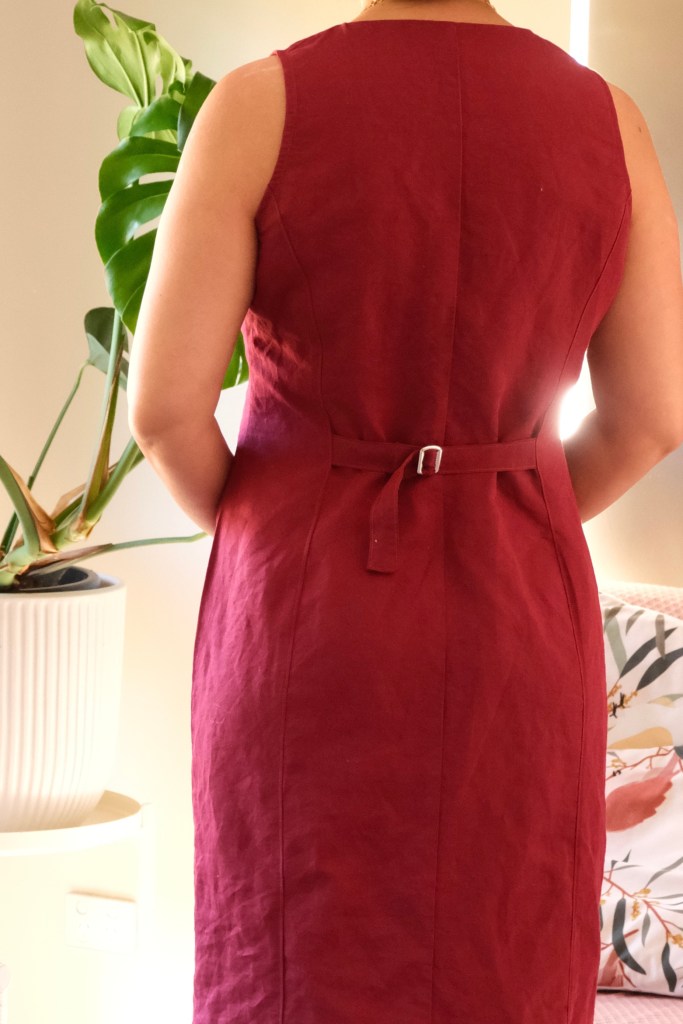
I did hesitate a little when I had finished sewing the bodice. It was fine once I had attached the skirt and does fall at the natural waistline. This always seems to be the point where I worry the most when I’m sewing something new.
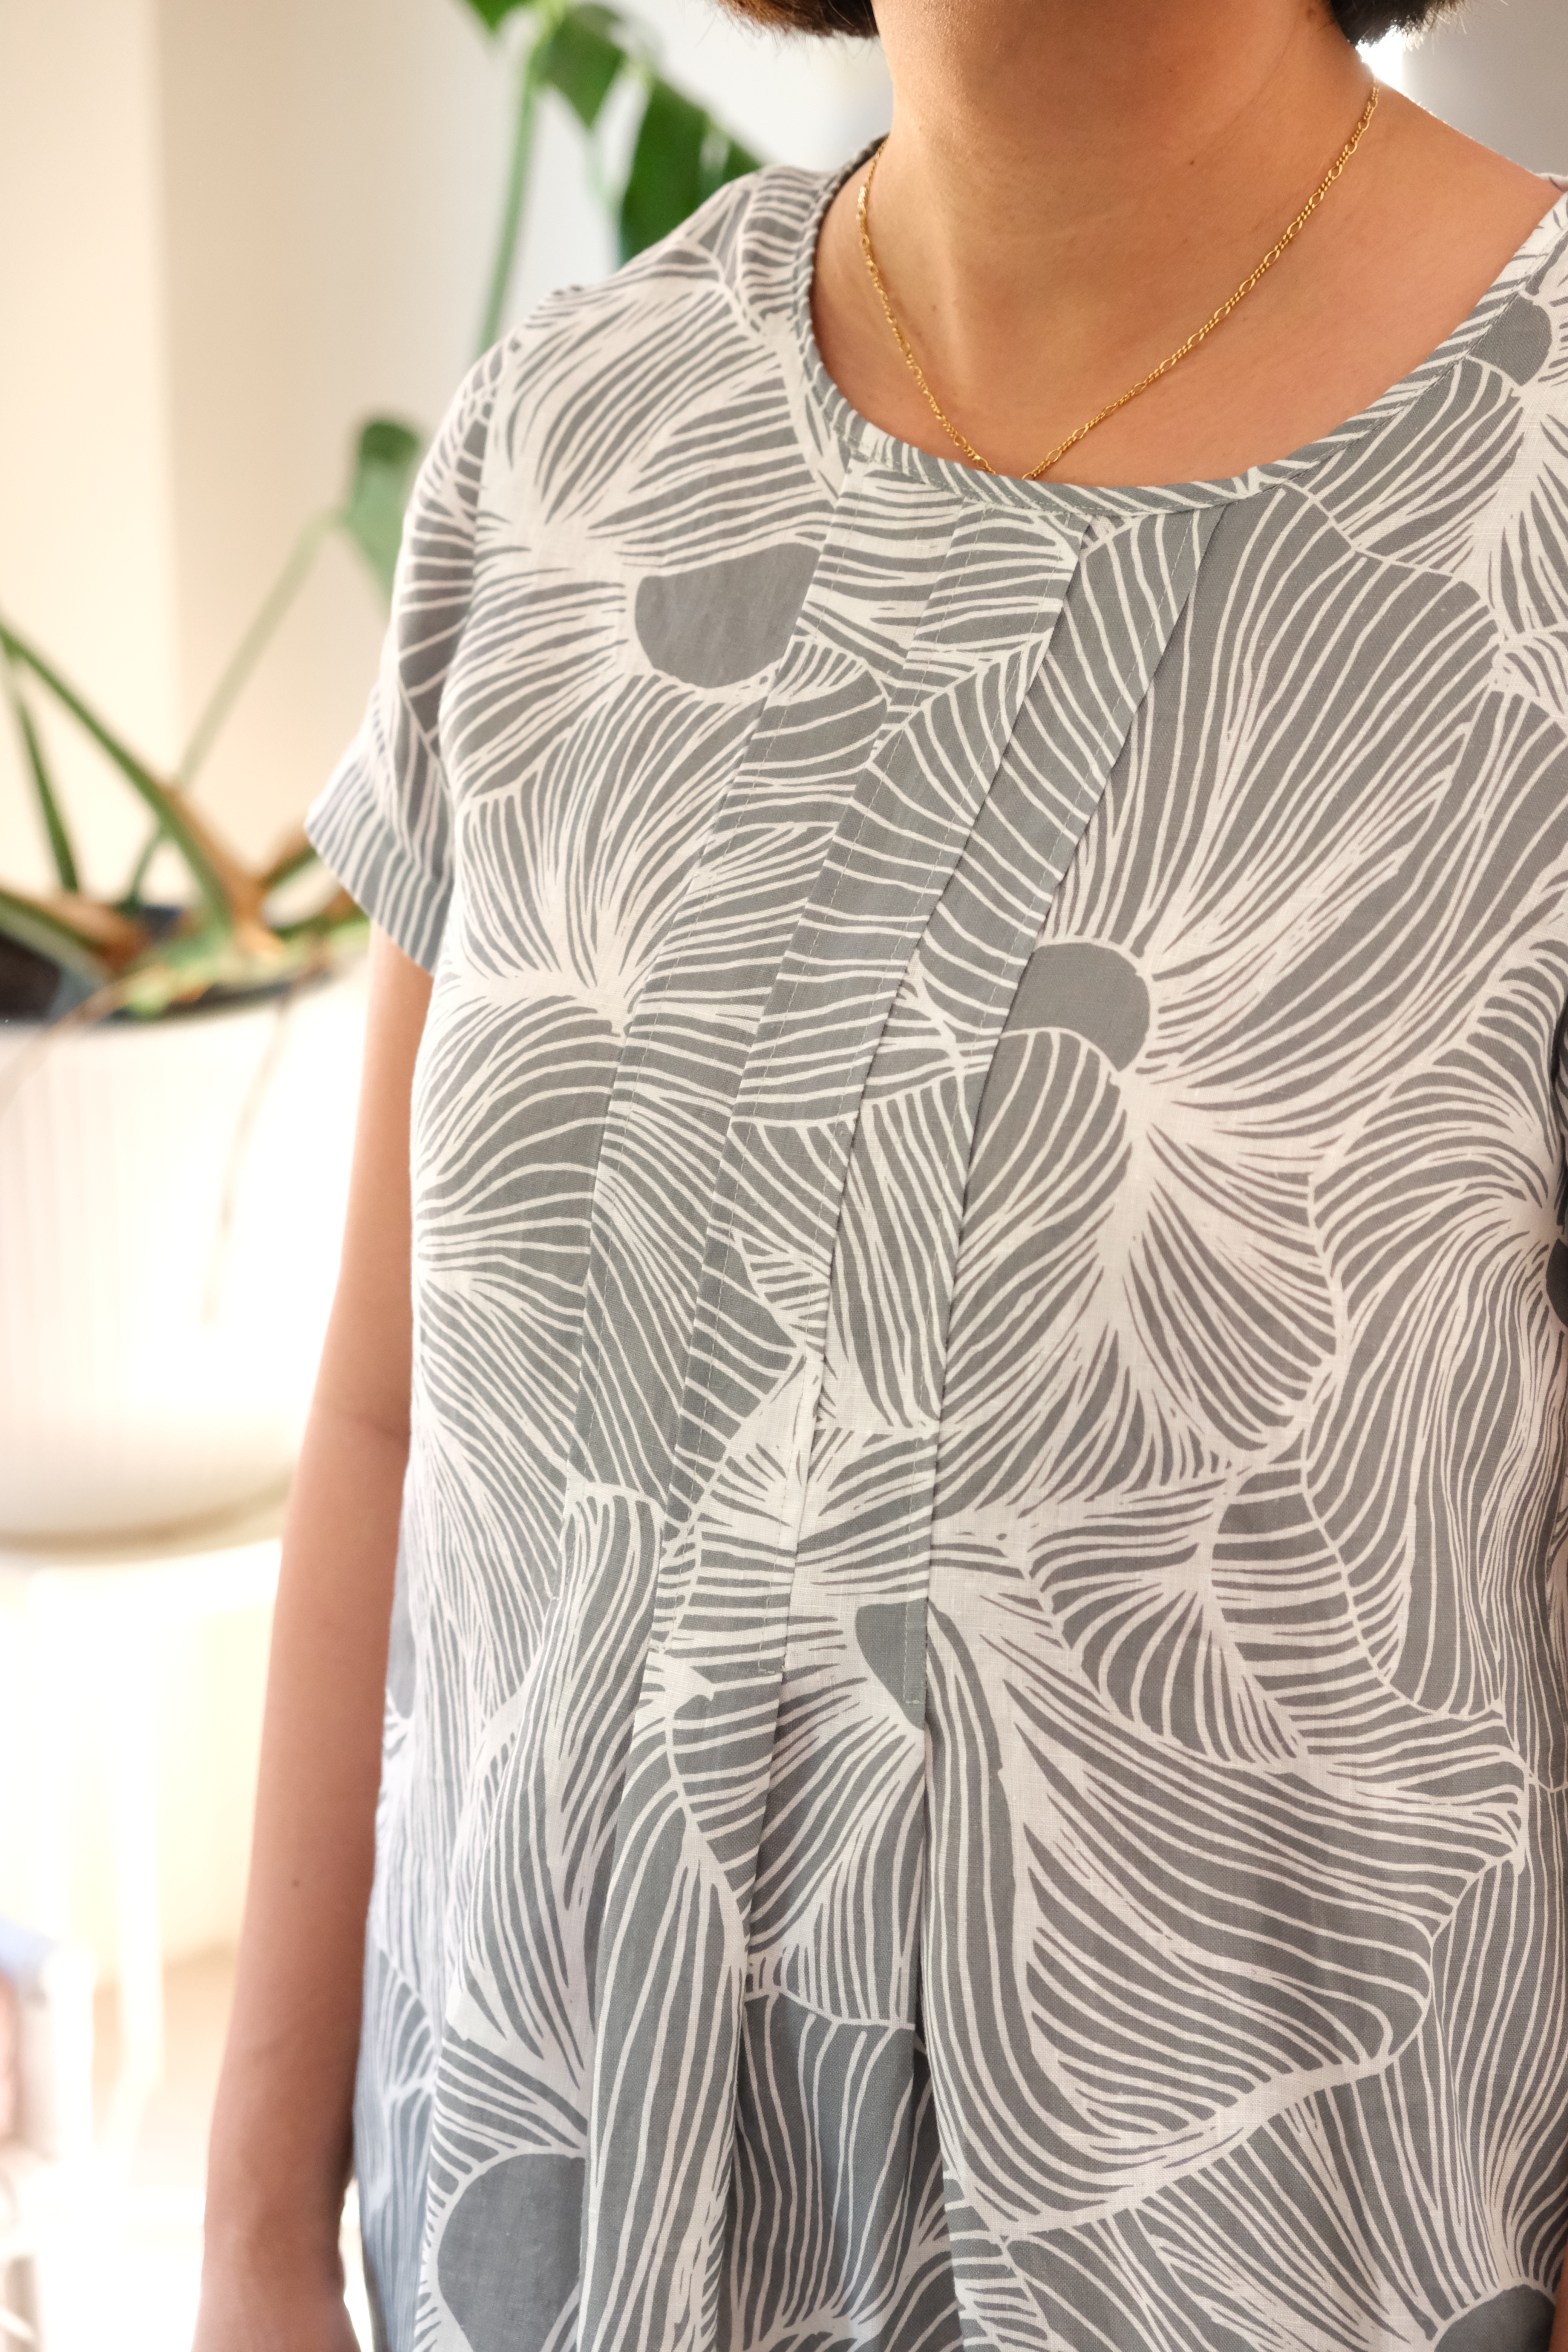
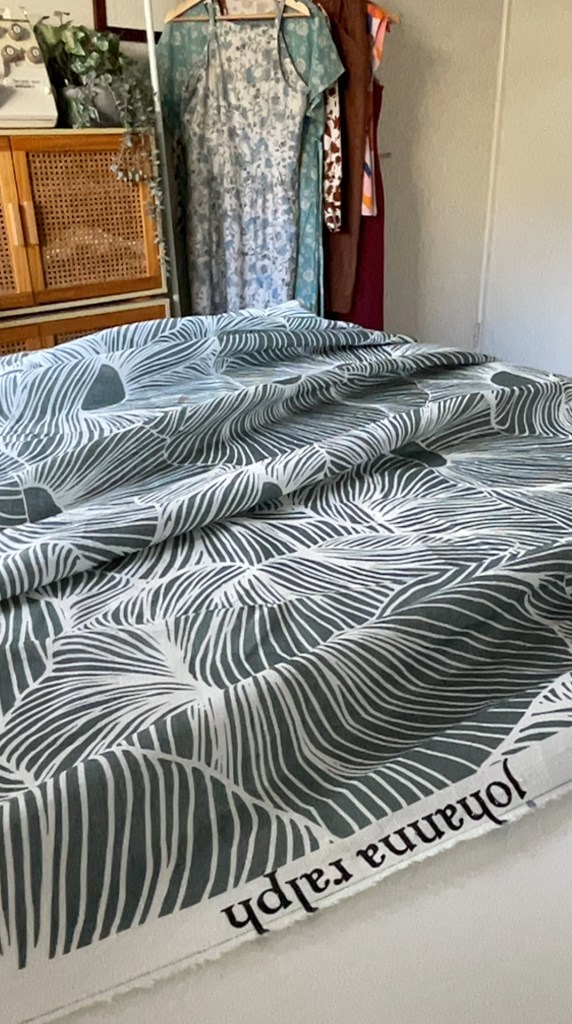
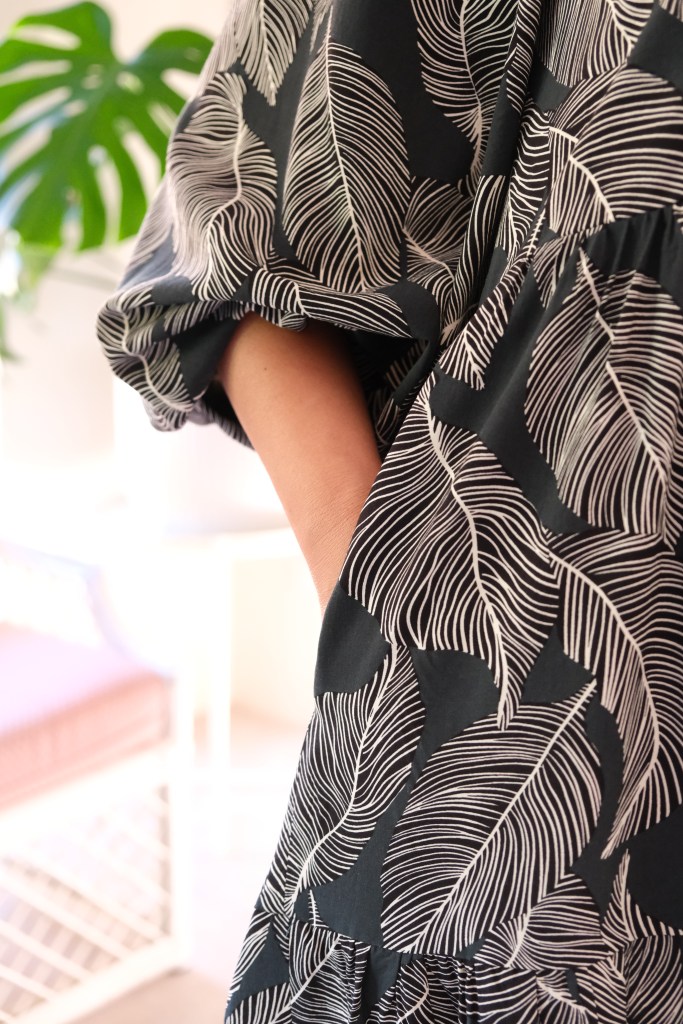
The fabric is drafted for woven fabric. I had a Jamuna vegetable dyed handblocked cotton from Spotlight which was perfect for this dress. It’s beautifully lightweight and it’s great for hot weather. I am drawn towards the cooler colours for summer with blues, greens and whites. I’ve have found picking colours for the season helpful when putting together my sewing plans.
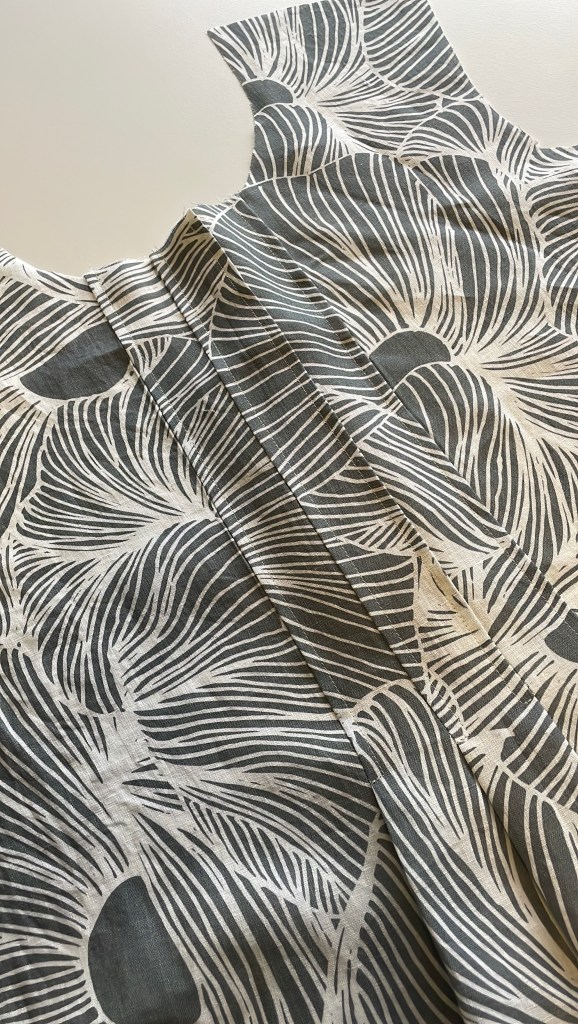
The Vanja sewing instructions were fantastic and the illustrations also helpful. It’s important to note that Monsterfabriken is a Swedish company and I was using the English translated instructions. The layout of the instructions is logical and excellent. I also downloaded the extra instructions which you’re given a passcode for however, I didn’t need to use them because the instructions that came with the pattern bundle was sufficient.

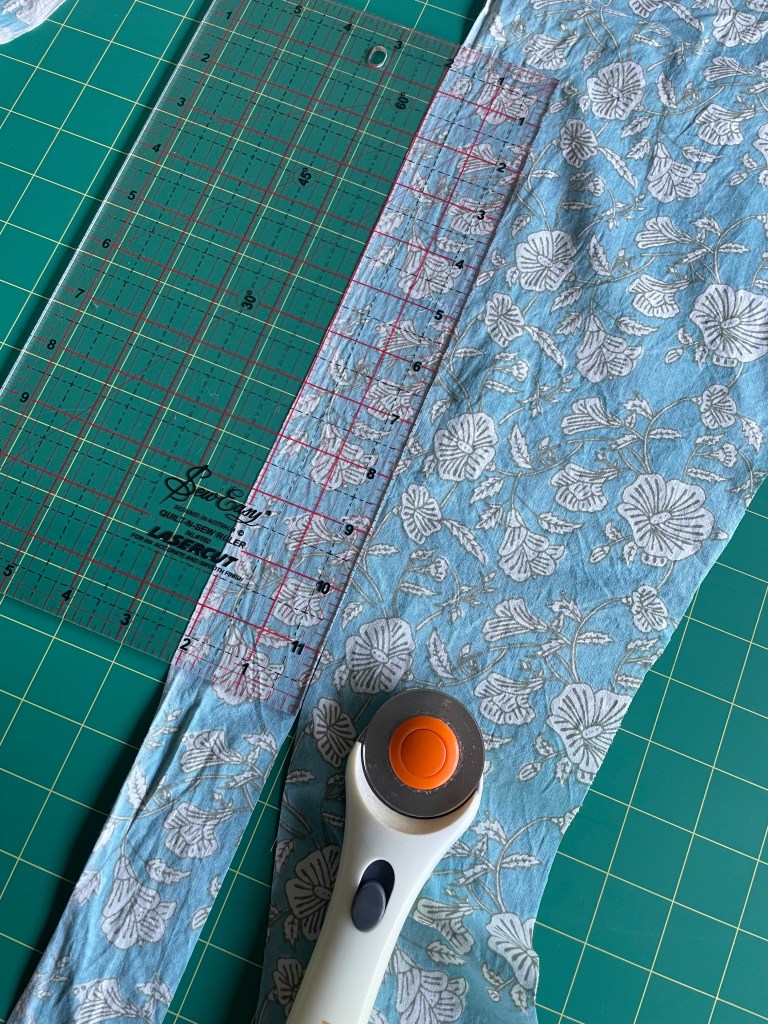
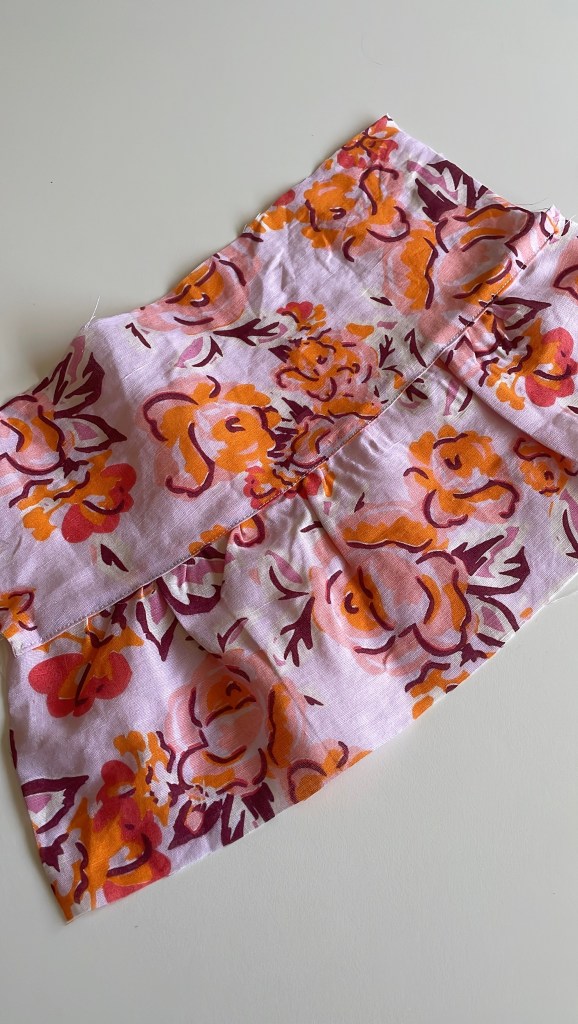
There was one point of the instructions that did confuse me. It was in the construction of the slit. I wondered if the original pattern might have had a seam allowance of 2cm but was changed to 1cm without changing the instructions. In the end, it was easy to modify. I just continued the overlocking down the side seam. This was then turned twice to finish the slit.


I love the design of the Vanja Dress. In this version, I made matching ties for the dress. I would love to make the wide belt version and have contrasting fabric for the neckline and hem. The best past is knowing that any small size changes will be easily accommodated because of the clever design by Monsterfabriken.
Thanks for reading and happy sewing!
X Em