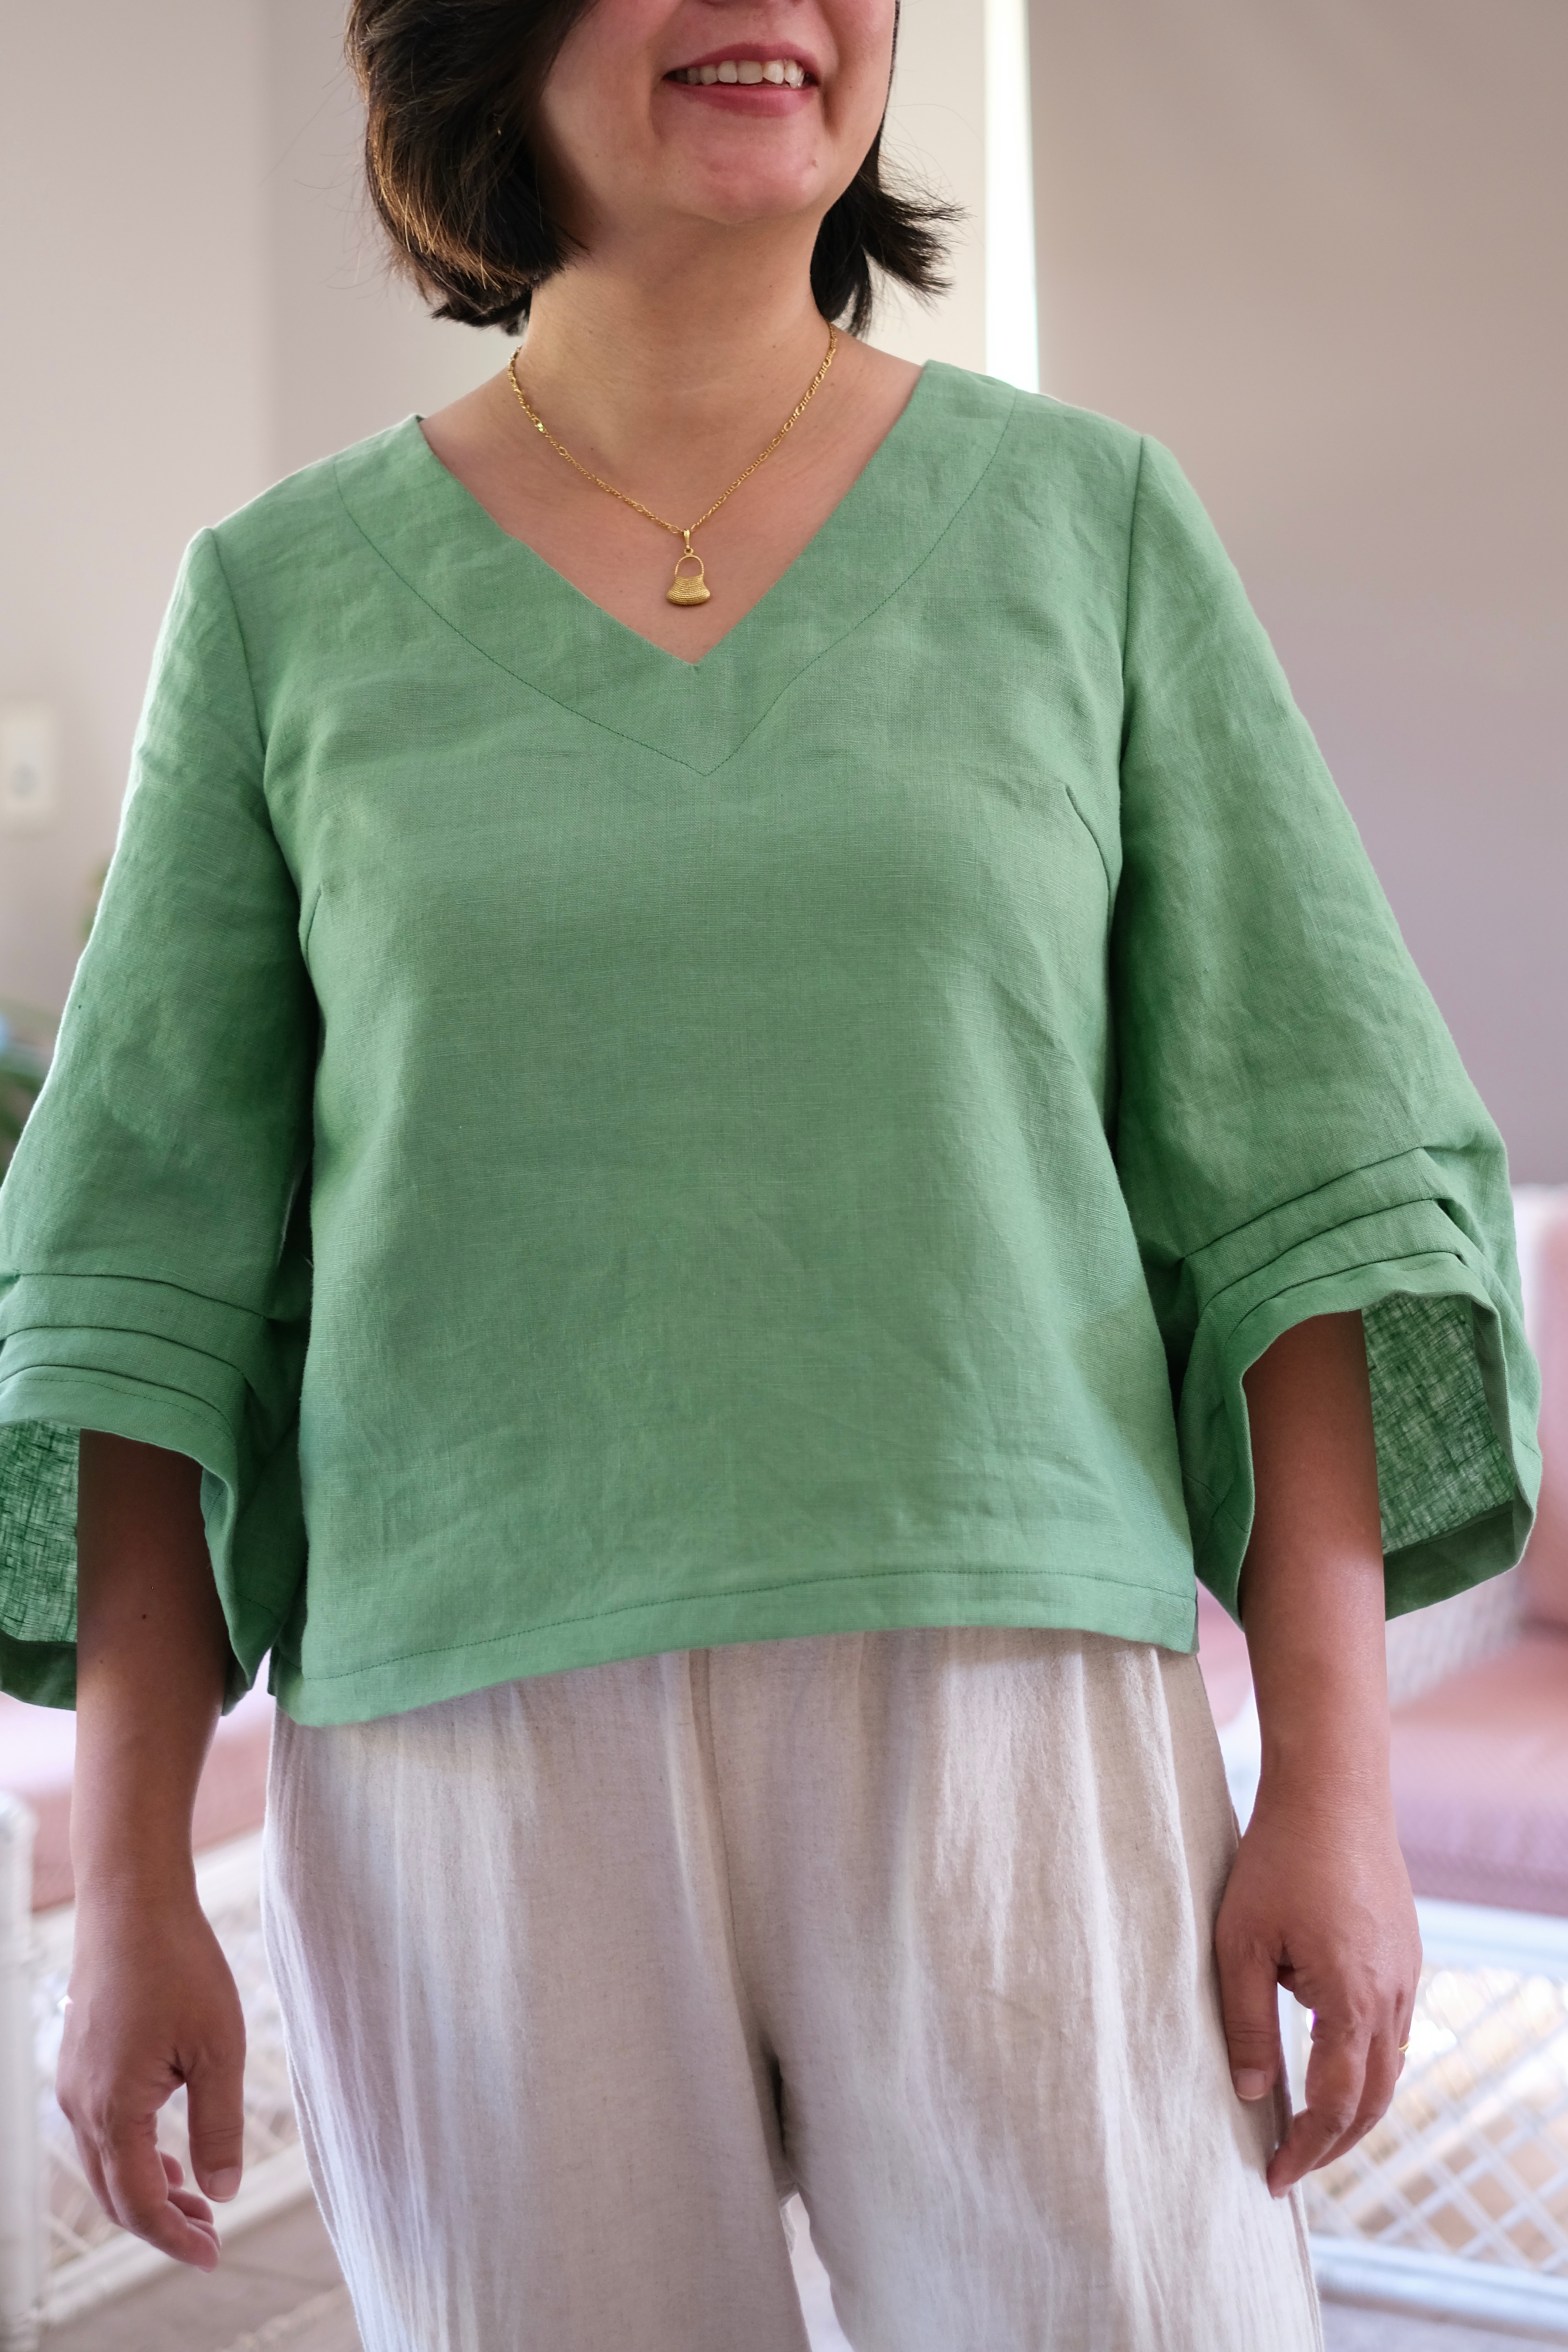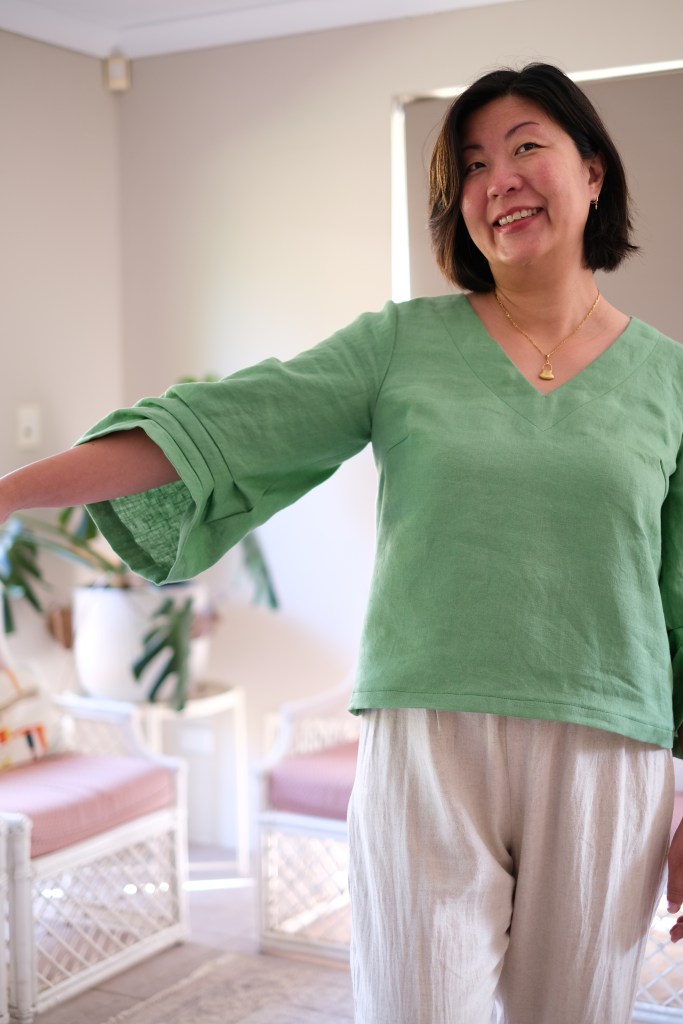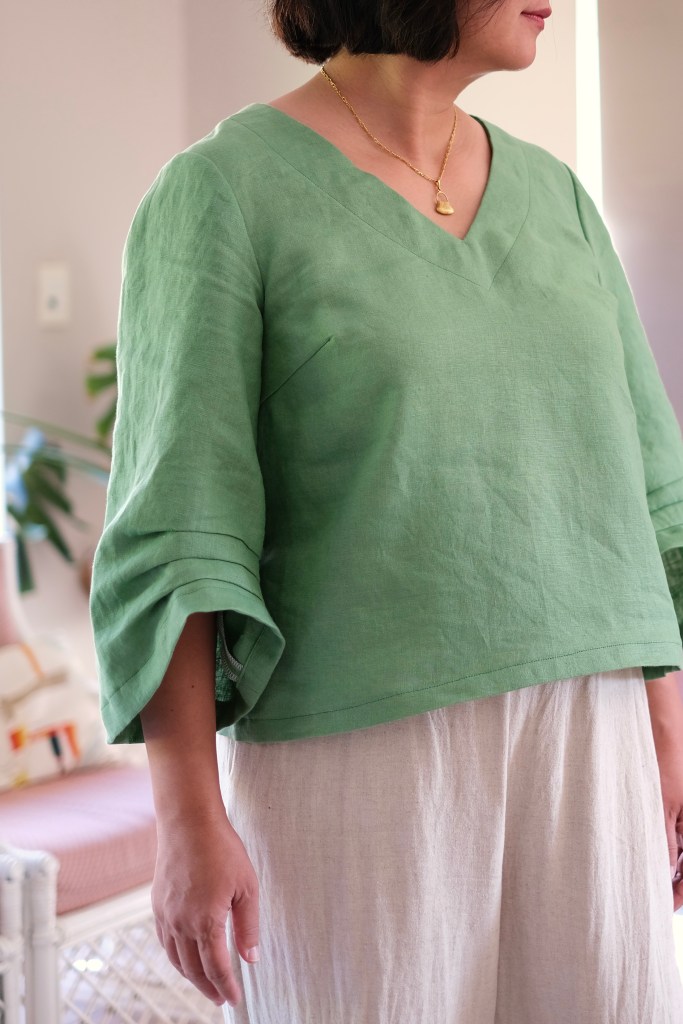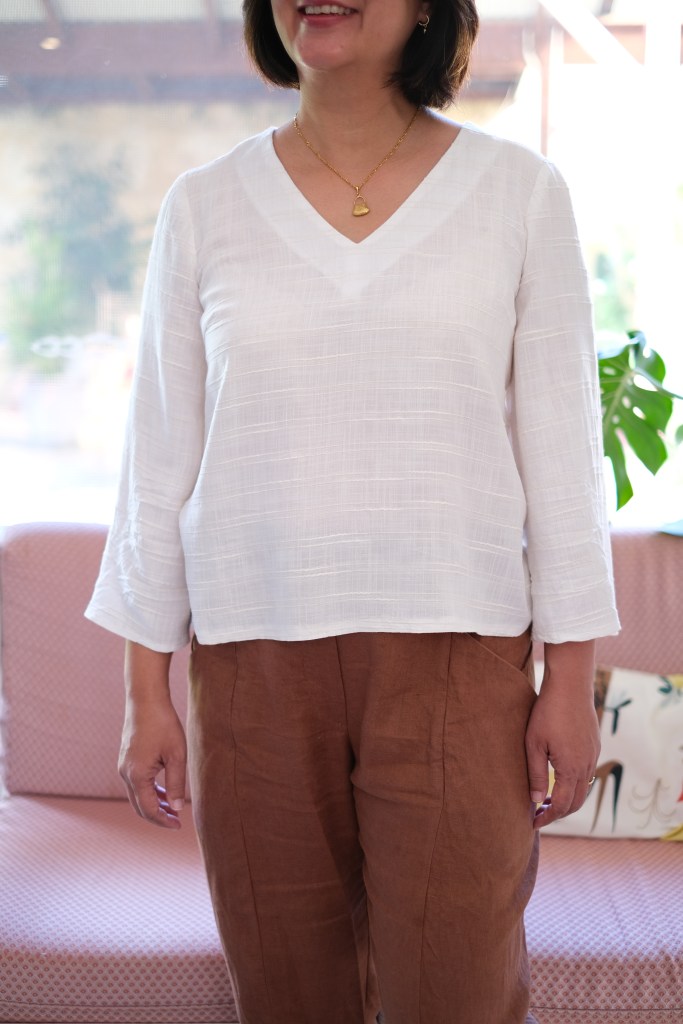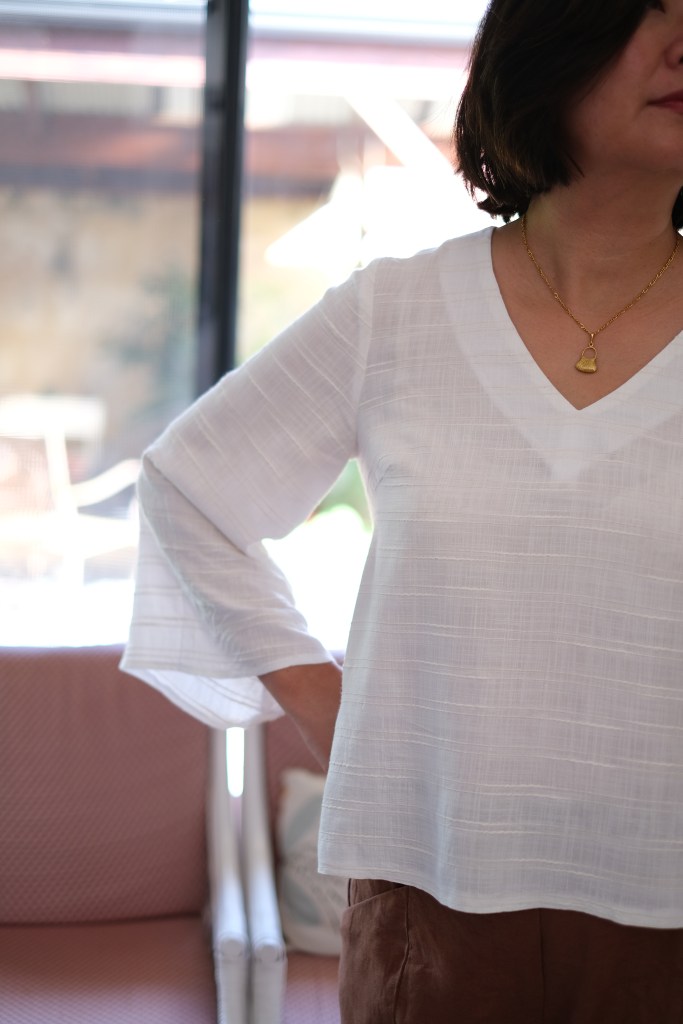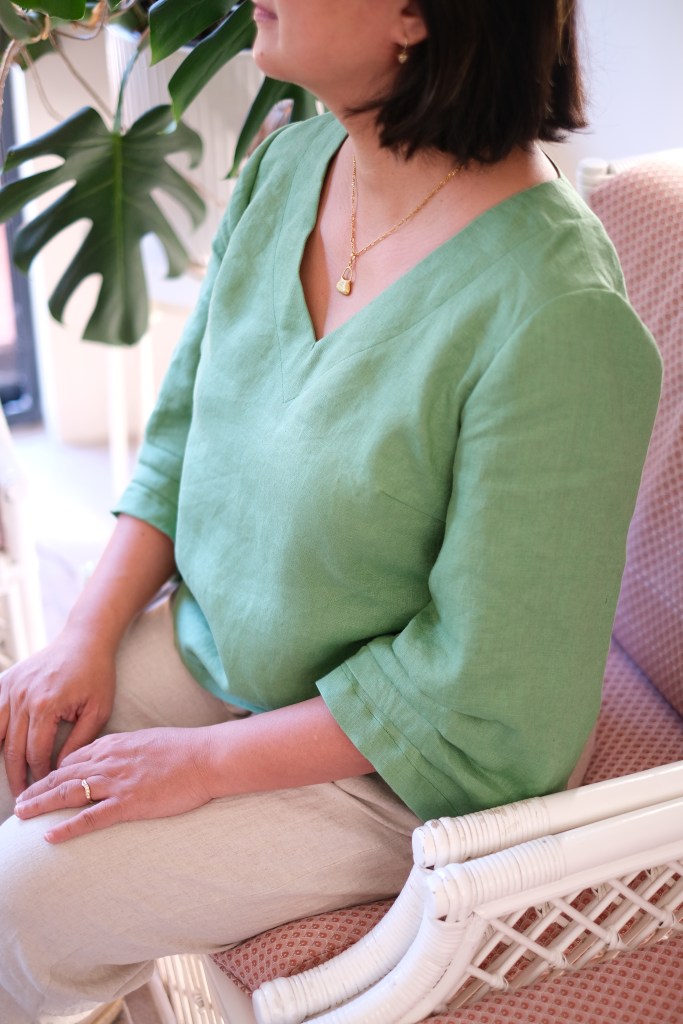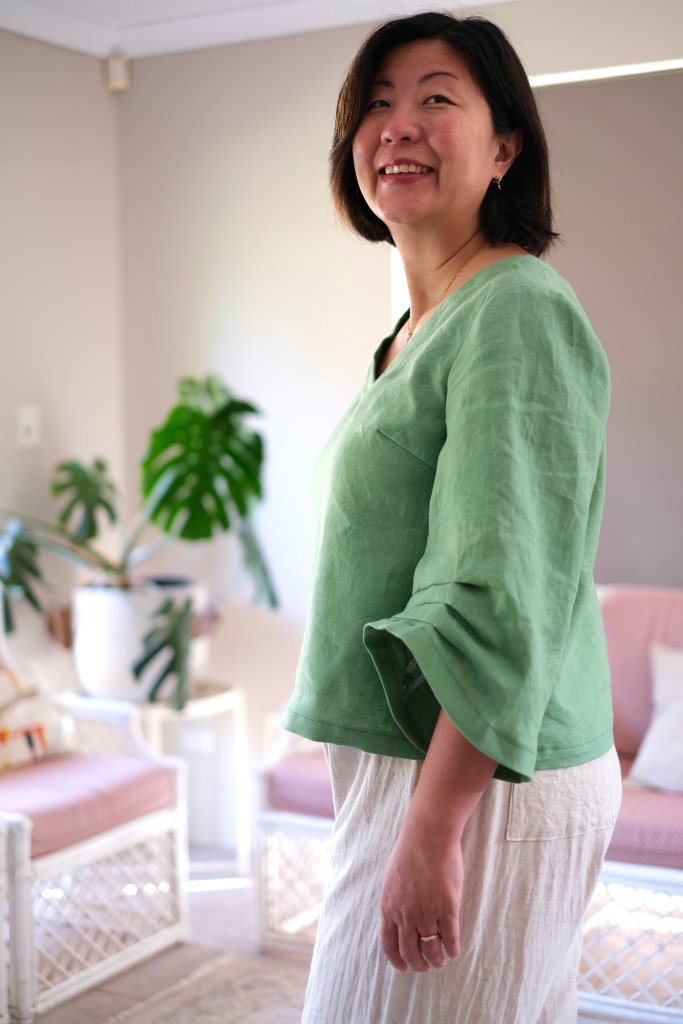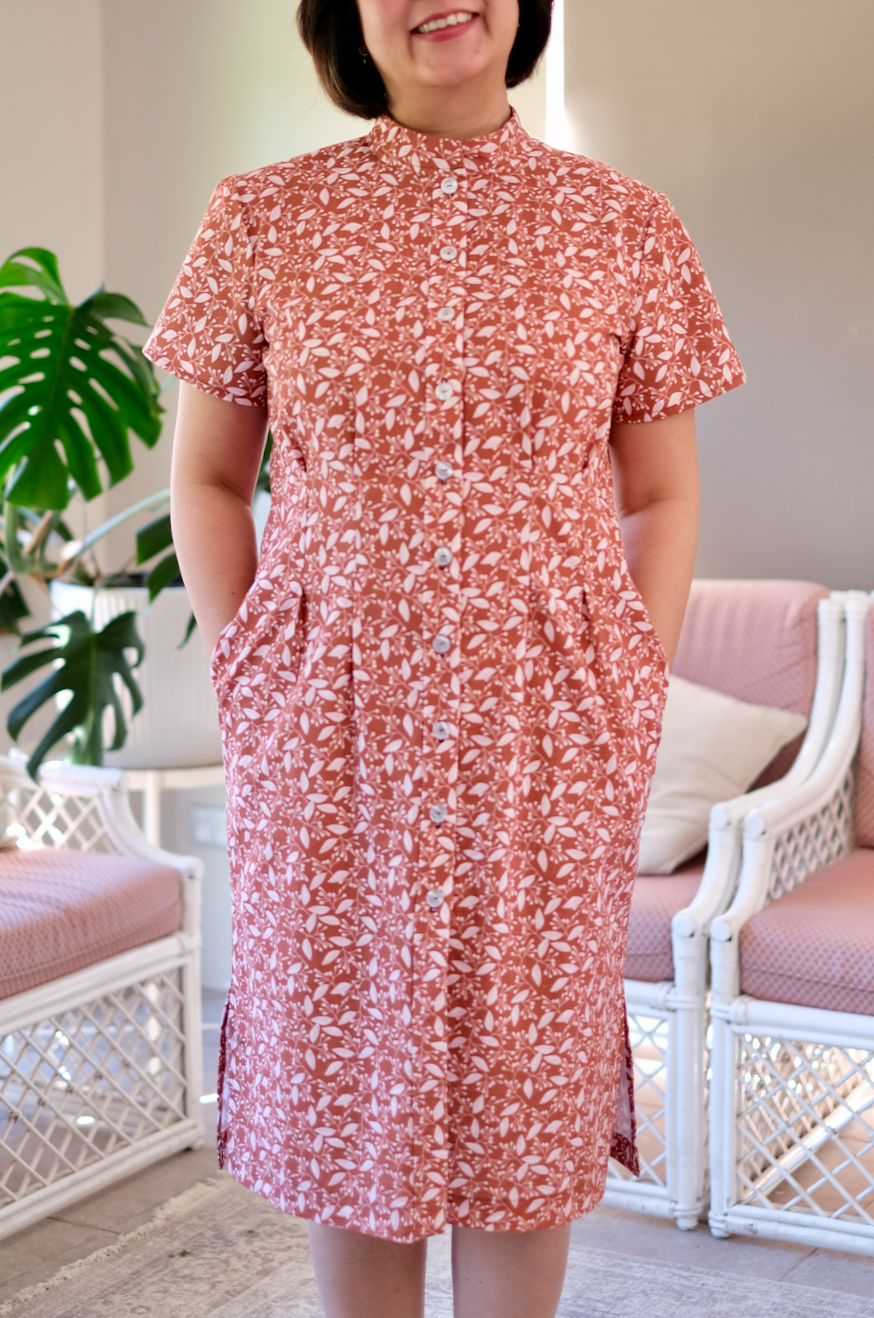
Mia from Needle and Thread Patterns was doing a fun sew along which I was following but couldn’t join in at the time. She generously sent me the pattern anyway and I finally caught up with it in my sewing queue. I love shirt patterns, but this one is especially great because of the pleats and the granddad collar. I’m so happy with how this turned out!
I feel that this pattern suits an advanced beginner or an intermediate seamstress. There is no rating on Needle and Thread Patterns but there are a few more elements that make the pattern more challenging and therefore great for up-skilling. Although there are well written detailed instructions, there were a few times where I had to look to the sew along on the Instagram page to see if my understanding matched the instructions. There are some included illustrations but not for every step. Also important to note is that the order in the sew along slightly varies from the written instructions. I think when Mia made the sew along videos, obviously she is an expert seamstress who didn’t need to follow her own instructions. It still made perfect sense whether following the videos or the written instructions.
The pattern is drafted for mid weight to heavier wovens. I had a poplin in my stash which I had bought several years back. This was the perfect project for it. It’s mid weight so holds the shaping of the pleats and great for the button placket and collar. This pattern would not suit fabric with fluid drape.
With the sizing, Needle and Thread Patterns highlighted the waist as the important measurement. My waist measurement is 33 inches, so I decided to sew the size 44. Interestingly, I have previously sewn the Emma Top from Needle and Thread Patterns in the size 42 which also fit me. I think this demonstrates the importance of re-evaluating fit and sizing for each sew. It fits very comfortably. I like the fact that the pleats allow for some adjustment but luckily this time, no modifications were needed.
I liked the way the hem of the dress tucks neatly into itself with the placket. I used the stitch in the ditch method for finishing the placket. Most of the dress was very quick and easy to sew but I had a moment with the sleeves and the collar. I had planned to sew the sleeve with the rolled-up hem. I think I had to look at the sew along video for this because I had never seen it done this way before. After the effort of following the video, I found that since my fabric is only printed from one side, the “wrong” side was showing which really bugged me, so I ended up unpicking the sleeve and cutting it down to the non-rolled sleeve. The term “rolled sleeve” confused me at first because whenever I’ve come across the term “rolled hem” it has referred to finely sewn hems on silk or other fine or drapey fabric. I think I would refer to these as cuffed hems/sleeves perhaps.
The videos helped me a lot with the grandad collar. I have sewn grand-dad collars before, but I just wanted to understand the method in the pattern. I was quite happy with my collar in the end. It really elevates the look of the shirt dress and makes it look a bit dressier than the average shirt dress.
With the button placket, there is guidance given for watchpoints which were the narrowest point at the waist and the widest point of the bust. This guidance was great because starting at those two points and knowing that I had 10 buttons to install, I decided to have my buttons 3 inches apart starting just below the collar and ending just below the side slits. I decided to omit the button on the collar because I know I would never do it up and I didn’t want to disrupt the curved ends of the collar with a button. In fact, when I sew this dress again, I will try to shorten the collar so that the curved ends sat separated by the placket which would then look more like a mandarin collar.
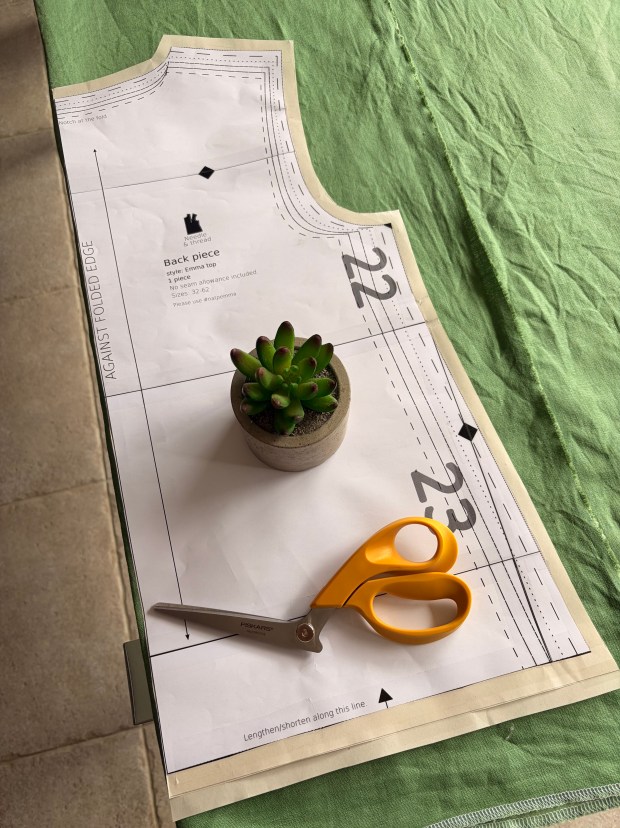
This has been another fabulous pattern by Mia from Needle and Thread Patterns. As I mentioned at the start, this dress pattern was gifted to me, but all opinions remain my own. It’s refreshing coming across a pattern that’s so different from anything I’ve sewn previously. I even enjoyed putting the pattern together and have bought a little device to help me add the seam allowance. All in all, it was a very fun and rewarding sew.
Thanks for reading and happy sewing!
X Em