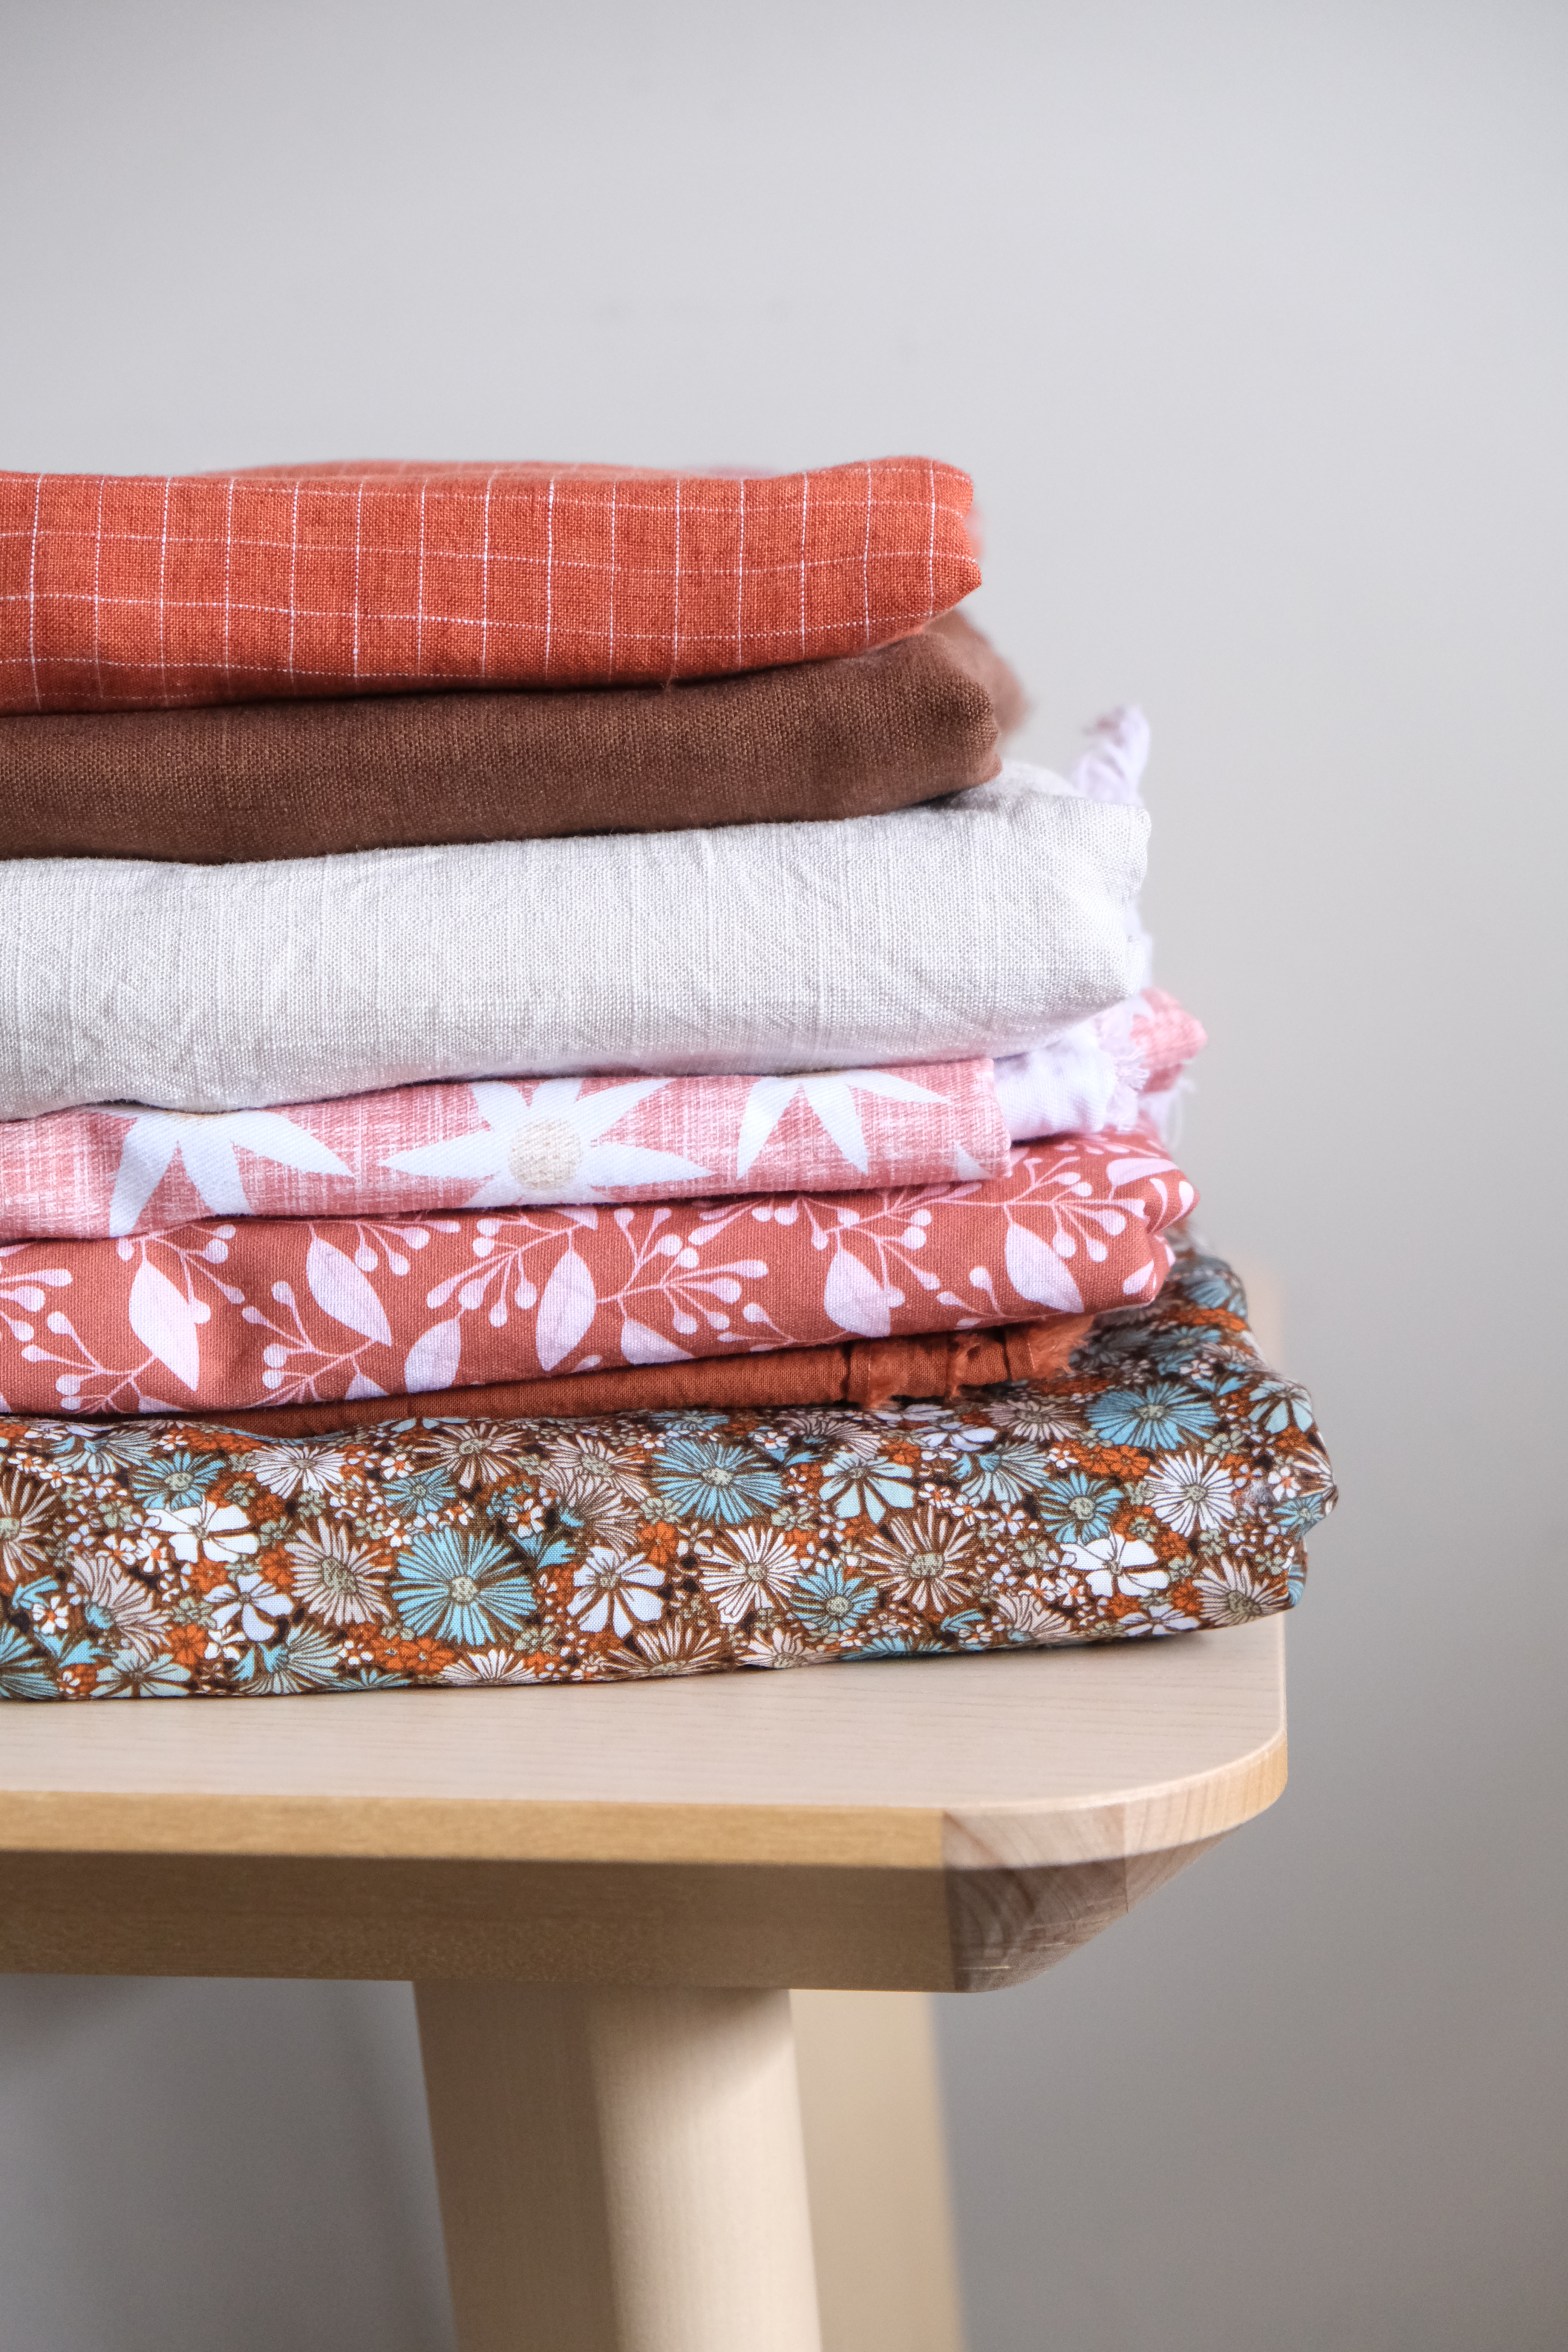
Featuring Cotton Lawn from DIY District
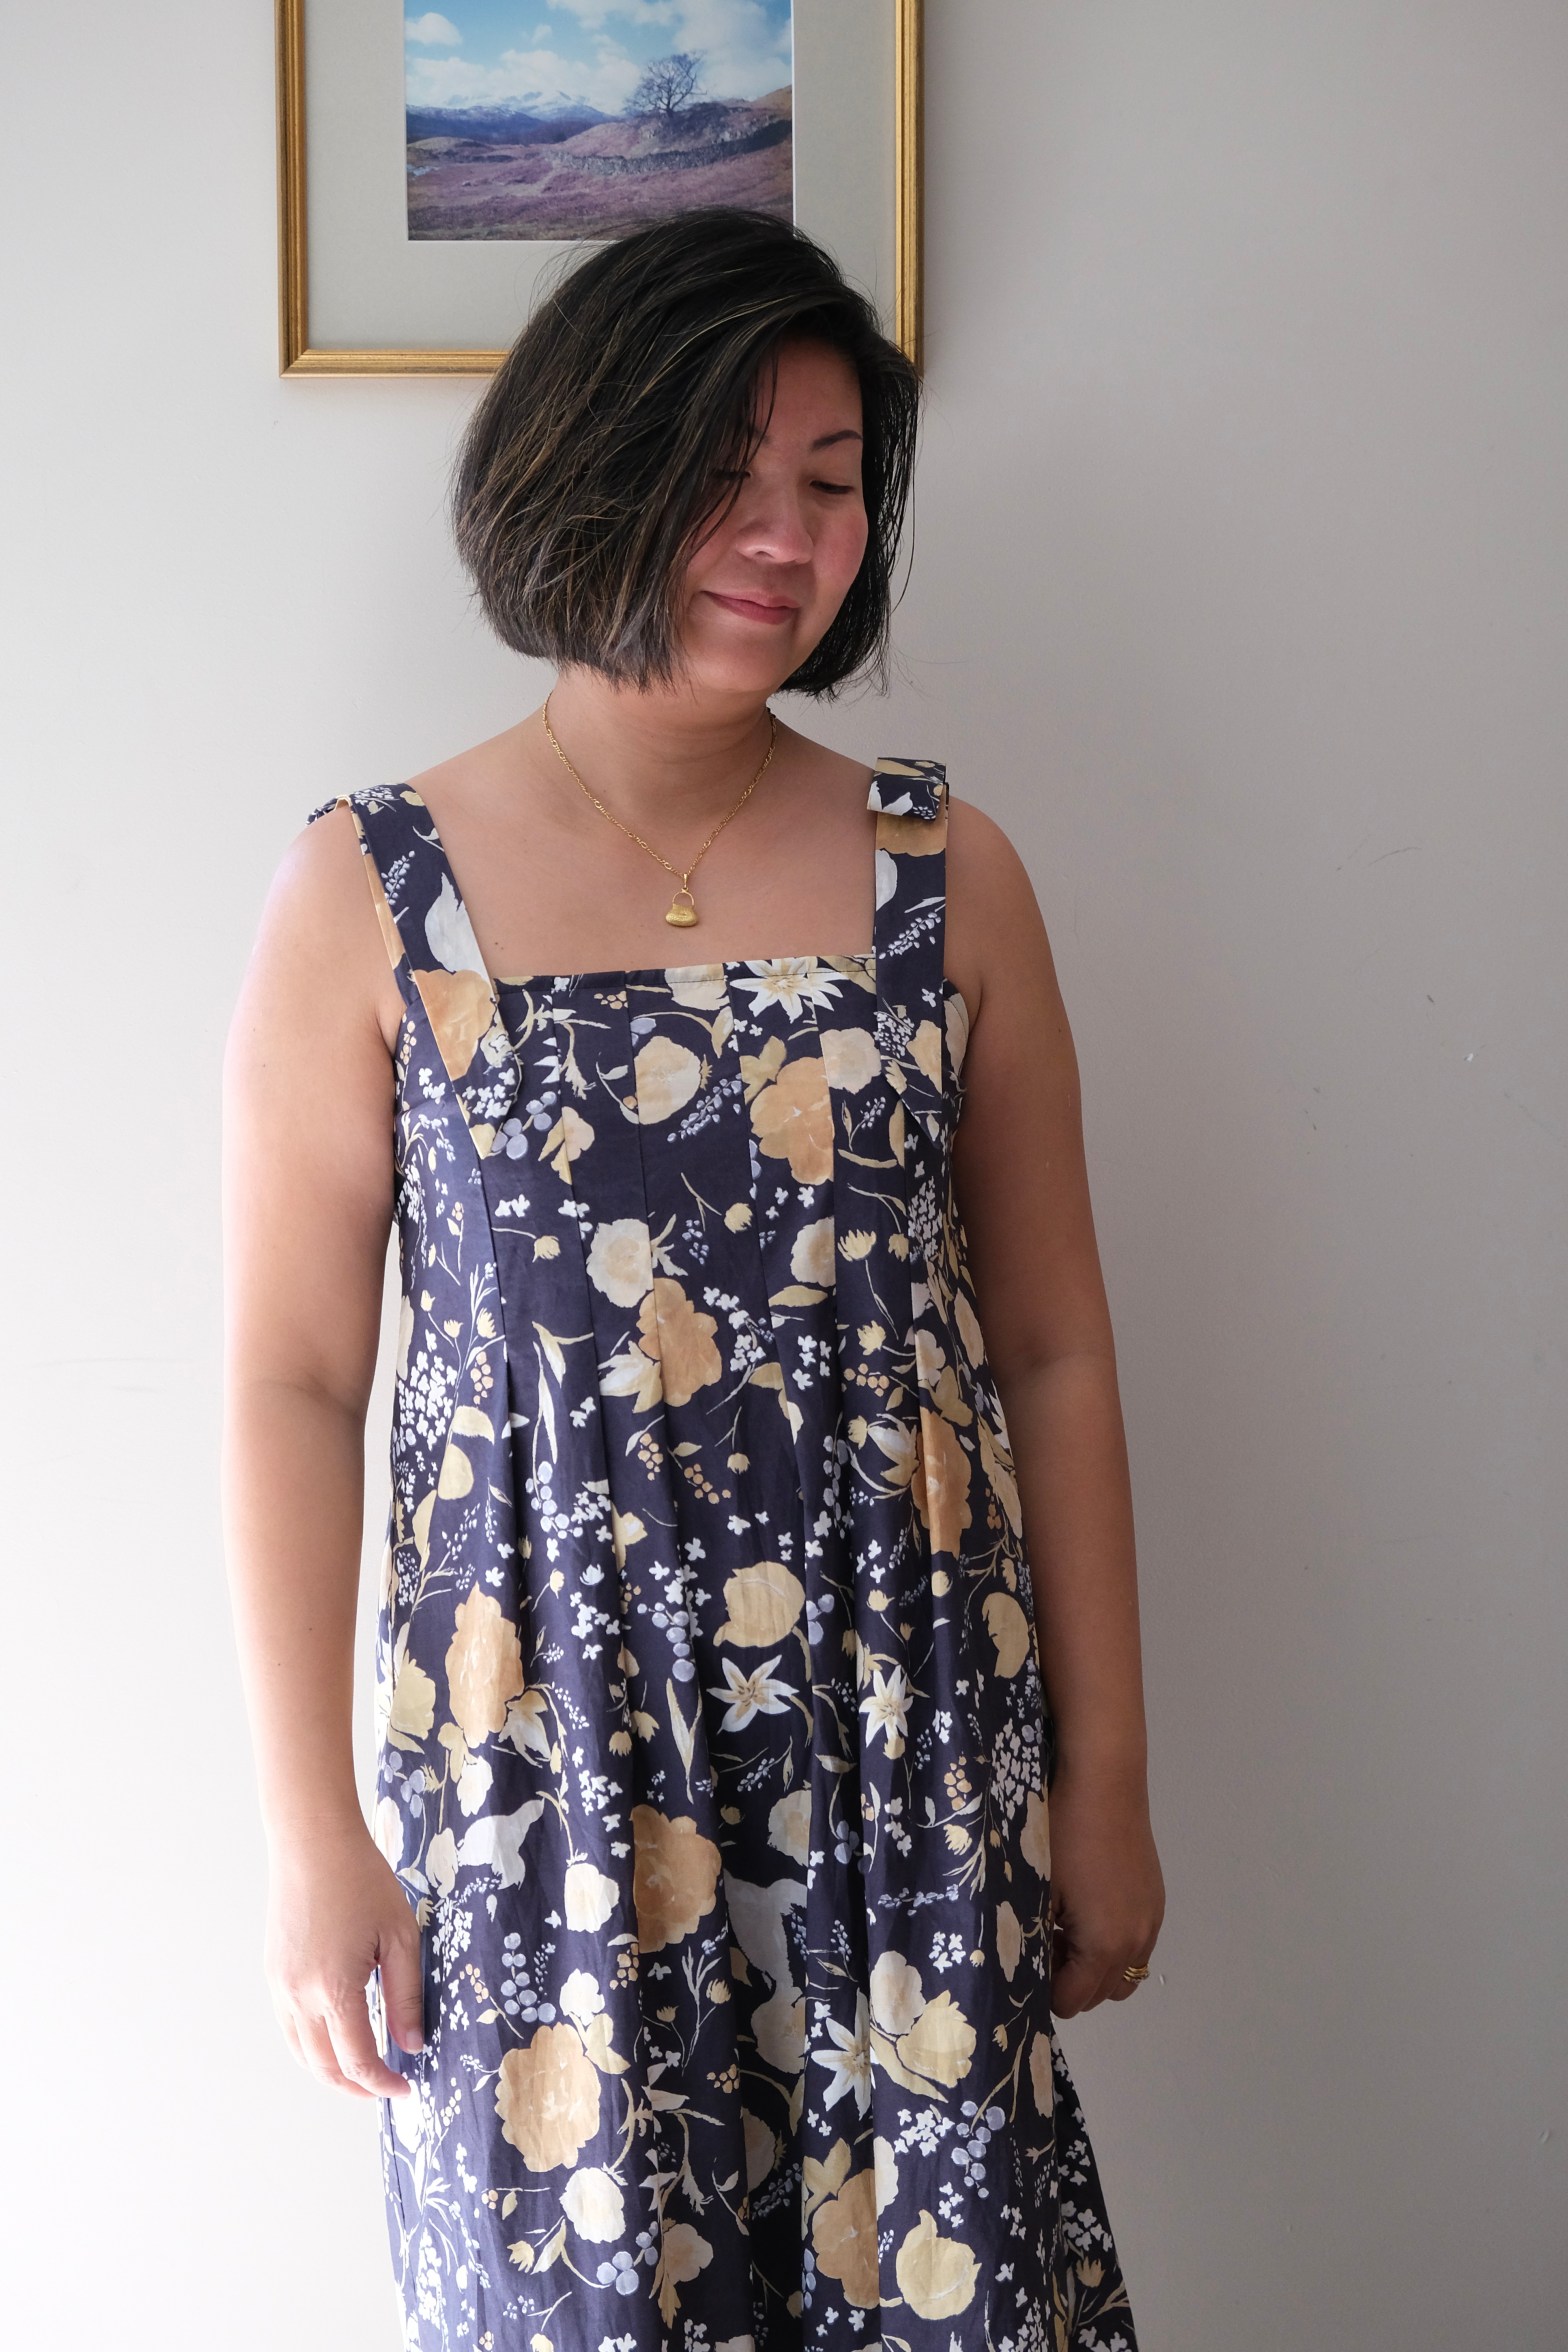
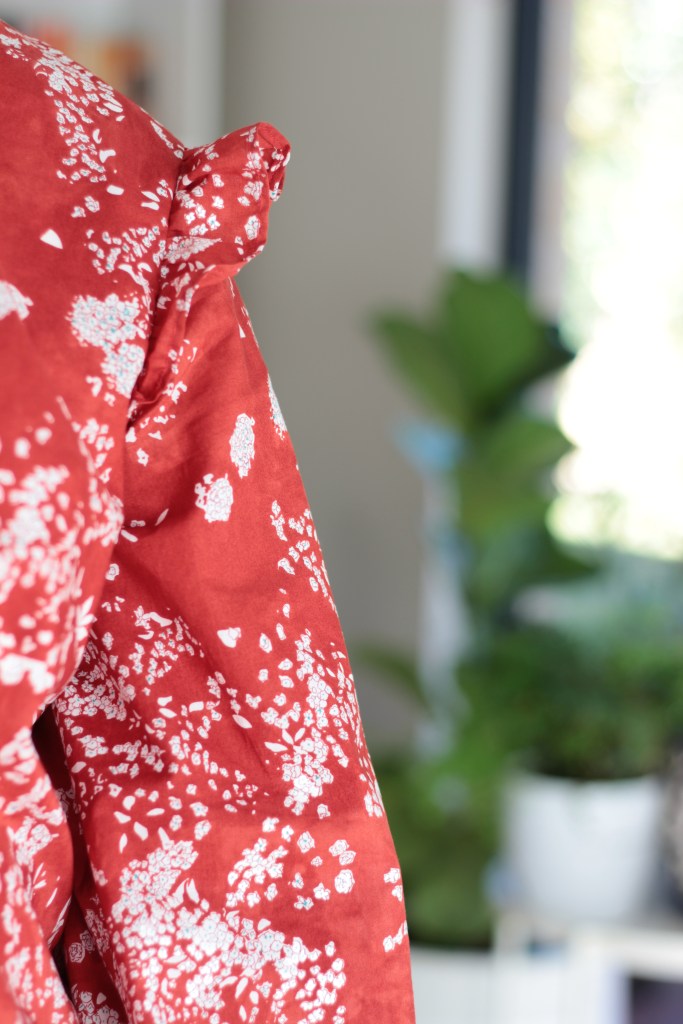
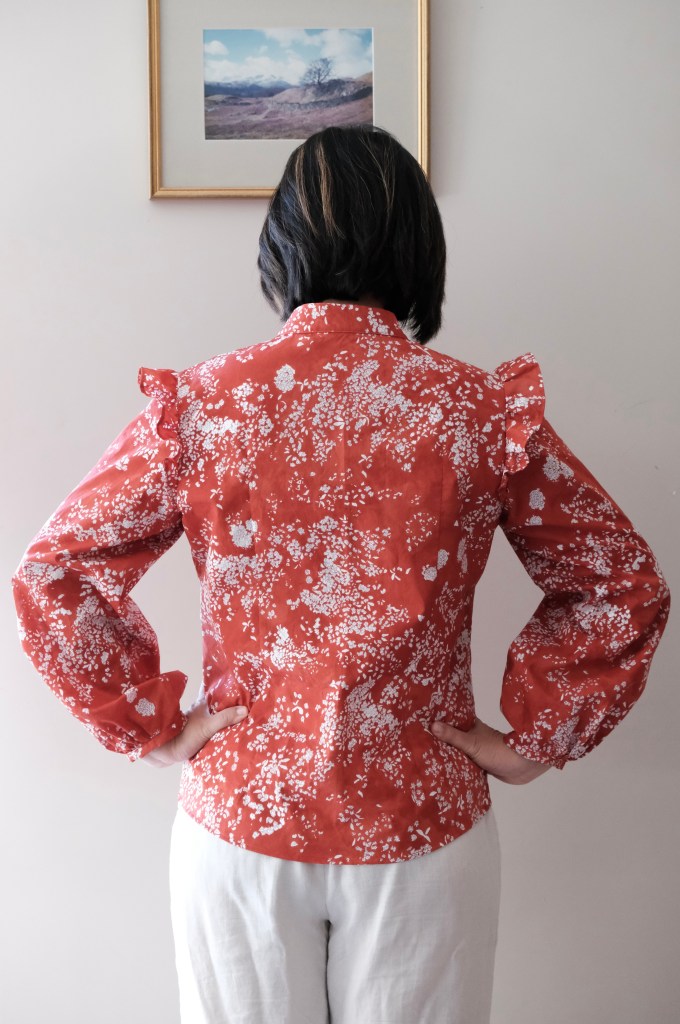
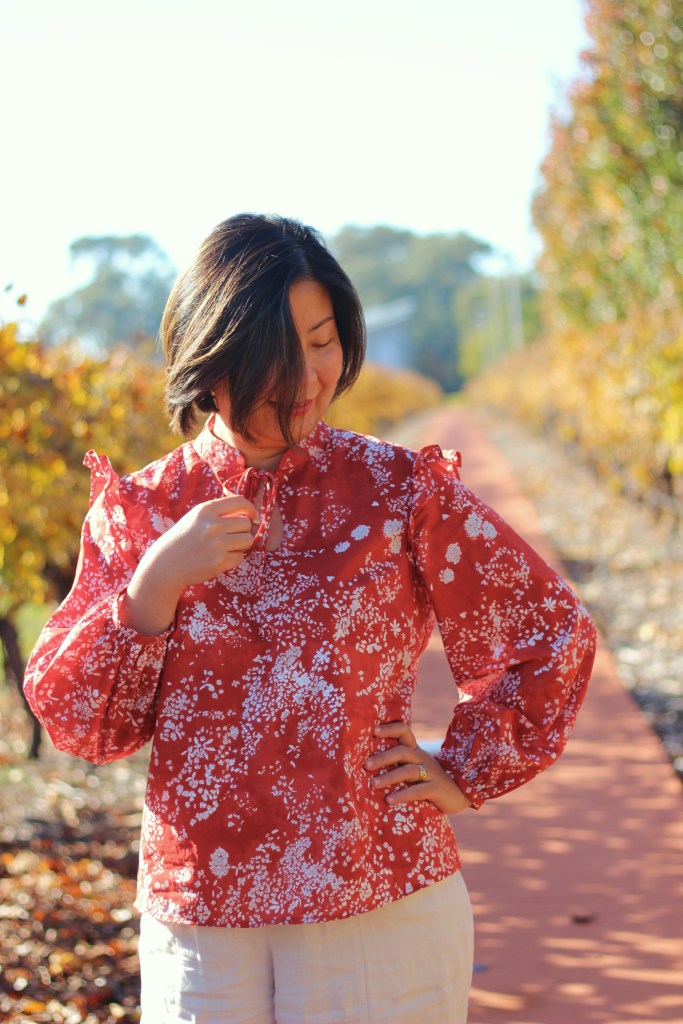
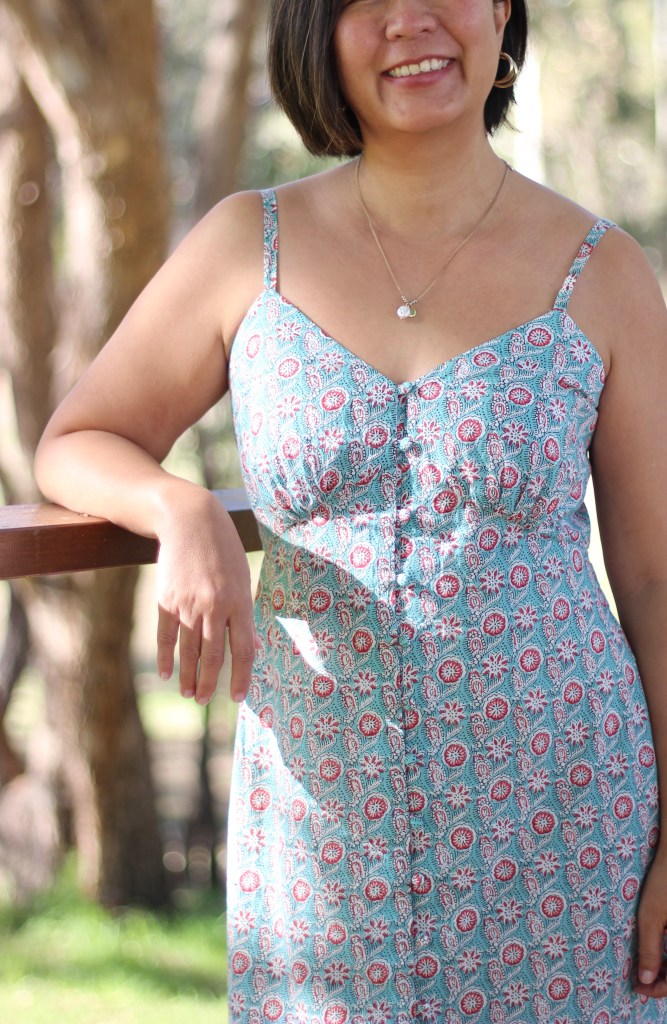
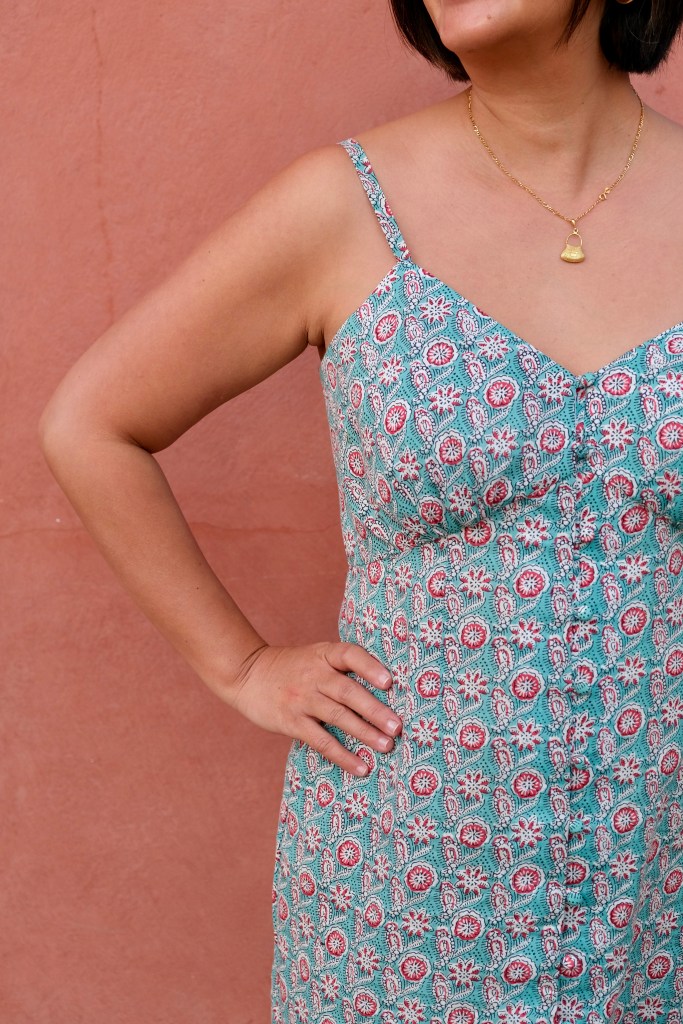
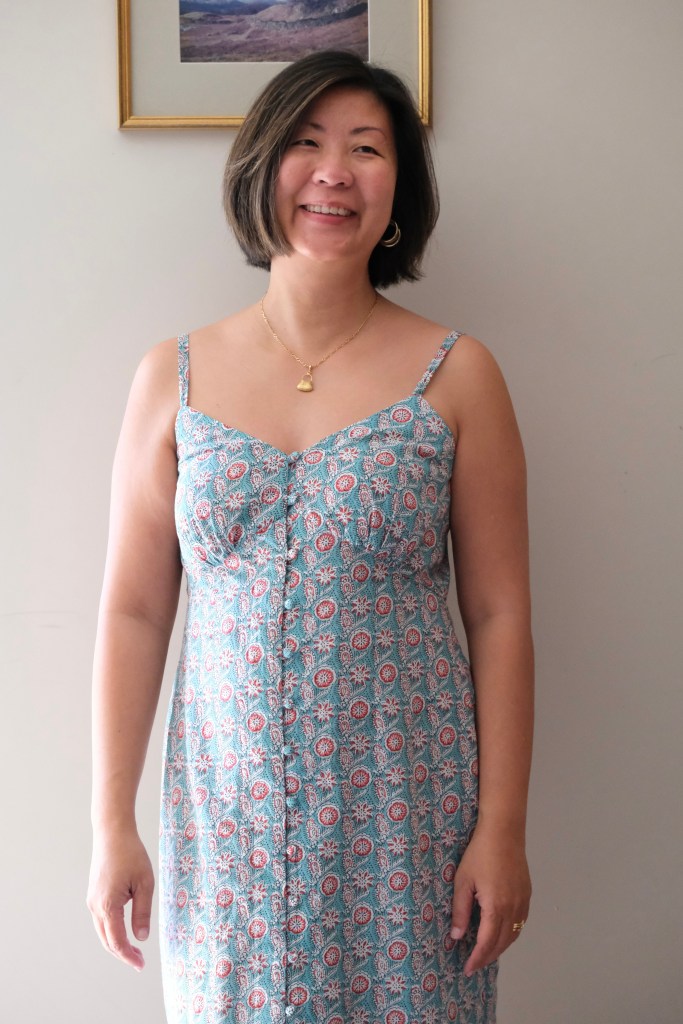
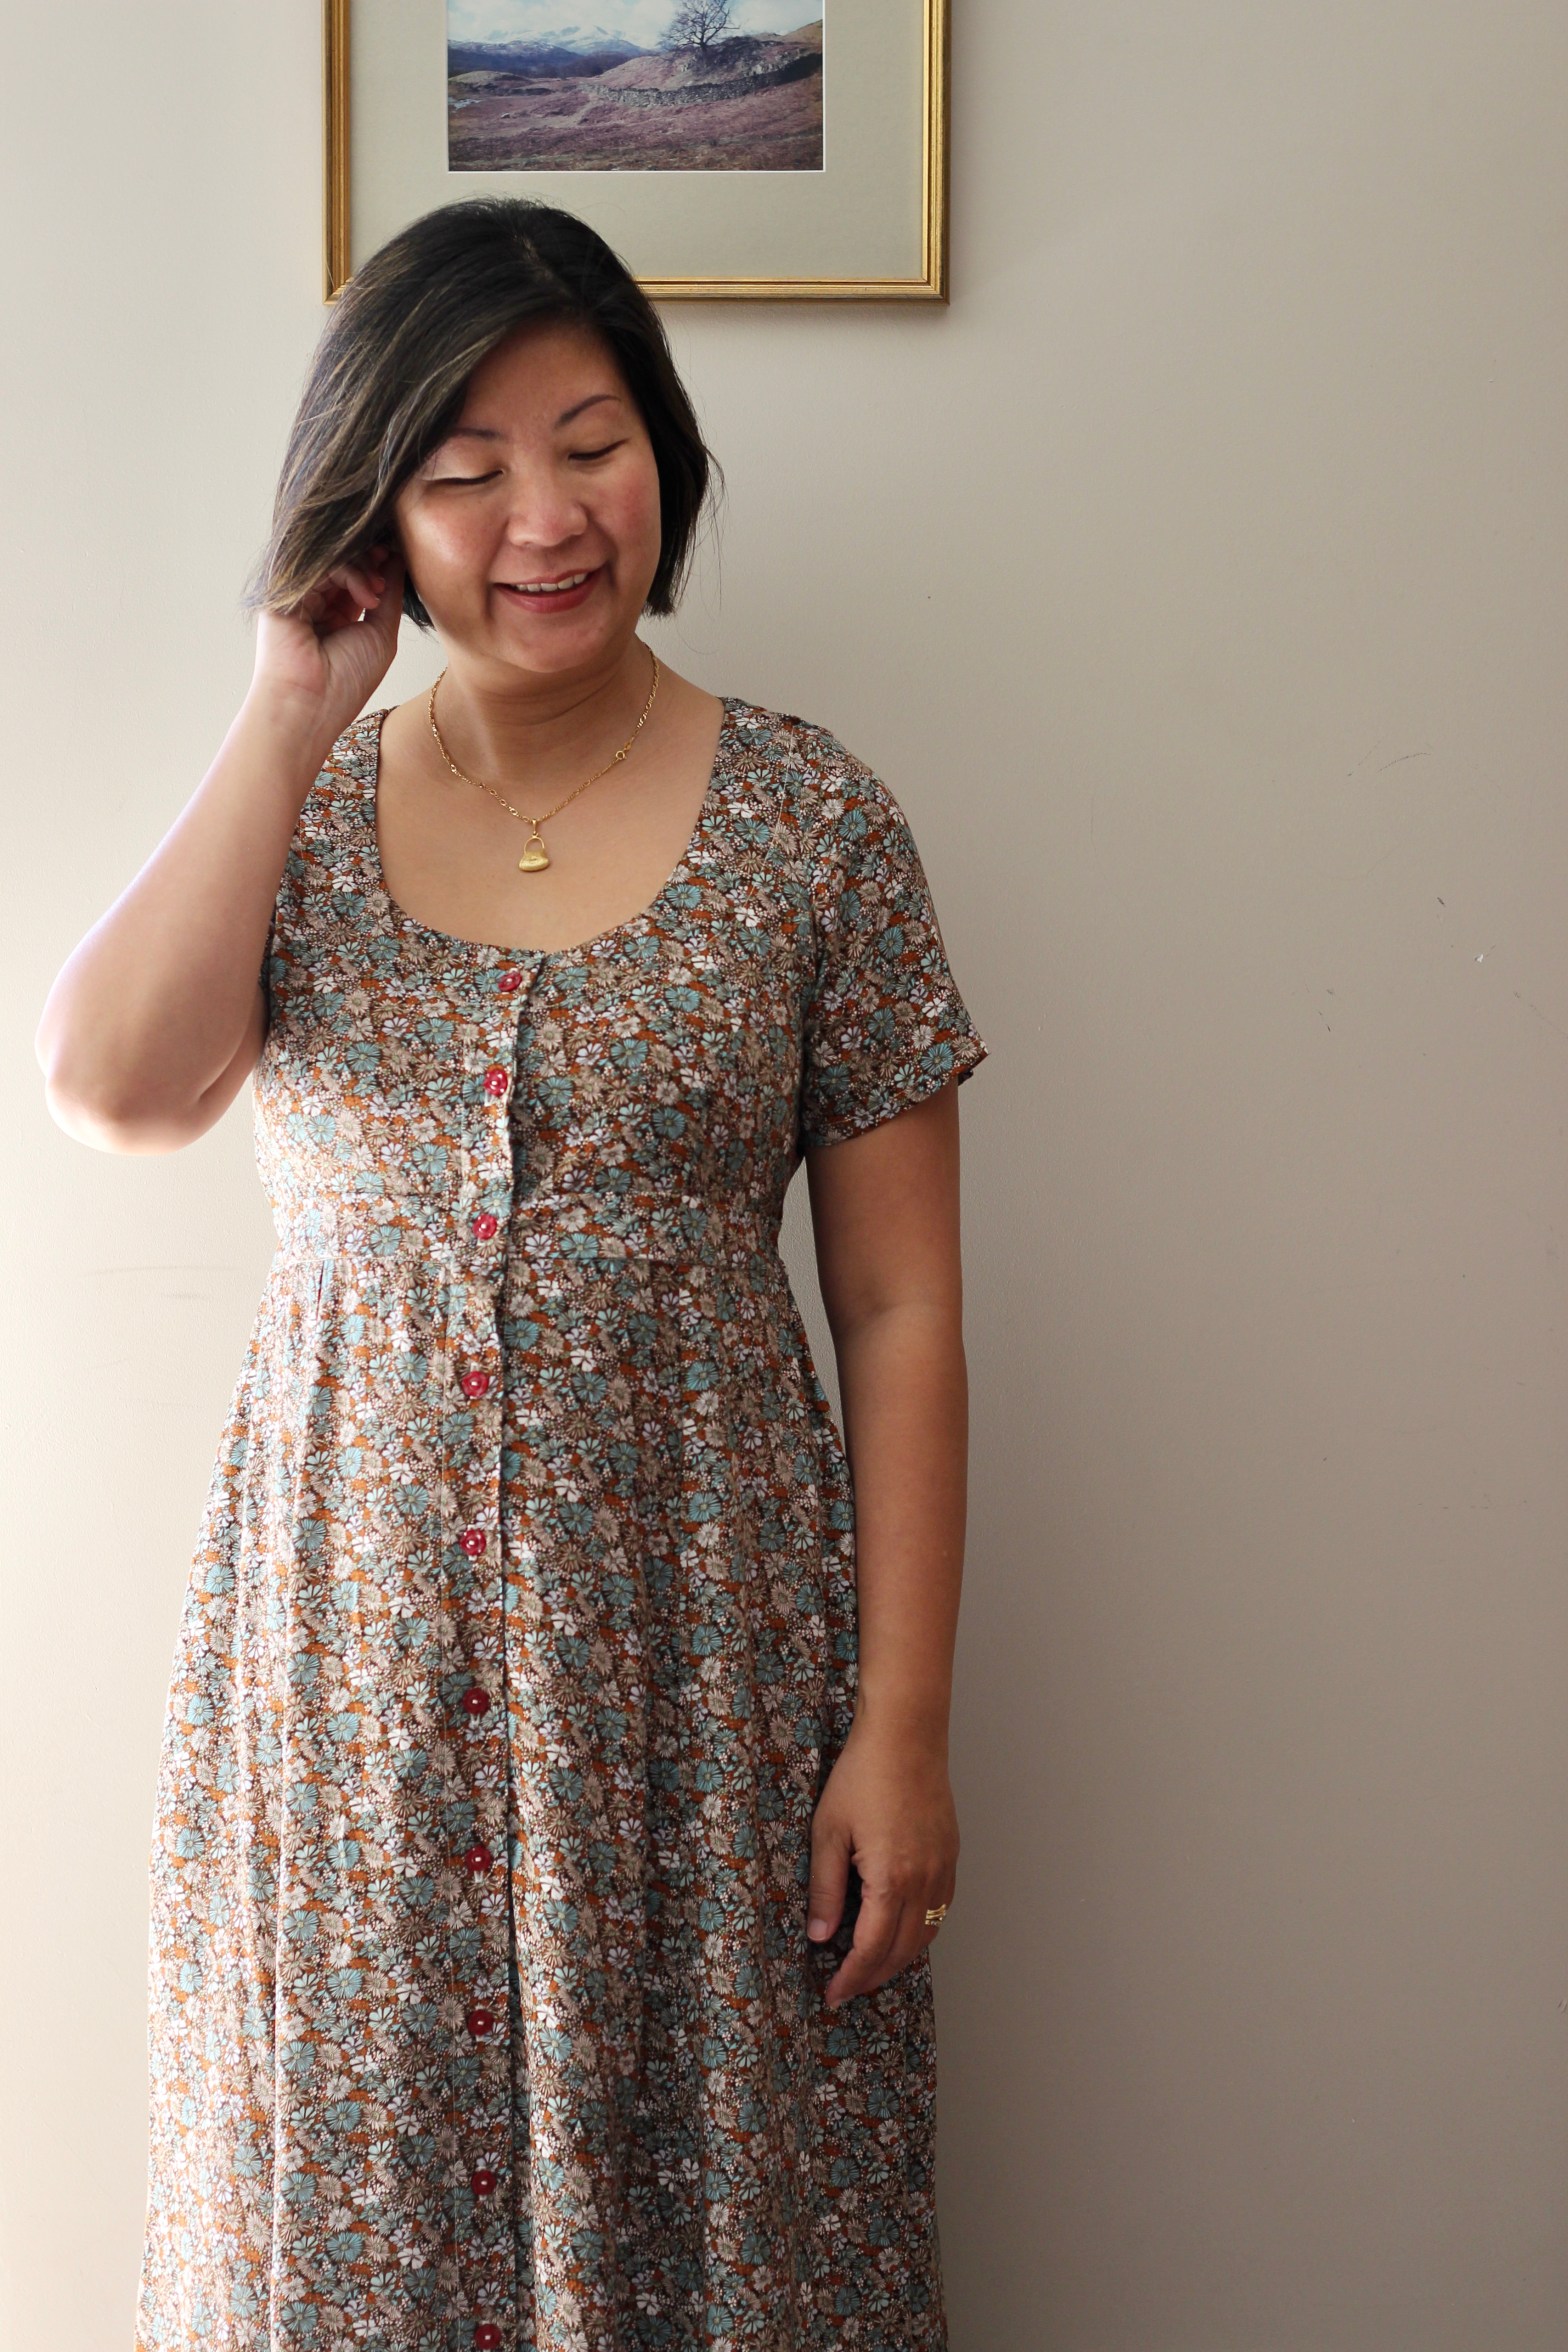
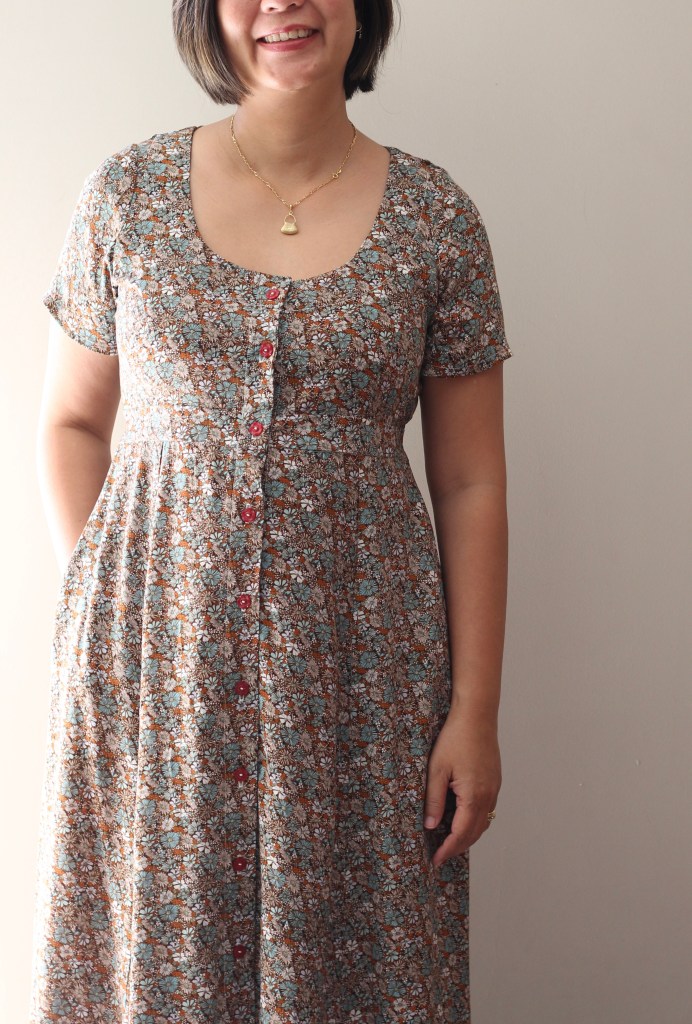
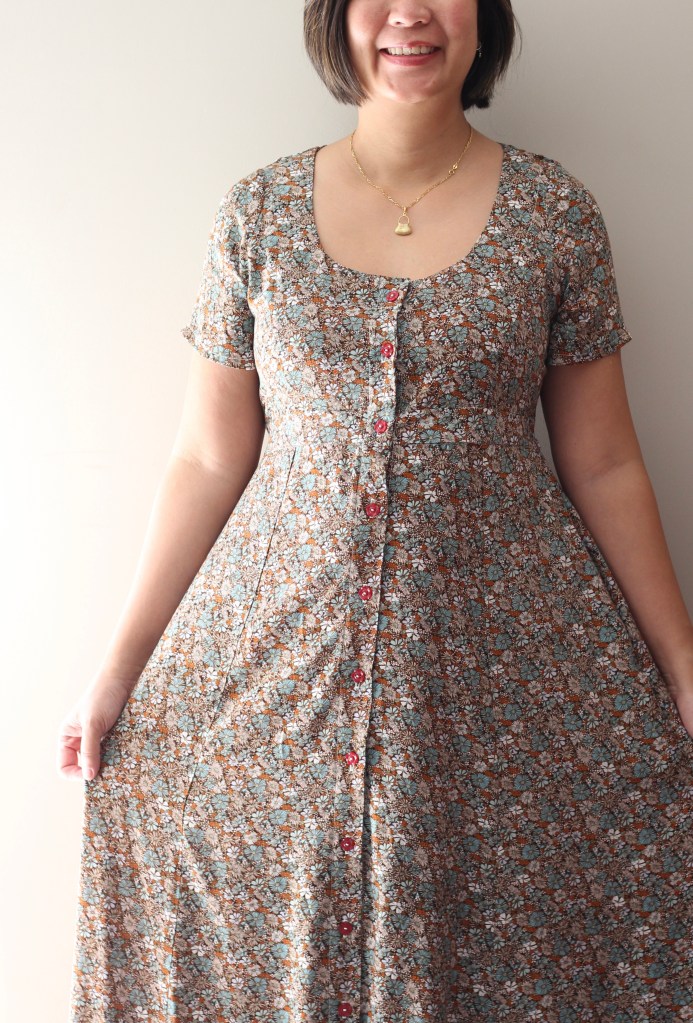
The bohemian style of the Milla Dress from Slow Morning Studios caught my eye with the interestingly lined bodice panel surrounded by gathered sleeves and skirt pieces. It’s honestly the biggest sleeves I’ve ever sewn. This is a pull-over-your-head dress, so no zips or buttons needed. I’ve used the beautiful floral liberty-style cotton lawn sent to me by DIY District and I’m so happy with the combination. The cotton lawn is a non-stretch lightweight woven which suits this pattern. In fact, with the size of those sleeves and the amount of gathering, I would choose an even lighter fabric next time but for this make, I’m love the vintage vibes with this lovely liberty design.
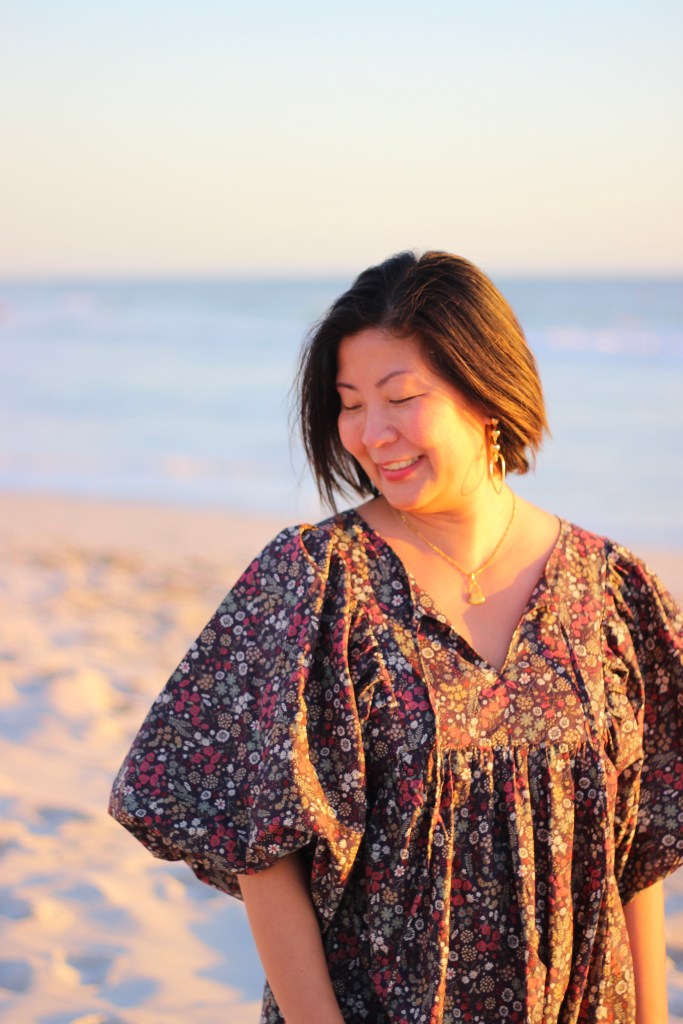
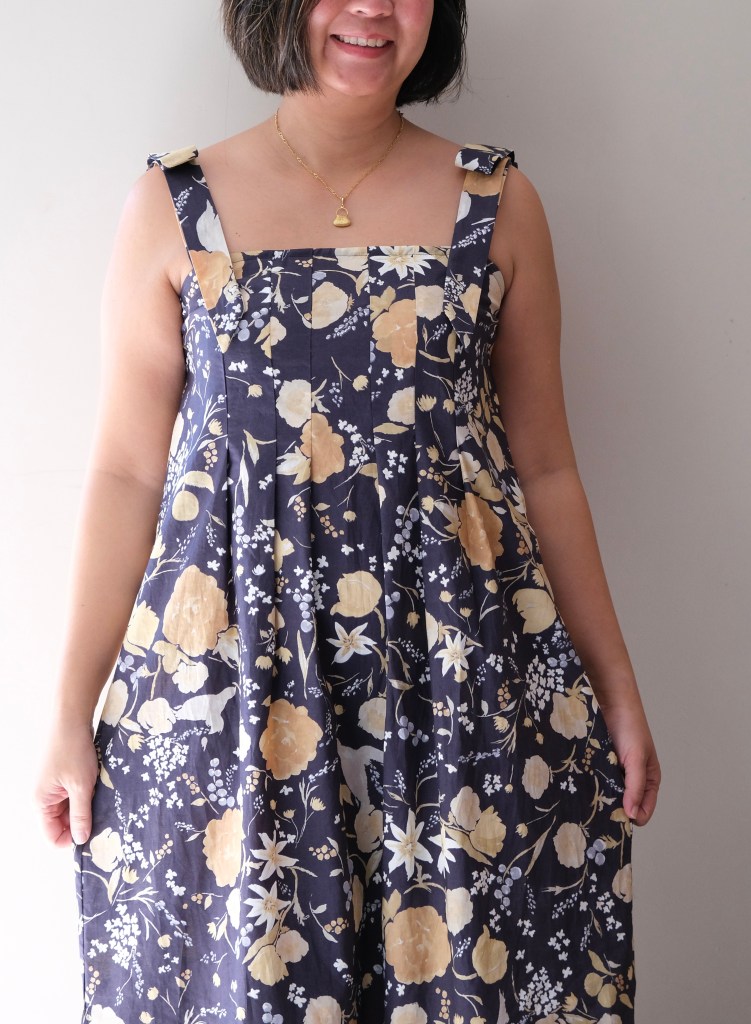
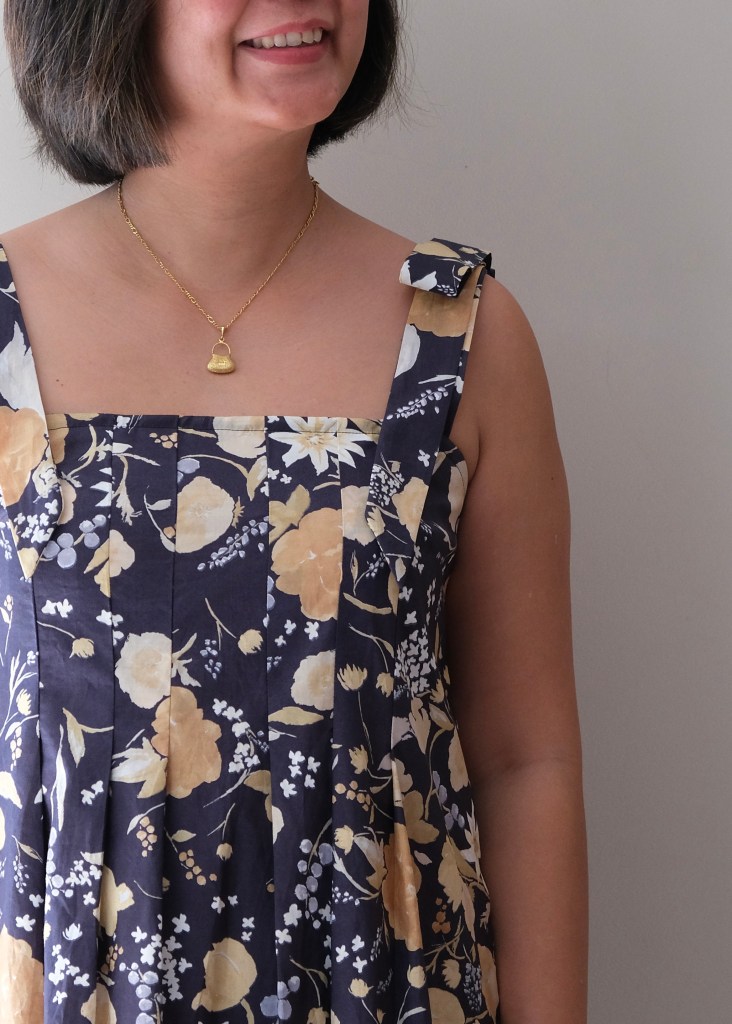
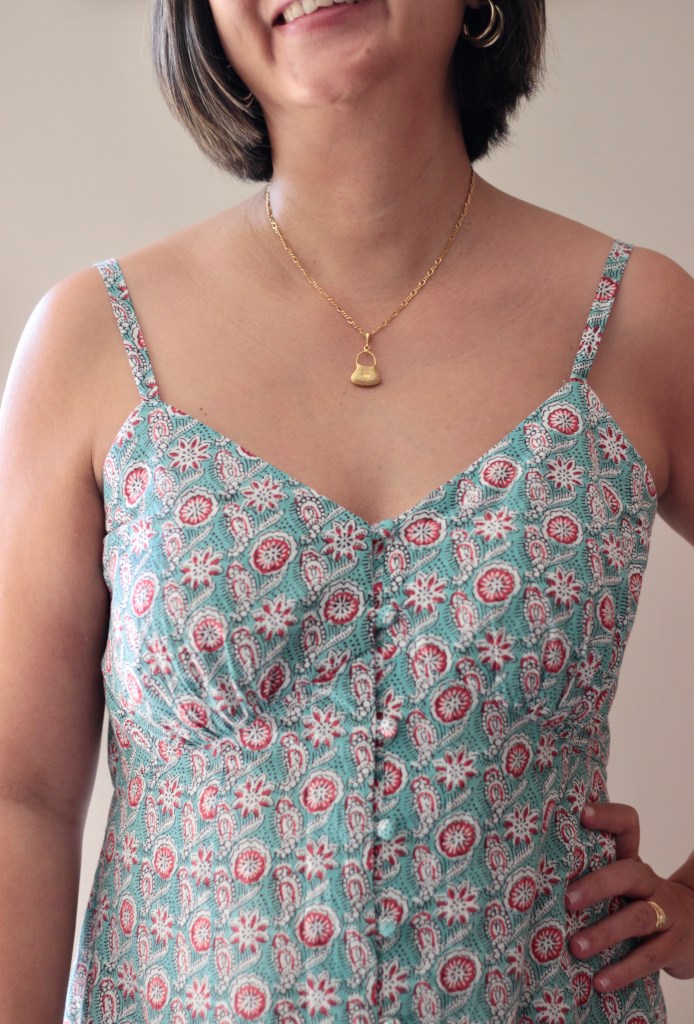
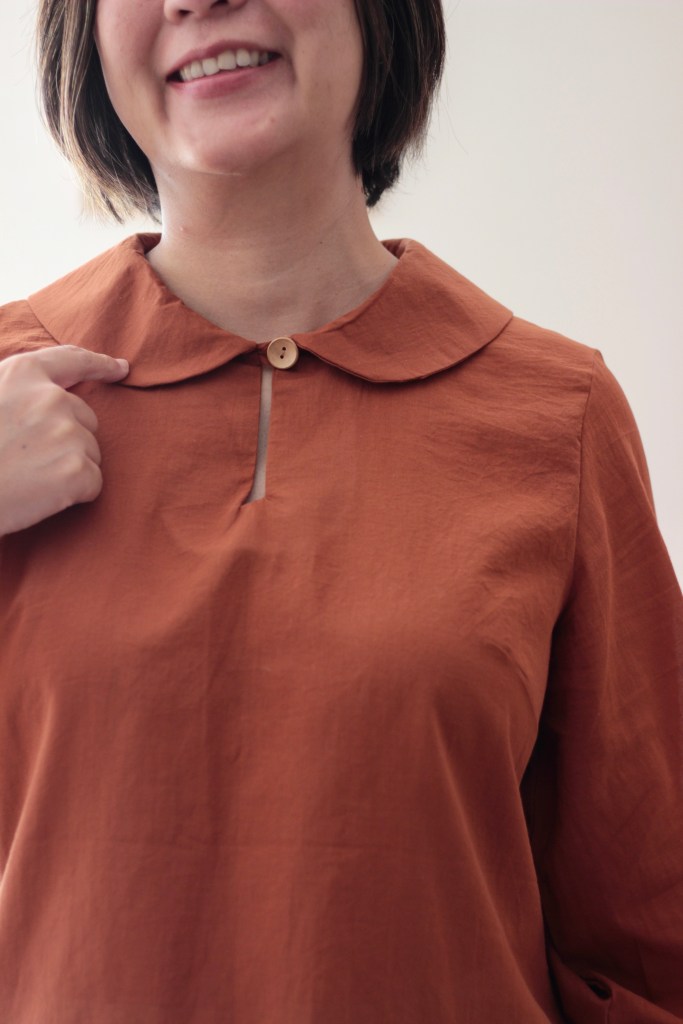
The pattern comes with simple instructions for construction. I like that there is some assumed knowledge in the instructions. Nothing important is left out and all the illustrations are clear. This can be seen with the construction of the neckline. The neckline is not exactly a V-neck but has a V-keyhole feature and there is an option to add ties which I’ve done. The instructions are to match the bodice outer shell to the lining and then to sew and turn inside out to finish. The assumed knowledge is the sewing into a V-neck. The added instructions would be to mark the midline, then baste the seamline to the mark on both sides to the point of the V. This will act as a stitching guide for the neck seamline. Once stitch, it’s important to cut into the V stopping at the stitch line then trim to the point of the V. I love how so much detail and technique it can take to make something like a V-neck look sharp. If you don’t sew, you never appreciate the skill and knowledge it takes to make something look so seamless!
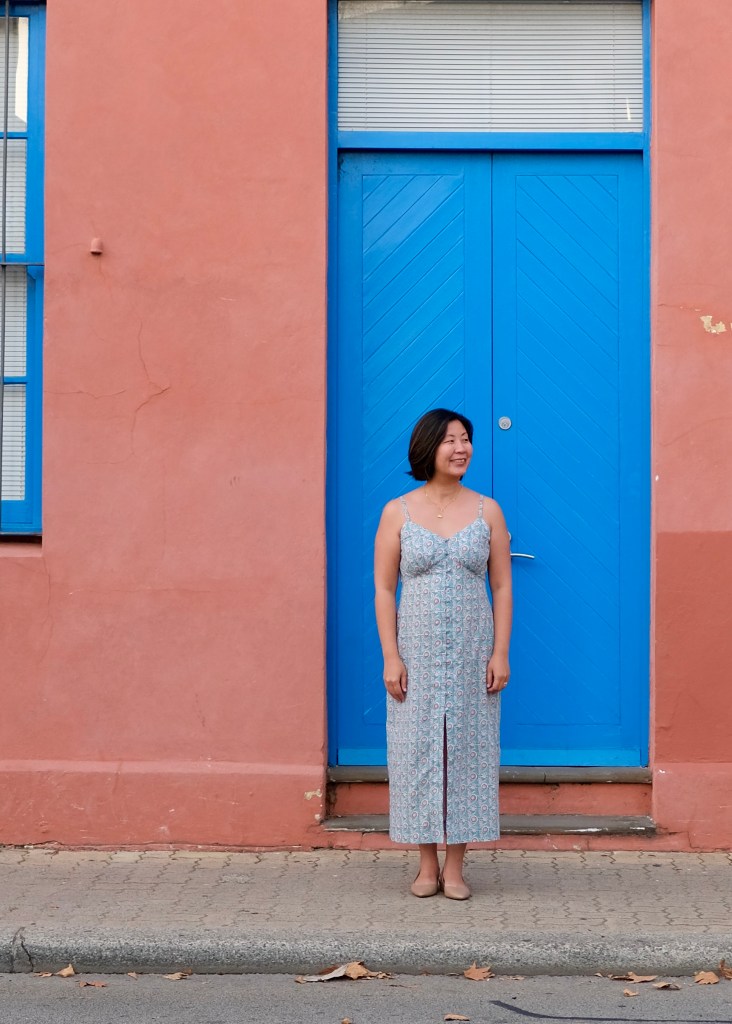
The dress is a lovely loose fit. There’s obviously a lot of ease in the pattern so sizing is straightforward. My measurements of 37-inch bust, 33-inch waist and 38-inch hips fit between the size38 and size 40 so I made the size 38. I’m comfortable with the fit. The pattern comes as a dress but also a blouse and has long or shorter sleeve options. I’ve chosen the longer sleeve option which has elasticised sleeve hems.
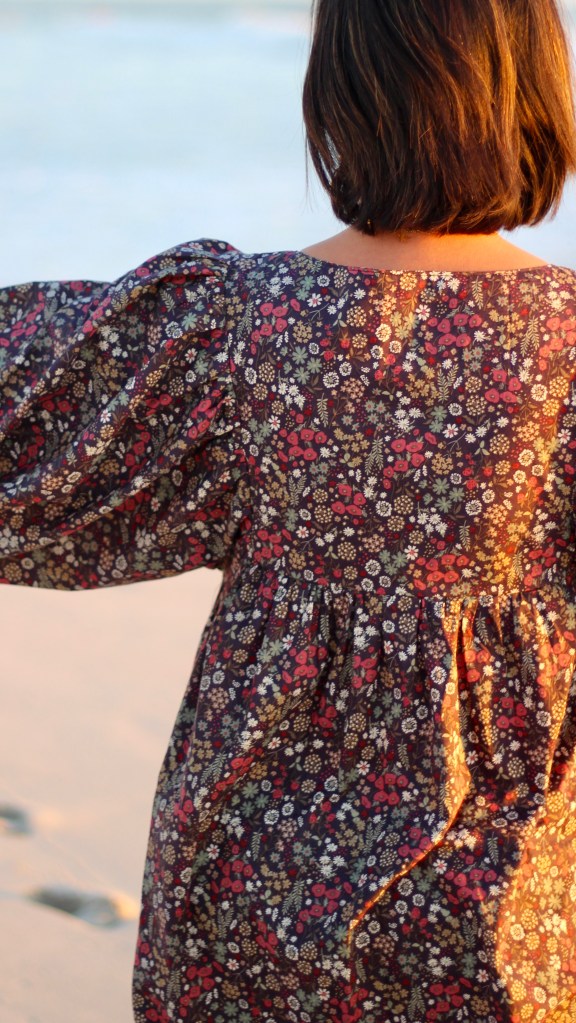
Talking sleeves, I have to mention that I cut the sleeves crossgrain. Cross grain runs at a 90degree angle to the fabric. The width of the fabric was narrow at 110cm so the fullness of the gathered sleeve pattern would not fit. Cutting crossgrain was my only option. I think for sleeves, cutting crossgrain is fine as there isn’t much strain on the fabric but I would be wary of doing this on a pair of trousers as the fabric is weaker. If you tug at the fabric that is cut on a crosswise grain, it will have more “give” than one that is cut straight of grain.
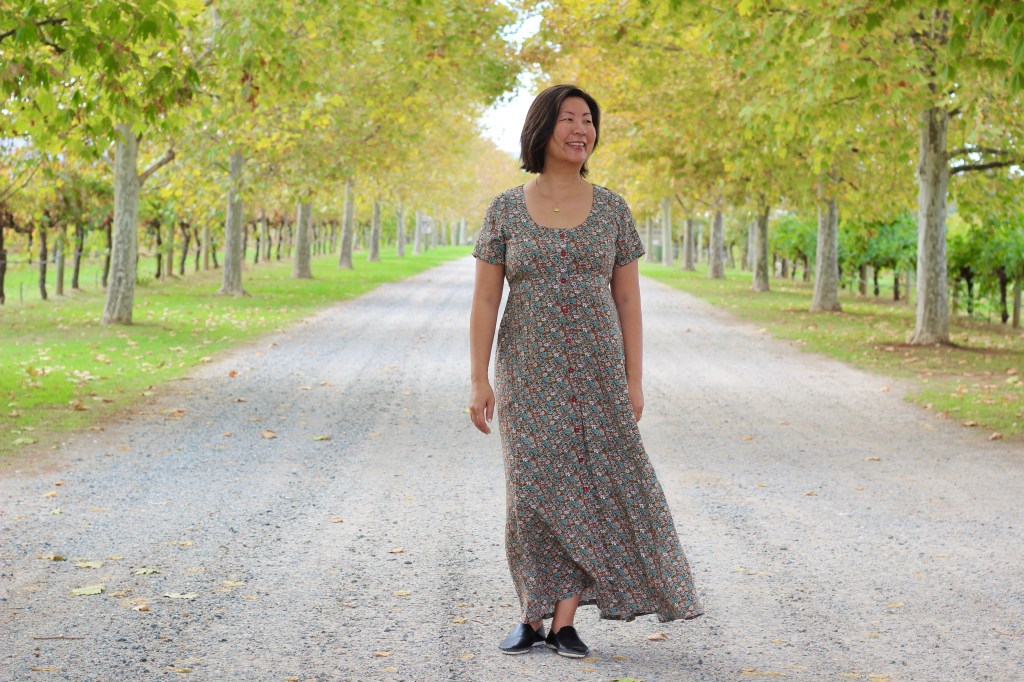
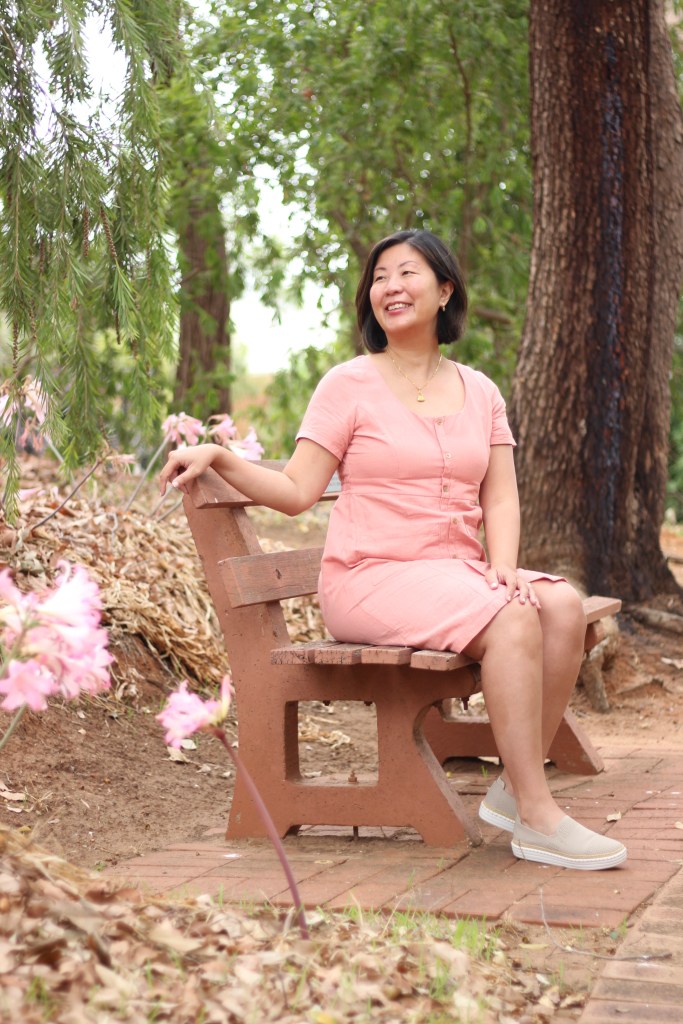
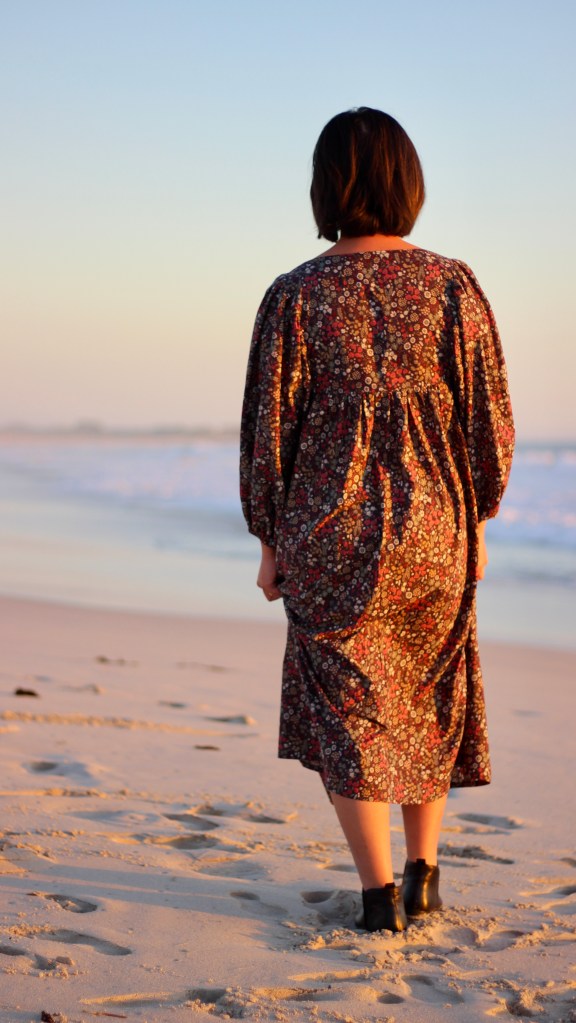
The liberty style cotton lawn is an easy fabric to sew as it’s a stable woven fabric. I’ve used a 75/11 size machine needle. It would also be okay to sew with a universal needle. I have chosen to finish all the seams with overlocking which is nice and quick. In fact, the whole sewing process was quick. It’s a great project if you need a dress quickly as it can be done in an afternoon. I’m definitely squeezing another one in but next time I’m going to shorten it for a beach dress and make it with super lightweight fabric. With this heavier cotton lawn, I’m wearing it more as a winter dress and it’ll also be great for the in-between seasons. I would style it with a denim jacket and boots to make it cosy to wear.
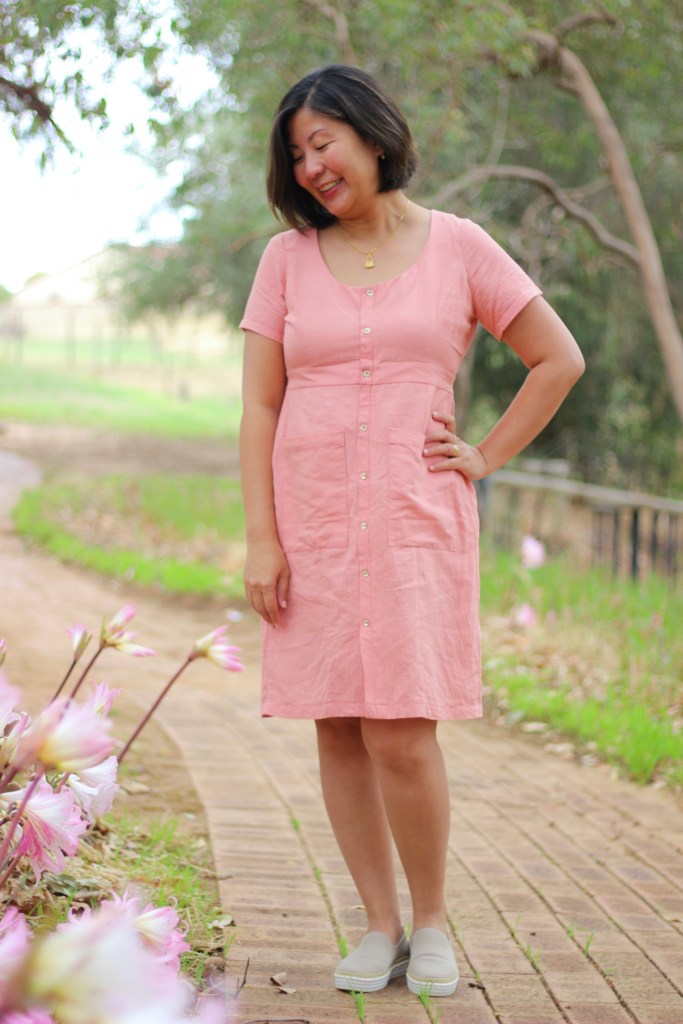
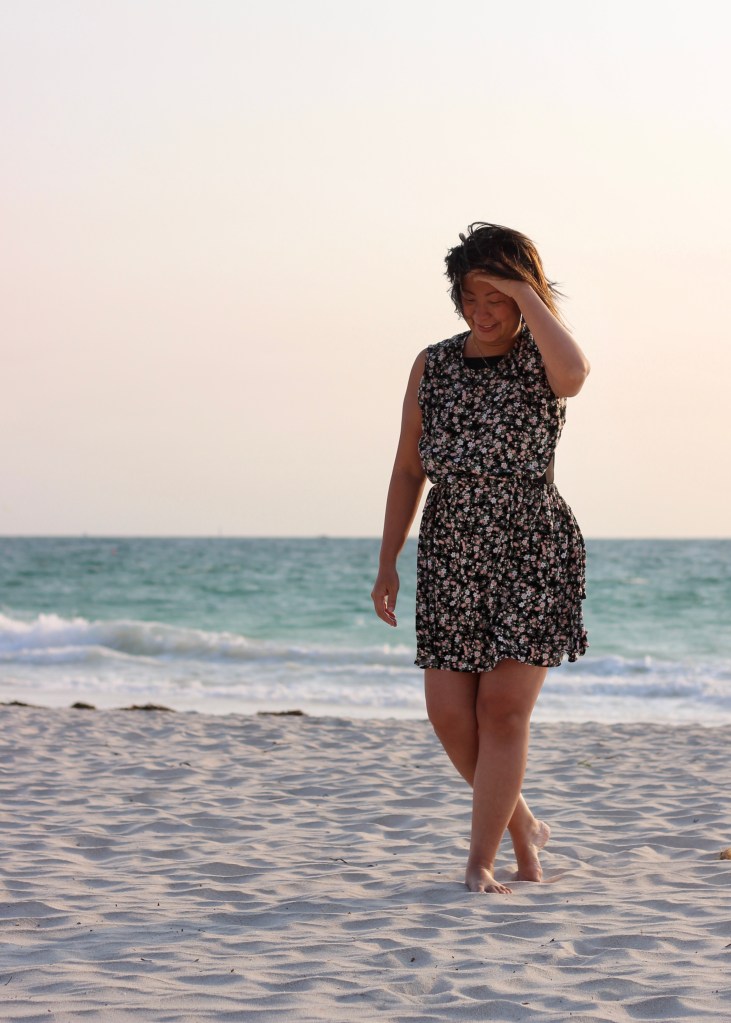
Here are some Australian winter beach photos!


Thanks for reading and happy sewing!
X Em