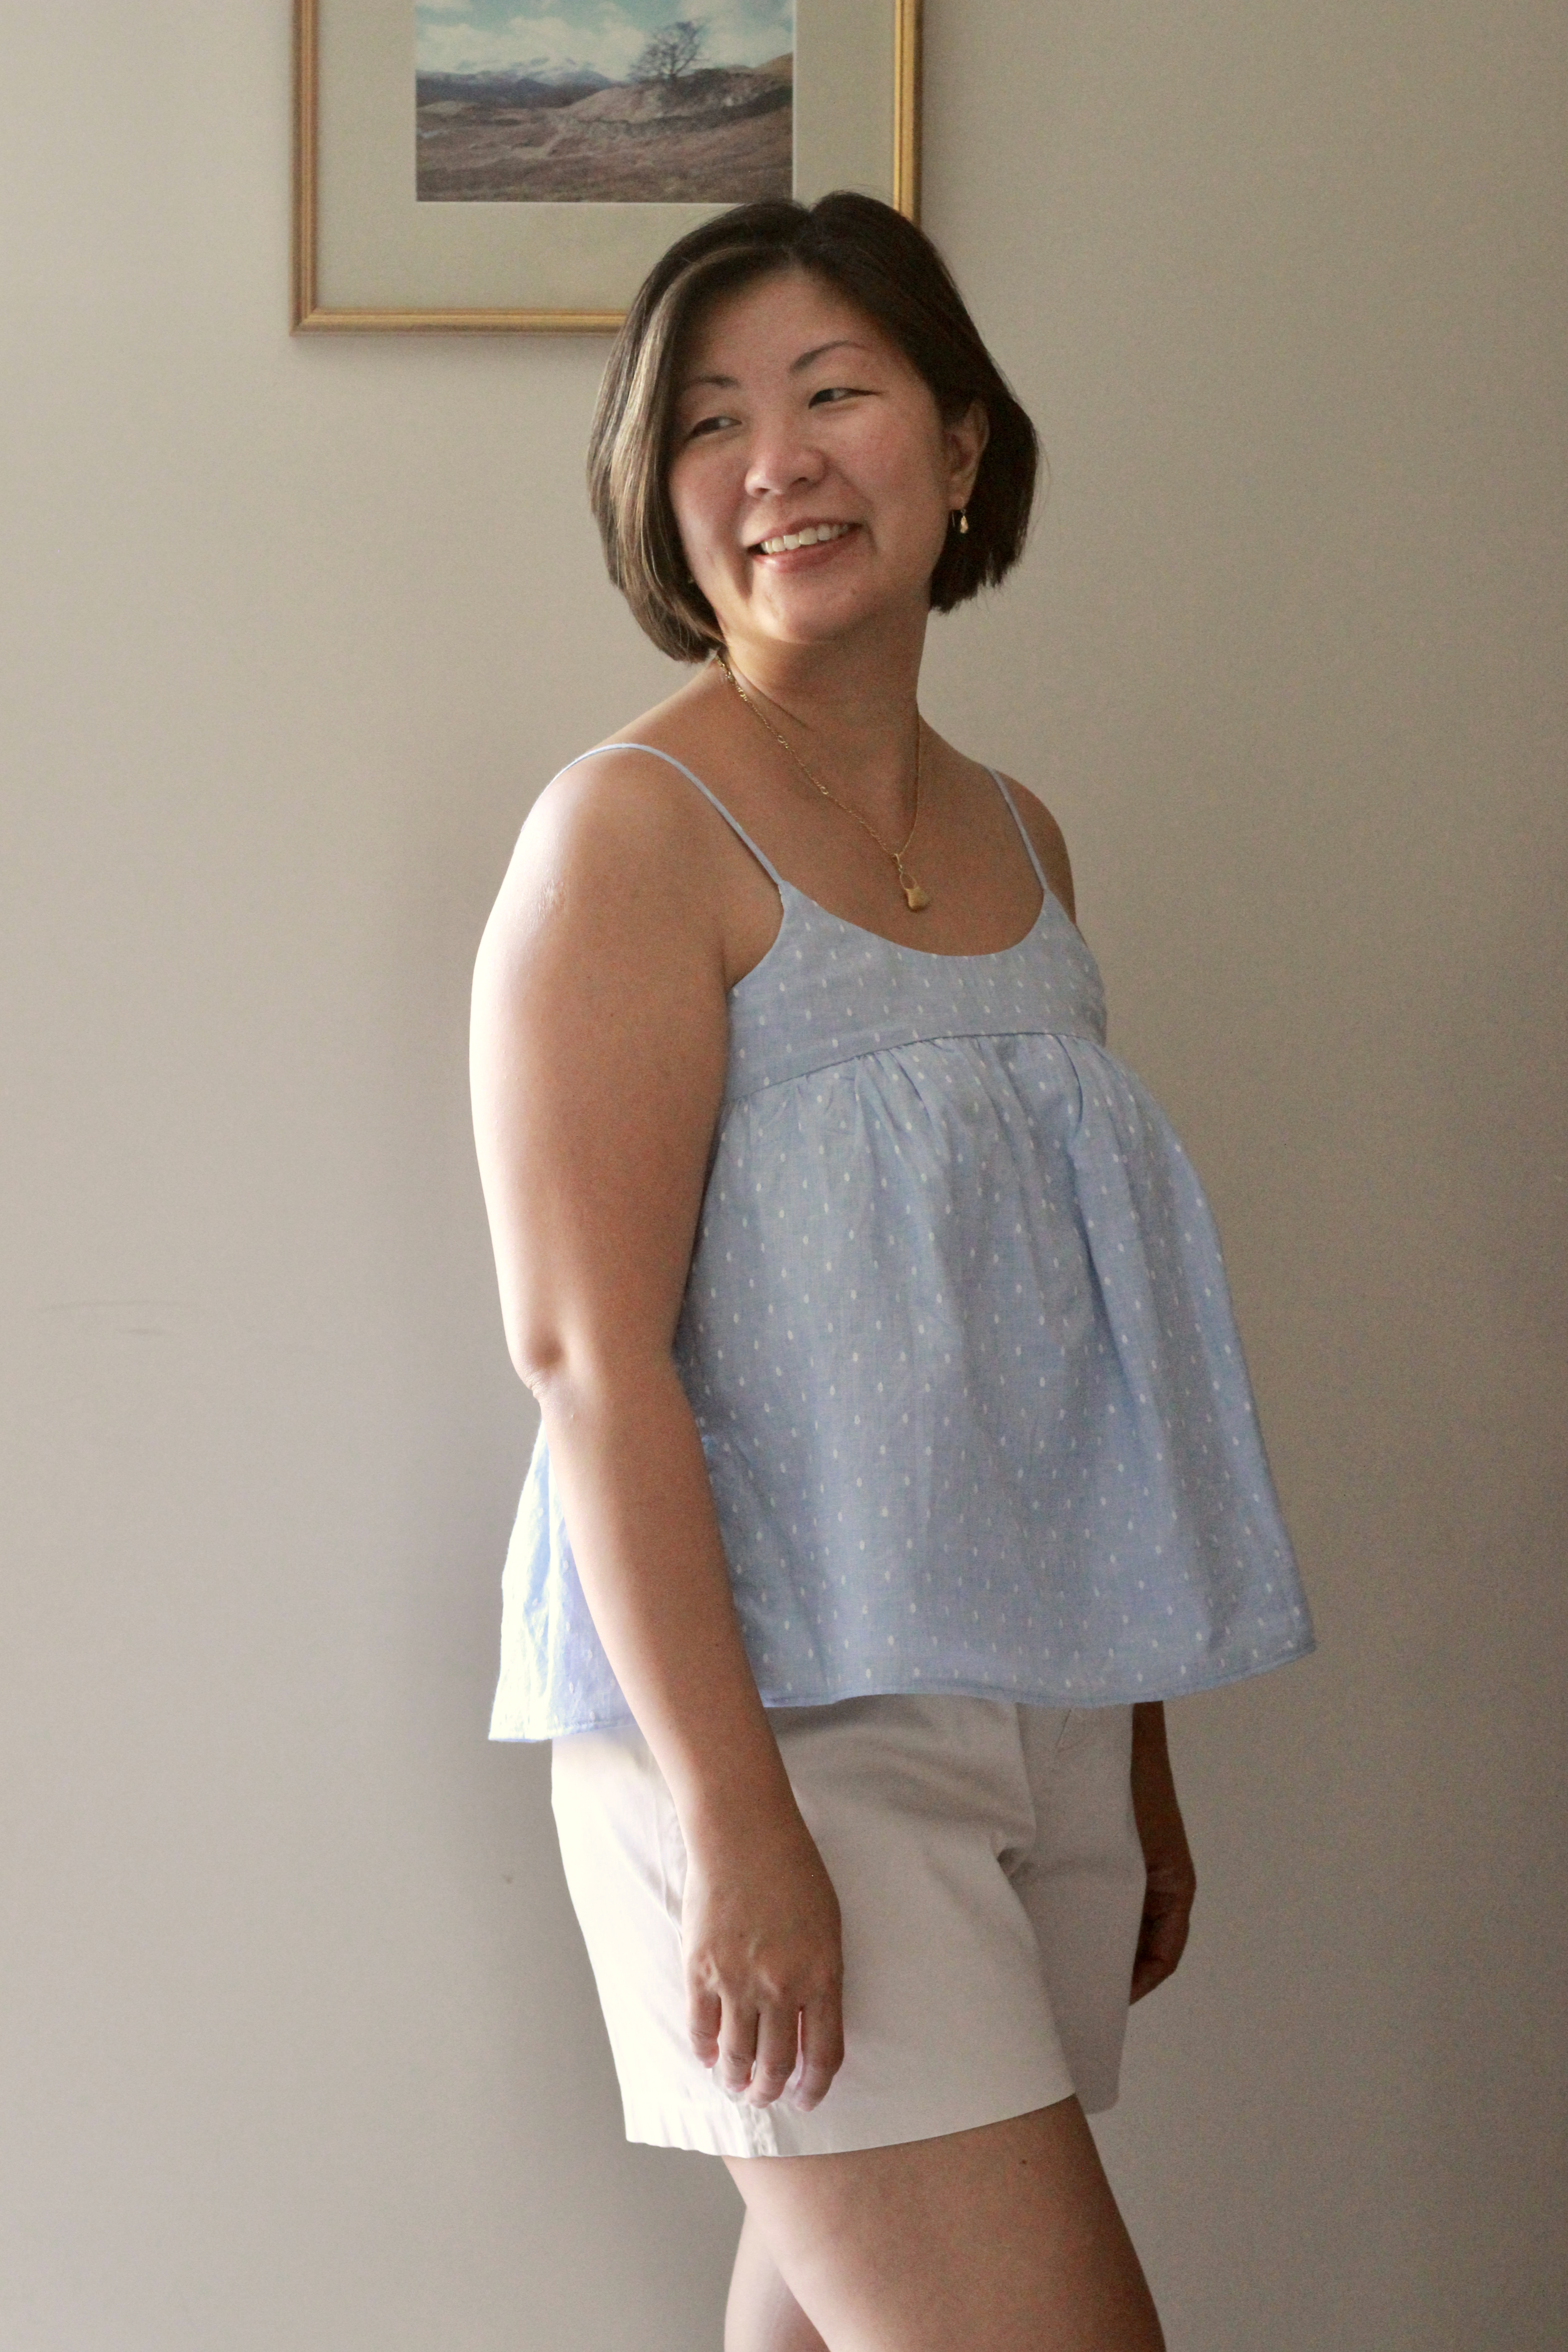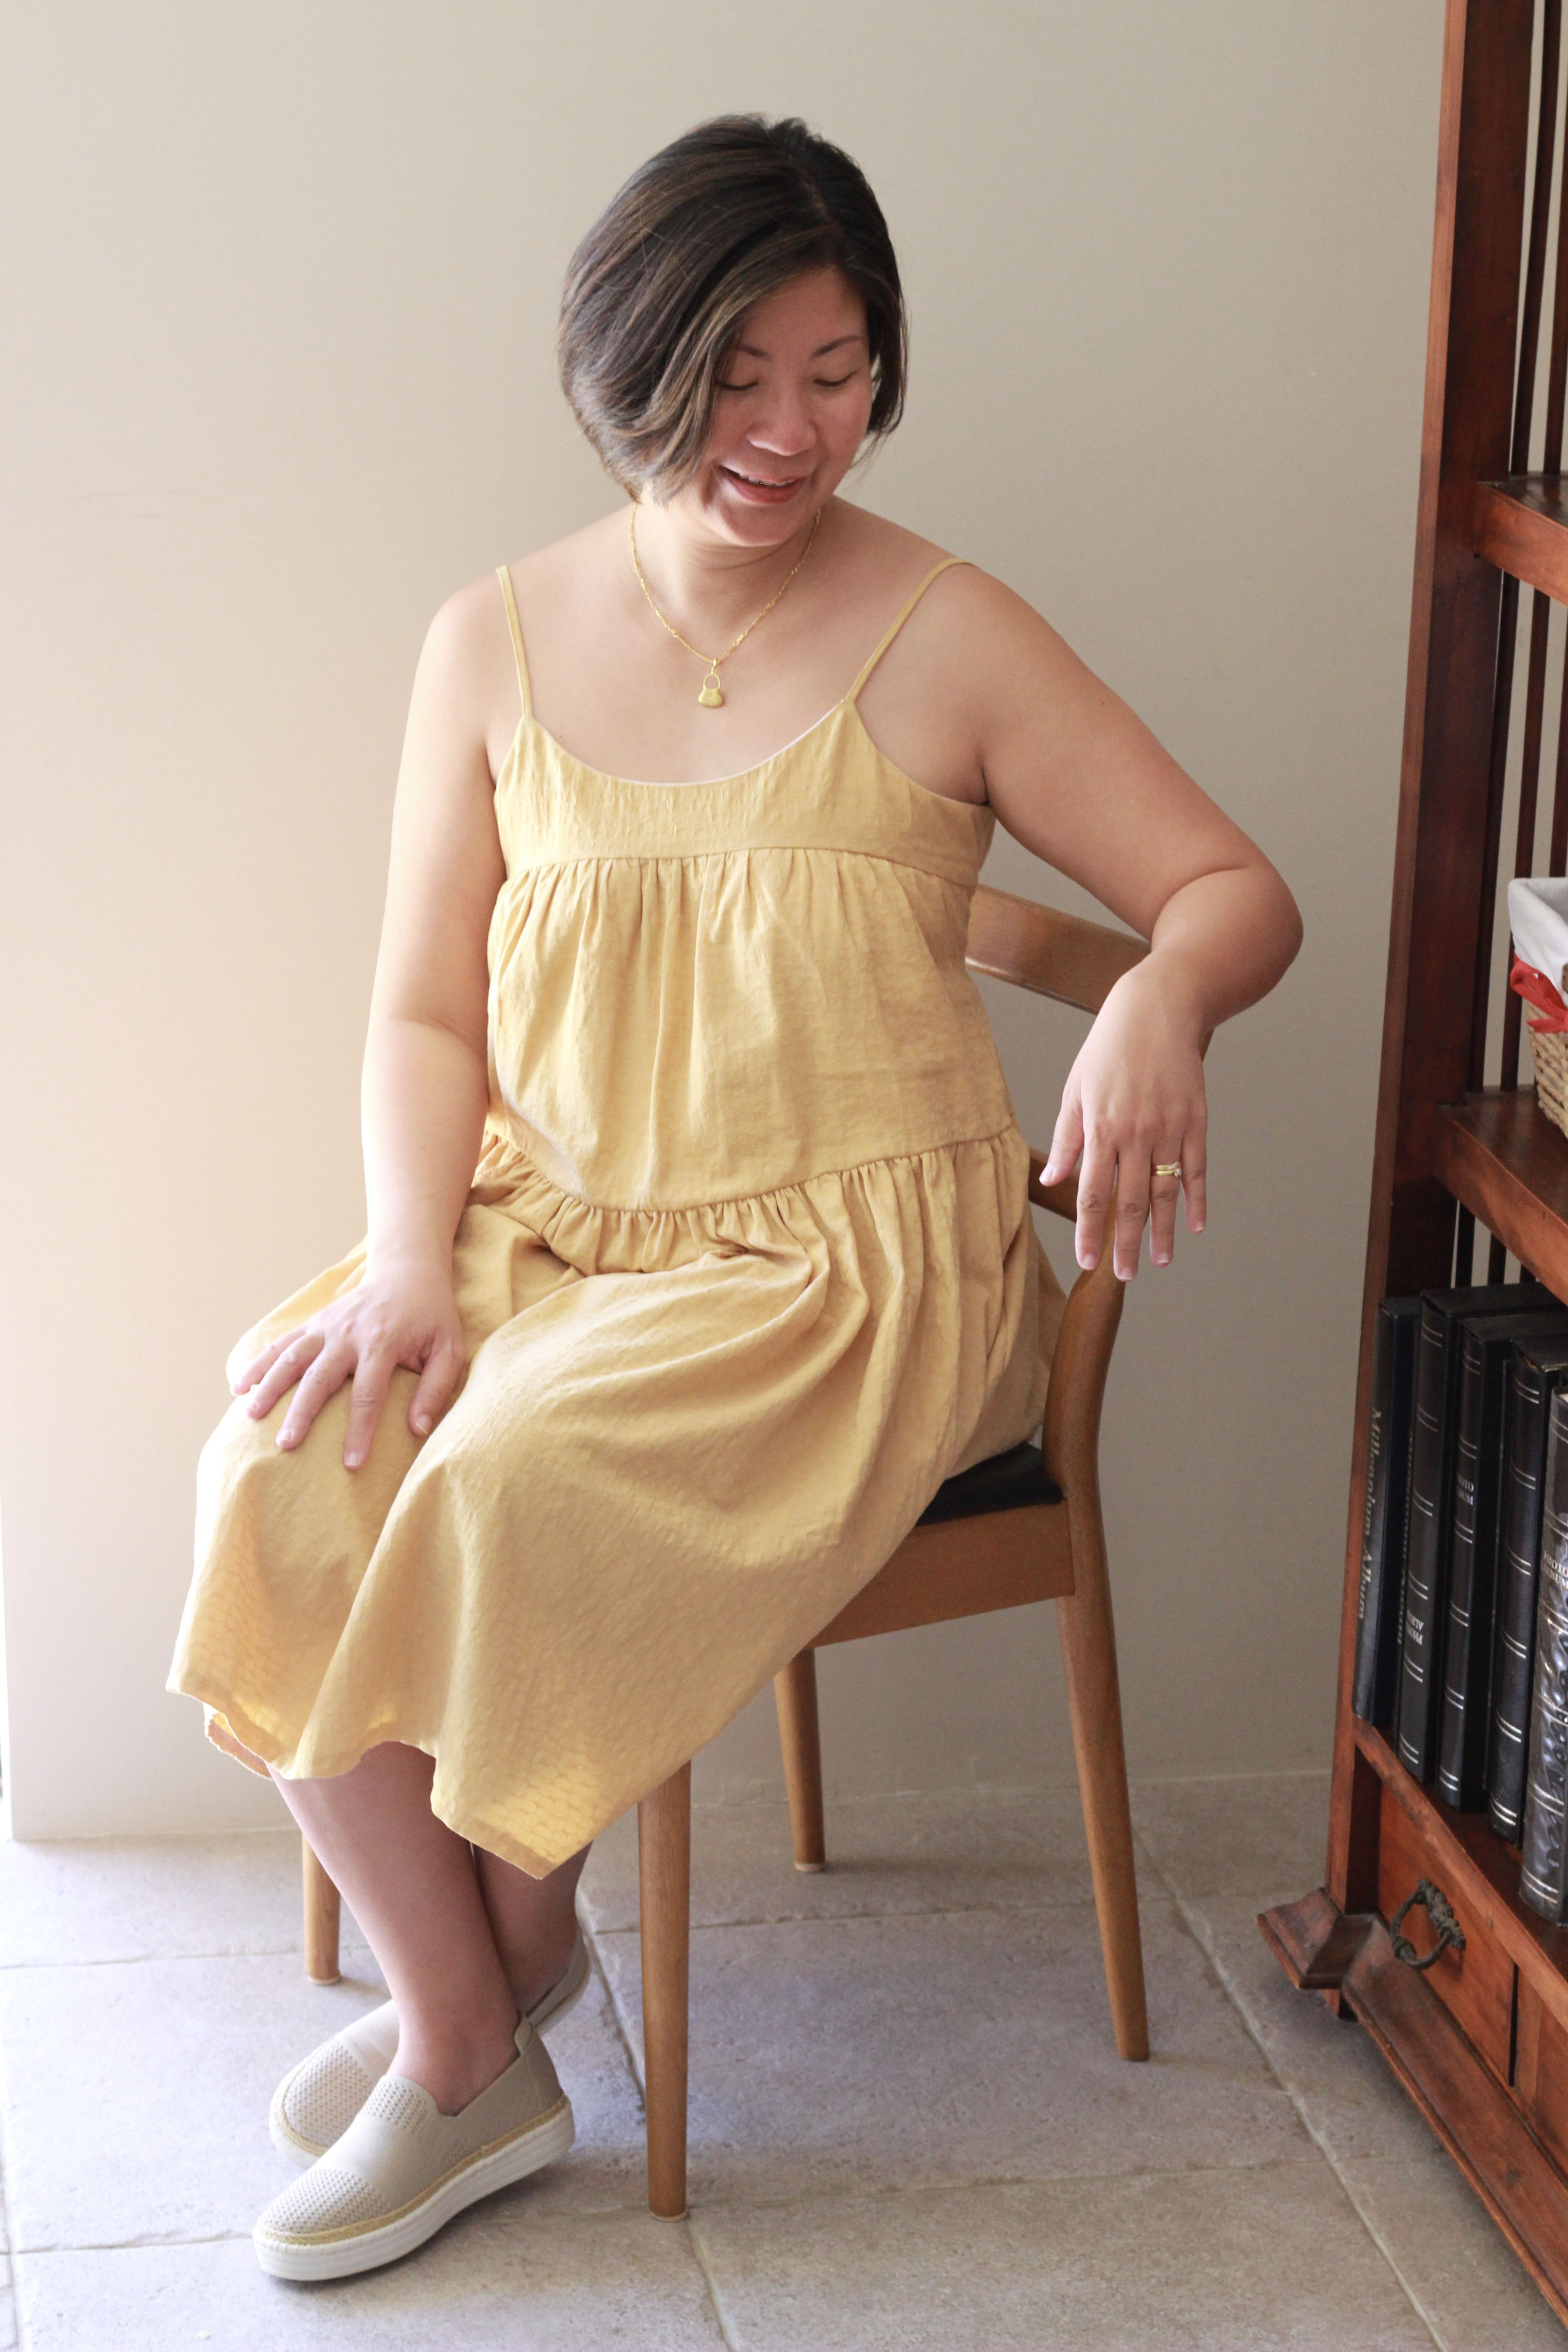
The Marselis Top and Dress is a new pattern from The Uncut Project. I was lucky enough to be selected to test this beautiful pattern. The Marselis can be sewn as a top or a dress. The designers, Anna and Isabel, are from Copenhagen and their design reflects the Scandinavian aesthetic of simple lines with a modern twist. This pattern has a lot of inclusions. The flowy top or dress can be sewn sleeveless, short sleeved or long sleeved. I chose to make the sleeveless top version and I had in mind something that was appropriate for a summer night out.
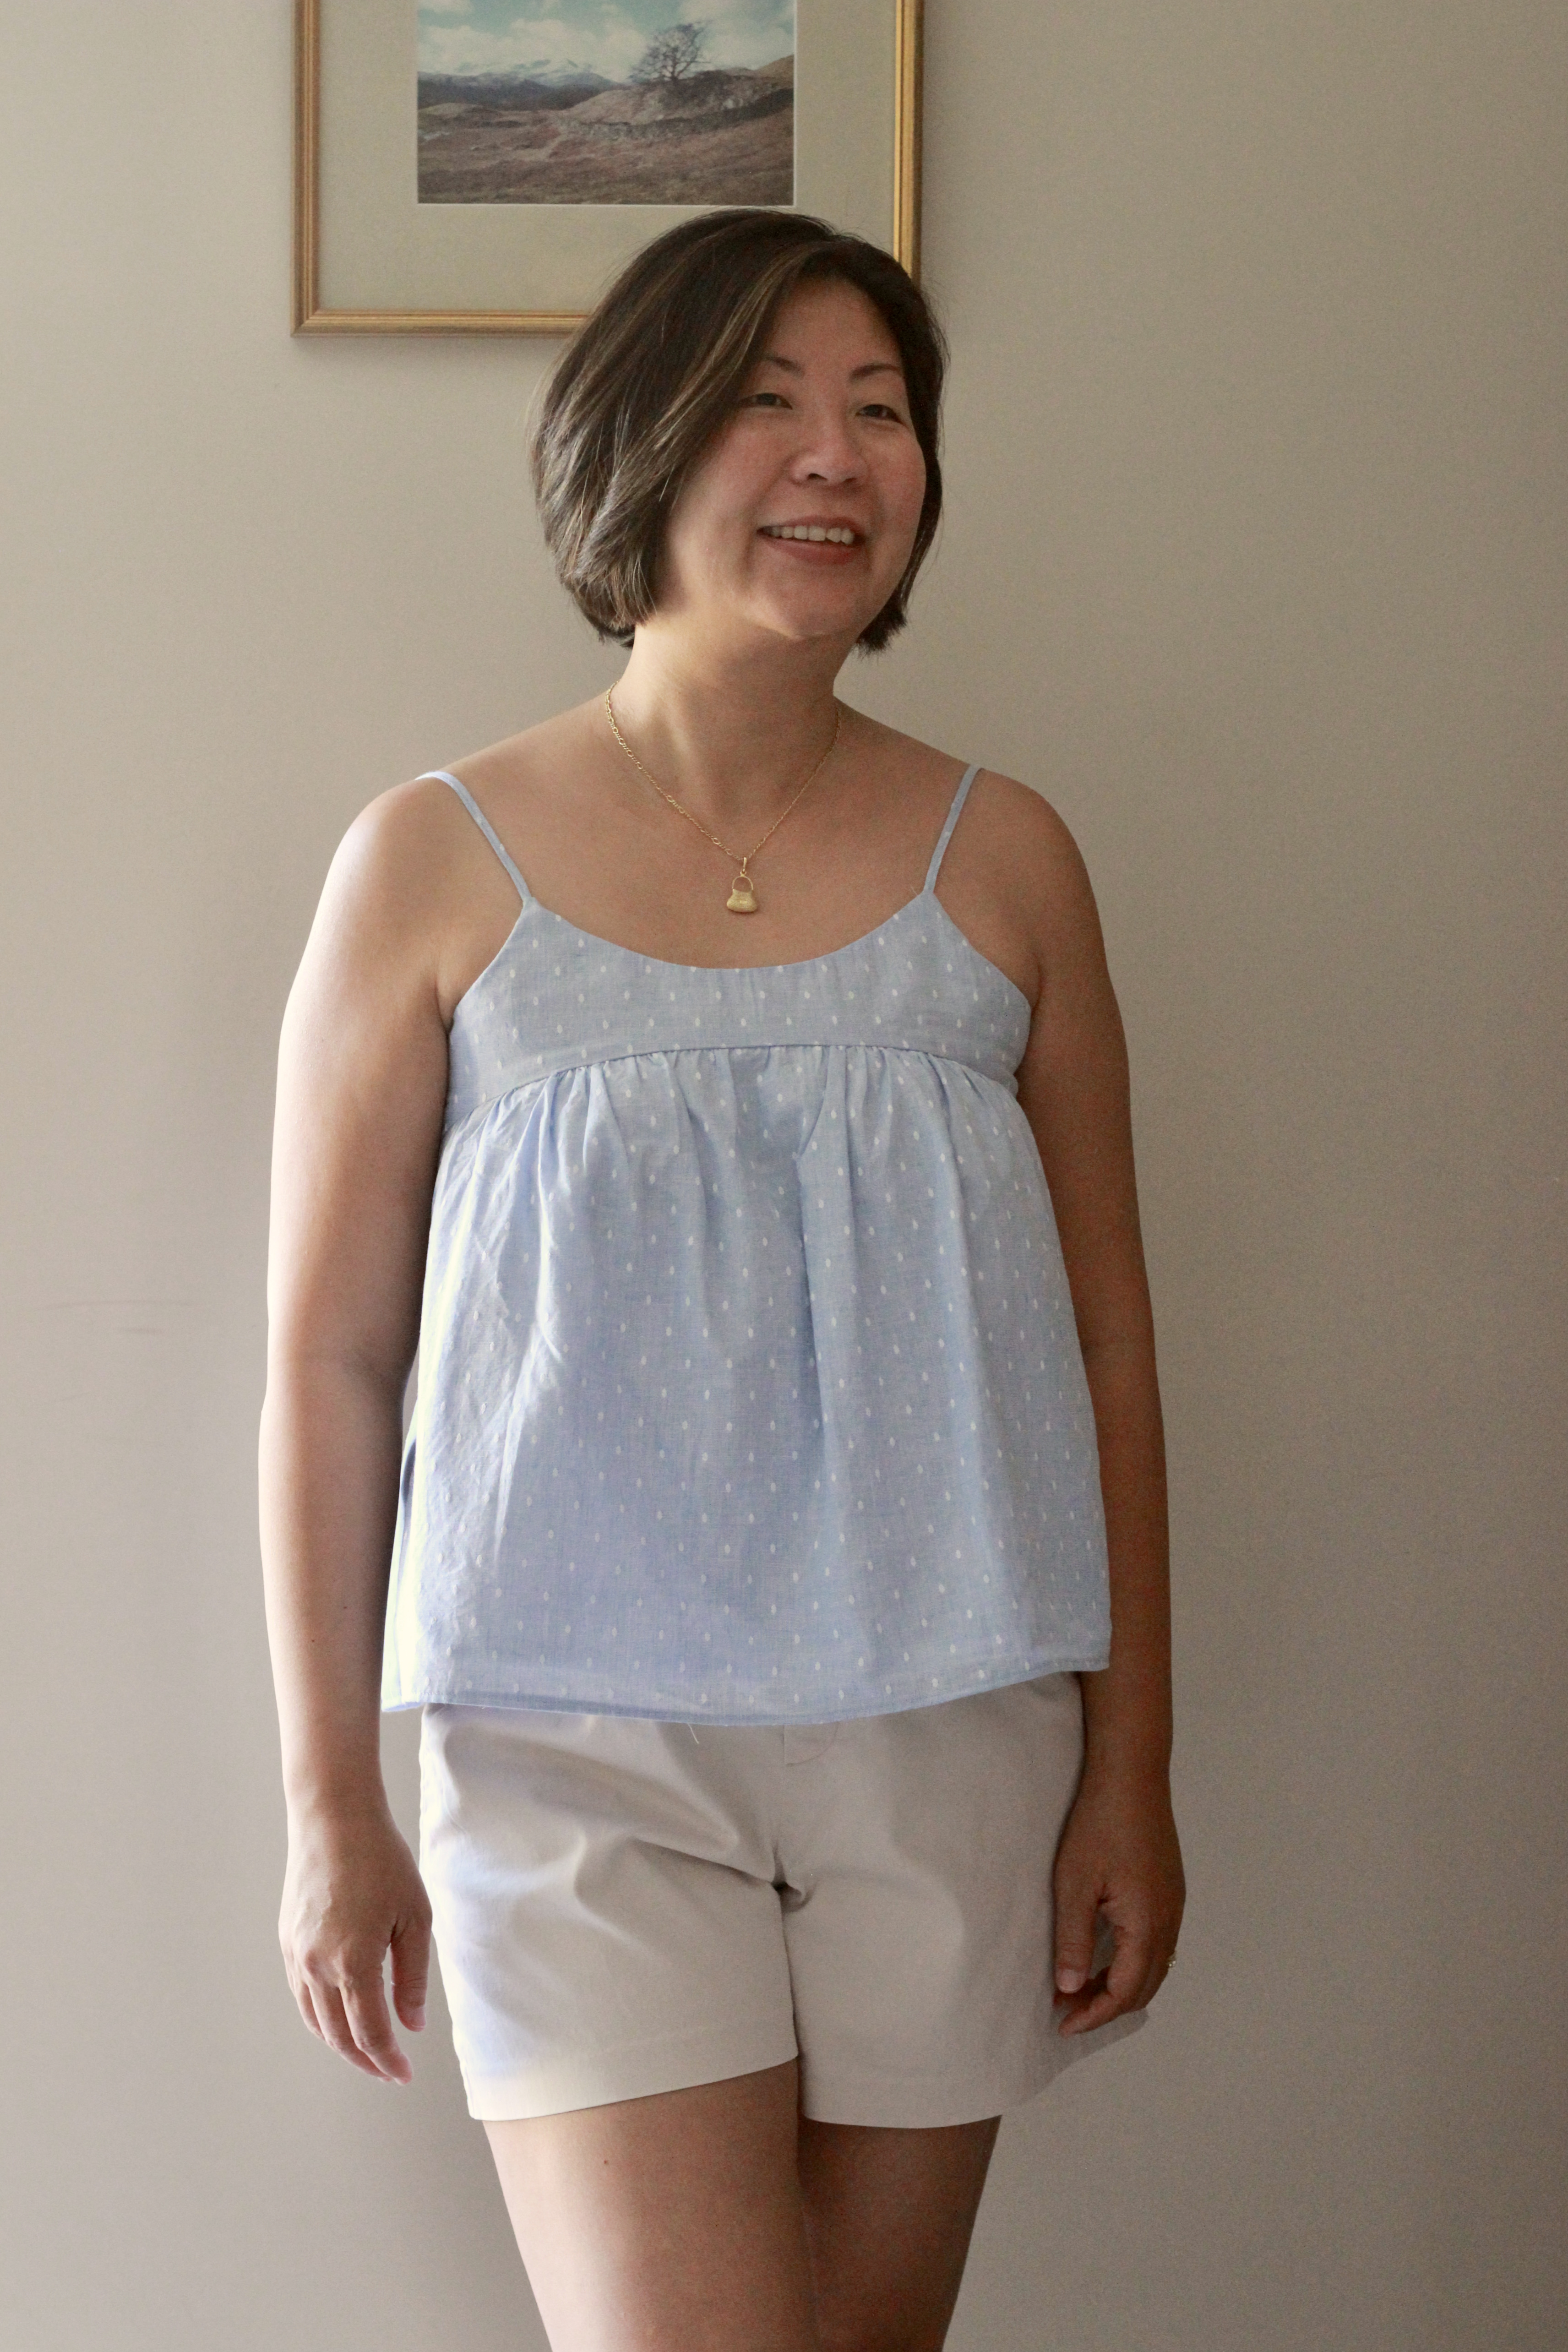
Sizing ranges from 32 to 74 (European), I was between the 40 and 42 with my bust size of 37 inches so I went with the 40 as the pattern includes a lot of ease in the waist and hips. The top ended at about hip level for me. I thought the sizing was spot on!
This pattern is made for lightweight to medium woven fabrics. At the beginning of my sewing journey, I madly bought fabric that I thought were pretty but had no idea how or what to sew with. Every time I passed the fabric store, I would go rifling through the bargain bin. It was a thrill at first until I realised, I was guiltily amassing a rather large stack of fabric that I was now responsible for. Time to put a stop to it. I now check my stash before heading to the fabric store. This chiffon felt like the perfect match for the Marselis Top because it’s soft and sheer which would show off the gathers in the pattern.


At this point, I should confess that I have never sewn with Chiffon fabric before. I’ll just share some of what I’ve learnt about Chiffon here in case anyone is wanting to recreate this. Chiffon frays like crazy. When I tried to overlocker it, there was a moment of panic as it started to disintegrate. Luckily, I was testing this on a piece of scrap. So, French seams were the best option for finishing my seams. Another thing I noted about Chiffon is that it gets easily caught in the teeth of the machine. I had to make sure I was leaving a bit of gap at the start of the sew. I could still backstitch but I have read some advice that it’s better to tie off the ends of your stitching by hand.
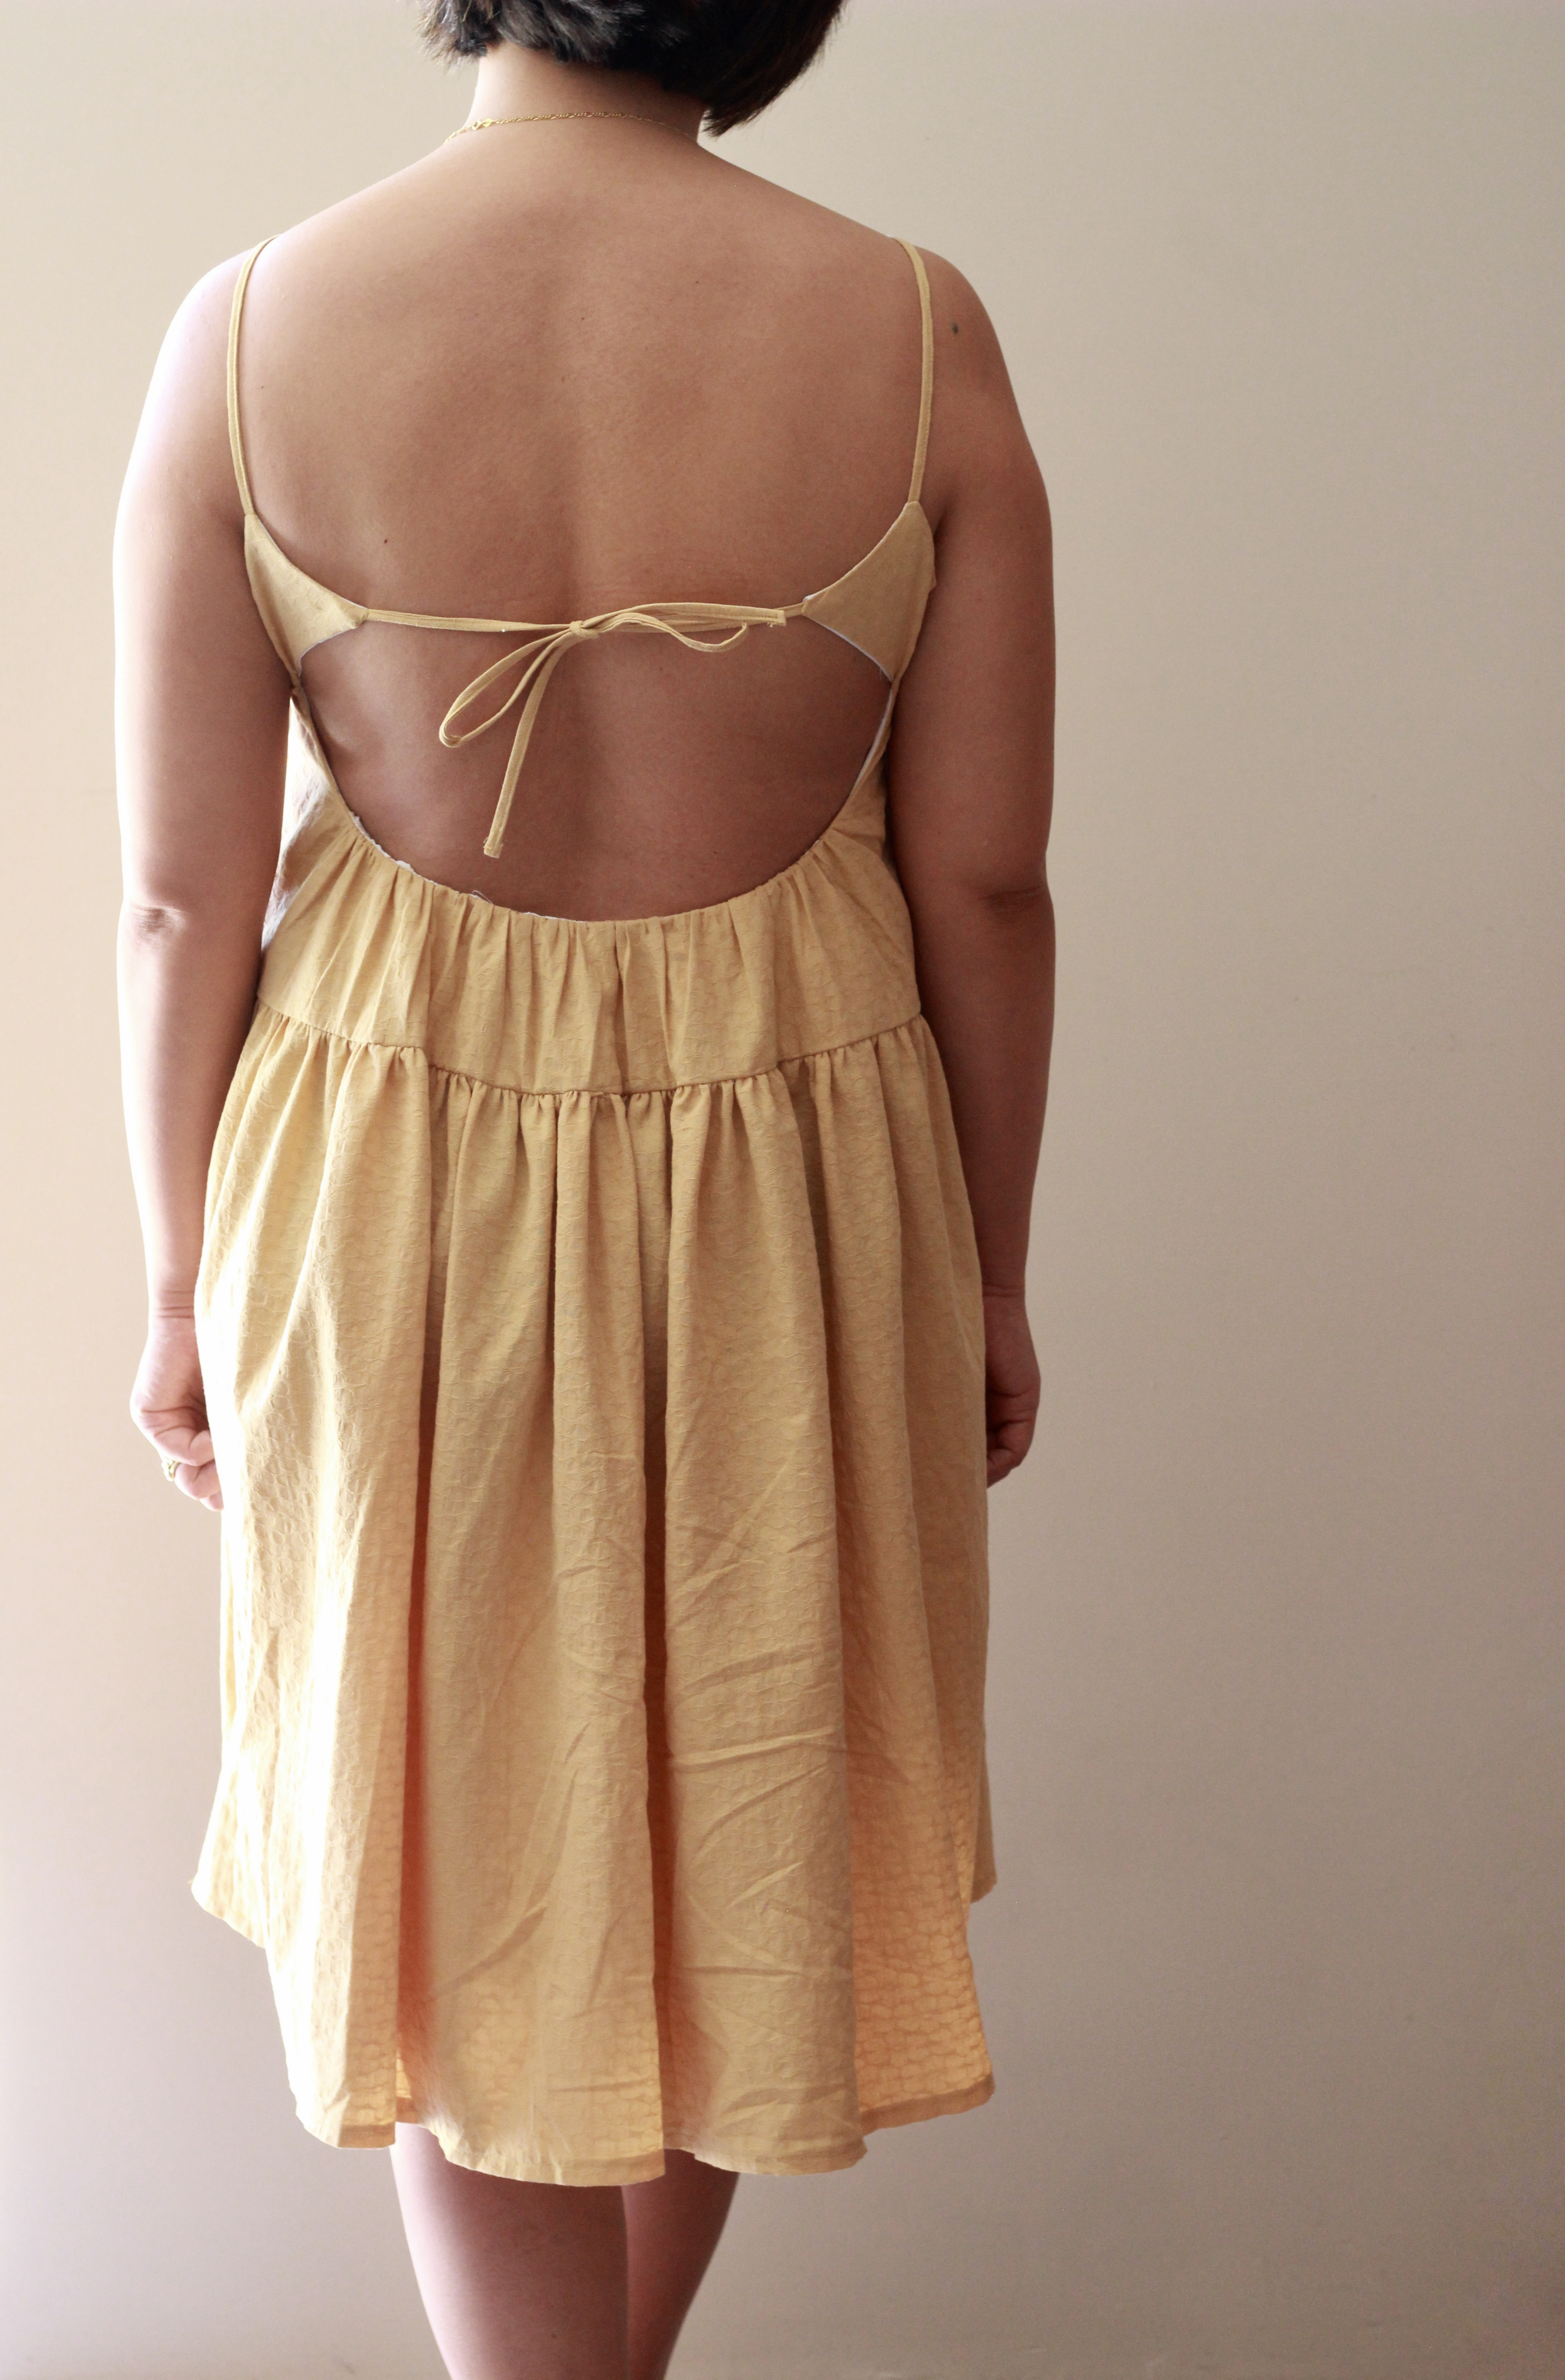
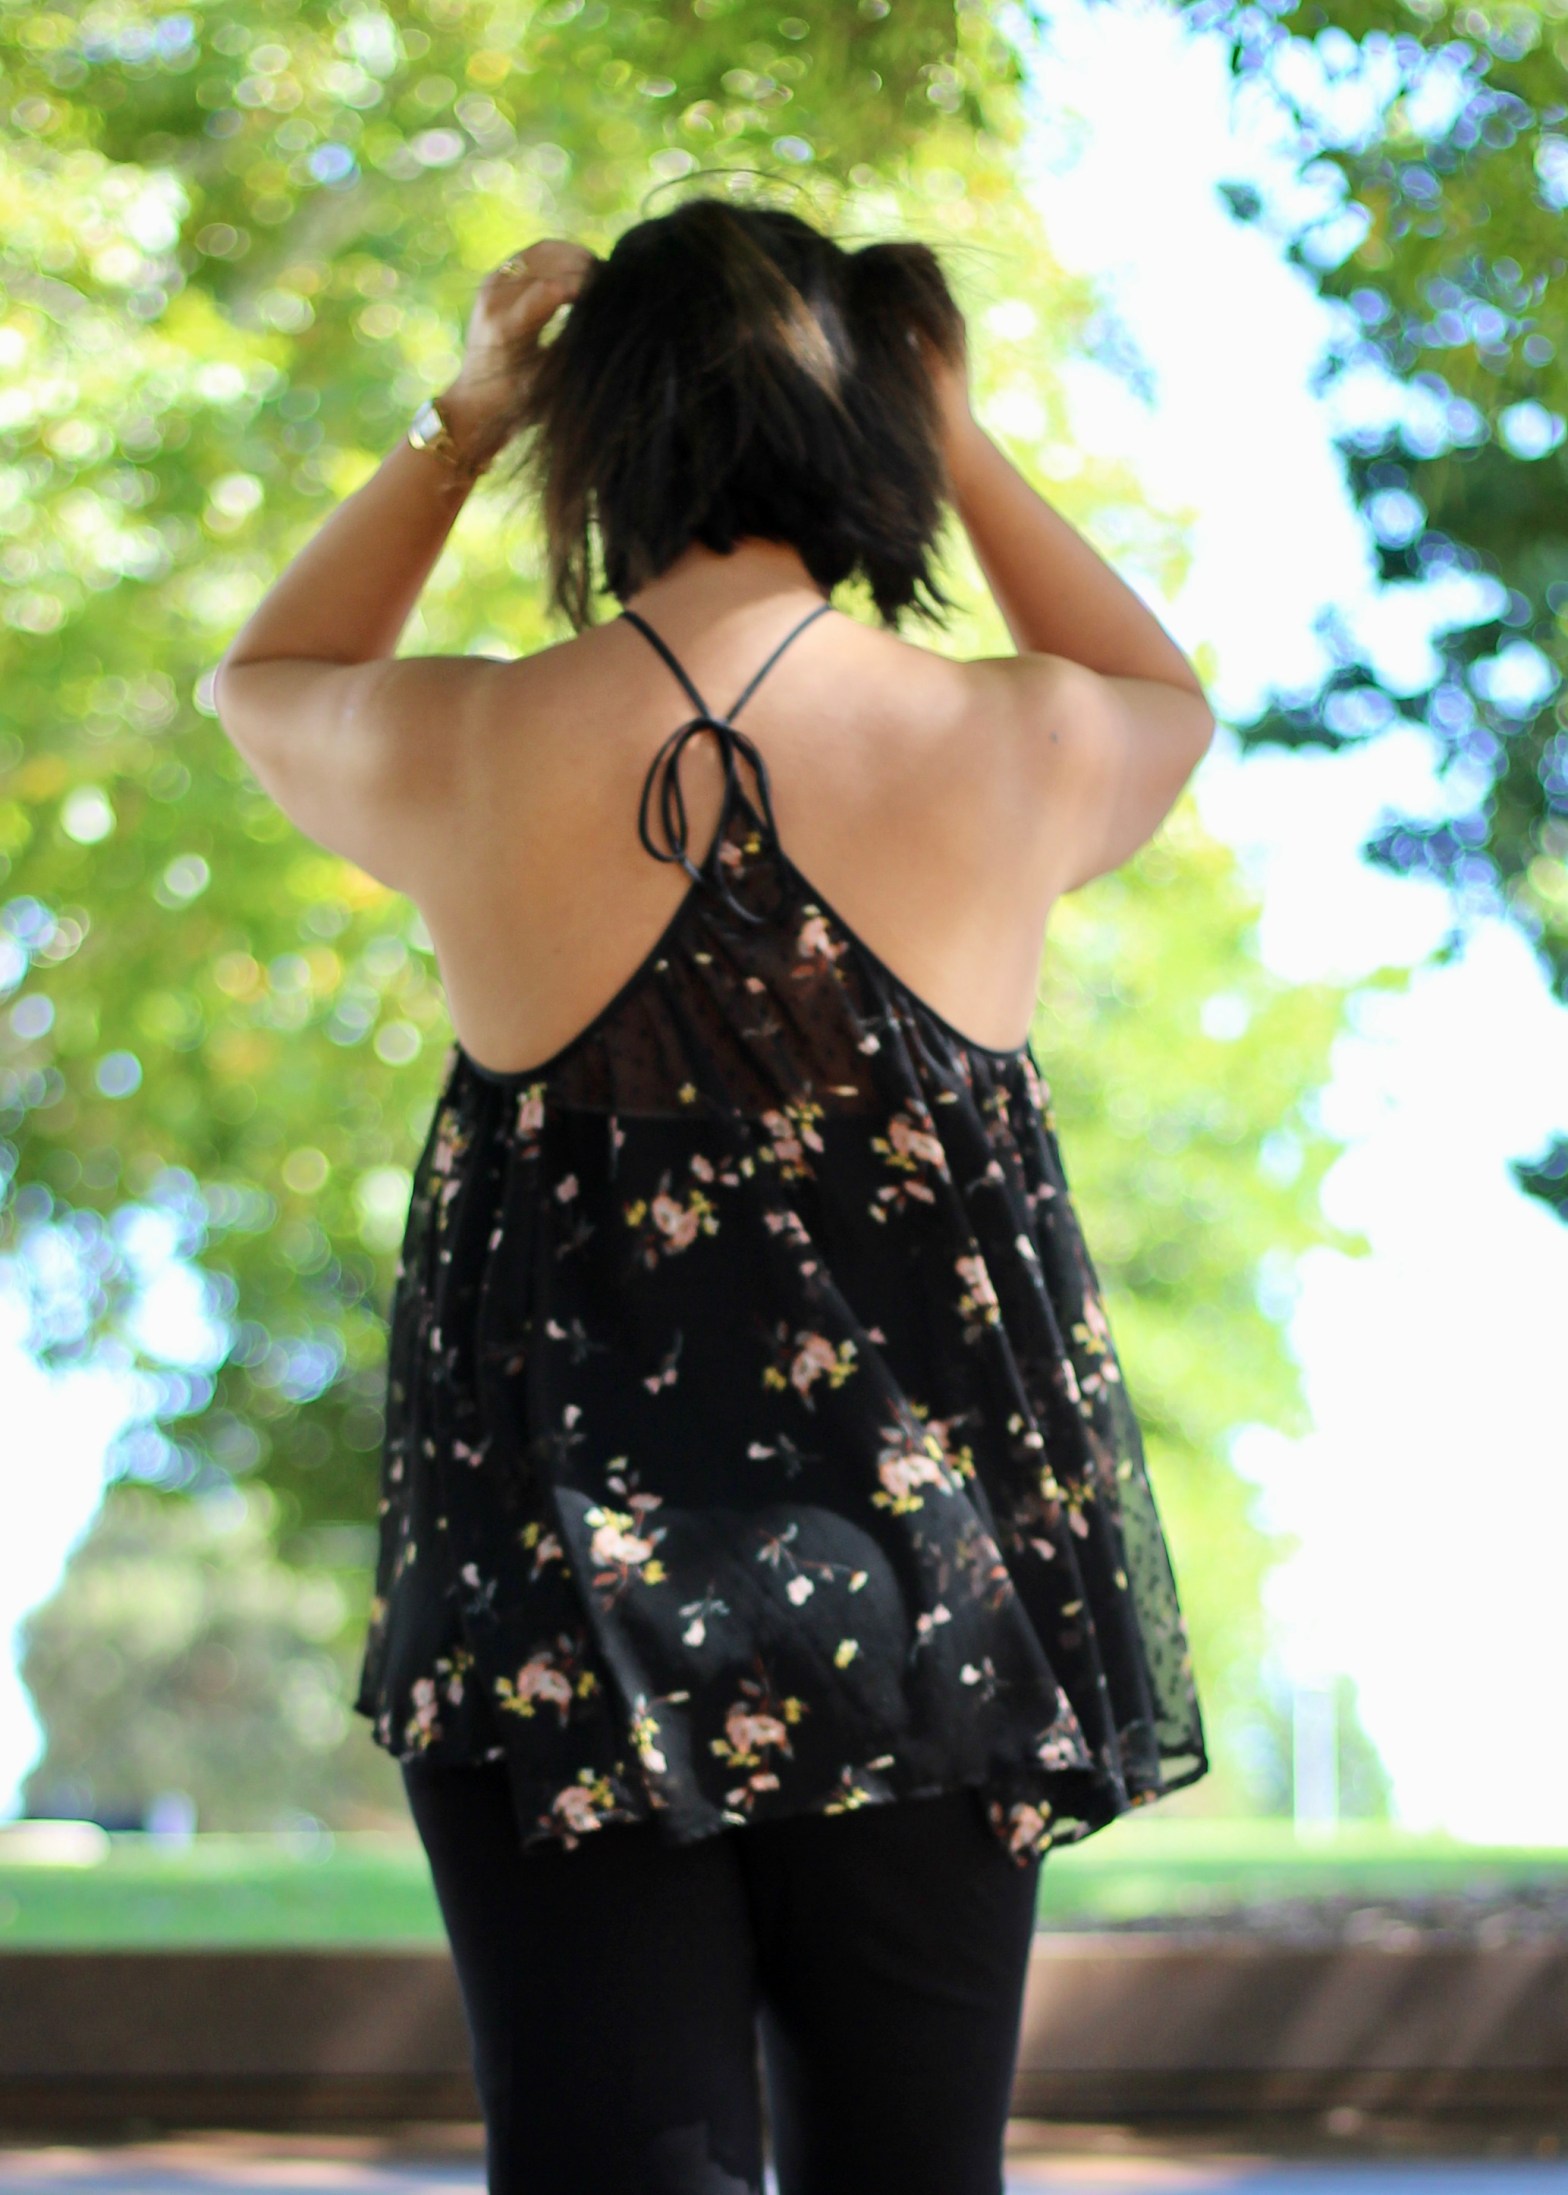
Putting together the pattern pieces was easy and the instructions were great. It was a bit tricky with my bias binding because I had bought the slightly smaller one inch rather than the one and a half inch that was recommended. It still worked well, and I loved how the ties were formed so neatly out of the bias binding that finished the top of the blouse. I especially love the back of the top where the ties pass through a loop and ties together.


I remember finishing the pattern test in the same afternoon. It was one of those patterns that are so interesting, you can’t put it down. I really wanted to get to the end to see what it would look like. Needless to say, I’m in love with my new blouse and I ended up wearing it out that night for our Chinese New Year dinner and to see the lion dancers!
Thanks for reading and happy sewing!
X Em