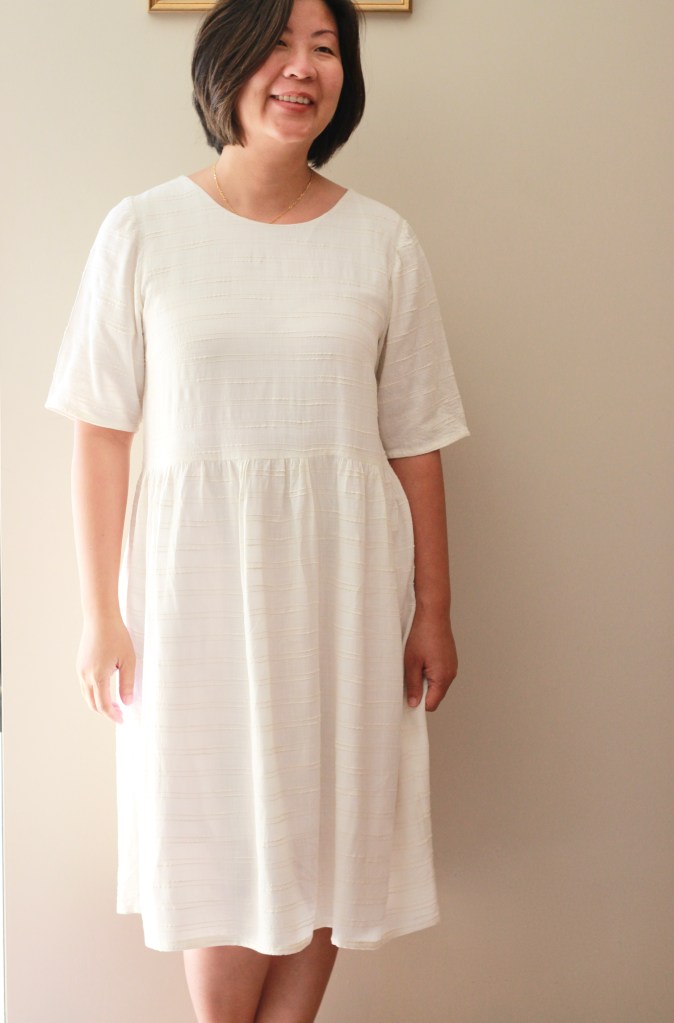
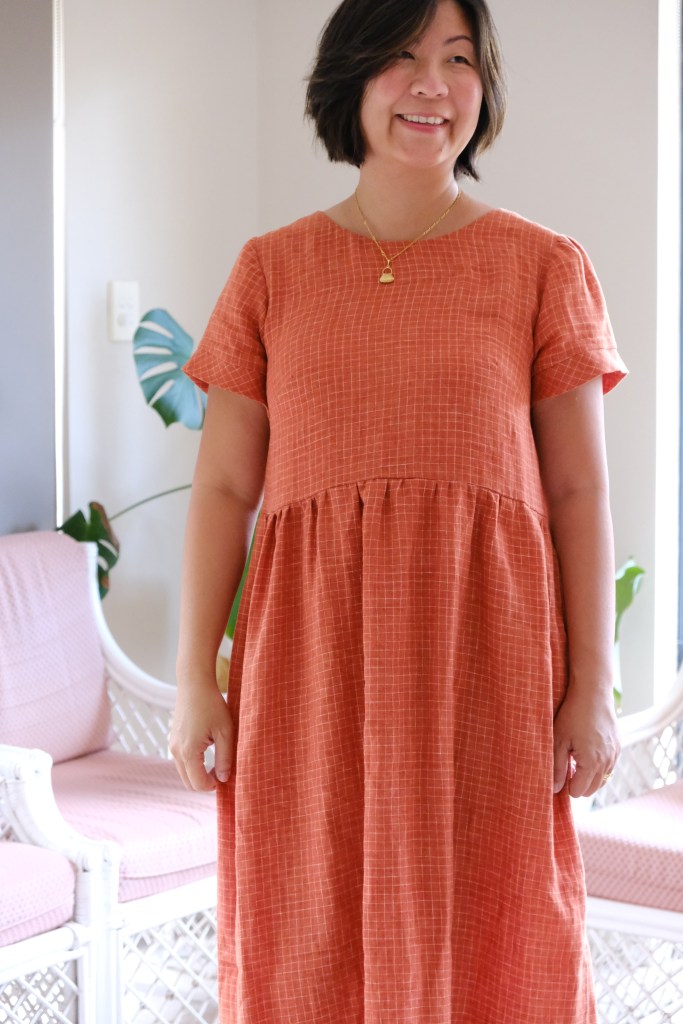
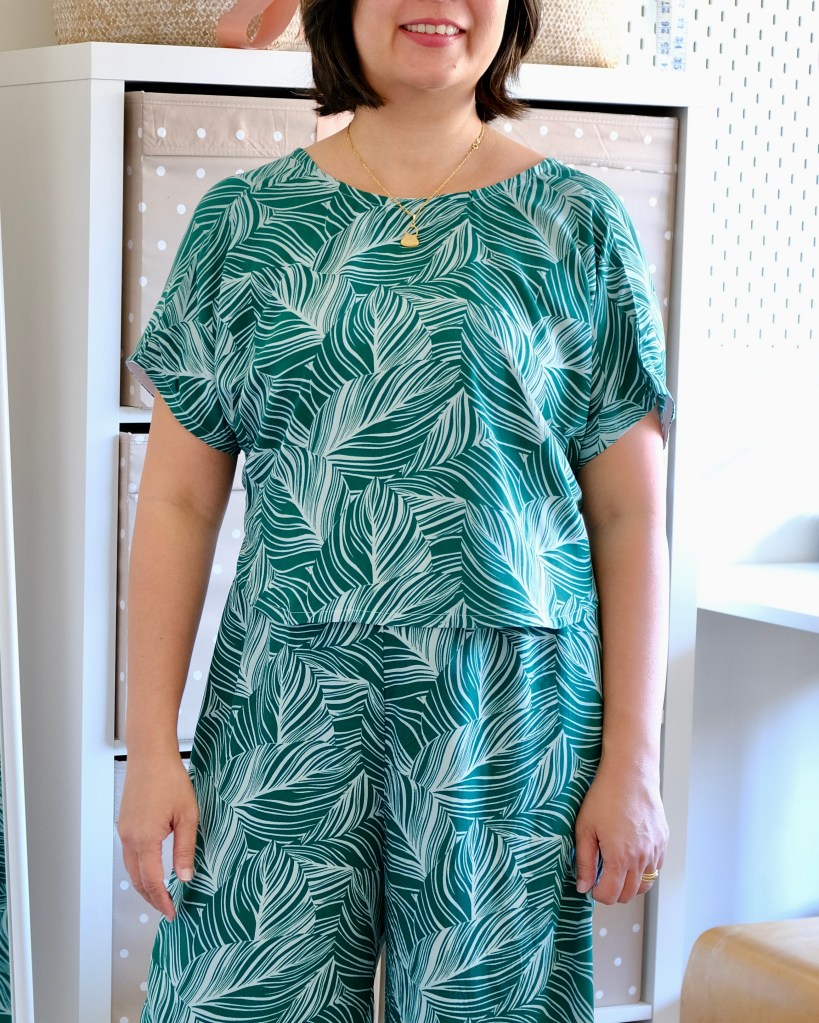
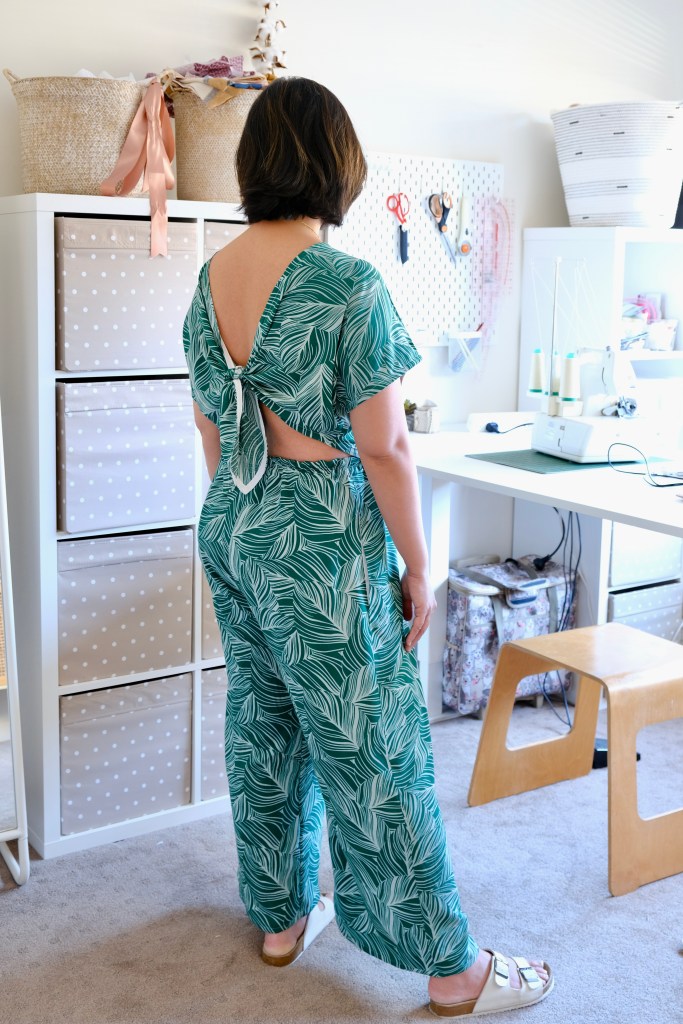
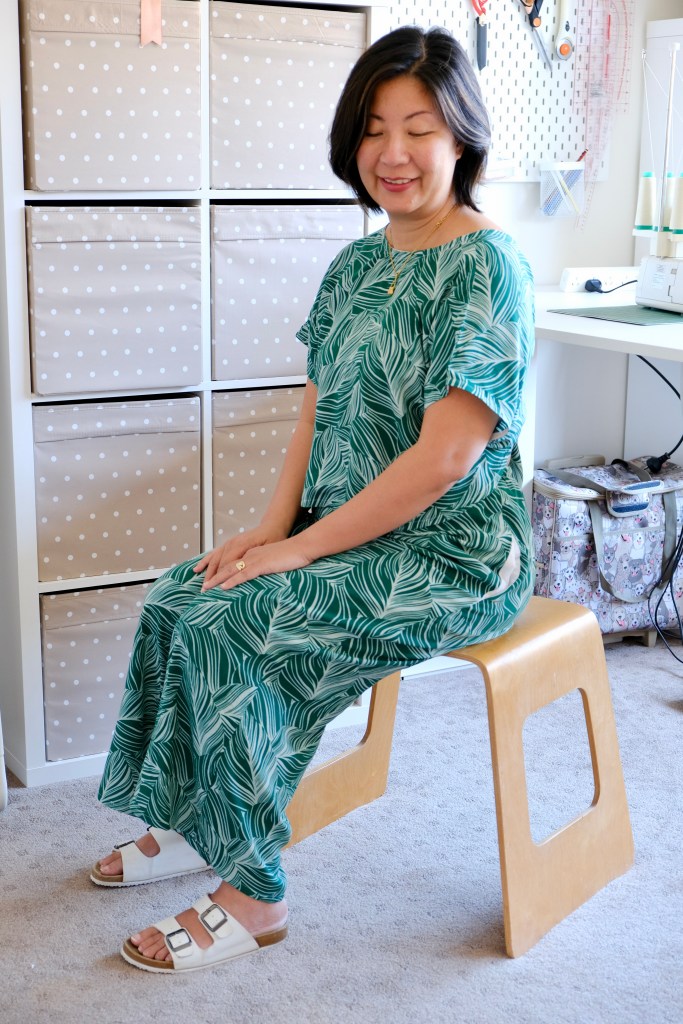
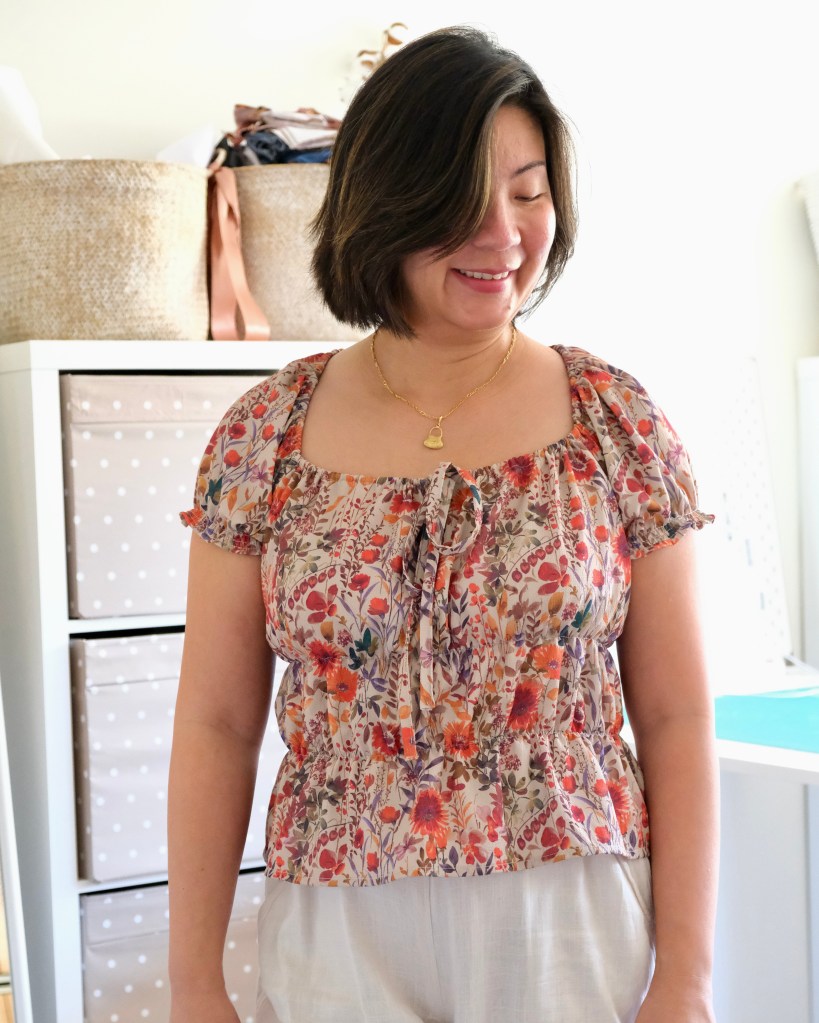
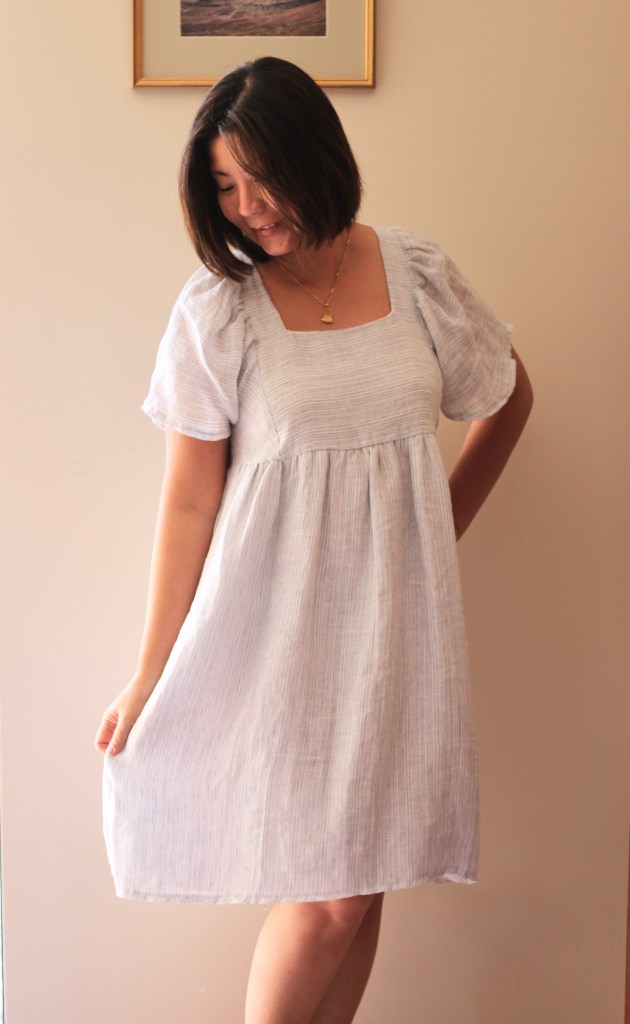
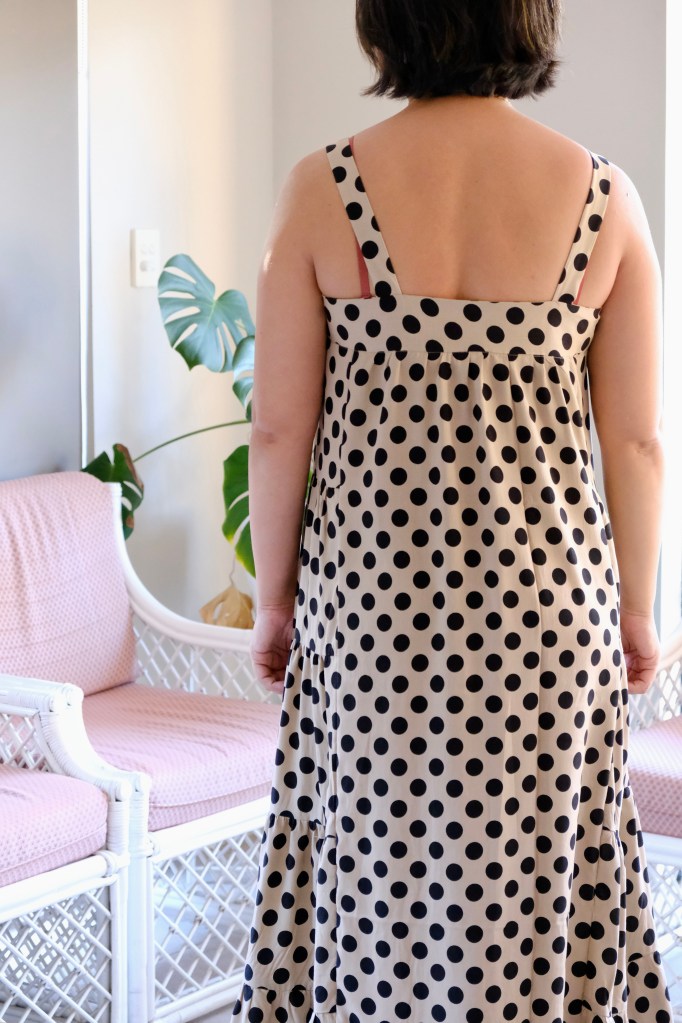
When it comes to floaty maxi dresses, there is nothing more iconic than the Chalk and Notch Marcel Dress. It’s immediately recognisable with the dress fitting through the high bust and the tiered panels along the side. I had sewn the tank top version as a wearable toile last year but was waiting to find the right fabric for the maxi dress. When I found this polka dotted rayon from East Coast Textiles, I thought that it would be the right combination.

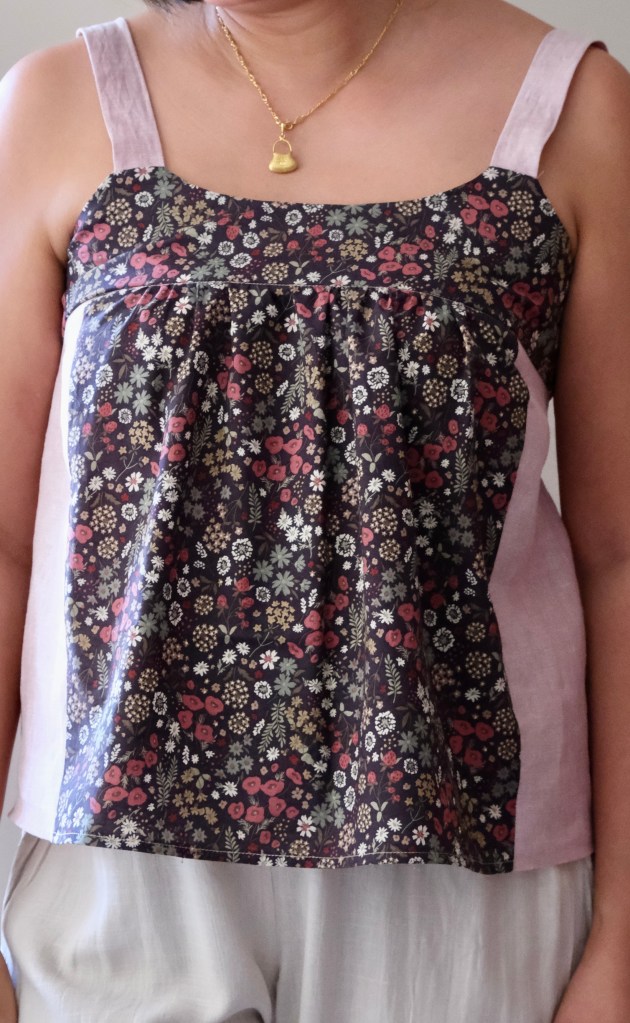

The dress is quite loose through the full bust, waist, and hip area so the high bust measurement is the main measure for fitting. It also has cup sizes from A to D so the full bust measurement can be used to determine this. I made the size 12 A/B cup without any modifications for both the tank top and the maxi version.


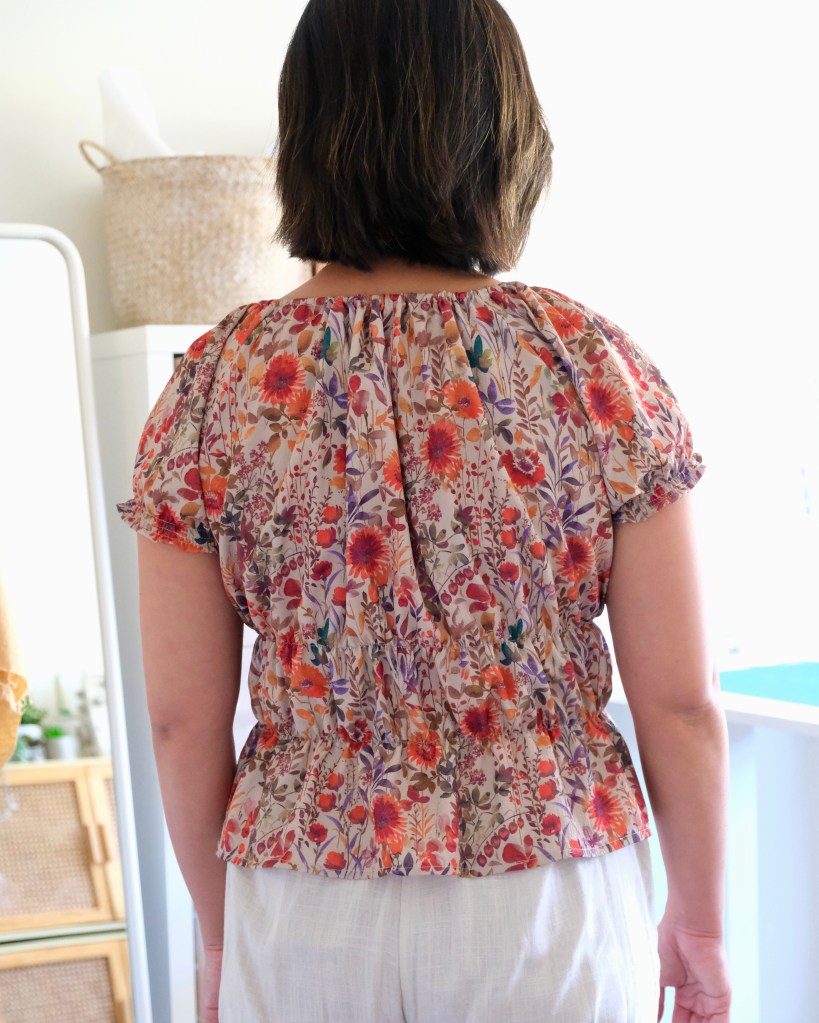
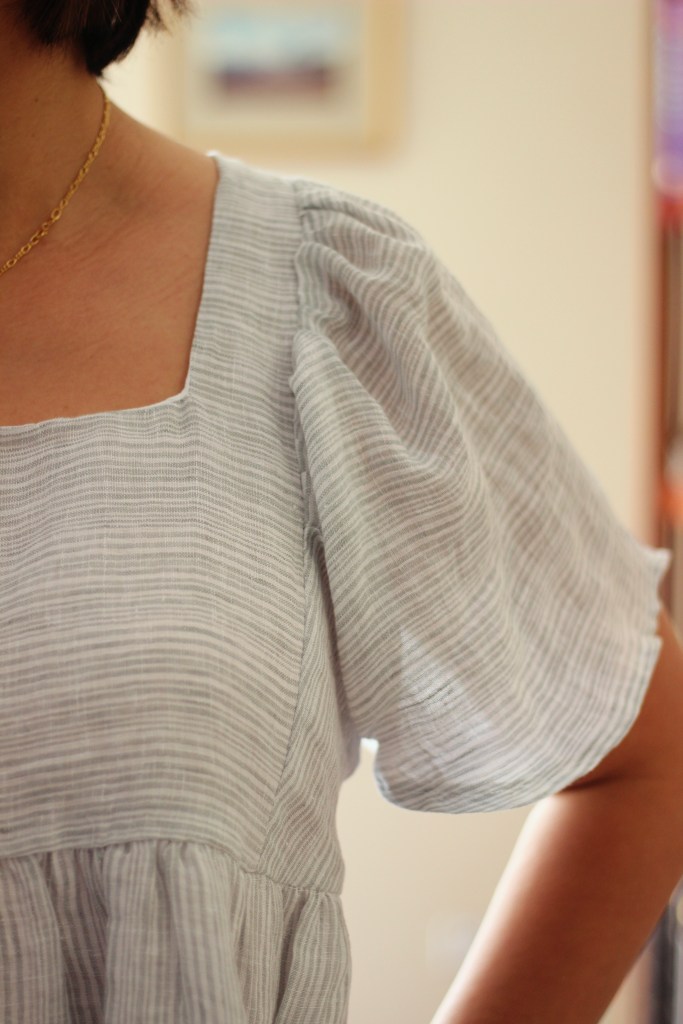
Construction of the dress involved a lot of gathering. This was also why the right fabric must have a good amount of drape and be lightweight enough for gathering. Once you get the rhythm of gathering and then sewing the panels, putting together the dress goes quite fast. But it’s times like this that I wish I had a gathering foot! A quick note on sewing with rayon, I think I have listed some helpful tips in the past, but I would like to reiterate a few things. Remember to use a rotating blade cutter instead of scissors, mark your fabric before removing from the cutting table, use spray on starch if you want to stabilise the fabric, and stay-stitch necklines and armholes.
I enjoyed the pattern as the instructions and the illustrations were very clear. I also used the sew along tutorial that is available on the Chalk and Notch blog. The photographic tutorial was a nice extra but really, you could understand the pattern well enough from the written instructions provided.
This dress came together in a day which was lucky because I was making it for a getaway with my girlfriends. I hate sewing in a rush, but I knew the fit would be fine from my previous make of the tank top. The getaway was to Brisbane which is a beautiful city. It was quite hot and humid with periods of rain on and off. The dress was great for a dinner at the heritage listed Howard Smith Wharfs which is tucked under the Story Bridge, which everything revolves around in Brisbane. I was grateful to be able to spend some time with my oldest and dearest friends (they won’t be happy that I’ve referred to them as old).


Thanks for reading and happy sewing!
X Em