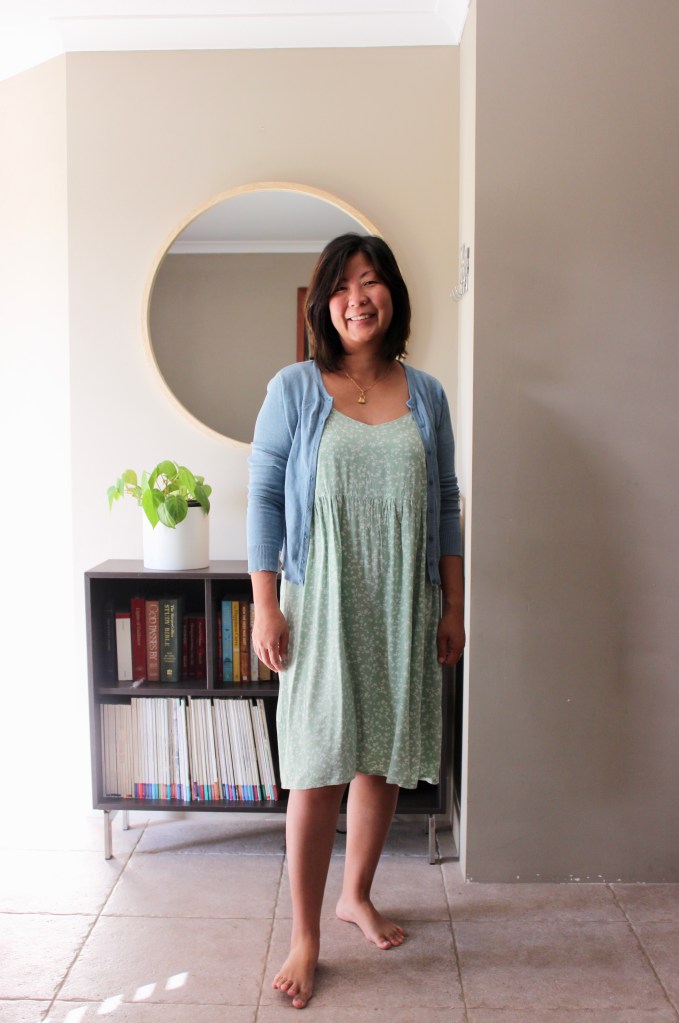
Lanti Swing Dress

When Sew to Grow put a call out for testers, I was quick to apply as I’ve been keen to challenge myself to sewing to a time frame and I have found testing to be invaluable experience especially when interacting with other more experienced sewers. Lindsey, the founder of Sew to Grow, is a sewing teacher so I find all her patterns have a quality of thoughtfulness and caters well for all skill levels from beginners or those who are trying to advance their skills in sewing. The Lanti Swing Dress was initially designed for her classes and with a beginner in mind. Now it’s been made available for everyone!

The Lanti Swing Dress is a versatile pattern that comes with three options. Option A is a smock dress, Option B is an A line dress and Option C is a blouse. There are also sleeve options for short sleeves with cuff or three-quarter sleeves with frill.  This dress is also a great wardrobe basic with potential for hacks which is what I did with my second make.

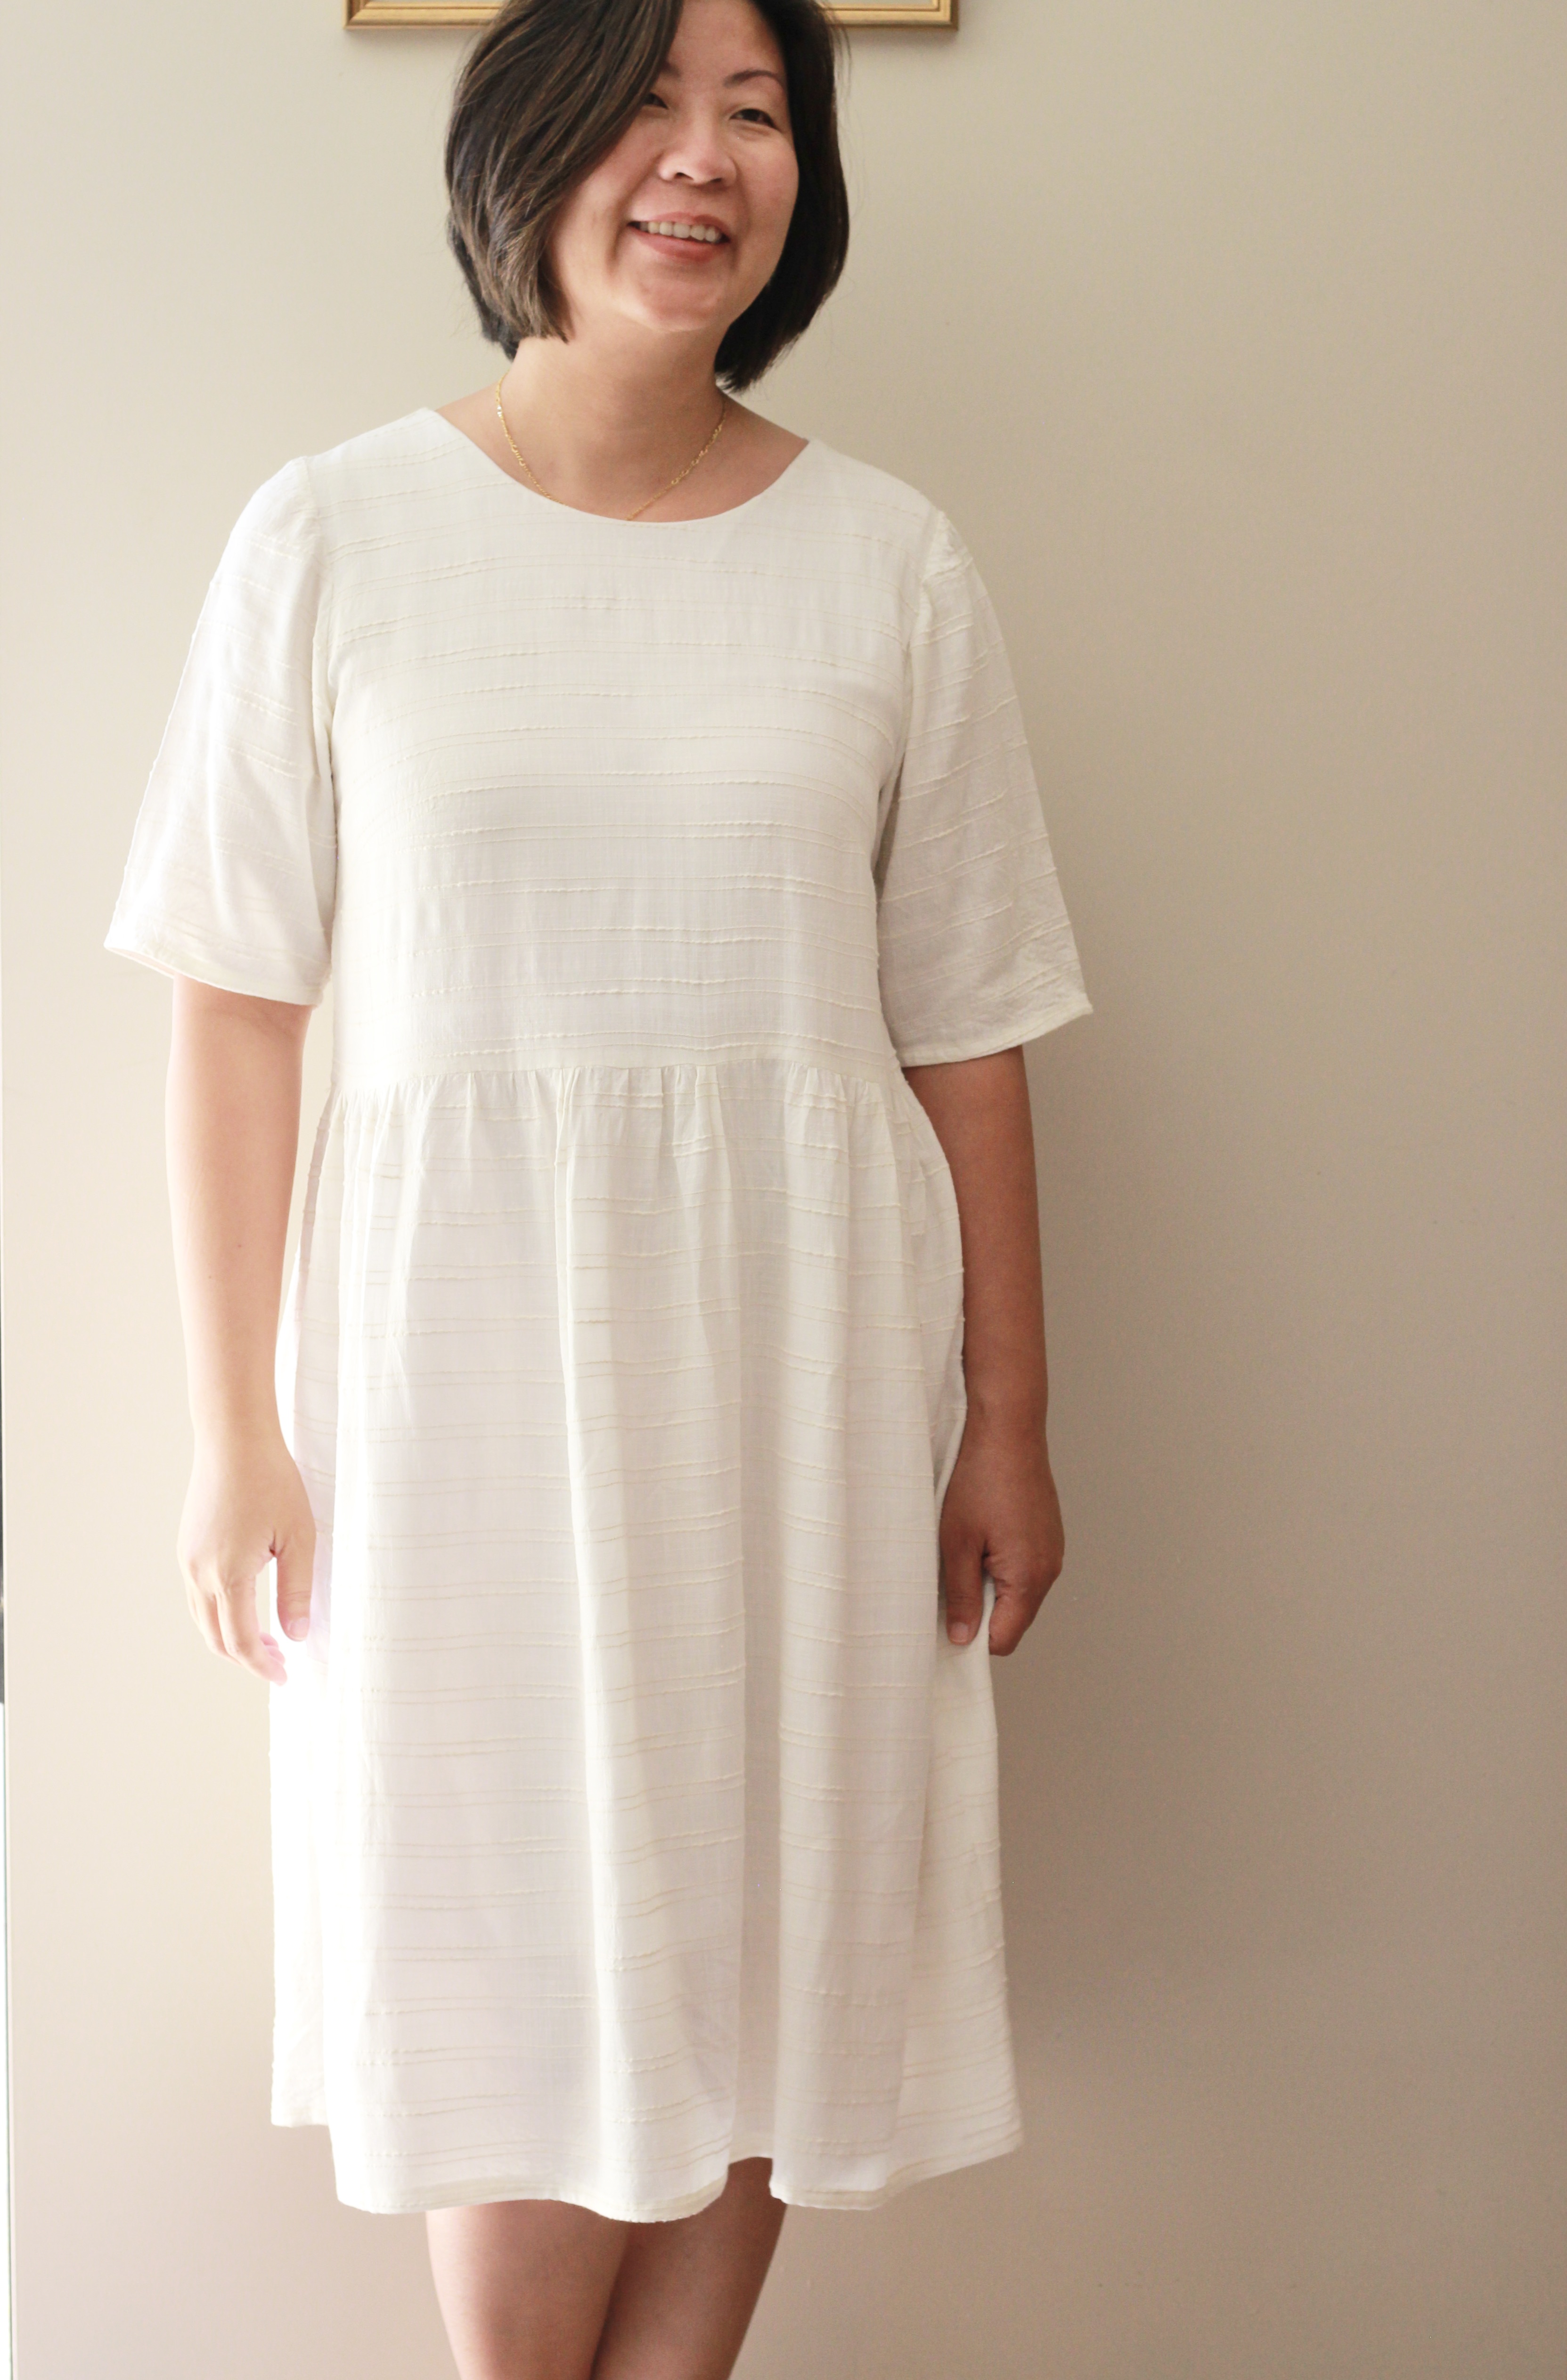
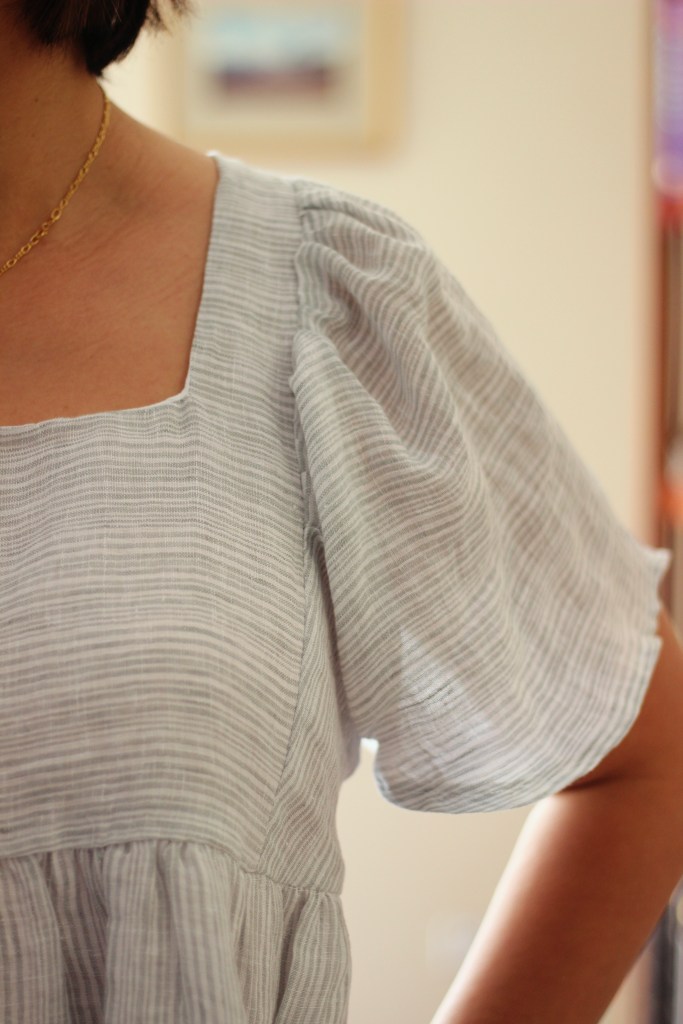
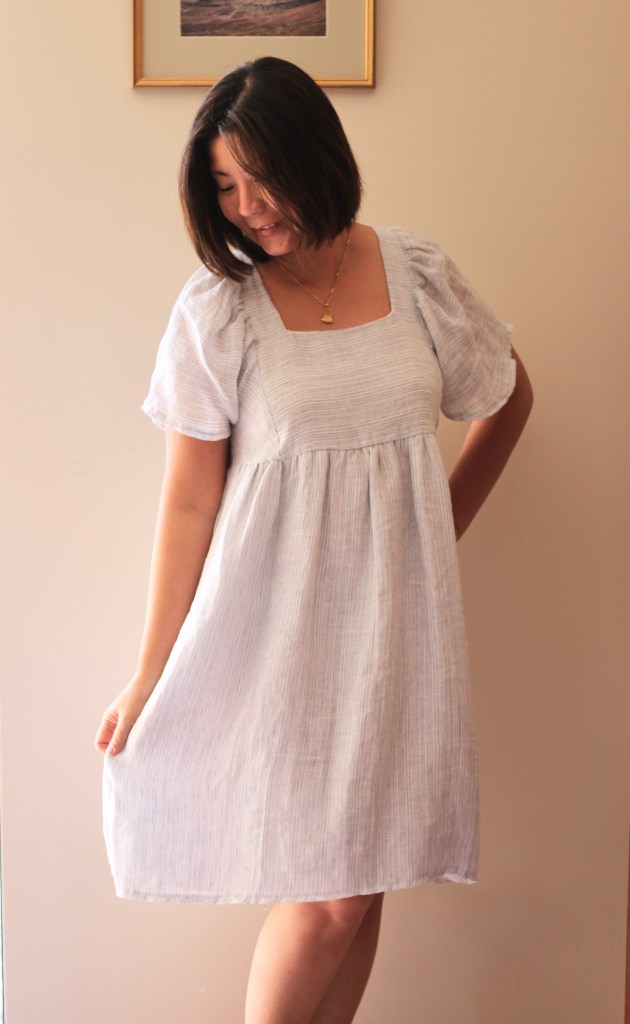
The first dress I made for the test was Option A and using the three-quarter sleeve but without the frill. I love making dresses but found that I lacked a neutral basic dress. The Lanti Swing Dress is a great core item dress which is designed to be versatile and a foundation piece for dressmaking. The fabric I used was a beautifully sheer flax coloured cotton which is lightly textured by a weave of beige coloured tread in a stripe pattern running horizontally. This dress can be styled with sandals for summer or layered with a jacket for autumn and spring. It can be left loose for a boho look or cinched at the waist with a belt for a stylish work outfit. 

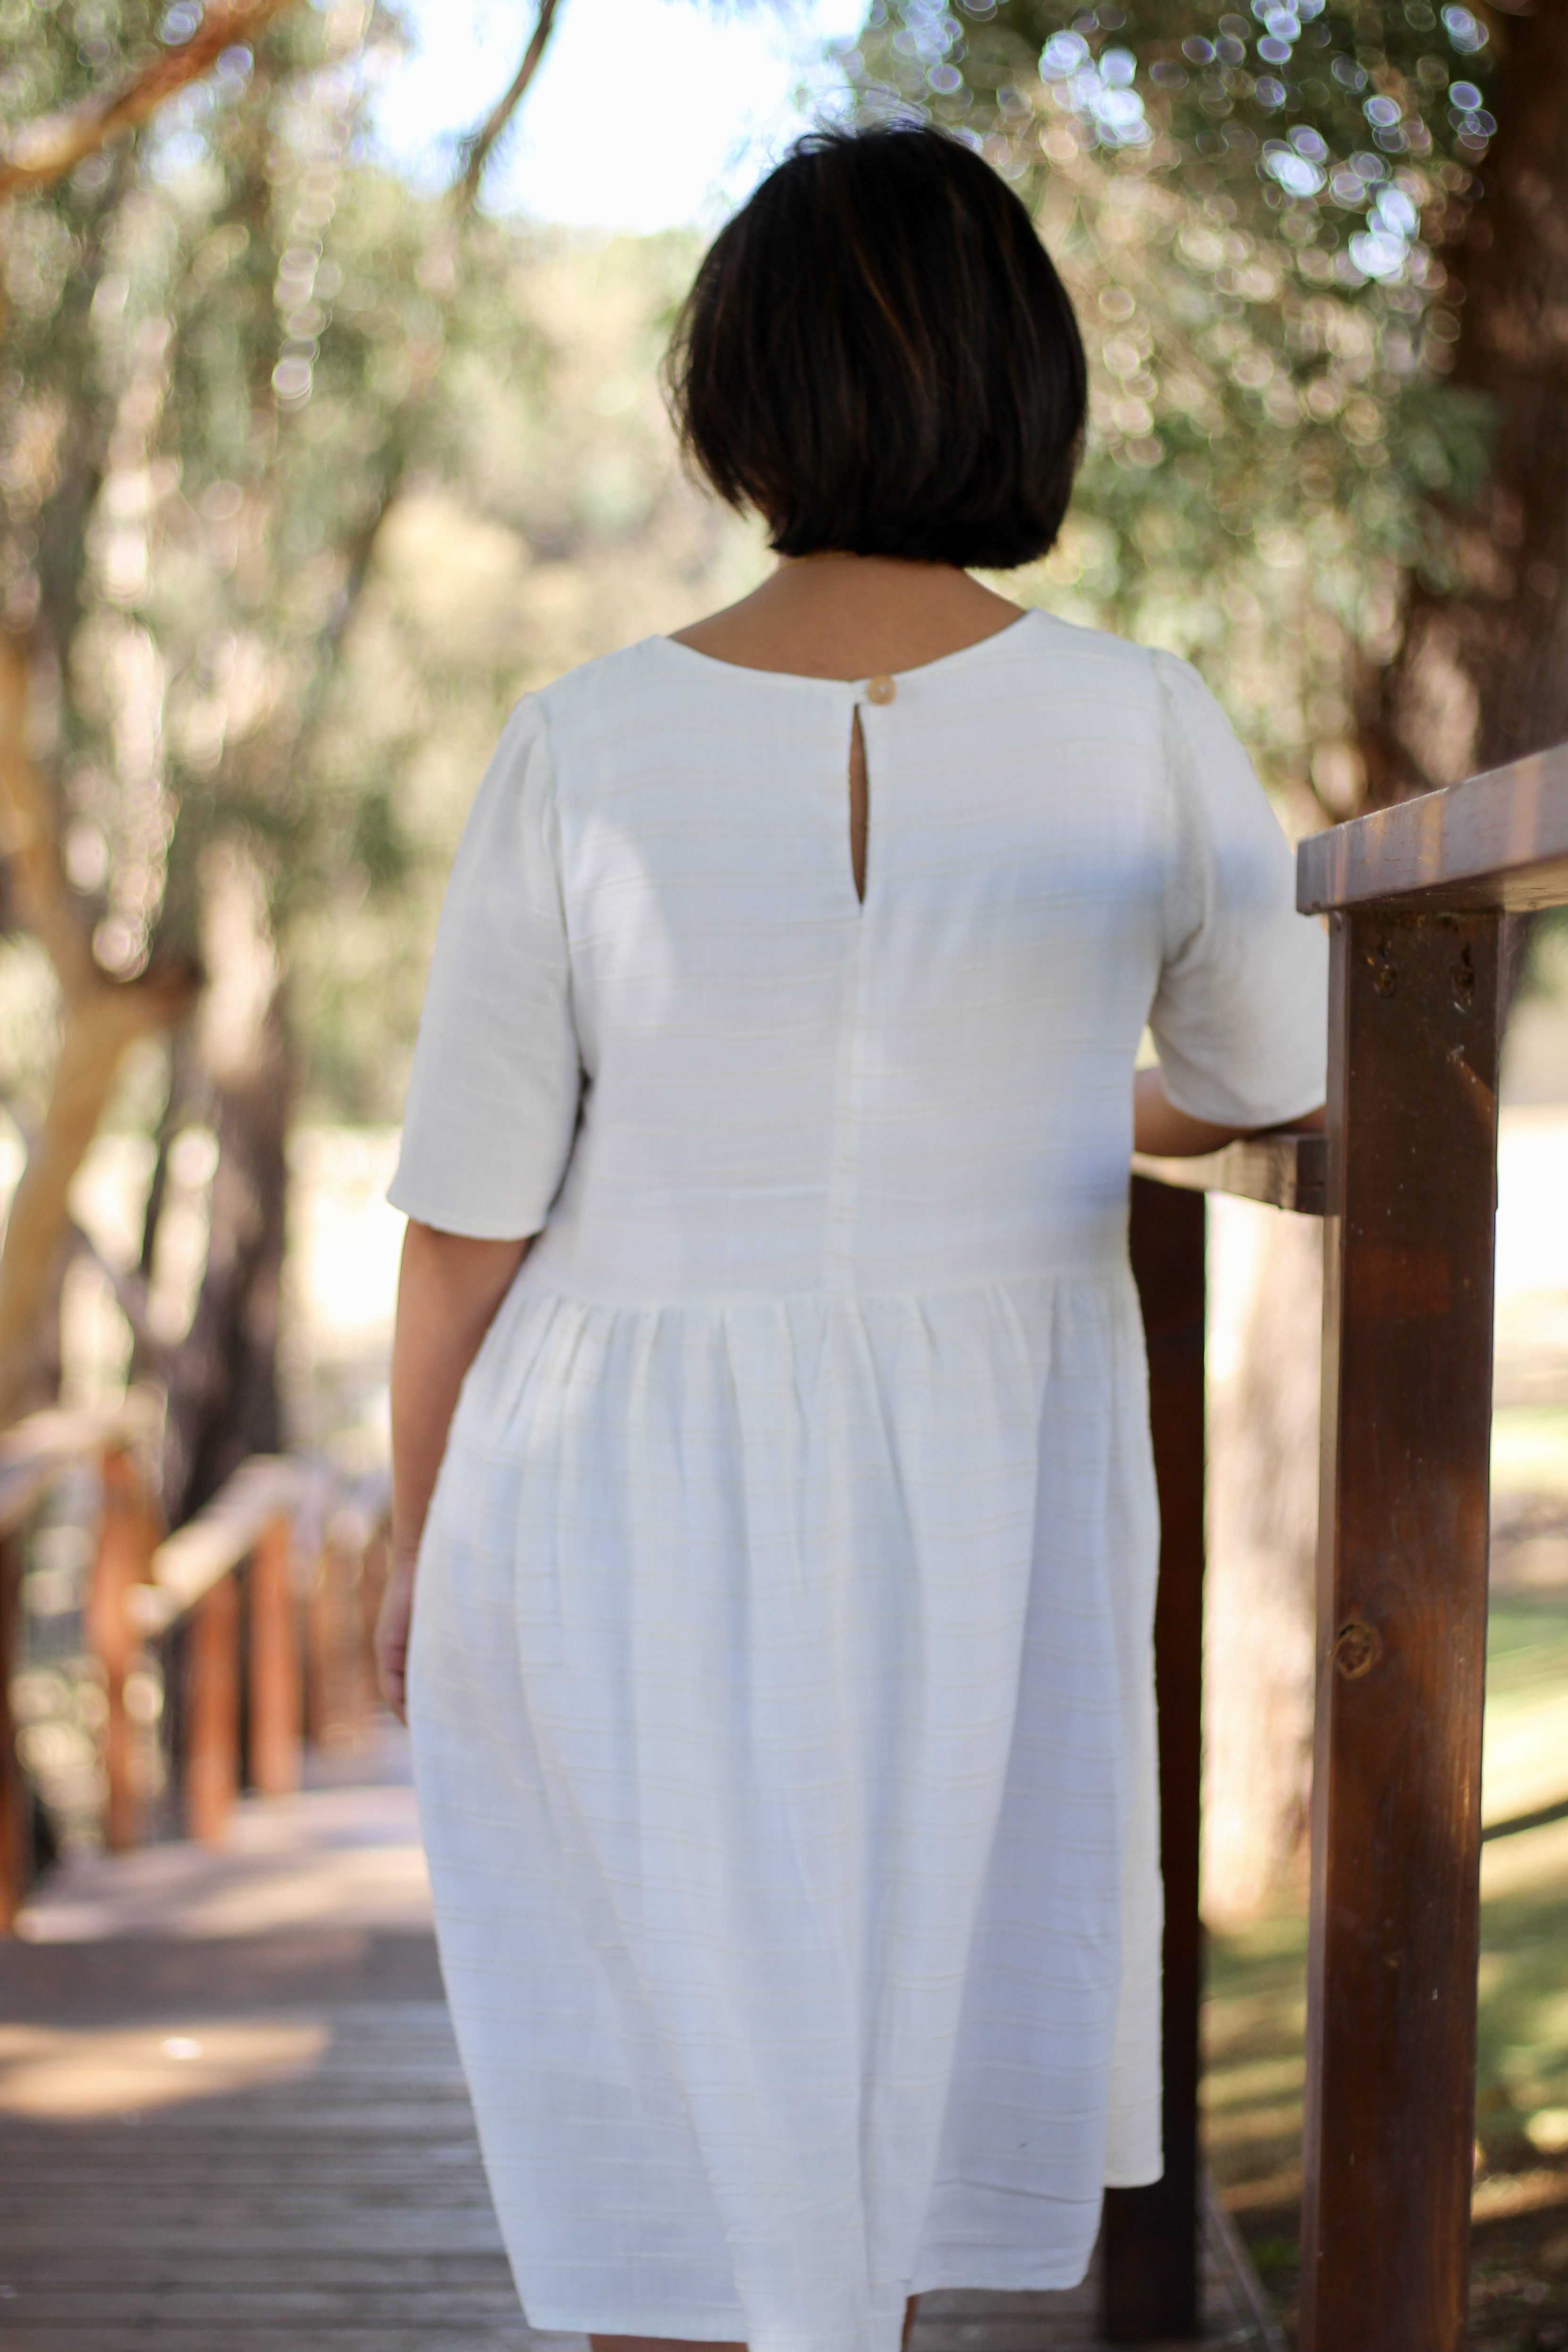
My test was for the size 12 as my measurements of 37.5-inch bust, 33-inch waist and 38-inch hips fit well into that category. There wasn’t any need for adjustments, but I left out the pockets and the sleeve frill. My fabric was very sheer so instead of a facing, I fully lined the dress with a muslin which also served as the first toile of the pattern. The Lanti Dress is a great dress to practice installing a lining as the closure is a simple button closure at the back so no tricky zippers to line. In order to line the dress, it’s a case of using the bodices and skirt pieces but with your lining fabric which is often a lighter weight fabric. The bodice pieces are sewn up and the same instructions given for attaching the facing were followed. Once the bodice outer shell and lining pieces are attached, it is turned the right way and the skirt shell and lining can be attached separately. I should also mention that I lengthened my outer shell hem by 2 inches.

It was such a pleasure to sew that I made a second dress but this time with a fun hack and I wanted to try making those pretty frill sleeves. Again, the pattern is great to play with for a hack as it is drafted to be versatile. To make this hack, the bodice was shortened by 1 inch. The skirt was left the same width for the upper two-thirds and the bottom one-third was widened by 10 inches. This time the frills were added to the sleeves. The result is a fun party dress which can be dressed up or down.
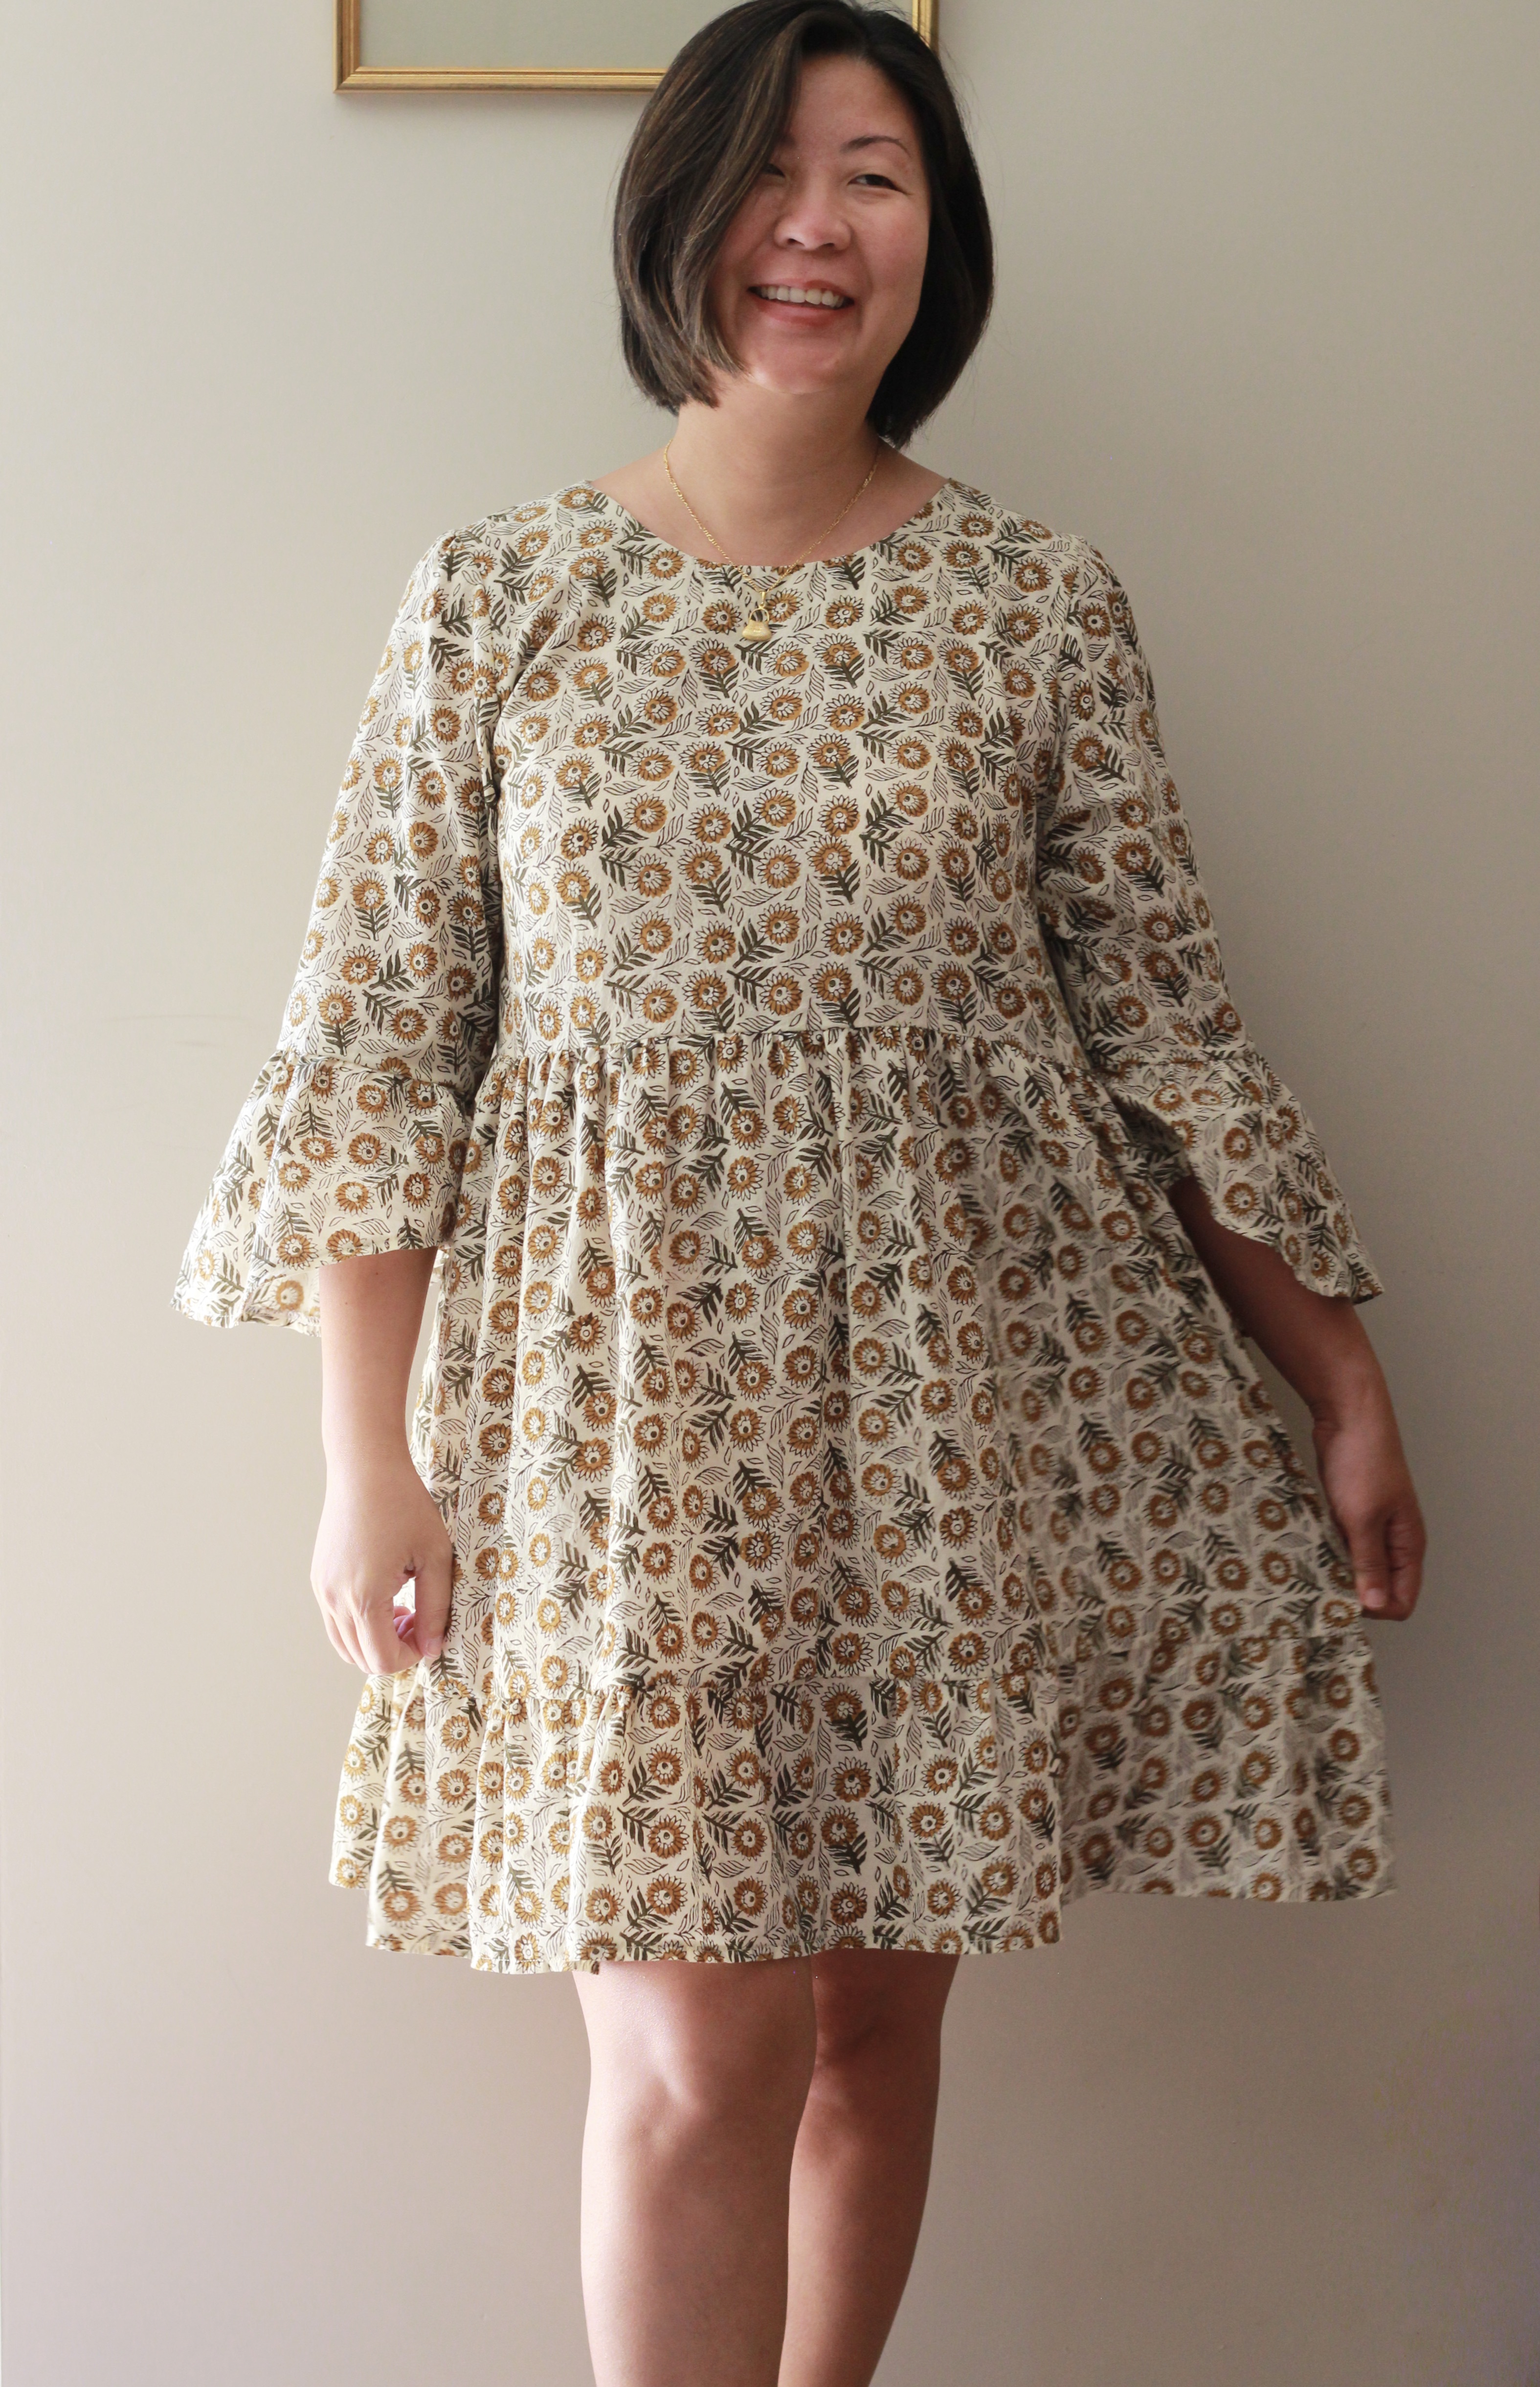
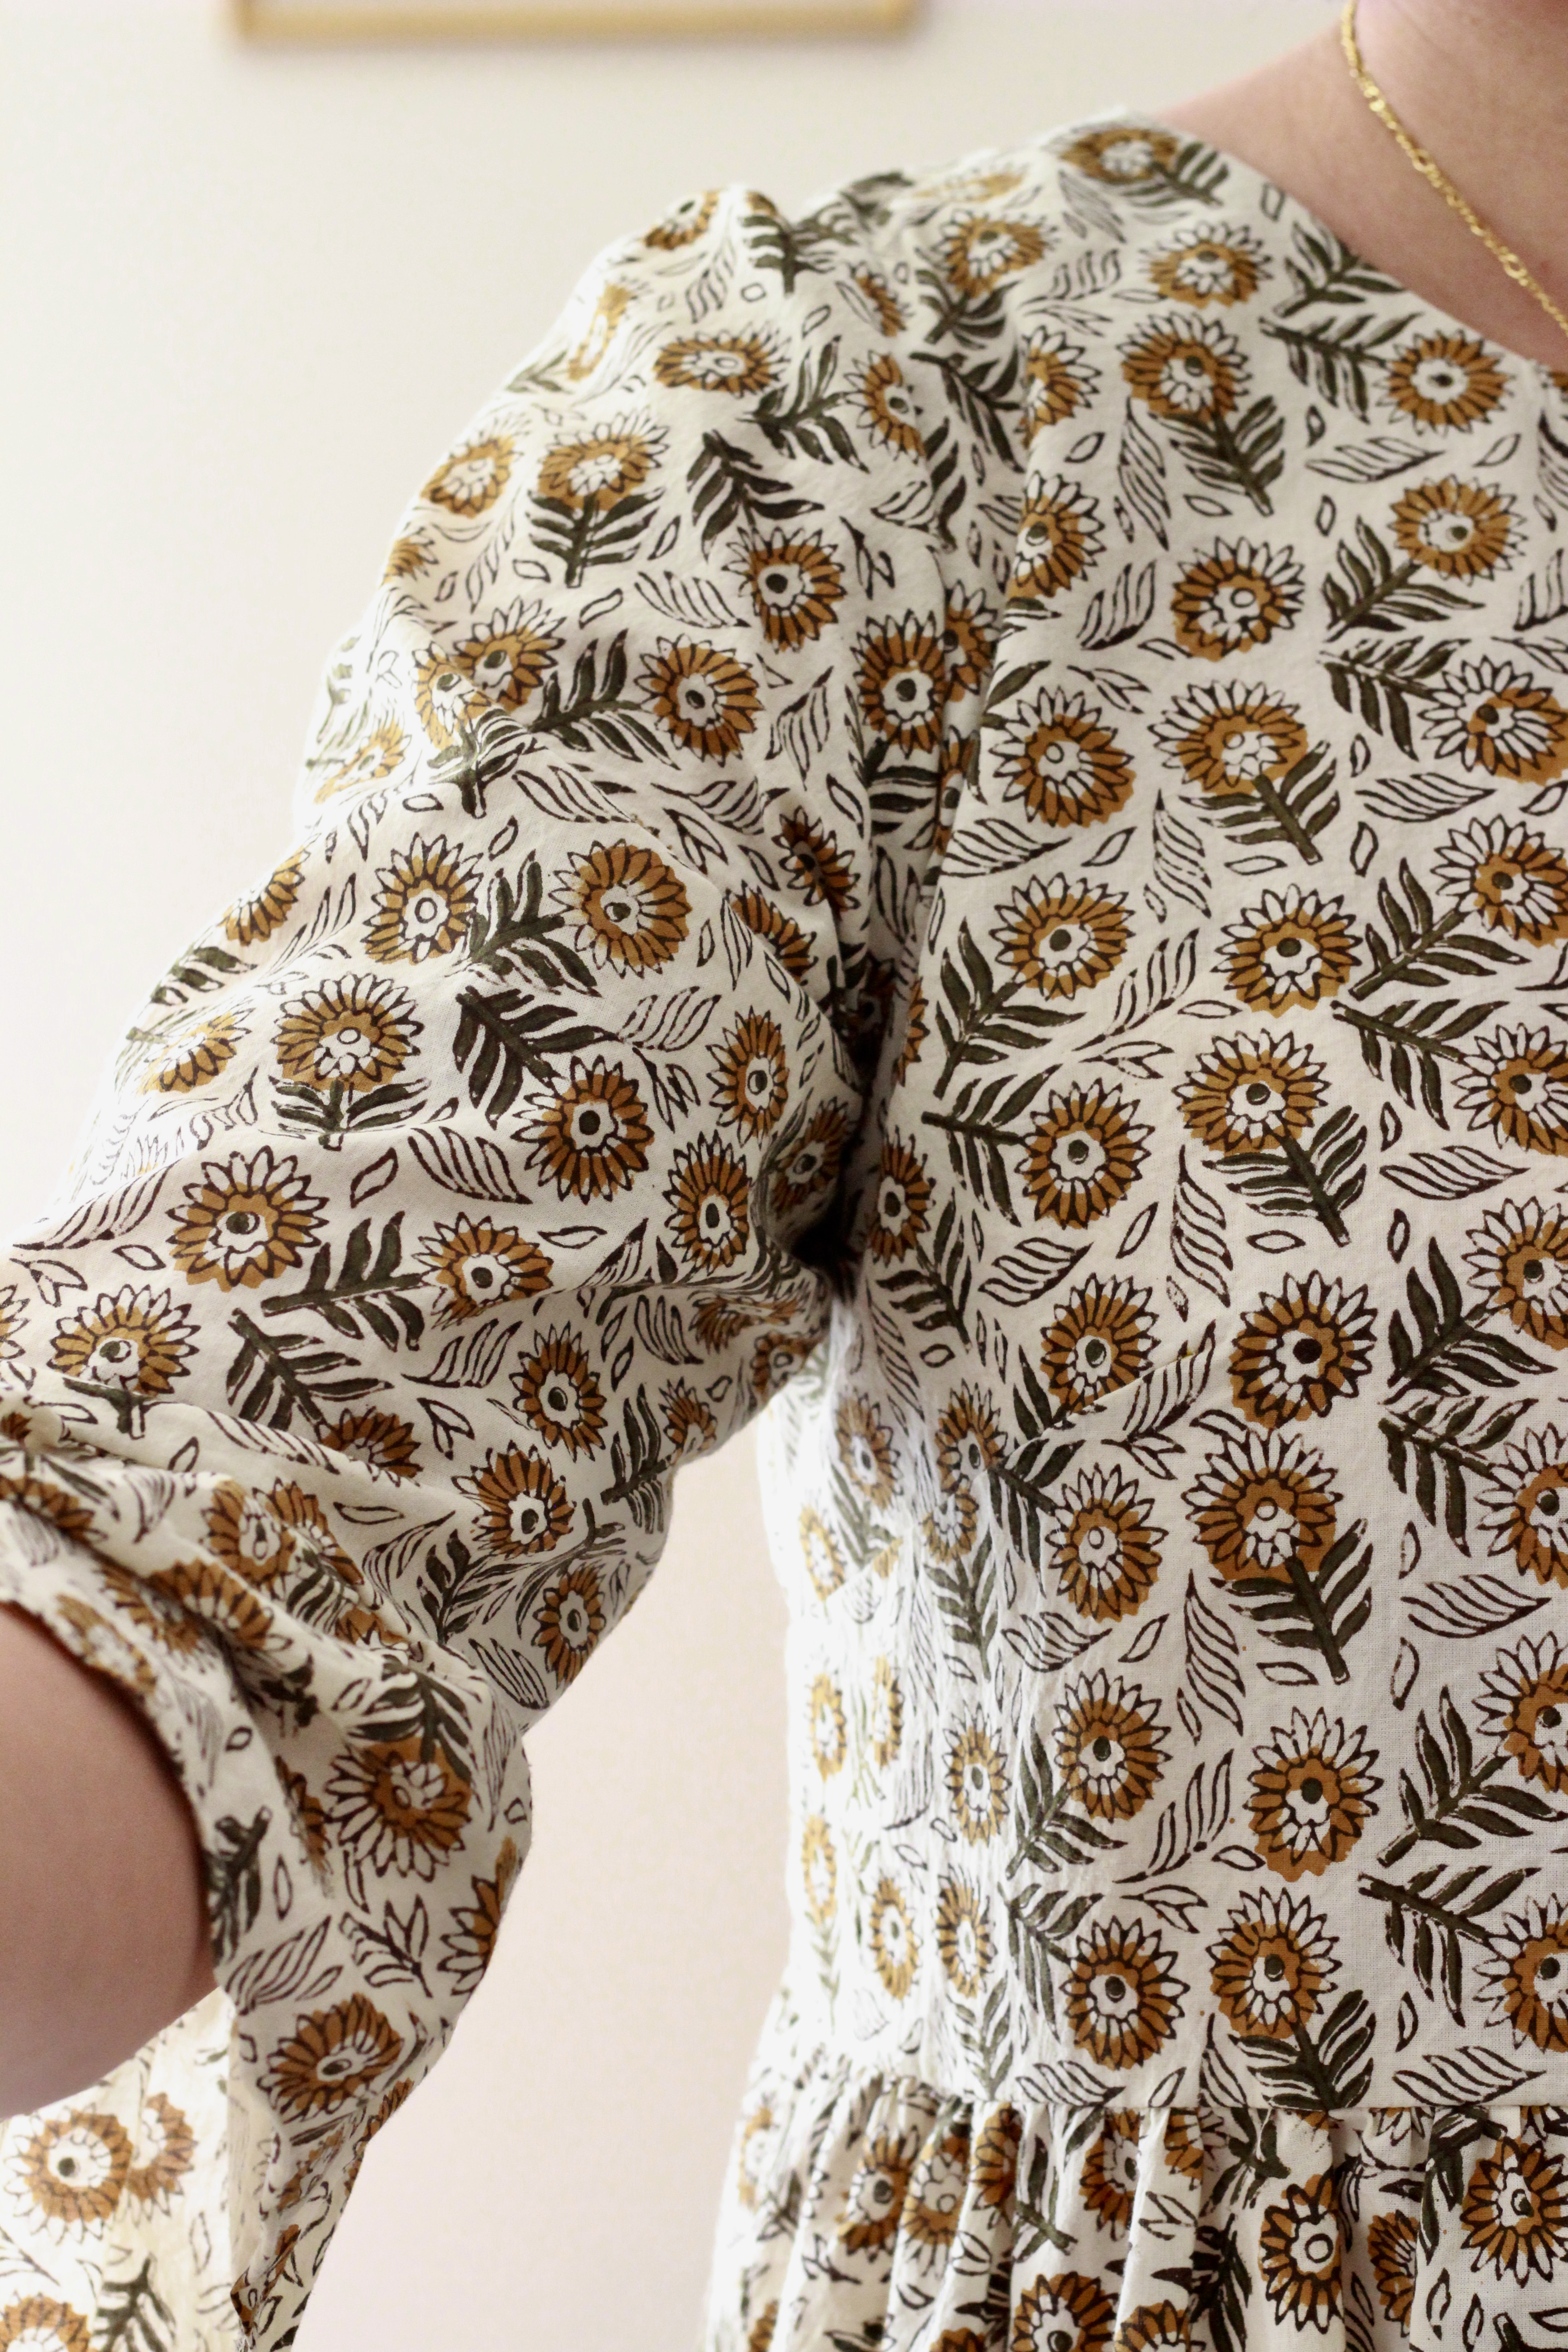
It was so much fun to test for Lindsey of Sew to Grow and it was a lovely team of testers to join. She made it stress free and was always quick to give feedback when we needed it. It was also nice to have a bit of interaction with the other testers and see their beautiful creations. If you can, you should check them out.

Thanks for reading and happy sewing!

X Em

Grace Dress as a Pinafore

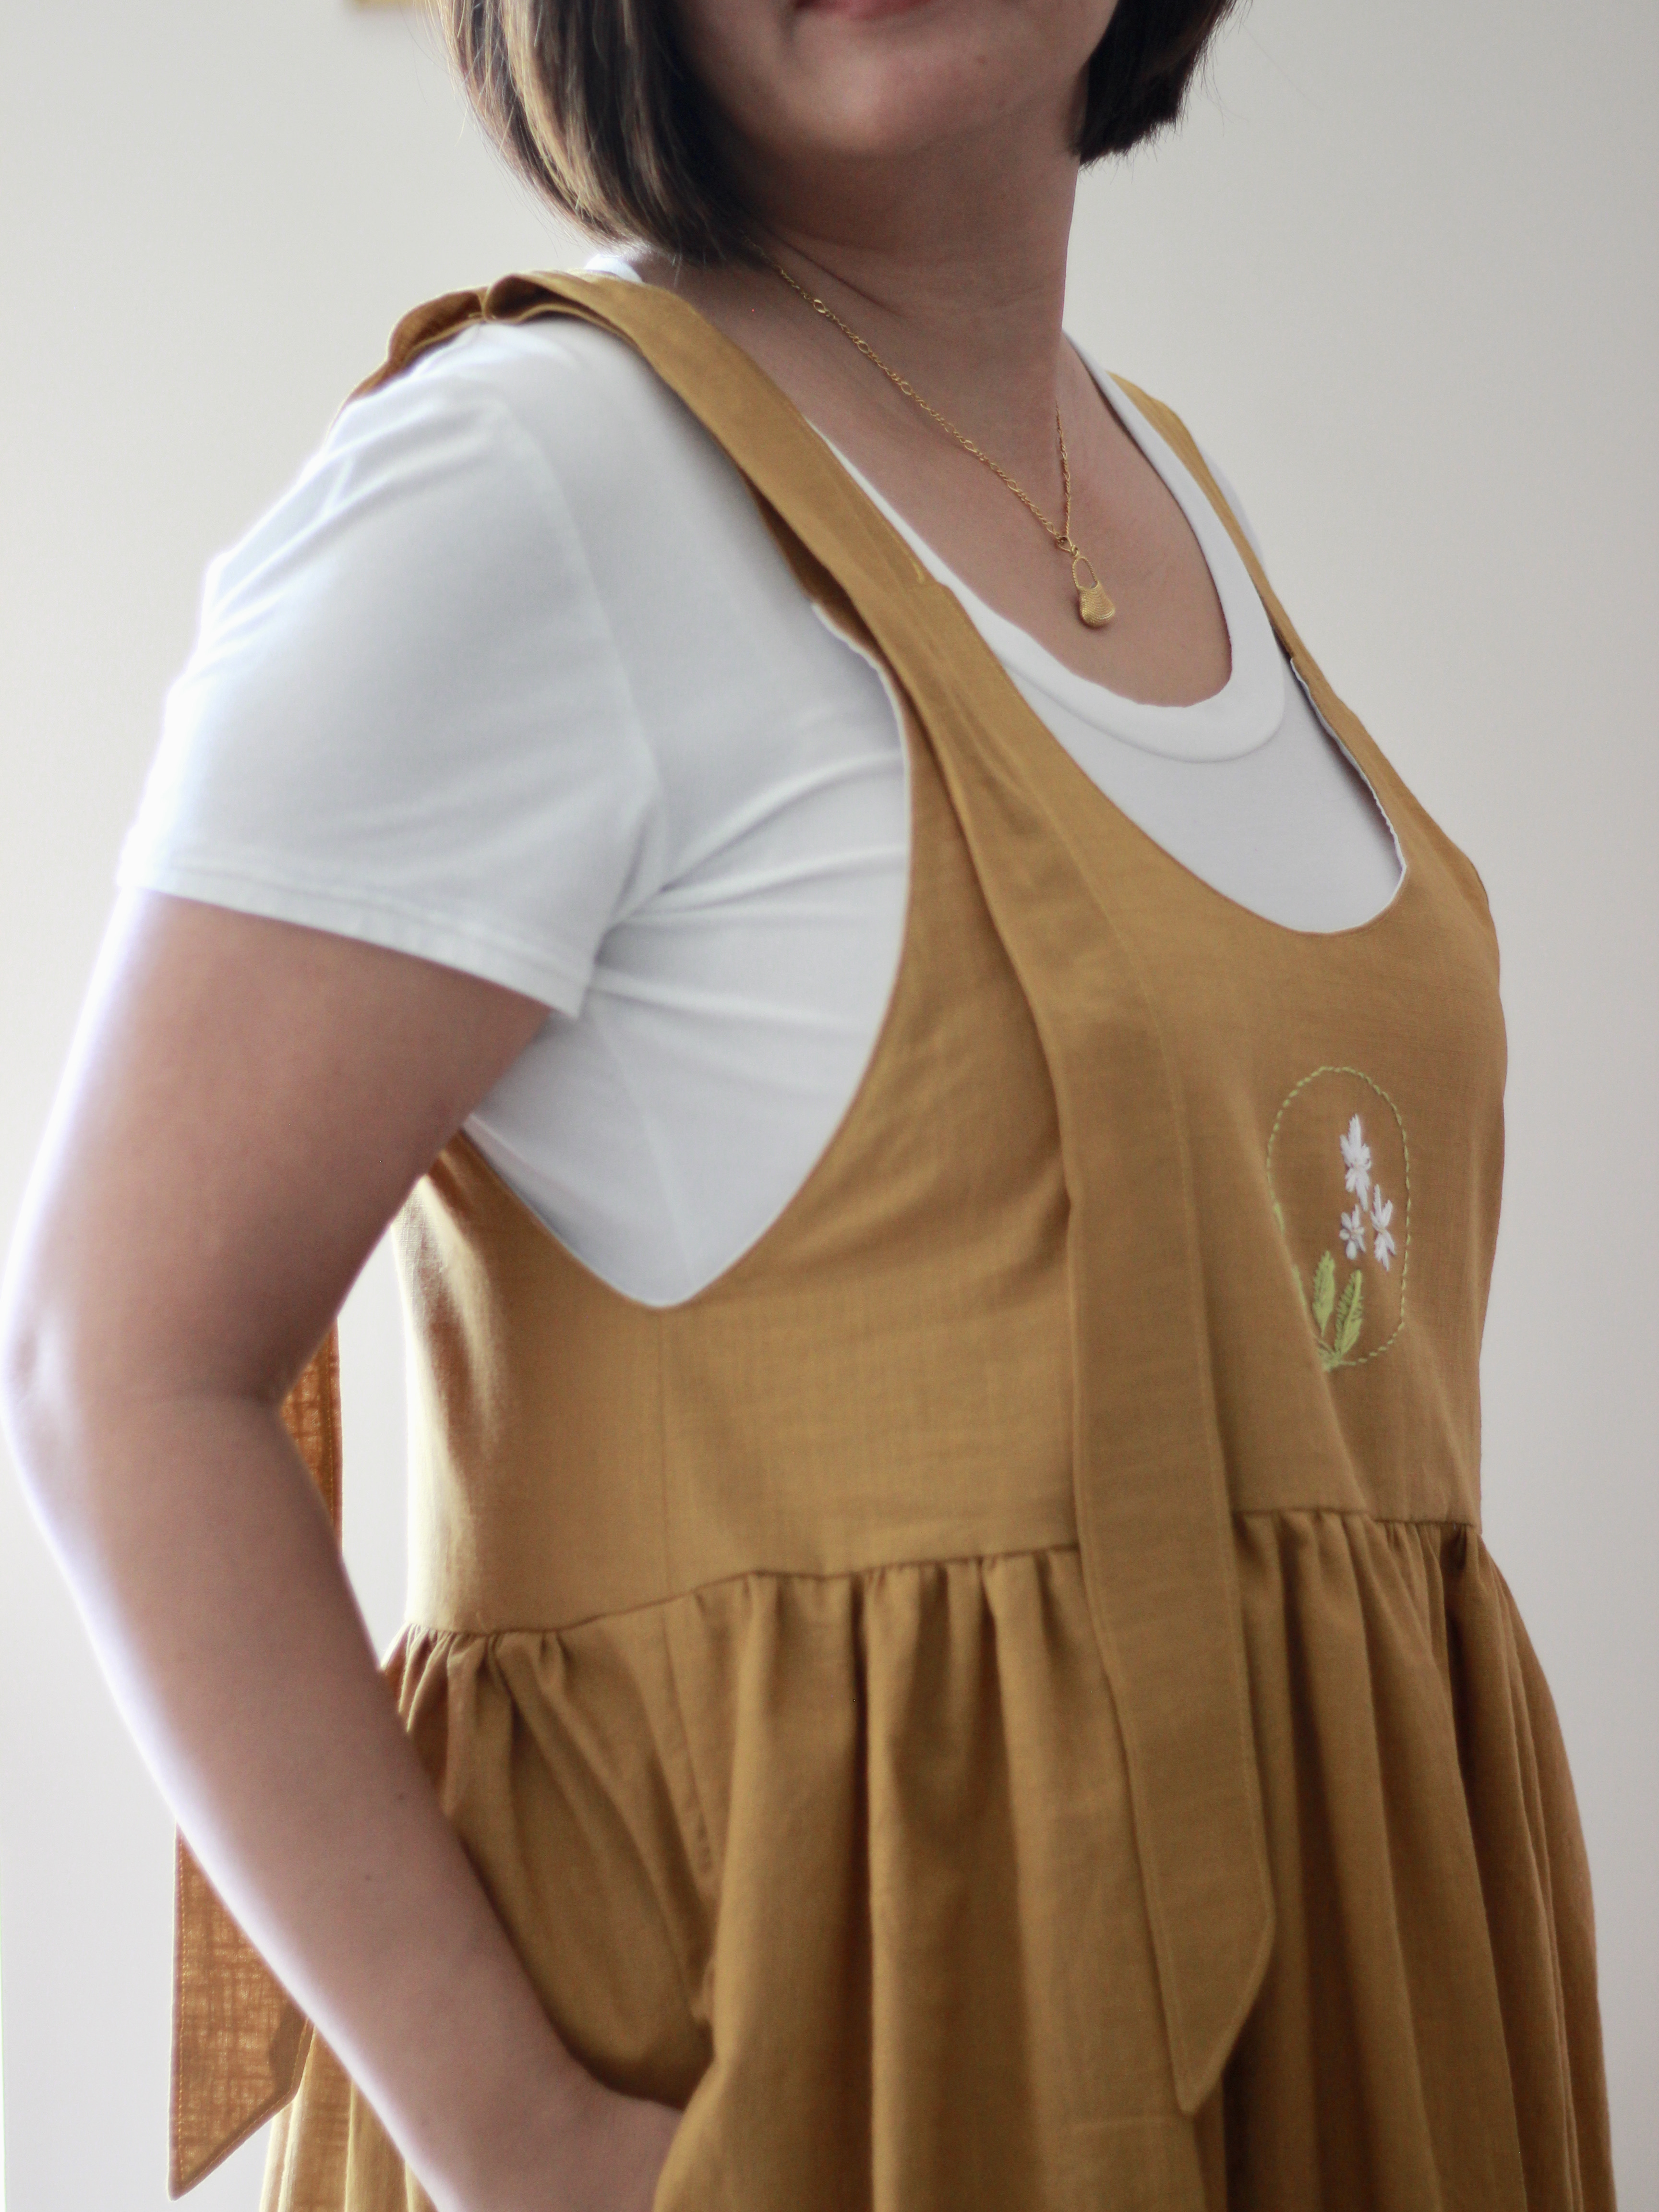
First of all, I’d like to say that I love the design of the Grace Dress as it is. The Grace Dress is a result of the creative collaboration of Taree Marsh of Masha Style and Abby Huston of Abby Sews. You can see my previous version of the Grace Dress on the blog. I have finally got some holidays coming up and I wanted something that will be good to wear with the current changeable weather. I love how the pinafore can be paired with a t-shirt or tank top for warmer days or a long-sleeved shirt or turtle neck for cooler days. It’s such a versatile garment. So, when I came back to sew Version A of the Grace Dress, it occurred to me that it could easily be hacked into a pinafore.

Version B Grace Dress

Before I get into the hack, have you ever thought about personalising your garments with a bit of embroidery? On a whim, I thought I would try it. Embroidery isn’t as difficult as I thought it would be. I’m definitely hooked so I’ll be putting together a bit of a “how-to” in the future. Make sure you don’t miss out by tapping on the follow button for future blog posts!

Trying out embroidery

Basically, the pinafore was invented as a protective garment for your dress. It was like an apron that could be worn over your “good” clothes. Very practical at a time when washing your clothes (especially heavy dresses) meant hard labour and was done with muscle power not a machine. Of course, that application no longer applies and we’re now lucky enough to be able to do our laundry by pressing a few buttons. As mentioned earlier, I like the pinafore for its versatility as a garment.

Okay, I started the hack by thinking about the front bodice neckline and the armscye. It is usually worn over another dress or shirts so there needs to be enough room to fit over whatever is worn underneath. So, I started by scooping out the neckline and the armscye. The neckline was deepened by two inches and I graded back to the curve to make sure that the neckline was not widened with that. 

The armscye was a bit more difficult. I was a bit fearful at first and made quite a shallow cut. Probably only deepening it by 1.5 inch but I later deepened this leaving 4 inch from the bottom of the bodice. I realised that the deepened “arm opening” was quite a distinct feature of the pinafore. Now that I had deepened the armscye, it is natural that the dart was no longer required. It’s important to meet the back armscye with the front so I went ahead and matched that up.

Essentially that was the only modification needed! I told you it was simple. Version A of the grace is fastened by these cute ties on the shoulders. I’ve sewn them together so they stay fastened without any risk of unravelling. It would also be cute to do the buttoned version of the shoulder strap!

Thank you for reading and happy sewing!

X Em

Romy Wrap Dress

Dress Hack

I first made the Romy Wrap Top from Pattern Scout last year when I had only been sewing for about 6 months. It’s a testament to her fantastic instructions that I could make such a beautiful top with my rudimentary set of sewing skills. I’ve since also sewn the dress version as well. The Romy Wrap dress is uniquely fastened with buttons and has a slender silhouette. 

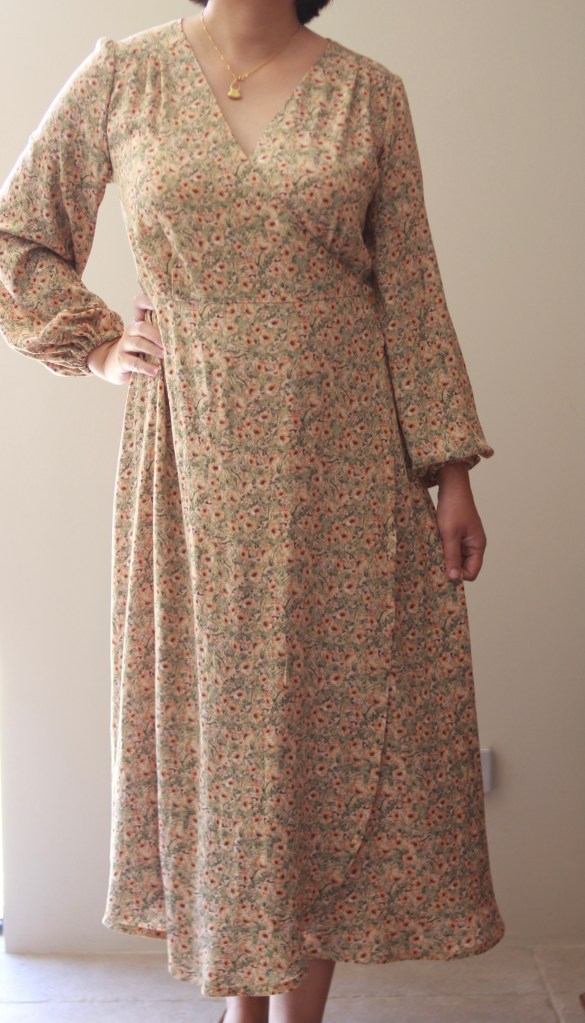
This time, I wanted to use the pattern to make a maxi dress with the sleeve expansion that was released for the pattern. I’ve been seeing a lot of ground skimming, floor length dresses inspired from the sixties. I found a beautiful rayon crepe from Spotlight Stores which had a beautiful field-of-poppies print in a mix of clementine and yellow on a field of green. Rayon crepe is beautifully sheer with a slight texture. It also has some weight to it, so it has a beautiful drape which just skims over the body in the most flattering way. However, it has a bit of “bounce” so if you’re a beginner like me, just be careful not to stretch the fabric as you’re sewing. Also, when cutting, it might be better to use a rotary cutter especially for tricky curves. My final tip is not to skip the stay stitching (don’t learn the hard way!)

There is a very comprehensive tutorial on the Pattern Scout Blog as well as a YouTube video so have a look there when you sew along but this is an account of my sewing process.

Firstly, I needed to lengthen the skirt piece. I didn’t have a firm idea of the extra length needed but I estimated about 10 inches and lengthened from the hem grading the curve as I approached the waistline. This was repeated for the back skirt piece as well. 

Then I went ahead and added the stay stitching around the neckline and the armscye as well as all the tucks on the front and back bodice pieces.

I also wanted to add another tip, which is to iron as you go. It just neatens the seamlines which can get a bit wavy with this bouncy fabric.

Ironing will save you when you’re pinning!

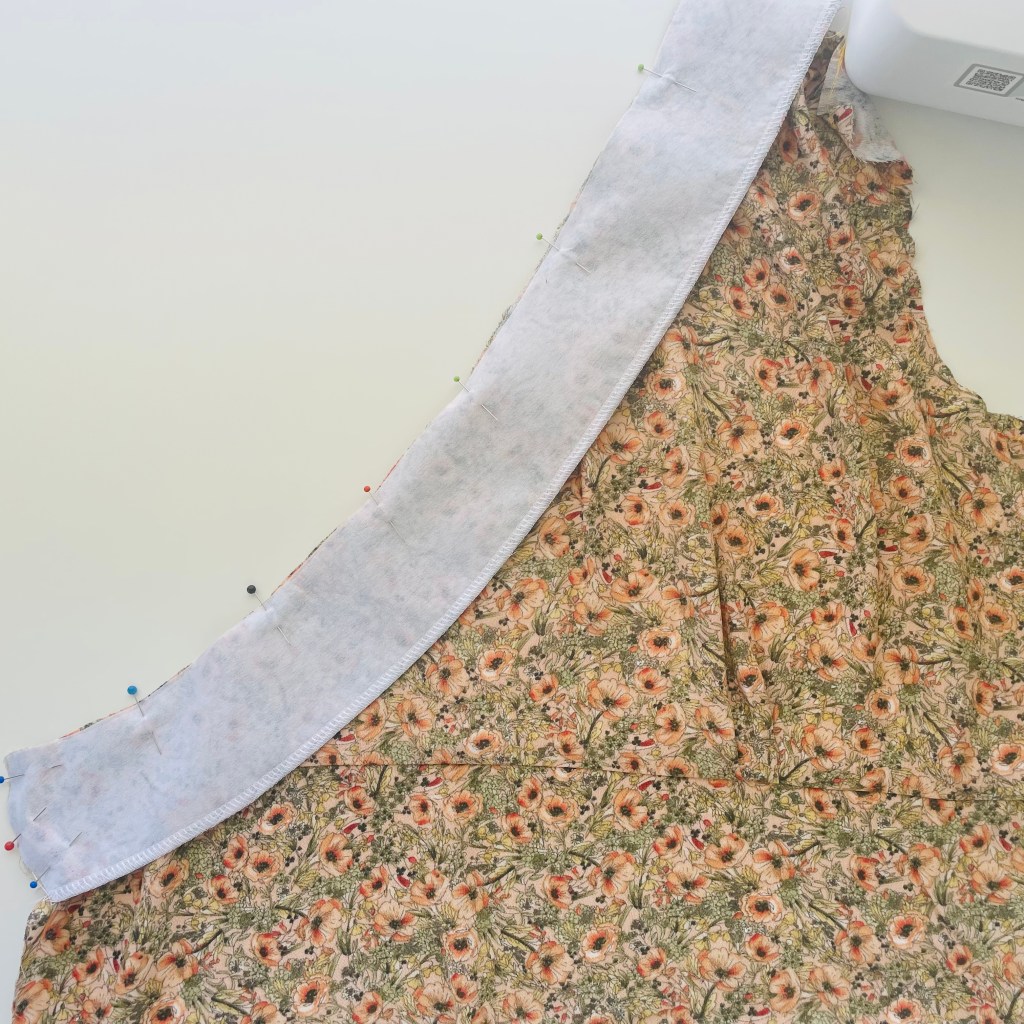
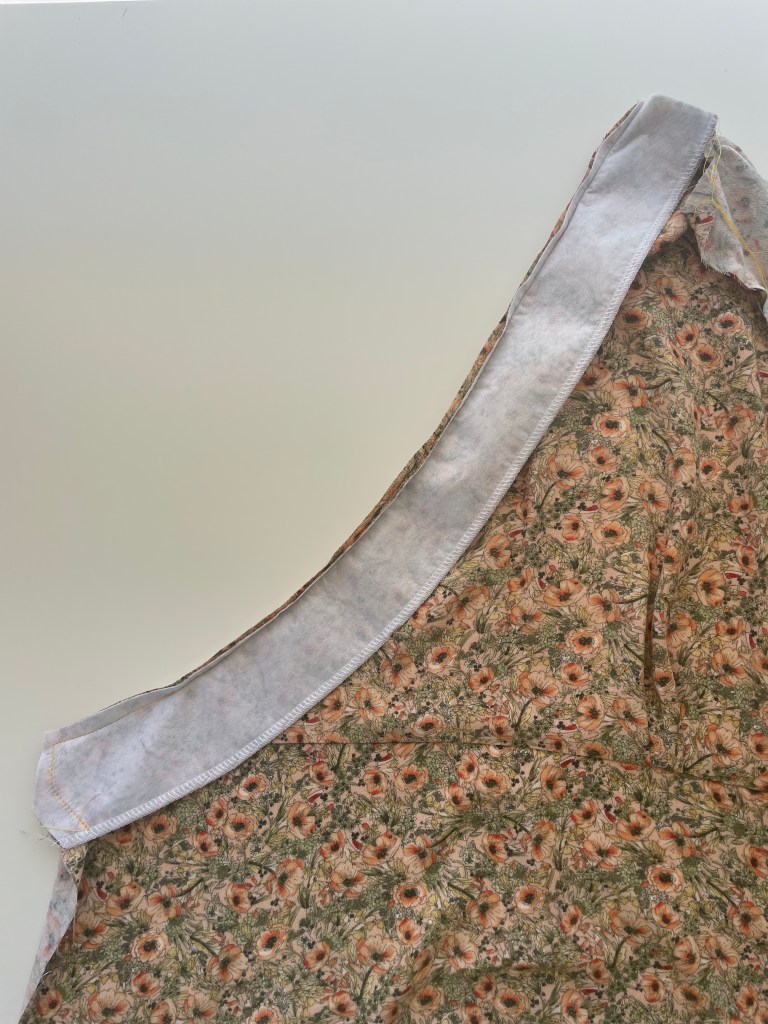
Once I attached the skirt pieces to their corresponding panels, I then pinned and attached the front interfaced facings. The corner was a bit tricky, so I just sewed slowly and I found it easier to sew with the interfaced side up. 

The next step was to sew on the yoke. The yoke is the piece that attaches the front panels to the back bodice and skirt. The instructions are very detailed, and I just followed them but I have heard that other people have used the “burrito” method which I have also used in other patterns. Maybe this is something I could try in the future but with my lengthened skirts, it could be too bulky.

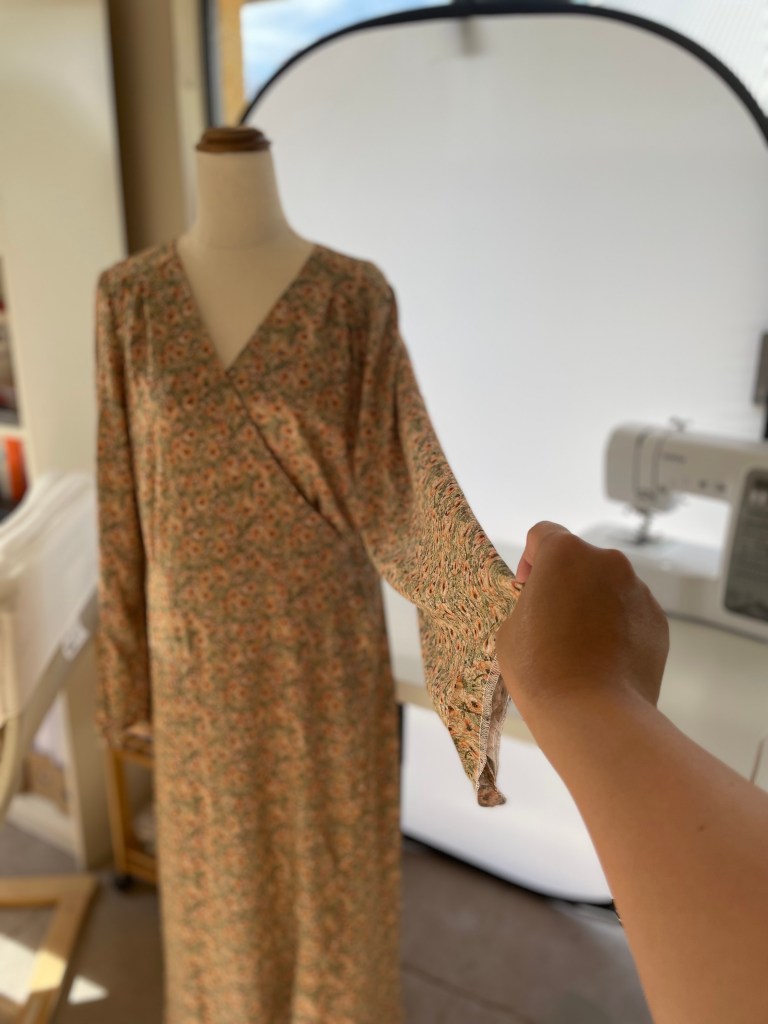
Now, getting the sleeves on was initially confusing because I kept getting extra fabric and I thought I had cut the wrong size. But when I compared the expansion pack instructions to the initial pattern, I realised that there was a bit of instruction missing. In the original, the sleeve is gathered along the yoke seam and don’t worry, I’ve contacted Casey at Patternscout so she knows. So happily, with this sorted, I could attach the sleeves and finish them. I love bishop sleeves for the fullness in the cuffs. 

The final part was to finish the hems before making buttonholes for the buttons. Now, I always must resist sewing up the hem too soon. With fabrics that have a bit of stretch, or with dresses cut on the bias, the dress should be allowed to hang on a hanger or dummy for at least a few hours. I had to trim the hem to even up the hemline before sewing up.

Thanks for reading and happy sewing!

X Em

Fern Top and Dress Hack

September brings with it the promise of sunshine and finer weather. So, naturally, I’m starting to think about a summer wardrobe. I do often wonder if I should start working on my summer wardrobe in winter and sew up my cold weather wardrobe in summer. Anyway, I had always meant to sew up another Fern Top from Pattern Scout Studios. I then saw a mention of a dress hack so I decided to go ahead and do this!

The original pattern is a pretty top that has a central panel with a round collar which the dolman sleeve pieces attach to. Then Pattern Scout released the square neck extension pack which was what really sold me. I really love a square neckline! So, my first version of this pattern was the square neckline version of the top. 

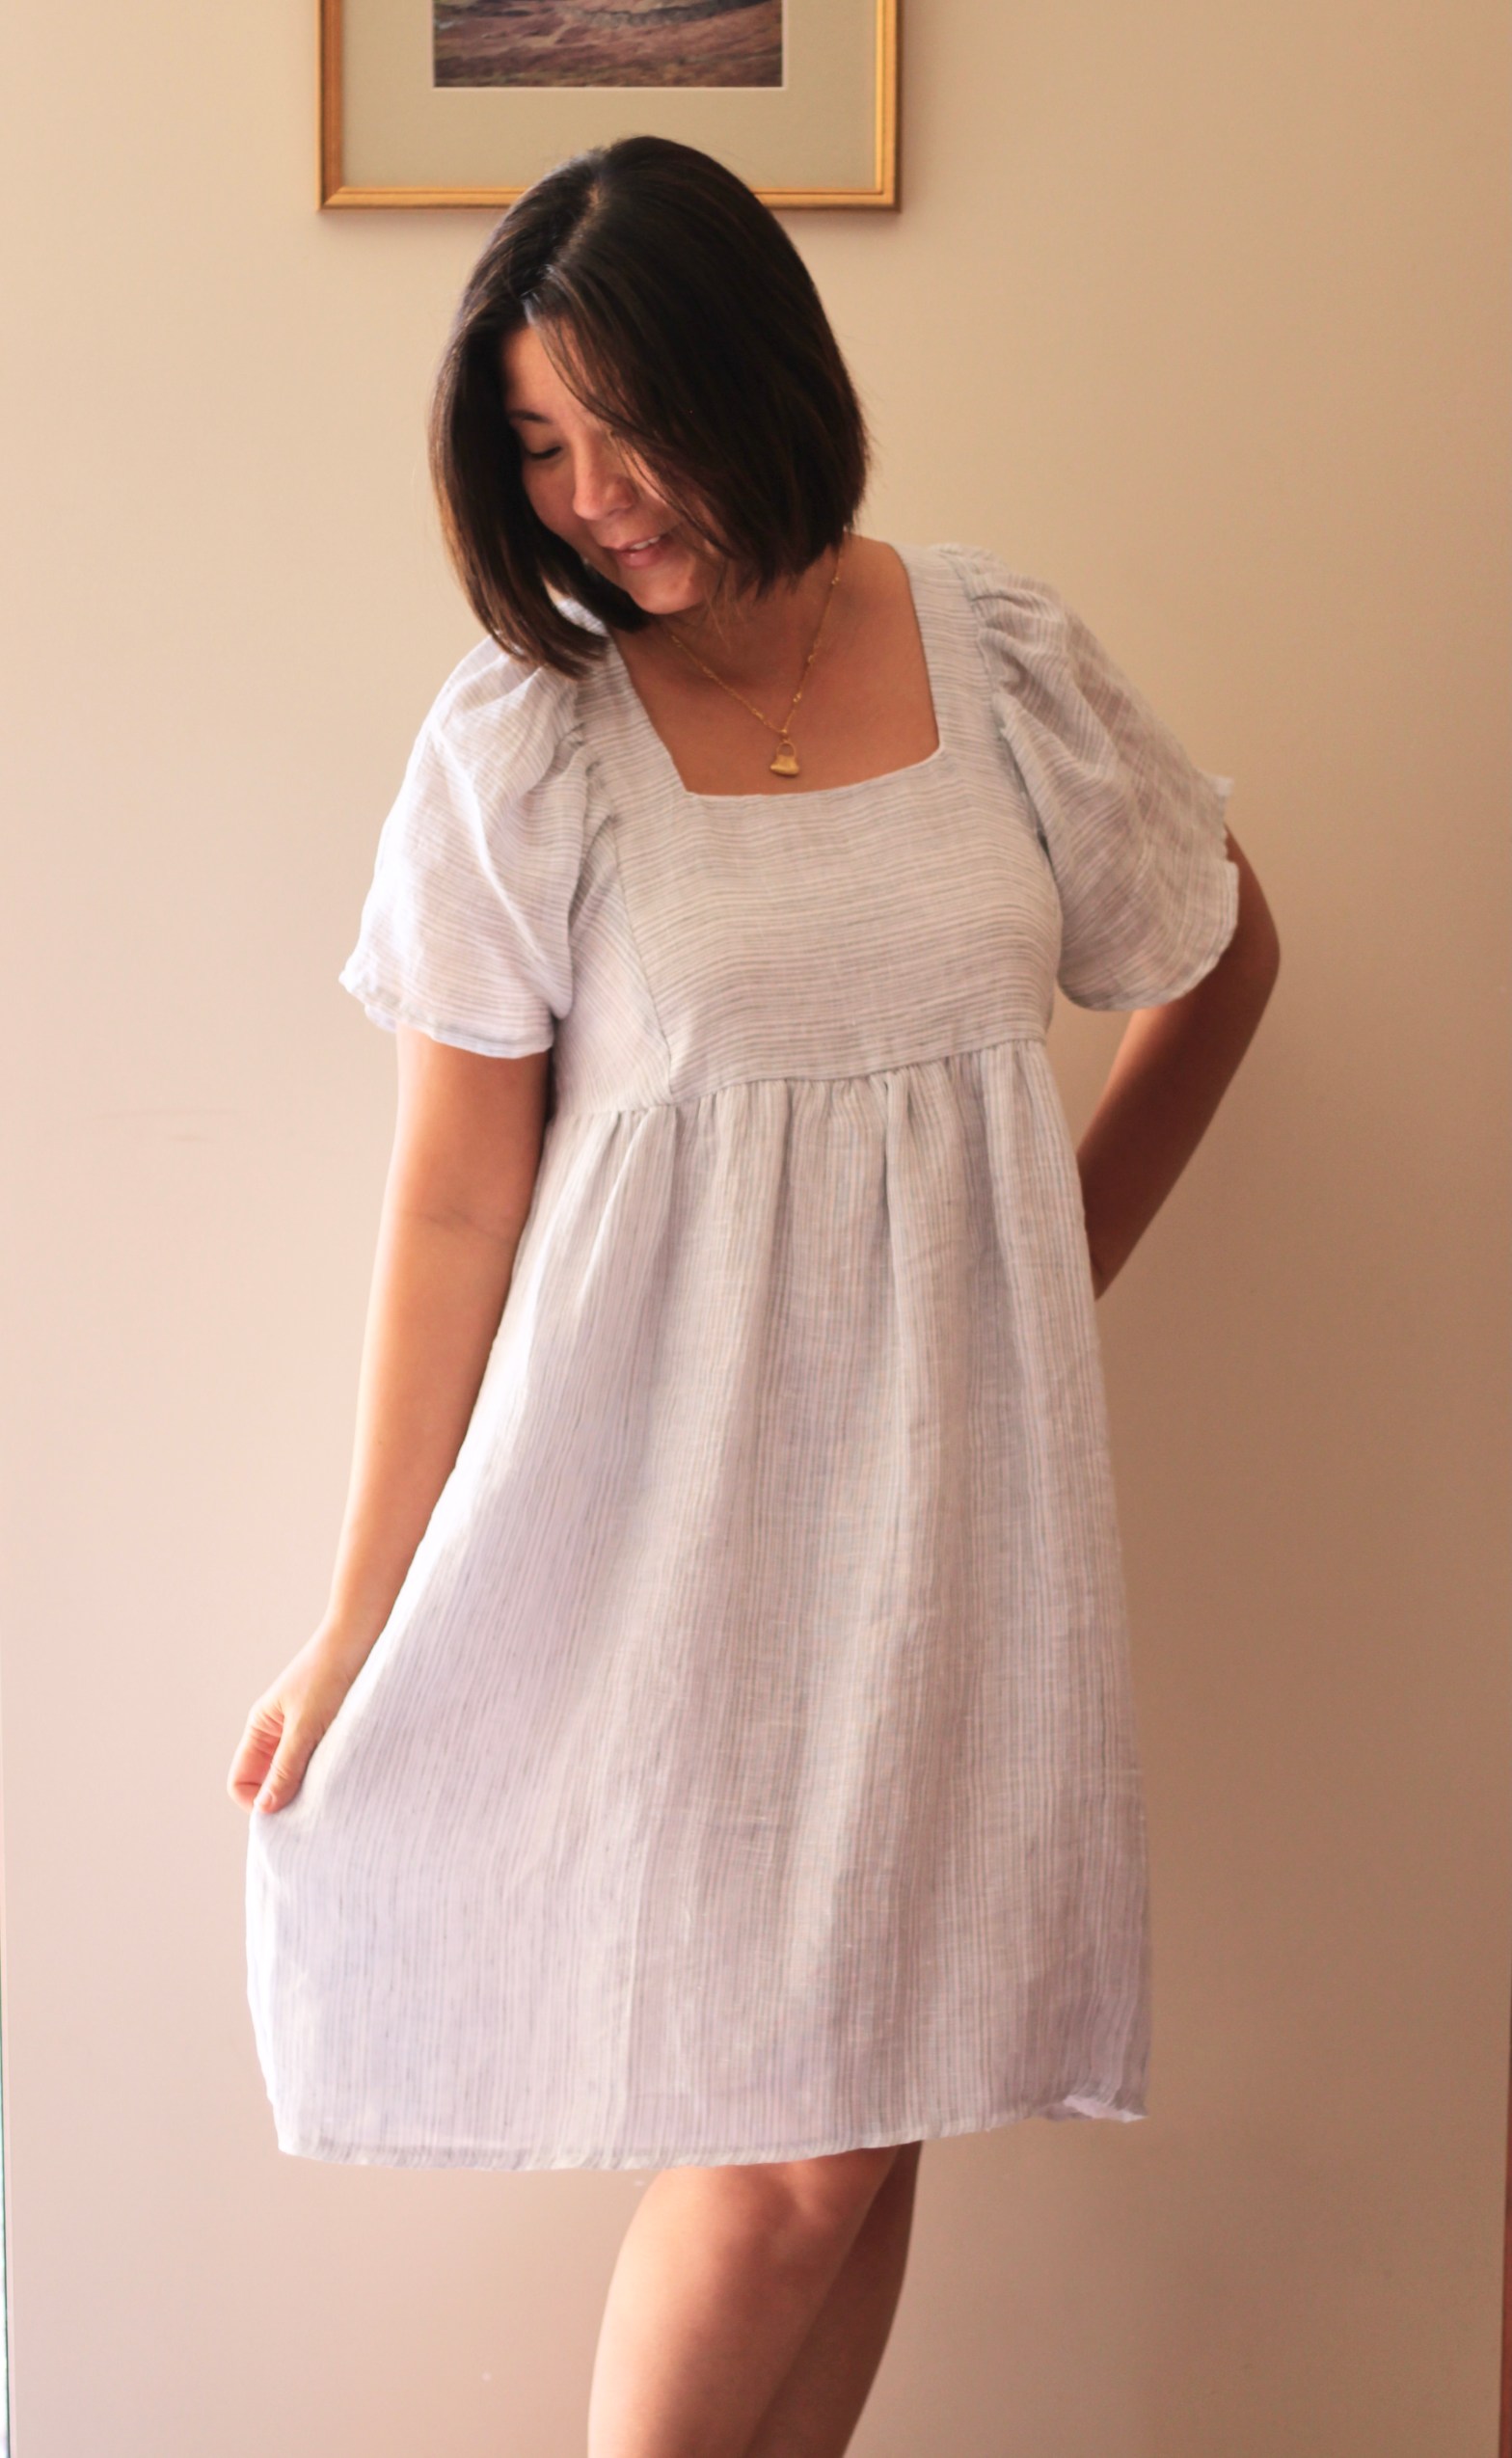
This time I’ve sewed the square neckline again but decided to use the free tutorial for the flutter sleeves. So, most of the hard work for this hack was actually done! I just added the skirt by using two rectangular pieces and gathering the top of the skirt and attaching this to where the “skirt” of the top would’ve attached to.

I should also mention that I had fully lined my dress with muslin. I used a divinely floaty, sheer, lightweight “seaweed stripe” linen that I was lucky enough to score at the in-store sale at Megan Nielsen’s shop in June. I didn’t know at the time what I was going to make out of the fabric but it was too good to pass up and I’m only just starting to feel confident enough to invest in my fabrics. I bought two meters of this linen which was just right for this make. So, getting back to the sheerness of the fabric, it’s beautiful and light but quite see-through so for modesty’s sake and so my family don’t disown me in public, the muslin was a perfect pick to line the dress with.

This dress is so comfortable to wear. It’s not quite warm enough yet but the baby-doll style is great for those sticky and humid summer days. Hopefully this will inspire someone to give it a go! The Fern Top is great as-is but such a wonderful bonus with so many options to customise it.

Thanks for reading and happy sewing!

X Em

Ogden Cami

We’ve just seen a close to the end of Ogden Cami Month. It’s been so inspiring to follow along the True Bias blog. This is such a well-loved pattern in the sewing community. There is a plethora of clever hacks for this pattern. From the True Bias website, the Ogden Cami is described as, “The Ogden Cami is a simple blouse that can either be worn on its own or as a layering piece under blazers and cardigans. It has a soft V neck at both center front and center back necklines, and delicate spaghetti straps. The neckline and armholes are finished with a partial lining for a beautiful, high end finish.”

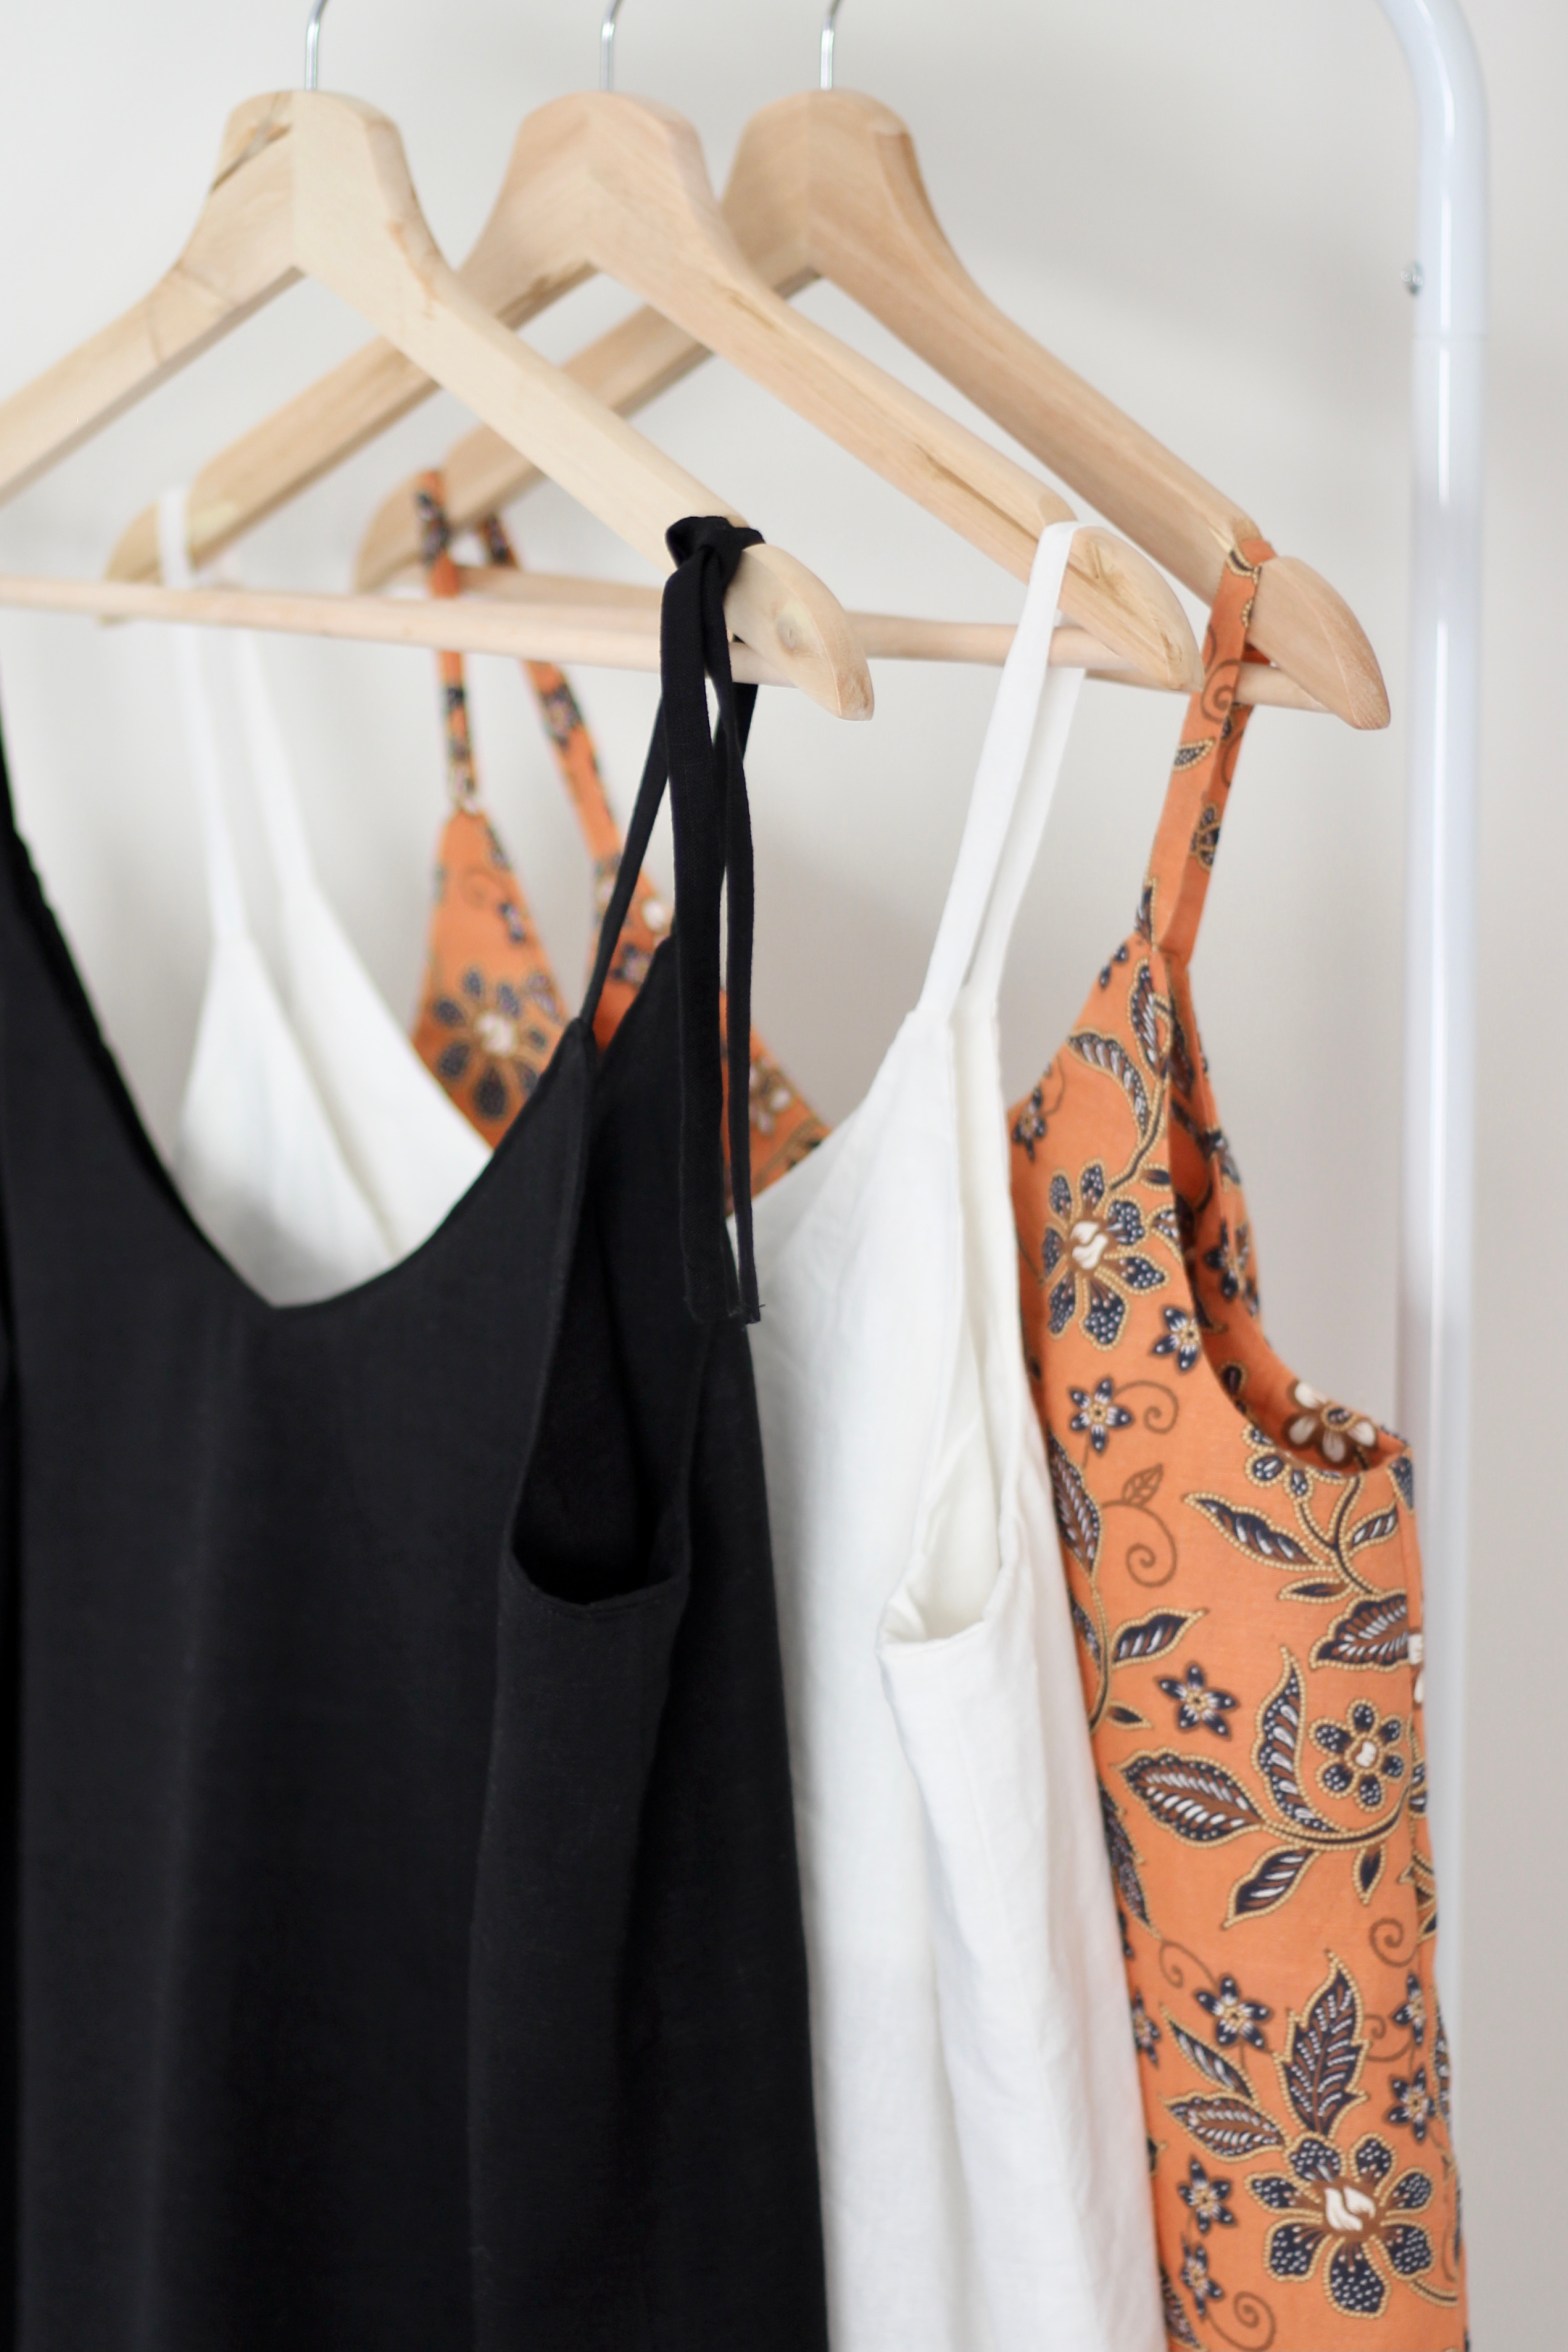
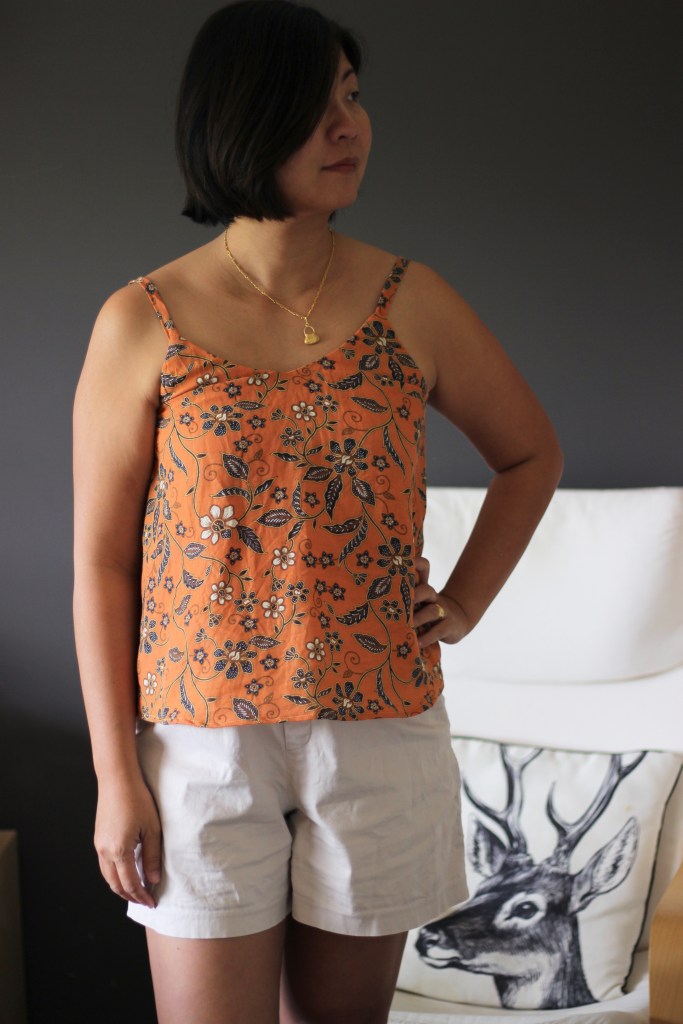
I’ve loved wearing the cami as a layering piece, but I’ve also loved it as a stand-alone piece on those really hot, sticky humid days. I’ve made three of the Ogden Camis with linen which is so breathable and such a great fabric for those days. I’ve also hacked the Ogden into a summer dress using very lightweight rayon for both.

The sizing was spot on for me. There were no adjustments needed which was great! I sewed up the Size 8 and my measurements are B37:W33:H38. When deciding on sizing, I usually look at the sizing chart and in addition to that, the finished garment sizing. It’s also handy to consider the fabric you’re sewing with. I could have possibly sewn up a size if I had chosen a very stable fabric but I found that linen “grows” so you can end up with a slight increase in the “give” of the fabric. On the finished garment chart, the sizing range is from bust size 33 inch to 59.5 inch but be aware the sizing is divided to two ranges.

It’s definitely great core item for your closet and it’s a pattern that keeps on giving! After this Ogden Month, I’m even more inspired for a few more creative hacks for next year.

Thanks for reading and happy sewing!

X Em

Frankie Tankie Dress Hack

It’s winter in Perth but I just couldn’t wait to sew up the Frankie Tankie which is a pattern by Vanessa Hansen Studio. Vanessa worked for many years in the London fashion industry and she has posted some of the designs she has been involved in on her Instagram Page. She is extremely talented and her patterns are one of a kind. 

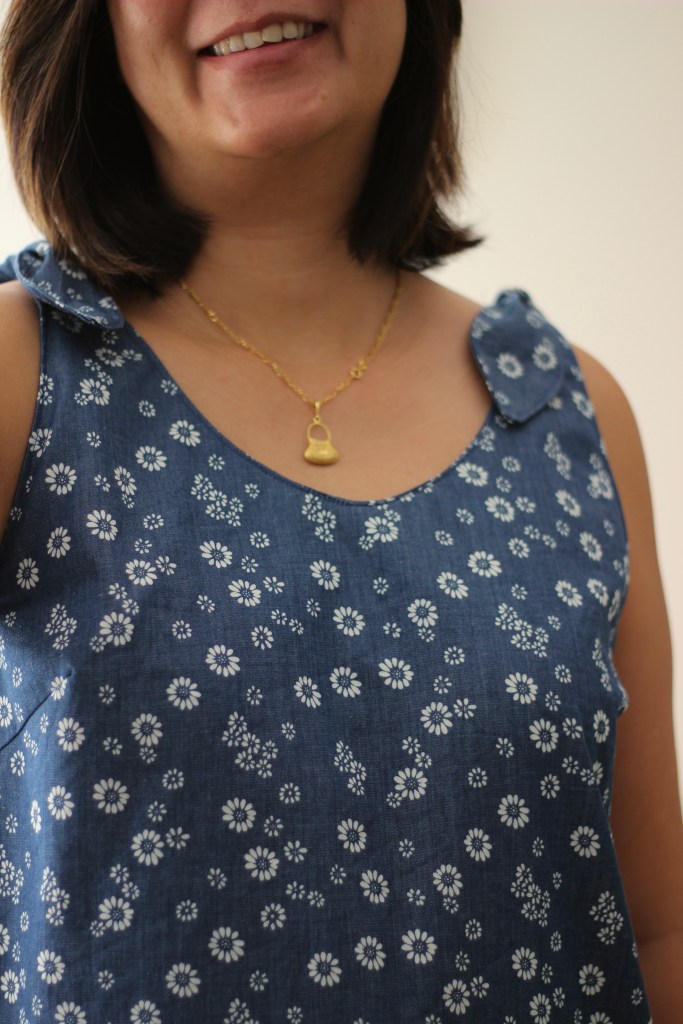
The Frankie Tankie is so cute with the tied strap detail. I’ve made the hacked shift dress version but I can see myself making this pattern a few more times! It’s just one of those patterns that will be easy to refresh and reinvent. Vanessa has acknowledged this by giving instructions for not one but TWO dress hack versions! This is such a cool inclusion in a pattern. 

Cute Shoulder Tie Detail

The pattern is beginner friendly. She has very detailed instructions with lots of explanations. It feels like she is holding your hand through the sew with easy-to-follow tips along the way and includes a bit of humour which makes it fun to follow. It felt like she looked into my brain when one of the steps said, “… do not use your scissors to push even if it is tempting”.

My dress version was simple to do. I’ve just increased the length of the tank by 15 inches. The lengthen and shorten lines are included on the pattern pieces which makes it easy to do this. In fact, there is quite a lot of detail for different options which I enjoy. Choices are given for if you want to use a facing, a lining or to make it double sided.

Sizing was spot on. I made the UK 12 B Cup. My measurements are 37 inch bust, 33 inch waist, 38 inch hip. No modifications were needed. Size range for garment measurements are from 34 ¾ inch to 41 ¾ inch full bust, 38 ¼ inch to 45 1/8 inch waist. The pattern is drafted for three different sewing cup sizes A, B and DD.

I really can’t wait to sew this again. I used a light denim fabric with a ditzy daisy print to make this version of the Frankie Tankie dress. I’d love to make another with an even lighter drapey woven like cotton lawn, silk or rayon. The options are endless. Definitely one that I’ll enjoy wearing on a hot summer day.

Thanks for reading and happy sewing!

X Em

Leila Dress and Hana Dress

Facing lockdown again, there has to be an upside and that upside is time. Time to indulge in a bit of sewing and to do something I’ve never attempted before. A mash up of two sewing patterns and to start a new hobby … blogging.

Patternscout and Marshastyle are two seriously talented independent sewing pattern makers. I’ve sewn quite a few of the Patternscout patterns, they are beautifully drafted and as a beginner, I find the instructions easy to follow and I’ve just learnt so much by sewing her patterns. The sizing is also always a great fit for me. I came across the Leila Dress by Marshastyle last year when I had just started out on my sewing journey. What’s not to love with the beautiful boho look of this dress? The statement sleeves are so unique and so was the tiered gathered skirt. The combination was just too hard to resist!

When I sewed the Leila Dress, I made a blouse hack to try out the bodice and discovered that the v- neck neckline was a bit too low for me. When I wear it, I usually have a cami top underneath so I found myself not reaching for this in summer when Perth hits 40 degrees celsius. As a result, I didn’t sew up the dress. I knew I would come back to it when my skill level improved and in fact, Marshastyle did a blogpost on how to modify the neckline to move it higher.

Leila Dress hacked into a top

Fast forward to the start of 2021, I found the Hana Dress Pattern from Patternscout. This is a lovely shift dress and she has given two options for the dress. One is a simple pull over the head shift dress and the other is made with a button placket starting from the neckline all the way down to the hemline. I have reached for these over and over again. I think what I love about the Hana Dress Pattern how the bodice fits me. The neckline is especially flattering on me which gave me the inspiration to try this mash up.
Hana Dress – button up version

When I came across this beautifully spring patterned Japanese cotton lawn, I immediately thought of the Leila Dress again. The fabric is so soft and lightweight. I haven’t had much experience sewing with cotton lawn but it would be the perfect warm weather fabric. I decided that I would use a muslin to line the dress as the fabric was quite sheer due to being so lightweight. The muslin also provided me with the chance to test the fit without cutting into that beautiful Japanese cotton lawn. The original pattern is not lined but lining a dress can be thought of as just an extension of the facing. From the Hana Dress, I used the bodice pattern pieces (front and back) measuring about 6 inches from the bottom of the sleeve hole (armscye) and cut straight across. From the Leila Dress, the tiered skirt was cut out but the sleeves were left off for the muslin.

Muslin lining

From there, it was a simple matter of trying on the muslin for fit and then using the same pattern pieces, now including the sleeve pieces, for the shell of the dress. The lining is attached to the shell via the neckline and the arm holes (armscye) and there we have it! A mash up of the Hana and Leila Dress. If you love the Leila Dress as much I do then check it out at www.marshastyle.com and enjoy her fabulous blog.

I’ve always wanted to do this with the sleeves.

Get new content delivered directly to your inbox.