Nadine Skirt

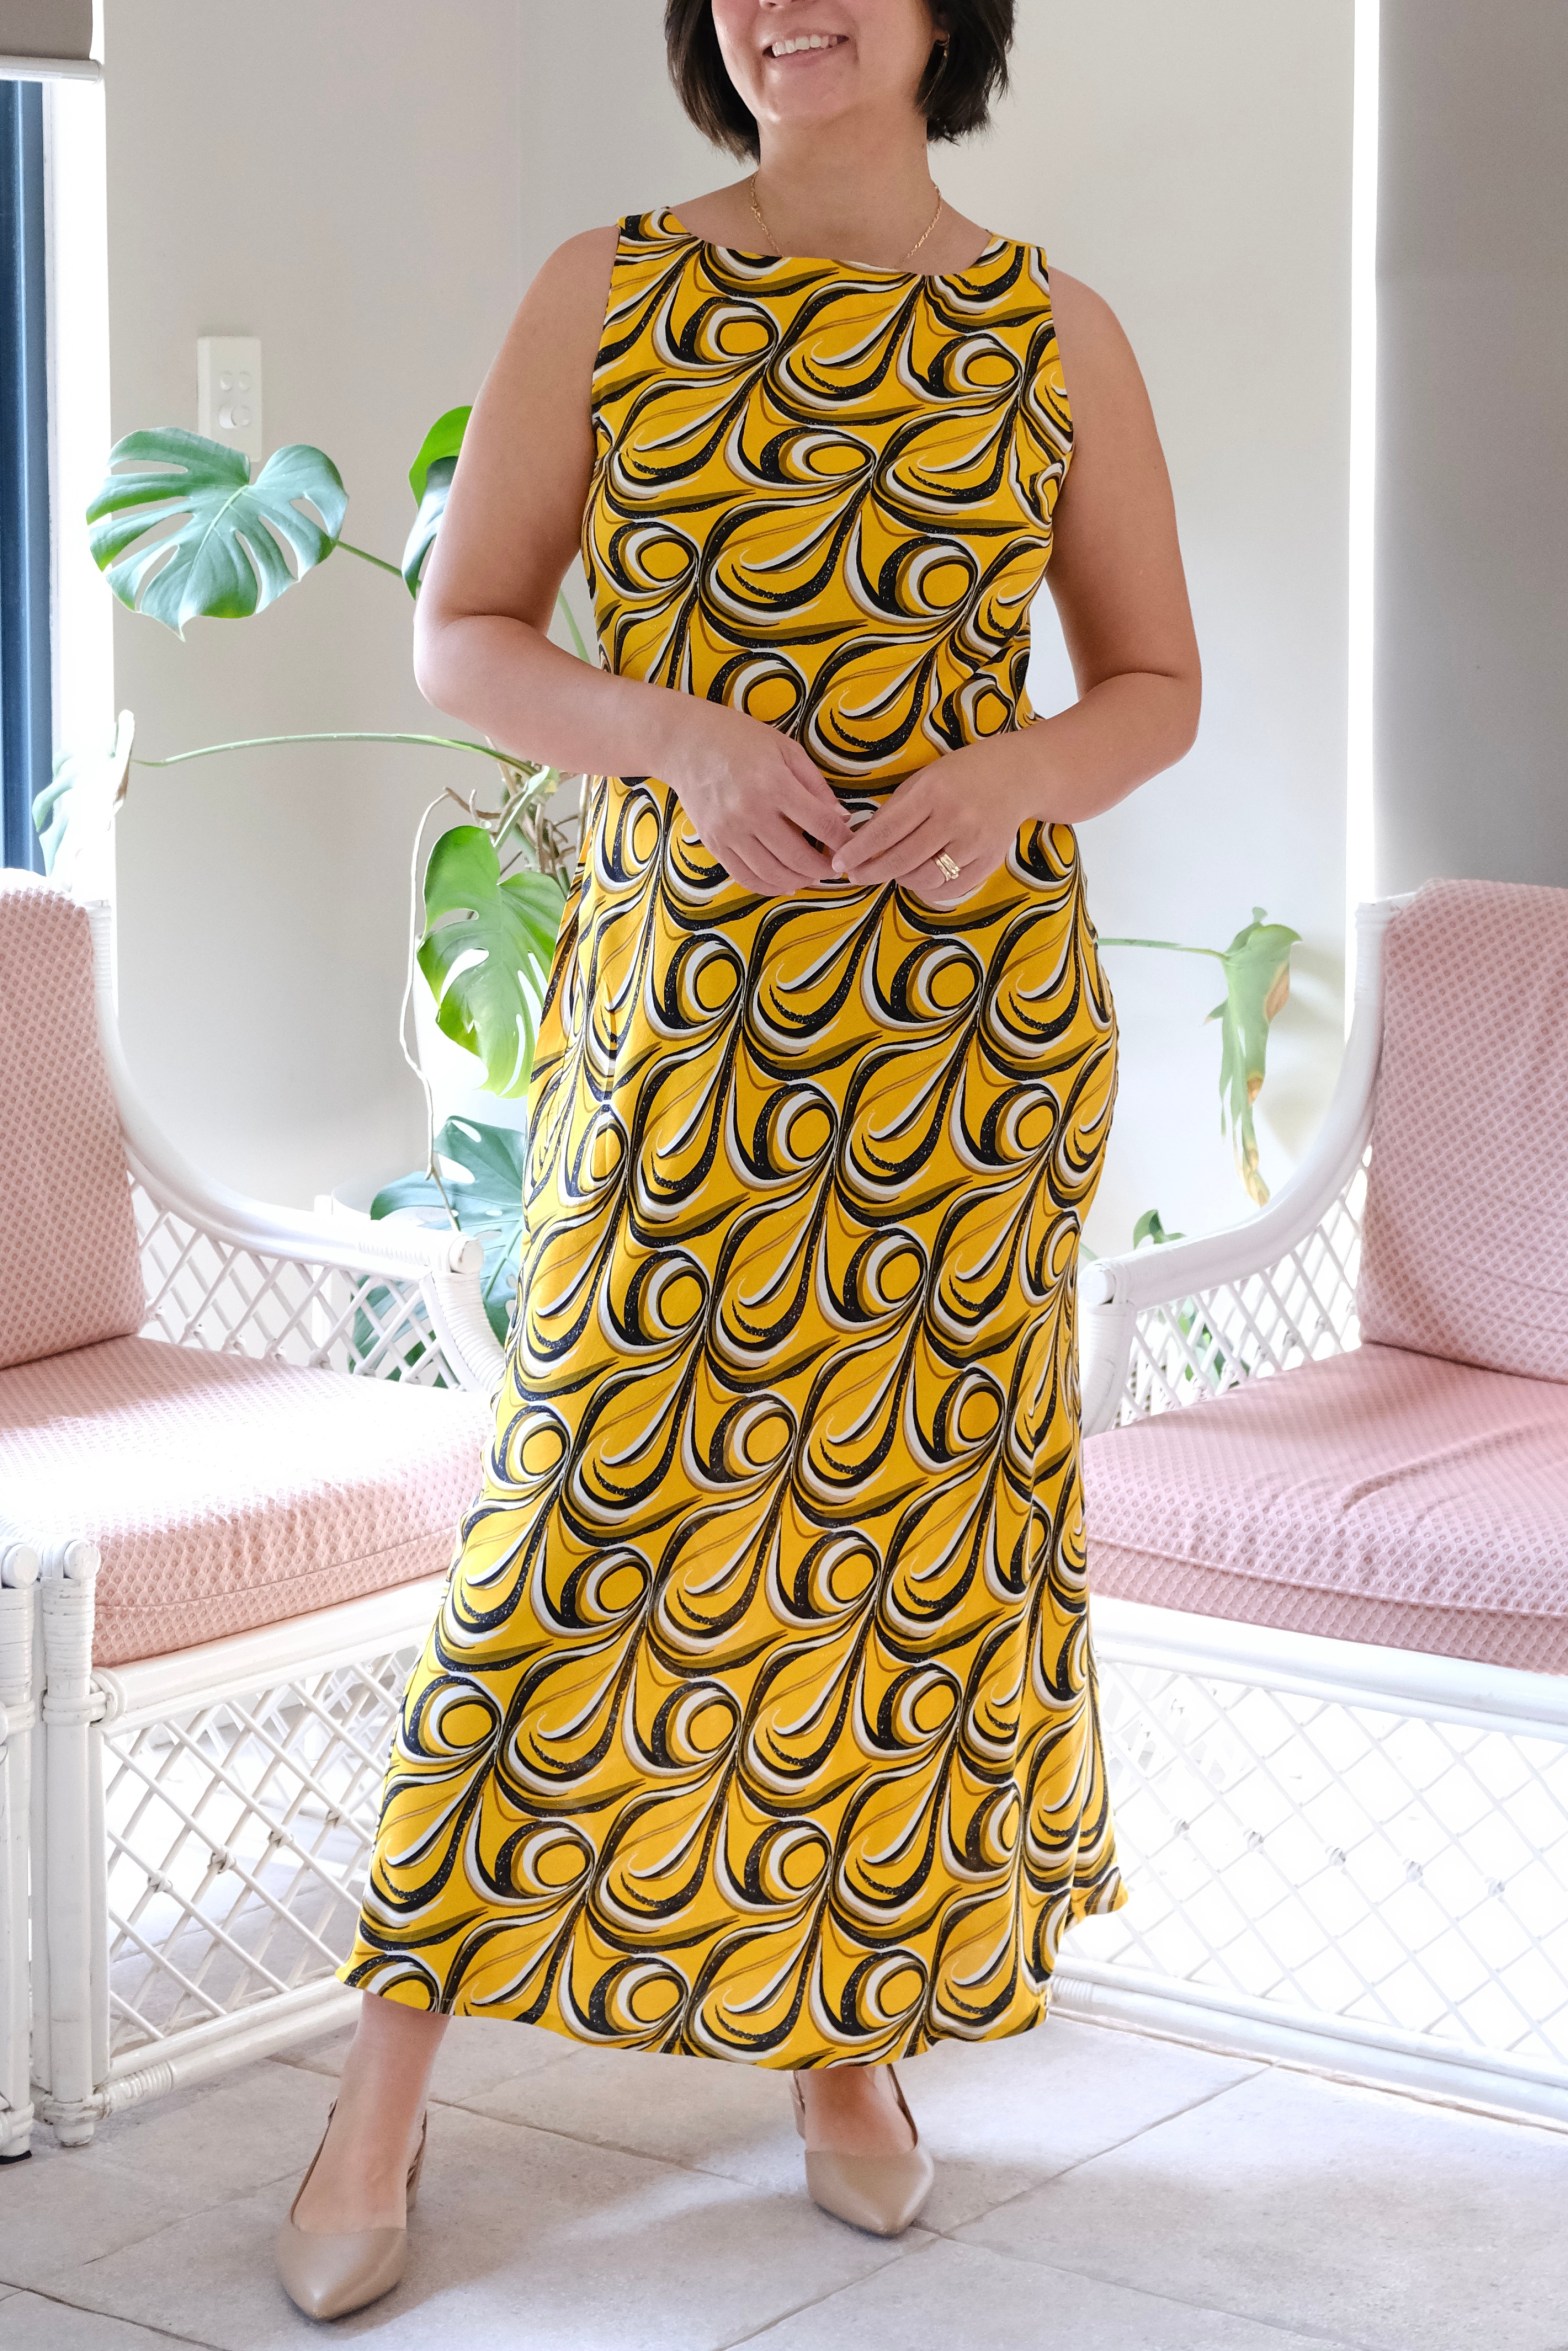
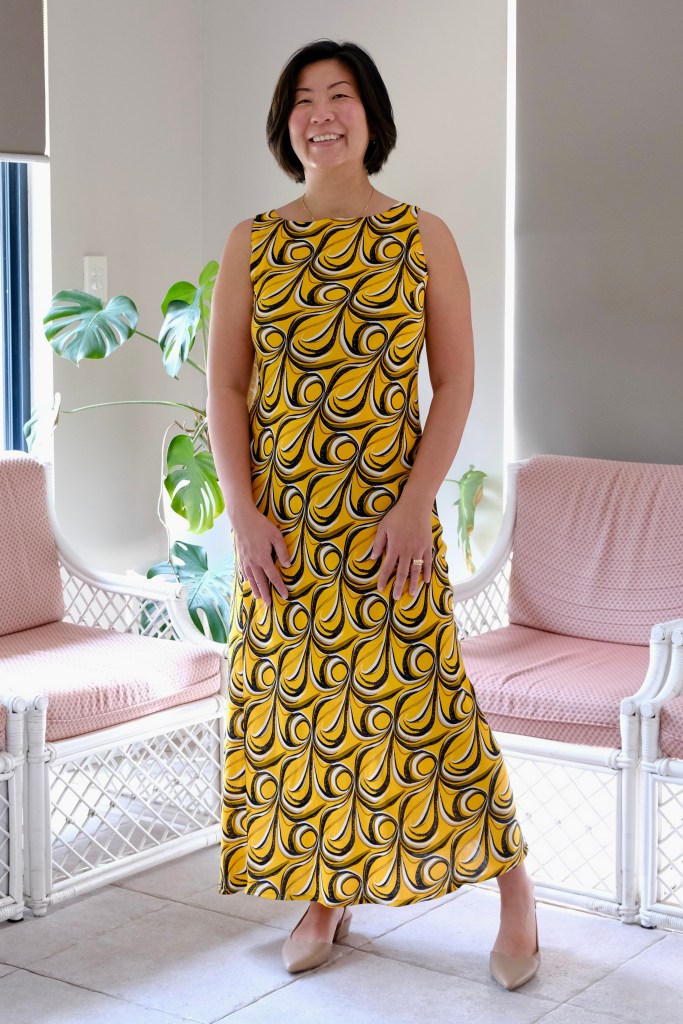
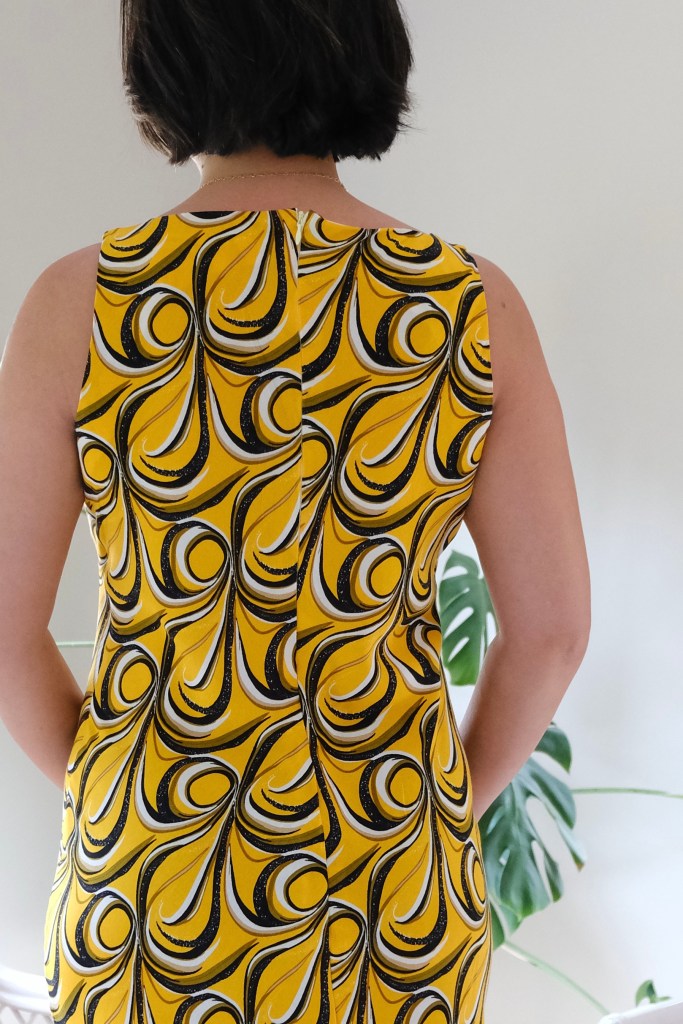
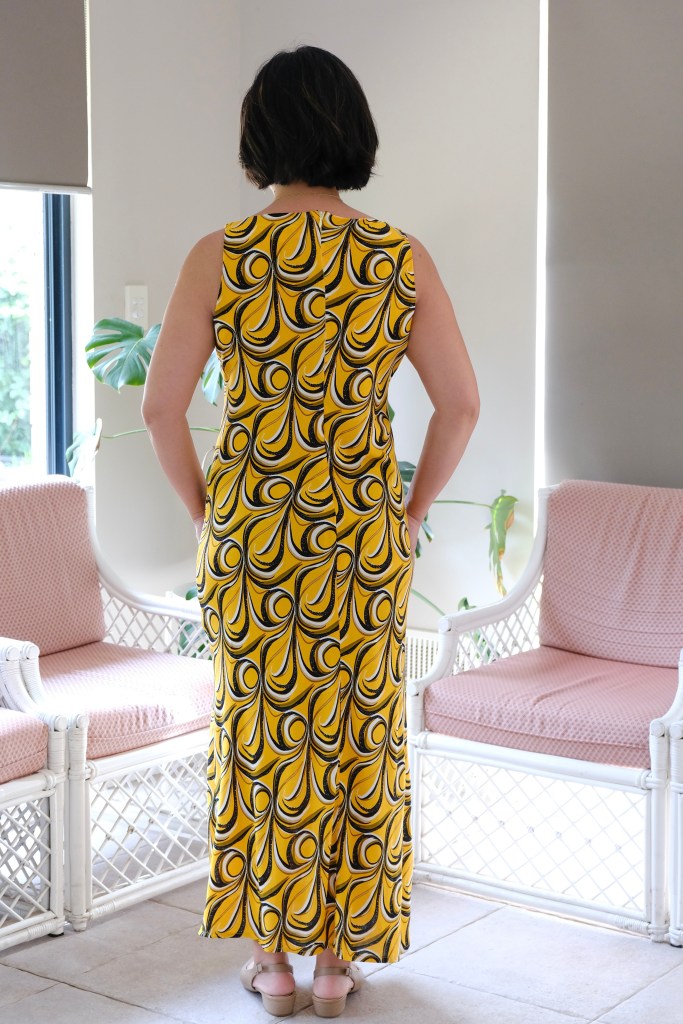
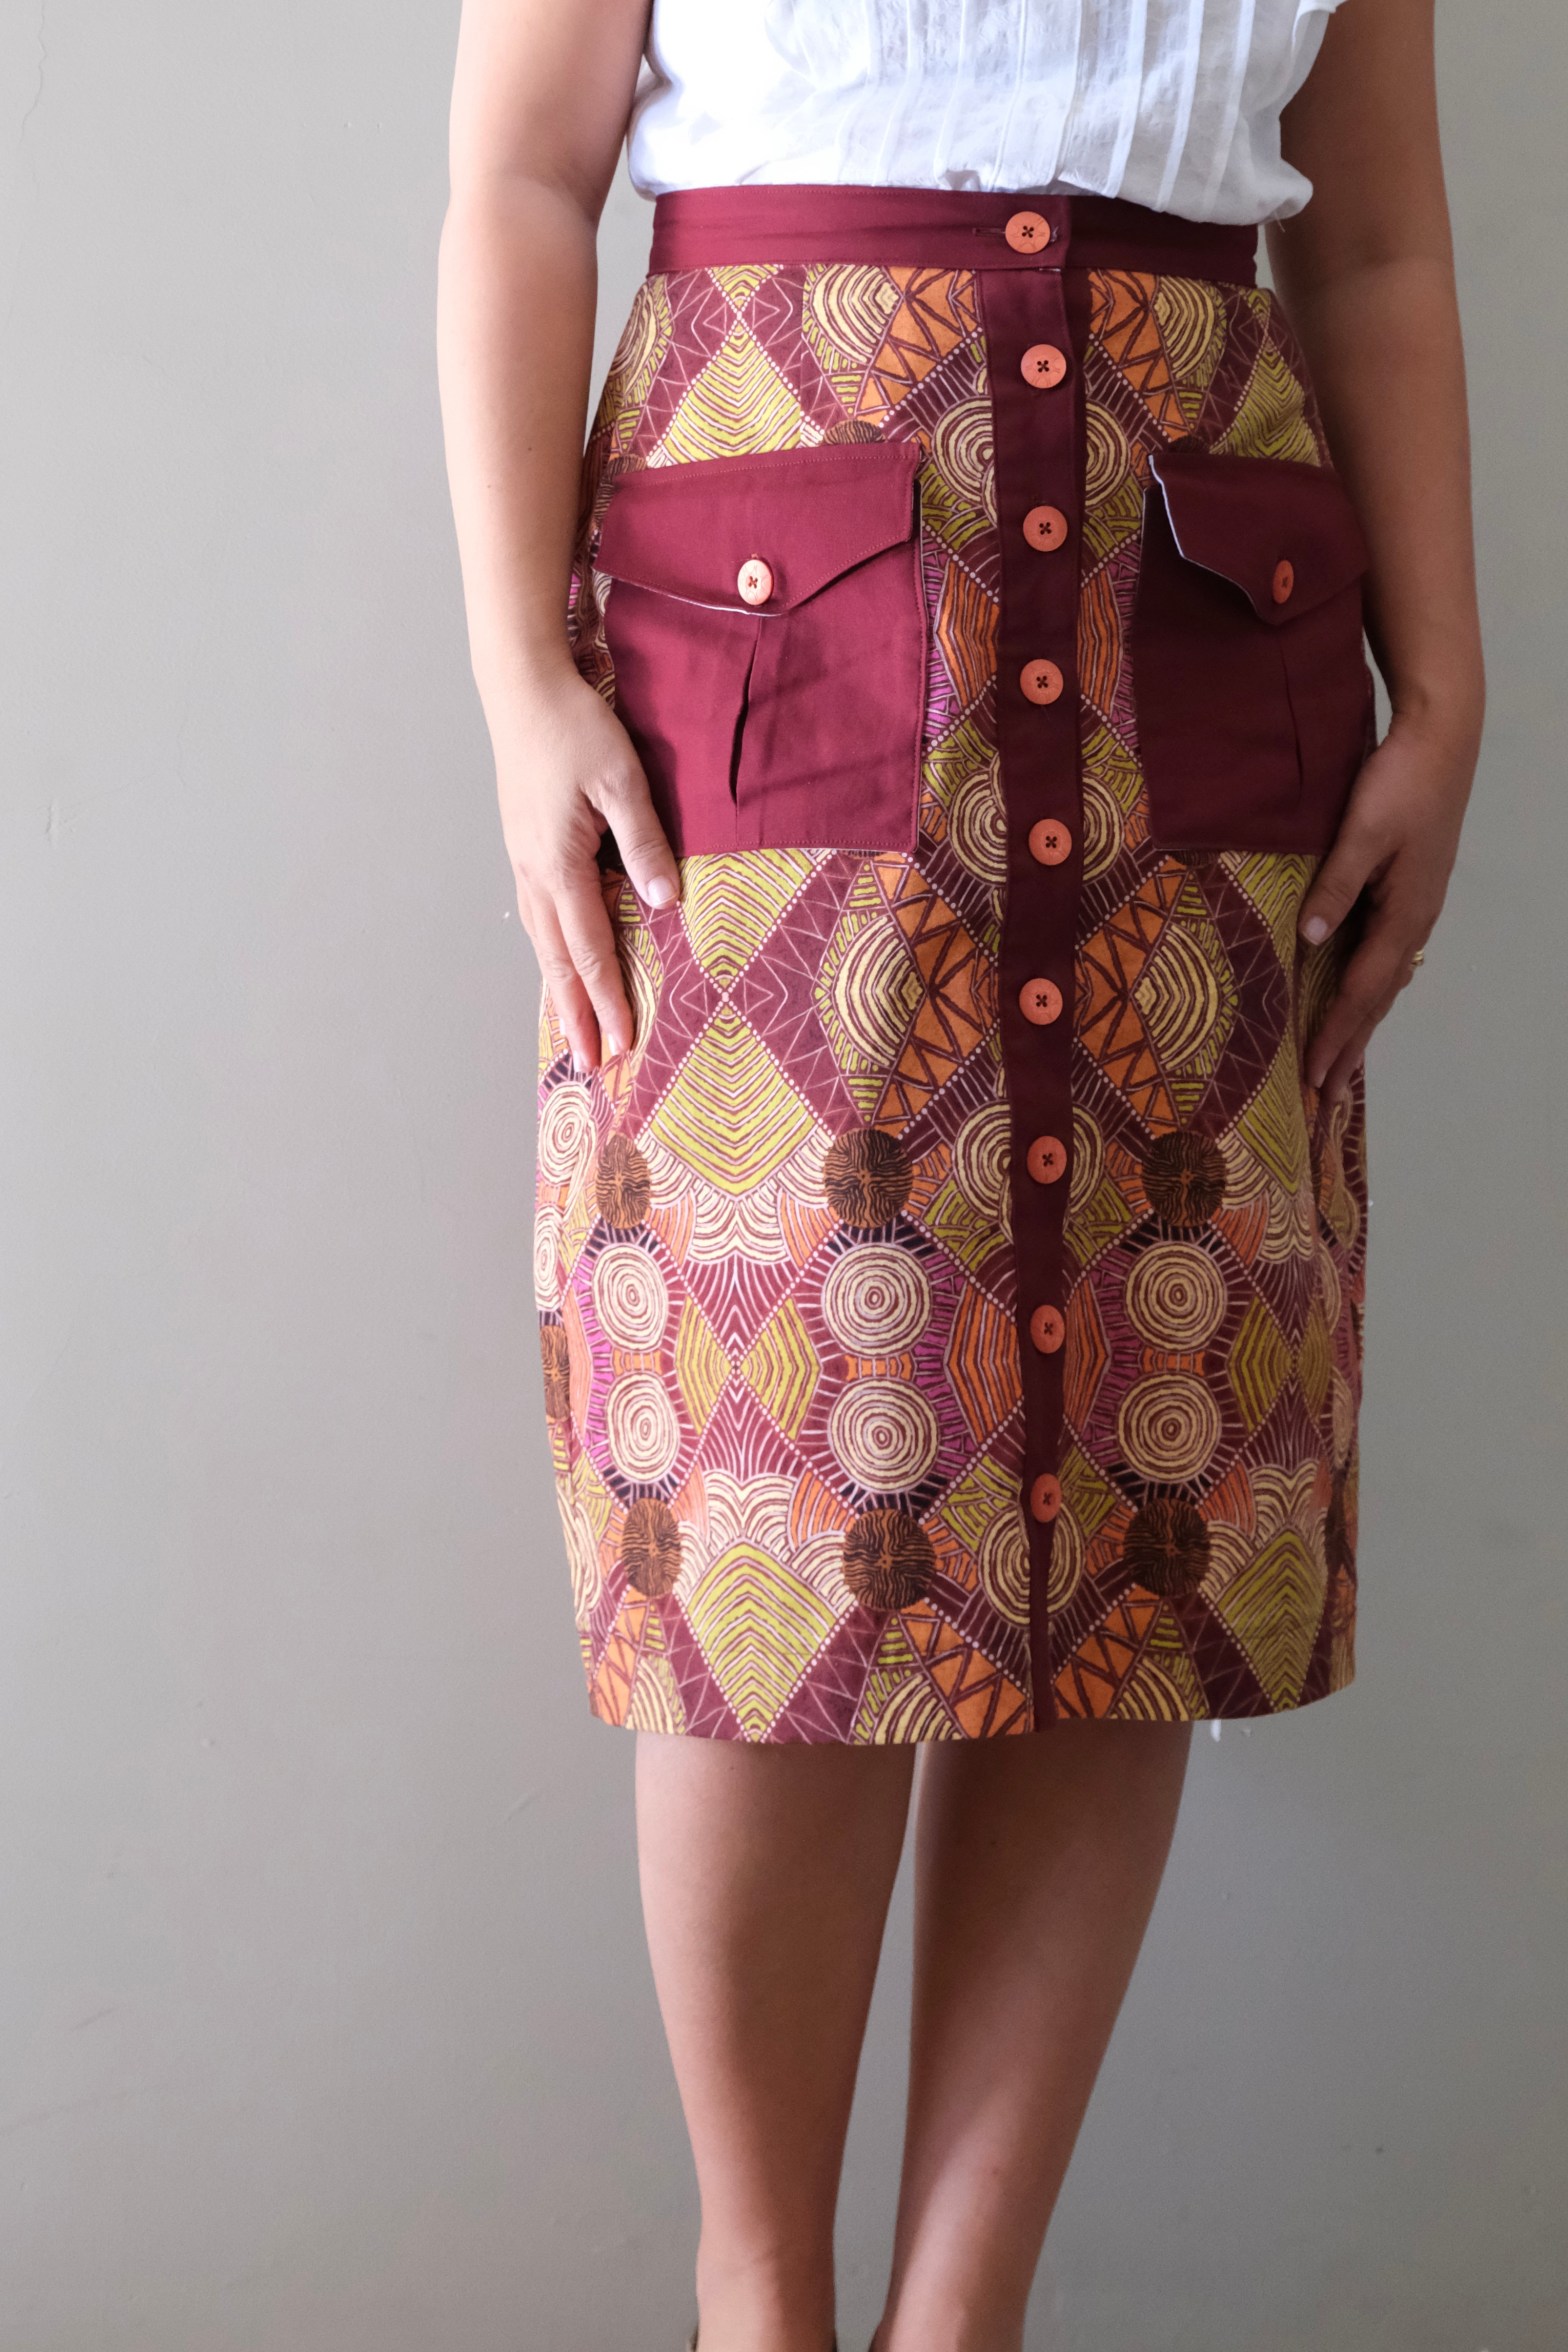
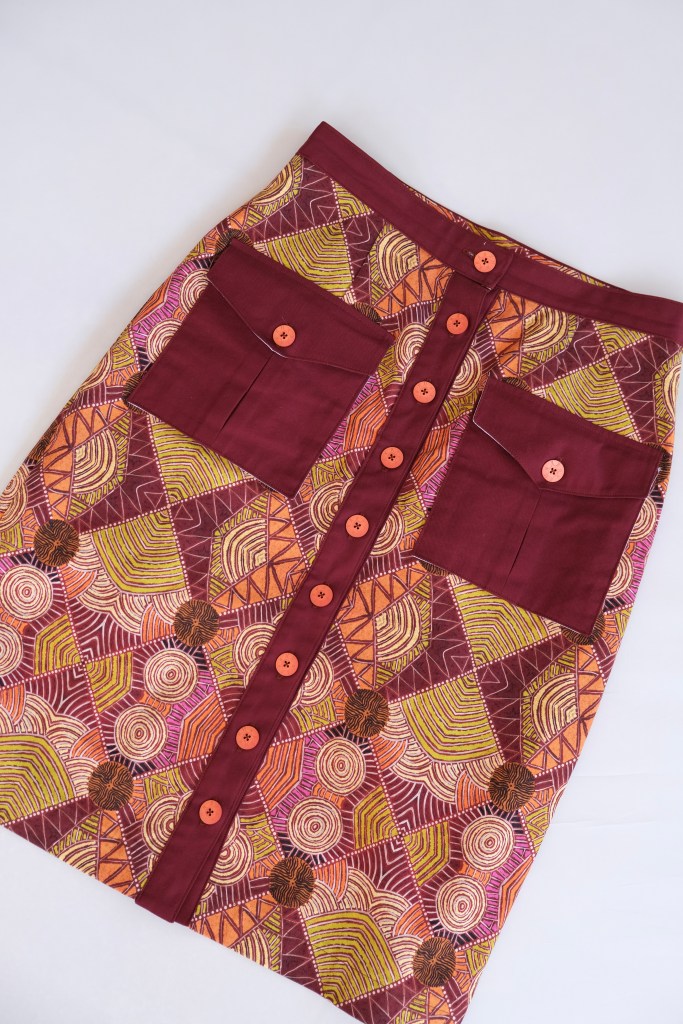
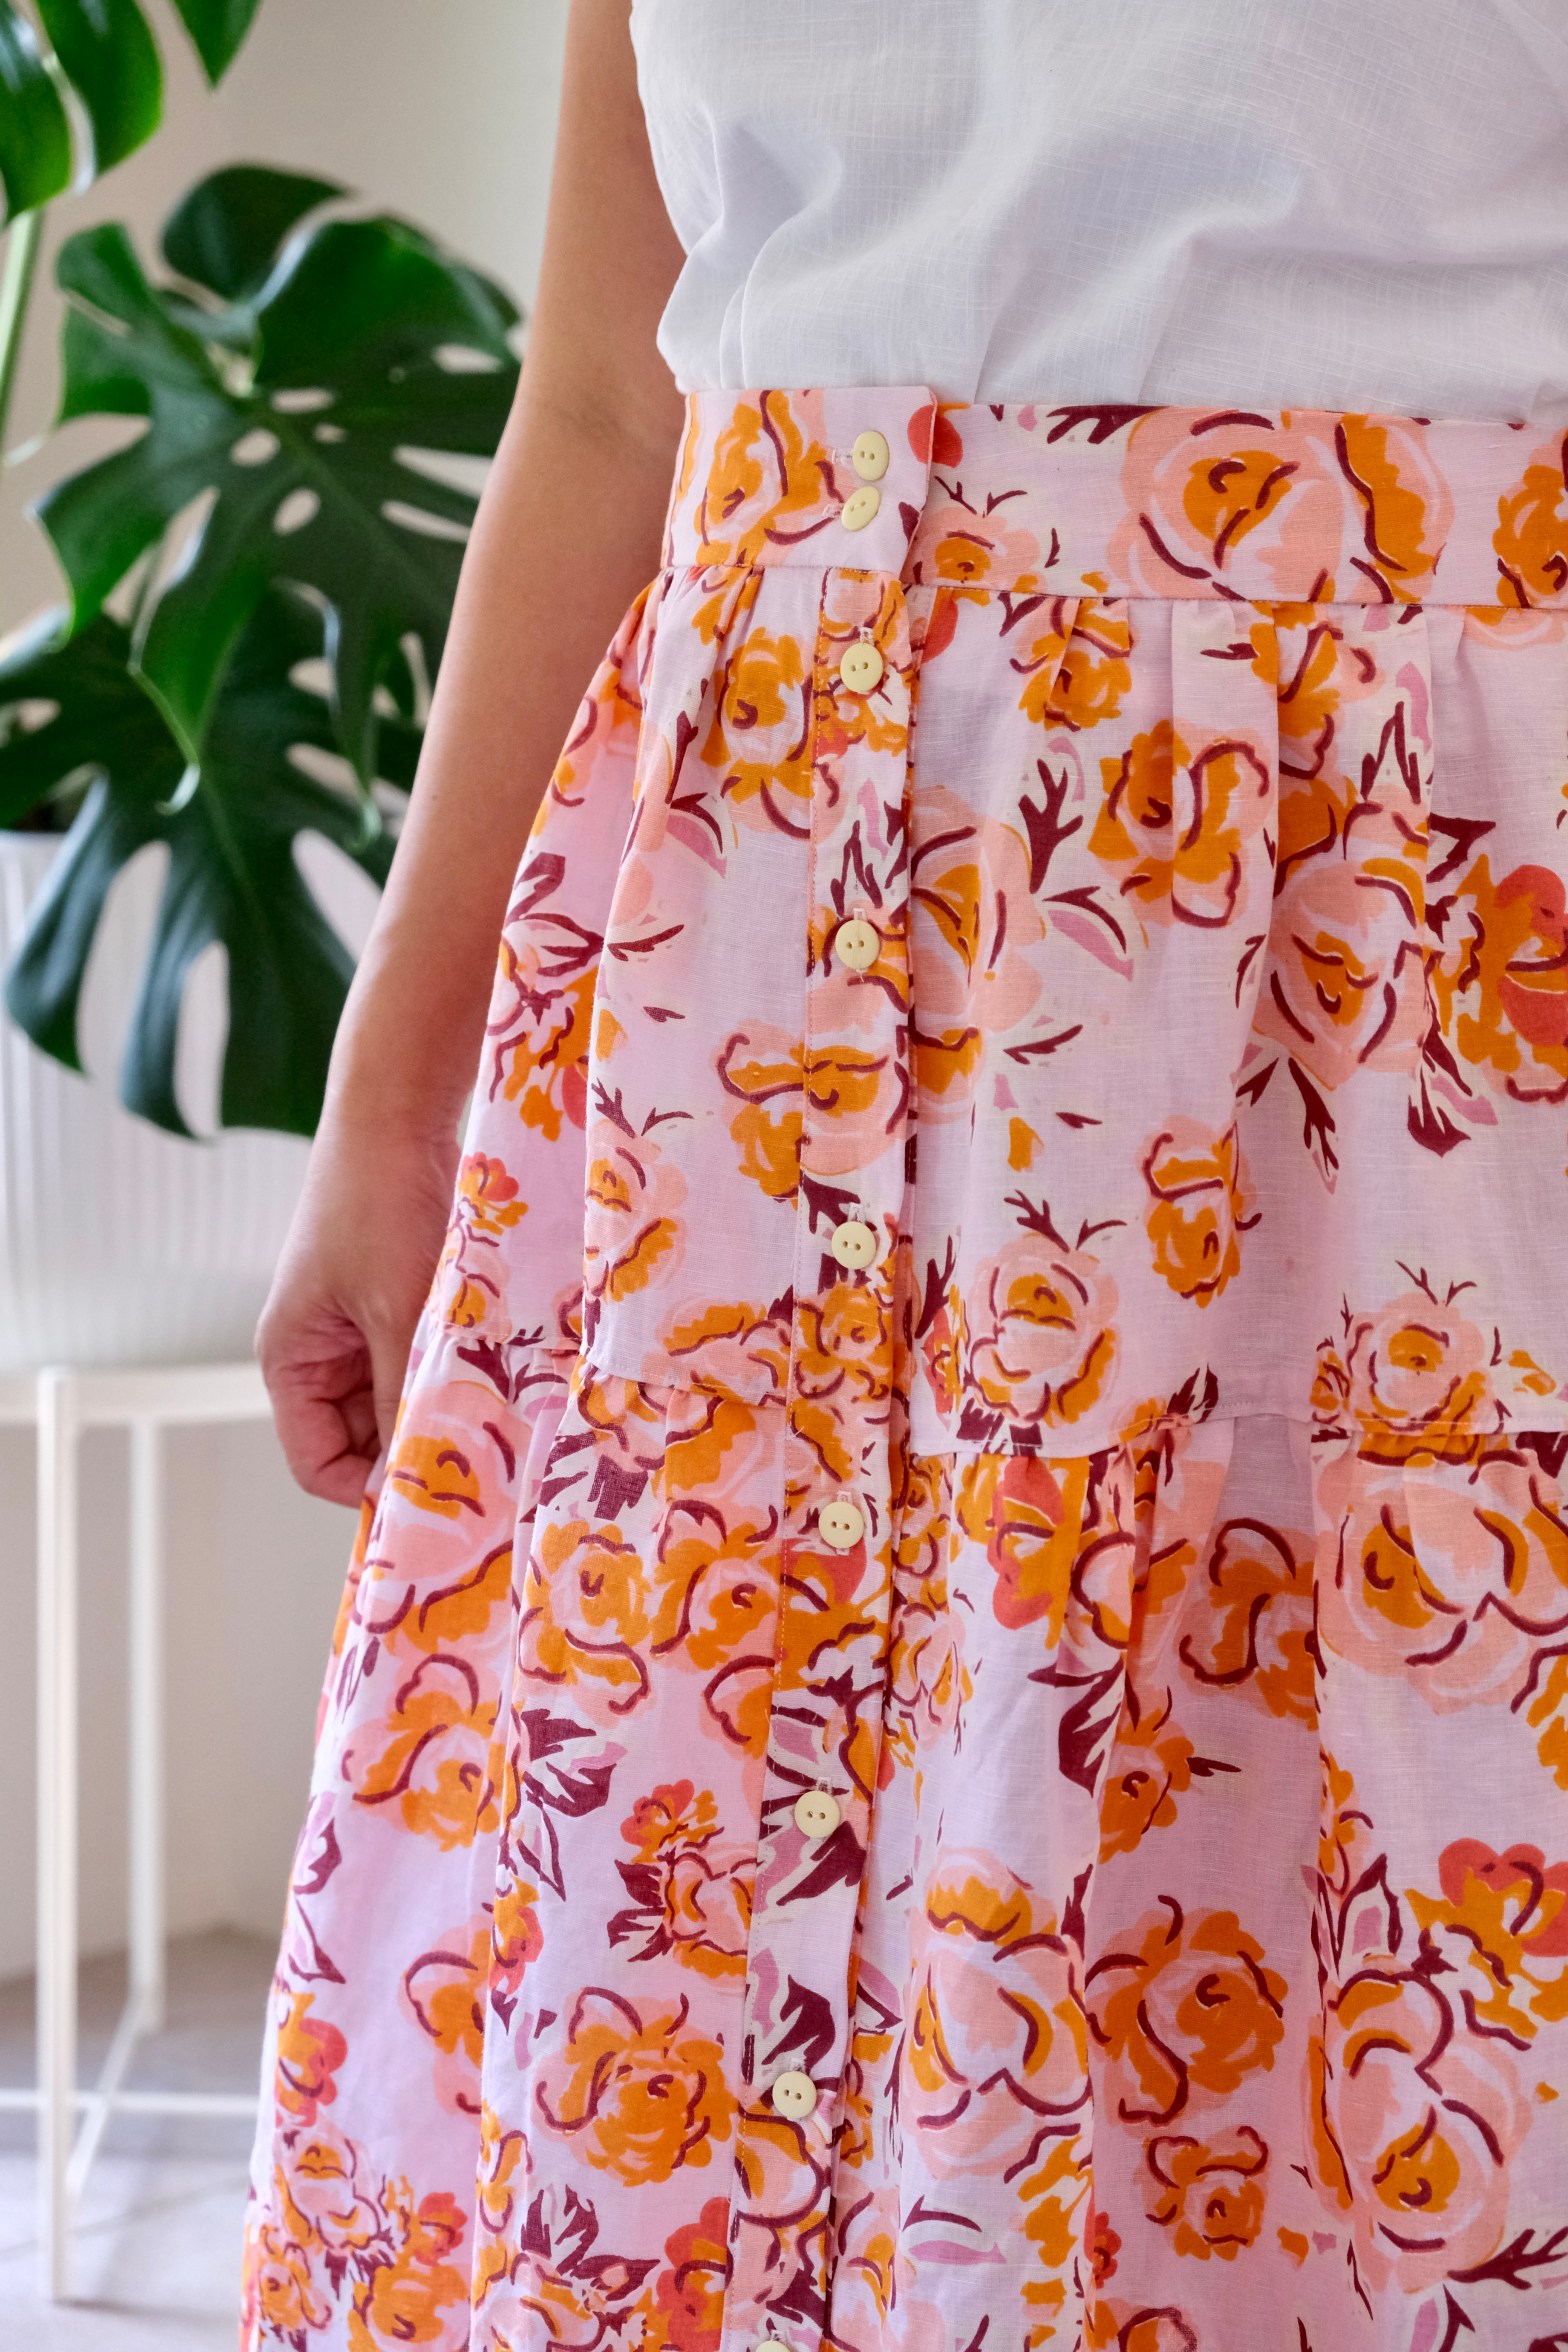
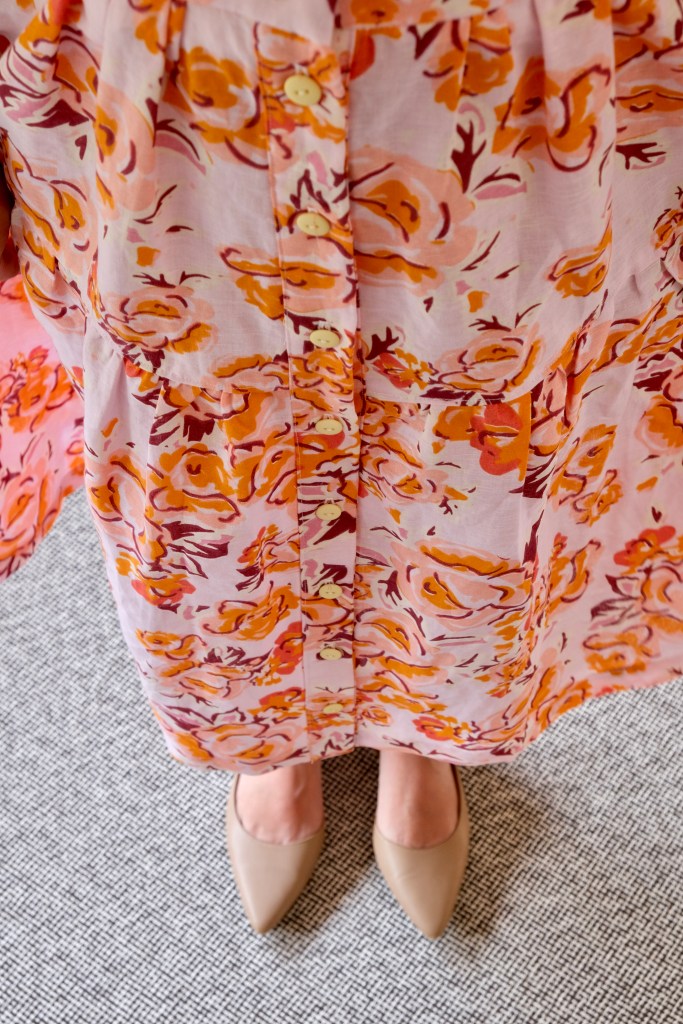
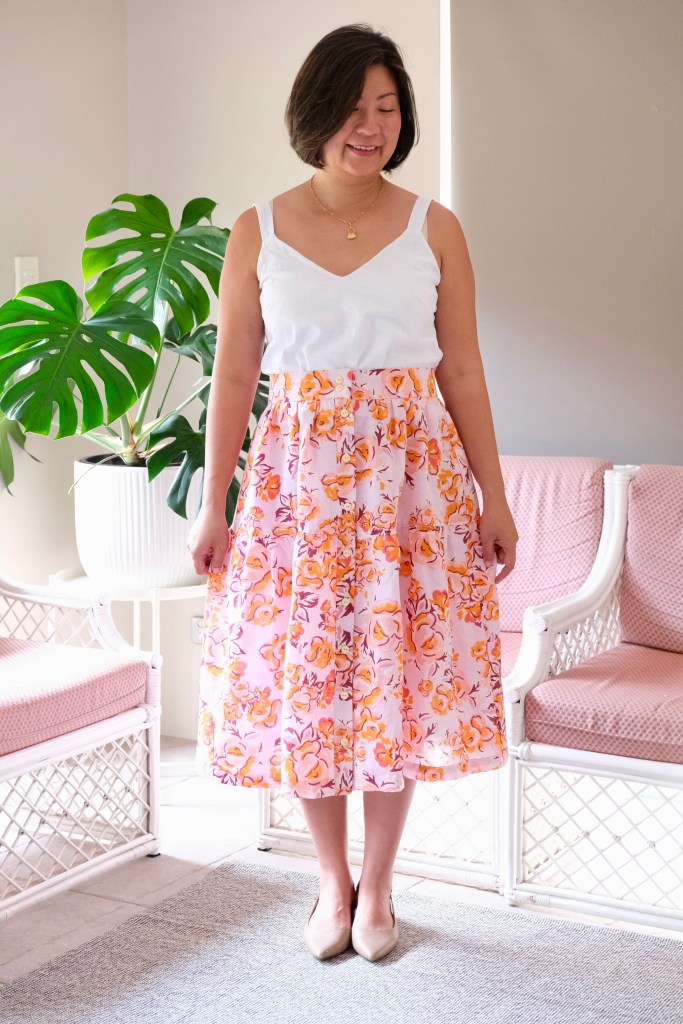
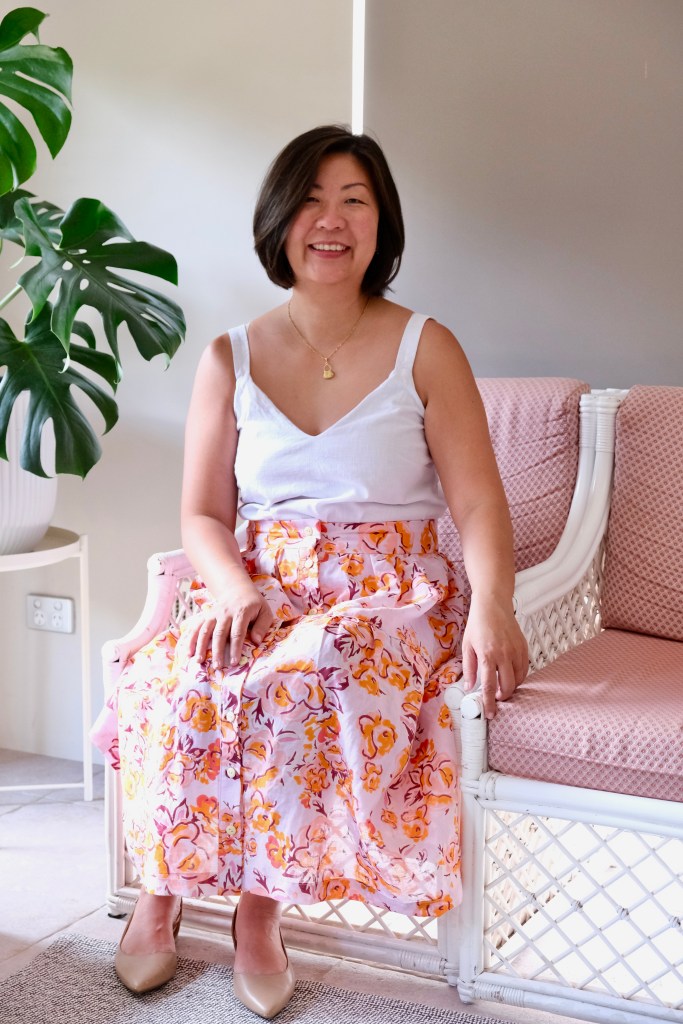
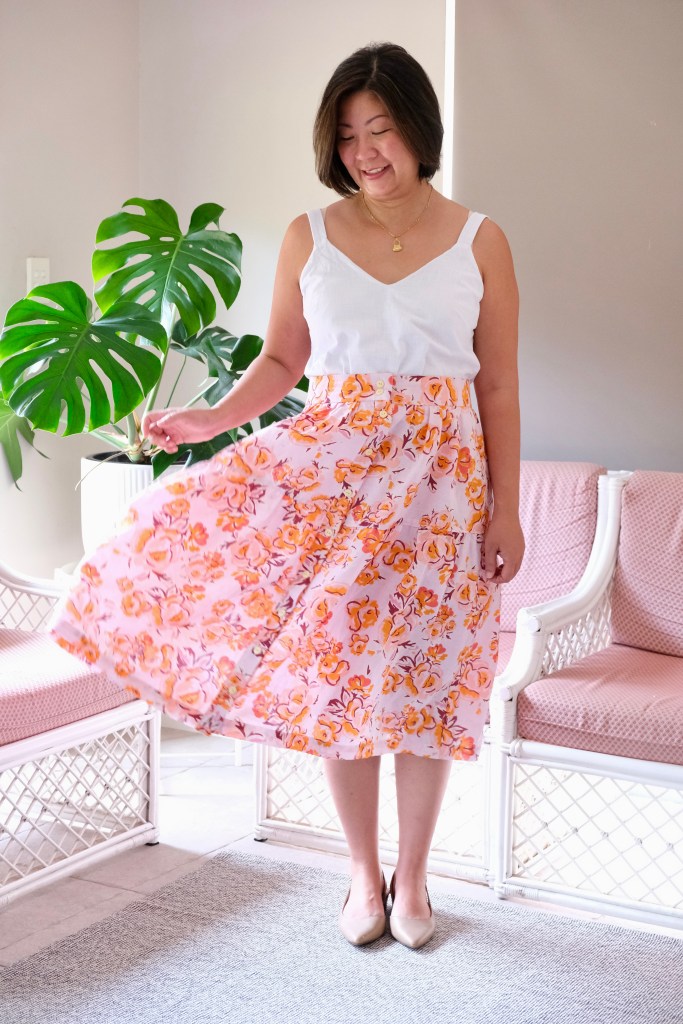
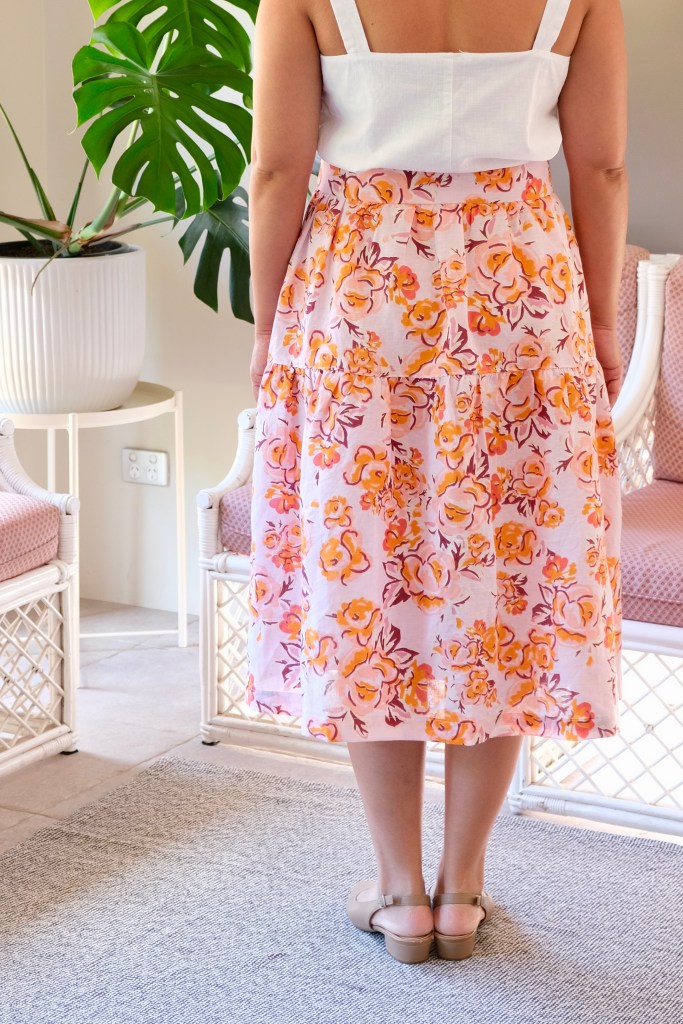
The Nadine skirt is the inaugural pattern released by The Maker Haus. Laural is the talented designer, and she says on her Instagram profile that she is sewing a Doen inspired wardrobe. I had to google Doen and I found out that it’s a Los Angeles based line of clothing that is inspired by the nostalgia of a decades past California. They feature touches of romantic, bohemian detailing like embroidery, ruffling and retro-inspired silhouettes. The Nadine skirt is a gorgeous skirt that has two variations. The first is a midi skirt which leaves off the ruffled hem and gathers. The second is a maxi that features those ruffles. I tested Version A. Both skirts feature gathered tiers, shaping around the hips and sits at the natural waist. There is also a button placket running down the centre front.

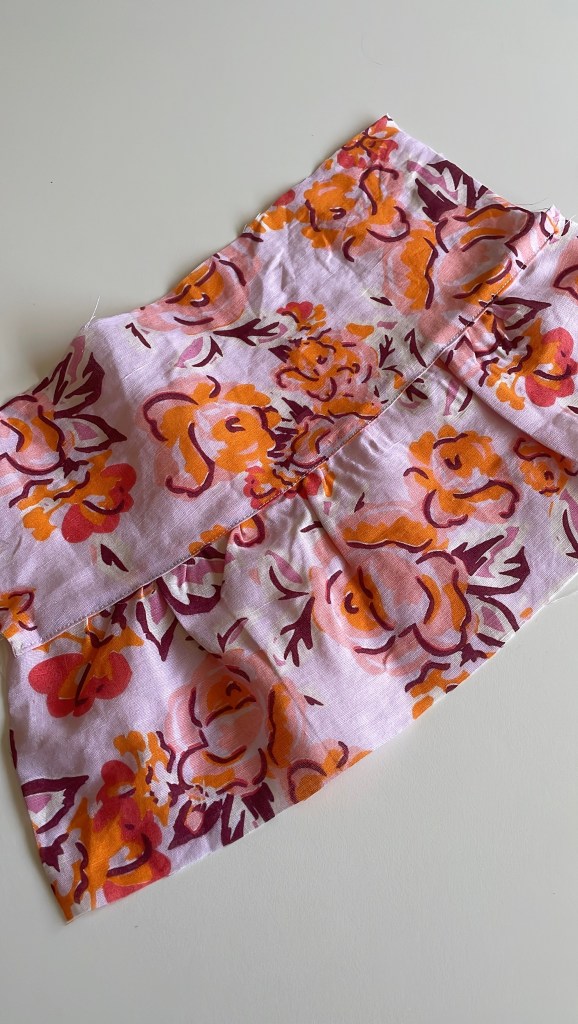
Laural was awesome to test for. She took her time modifying and correcting any fit issues and was quick to respond to feedback. She has worked hard and produced an outstanding pattern with detailed instructions and diagrams. I got a lot out of testing this pattern. The most exciting feature for me was learning about receiving tucks. Of course, like everyone, I usually buy patterns that I like the look of, but I always try to find something I can learn and progress my sewing with. 

My trial for the receiving tuck.

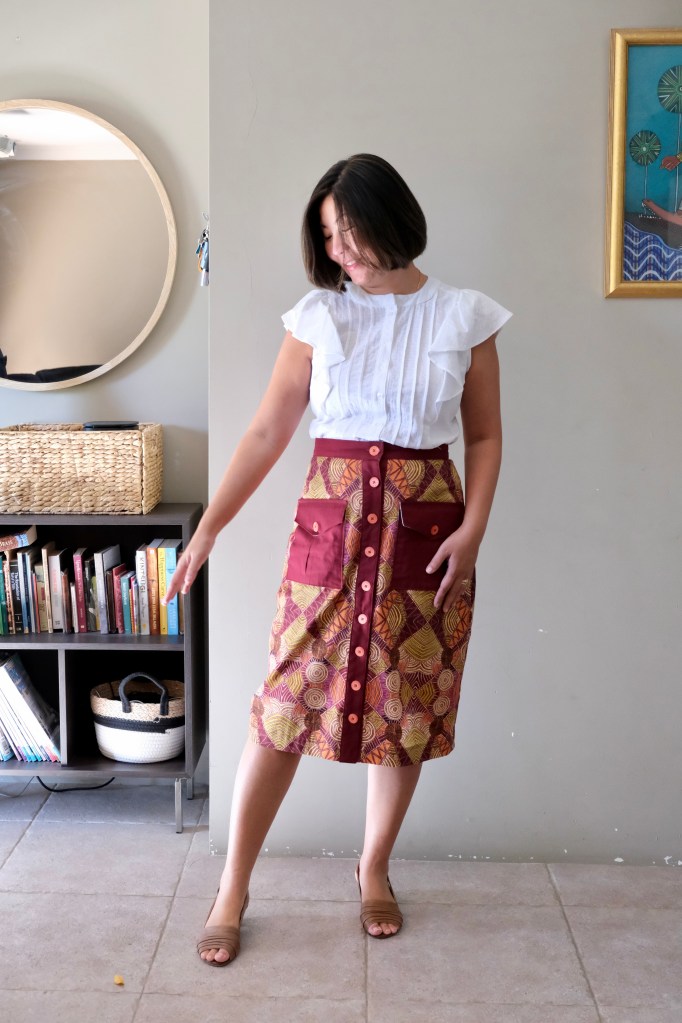
My skirt sizing is the size 14 waistband for my waist measurement of 33 inches because my sizing falls between the size 12 and size 14. I used the size 12 skirt pieces for my hip measurements of 40 inches. I made a toile to adjust the sizing. I could have graded between the two sizes and because it’s a fitted waistband, it is better to toile. I like the curved waistband but if you want a straight waistband, Laural has included instructions for adjustments to do this.

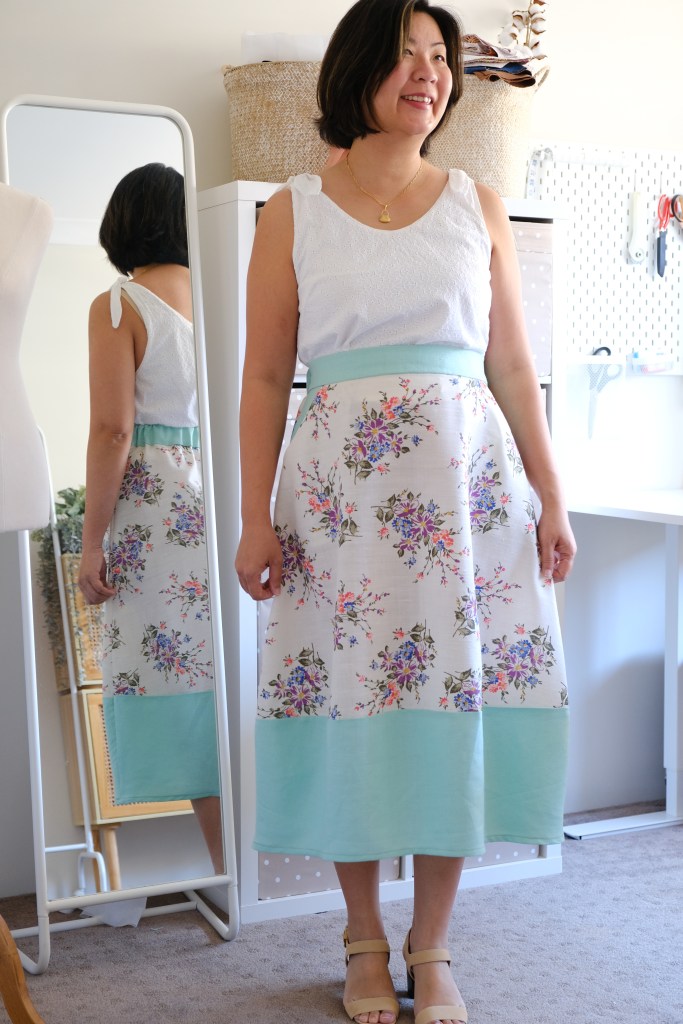
The Nadine skirt is drafted for woven fabric. It’s great for lightweight to medium fabric. I found a beautifully printed linen. I wanted to make my skirt summer appropriate, so I shortened the top tier by two inches and the bottom tier by one inch. Again, these adjustments were made on my toile when I was making the tester version so nothing to do with the fit of the pattern. In fact, when reading any post on tester versions, it’s important to note that the designer will share the final pattern with the Testers before launch but there might not be time to sew up the final version yet which is the case here.

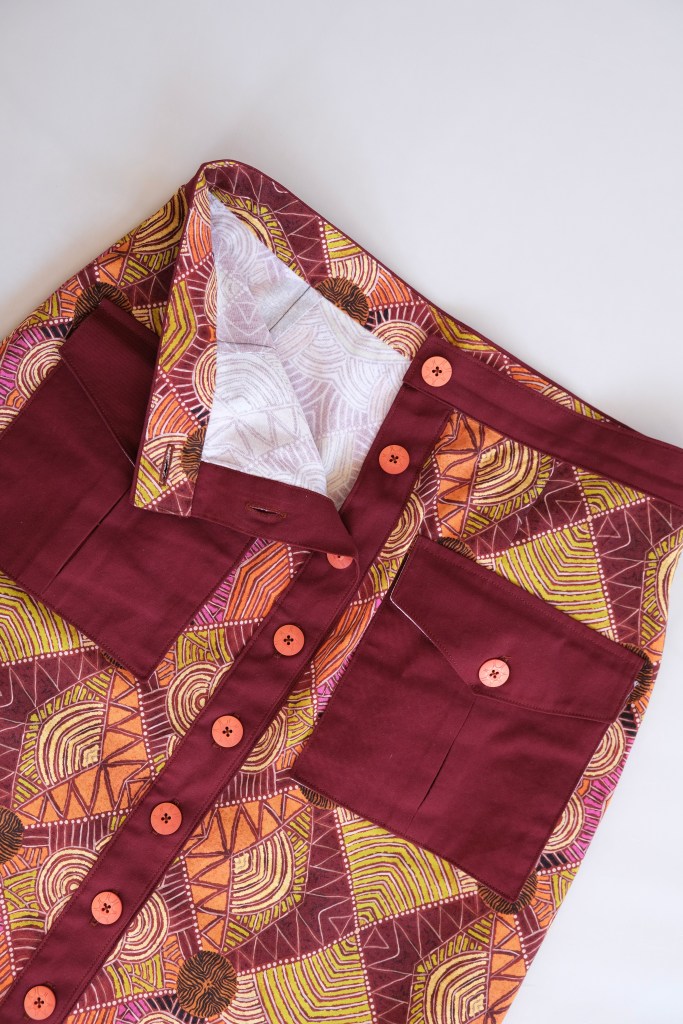
I’m keen to return to the pattern and am currently keeping my eye out for the right fabric. I want to try Version B with the cute ruffles! This pattern is feature packed. I love learning how to do a receiving tuck which is such a neat way to finish the gathered tiers. In fact, the whole skirt now has instructions for French seams so it’s neat inside and out. It’ll be great for very lightweight fabric.

Congratulations to The Maker Haus for the launch and creation of a beautiful pattern! 

Thanks for reading and happy sewing!

X Em

Faux Collar Shirt

Sara Kim from Sewing Therapy Patterns has released another fantastic pattern! It’s the Faux Collar Oversized Button-Down Shirt or Dress. I was one of the testers for the pattern and chose to test the Crop Shirt version. There’s always a big rush to get on her testing team so I was grateful to be chosen. 

This pattern features the faux collar which attaches only to the front of the shirt. It is comfortably oversized without sacrificing style. The cropped version stops at the natural waist which is perfect for pairing with my high waisted skirts or pants. It is also a button down with an inverted pleat at the back which gives a slight flared shape. This pattern is feature packed and this is only one of the versions! 

As with any pattern test, there are some adjustments made along the way. I enjoyed the pattern as it was, so I made the test version twice. I made the size 12 without any modifications for my measurements of 38-inch bust, 33-inch waist and 40-inch hips.  

My first version was made using this colourful cotton batiste fabric which was beautifully sheer and lightweight.

Everything went smoothly with the test and the pattern instructions were great. Sara always includes videos at some stage during the test. These are usually abridged versions, but we watch and help test those as well. I had finished my test in time and was happy to send off my fit and styled photos. So, it was a shock to me to receive a message from Sara asking me if I might have accidentally sewn my sleeves upside down! I immediately ran off to check my photos and sure enough, they are flared so I had in fact attached them upside down. Sara was very gracious, and we both had a giggle. She immediately went to include markings on the sleeve pattern to help the 1% of sewers like me. This is why she is so good to test for!

I decided to sew the pattern again with the sleeves as intended by the pattern. This time I used a plain sage coloured linen-lyocell fabric. It’s slightly heavier than the batiste I used but drapier. Lyocell is beautifully soft, lightweight, absorbent and a bit more wrinkle resistant that pure linen. My choice was mainly influenced by the fluid drape of this fabric. Again, I made the Crop Faux Collar Shirt in the size 12 without any modifications, this time attaching the sleeves correctly! In fact, the sleeves can be interchanged with other Sewing Therapy patterns like the Tie Dress or the Infit Pattern.

It feels great to be testing again. I really enjoyed the process and was so excited to share the fantastic new pattern from Sewing Therapy.

Thanks for reading and happy sewing!

X Em

Ella Dress

Pattern Scout has done it again! This is the newly released pattern from Pattern Scout, and it hits the mark of a timeless classic. The Ella is a sleeveless shift dress which can be sewn on the bias, so it just skims the curves. It’s a classic with the boatneck midi dress. If you’re looking for a pattern with some skill building features, there are instructions for French seams, sewing on the bias and installing the invisible zip.

I was lucky enough to get onto the testing team. I really like testing for Casey and have sewn many of her patterns. The instructions are always comprehensive and easy to follow. The illustrations are great, and she also has a YouTube Channel which is another great reference. I’m sure she will be providing some great sew along videos for the Ella Dress. I also like the sizing especially the inclusion of cup sizes.

This pattern is drafted for woven fabric. It would suit anything light to medium weight with fluid drape. I used a rayon from East Coast Textiles. I had discovered East Coast Textiles through some sewing friends and really love their rayon. Luckily, a new batch had arrived when I was doing this pattern test. I had three meters available which was perfect for the pattern to be cut on the bias. The pattern can also be sewn straight grain which can be a fabric saver.

My measurements of 35HB:37FB: 33W:40H fits the size 12, B-cup. The pattern is drafted for an average height 5’9” (175cm). I’m slightly shorter but decided not to shorten the length with this make because I was testing the piece. There are always good instructions about fit and how to modify the pattern included with Pattern Scout Patterns. Without shortening the length, the dress does look more maxi than midi on me. I have decided to leave it as a maxi because I would wear it more.

The dress is neatly finished off with French seams and the neckline and armholes have facings. I feel like this is a great pattern for practicing some of those advanced sewing skills. I also liked the instructions for installing the invisible zip. I still haven’t bought myself an invisible zipper foot, but I think I’m used to it now. I use a normal zipper foot, but I make sure that I iron open the zip tape to sew as close as possible to the zipper teeth.

It’s nice to have a wardrobe staple like the Ella Dress. I feel that this silhouette is a classic and doesn’t date. It’s something I will return to sew again and again. I can’t wait to wear this in summer. Maybe I’ll make one that will be suitable for winter layering and add lining. 

Thanks for reading and happy sewing!

X Em

Lotus Jar Skirt

This was a special pattern test as this is the inaugural pattern release from Linen Lab which is a family-owned fabric company based Korea. Another thing that makes this special is that they have based it on traditional Korean Hanbok. Just reading the history and background of the design was so interesting.

The Lotus Jar Skirt has a unique shape where the skirt billows out then taper back at the bottom of the skirt. The shape and how it’s held is determined by the type of fabric you use. Of course, the more structured fabrics show the shape more obviously. I’ve used two contrasting linen fabric with medium weight and drape. I’m thrilled that it’s holding that beautiful shape of the lotus jar which is so elegant. The skirt has a half elasticated waistband which is so easy to fit and wear. 

The instructions are accompanied by photographs so it’s probably going to limit the use to those who work off a computer. I think you could print the instructions, but it might not be as clear. Generally, if you have some basic knowledge in sewing, it’s not hard to follow. It’s an enjoyable sew to bring together and doesn’t take too long either. 

Sizing was pretty spot on for me. My waist being 33 inches and hips measuring 40 inches, I made the size 12 without any modifications. My height is 167cm and the skirt is a midi length as intended by the pattern. Conveniently, the skirt has been drafted with shortening and lengthening lines. My second favourite feature apart from the fabulous shape of the skirt are the big pockets!

I loved testing for Jo-Anna @sewingwithlinen who the designer of the skirt is. It was easy to give feedback and any questions were quickly answered. It’s a fun pattern to sew with potential for it to look different according to the fabric that you choose. There’s even the potential to hack it into an A-Line skirt! I think that Linen Lab might be making this a free pattern for their customers!

Thanks for reading and happy sewing!

X Em

Blair Skirt

Another pattern test under my belt! This time it’s for True Bias and the pattern is the Blair Skirt which is a woven skirt that’s fitted through the waist and hips. It’s also got these cool pockets with inverted pleats. It is fastened by buttons down the centre front and there is an option to make your own belt. I’ve chosen to sew the midi length version but also comes in mini and maxi lengths. 

When I had my first look at the pattern illustration, I pictured a khaki-coloured skirt to match the utilitarian feel of the pockets and belt. However, I found a cotton drill in a beautiful design called, “Warlukurlangu Snake Vine Dreaming”, in earthy red, yellow, and ochre tones. This fabric is a design by Ingrid Napangardi Williams who is from the Northern Territory and who began painting with the Warlukurlangu Artists Aboriginal Corporation, an Aboriginal owned and governed art centre located in Yuendumu, in 1999. I was so drawn to the dynamic forms and the beautiful display of colours. The cotton drill was the perfect medium weight woven being a heavier twill weave for the skirt but still lightweight enough to be worn comfortably.

So, this change in direction with my fabric meant that I had to think carefully about pattern placement. It was important to match the two front panels. The amount of fabric required does increase with pattern matching so I ended up with 2.5 meters of the main fabric. The pattern is quite dynamic and distinct so I decided that stacking the same fabric for pockets, button placket and waistband would make everything “too busy” for the eyes, so I’ve paired the fabric with a plain wine-coloured drill. I used a bit under half a meter of this to make a border with the waistband and button placket, and of course, the pair of matching pockets with those cool inverted pleats.

There were some minor tweaks of the sizing during testing, but I can confidently sew the size 12 again for my measurements of 33-inch waist and 40-inch hips. I would measure your waist and hips in sitting as well, this is something I’ve picked up from working with Cashmerette patterns and I use it when I know that a pattern is close fitting like the Blair Skirt. There is about 1” ease in the pattern.

True Bias instructions are always comprehensive with glossary, printing instructions, fabric layouts, and illustrations to match the steps in the construction. I especially enjoyed installing the button placket. Amazingly, I found the perfect buttons for the skirt. The semi circles remind me of the Aboriginal symbol for a person and the circle of these are symbolic of a campfire. It was a random find but so perfect for the fabric! Love comes in many forms with the skirt from finding the perfect fabric to the design of the skirt. It’s been fun to stretch my sewing skills by participating in another pattern test. Hopefully there will be more to come in the future.

Thanks for reading and happy sewing!

X Em

Holmen Top & Dress

When I looked up “Holmen”, images of a water-bound neighbourhood in Copenhagen popped up. The Holmen Top and Dress is a new release pattern from The Uncut Project. Anna and Isabel are the super talented duo behind this pattern company. They are from Copenhagen and their patterns reflect a cool Scandinavian vibe. 

I feel so lucky to be included in the testing team for the Holmen Top and Dress. The top and dress were made to have a good degree of movement and it can be worn for casual outings or out for a night. It transitions so well from day to night. Definitely a good one to pack for future holidays!

Being a self-taught sew-ist, I was mindful of my limitations, but this pattern is made for an advanced beginner which I felt, was an accurate designation. The bodice of the Holmen Top and Dress are made in a yoke style. It has a fitted yoke which a gathered tier is attached. The first tier for the dress is shorter and then fitted to another full gathered skirt tier. My favourite feature is the back of the Holmen Top and Dress. There is a low scoop which skims the curve of the spine, and the back panel is attached by a thin set of ties.

My test was for Size L. I felt the sizing was quite accurate. I did have to check with them for the back of the dress as this is such an original design. My measurements are 37-inch Bust, 33-inch Waist and 38 -inch Hips. So, my measurements fall between Size L and Size XL. I went with the Size L because the finished garment measurements were quite generous, and the fitting of the bust area was adjustable due to the straps. 

Unique Back Details

The process of testing is always interesting. I started by sewing a toile for the Holmen Top using some scraps of fabric from leftover projects and this allowed me to adjust shoulder strap length. It also allowed me time to follow the construction process and make notes where I felt instructions needed clarification. There really wasn’t any, only one small detail about which notch to sew to in the back tier, but all the instructions were clear, easy to follow and followed a logical sequence.

Once the toile was completed, I went ahead and sewed the Holmen Top. It’s a very satisfying sew. I used a thin blue cotton and lined it with white muslin. It was a challenge sewing the thin straps with my lightweight cotton as it kept shredding when I tried to turn the straps the right way around. In the end I used my own method to achieve the look. I love the look of the thin straps and I think it’s worth the effort. There is a lot of gathering especially around the curve of the back and it was a bit hard doing that amount of gathering but it was better the second time around when I sewed the Holmen Dress. Practise makes progress!

For the dress, I found a beautiful honey hued yellow textured cotton. Still lightweight but not as sheer as my blue top. I also lined the dress but only halfway with the white muslin. It’s a bit more economical doing your lining this way. I’m in love with the silhouette of the dress. It seems reminiscent of the nineteen twenties. 

Doing this pattern test has been enjoyable especially with Anna and Isabel, from The Uncut Project. It’s also so fulfilling at the creative level. It really makes me want to do more in the future. I always hesitate to apply when I see the call for testers but I’m so glad that I was offered to join the testing team otherwise I might have not been confident enough to join in!

Thanks for reading and happy sewing!

X Em