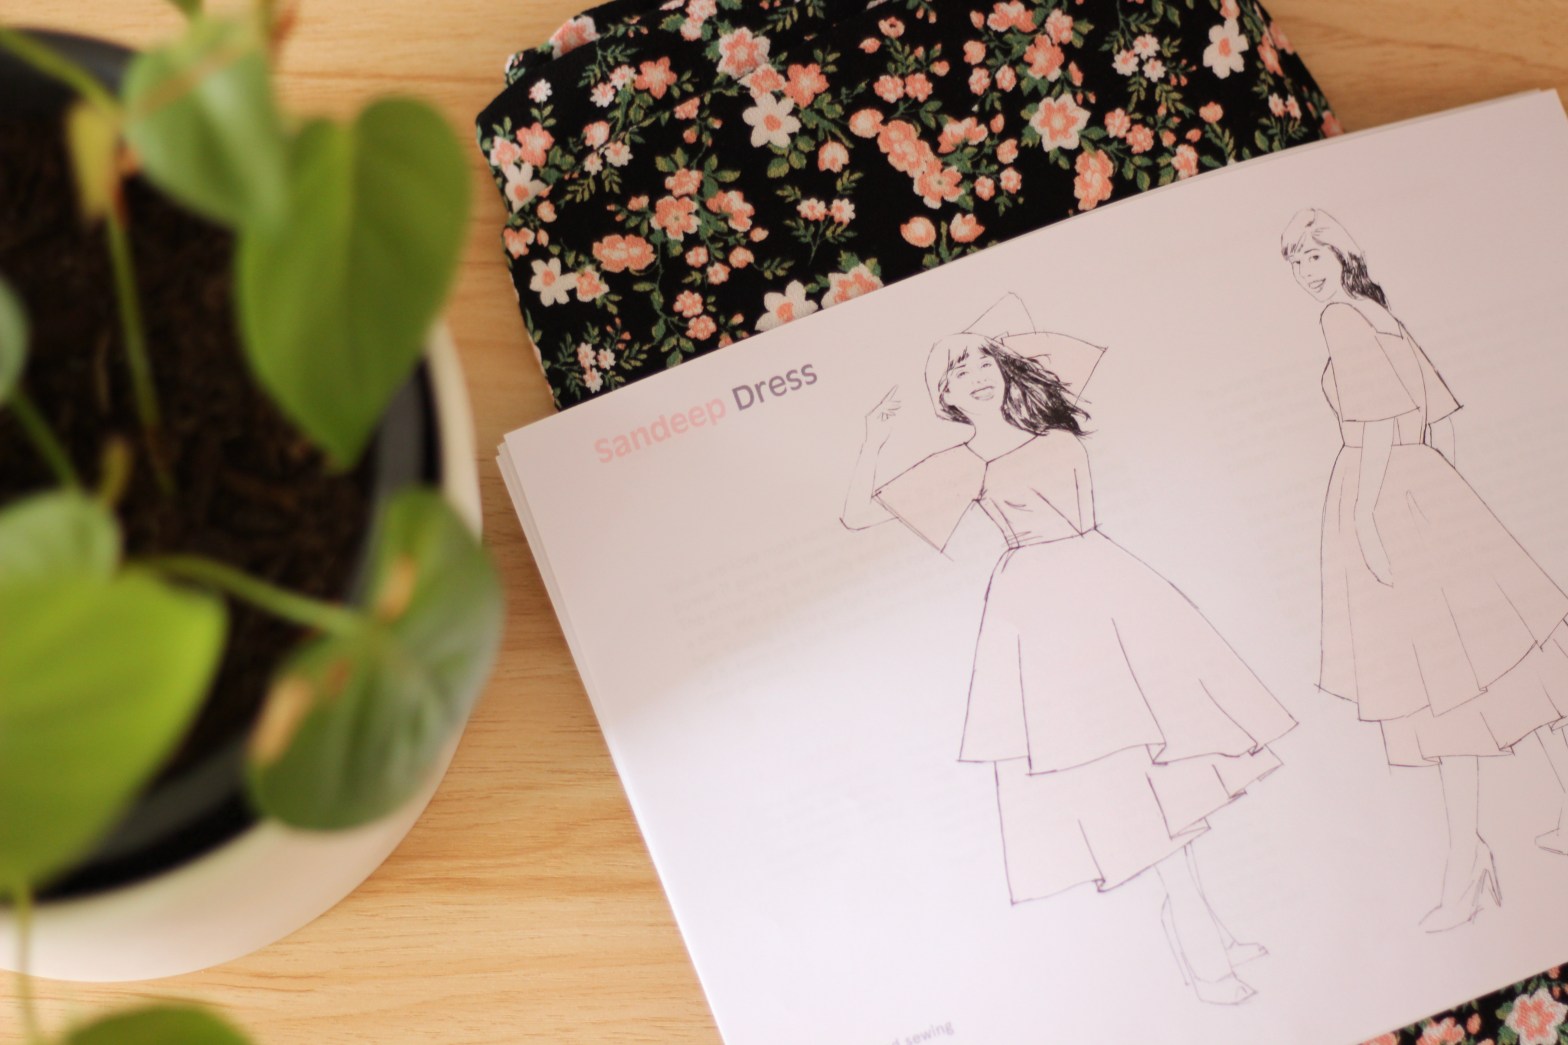
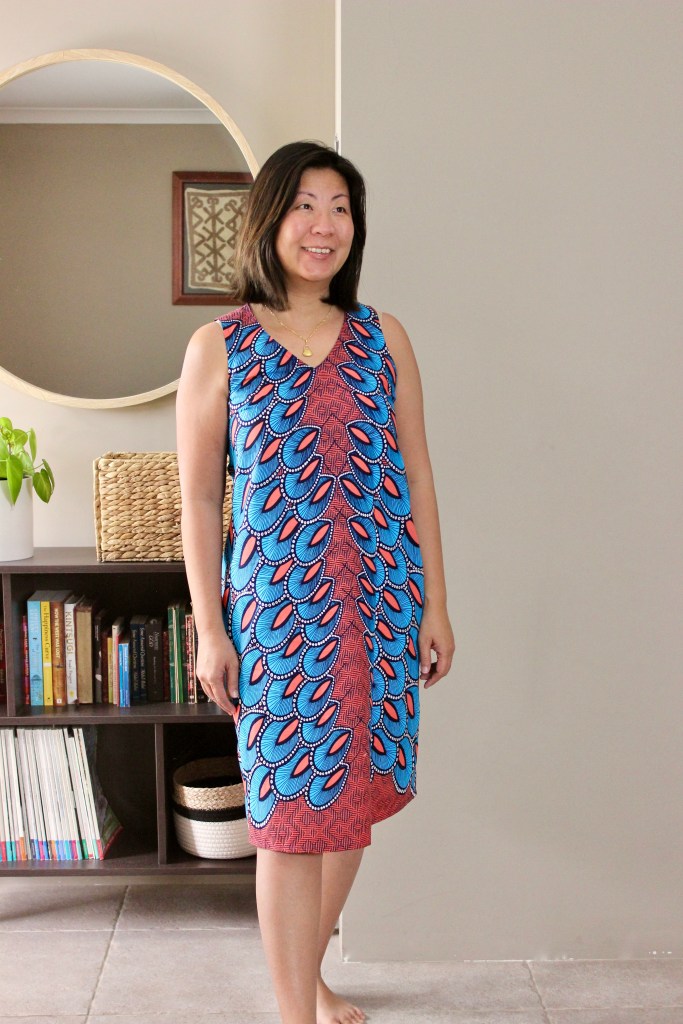
September brings with it the promise of sunshine and finer weather. So, naturally, I’m starting to think about a summer wardrobe. I do often wonder if I should start working on my summer wardrobe in winter and sew up my cold weather wardrobe in summer. Anyway, I had always meant to sew up another Fern Top from Pattern Scout Studios. I then saw a mention of a dress hack so I decided to go ahead and do this!
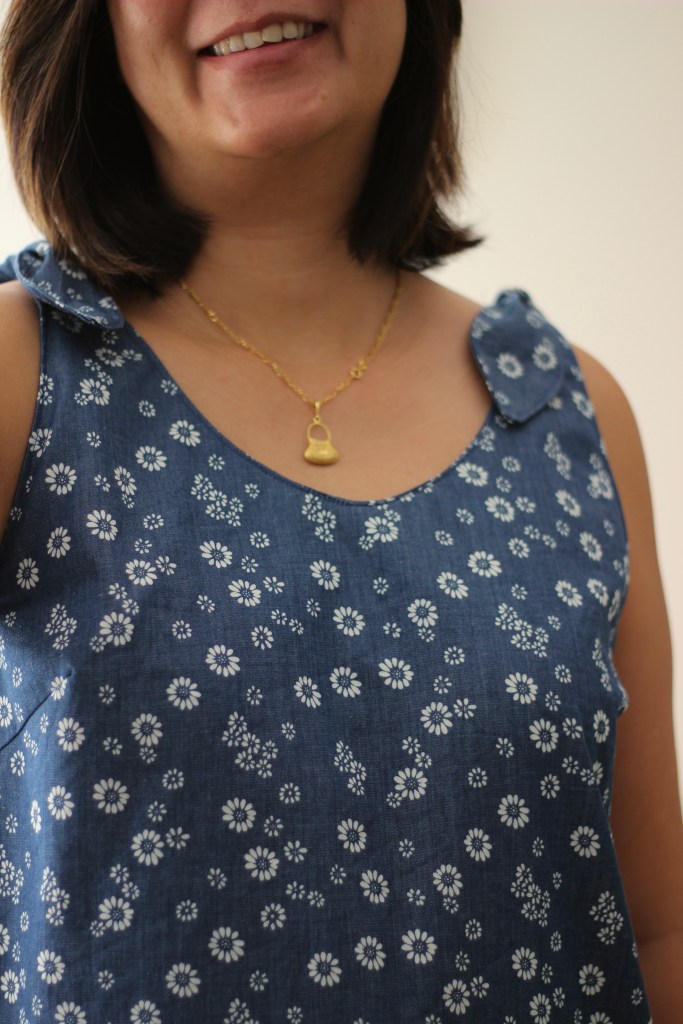
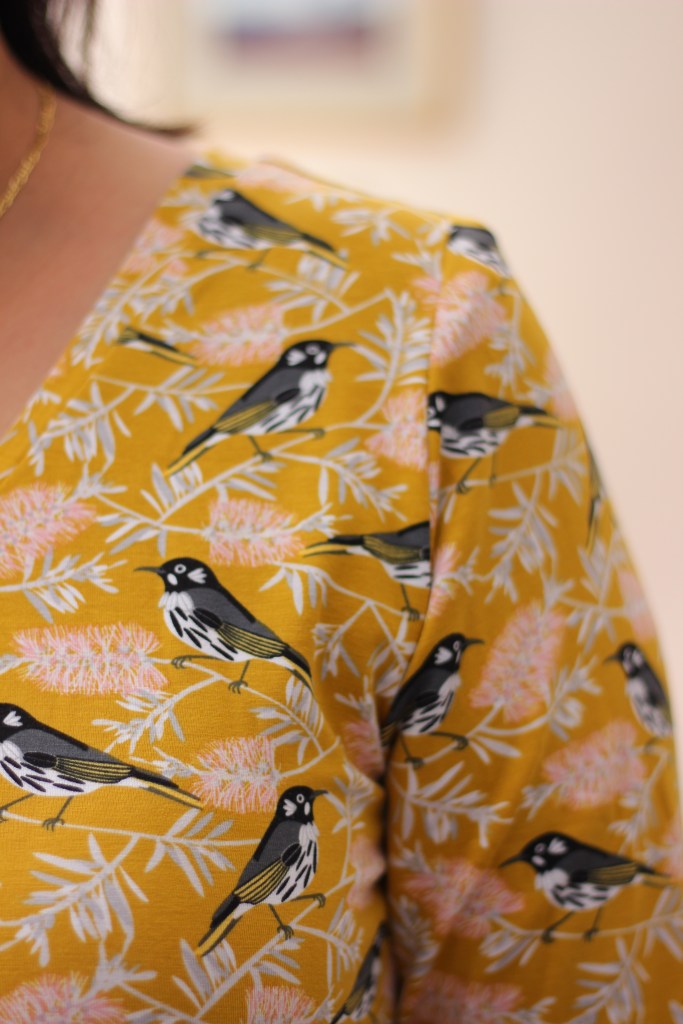
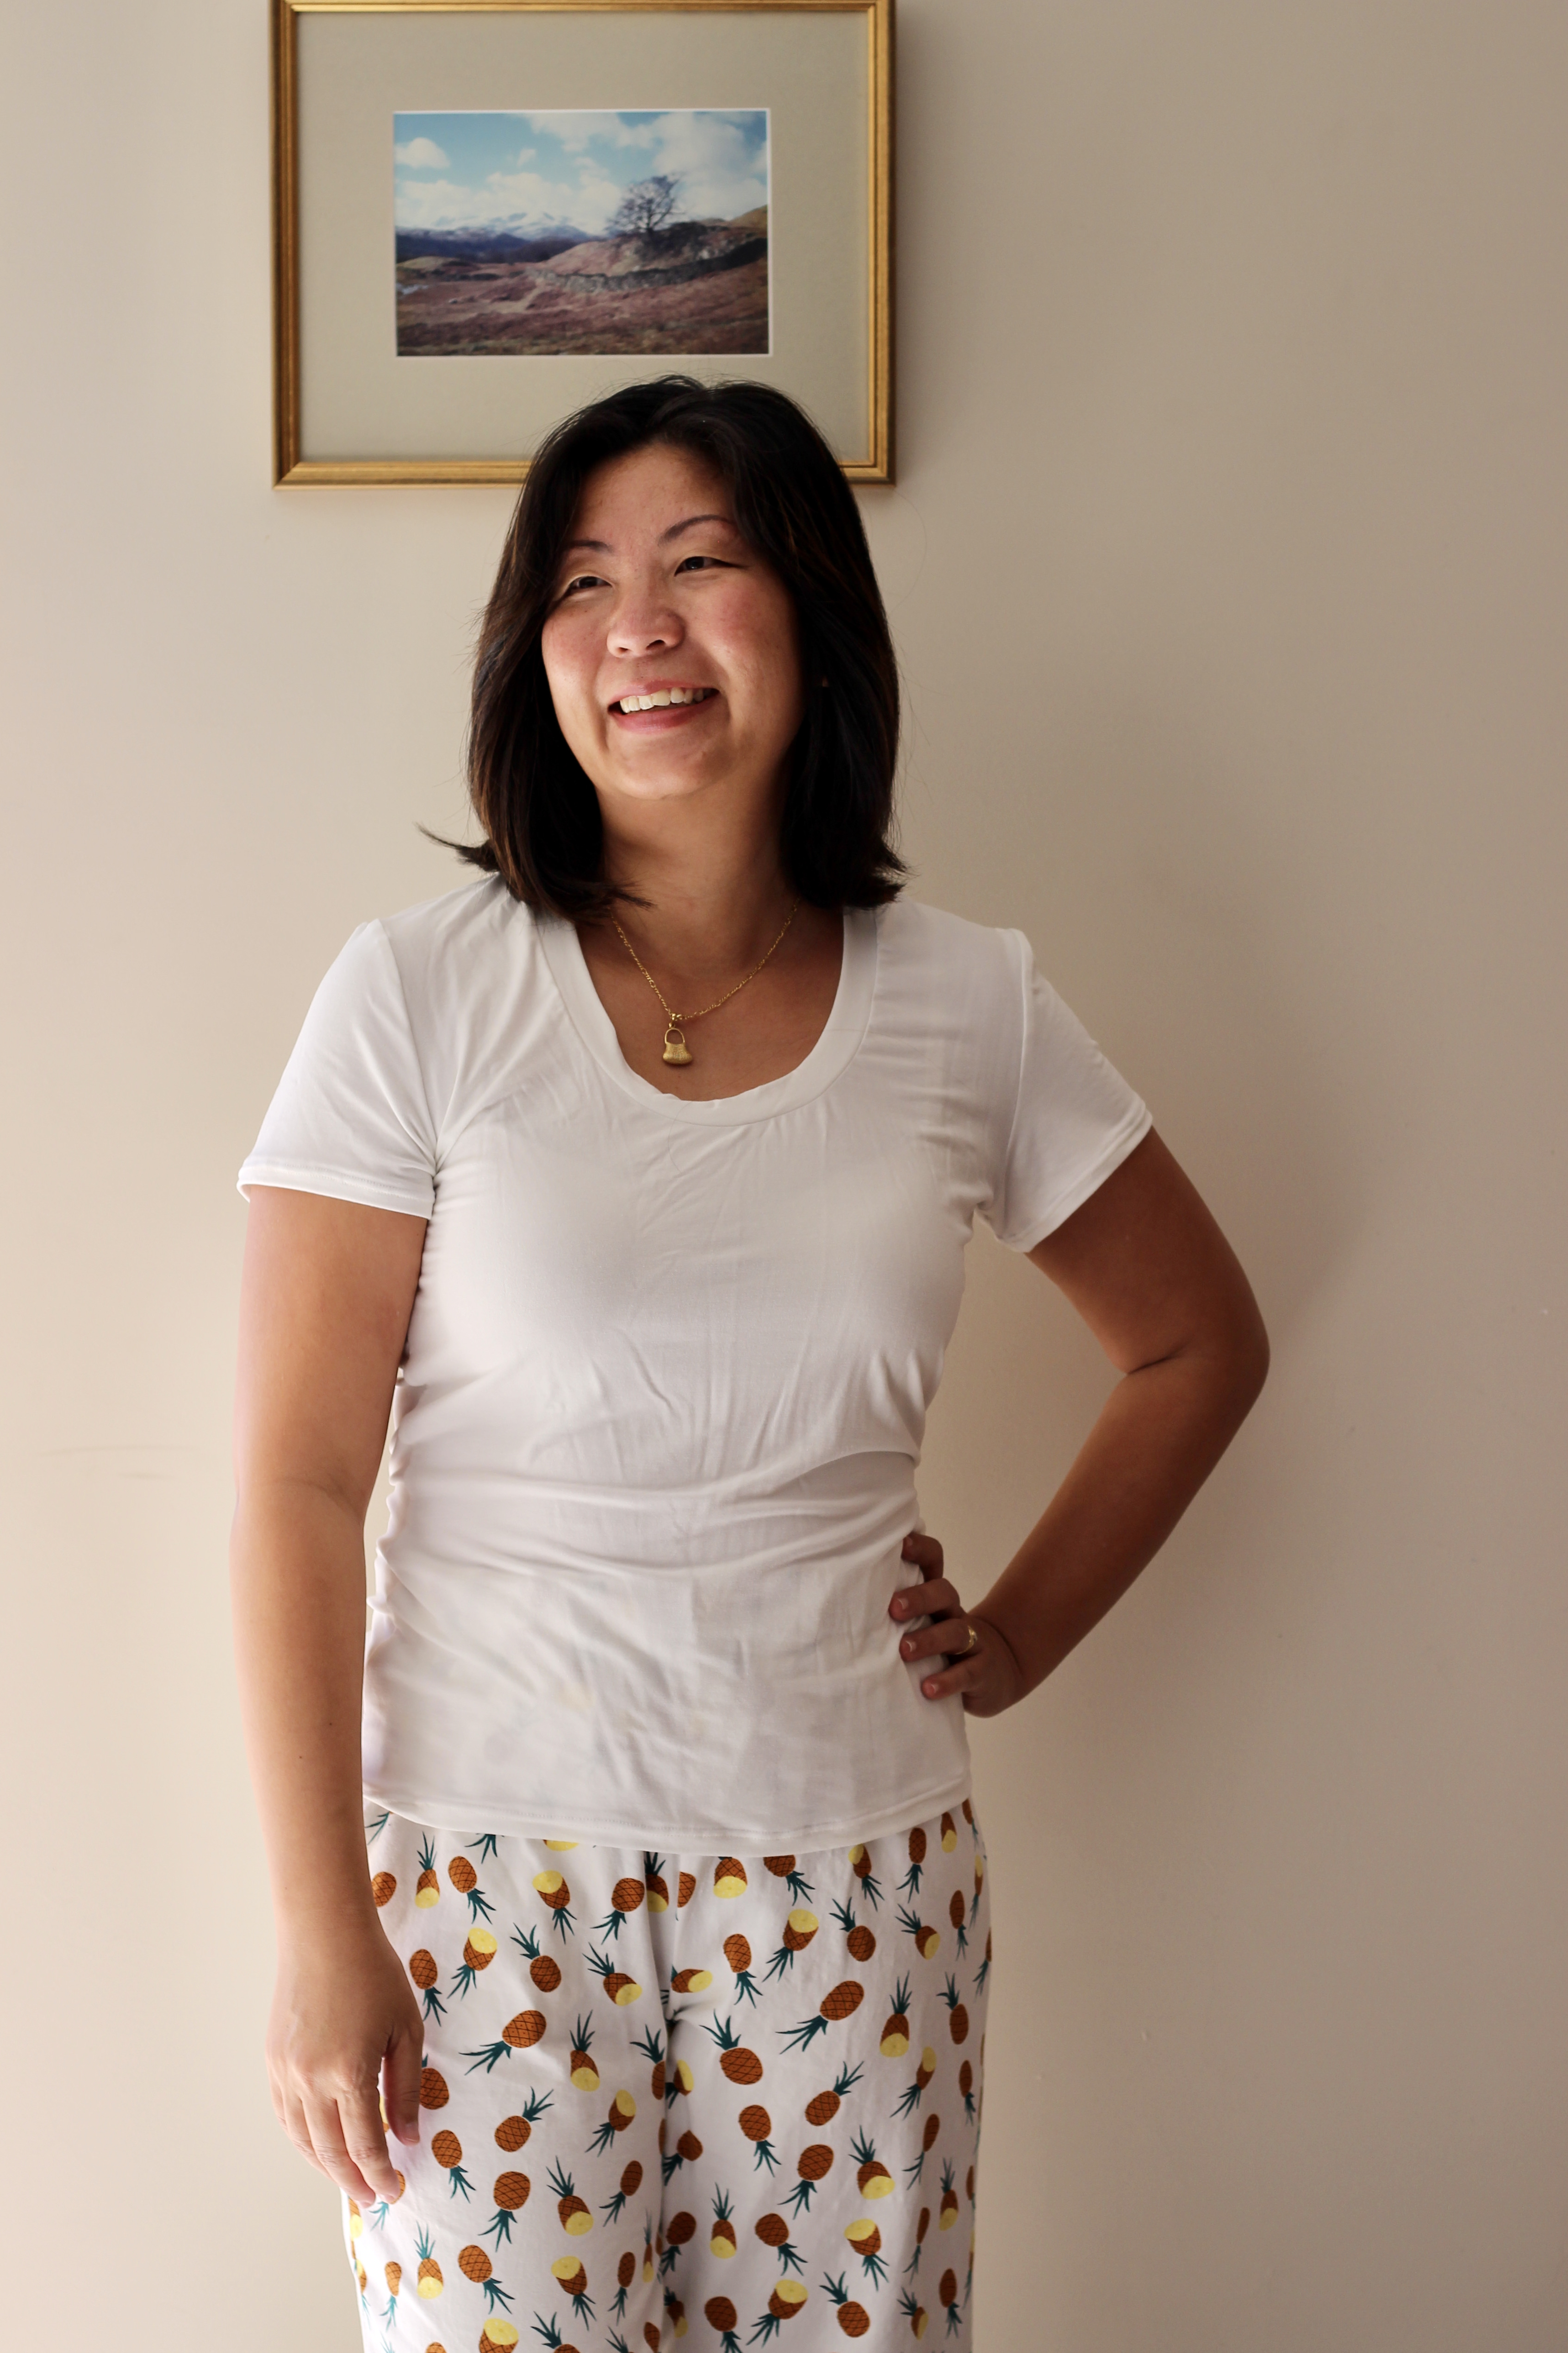
The original pattern is a pretty top that has a central panel with a round collar which the dolman sleeve pieces attach to. Then Pattern Scout released the square neck extension pack which was what really sold me. I really love a square neckline! So, my first version of this pattern was the square neckline version of the top.

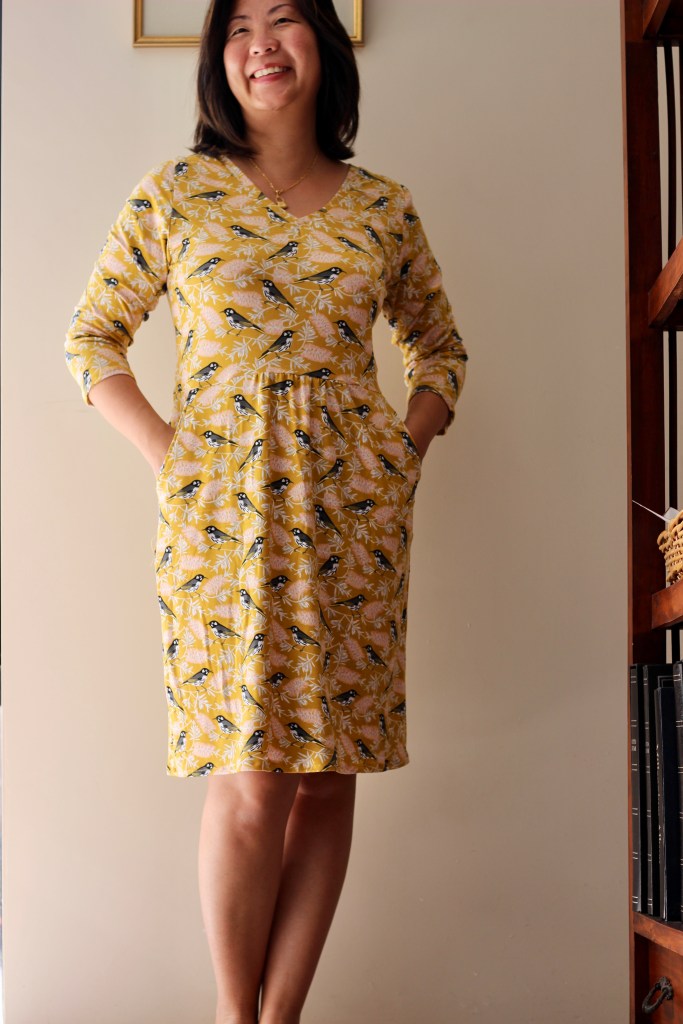
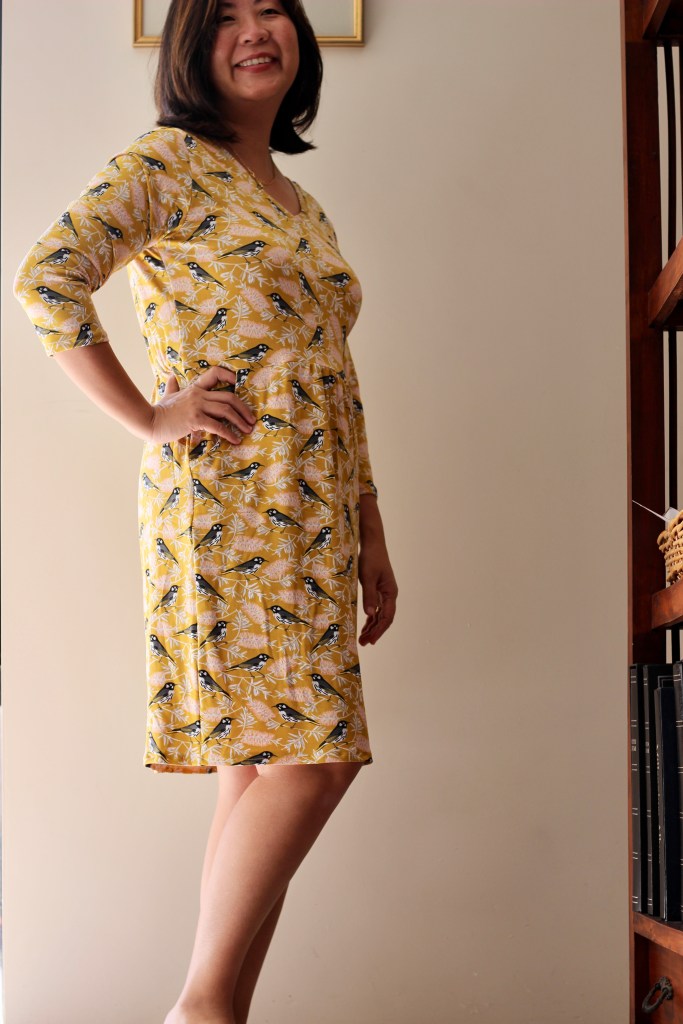
This time I’ve sewed the square neckline again but decided to use the free tutorial for the flutter sleeves. So, most of the hard work for this hack was actually done! I just added the skirt by using two rectangular pieces and gathering the top of the skirt and attaching this to where the “skirt” of the top would’ve attached to.
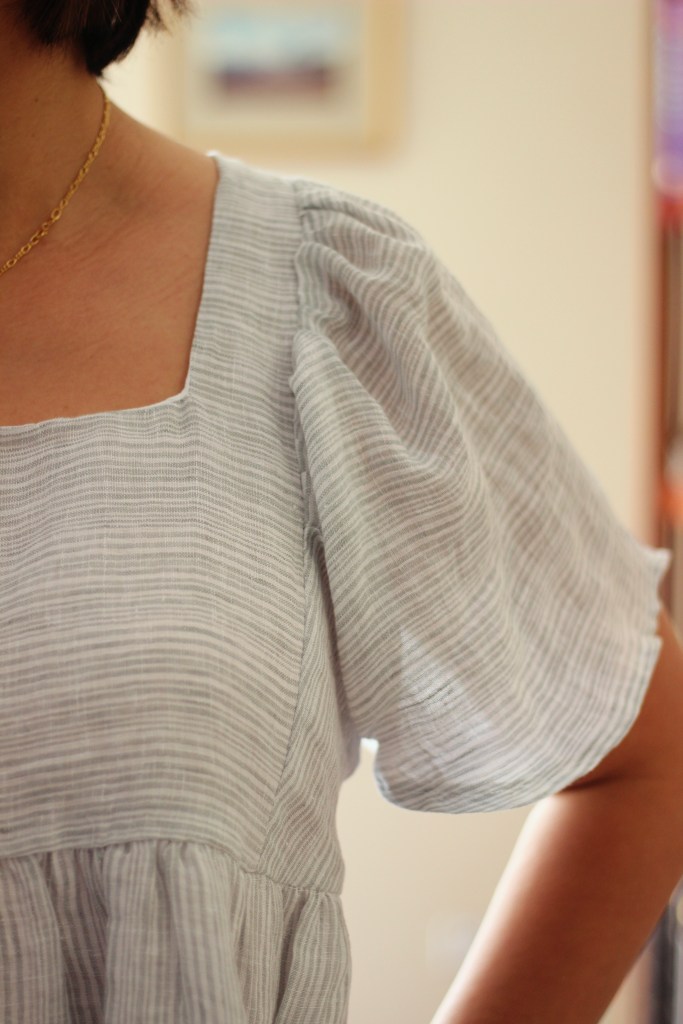
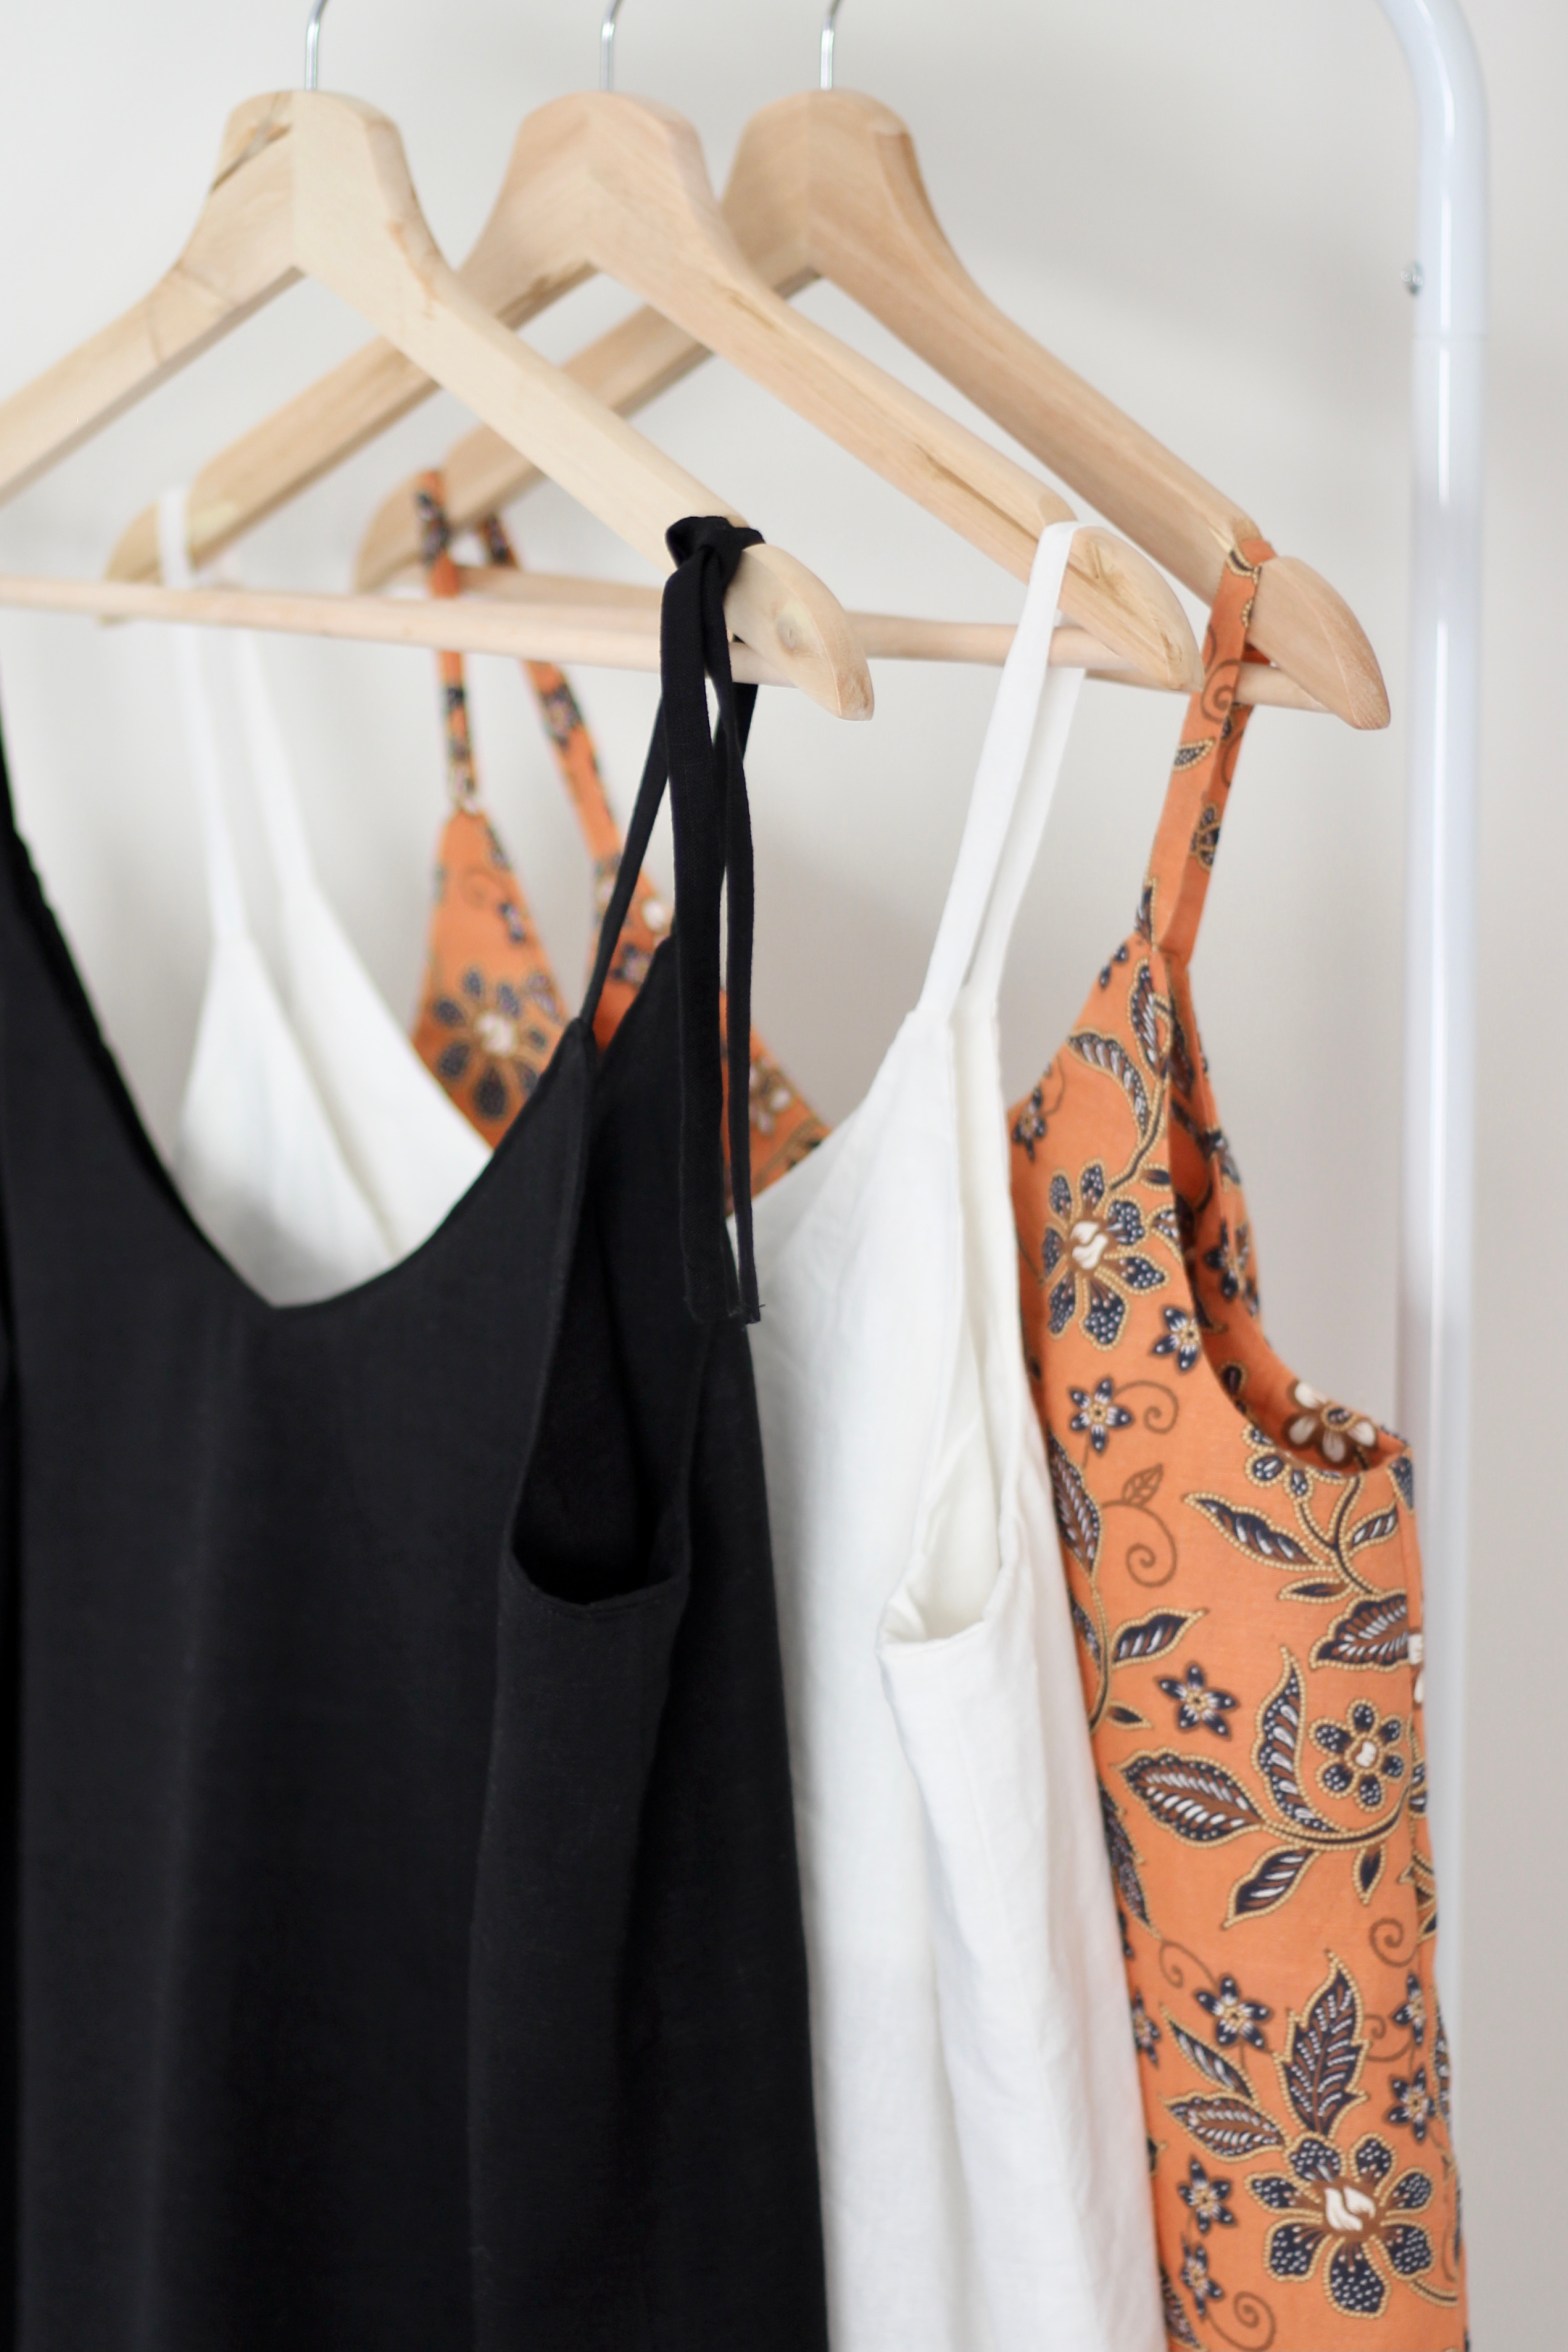
I should also mention that I had fully lined my dress with muslin. I used a divinely floaty, sheer, lightweight “seaweed stripe” linen that I was lucky enough to score at the in-store sale at Megan Nielsen’s shop in June. I didn’t know at the time what I was going to make out of the fabric but it was too good to pass up and I’m only just starting to feel confident enough to invest in my fabrics. I bought two meters of this linen which was just right for this make. So, getting back to the sheerness of the fabric, it’s beautiful and light but quite see-through so for modesty’s sake and so my family don’t disown me in public, the muslin was a perfect pick to line the dress with.
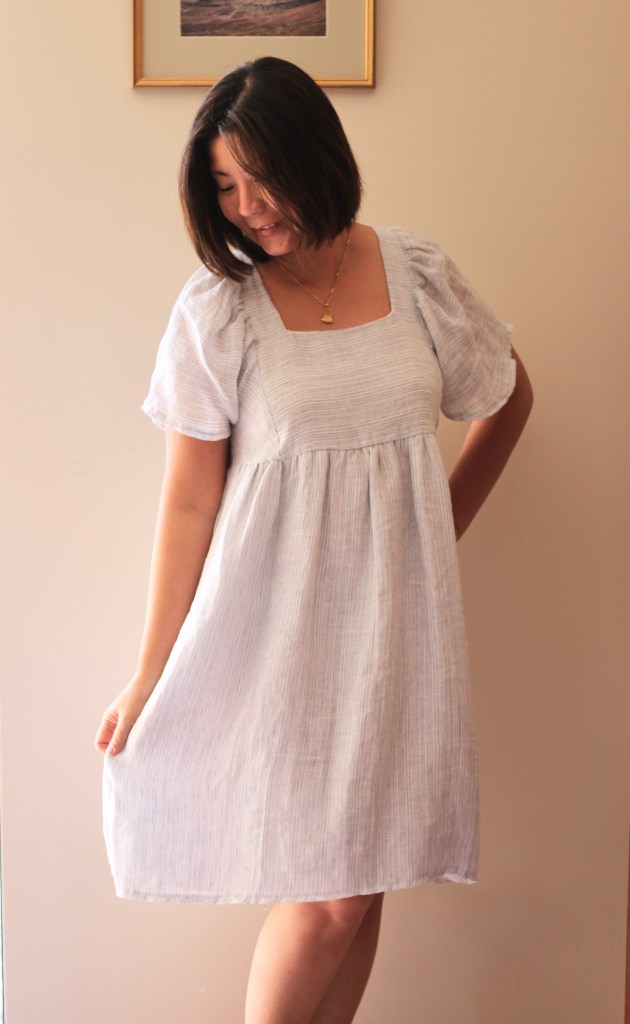


This dress is so comfortable to wear. It’s not quite warm enough yet but the baby-doll style is great for those sticky and humid summer days. Hopefully this will inspire someone to give it a go! The Fern Top is great as-is but such a wonderful bonus with so many options to customise it.
Thanks for reading and happy sewing!
X Em