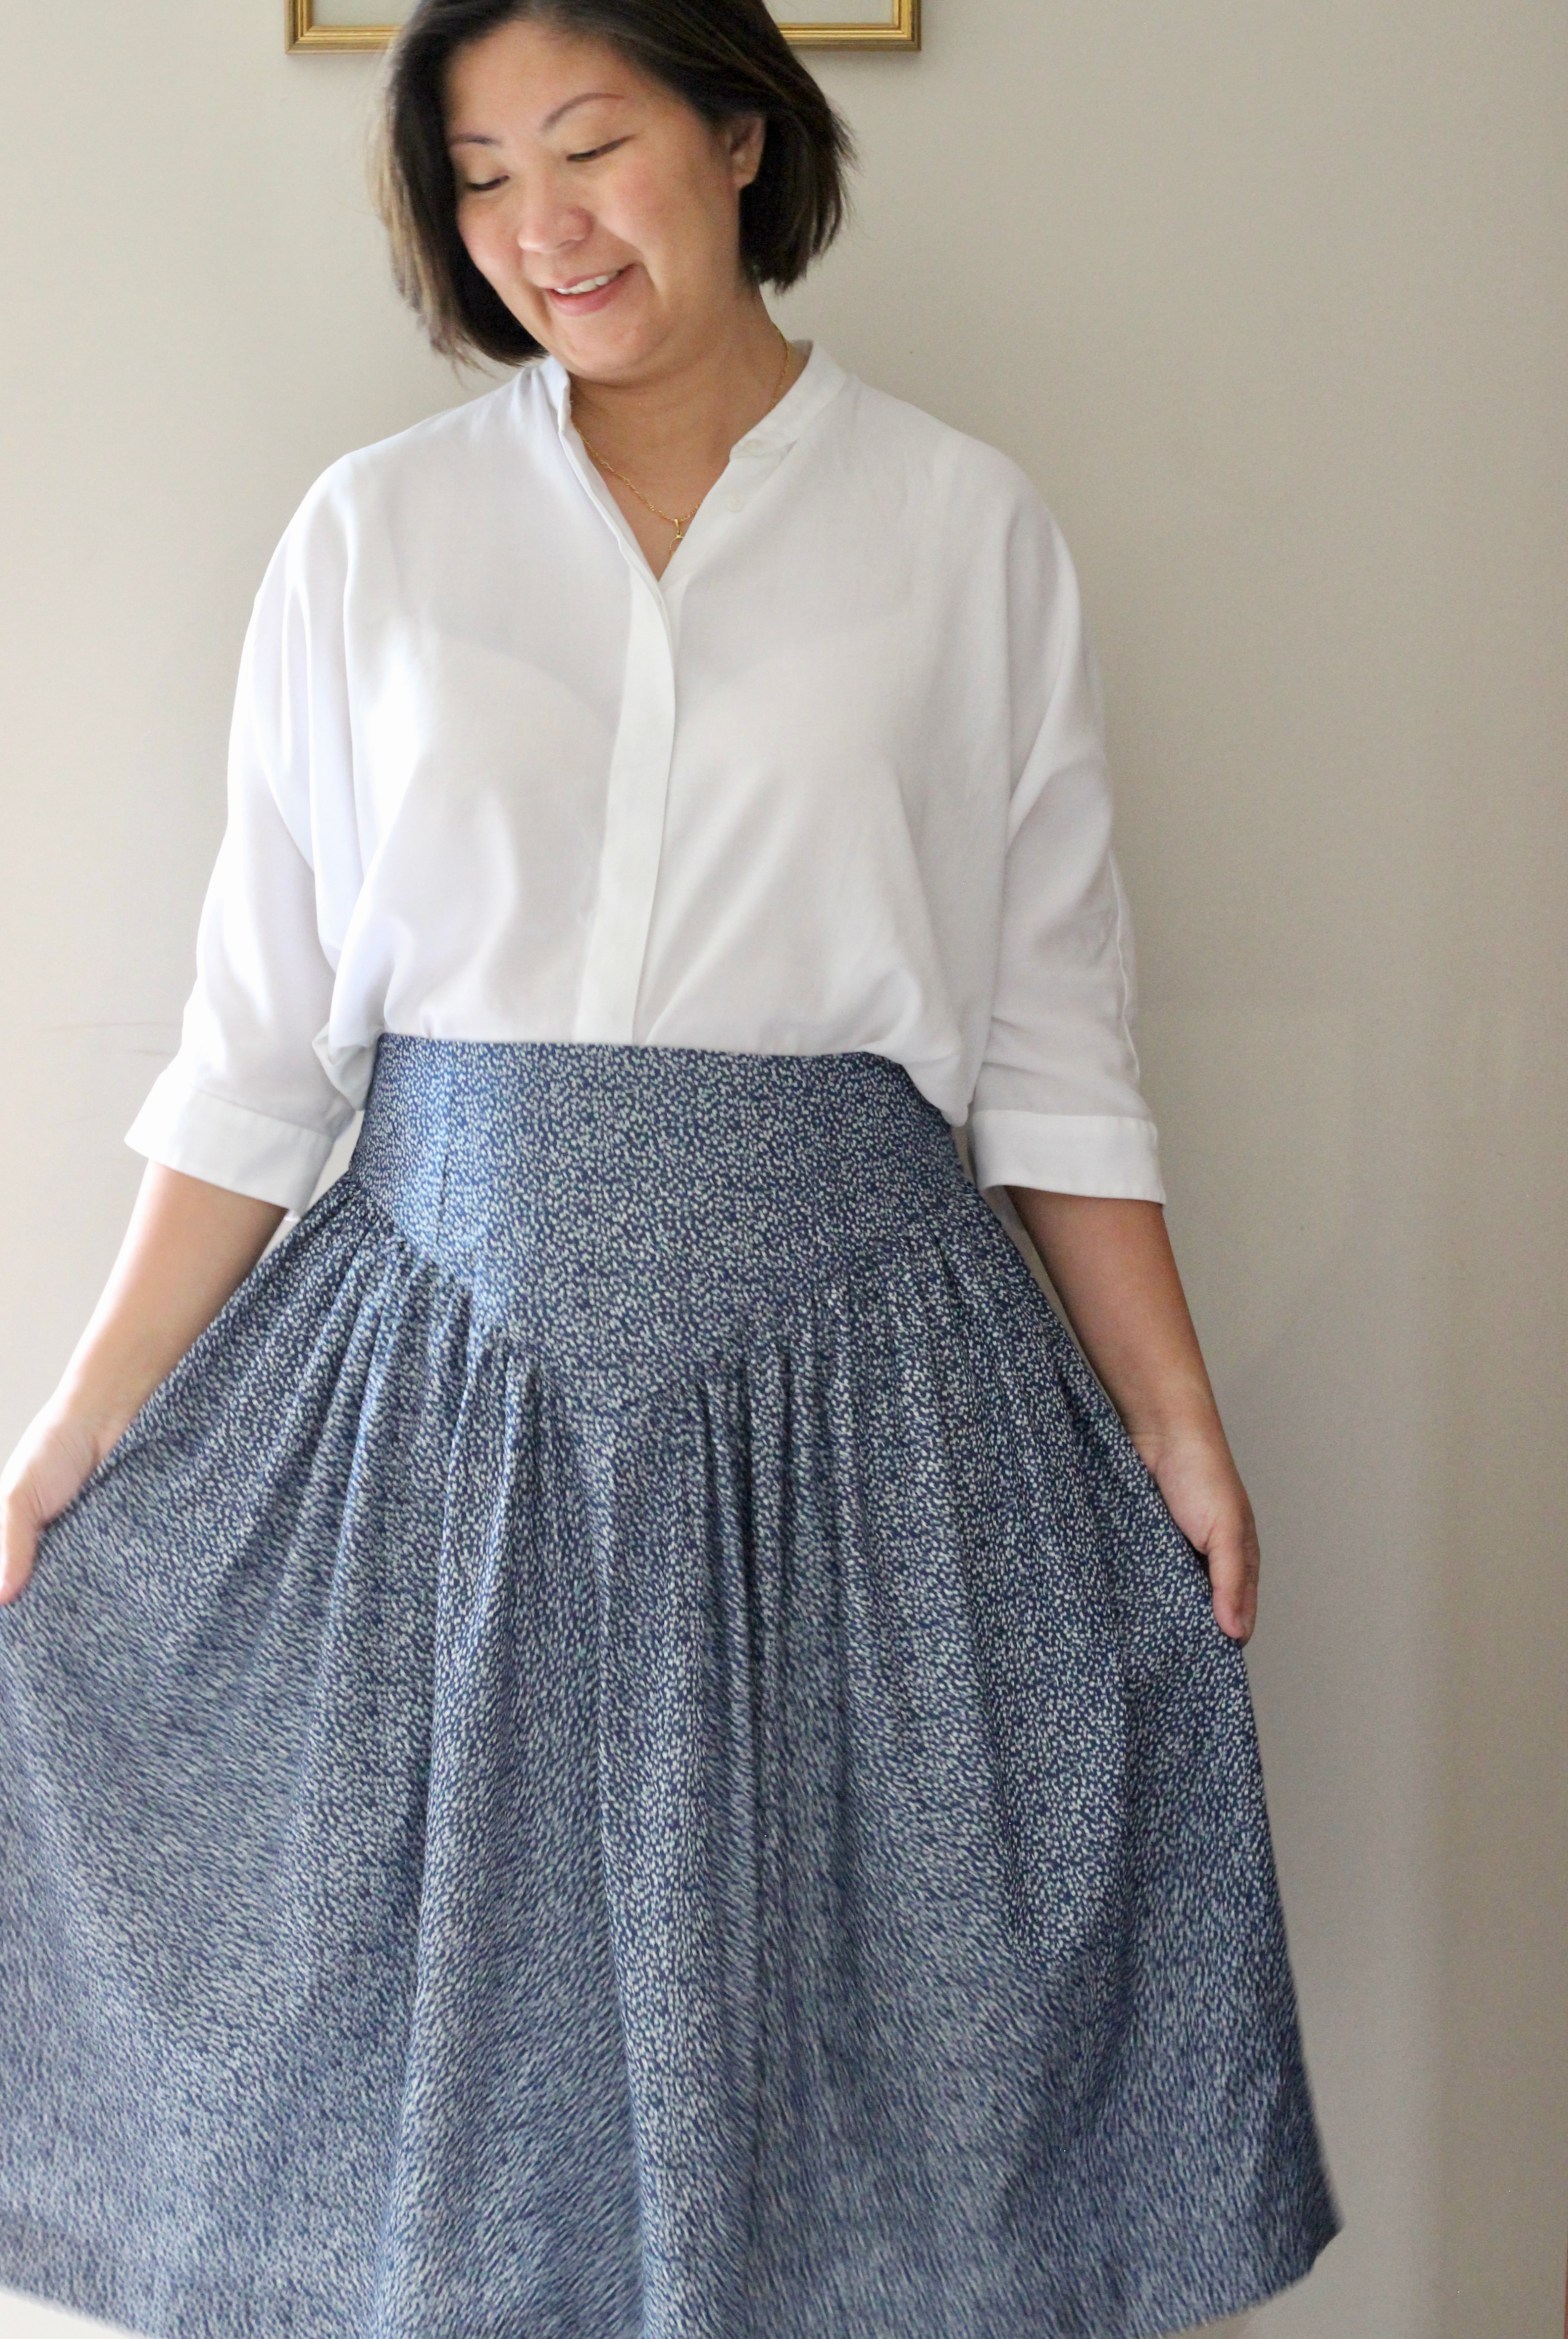
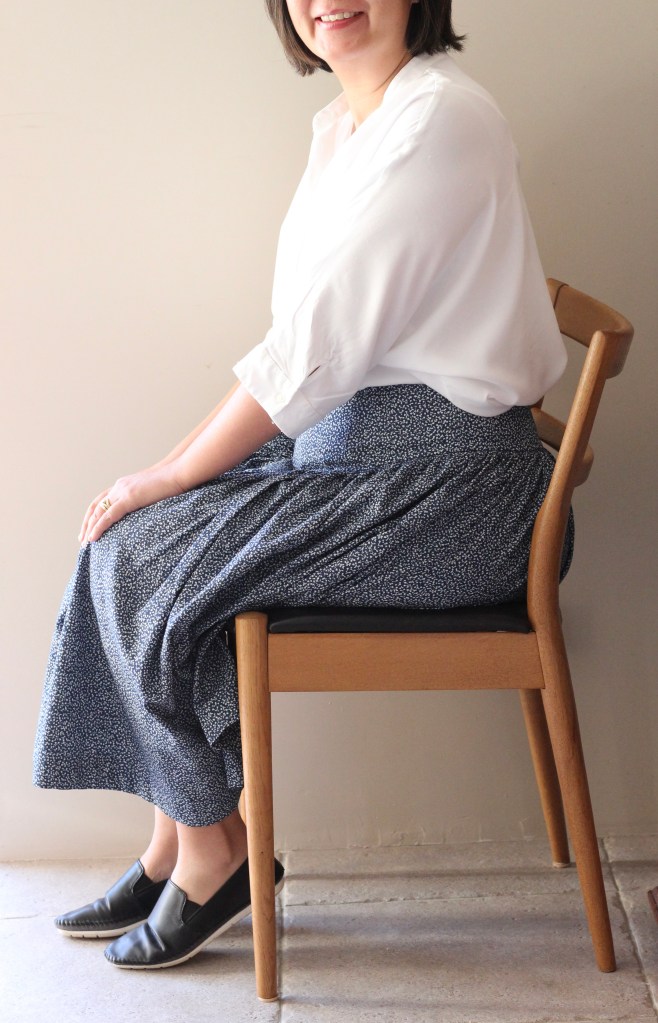
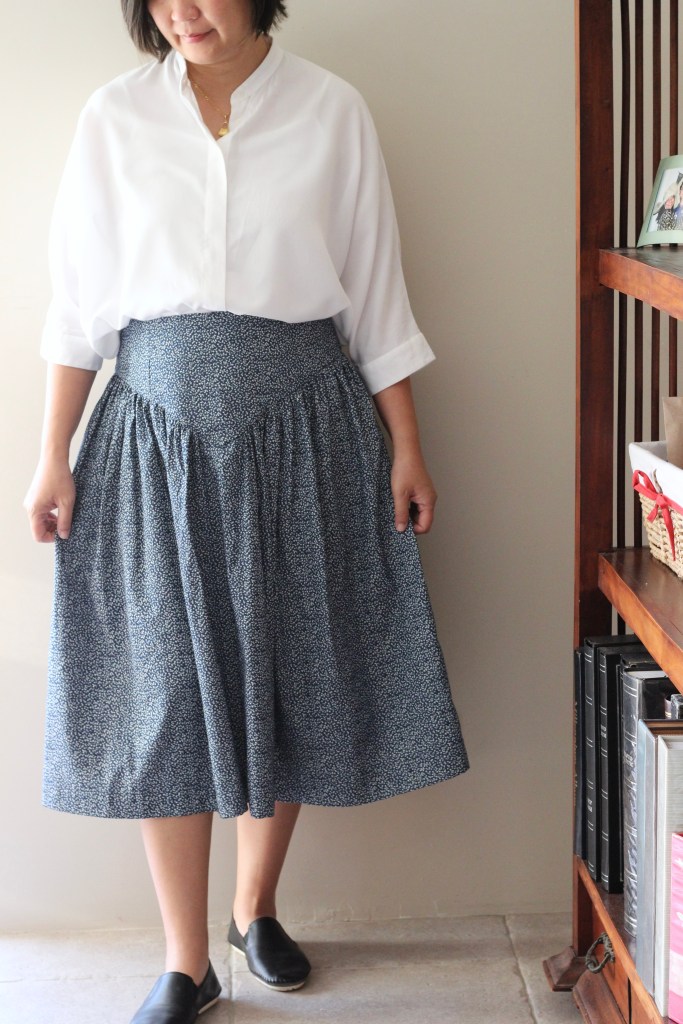
So many good things to say about this pattern! Where to start? The Carrie Skirt is a newly released pattern from Vanessa Hansen Studio. I find Vanessa’s patterns to be very fashion forward which comes from her background in the fashion industry. The Carrie Skirt has a fitted yoke which then flares out to a full gathered skirt. It comes in a high waisted version and a natural waisted version. She also added lacing to the back of the skirt as an option which cinches the waist in but gives the fit some flexibility.

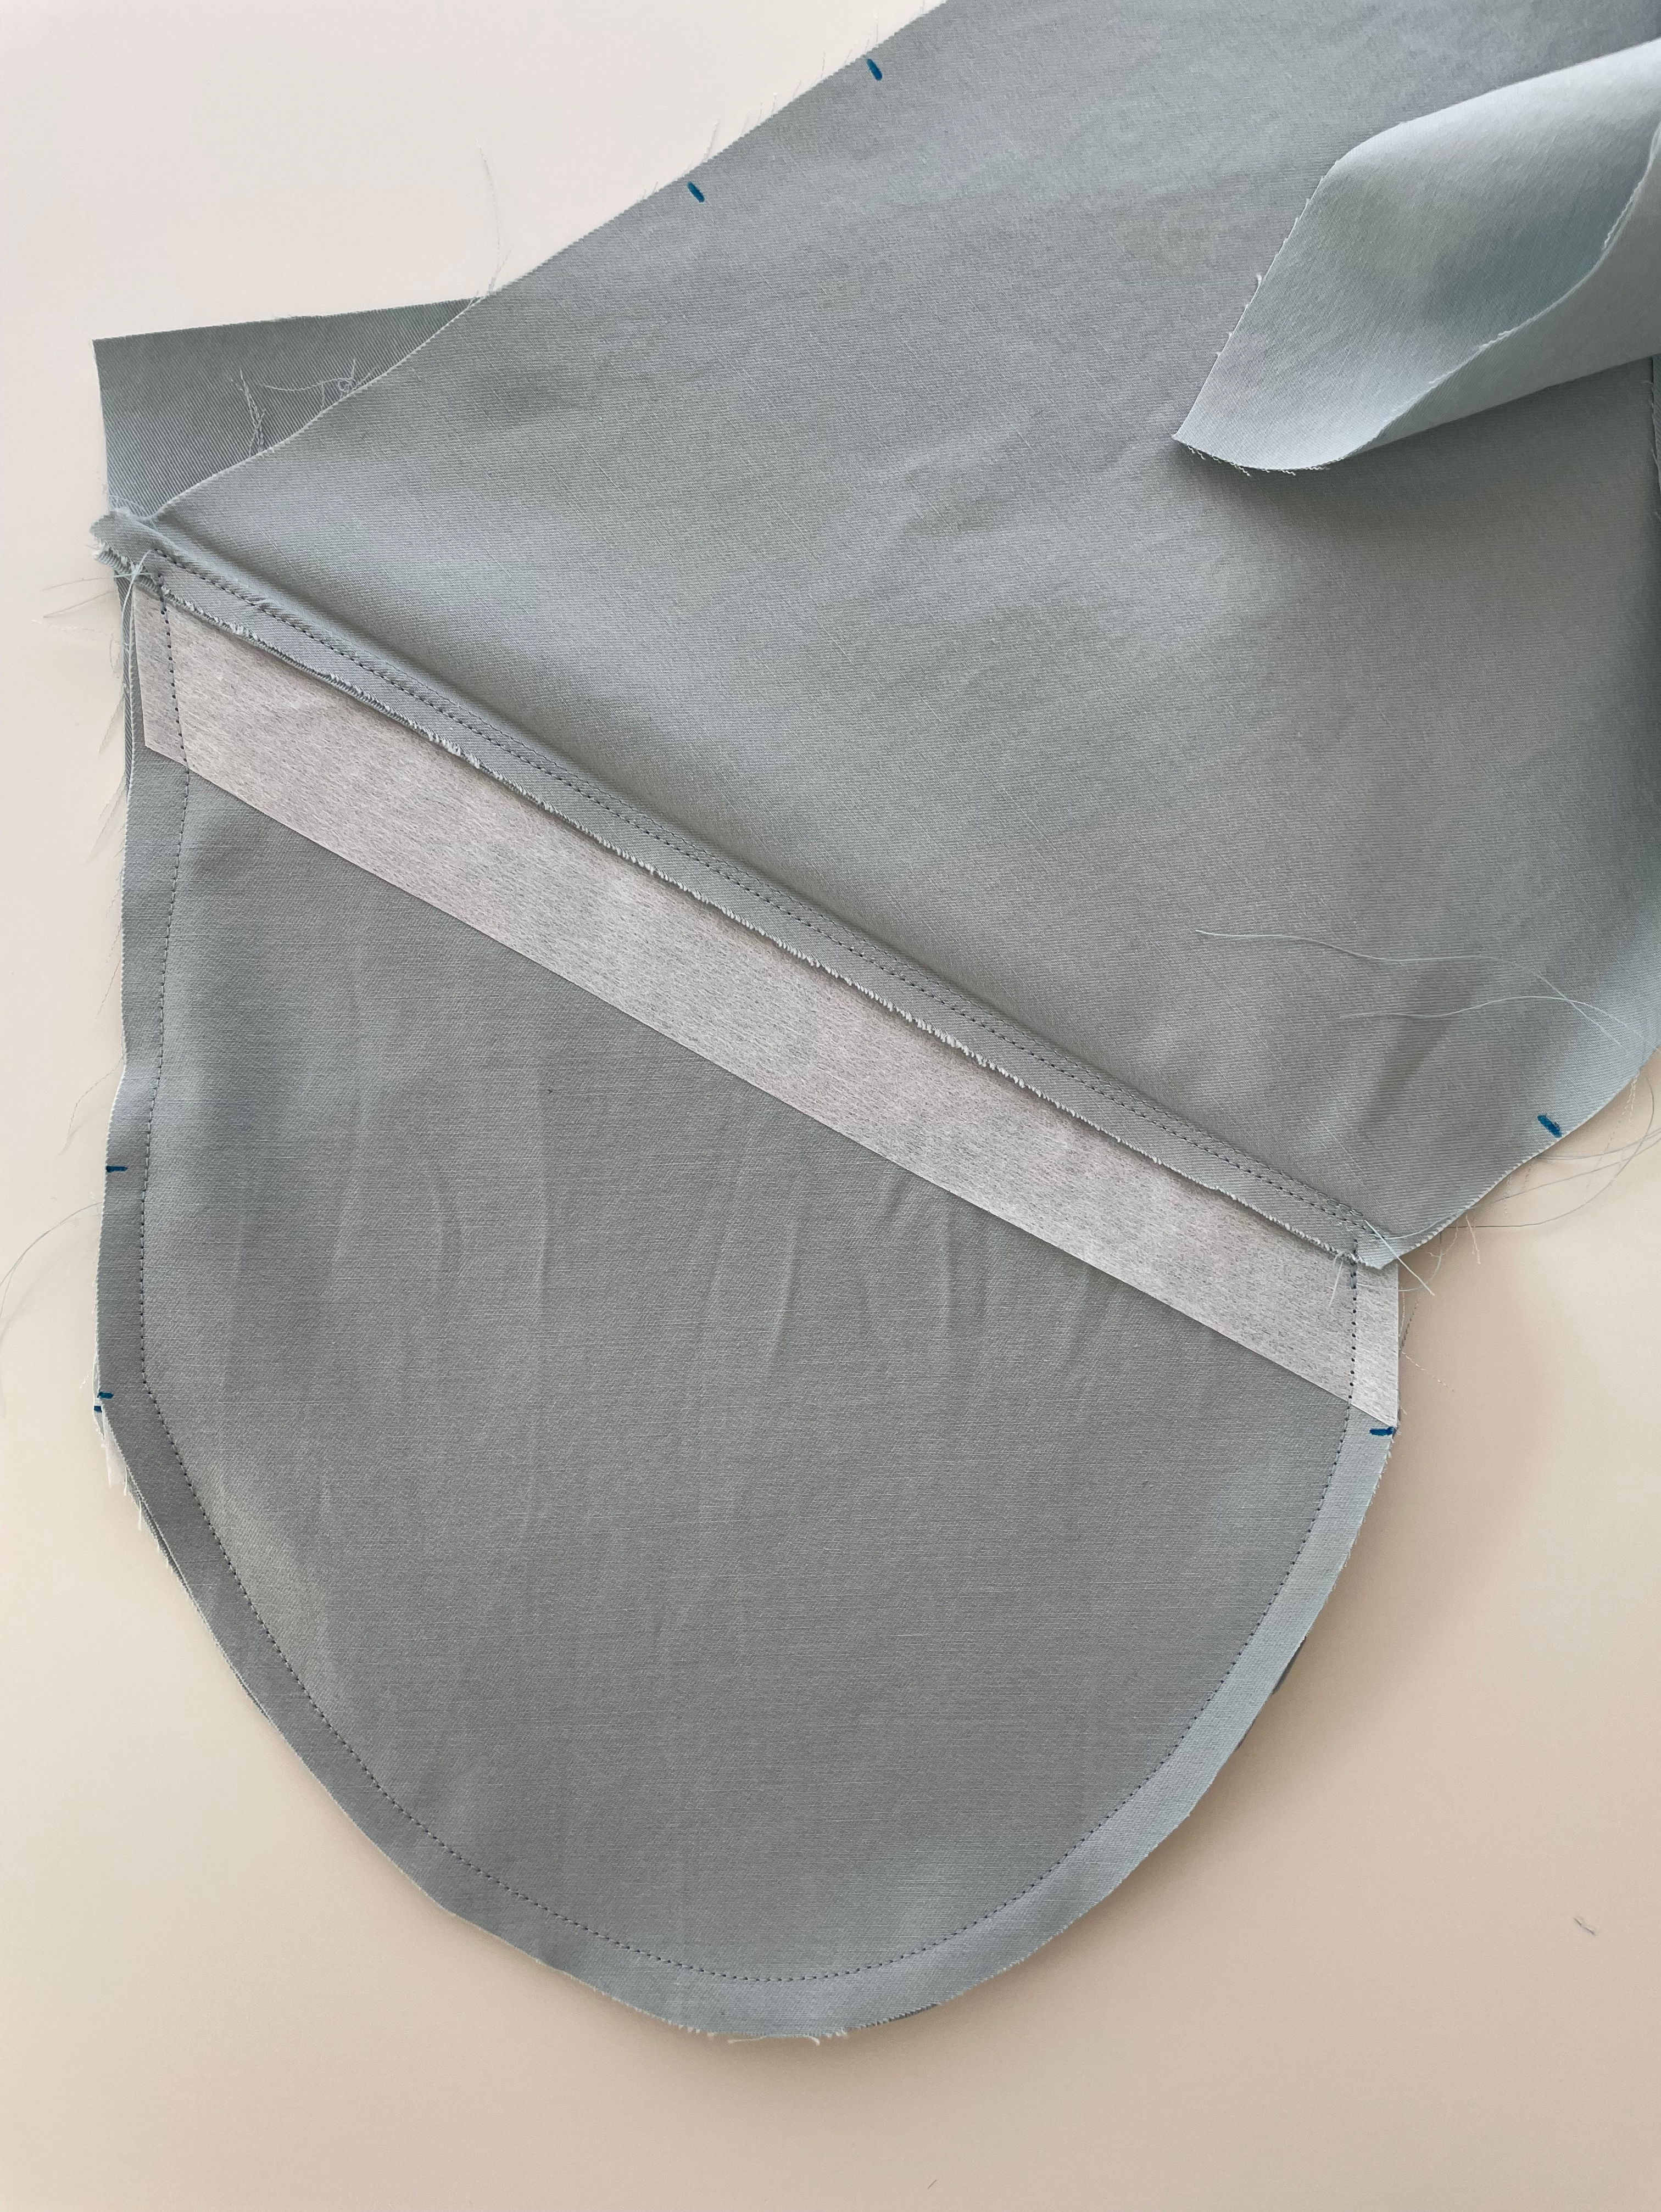
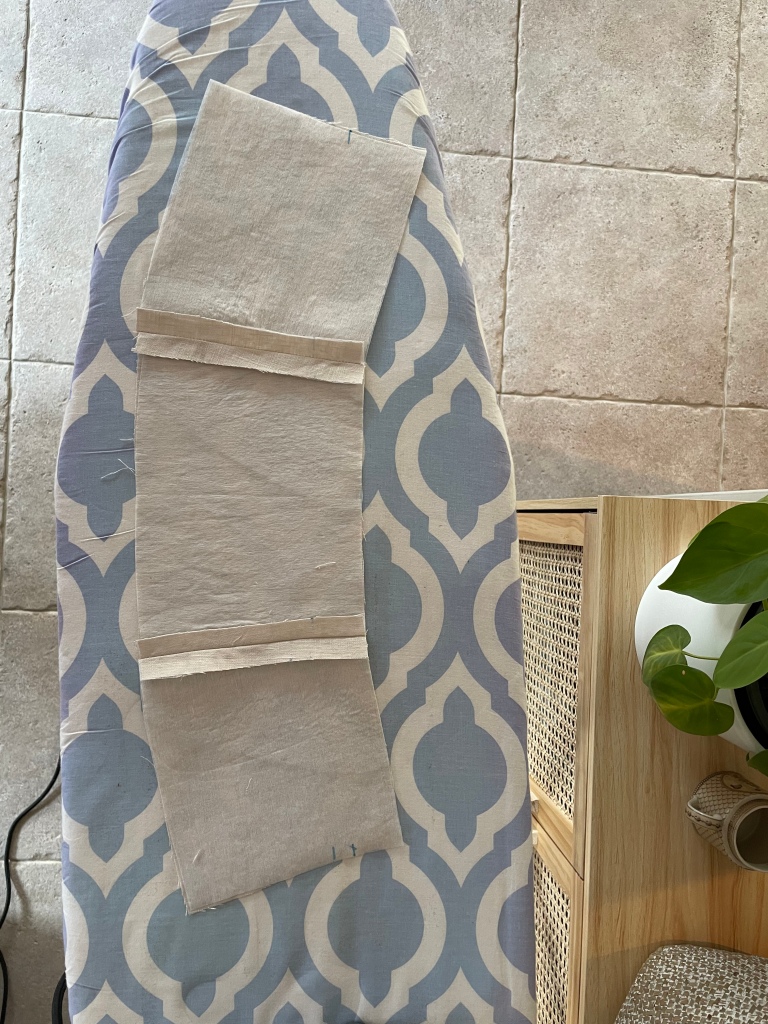
The pattern is made for woven fabrics. Fabrics such as viscose, rayon, Tencel were popular amongst the testing team. I’ve used a very lightweight denim in my version. It really looks best with some drape but using such fabric will need a lot of stabilising for the yoke as the fit is crucial for the look of the skirt. I’m not an expert in fit so found the yoke to be quite challenging but Vanessa acknowledges this in the pattern and provides very detailed notes on fit. I took it slowly, followed the fit notes step by step and checked at each stage that the yoke was fitting. Once that part is worked out, the rest of the sew was a breeze!

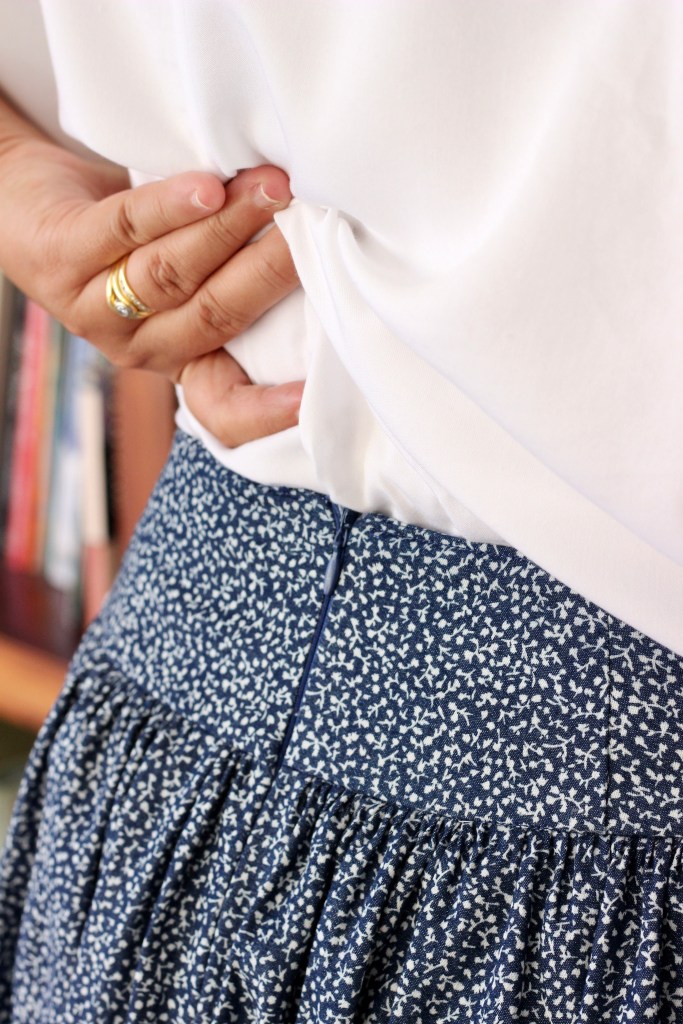
A high point of my Carrie Skirt make was the instalment of the invisible zipper. Casting my mind back to my first invisible zipper, it had just been a relief to be able to get it on, but it was gaping, the sides did not match and it was clearly not invisible. You’ll understand then why I did a happy dance when I installed this zipper without having to refer to instructions. I did an extra happy dance when everything matched up when zipped up and works like an invisible zipper should!
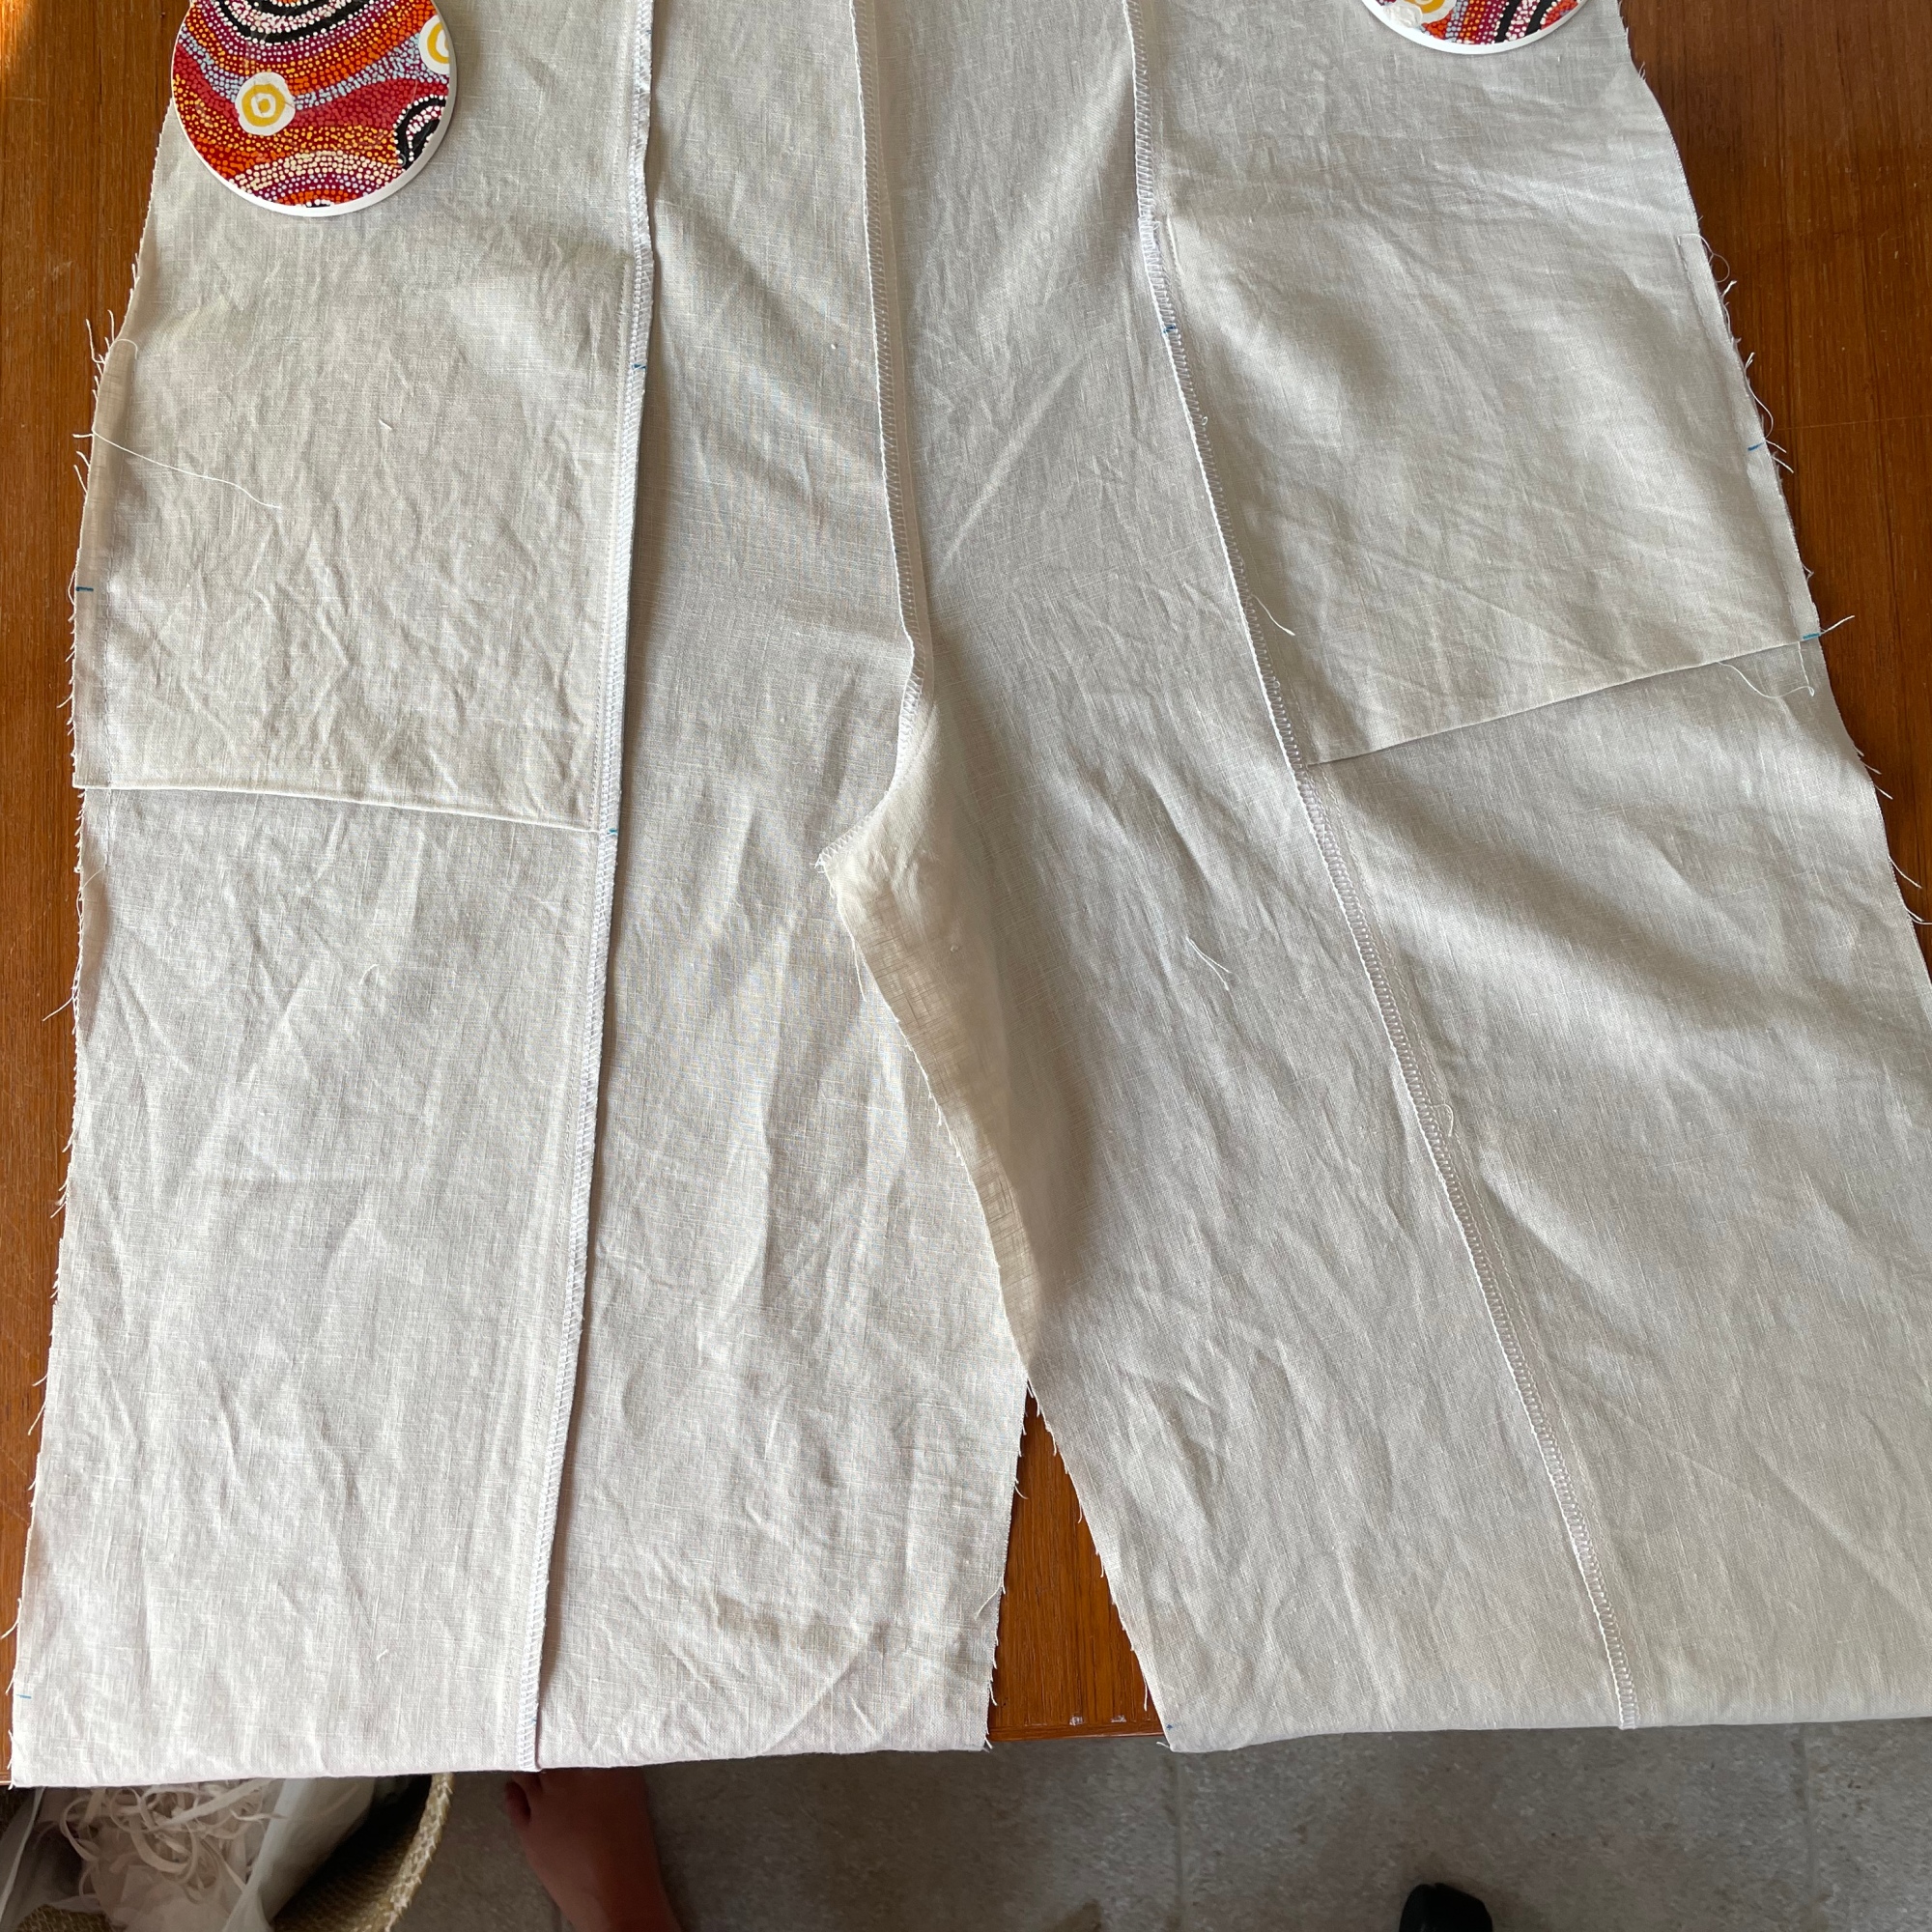
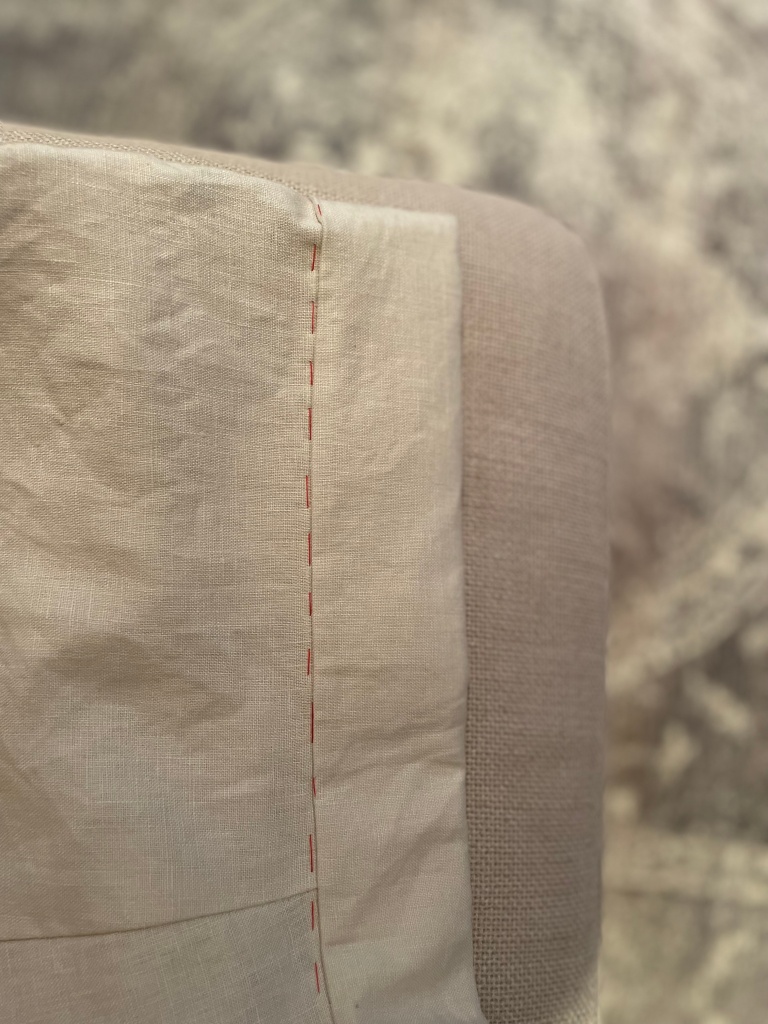
My measurements fitted between size 12 and size 14 and I made the natural waistline version. I started by printing the pattern with both of those sizes. I really like it when PDF patterns have their sizes in layers, it really makes putting together the pattern easier. In the toile, I decided to cut the size 14 and followed the instructions to pinch and adjust the panels of the yoke. Another feature of the pattern is the option for topstitching. I haven’t included that in mine, but I love how a detail such as topstitching can make such a difference to the look of a garment. I’ll be trying it out in the future especially if I make it in a plain fabric.
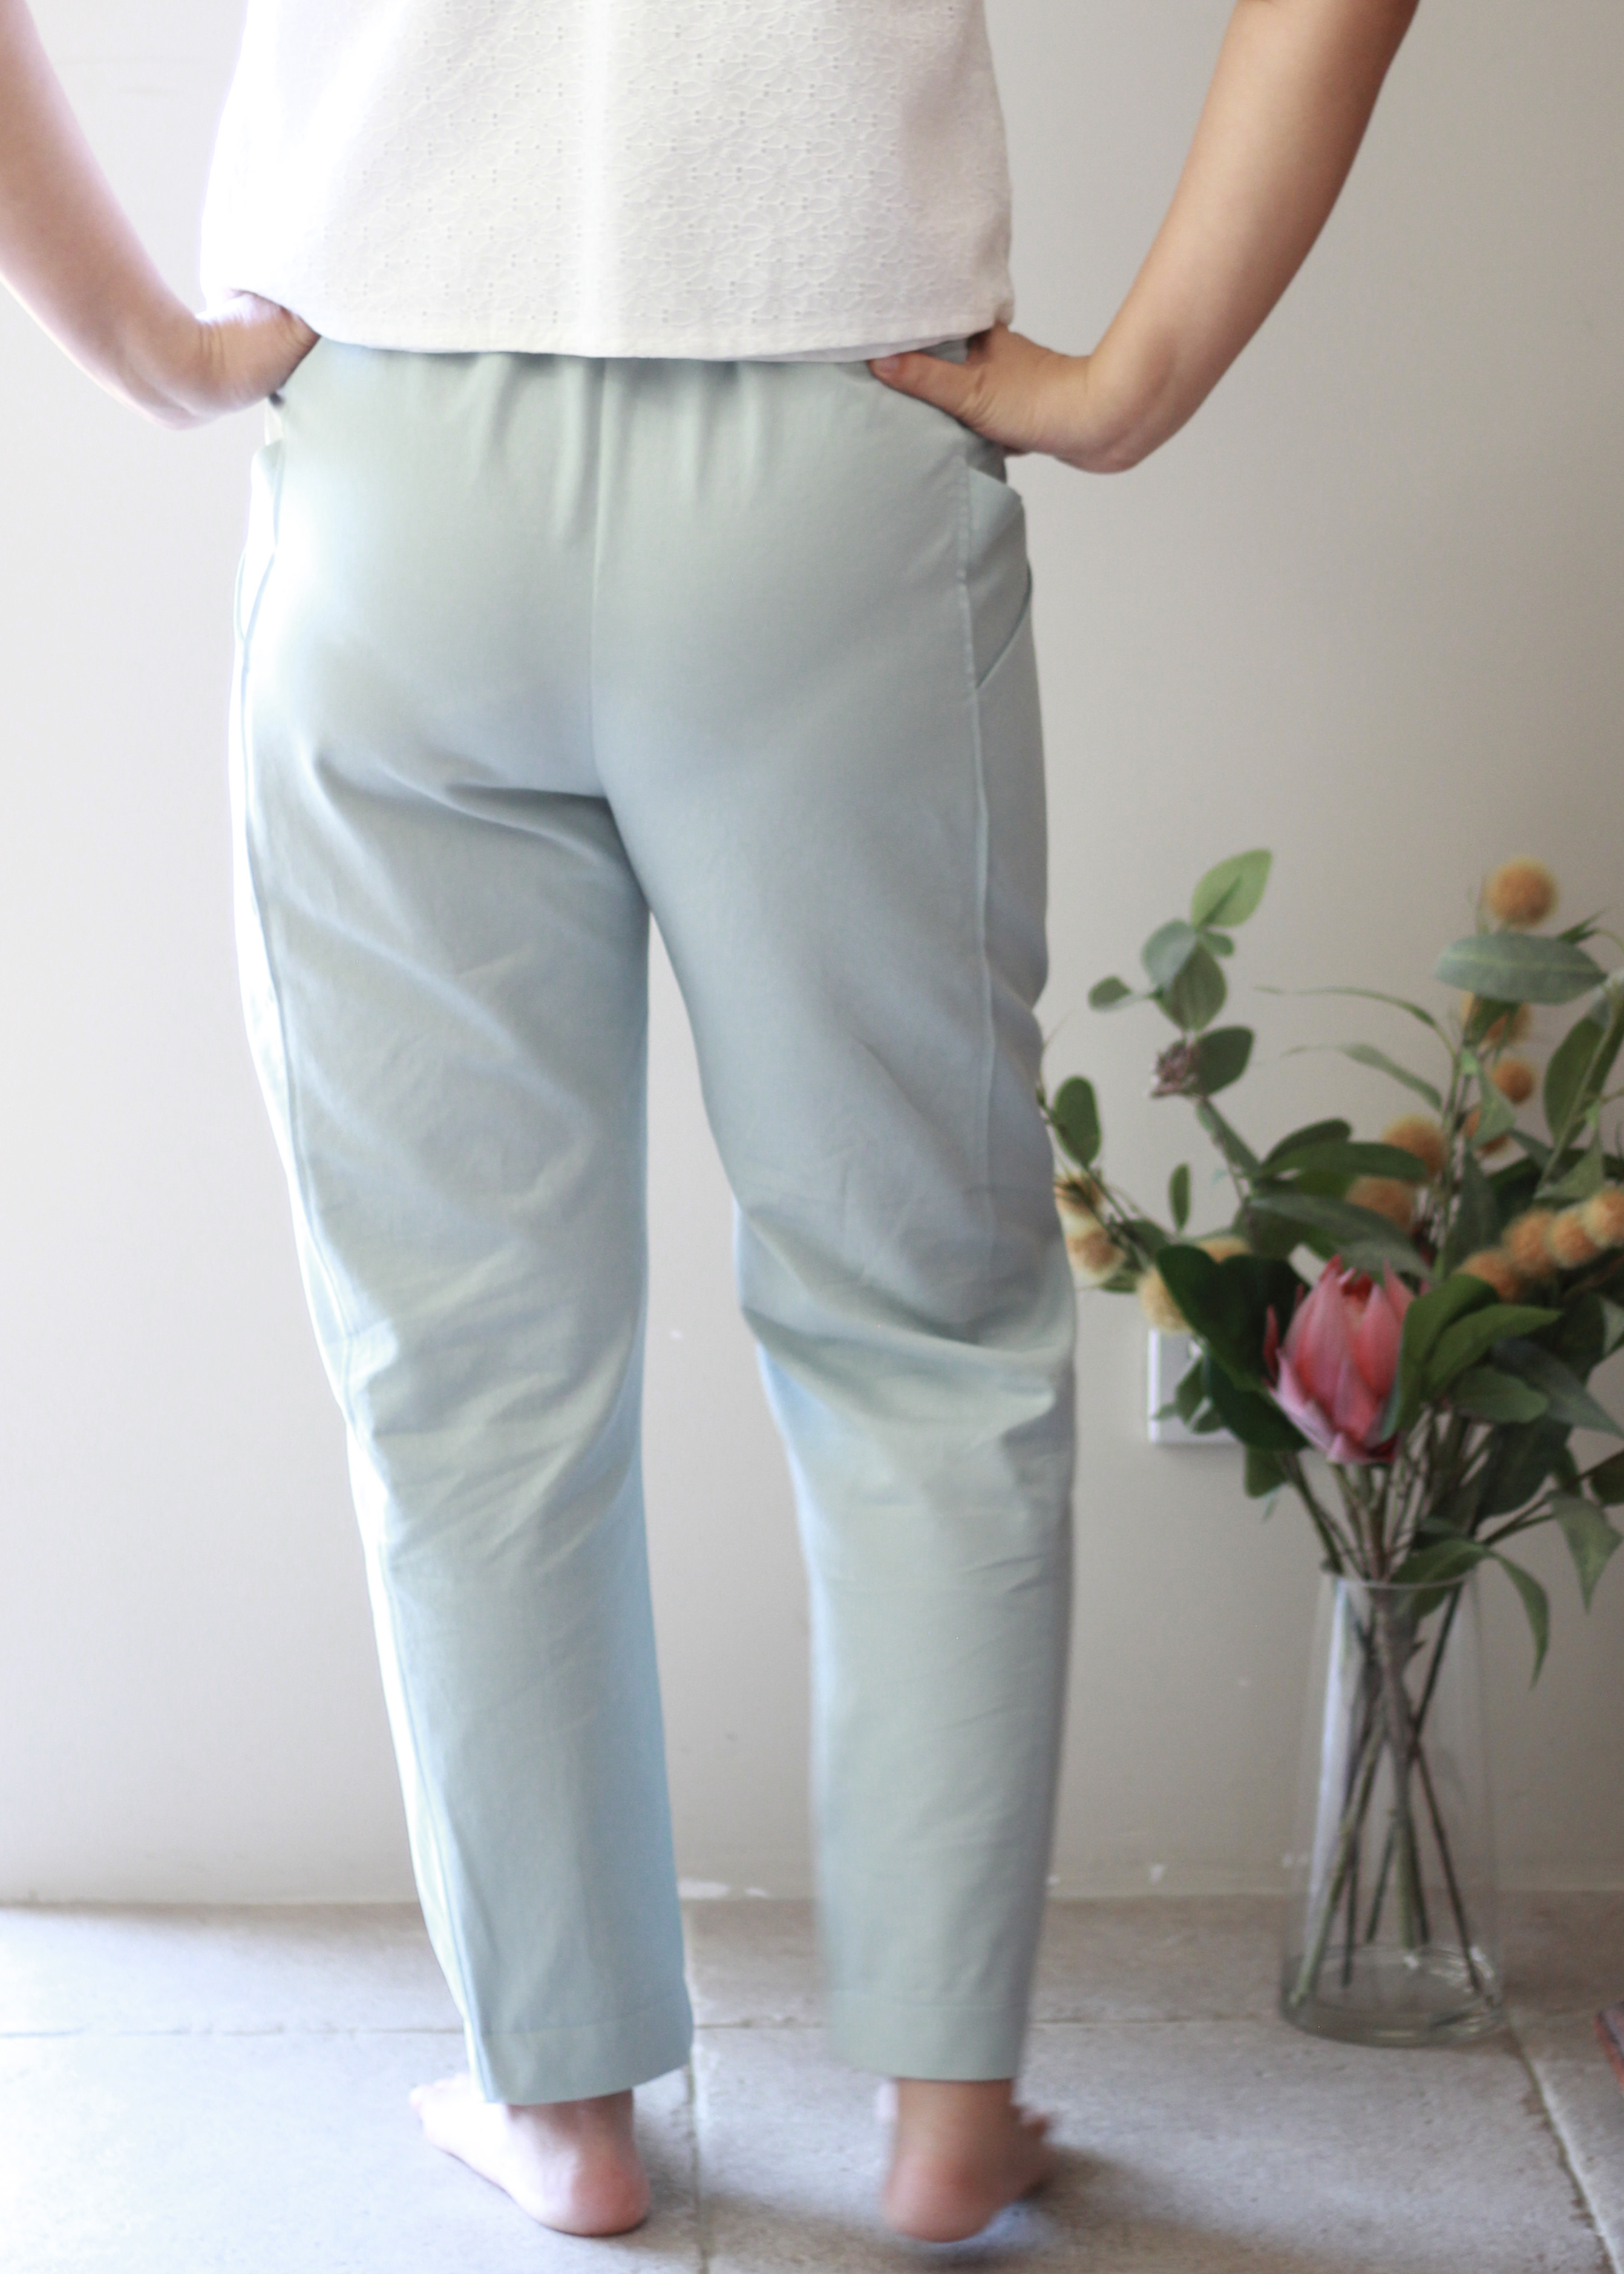
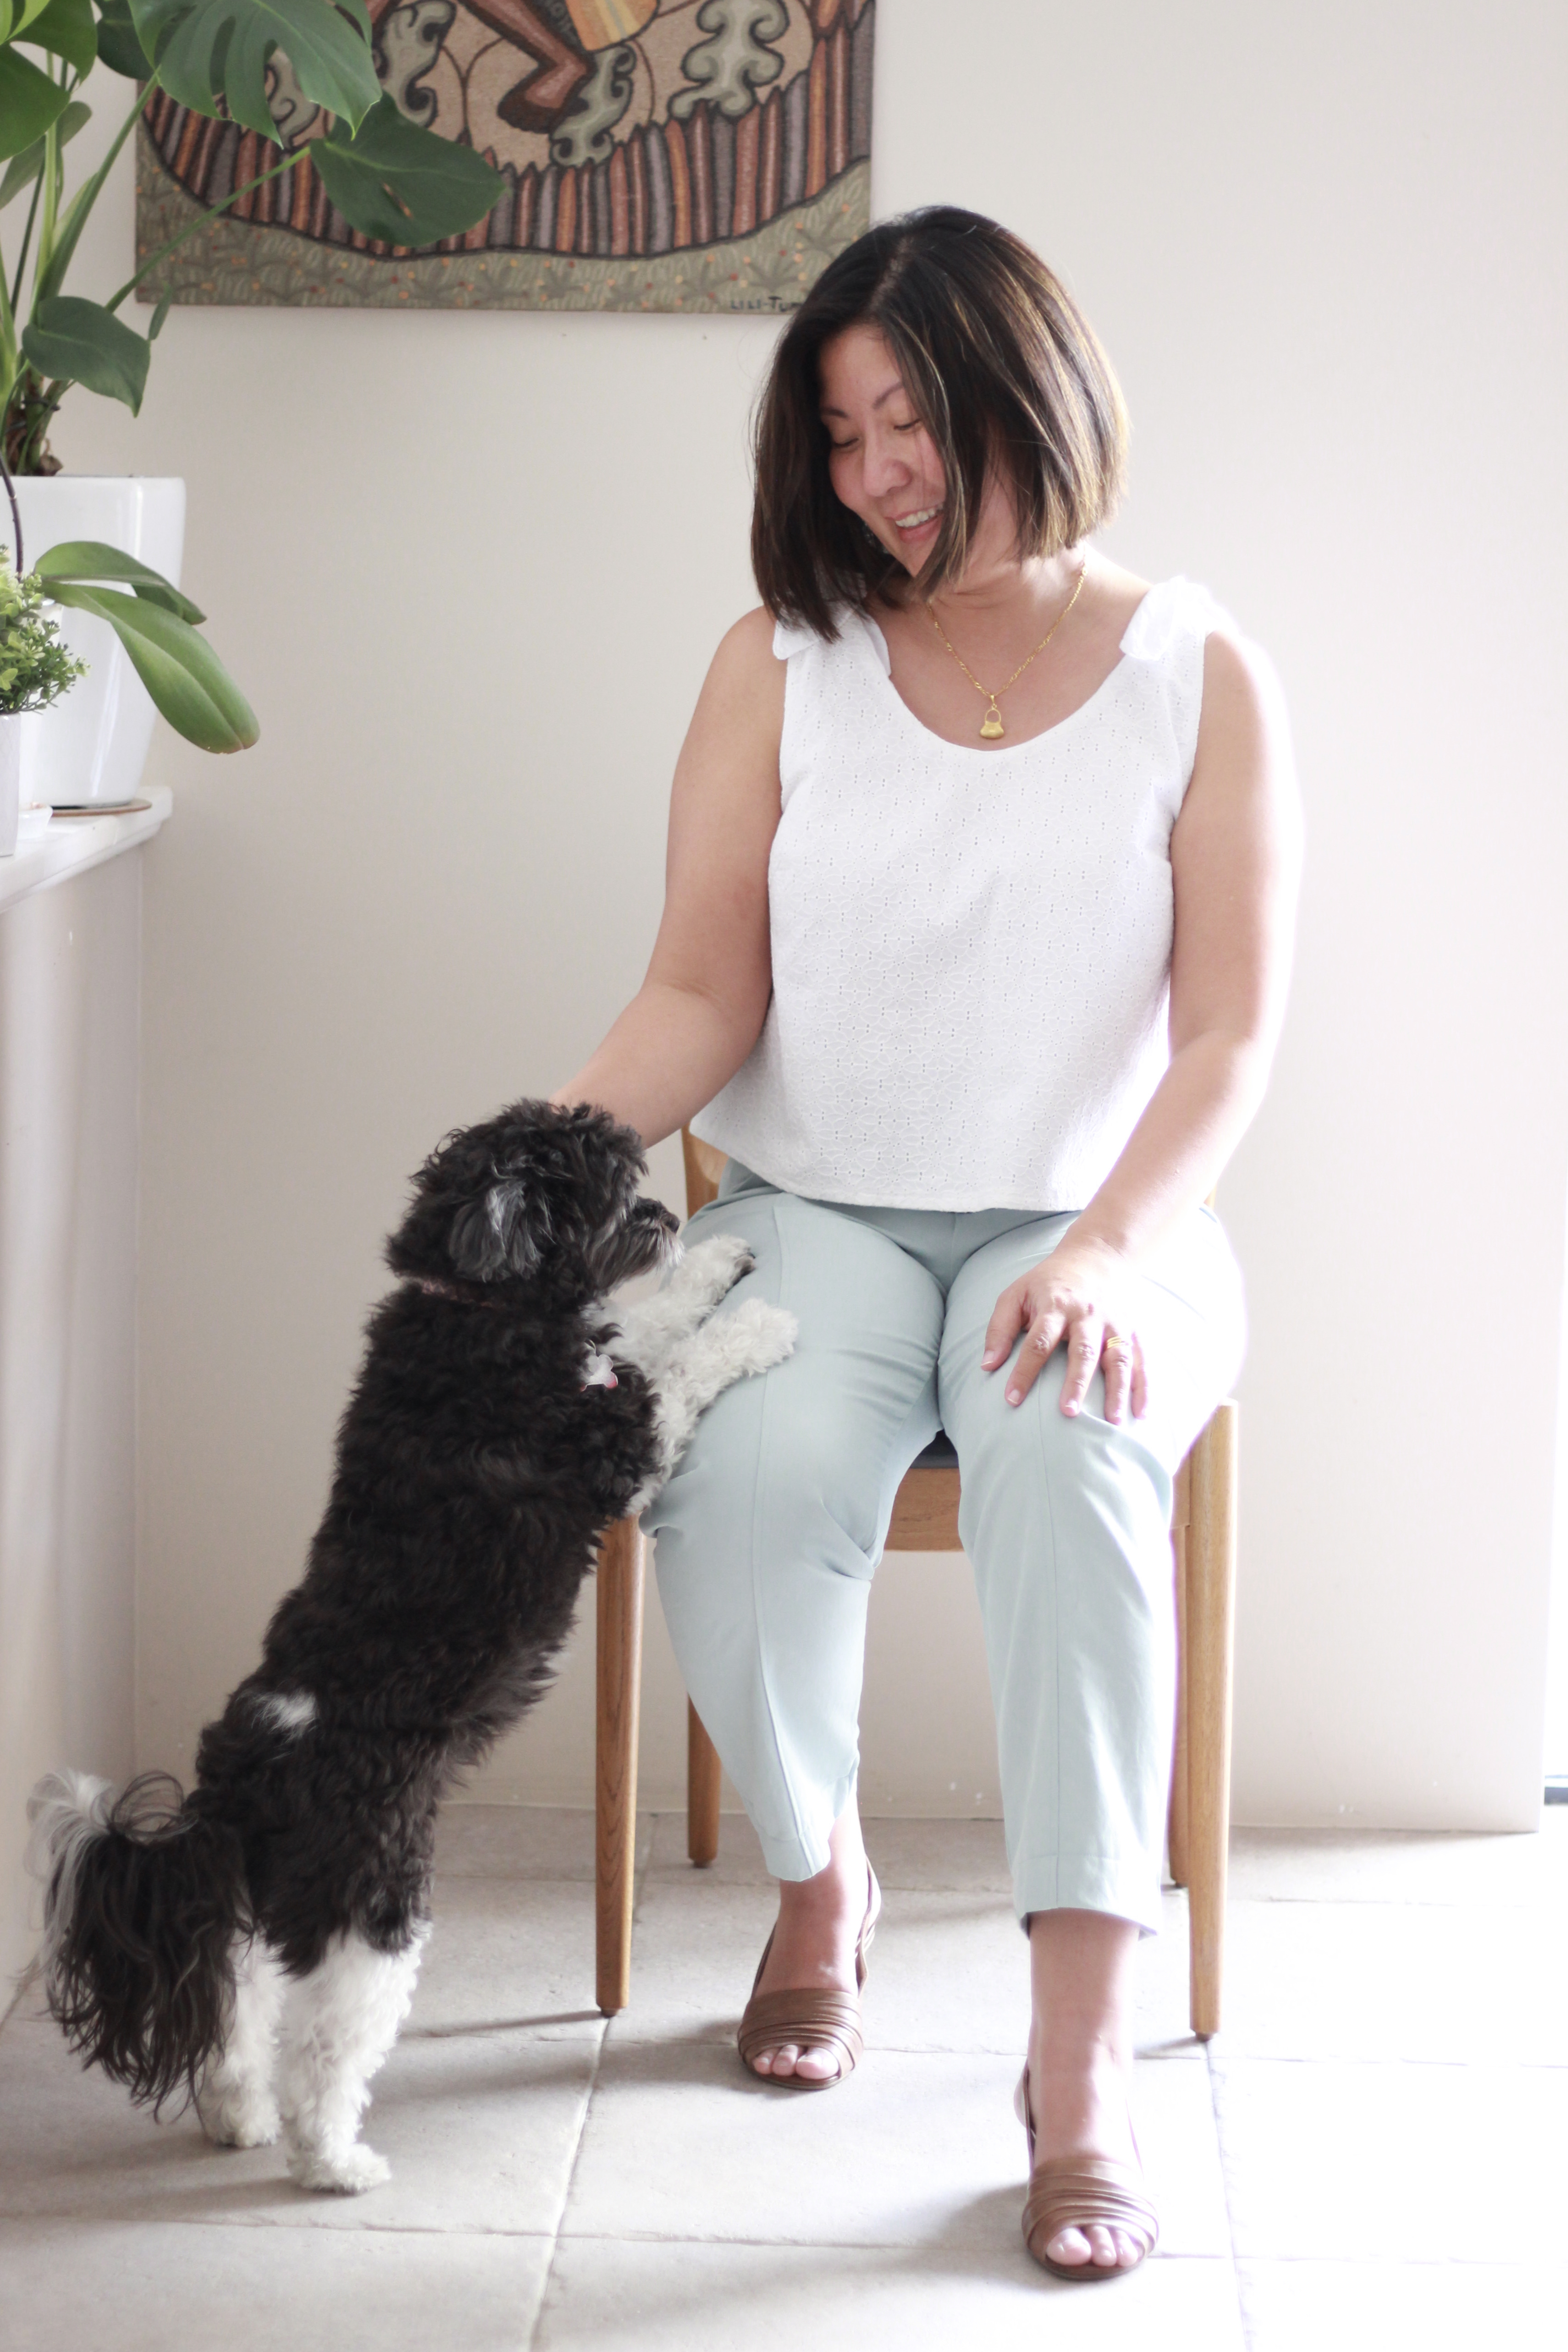
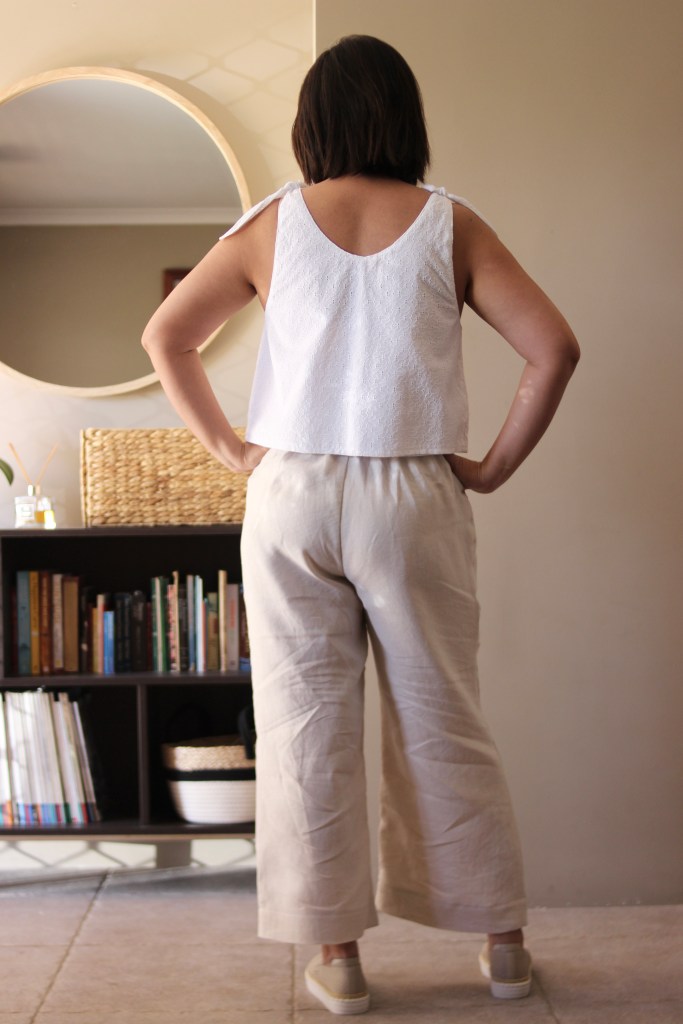
This skirt can be styled in so many ways. I love how you can pair it with a t-shirt and a pair of sneakers in summer. Dress it up with a jazzy blouse and heels for a night out or boots and turtleneck for a cosy winter outfit.
I don’t usually talk too much about personal life but the period during this pattern test was quite topsy turvy! I had a failure of confidence which was brought on by time pressures as I was also preparing to speak at a conference. Then as that weekend approached, covid visited my youngest which added to the stress (thankfully, fully recovered). What I was grateful for was Vanessa’s calming influence and reassurance. In fact, I was so surprised that I managed to finish the Carrie Skirt before the deadline which Vanessa had kindly reassured me that I didn’t need to meet.


I’ve really enjoyed sewing another beautiful pattern from Vanessa Hansen Studio and hope it does well during its launch! I was so happy to be able to complete this pattern even though I was sidelined in the middle of the testing period. Again, Vanessa is always so generous with her time and knowledge during the test and I felt that I learnt so much!
Thanks for reading and happy sewing!
X Em