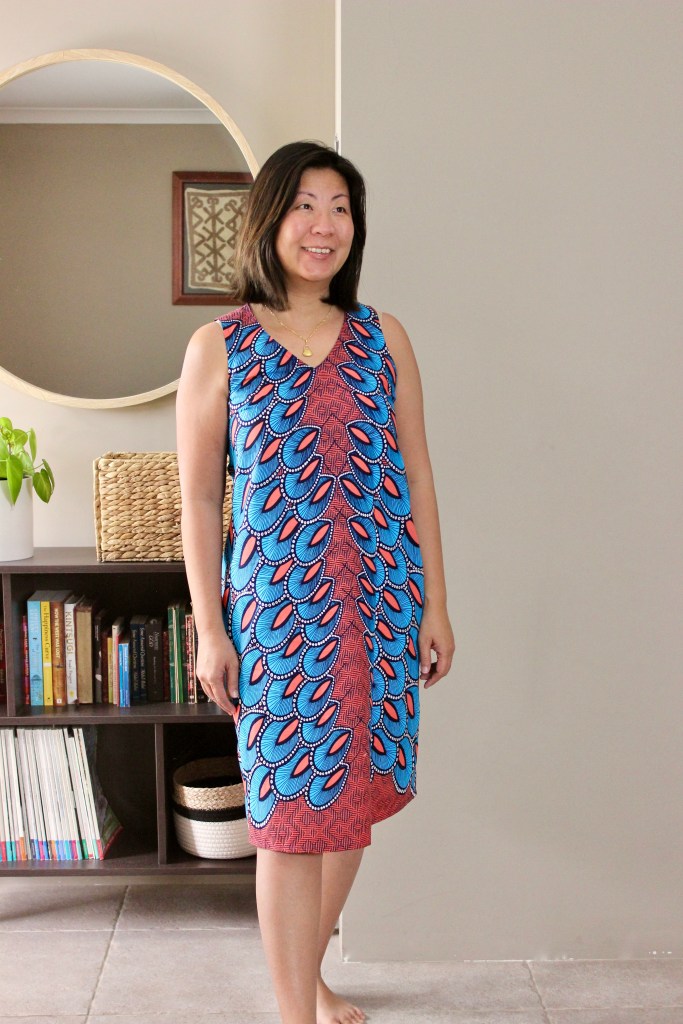
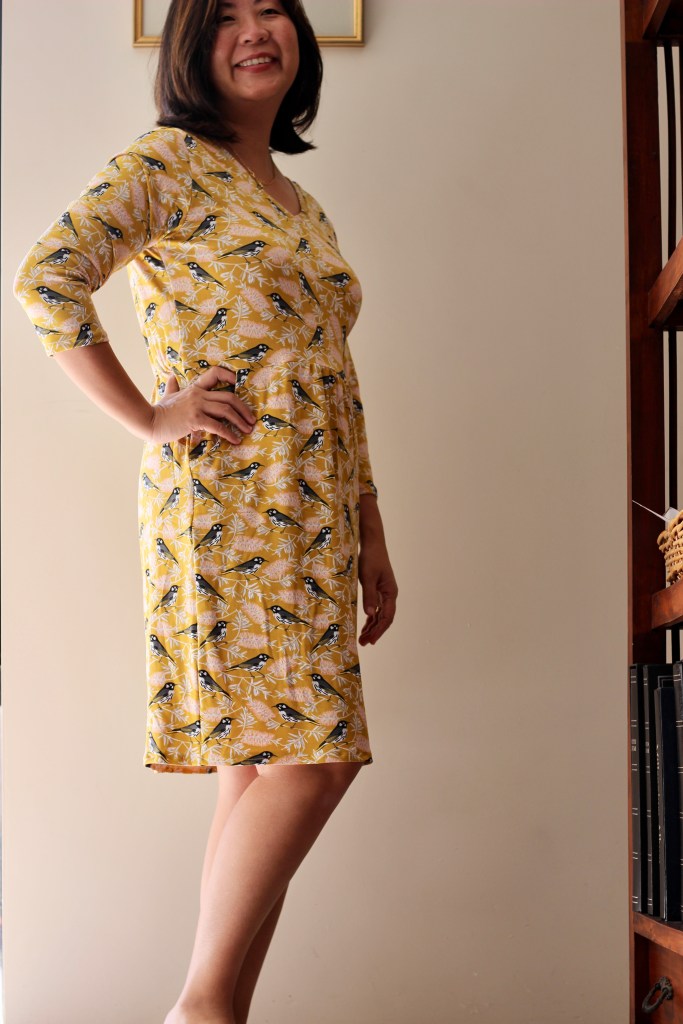
With the onset of spring here in Perth, I thought I would tackle The Meridian Dress by Papercut Patterns which has been on my Make Nine Sewing Challenge List. The dress has a beautiful silhouette with an easy to fit wrap front. I jokingly told a friend that I was making this dress to go to dinner parties with because the wrap front makes it easy to adjust for a full belly! But actually, it really does work to make it a very comfortable dress to wear. Like most women my dress size can go between two sizes in one month – I work in women’s health and this is a common complaint. This is also often why we’re sometimes caught out with, “nothing to wear” when a last minute event pops up and we haven’t had a chance to check the current fit of a “going out” outfit.


I’ve sewn the size 4 for my measurements of 37 Bust, 33 Waist, 38 Hips. The finished measurements range from B34.6:W24.4:39.2 to B51.2:W40.9:H55.7. No adjustments were needed for my sew. The front wrap bodice had a very interesting construction and the main thing to watch out for is the attachment of the front bodice to the skirt. There is a chance of a hole if you miss catching the panels of fabric where the wrap meets so just go slowly and I also hand basted that part with a coloured thread to make sure I wouldn’t miss it.


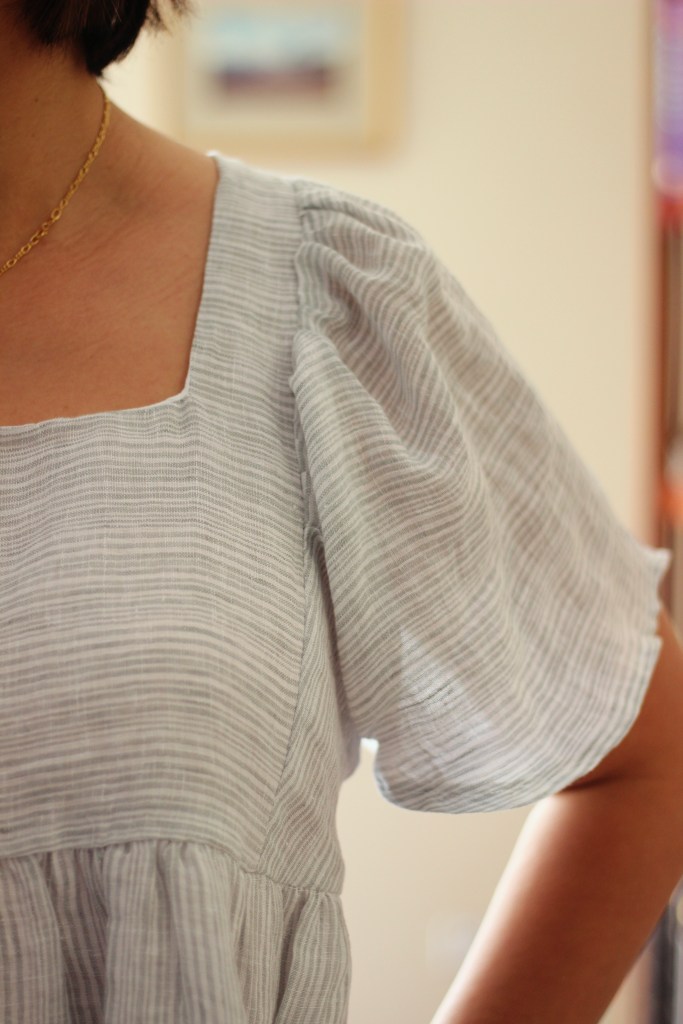
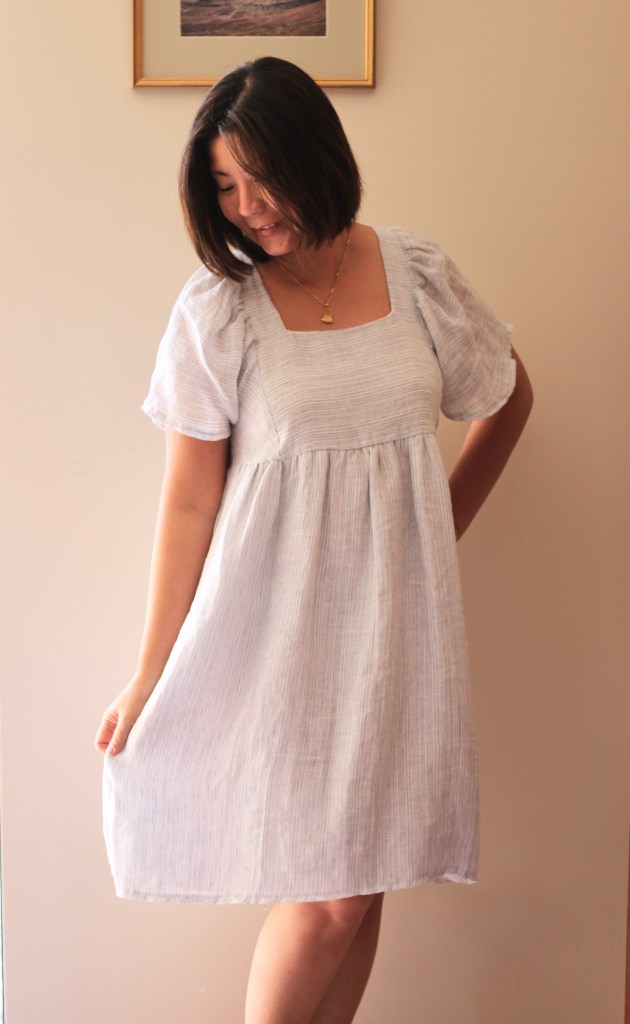
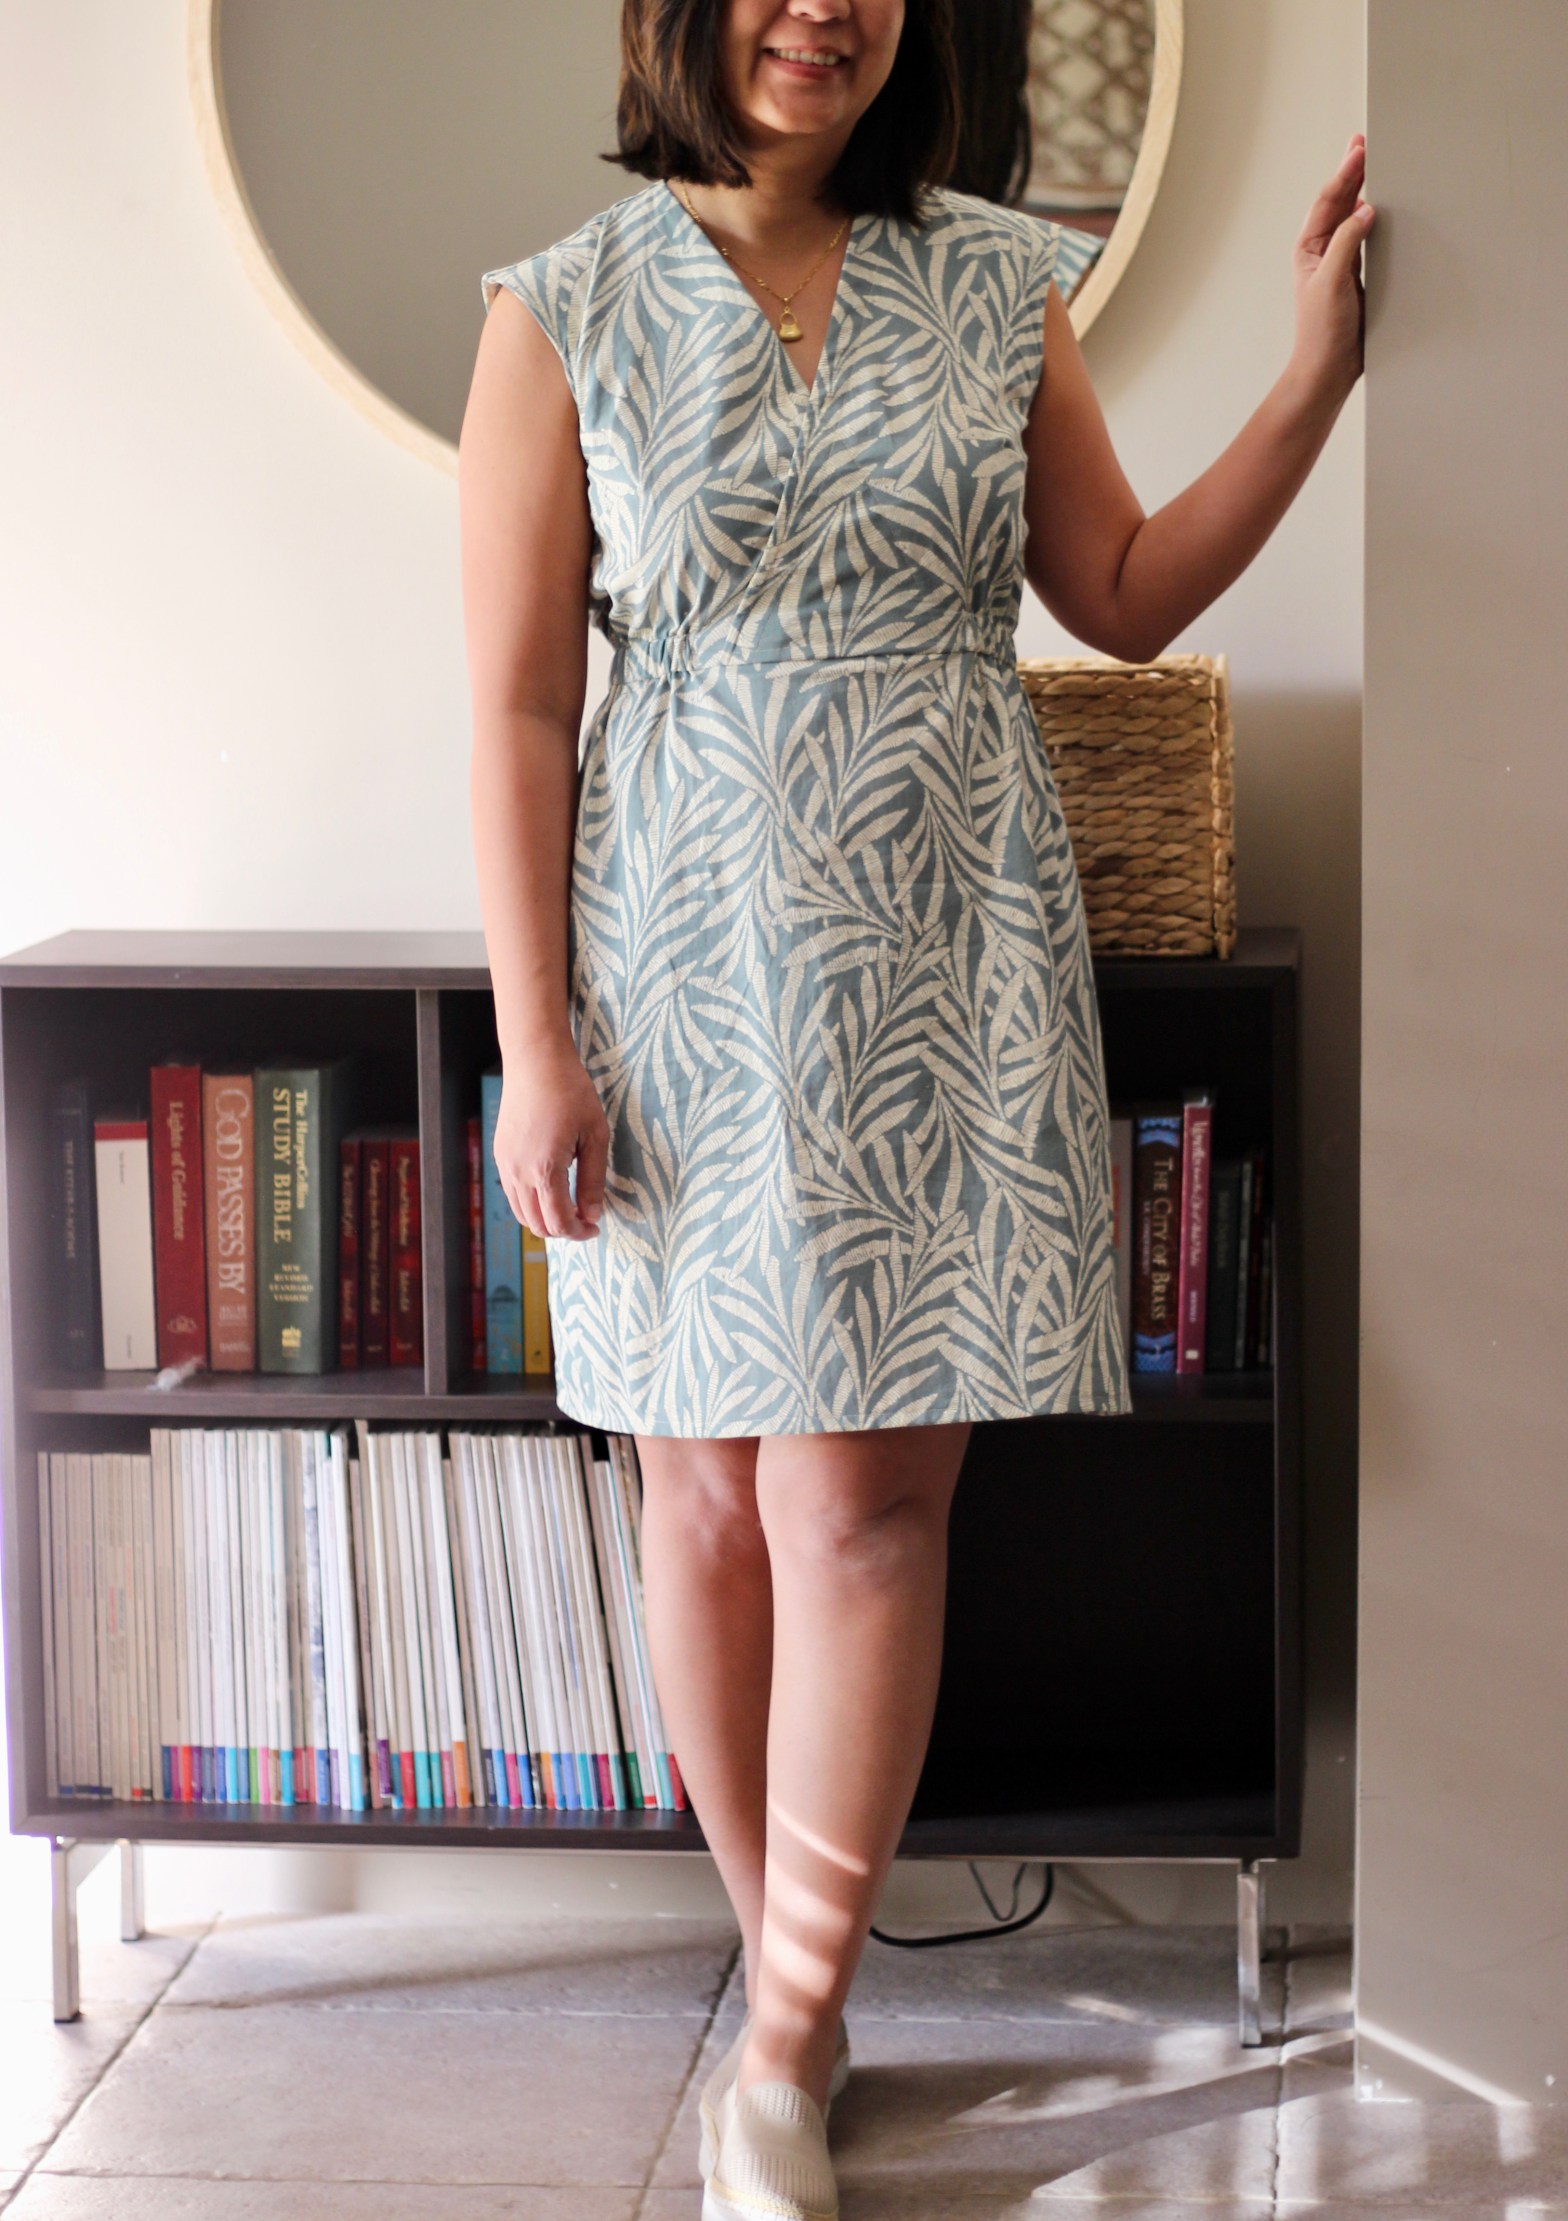
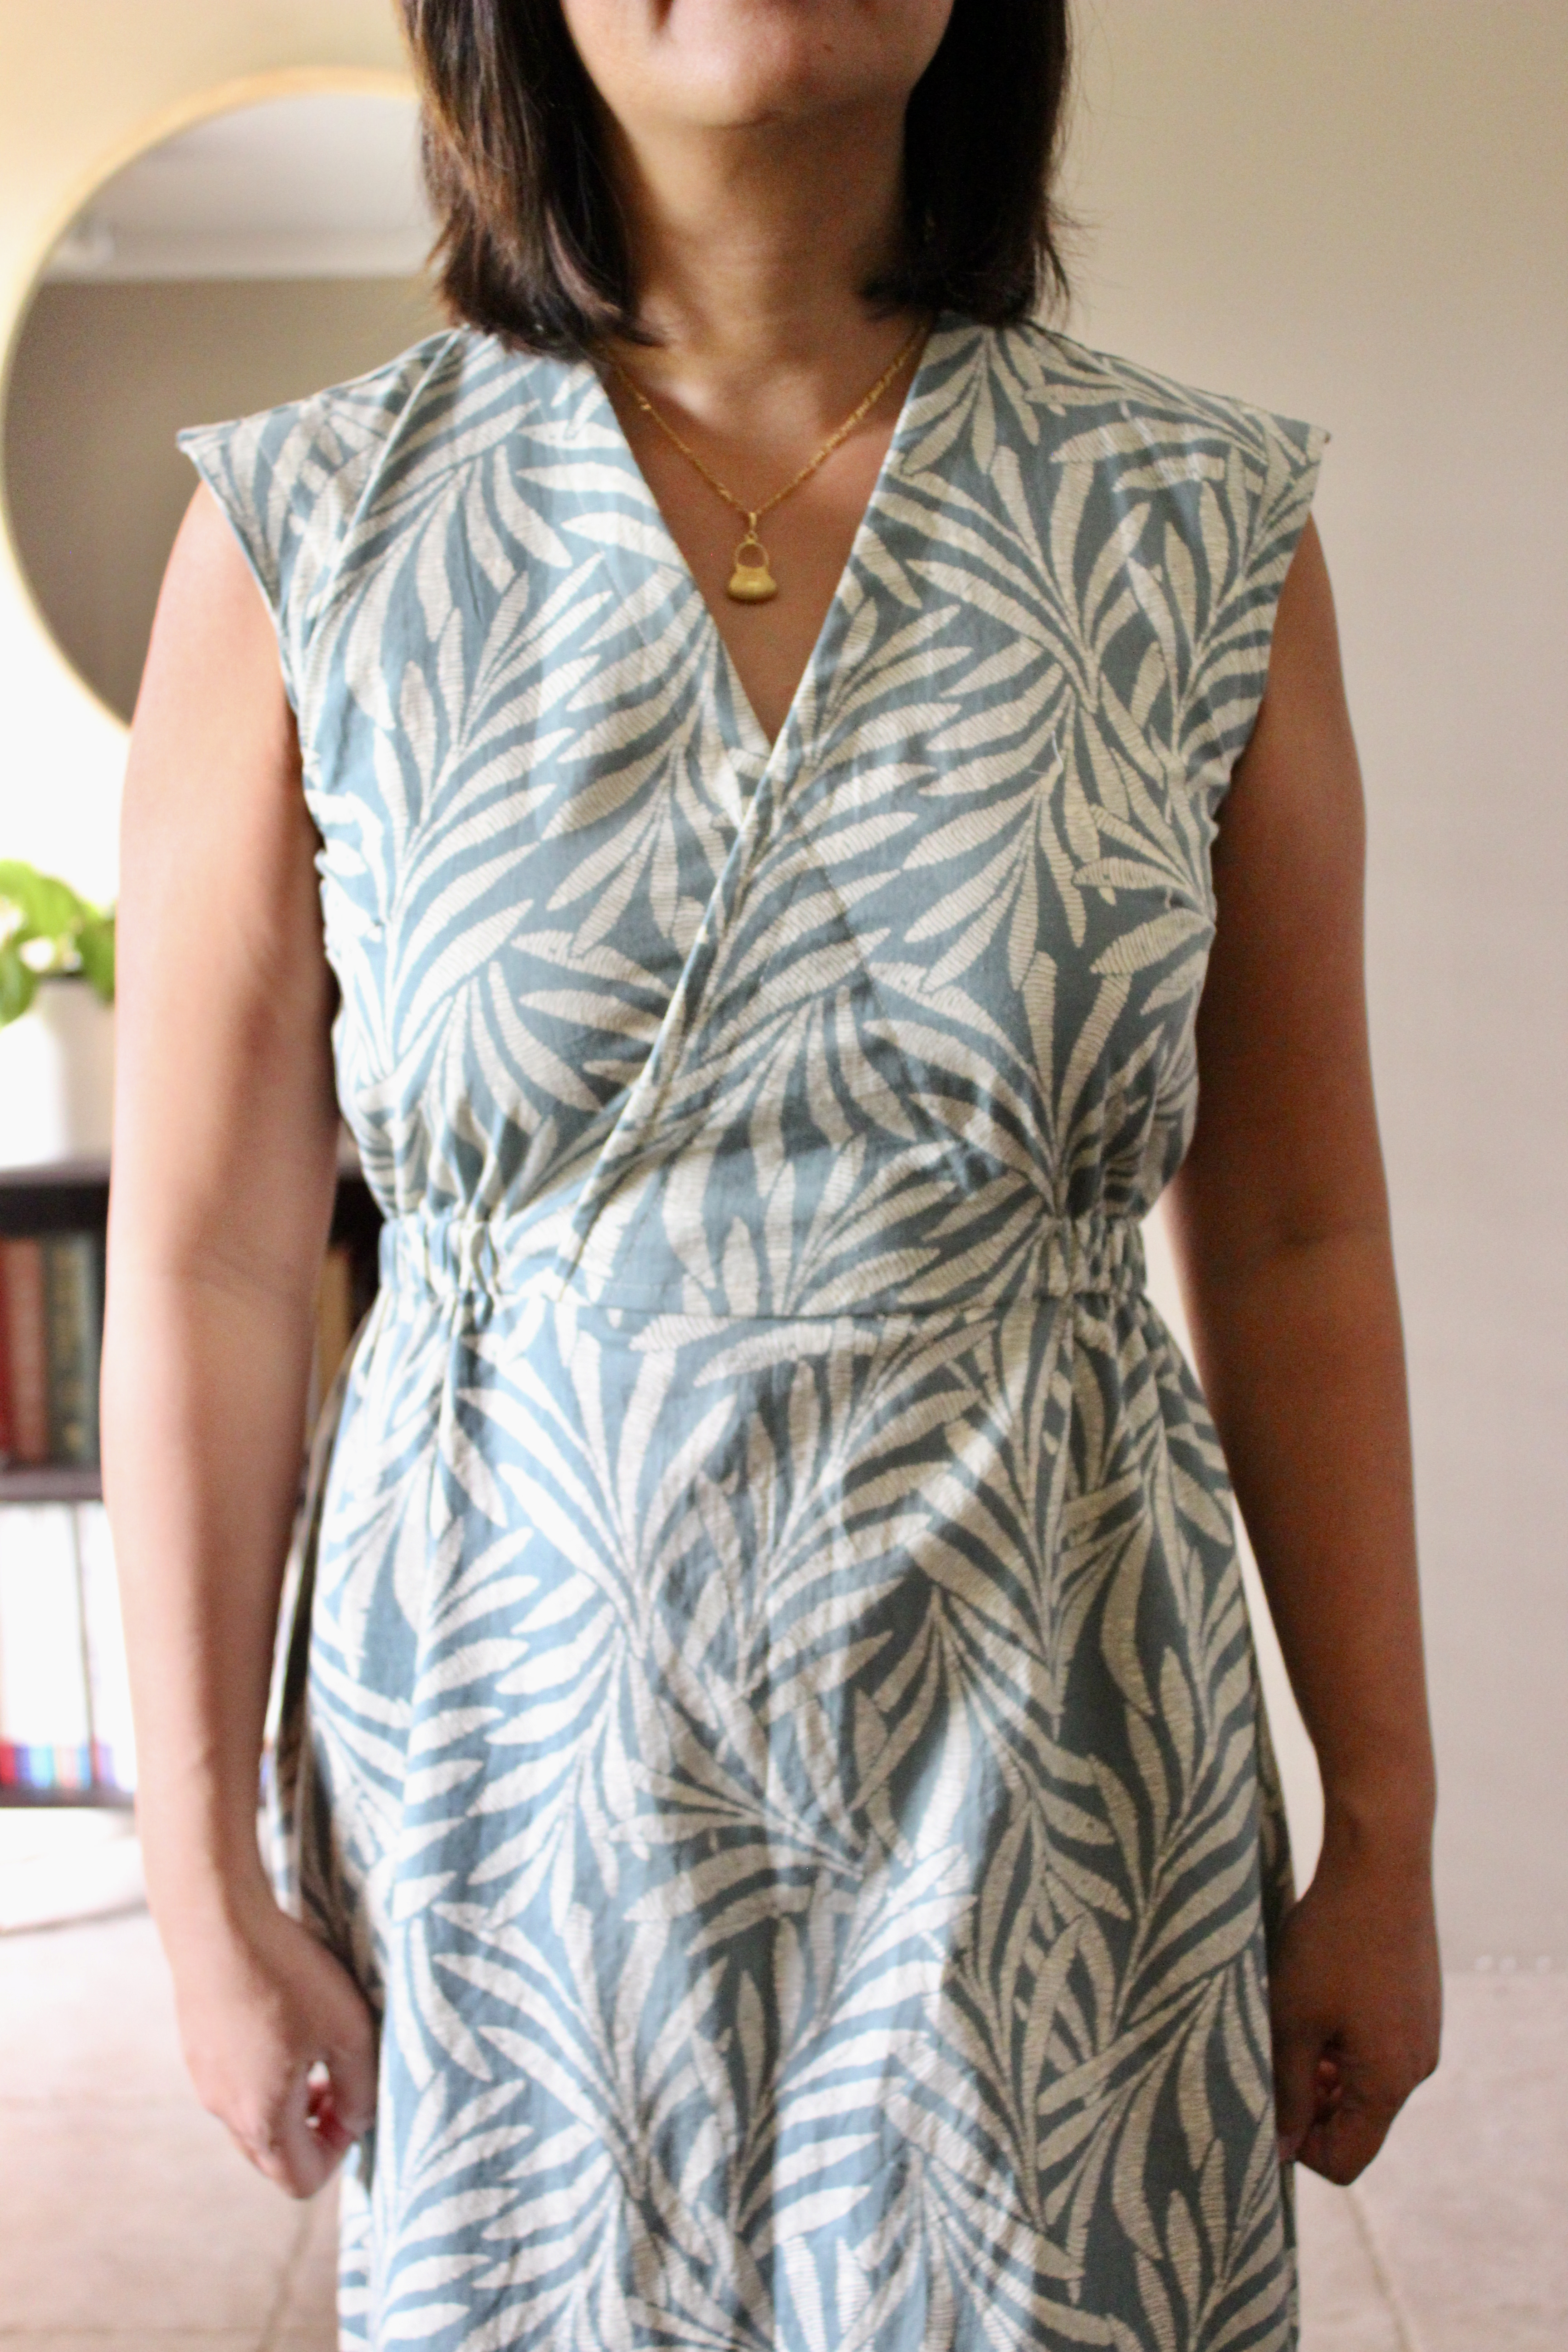
The fabric I used was a thin polyester crepe which was a beautiful green with small flowers. I chose it because of the wrap front. I felt that a bulky fabric might spoil the silhouette. This also meant that I had to modify how the facing was sewn. It was attached in the usual way at the neckline and zipline, but I didn’t sew down three inches from the edge. Instead, I stitched in the ditch at the waistline and the shoulder seams.

Also, I think it’s time I invested in an invisible zip sewing foot. I’m still attaching mine with a normal zipper foot and I found it a bit difficult this time. It might have also been the needle as I was using a 70/10 for the fine, delicate fabric but perhaps should have sewn the zip with a heavier needle. Do you change your needles when sewing? Comment below. Anyway, it came together in the end and I love the back view of this dress. I’m hoping to find a prettier button for the dress in the future.


So, this is actually my wearable toile for this pattern. Sometimes I toile with spare cheaper thrifted fabric and sometimes I dive in with a cheaper fabric that’s wearable but I try to always toile. This fabric was a real bargain at $9 per meter from Spotlight Stores so I bought about two meters. I only had enough for the dress without sleeves which I’ve ended up really liking. I wear cardigans all the time, even in summer so sleeveless is often more comfortable for me. I will be making this dress again and I will be attaching the sleeves in the next one. To finish the armscye, I made some bias binding. It’s such a satisfying process!

The Meridian Dress is such a flattering, elegant dress and I’m definitely giving it 10/10 for design and instructions. A very satisfying sew and good for an advanced beginner.

Thanks for reading and happy sewing!
X Em