Alea Shirt

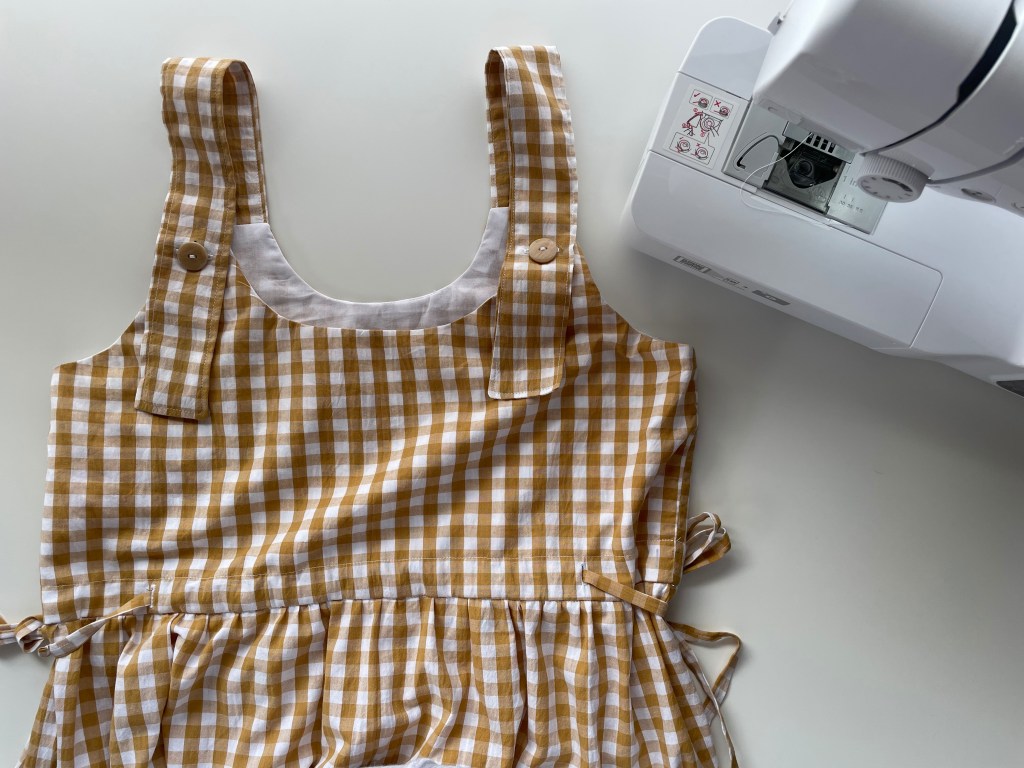
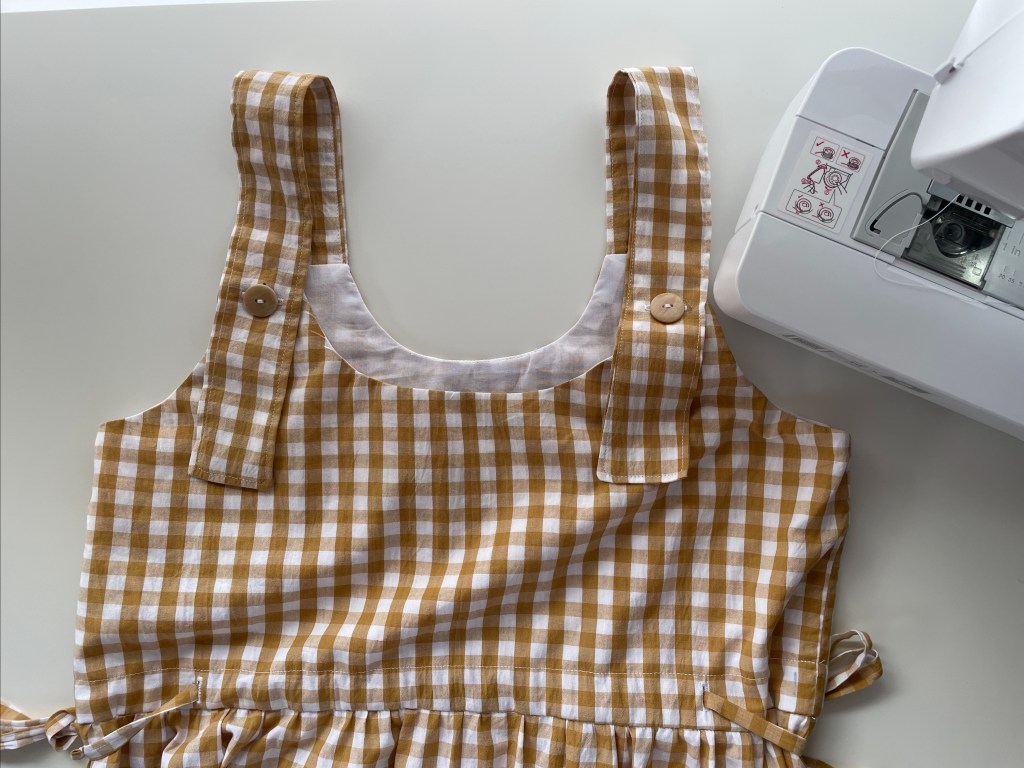
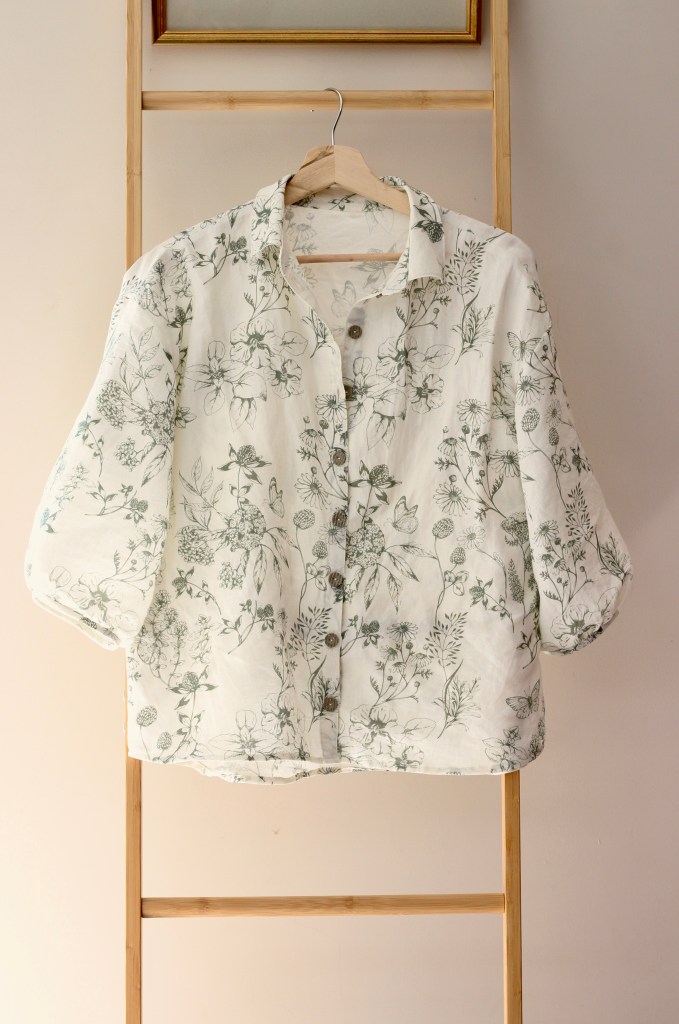
One of my sewing goals this year was to expand my repertoire especially in creating separate pieces. A blouse is such a wardrobe staple, so it was great to find a shirt with some feminine elements. The Alea Shirt has these wonderful full sleeves as an option, and I explored sewing both the three quarter and full long sleeves. This was also the first time I’ve made a stand-up collar. This is a fantastic collaboration between Marsha Style who is one of my favourite pattern designers and the awesomely talented Sewlala.

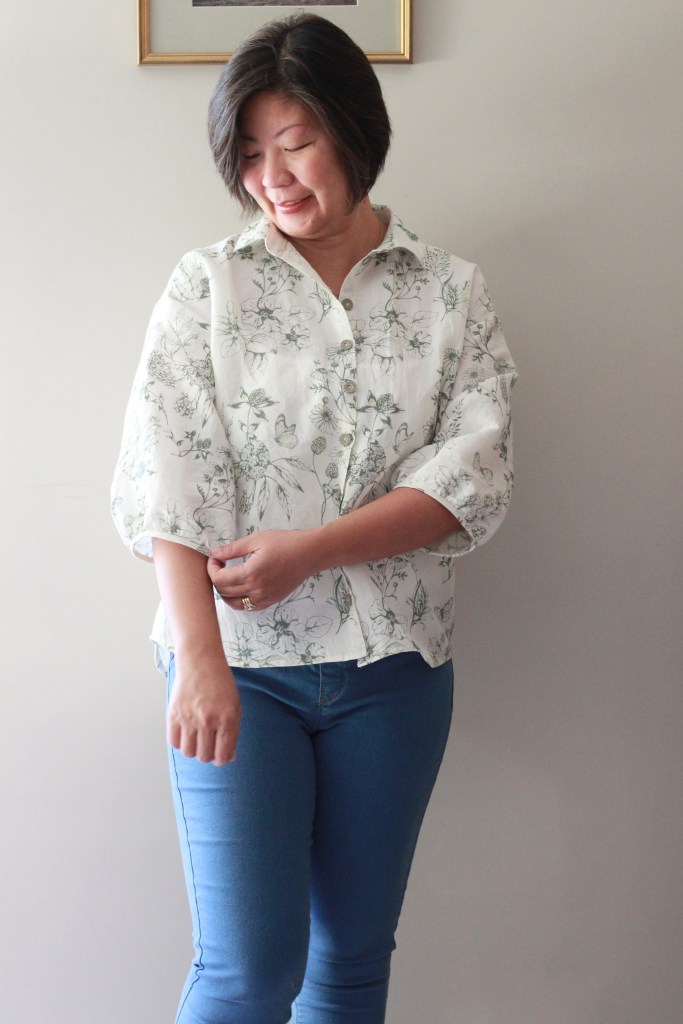
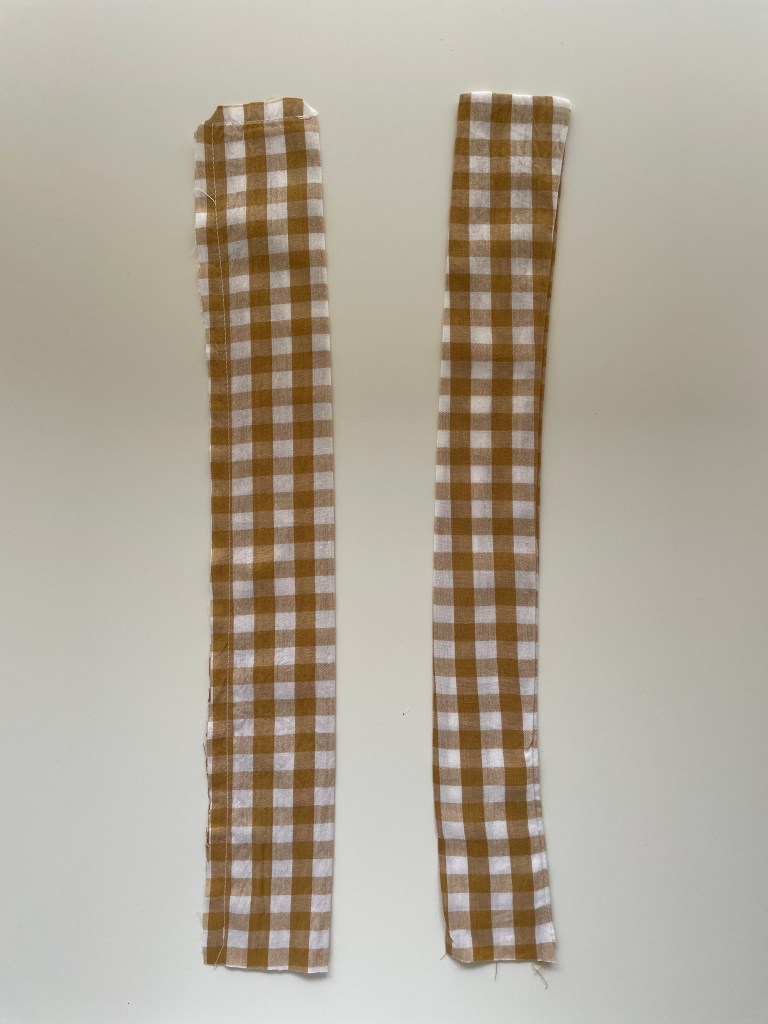
The sizing is spot on. I made the size 8 for my measurement of 37 Bust and 33 Waist. The only small modification I made was for the sleeve when I made the full long sleeve option. I initially finished the sleeve with bias binding but found that it was too loose and hung halfway down my hand. It was an easy fix and instruction are included in the pattern. I just replaced the bias binding with an elasticated sleeve hem. This made full use of the shape and fullness of the sleeve. Some glorious puffiness!

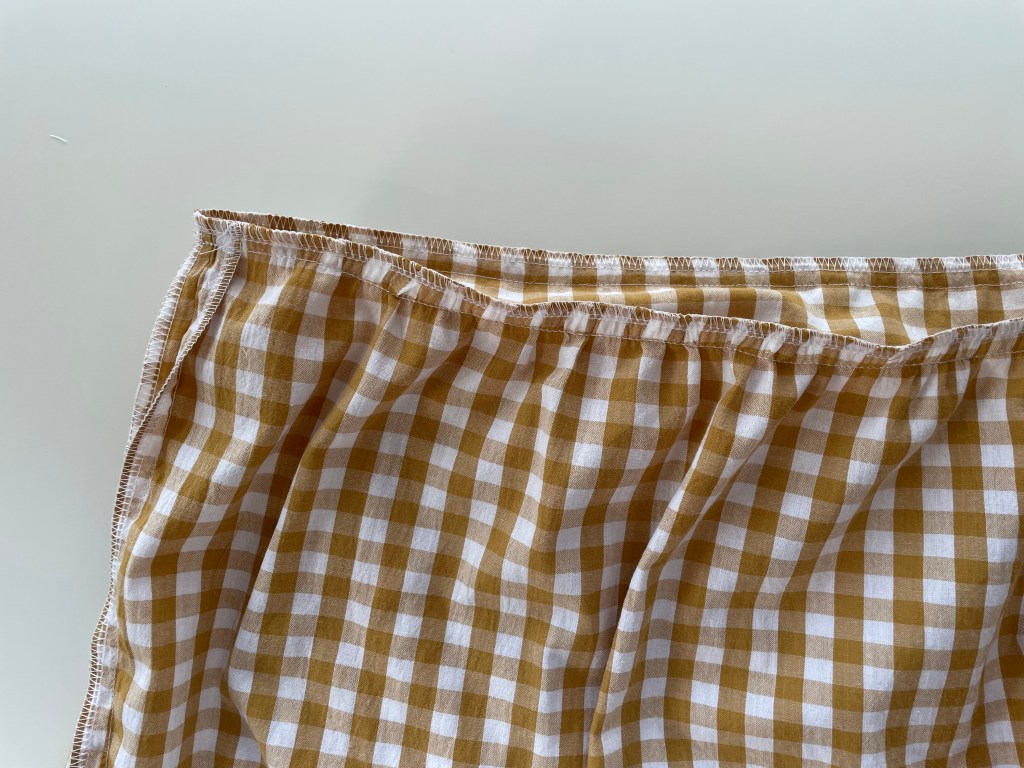
The shirt option called for 1.5 meters of fabric. I found that I needed just a little more with the long sleeve version. I had left the pockets off as well which saved some fabric. To be safe, I bought 2 meters for the long-sleeved version. My first blouse was made with linen and my second version was made with a cotton. Both were a great match for the pattern and easy to sew with. 

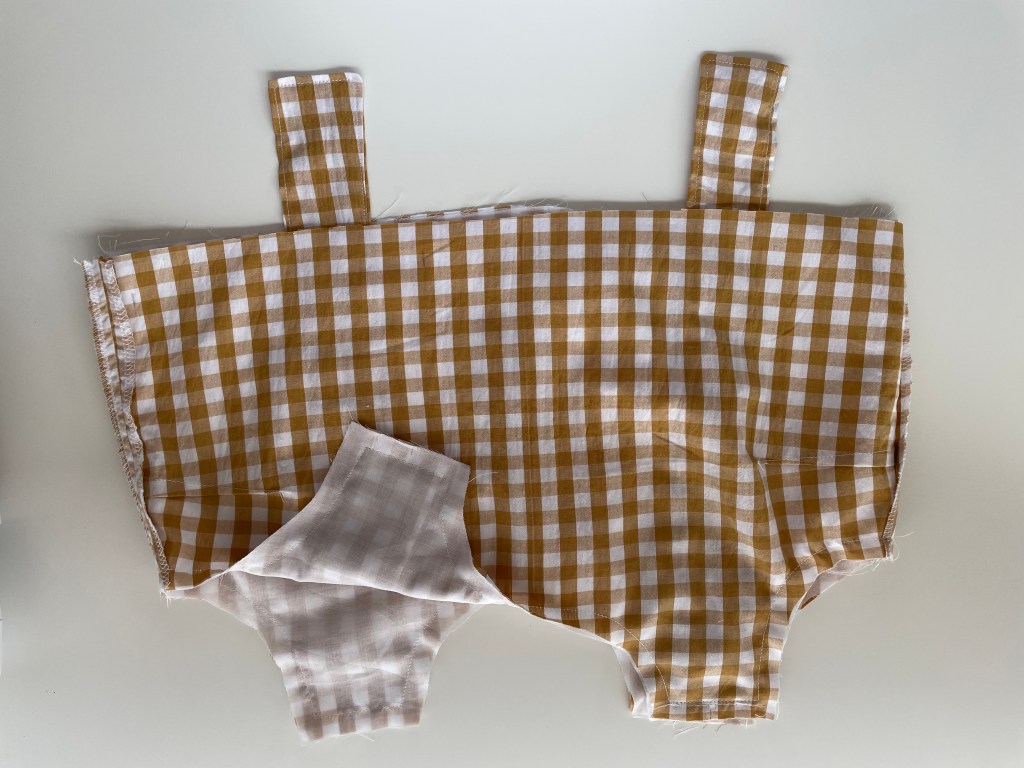
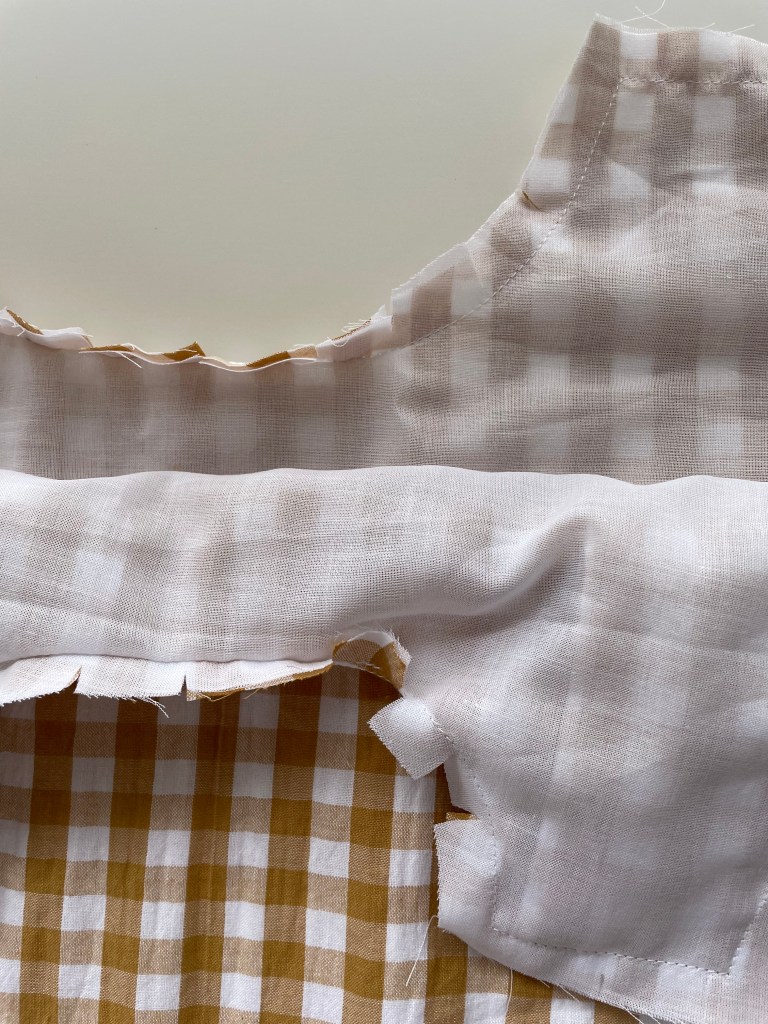
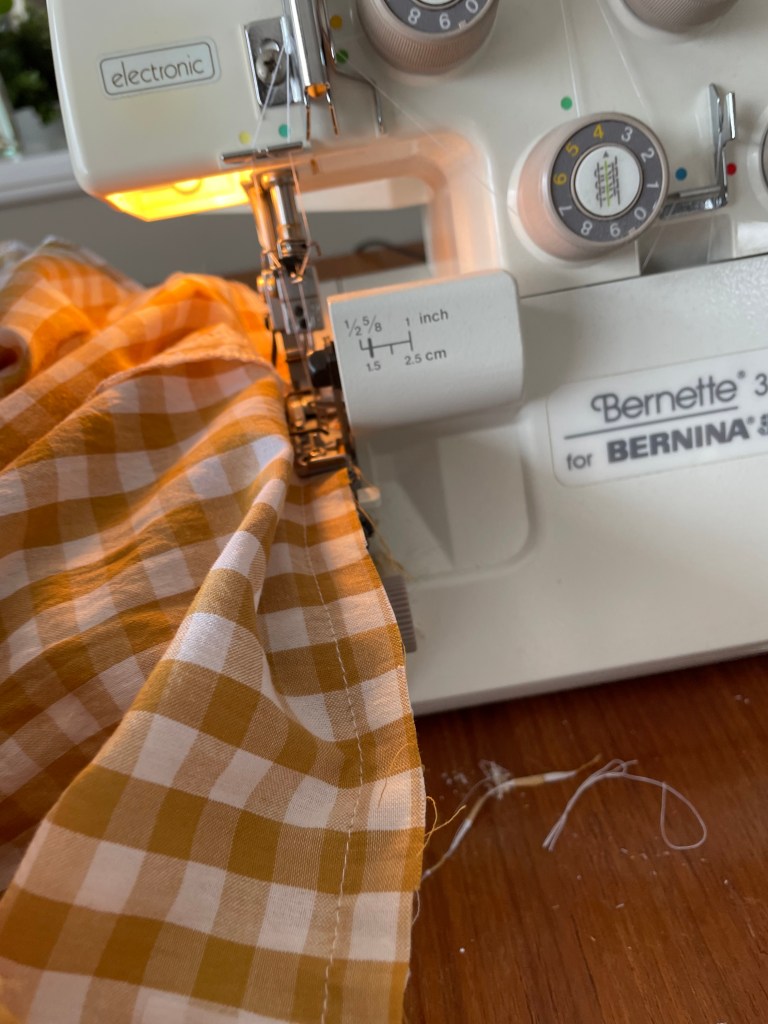
I’m not very experienced with sewing collars or plackets but the instructions made the process so easy! I’ll definitely be referring to this again for the instructions on these. It’s great to have a few ways for constructing the same thing.

Another great learning moment for me on the sew was the attachment of buttons. With the excitement of the finish line in sight, I had sewn the buttons on and then finished the hem. To my disappointment, the two front pieces did not match up when buttoned up. The obvious solution was to resew the hem, right? Well, when I checked the instructions, I saw that my construction was out of order. The instructions recommended hemming first then attaching the buttons. So, the issue was quickly resolved by detaching the buttons and realigning them. Problem solved! A reminder for me to keep checking my steps. 

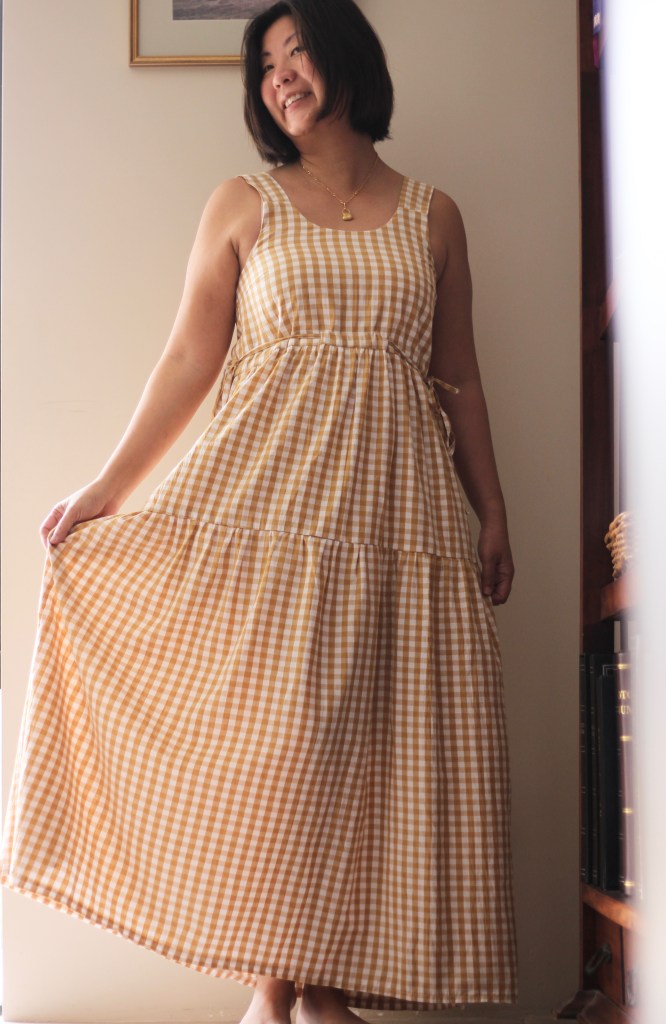
I’ll be hoping to tackle the dress version for summer. I’m especially keen to sew Version D. 

Thanks for reading and happy sewing!

X Em

Grace Dress

“Cottage core” is a term that I was introduced to by my daughter when I started to point out these beautiful dresses reflective of an idyllic rural lifestyle which have recently become more popular since last year. I’ve read that it’s society’s reaction to recent global events, making a wholesome, clean lifestyle more attractive. The Grace Dress definitely falls into this category with its vintage vibes. It’s what you imagine wearing if you had a field to roam in carrying a basketful of wildflowers with a backlighting of sunshine (inspiration for my picture).

The Grace Dress is a collaboration between Taree from @marshastyle and Abby from @abby_sews. When they started promoting this, I immediately saved it and waited for the much-anticipated pattern release. I’ve sewn the View B of the dress which has a multi-tiered gathered skirt, buttoned shoulder straps and a casing for some waist-ties (very flattering). Oh! I also have to mention that it has generous pockets!

I made the size 8 with my measurements of 37 Bust, 33 Waist and 38 Hips. It has a great size range from 31:24:34.5 to 59:52:62.5 and after saying that I usually try to make a toile in my last blog post, I must confess that I just went straight into it without a toile with this sew because of the ease in finished garment. I’ve used this mustard yellow gingham fabric from Spotlight Stores. Gingham adds to that idyllic county aesthetic that I wanted with this dress. 

To start the sew, I prepared the straps and put together the bodice. Pretty standard construction with darts for the bodice. I used a white muslin for the lining pieces. The Grace Dress Pattern has lovely instructions for French seams, but I decided to finish with an overlocker. 

When you move onto the skirt, you’re putting in the pockets from the side seams. As mentioned above, I’ve decided to use an overlocker to finish my seams. To do this, I neaten my pocket pieces and neaten the skirt side seams on my overlocker. Then I attached the pocket pieces to the skirt pieces – make sure you keep the paired pocket pieces on the same side and be careful that you have the pocket markings at the same level for the front and back skirt pieces otherwise you’ll be frustrated by wonky pockets.

Skirt pieces are then gathered, and the longer bottom tier is attached to the top tier of the skirt. Now, how long is too long? This is a pattern made for 5’7 height which I did not modify. I really wanted a maxi dress and crave that swishy feel of a long skirt. 

The most interesting part of the dress in View B is making this channel for waist ties. Skinny straps and ties are the bane of my sewing life. Yes, I have a loop turner. No, it doesn’t make it any easier. Yes, it still took me about an hour and a lot of swearing. Anyway, that doesn’t take away from this interesting little feature. This little feature sets it apart of from other tiered dresses as it cinches the fabric in at the right spot to make a very flattering silhouette. I chose to hand baste the lining before using the stich-in-the-ditch method to finish. 

The final part was to sew the buttons in to finish the shoulder straps. In my initial try-on of the dress, I realised that I have slightly sloping shoulders which made the straps gap quite badly. After some thought, I decided to sew the straps on a slight angle which also ensures that there won’t be any wardrobe mishaps. I’ve still attached the button as I had already sewn the buttonholes.

Here are some close-ups of the beautiful Grace Dress!

Thanks for reading and happy sewing!

X Em