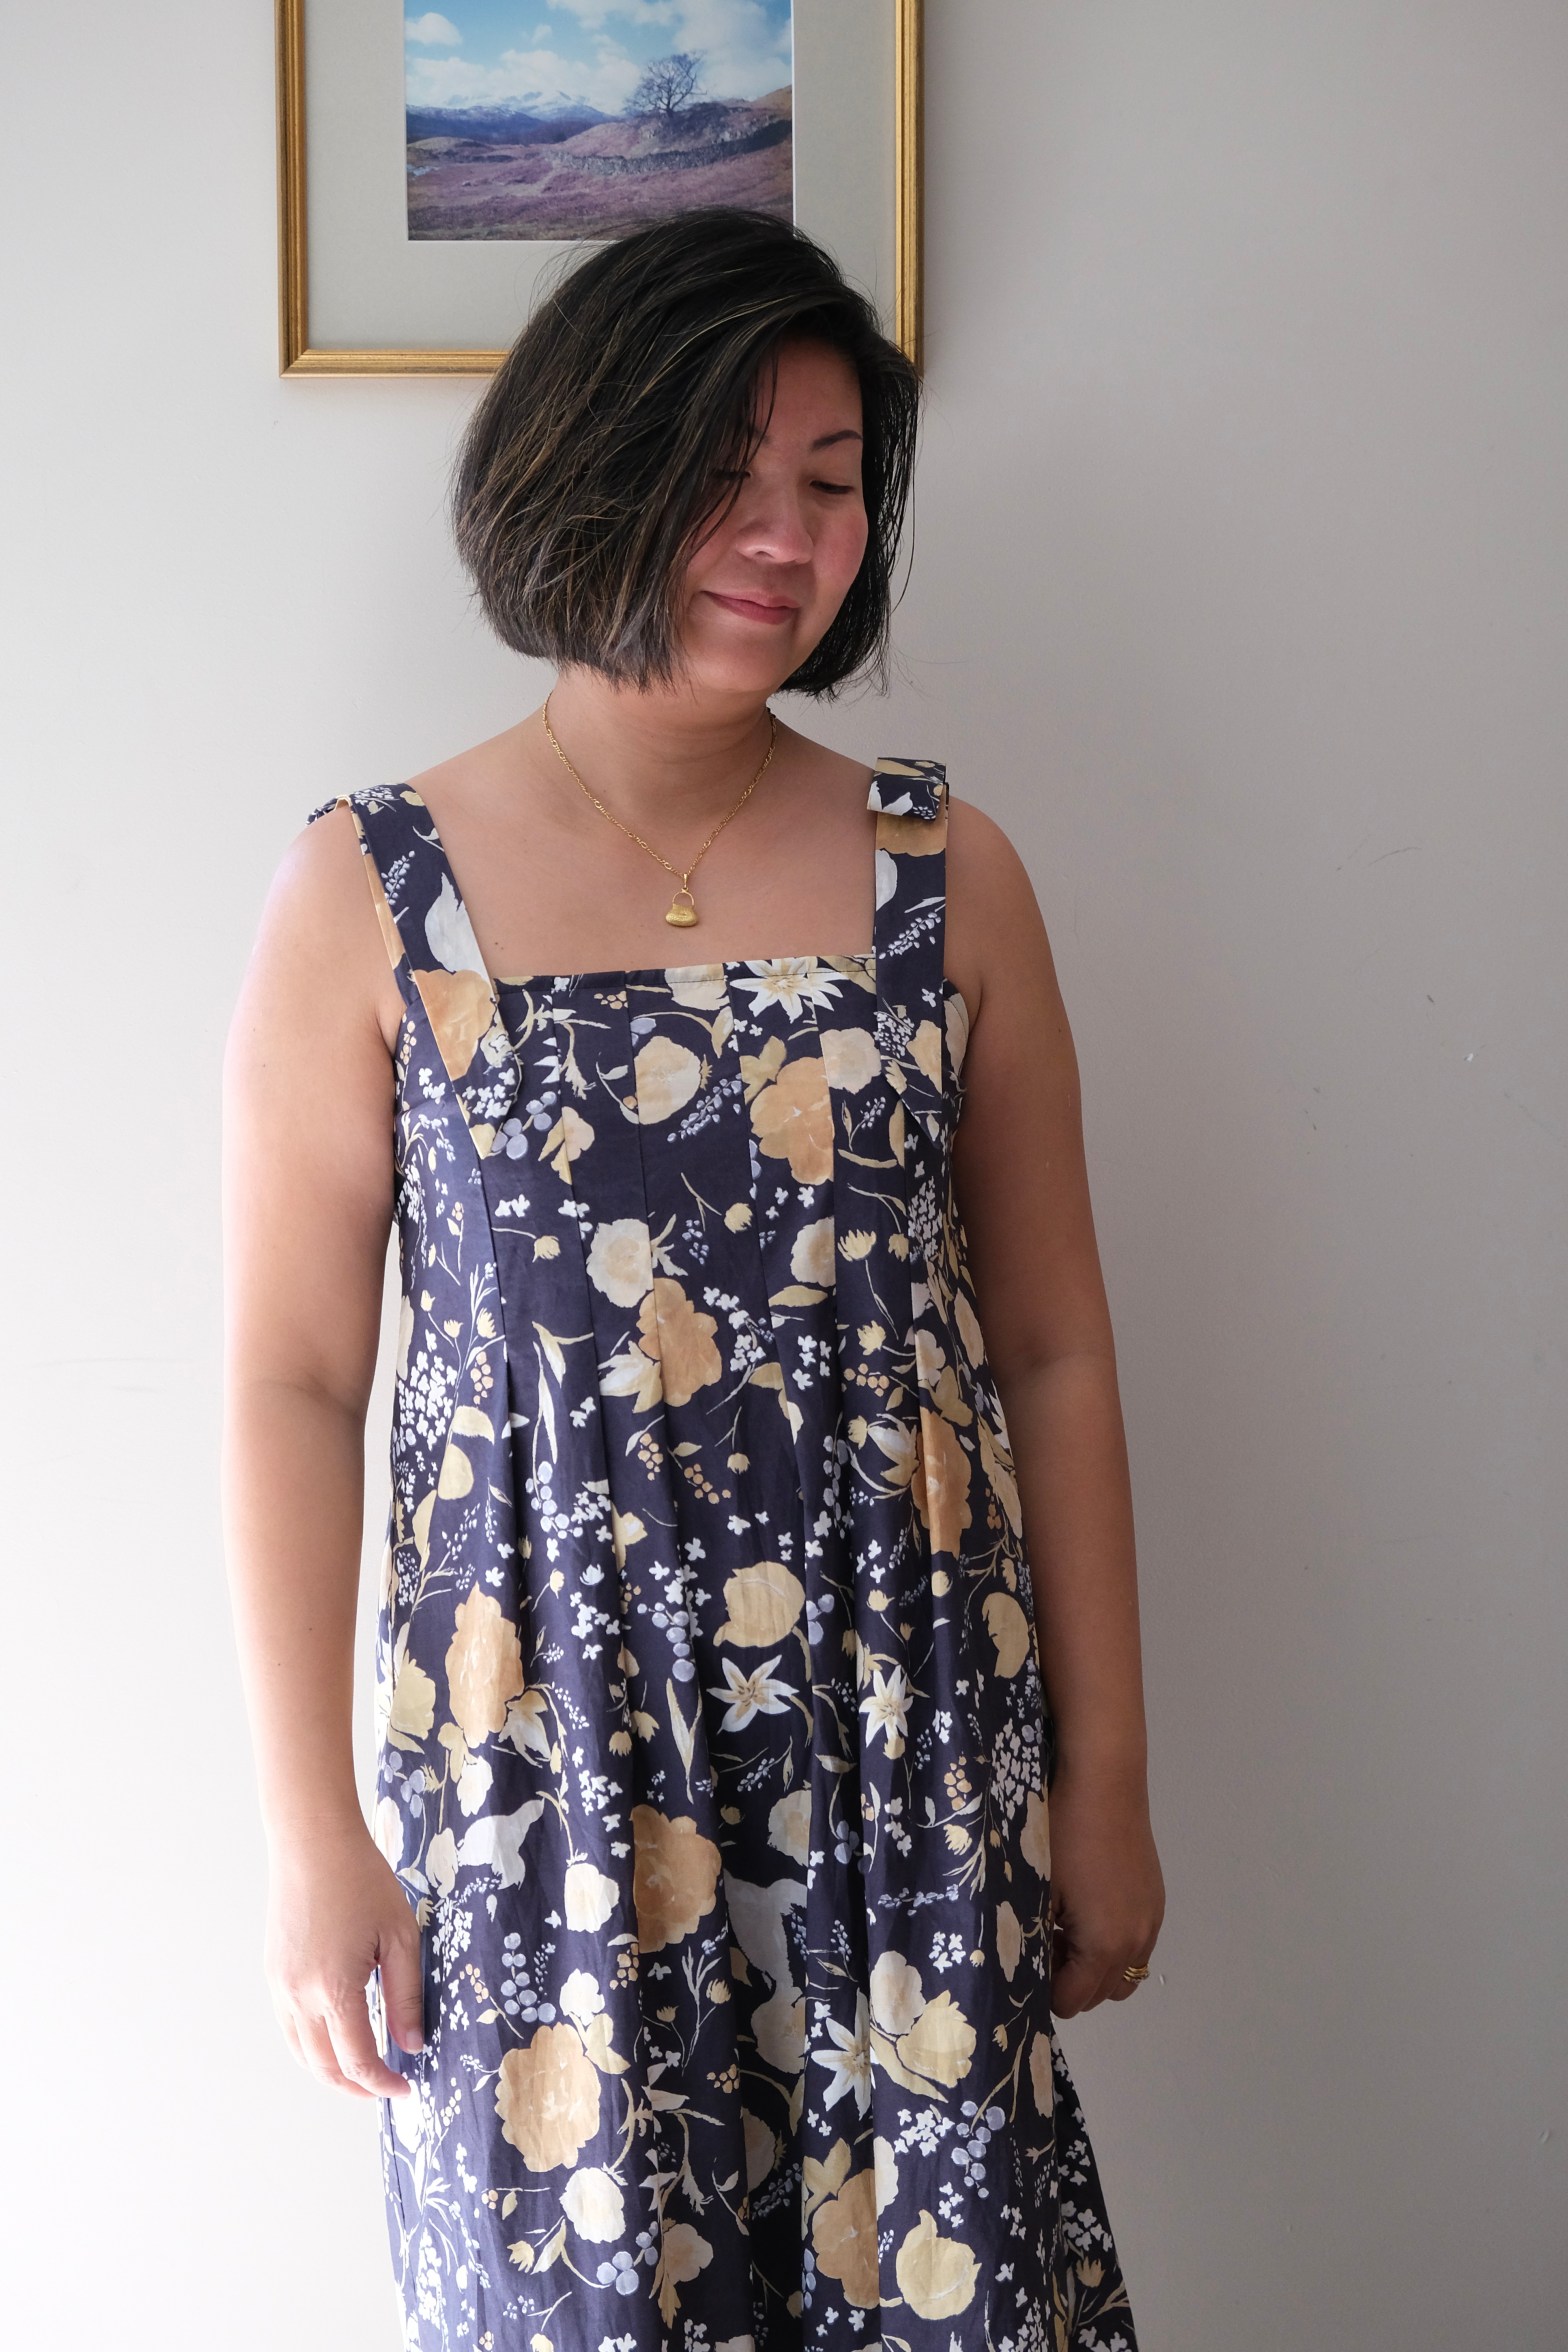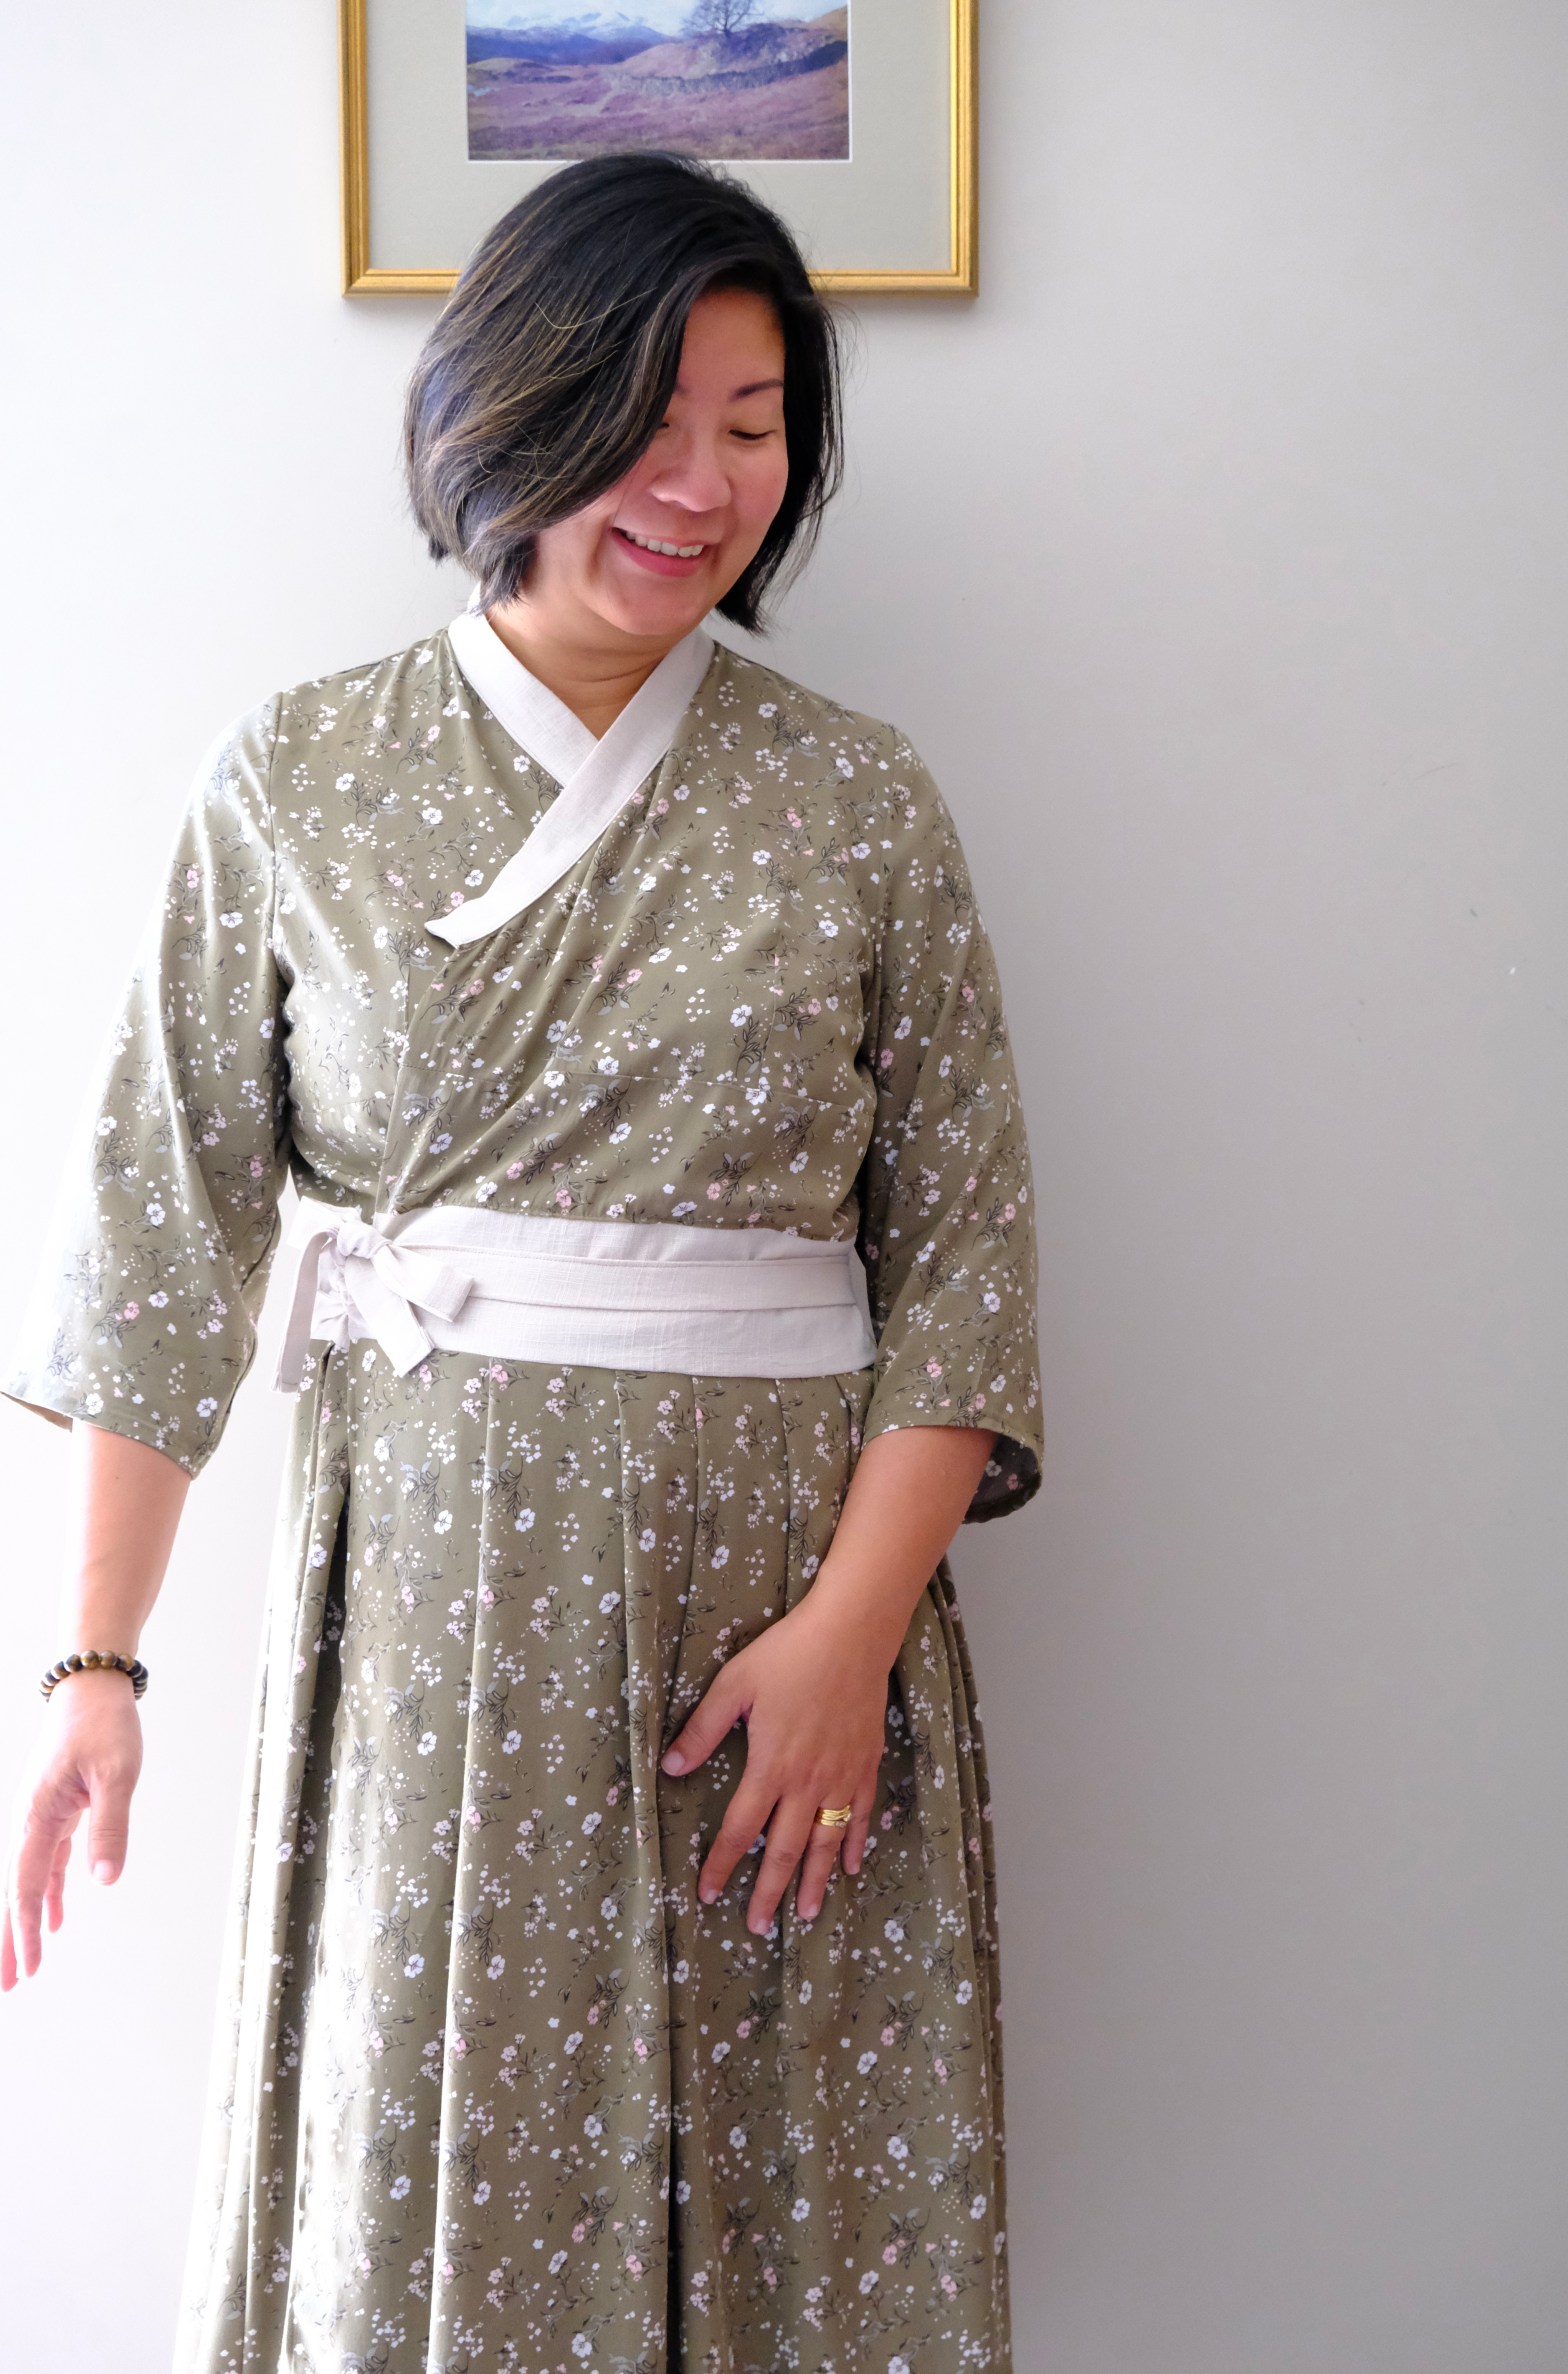
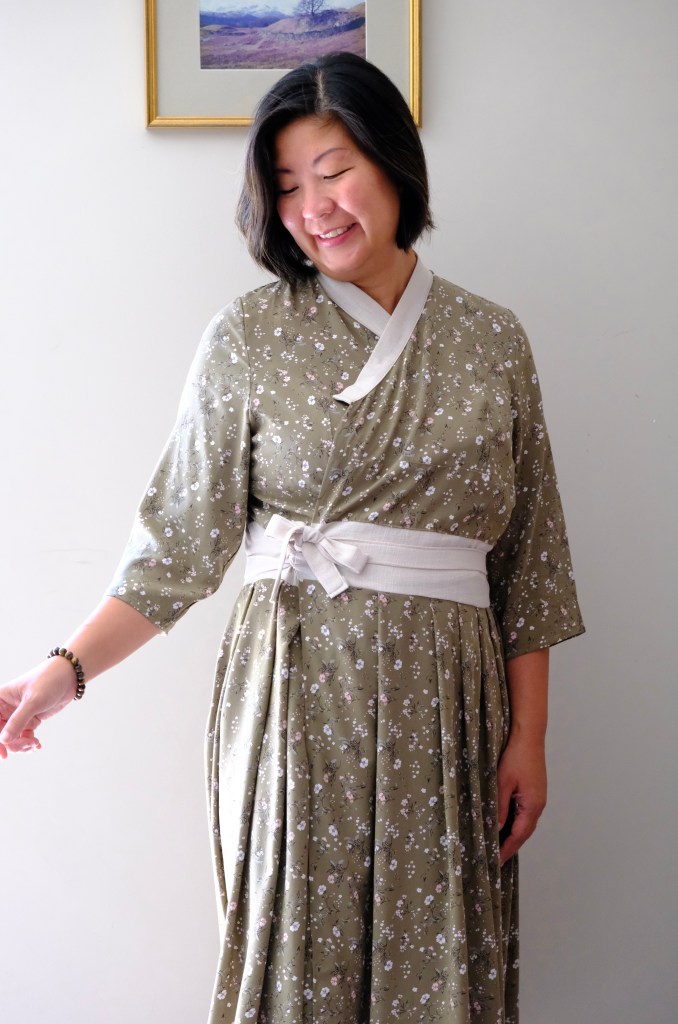
When Sara from Sewing Therapy put out the call for testers to help with her inaugural pattern launch, I was so excited for her and put my hand up to help. Sara has designed a modern version of the Hanbok Dress which is the traditional dress of Korea. It’s in a style of a wrap dress with a full skirt cinched by a waistband. It’s beautifully elegant and I love the style.
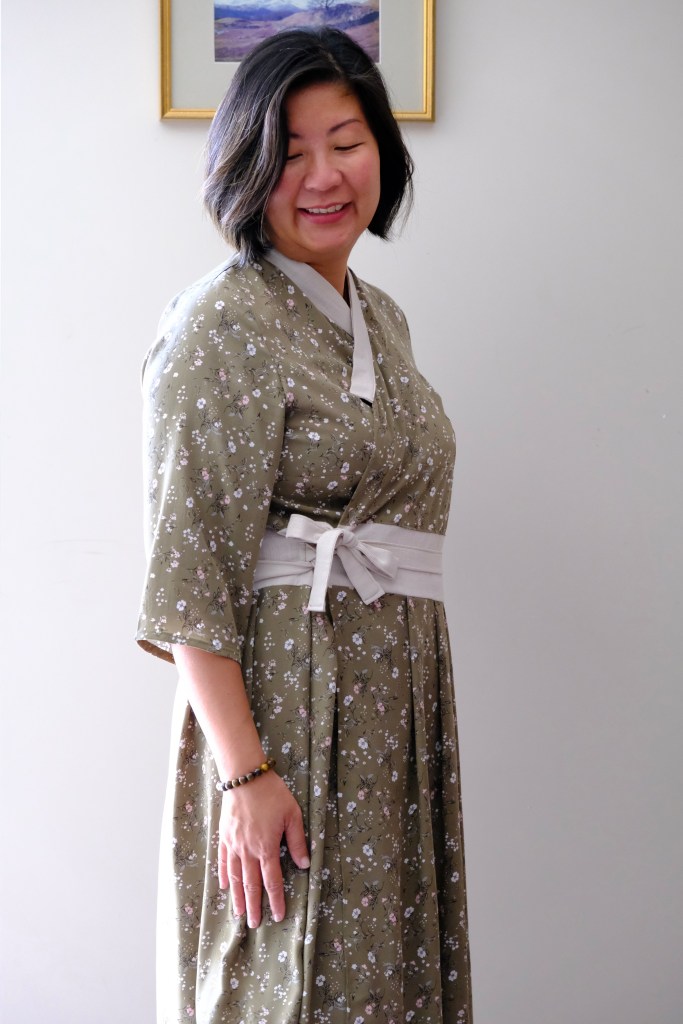
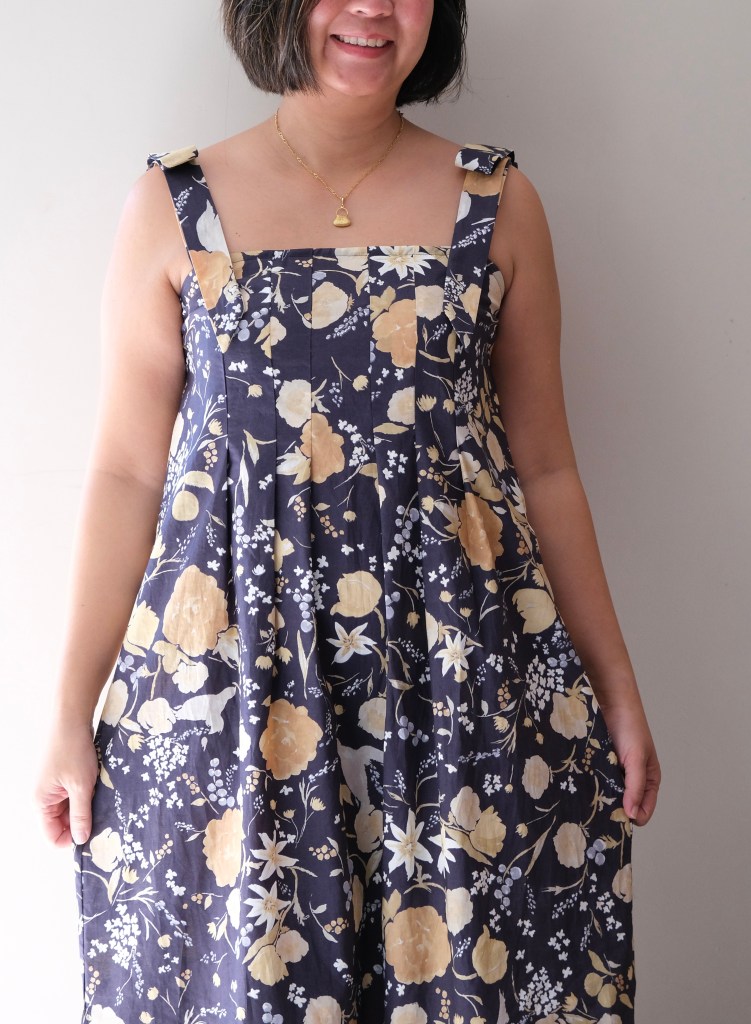
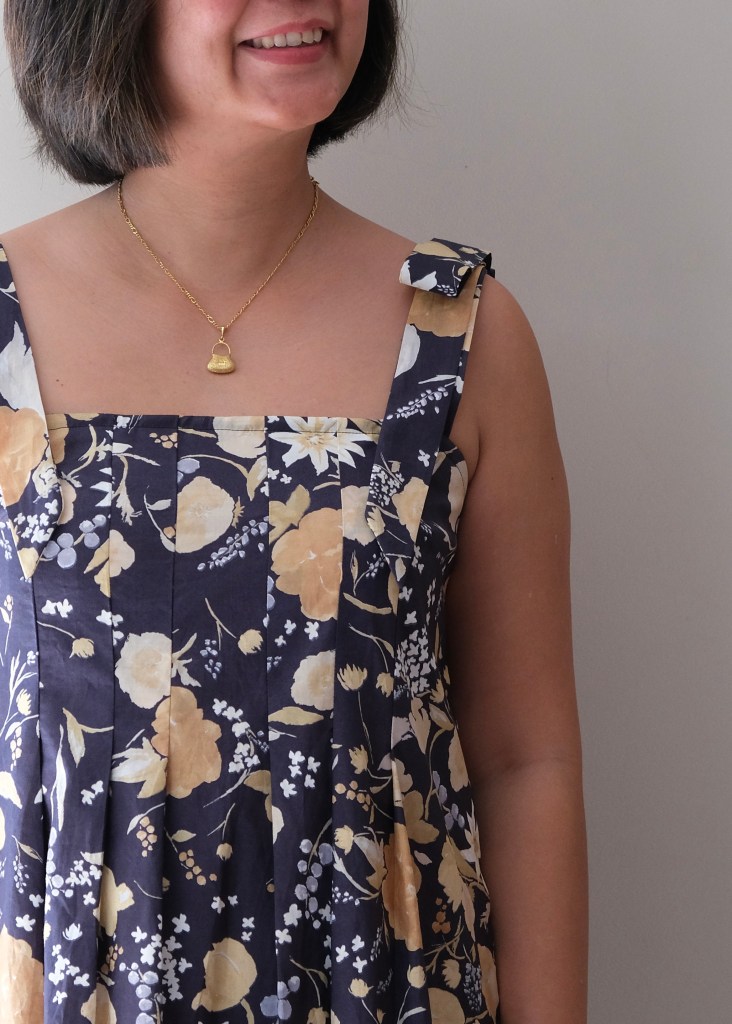
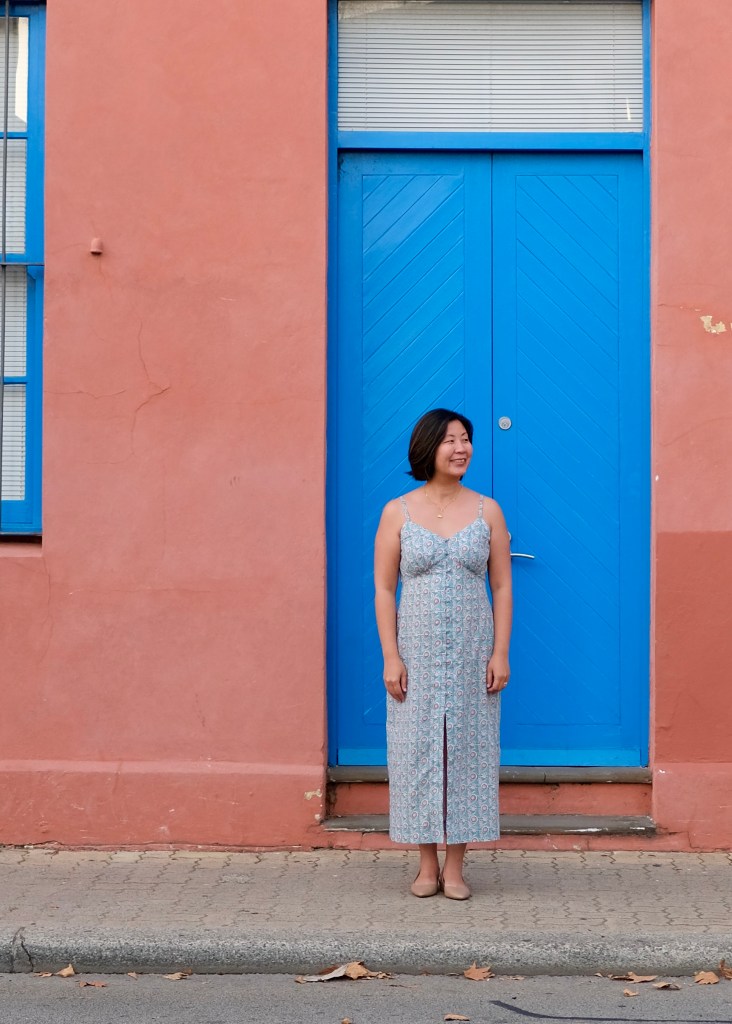
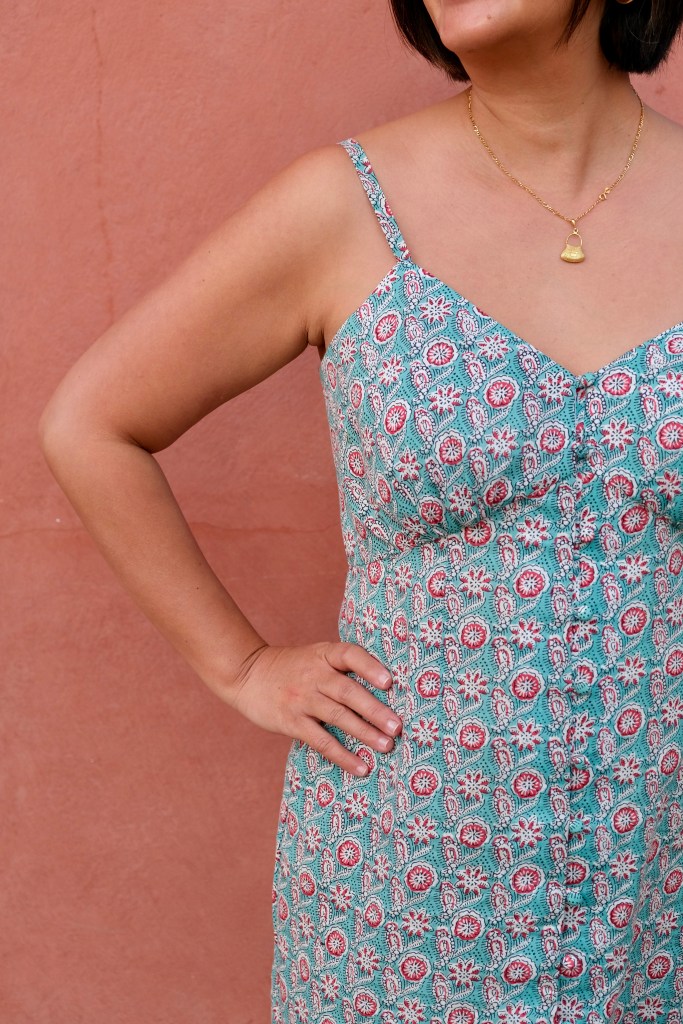
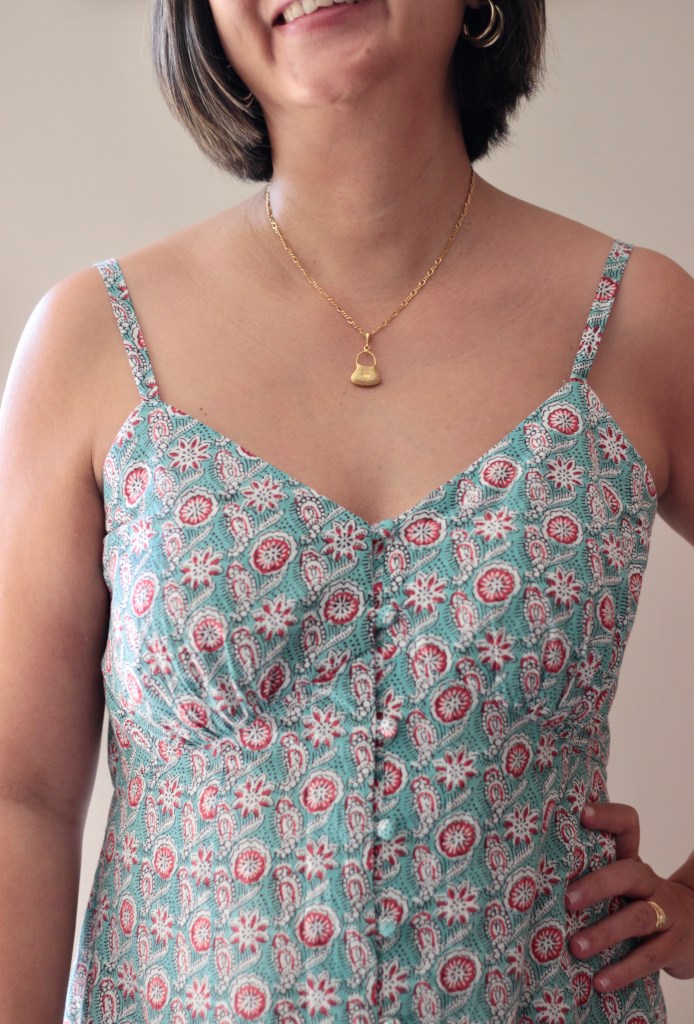
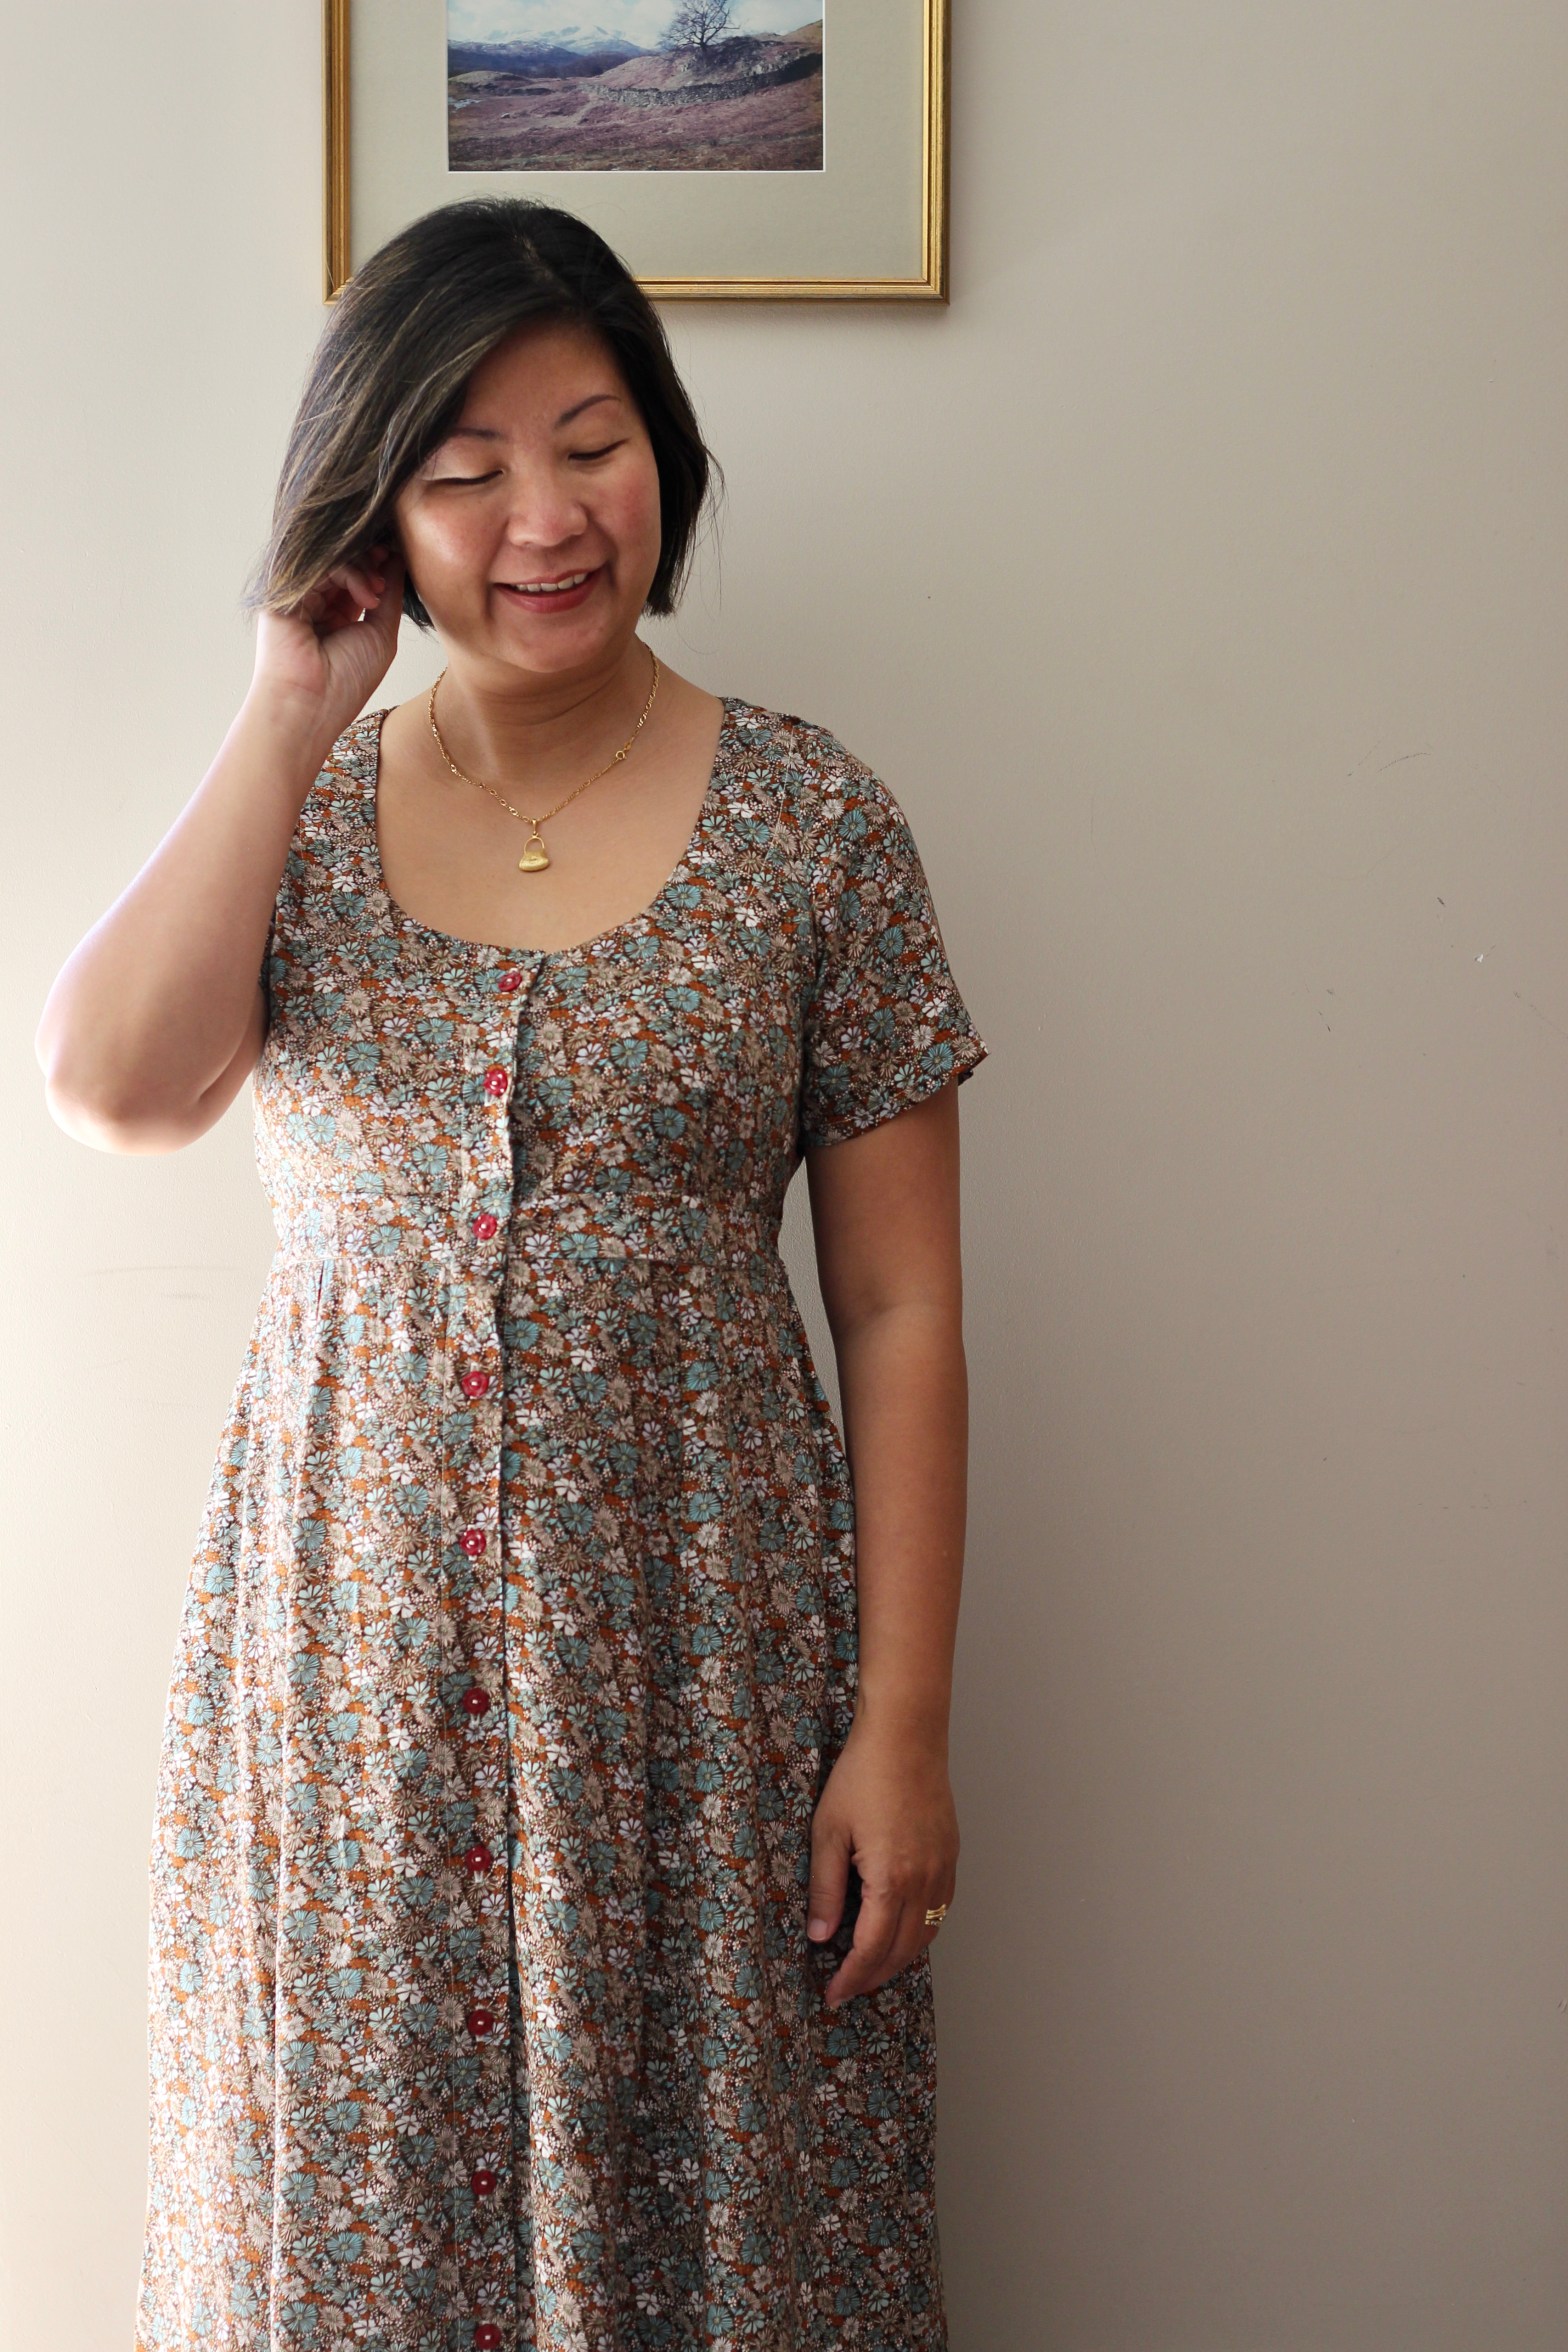
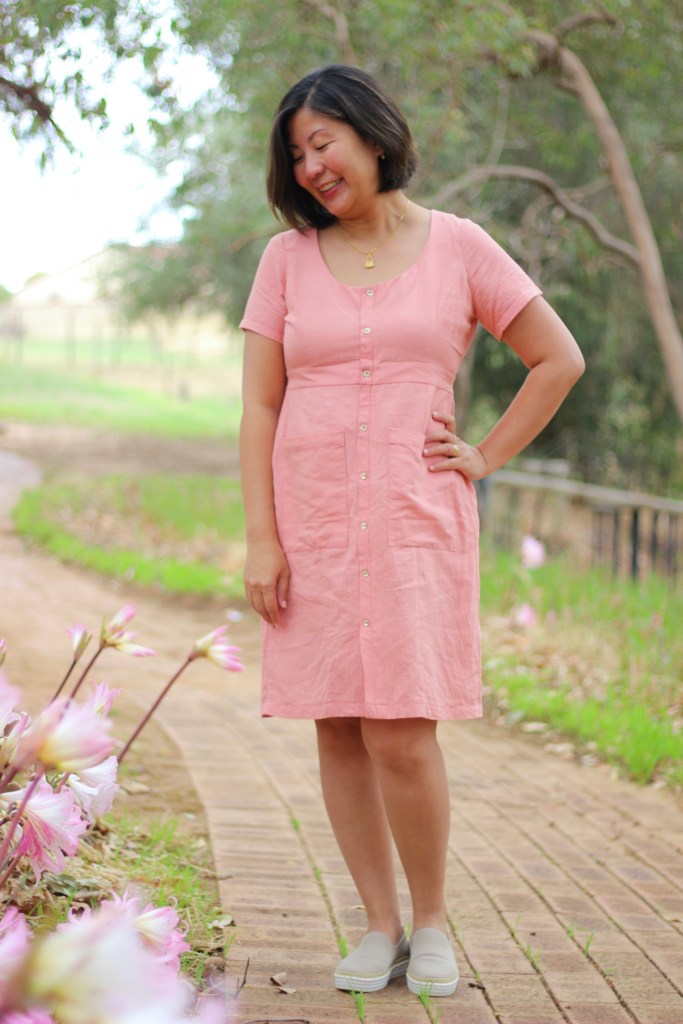
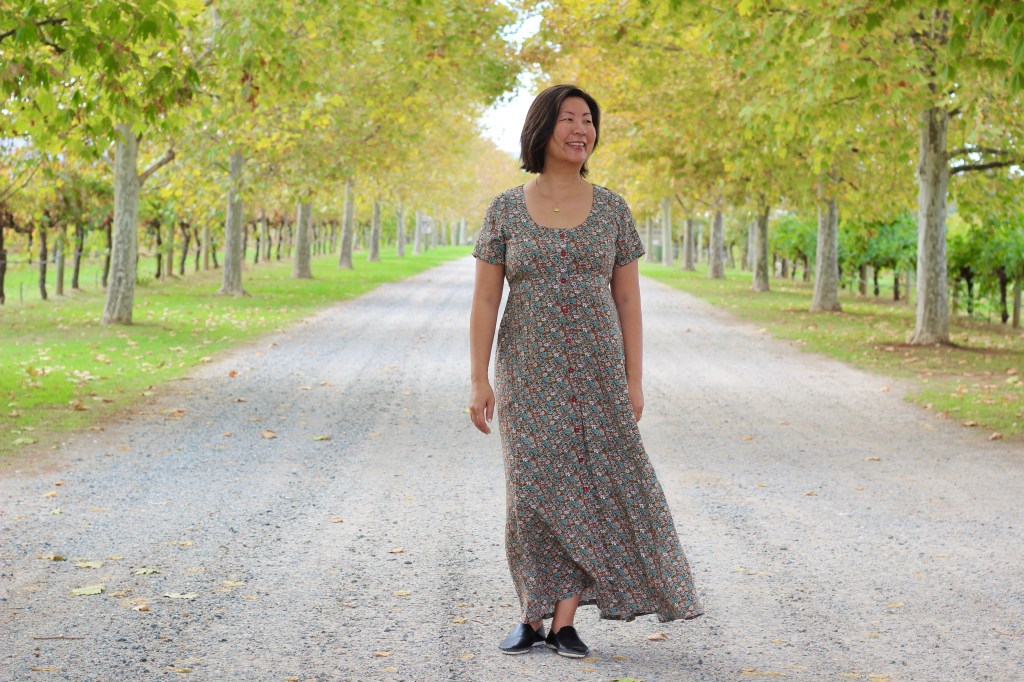
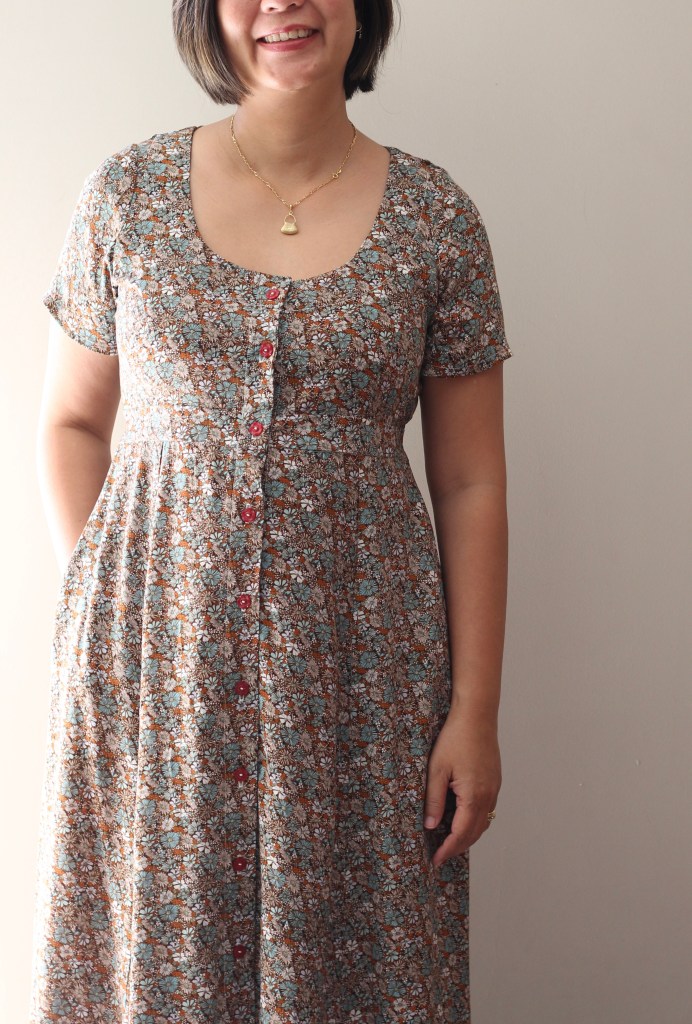
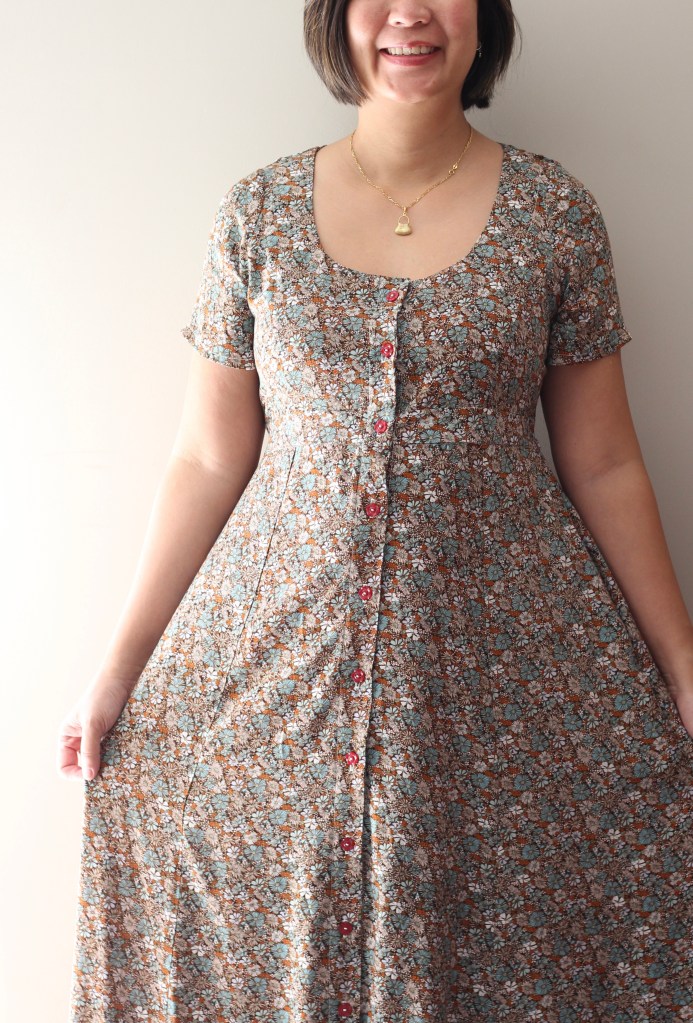
This pattern is for woven fabric. The pattern test was done in a short time frame, so luckily, I already had three meters of rayon in my stash. To help accentuate the features of the dress, I contrasted with beige linen for the neckband and the waistband. The construction of the wrap and the full skirt is more suited to lightweight or mediumweight woven fabrics such as linen, rayon, silk, or cotton. The pattern is geared towards creativity so the use of contrasting fabric and the fullness of the skirt can be altered depending on preference.
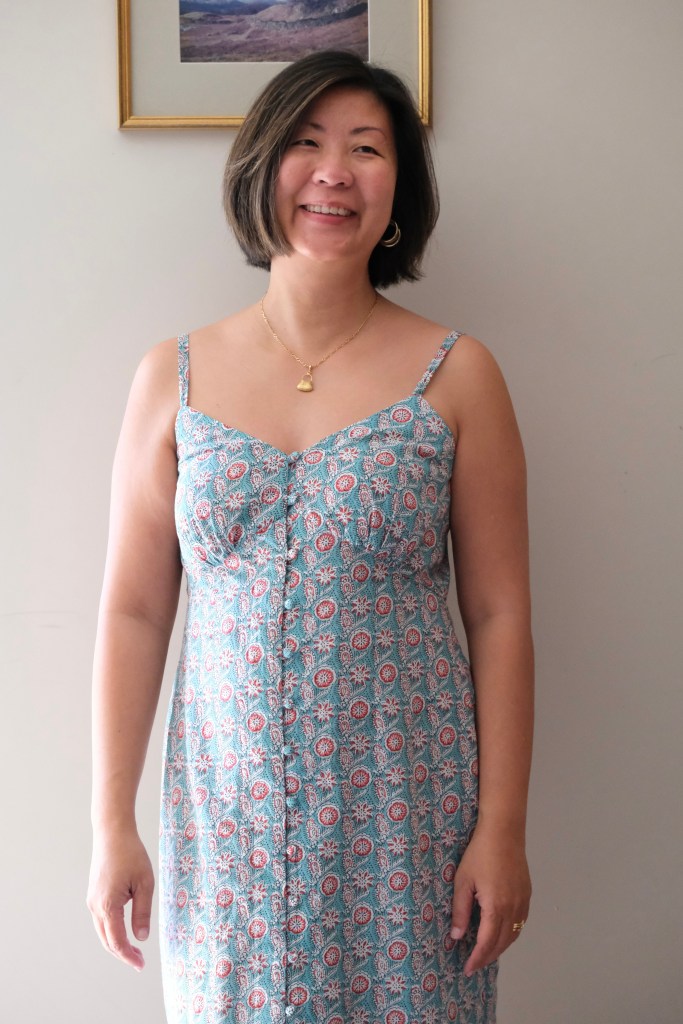
My Sewing Therapy Hanbok Dress is a tester piece, so a few changes have already been made for the final pattern release. I made the size L which fits my measurements of 37-inch bust, 33-inch waist and 40-inch hips. Wrap dresses are very forgiving with fit so often, grading isn’t needed. To choose the size, I mainly used my bust measurement.
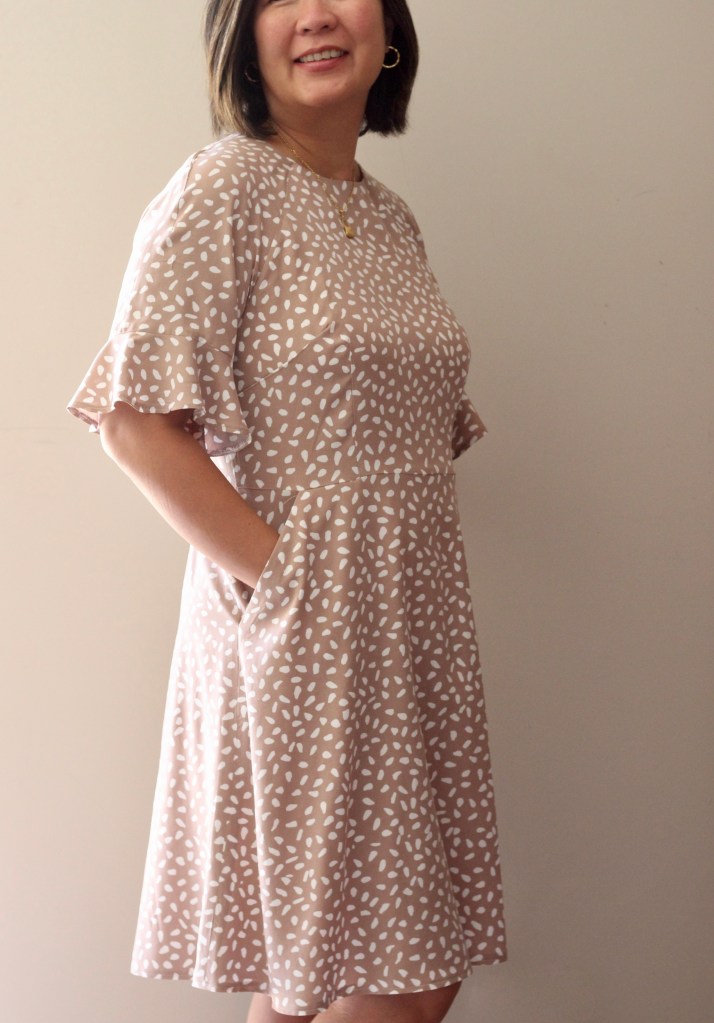
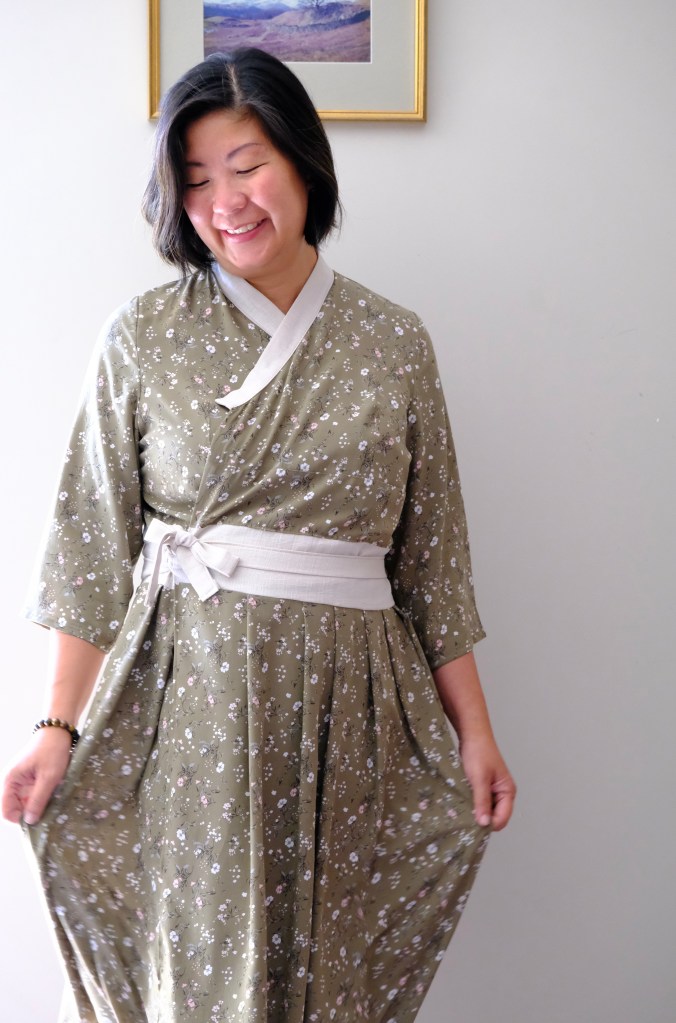
I thought that wearing a Hanbok Dress would be like wearing any other dress but there is a big difference in the way the bodice sits. The high neckline means that there is never a chance for a gaping neckline. It makes it so comfortable to wear. Also, the skirt overlaps very well over the front so there’s little chance of exposure with a strong gust of wind.

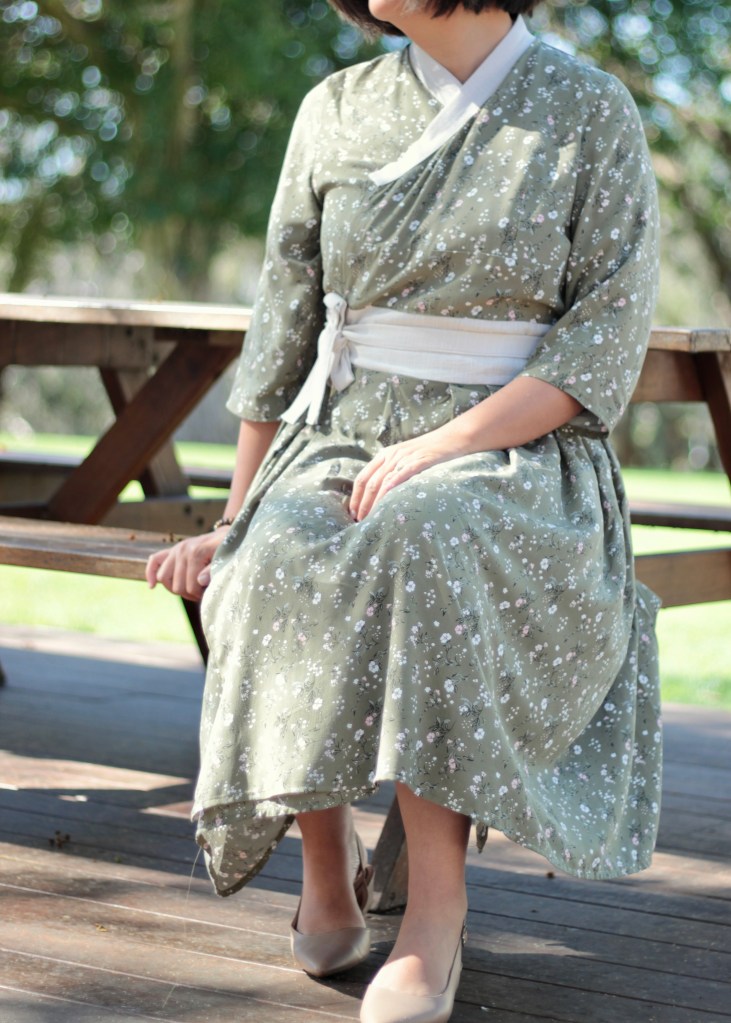


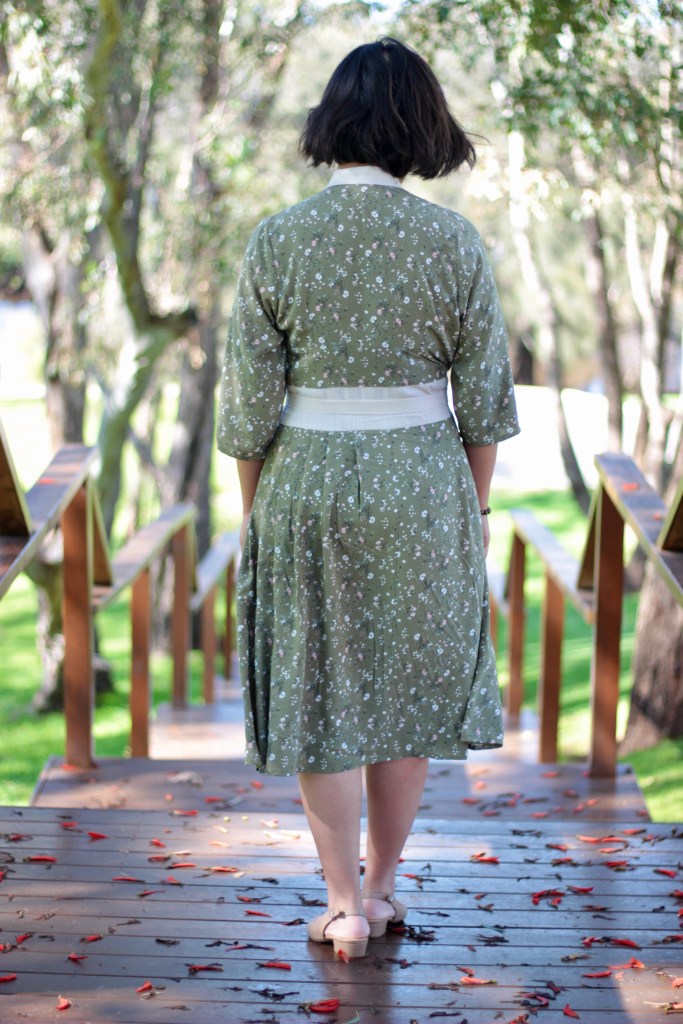
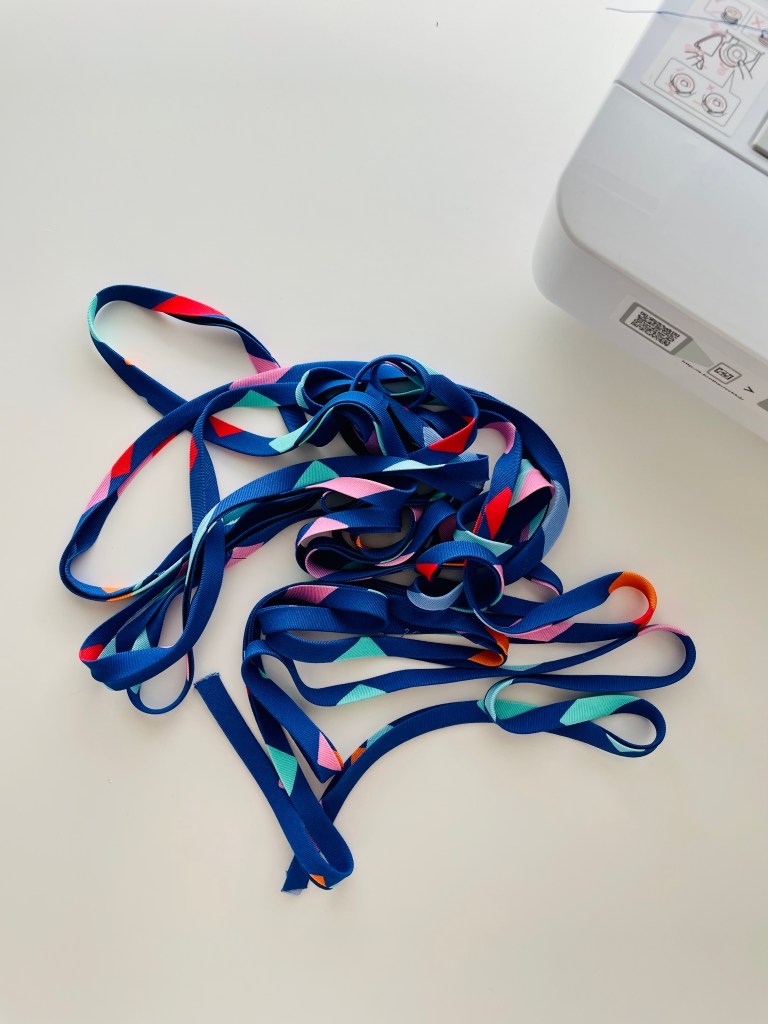
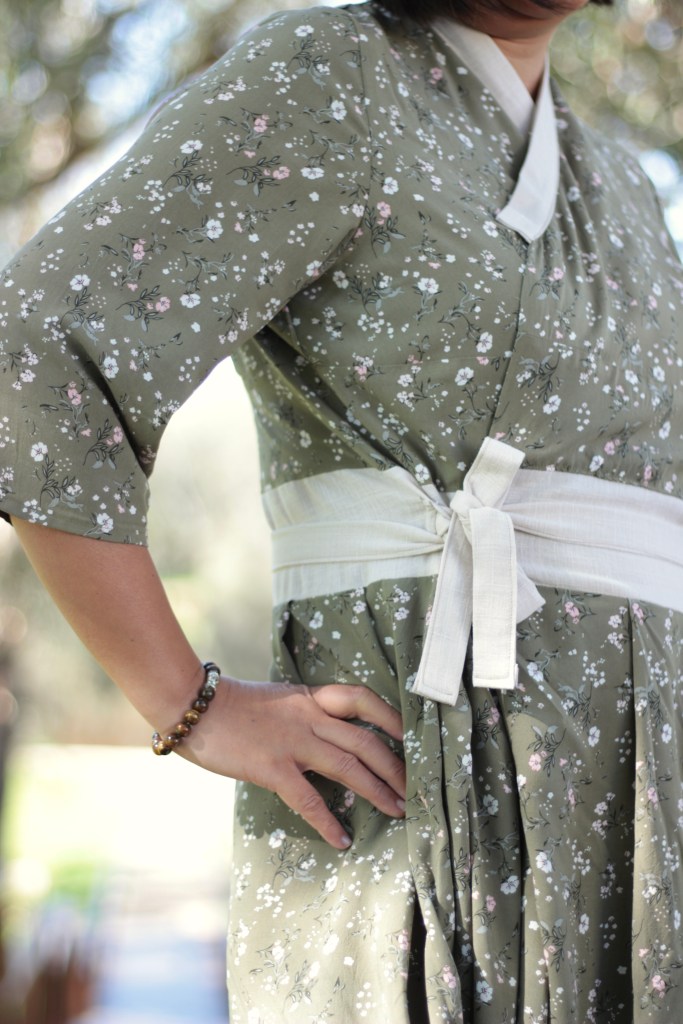
Finally, the outer tie is secured over the waistband in the style of an obi belt (I’m sure there’s a Korean term for it which I haven’t yet found in my research). This is a flattering feature as it helps to define the waistline and helps to hold the weight of the skirt portion of the dress. Excitingly, there is also a way to tie the waist ties for a more relaxed fit.

The pattern includes an instruction booklet and a layered PDF pattern which is standard for most patterns however, this pattern has the added bonus of video sewalongs. The pattern is geared towards a confident beginner and an intermediate sewer. The instruction booklet is quite concise and does not have illustrations, but it would be fine to follow if you have enough sewing experience. Sewing Therapy is a YouTube Channel with lots of sewing content and the videos are high quality. Sara from Sewing Therapy has a background as a sewing instructor, and I’ve referenced many of her videos when I’ve needed help with my sewing.
It’s been a while since I’ve done a pattern test. This has been an enjoyable process. I’m always a bit stressed if given a deadline but it’s also fun to challenge myself once in a while.
Thanks for reading and happy sewing!
X Em