Mia Dress

I’m so happy to be starting on my winter wardrobe. I wonder if anyone else finds themselves at the start of winter thinking that they should have added a few winter items in their summer sewing months. That’s probably me every year. I must admit that I probably sew more summer than winter items but that’s because our summers are longer. When Casey from Patternscout Studios reached out to ask if I wanted to test her latest design, I was so excited because it’s a winter dress. An item that is lacking in my wardrobe.

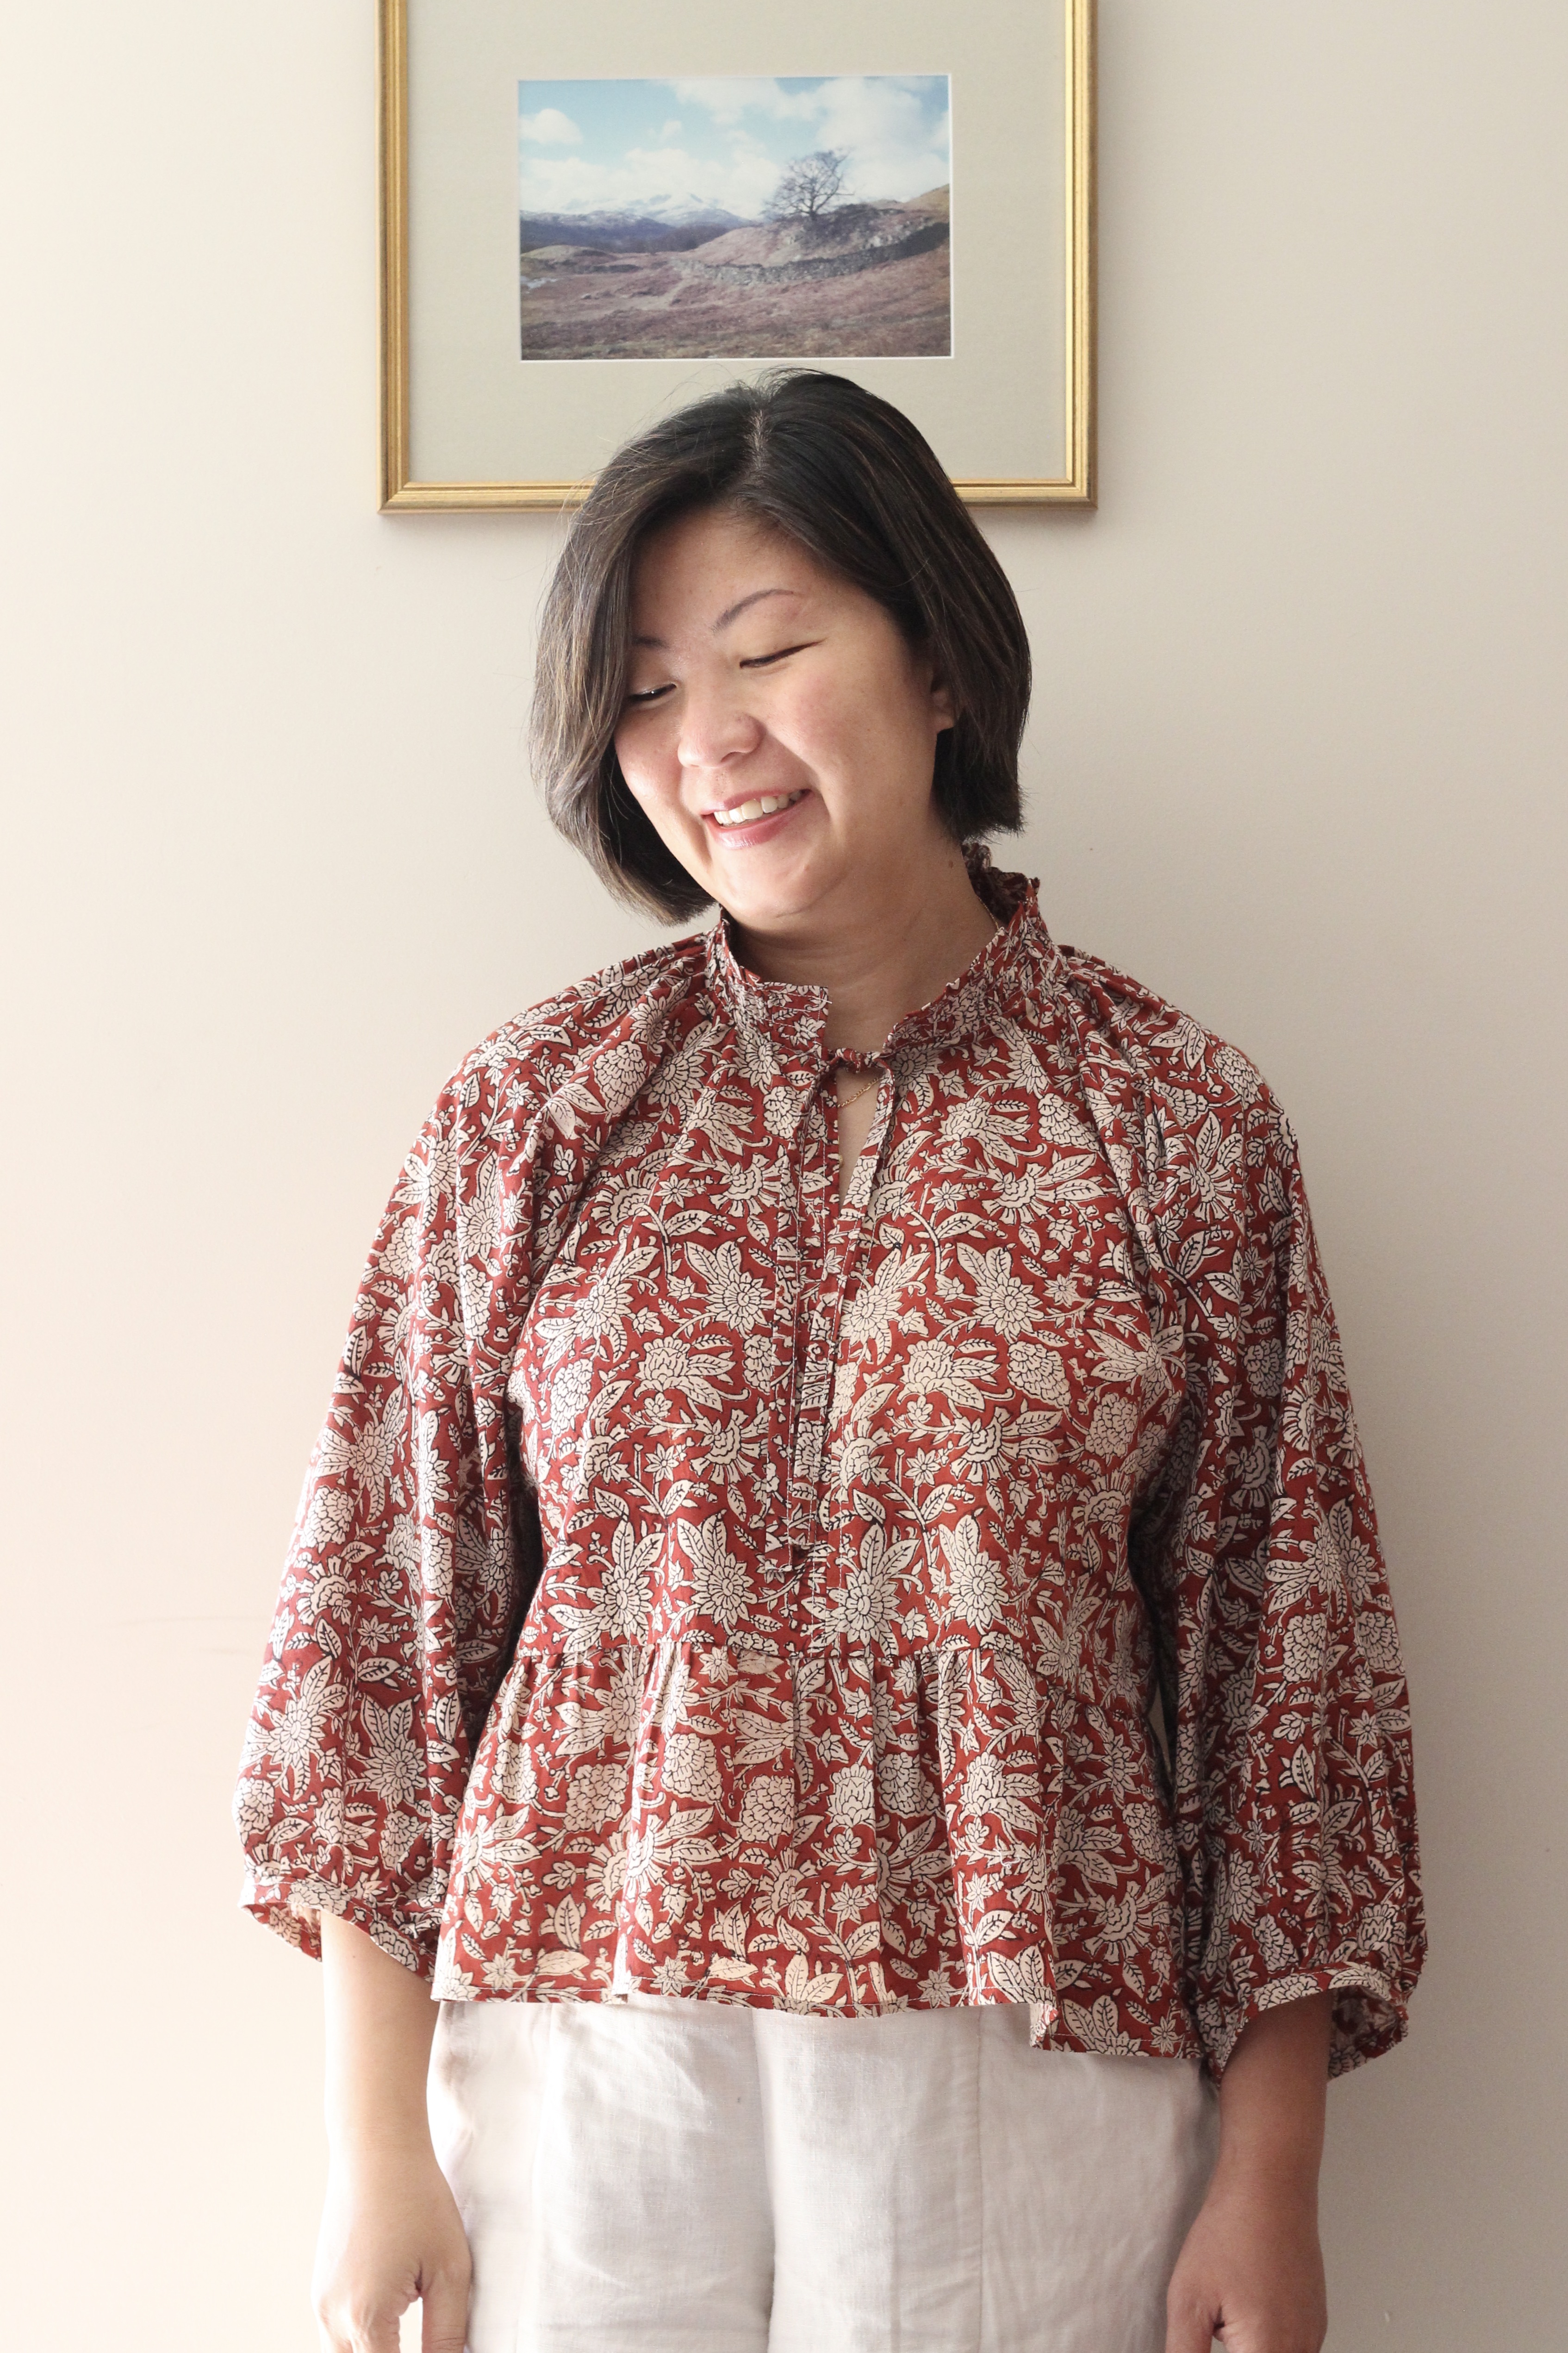
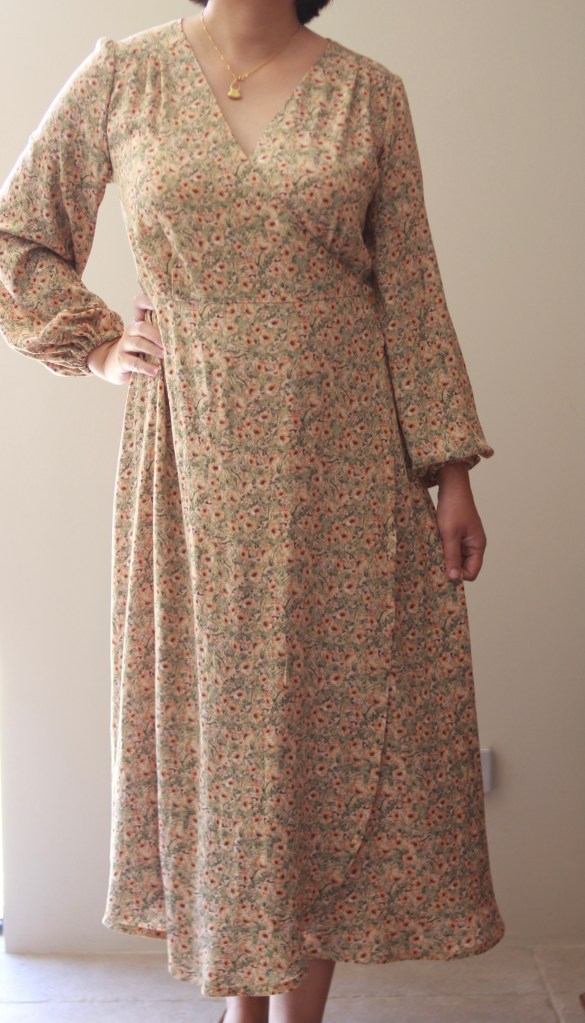
The Patternscout Mia Dress is a turtleneck knit fabric dress. It has raglan sleeves and a fit and flare high-low skirt which is a midi length. The pattern test went smoothly except I told Casey that my big head needed a slightly larger neck opening which she has adjusted. I made the size 12 graded to a 14 at the waist and hips and I used the Cup B pattern. This is why I’ve sewn so many Patternscout patterns and am happy to test for her. The sizing is spot on each time, and I love that she includes the different cup size options. It’s also great that printing the pattern is made so easy because you have a different PDF for each cup size option. My measurements are 38-inch bust, 33-inch waist and 40-inch hips. I think I could have just sewn a straight 12 being a knit fabric garment but I feel more comfortable when garments are not so “clingy”. 

I did make some adjustments for my own liking after I had submitted my toile and was sewing my “real” dress. I shortened my bodice 1/2 inch and shortened my skirt by 1-inch as the dress is for someone slightly taller. I also shortened my sleeves by 3-inches. These adjustments are usual for me so not to do with the fit. 

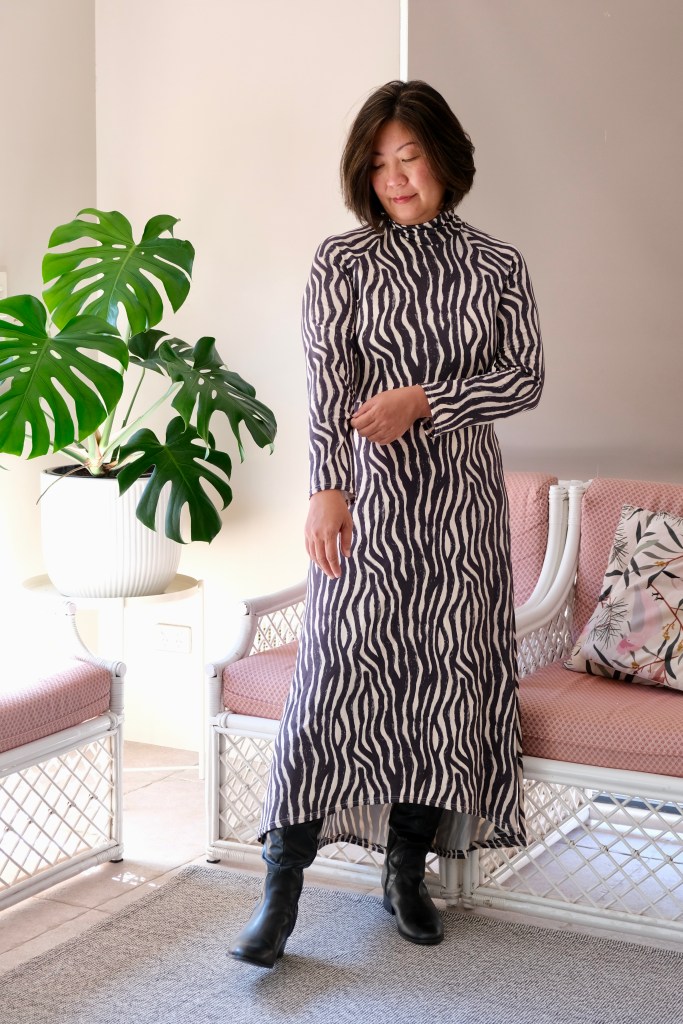
The fabric is a rayon-spandex from Spotlight Stores. There wasn’t a really big range to choose from at my local store. I would love to find a dark coloured plain rib knit like the one that Casey has modelled. Although, because our winters are mild, I might not get as much wear of my dress if the knit fabric is too thick. It is recommended for two-way and four-way medium weight knits with at least 50% horizontal stretch.

In other news, my second-hand Bernina that I scored on Facebook marketplace had to be retired. She has served me well but there is something wrong with the tension dials. When I purchased the machine, I was told about this problem, but I took the risk and bought it anyway. It was such a bargain price that I thought even if I had to pay for a service, it’s a worthy machine. So, that was five years ago, and this is the first time it’s shown some serious signs of failure. I will be repairing it at some stage. In the interim, there happened to be a great sale on overlockers at my local Spotlight store, so I decided on the Elna. It seems to have a few good reviews. I’ll wait a few months before posting my review.

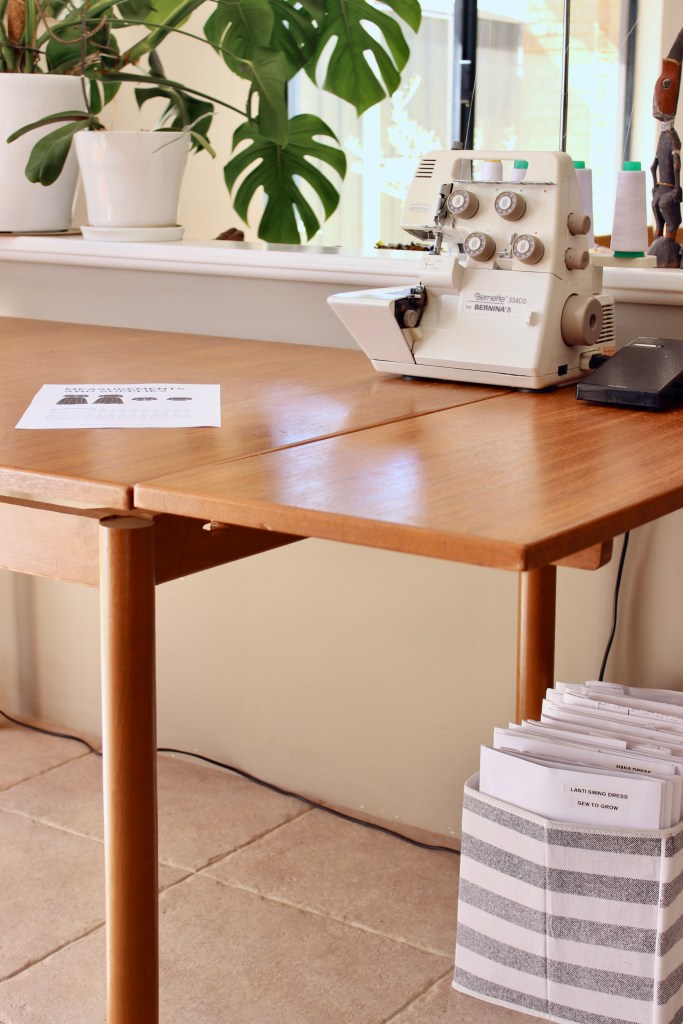
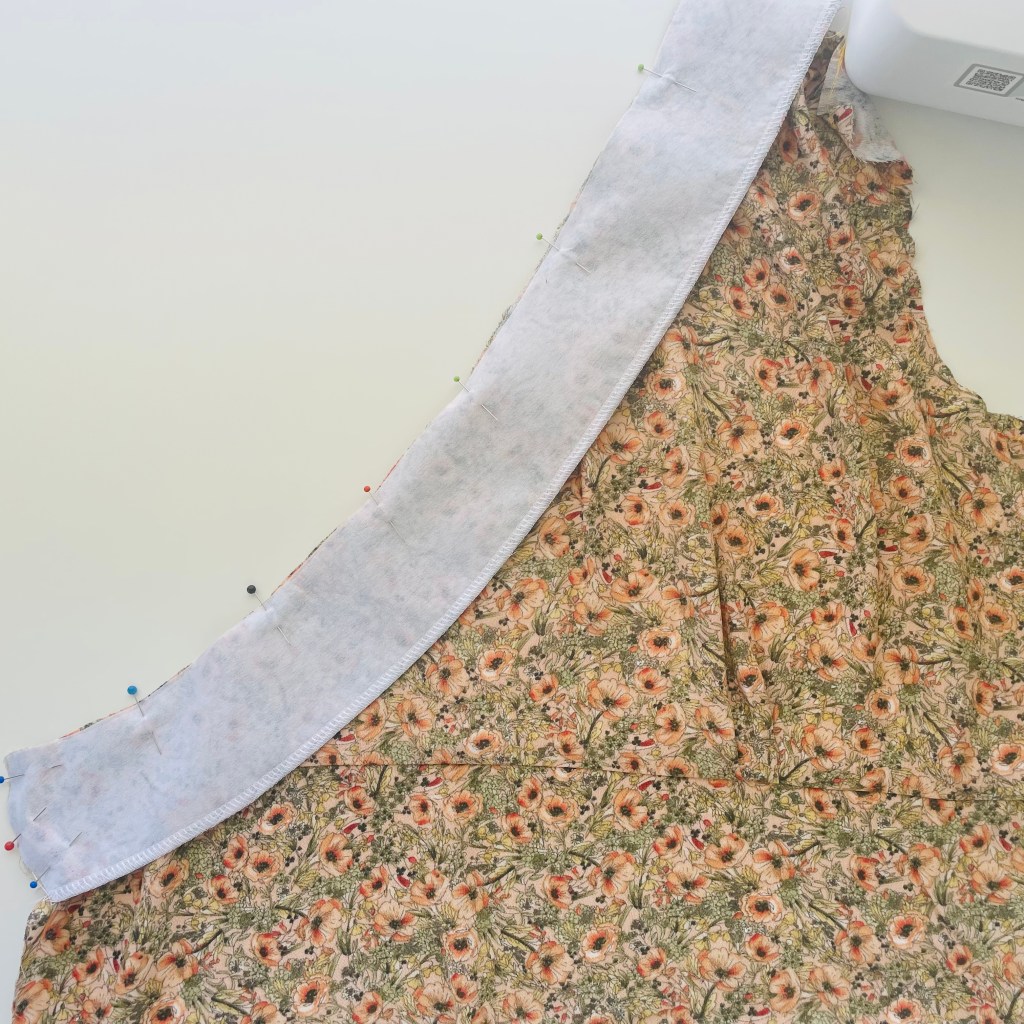
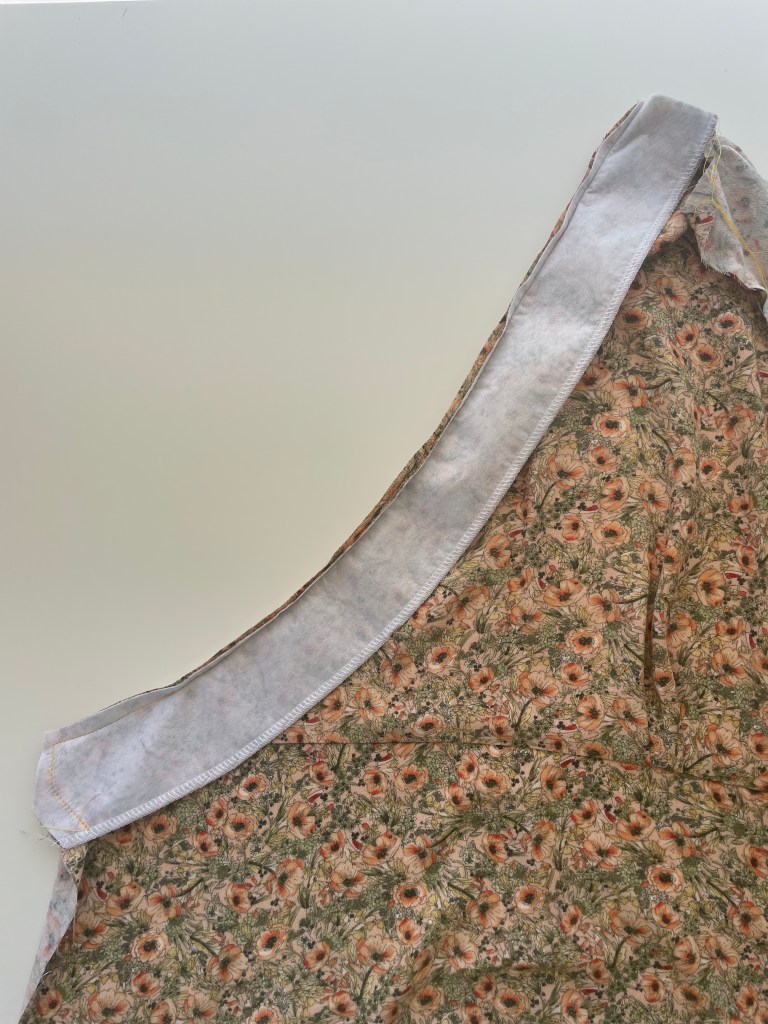
Many sewists have said that they sew their knit garments fully on their overlockers. The Mia Dress pattern instructions assume this, but it can also be fully sewn on your machine and the instructions accommodate this. Armed with new overlocker, I decided to try this. Usually, I use both. The thing that confused me was the seam allowance. When you sew on your machine, you know where the allowance falls. On the overlocker, I’ve read that you account for the loss of 1/8 inch, a scant amount of loss which the blade removes when you are sewing with the overlocker. I think this is included within the 3/8-inch seam allowance. I hope, because that’s what I did. I did use my sewing machine with the twin needle to finish my sleeve hems and skirt hem.

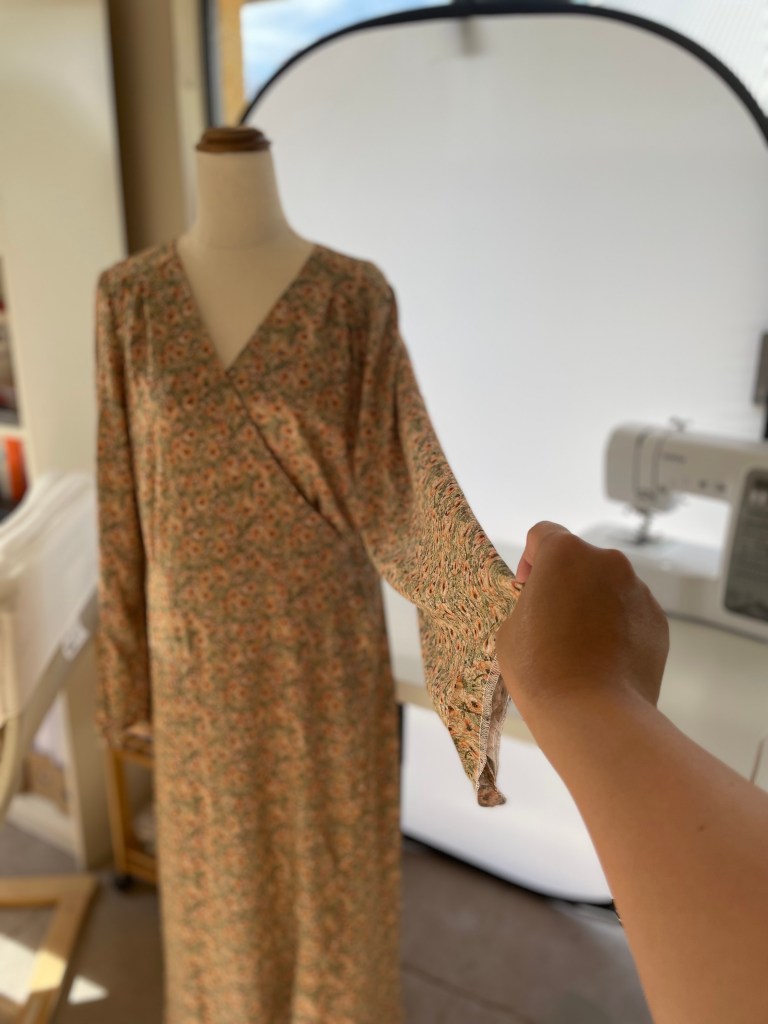
Overall, if you’re like me and new to sewing knits, this would be a great dress to try out. It took me half a day to put together from cutting the fabric to finish. That’s quite a quick sew in my book. I would grade it as an intermediate pattern. In terms of fabric consumption, it didn’t take as much fabric as I thought it might. The chart is quite accurate assuming there is no pattern matching needed. I used 2 meters.

I’m looking forward to getting some wear out of this and I think I’ll be looking for some other similar patterns to try in knit fabric. I should also mention that Patternscout instructions are always great and accompanied by illustrations but if you want videos, she is has quite a huge catalog of YouTube videos.

Thanks for reading and happy sewing,

X Em

Hana Tank Top

I was looking to purchase a basic tank top pattern in the Black Friday sales last year when it occurred to me that I already had the perfect pattern with the Hana Tank Top! I had sewn up the dress version previously but remembered that Patternscout Patterns are always such good value for the options that they offer. Sure enough, after digging out the pattern, the Hana can be also sewn up as a v-neck tank top pattern. There are so many options as it can be a cropped length, tie waist or as I’ve chosen, a curved high-low hem.

The bonus of sewing a familiar pattern is that I’ve already invested time and effort in sticking the PDF pattern together and I’ve already worked out the sizing. Now, saying that, I sewed up the size 12 for my size of 37-inch bust and 33-inch waist which was a good fit but for some reason the armscye is slightly tight under my arms. When I sew this pattern again, I’ll be sure to correct this by widening at the underarm area. The only reason I can think of for this to have occurred is that I may have installed the bias binding a bit too tightly in the tank top as this was certainly not an issue when I made the dress version.

The fabric I used was leftover linen from the Megan Nielsen Pattern Shop when there was still a physical shop to visit. Unfortunately, it has since closed which is a pity since there aren’t a wide variety of fabric and haberdashery shops around town. One of my sewing goals this year is to use up majority of my scrap fabric and leftover fabrics. I had about 1.5m of this lovely linen which was the perfect amount for the Hana tank top.

With each sew, I feel that I make a little progress either building the skill of sewing or working out a better way to construct a garment. In this sew, it was the curved hem that I made progress with. I’ve always felt that my curved hems were messy, and I didn’t like the way it would curl up with a folded finish. I could never iron the curves evenly or get close enough to the edge to make it even. Someone on Instagram shared how they made a facing to finish off their curved hem, so I decided to try it out and I’m pleased to say that this worked out perfectly! Definitely the way to go with a curved hem. Now it sits flat and even.

Thanks for reading and happy sewing!

X Em

Poppy Blouse

Poppy Blouse is the long anticipated new release from Pattern Scout Studio. It has the most beautiful ruffle collar which is my first. It is in the style of a peasant blouse with raglan sleeves. I was lucky enough to be on the testing team for the Poppy Blouse. This blouse is such a lovely addition to my me-made closet. I do love sewing a dress but for practical reasons, I’ve been looking for more blouse patterns, so I was excited when this opportunity came along.

There are two versions on offer with the pattern. Featured above is Version A which has a ruffle hem. It’s a pretty feature and I find the peplum to be a very flattering feature which draws the silhouette in at the waistline and elongates the legs. I also went on to make a silky version B so the pattern is already proving to be a tried and true pattern! I really love both versions.

My measurements currently are 37.5-inch bust, 34-inch waist and 40-inch hips. My measurements were a surprise when I remeasured myself for the test, but it does remind you in the pattern to always remeasure before starting the sew to avoid disappointment. It’s lucky that there is so much ease in the pattern which is more forgiving when fitting the pattern. Grading is not required, and it’s actually not recommended for this pattern. The sizing is very inclusive, it goes from size 0 to 30 and Pattern Scout Studio is great at offering cup sizes with her patterns.

The next consideration was the fabric. There were some beautiful samples which were shared with the testers. The pattern suits a drapey fabric like chiffon, georgette, crepe the chine but for Version A, I had a thin, lightweight vegetable-dyed cotton that I knew would suit the pattern. It does create a fuller shape, but I love the feel of cotton in summer, and I stress that it is a very lightweight cotton.

Personally, the collar construction was the most satisfying task. I loved bringing it together and it’s a very pretty feature of the blouse. I like it both tied up or left open. It’s very flattering on the neckline. 

Pattern Scout Studio always include great instructions with their patterns. It’s sewn in a logical sequence and has the right amount of detail to help someone who is at the start of their sewing journey. I always highly recommend and have sewn their patterns many times over myself. I’m so happy to be able to have been part of the testing team again!

Thanks for reading and happy sewing!

X Em

Romy Wrap Dress

Dress Hack

I first made the Romy Wrap Top from Pattern Scout last year when I had only been sewing for about 6 months. It’s a testament to her fantastic instructions that I could make such a beautiful top with my rudimentary set of sewing skills. I’ve since also sewn the dress version as well. The Romy Wrap dress is uniquely fastened with buttons and has a slender silhouette. 

This time, I wanted to use the pattern to make a maxi dress with the sleeve expansion that was released for the pattern. I’ve been seeing a lot of ground skimming, floor length dresses inspired from the sixties. I found a beautiful rayon crepe from Spotlight Stores which had a beautiful field-of-poppies print in a mix of clementine and yellow on a field of green. Rayon crepe is beautifully sheer with a slight texture. It also has some weight to it, so it has a beautiful drape which just skims over the body in the most flattering way. However, it has a bit of “bounce” so if you’re a beginner like me, just be careful not to stretch the fabric as you’re sewing. Also, when cutting, it might be better to use a rotary cutter especially for tricky curves. My final tip is not to skip the stay stitching (don’t learn the hard way!)

There is a very comprehensive tutorial on the Pattern Scout Blog as well as a YouTube video so have a look there when you sew along but this is an account of my sewing process.

Firstly, I needed to lengthen the skirt piece. I didn’t have a firm idea of the extra length needed but I estimated about 10 inches and lengthened from the hem grading the curve as I approached the waistline. This was repeated for the back skirt piece as well. 

Then I went ahead and added the stay stitching around the neckline and the armscye as well as all the tucks on the front and back bodice pieces.

I also wanted to add another tip, which is to iron as you go. It just neatens the seamlines which can get a bit wavy with this bouncy fabric.

Ironing will save you when you’re pinning!

Once I attached the skirt pieces to their corresponding panels, I then pinned and attached the front interfaced facings. The corner was a bit tricky, so I just sewed slowly and I found it easier to sew with the interfaced side up. 

The next step was to sew on the yoke. The yoke is the piece that attaches the front panels to the back bodice and skirt. The instructions are very detailed, and I just followed them but I have heard that other people have used the “burrito” method which I have also used in other patterns. Maybe this is something I could try in the future but with my lengthened skirts, it could be too bulky.

Now, getting the sleeves on was initially confusing because I kept getting extra fabric and I thought I had cut the wrong size. But when I compared the expansion pack instructions to the initial pattern, I realised that there was a bit of instruction missing. In the original, the sleeve is gathered along the yoke seam and don’t worry, I’ve contacted Casey at Patternscout so she knows. So happily, with this sorted, I could attach the sleeves and finish them. I love bishop sleeves for the fullness in the cuffs. 

The final part was to finish the hems before making buttonholes for the buttons. Now, I always must resist sewing up the hem too soon. With fabrics that have a bit of stretch, or with dresses cut on the bias, the dress should be allowed to hang on a hanger or dummy for at least a few hours. I had to trim the hem to even up the hemline before sewing up.

Thanks for reading and happy sewing!

X Em

Fern Top and Dress Hack

September brings with it the promise of sunshine and finer weather. So, naturally, I’m starting to think about a summer wardrobe. I do often wonder if I should start working on my summer wardrobe in winter and sew up my cold weather wardrobe in summer. Anyway, I had always meant to sew up another Fern Top from Pattern Scout Studios. I then saw a mention of a dress hack so I decided to go ahead and do this!

The original pattern is a pretty top that has a central panel with a round collar which the dolman sleeve pieces attach to. Then Pattern Scout released the square neck extension pack which was what really sold me. I really love a square neckline! So, my first version of this pattern was the square neckline version of the top. 

This time I’ve sewed the square neckline again but decided to use the free tutorial for the flutter sleeves. So, most of the hard work for this hack was actually done! I just added the skirt by using two rectangular pieces and gathering the top of the skirt and attaching this to where the “skirt” of the top would’ve attached to.

I should also mention that I had fully lined my dress with muslin. I used a divinely floaty, sheer, lightweight “seaweed stripe” linen that I was lucky enough to score at the in-store sale at Megan Nielsen’s shop in June. I didn’t know at the time what I was going to make out of the fabric but it was too good to pass up and I’m only just starting to feel confident enough to invest in my fabrics. I bought two meters of this linen which was just right for this make. So, getting back to the sheerness of the fabric, it’s beautiful and light but quite see-through so for modesty’s sake and so my family don’t disown me in public, the muslin was a perfect pick to line the dress with.

This dress is so comfortable to wear. It’s not quite warm enough yet but the baby-doll style is great for those sticky and humid summer days. Hopefully this will inspire someone to give it a go! The Fern Top is great as-is but such a wonderful bonus with so many options to customise it.

Thanks for reading and happy sewing!

X Em