Unbelievably, it’s December which makes it time to review my sewing year. Even though I haven’t completed all my Make Nine Projects, I’m very happy with how much I’ve progressed and learnt this year. I find that challenges like the Make Nine are a really useful tool for my learning. I’m not sure who to attribute the creation of the Make Nine Challenge to but a lot of the making and sewing community use it. I love to plan and document with everything that I do so this challenge really appealed to me. The idea of the challenge is to list nine patterns you’ll sew in the year. Last year, I didn’t list exact patterns, but I listed the set of skills or types of patterns I wanted to sew.

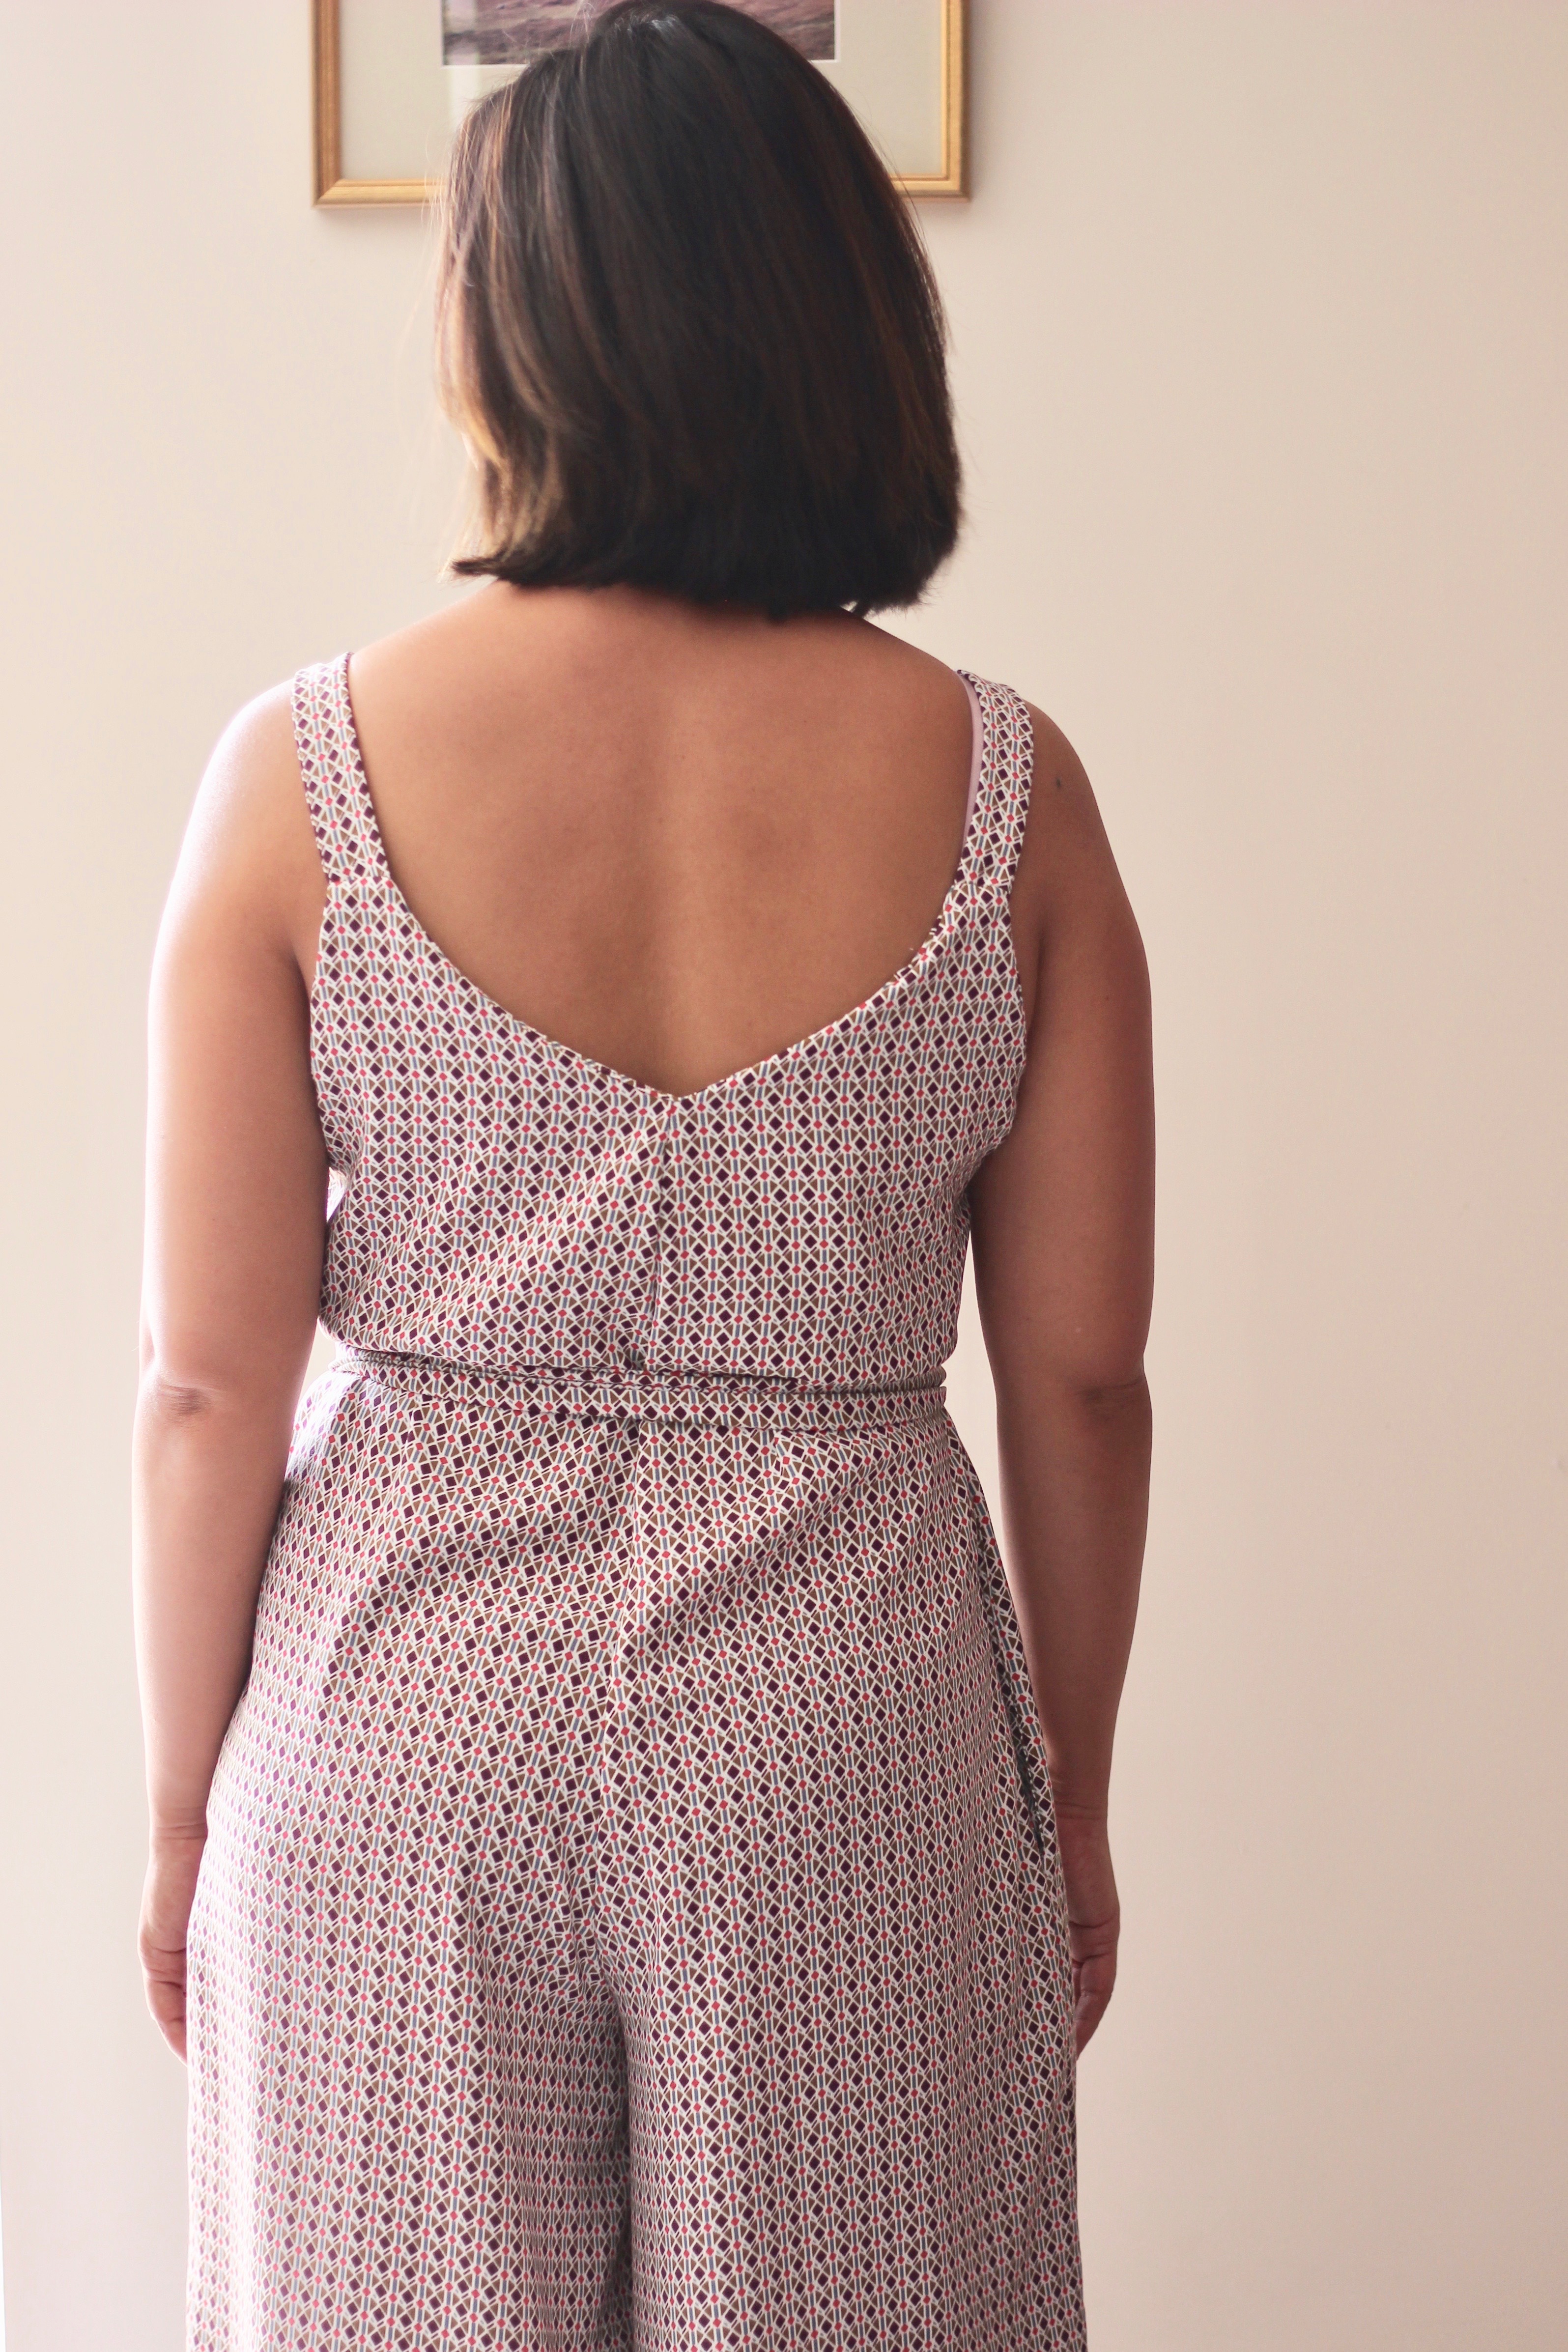
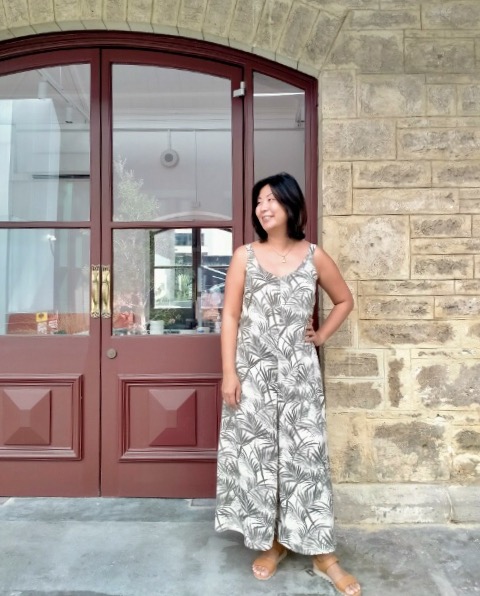
Let’s walk through the planned projects. The Amy Jumpsuit was the first project that I completed. I love the idea of a jumpsuit, but I find the closer fitting jumpsuits or boiler suits very uncomfortable to wear. The Amy Jumpsuit is by Closet Core Patterns, and I just love the roomy fit around the legs. I found this jumpsuit to be the perfect summer smart casual outfit.


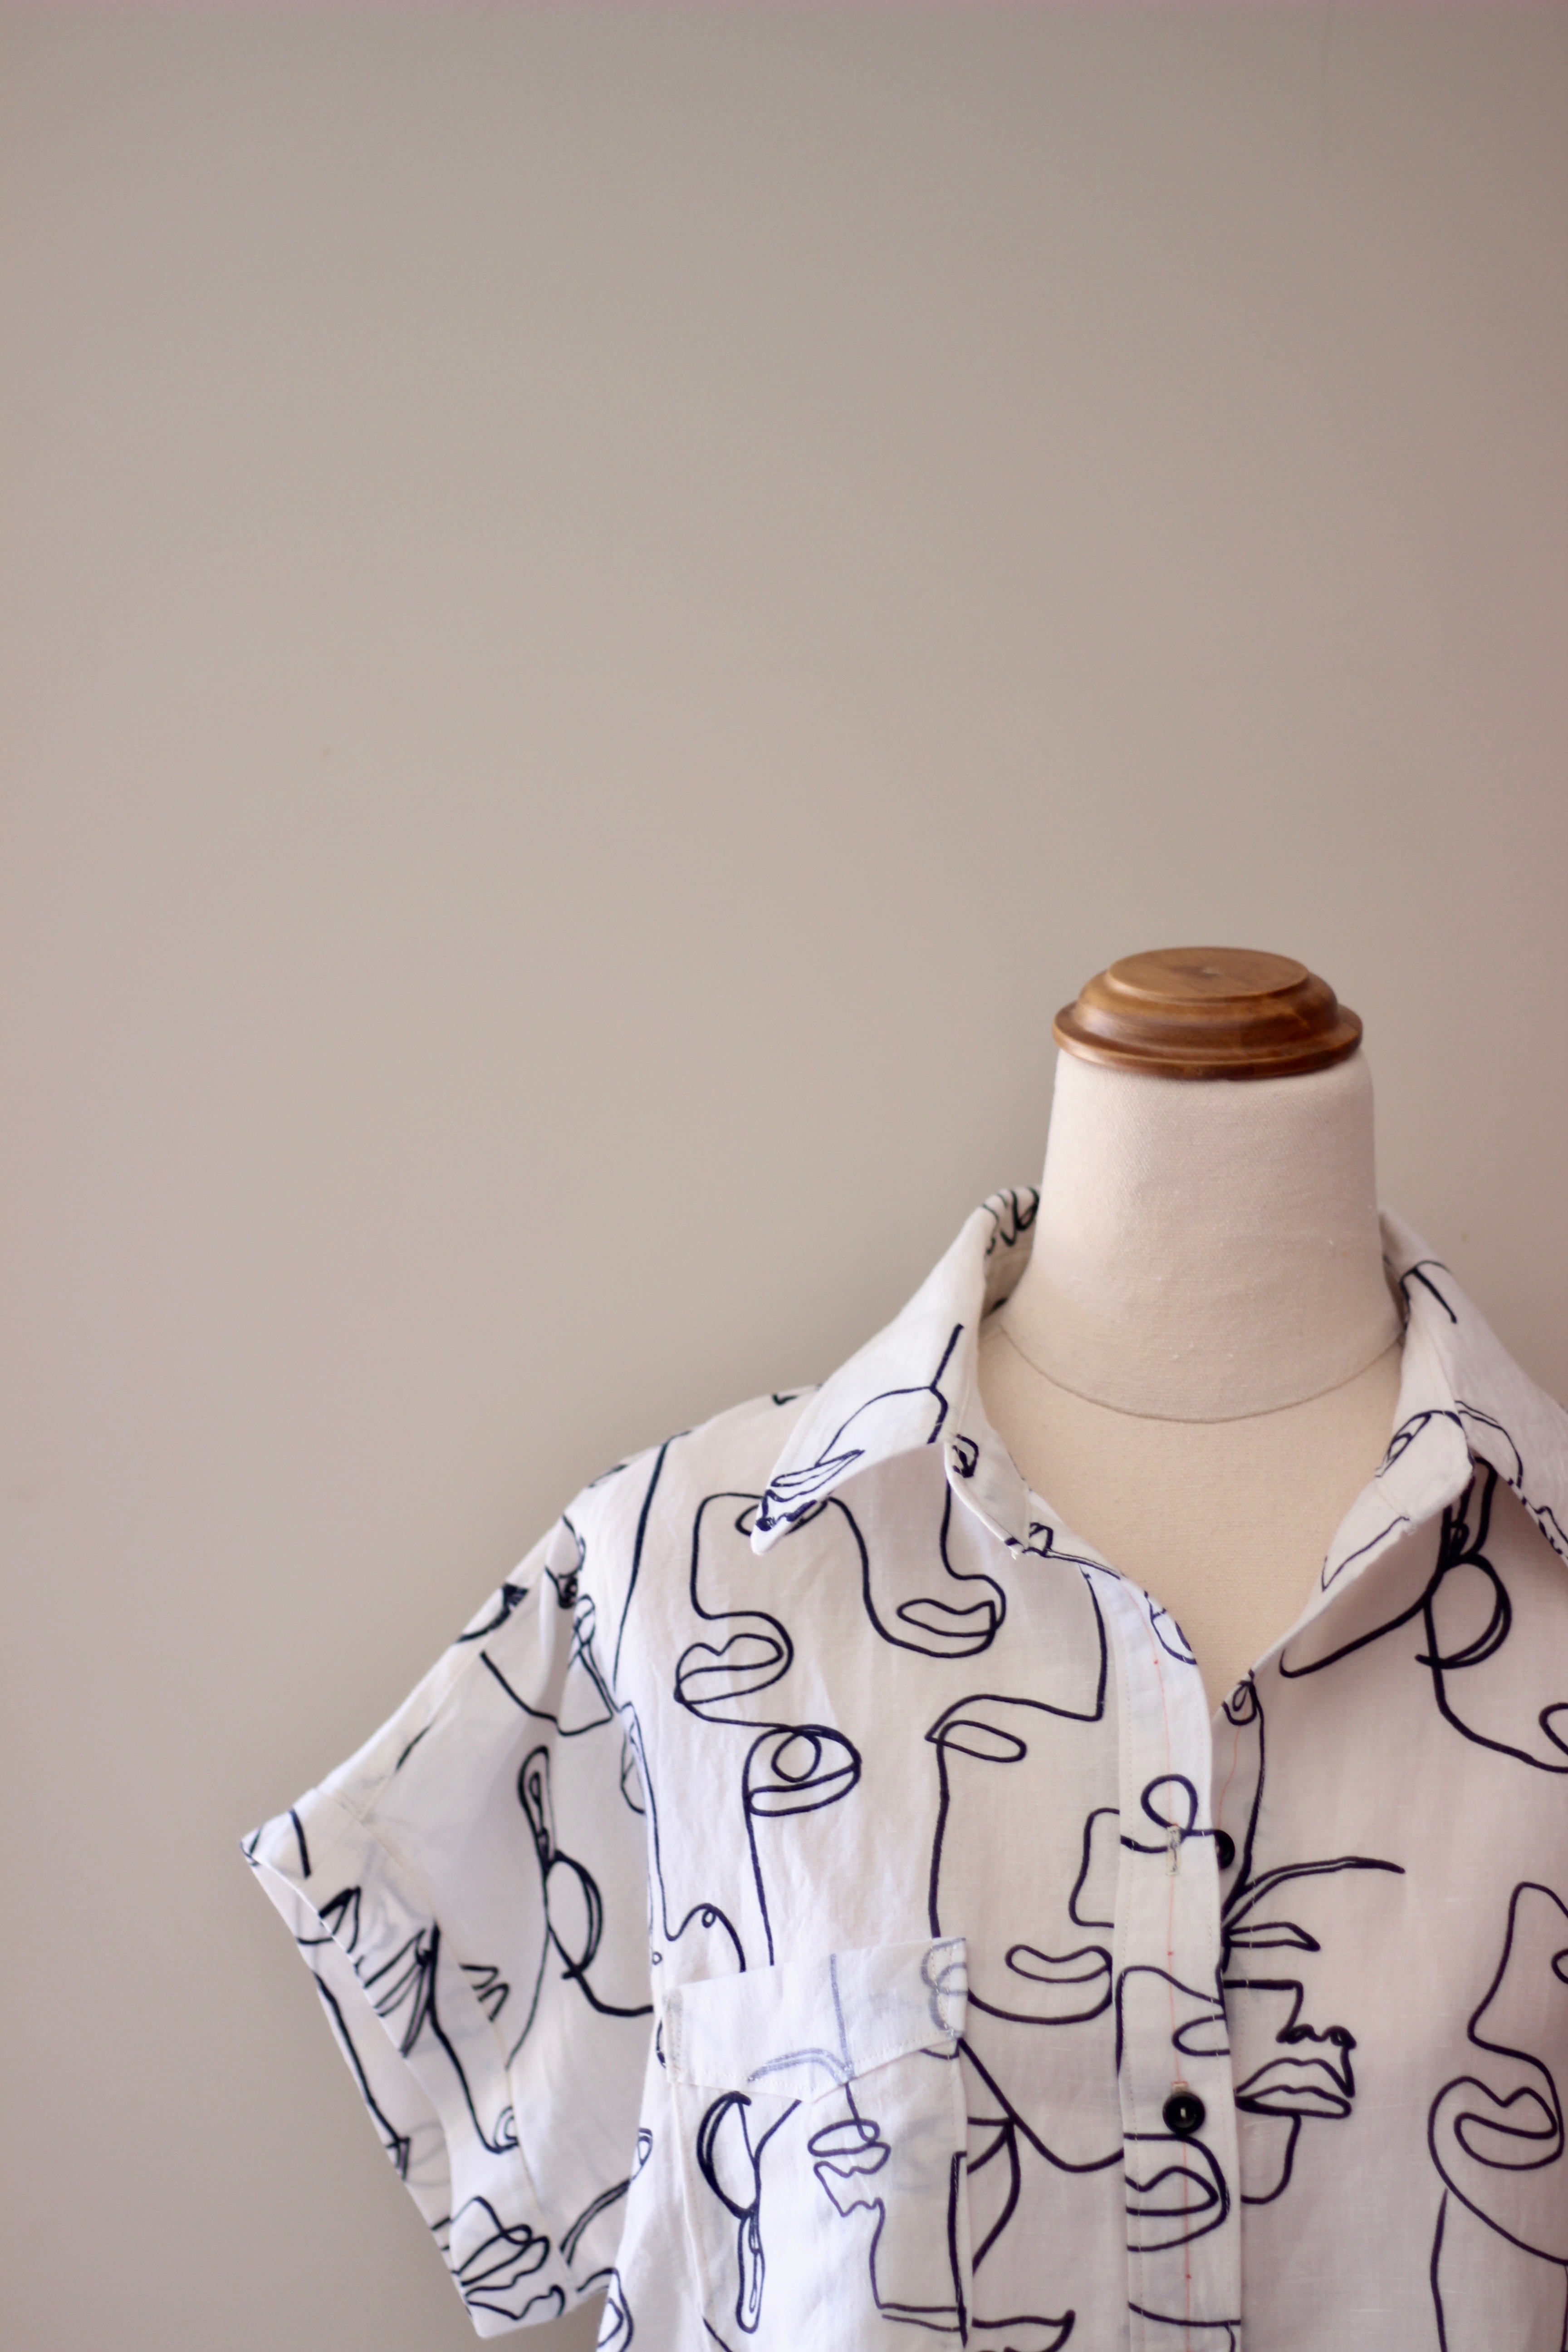
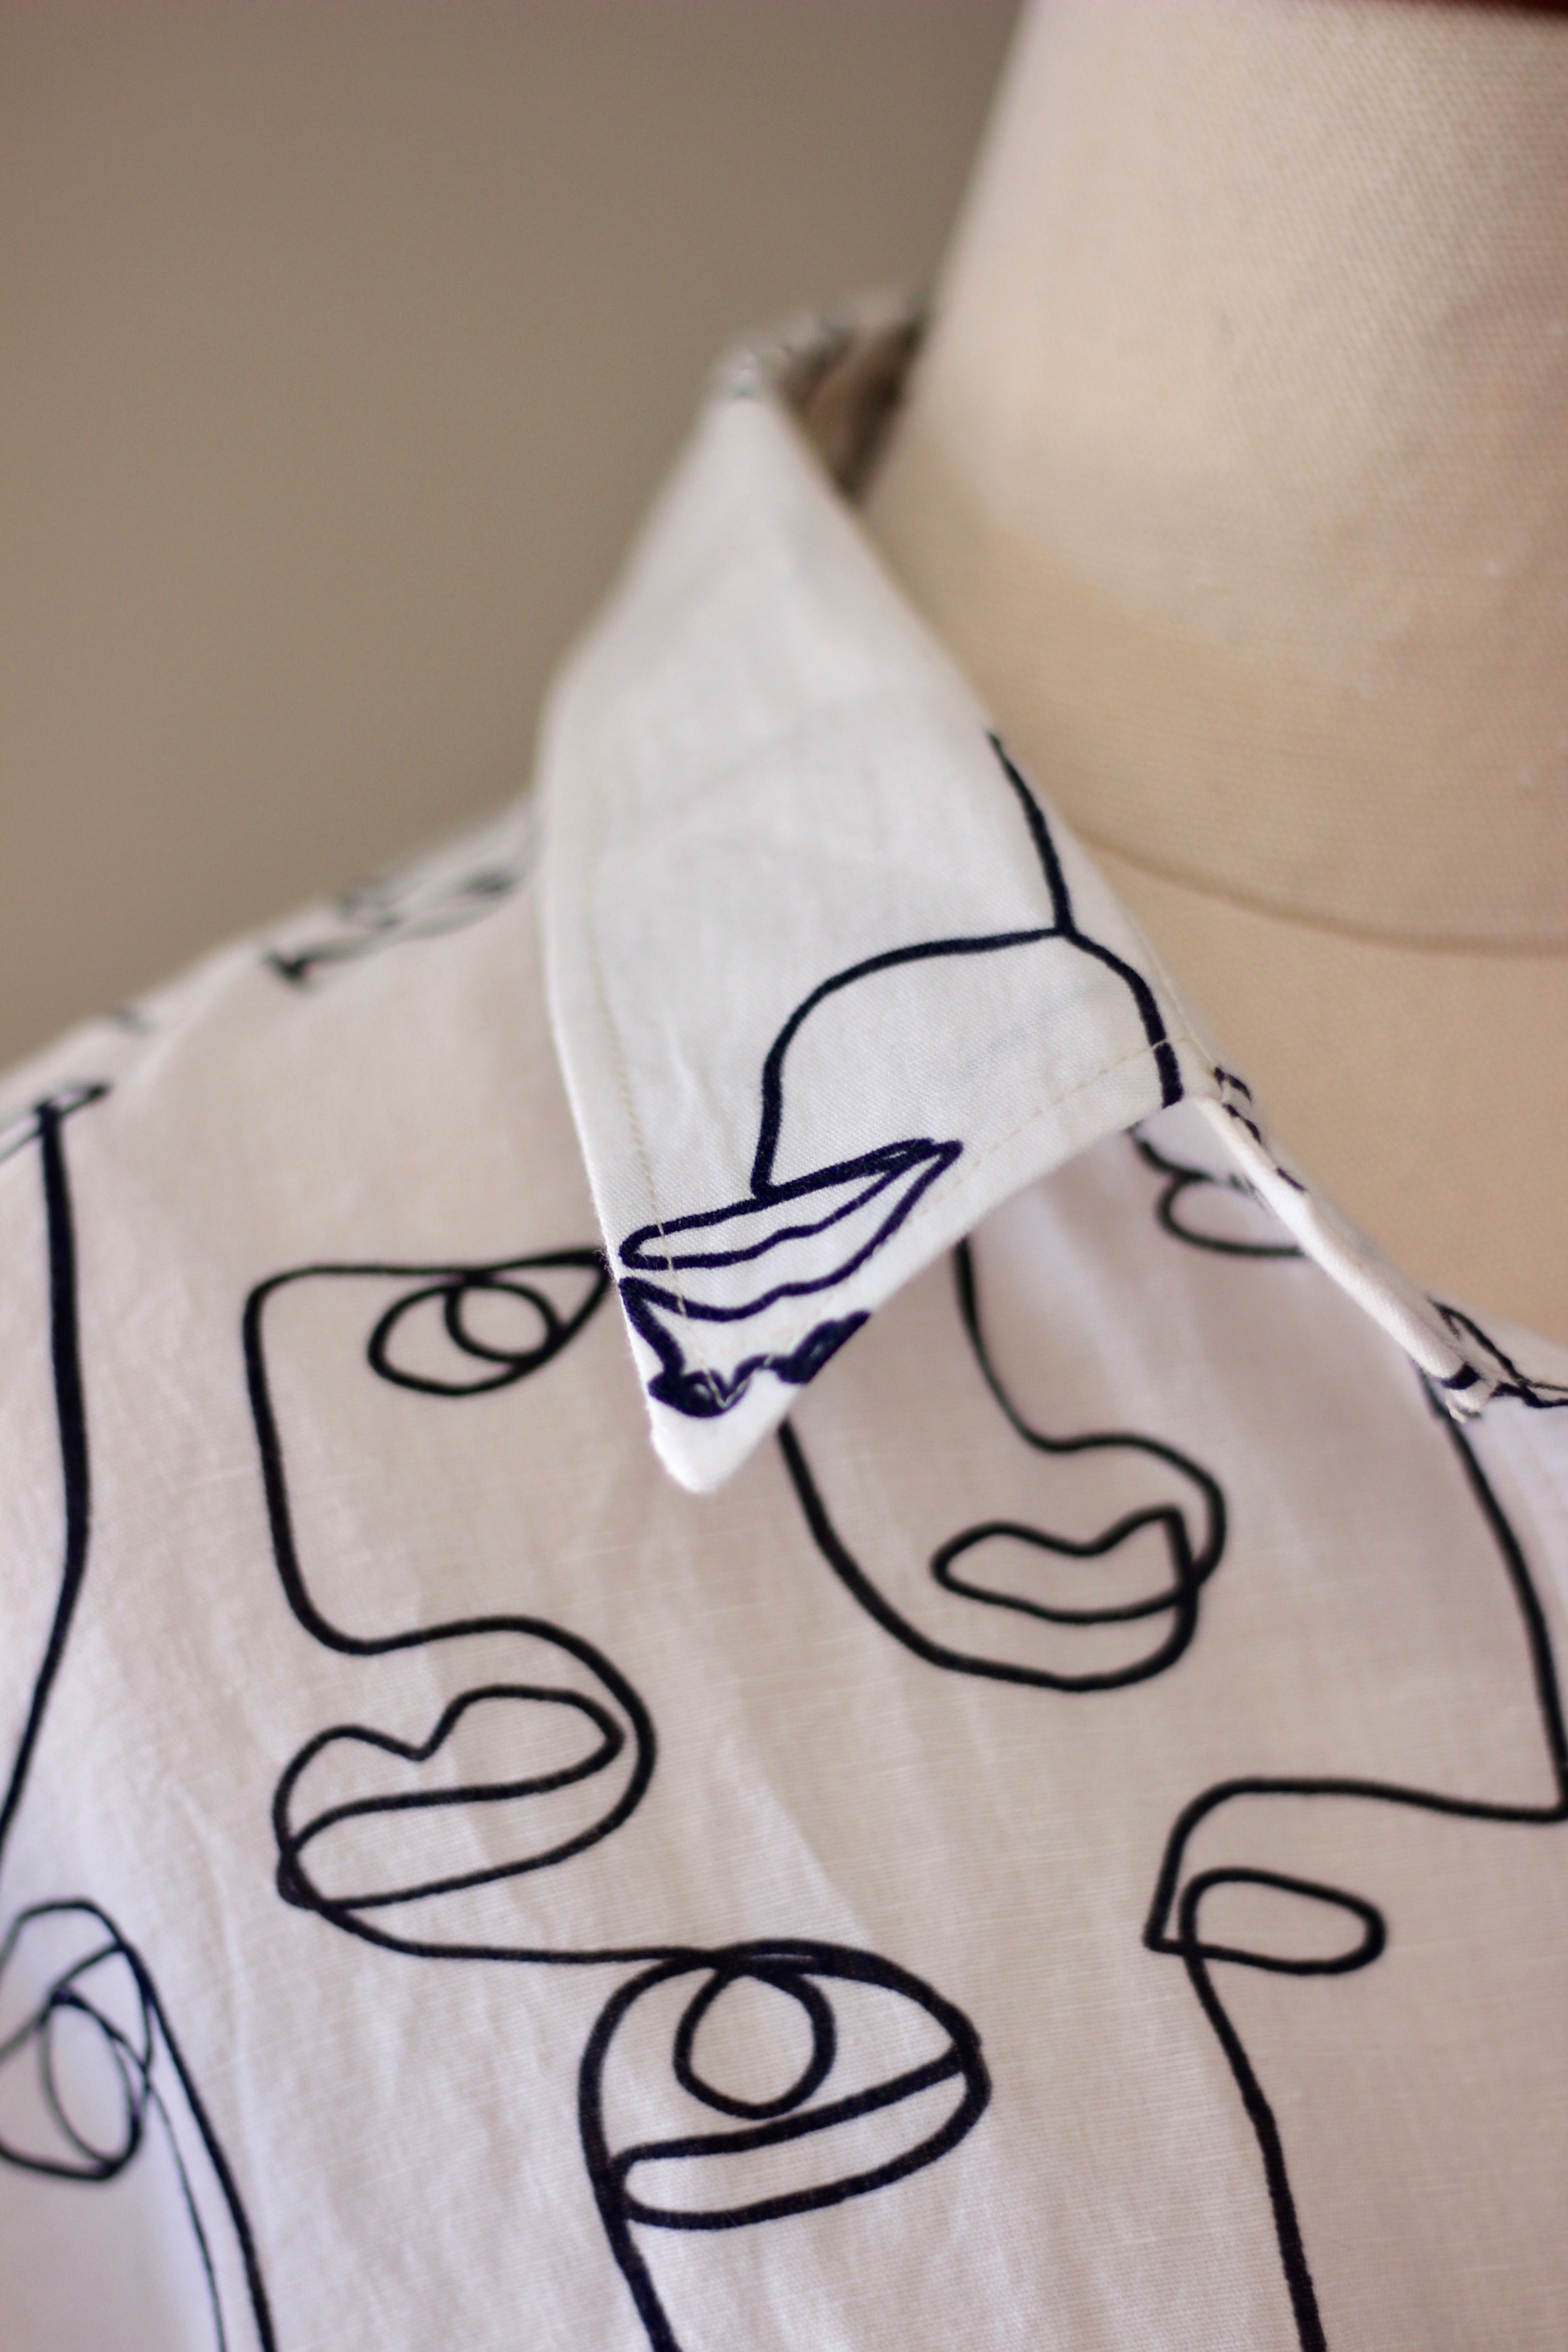
Next, I made the Kalle Shirtdress, which is also by Closet Core Patterns. I chose this because of the collar and placket instalment. Prior to this, I had never sewn anything with a collar, and I found the instructions were great for a beginner like me. Also, I made it using this wonderful “faces” linen fabric. I’ll be revisiting this lovely pattern to sew the other versions of it.


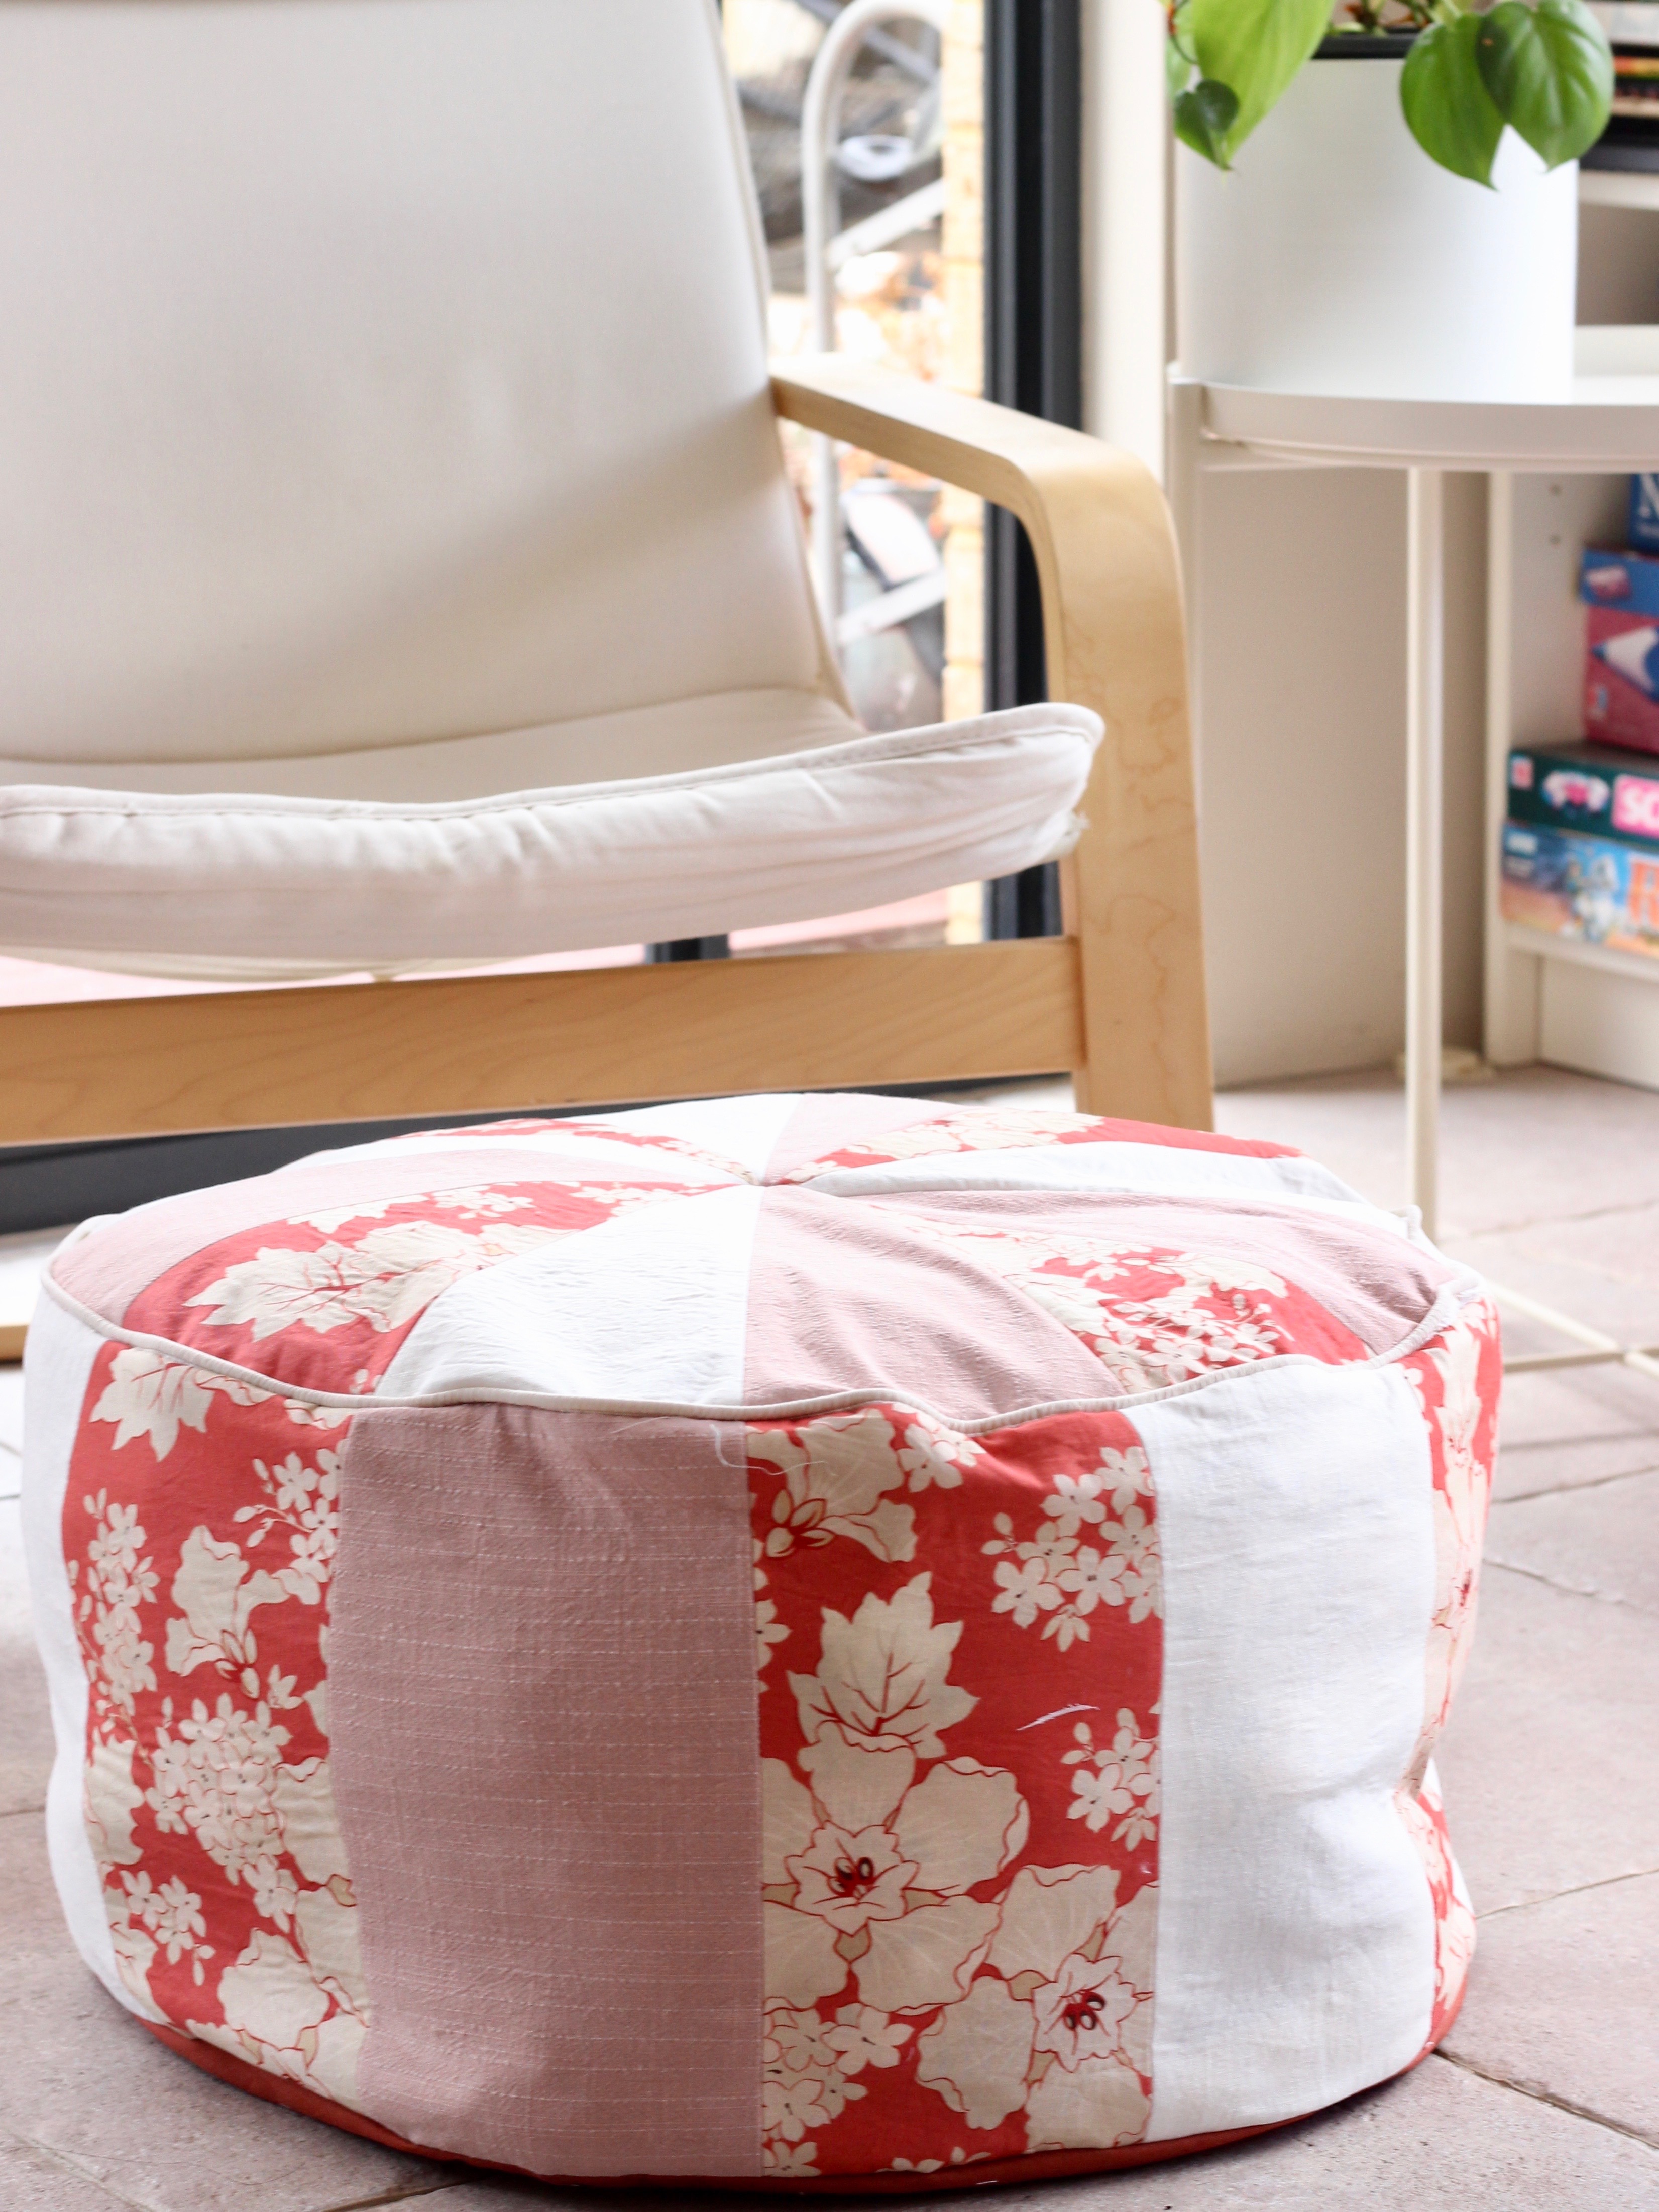
The Closet Core Pouf is a free pattern! It’s a great piece of furniture and it’s made and filled with all my sewing scraps. The pouf was photographed with some pillows for stuffing, but my pouf is still not one hundred percent full yet. It’s still being filled with all the little scraps that can’t be used for other projects. You can tell by now that I was having a bit of a Closet Core crush!


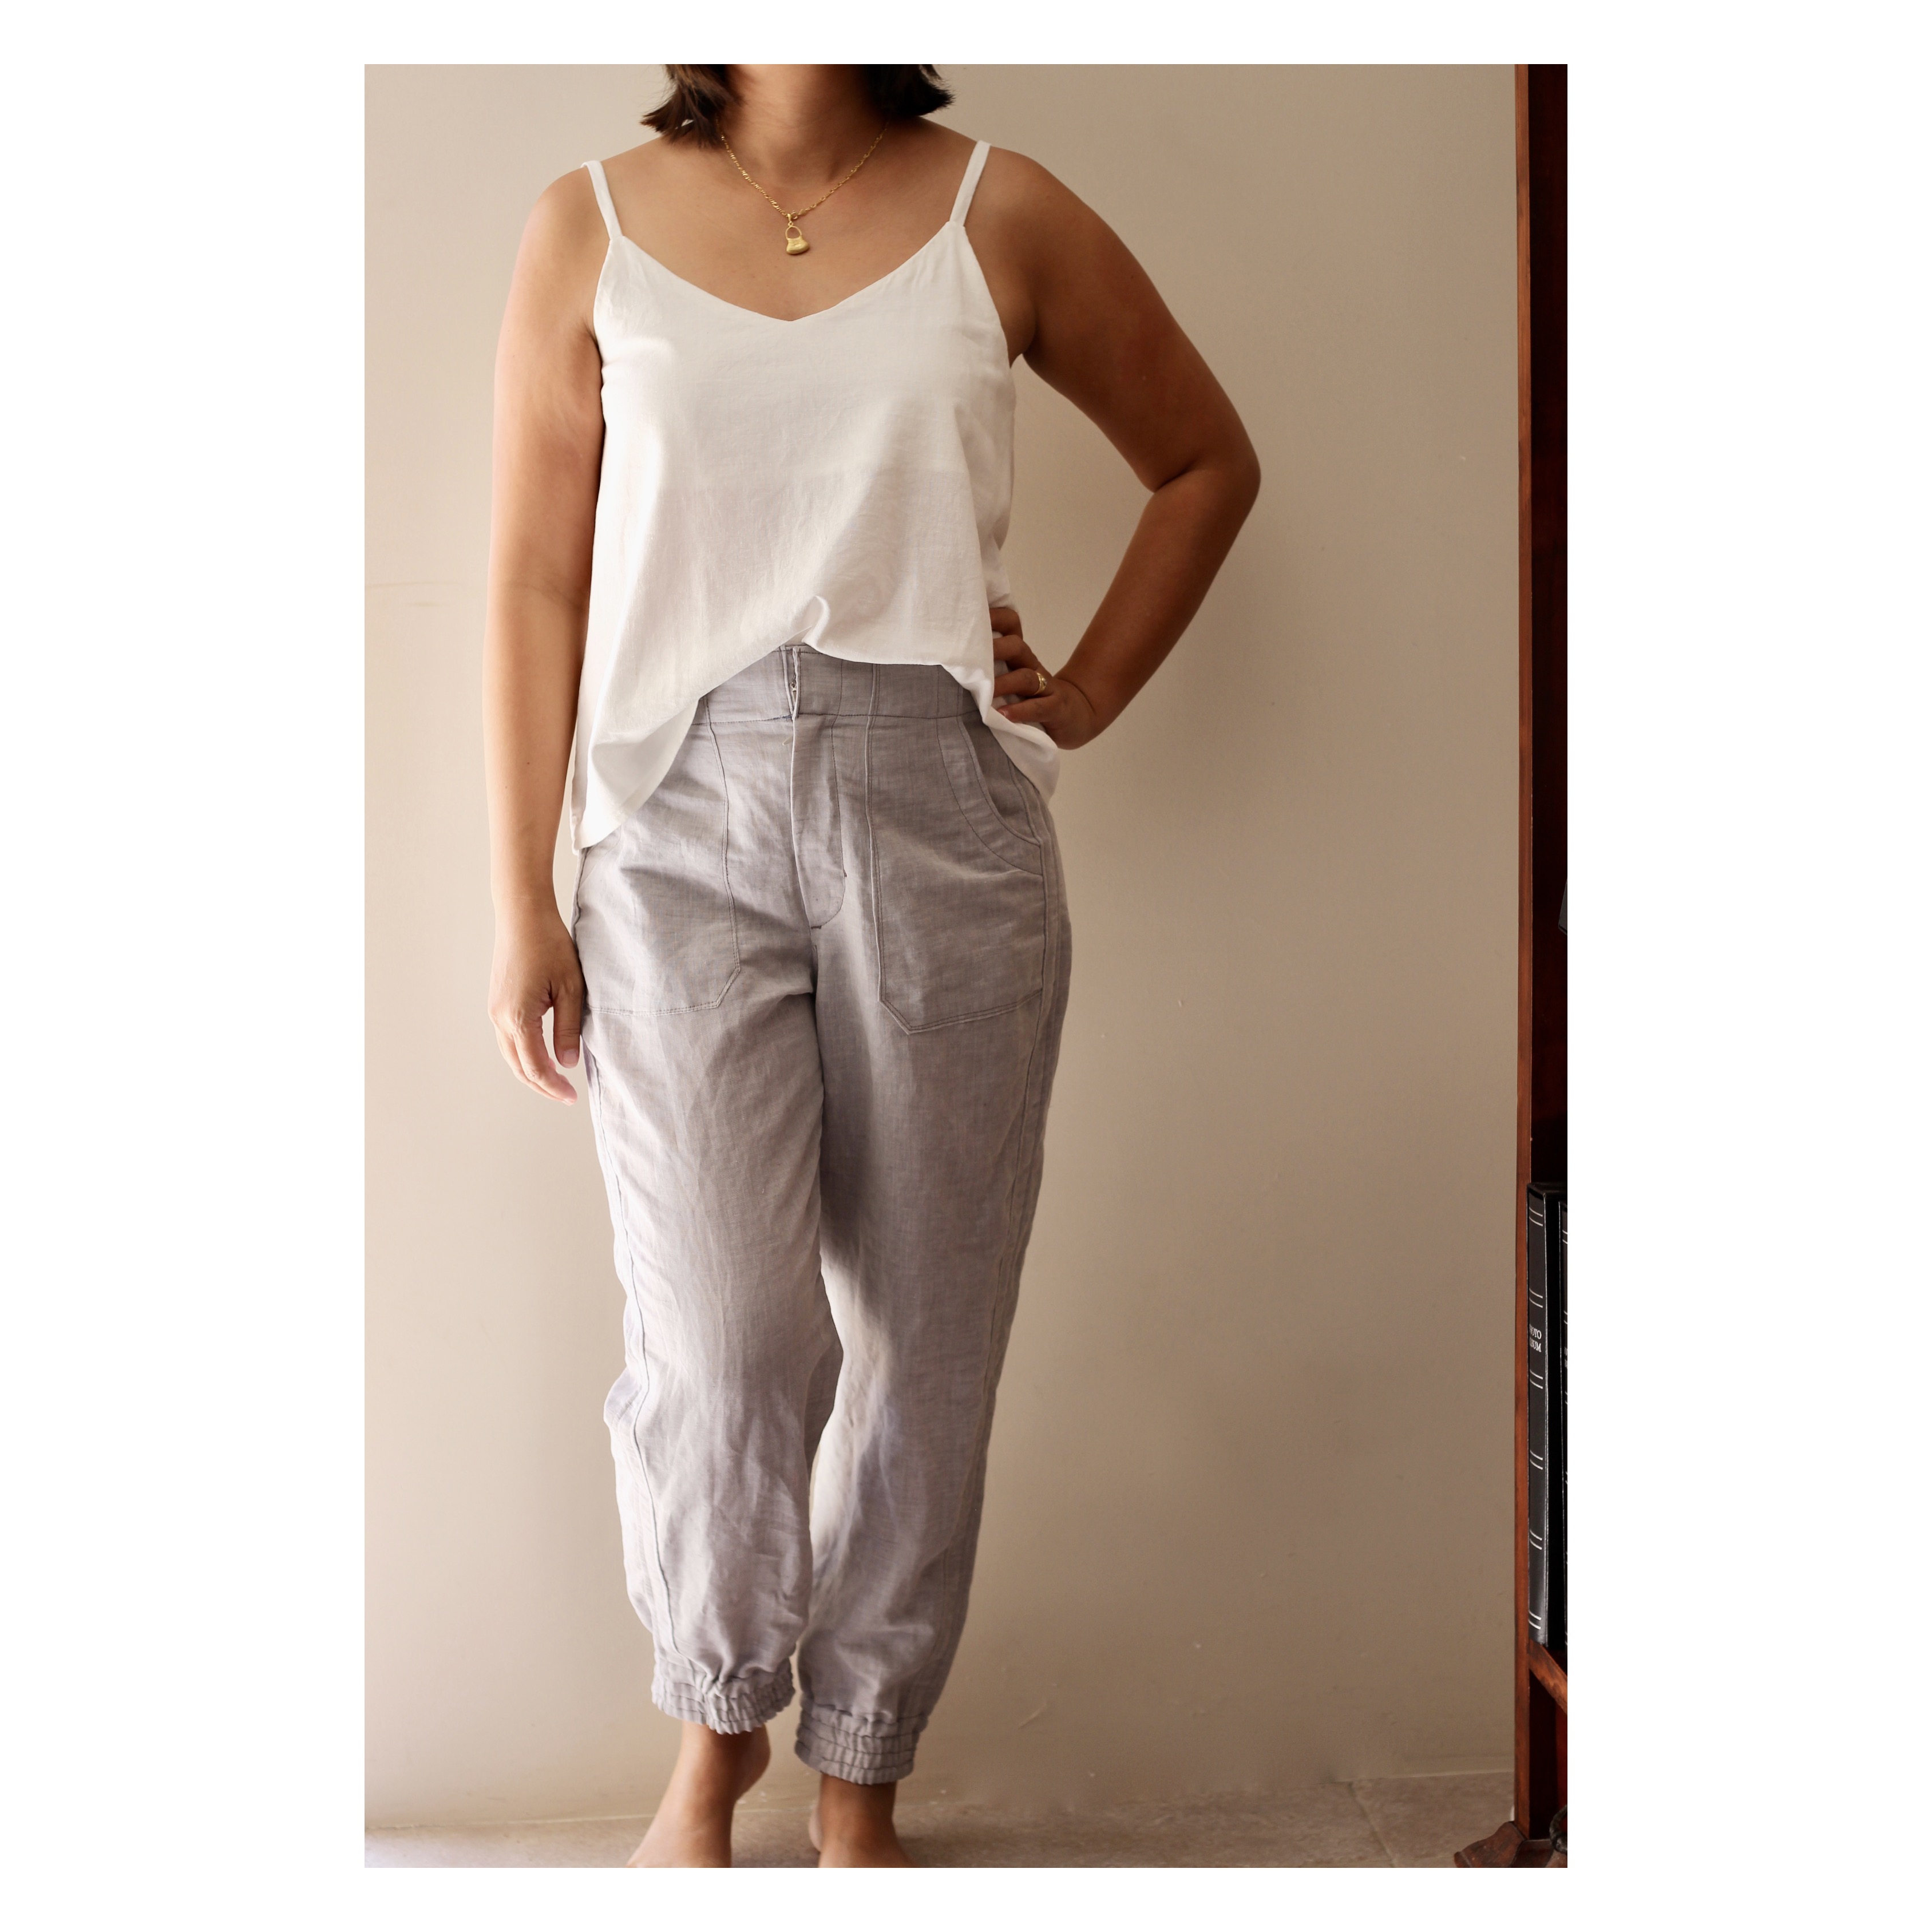
The Nellie joggers was the next project that I tackled. I love the beautiful designs by Pattern Scout. I find all her pieces so easy to wear. I chose the joggers for the zip fly installation. Trousers require a lot more skill to fit so I try to find trousers that have elements like partially elasticised waists to make fitting a bit easier while I build up my confidence.

I didn’t manage to sew the Nova Coat by Papercut Patterns, but I have the pattern in my stash. I often find myself ruminating over projects before sewing. I bought the pattern, then I found some beautiful fabric from Potter and Co, and I think that was the downfall of the project. The wool was dry-clean only and I found that researching about how to prepare the fabric was a bit overwhelming, so I put it aside. I really want my sewing to be enjoyable so I’m not afraid to step back. I’m finding that sewing helps me in the most surprising way, I’m better at forgiving and being more patient with myself. This will definitely be revisited soon!
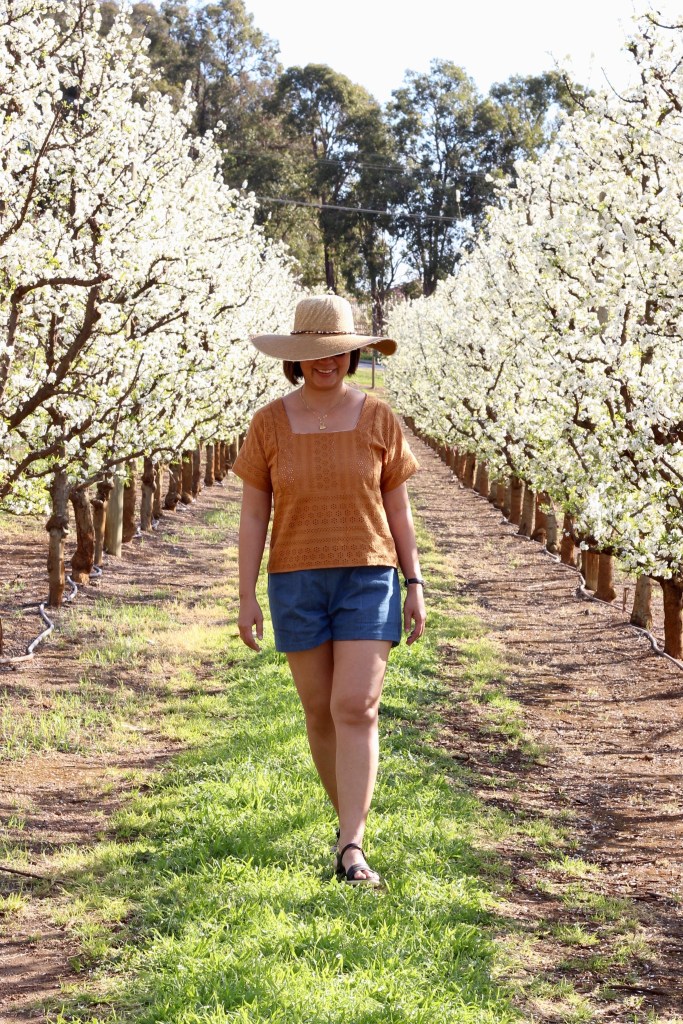
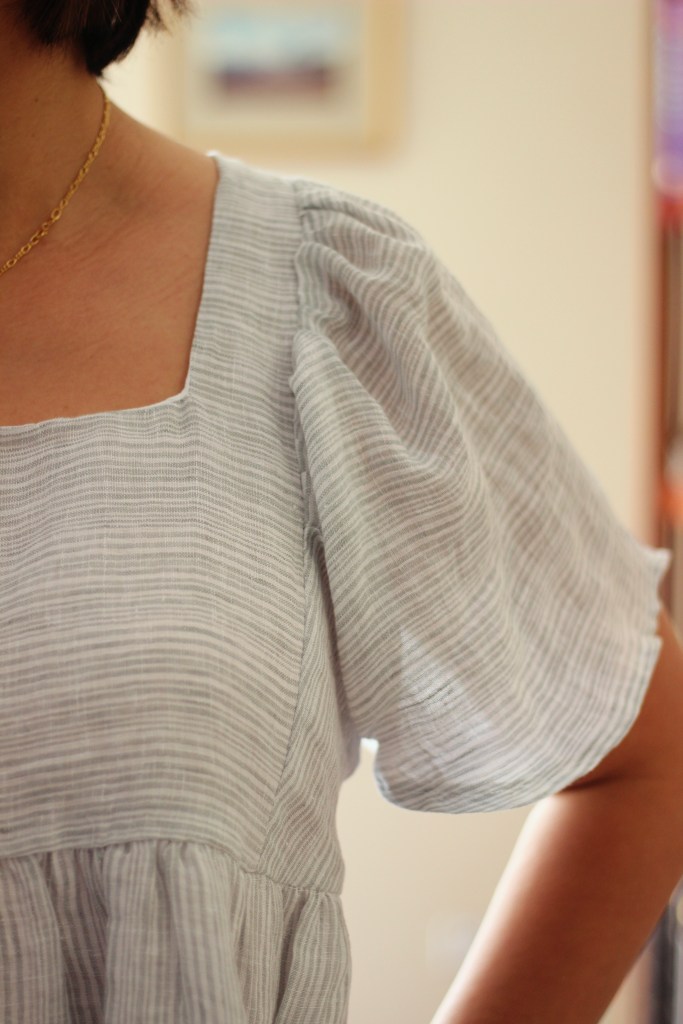
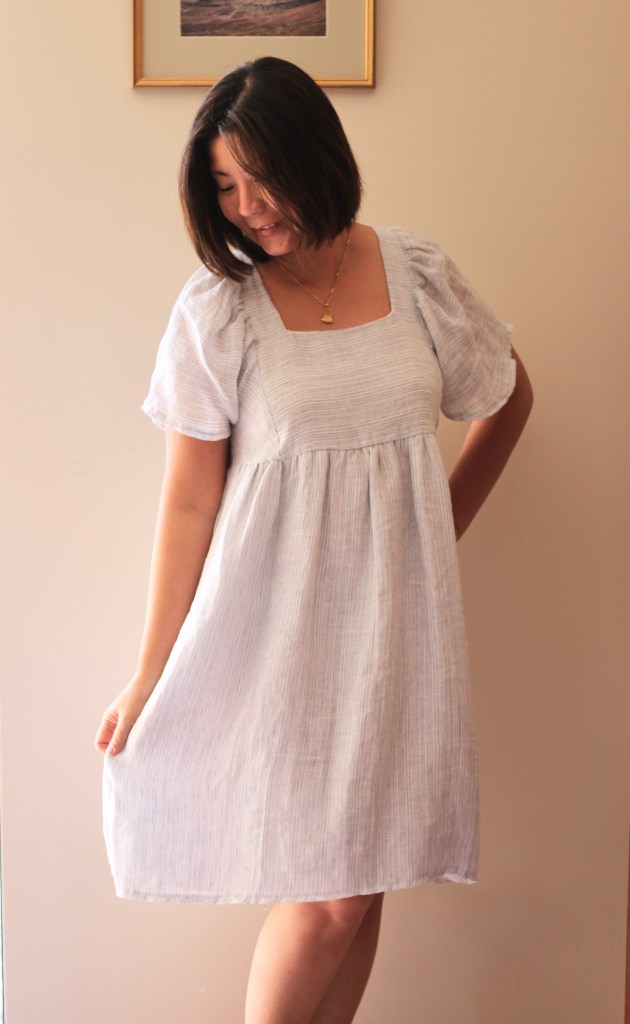
It was close to winter when I moved on to sewing the Meridan Knit Dress. I didn’t have a set pattern initially when I put this on my Make Nine. I just wanted to branch out into sewing with knit fabric. I’m glad I came across this dress by Sew To Grow. It’s very beginner friendly but a bit different from the usual T-Shirt dress.


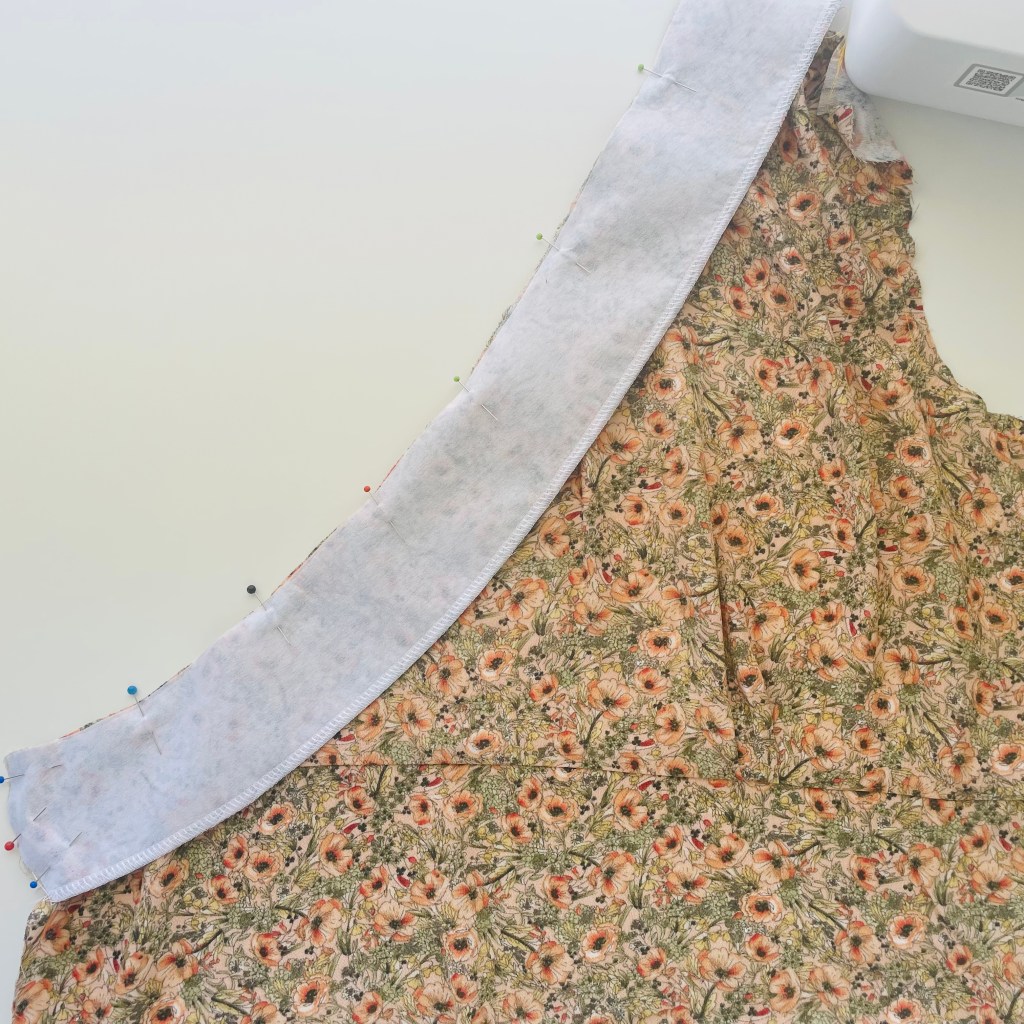
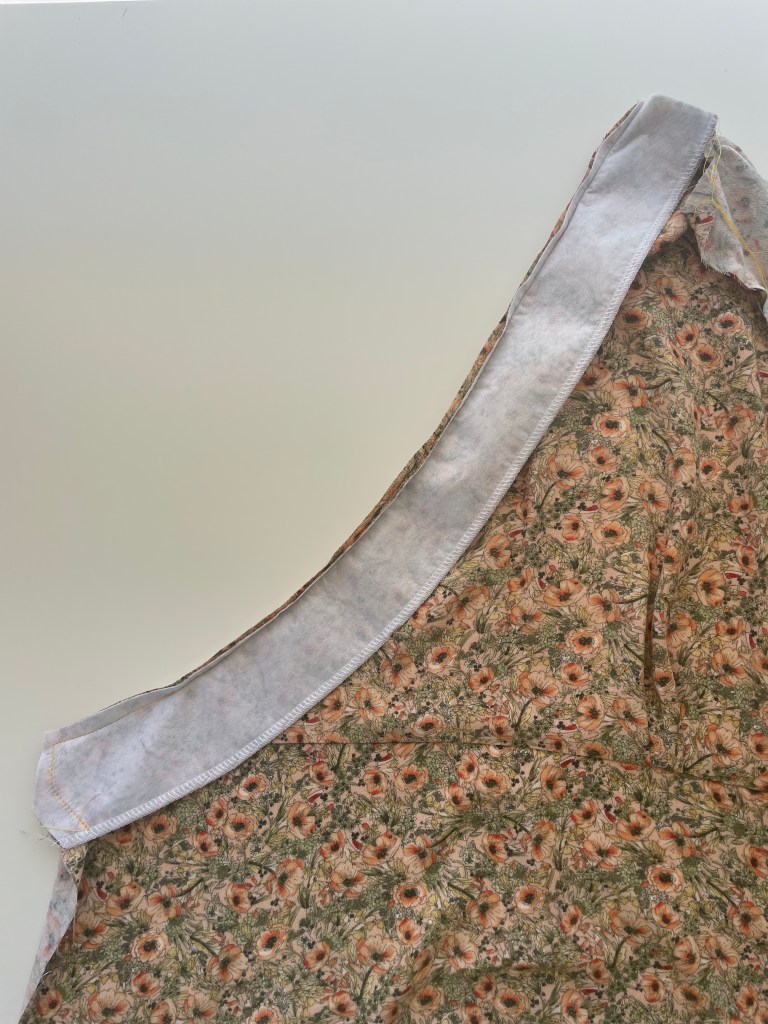
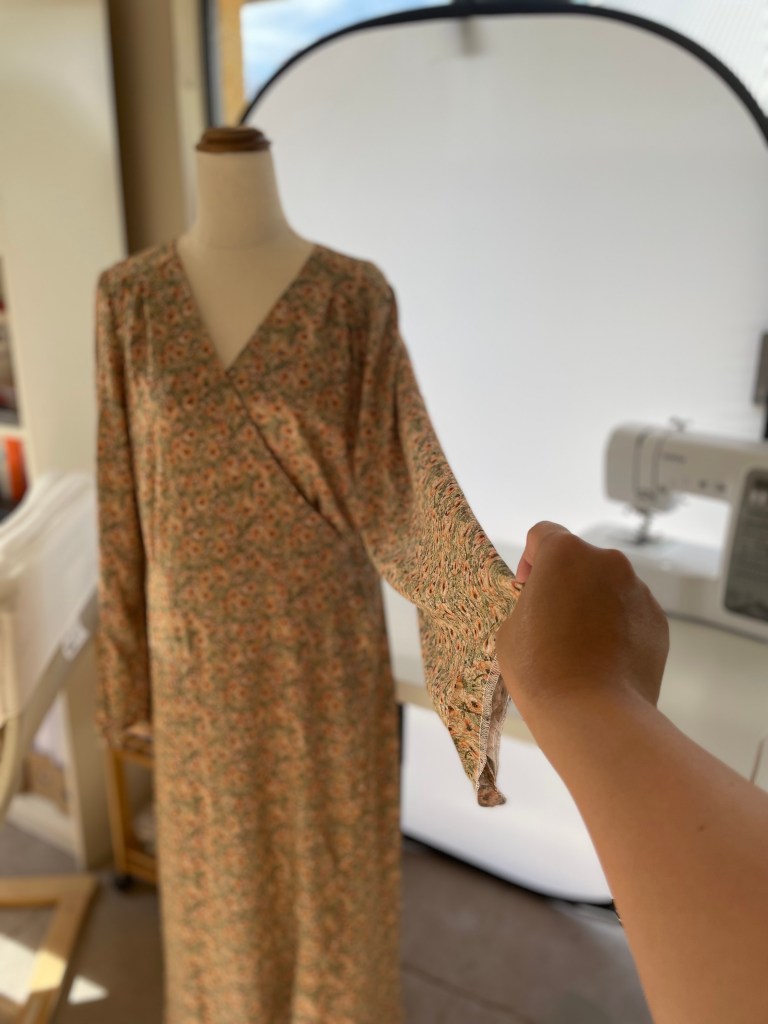
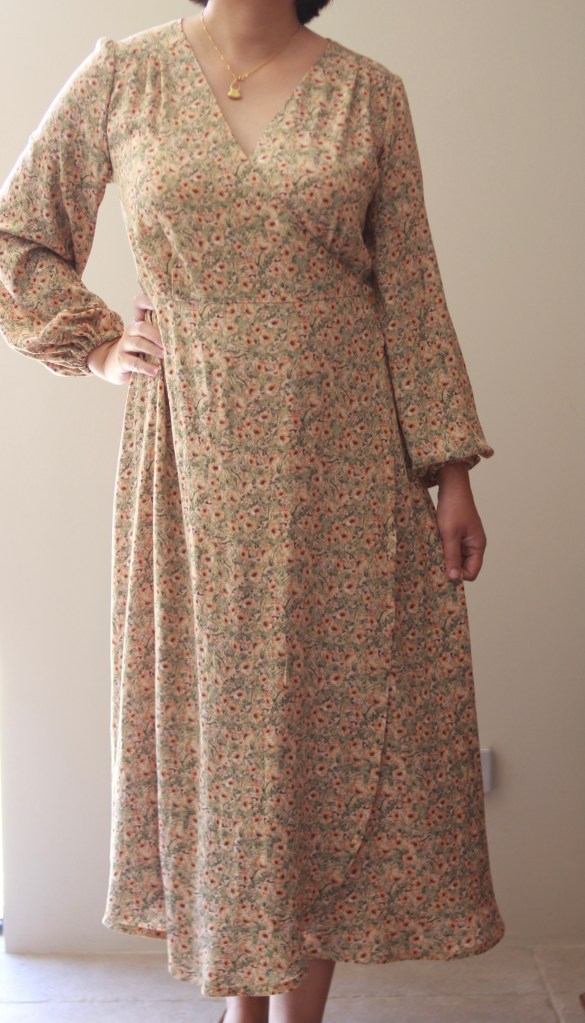
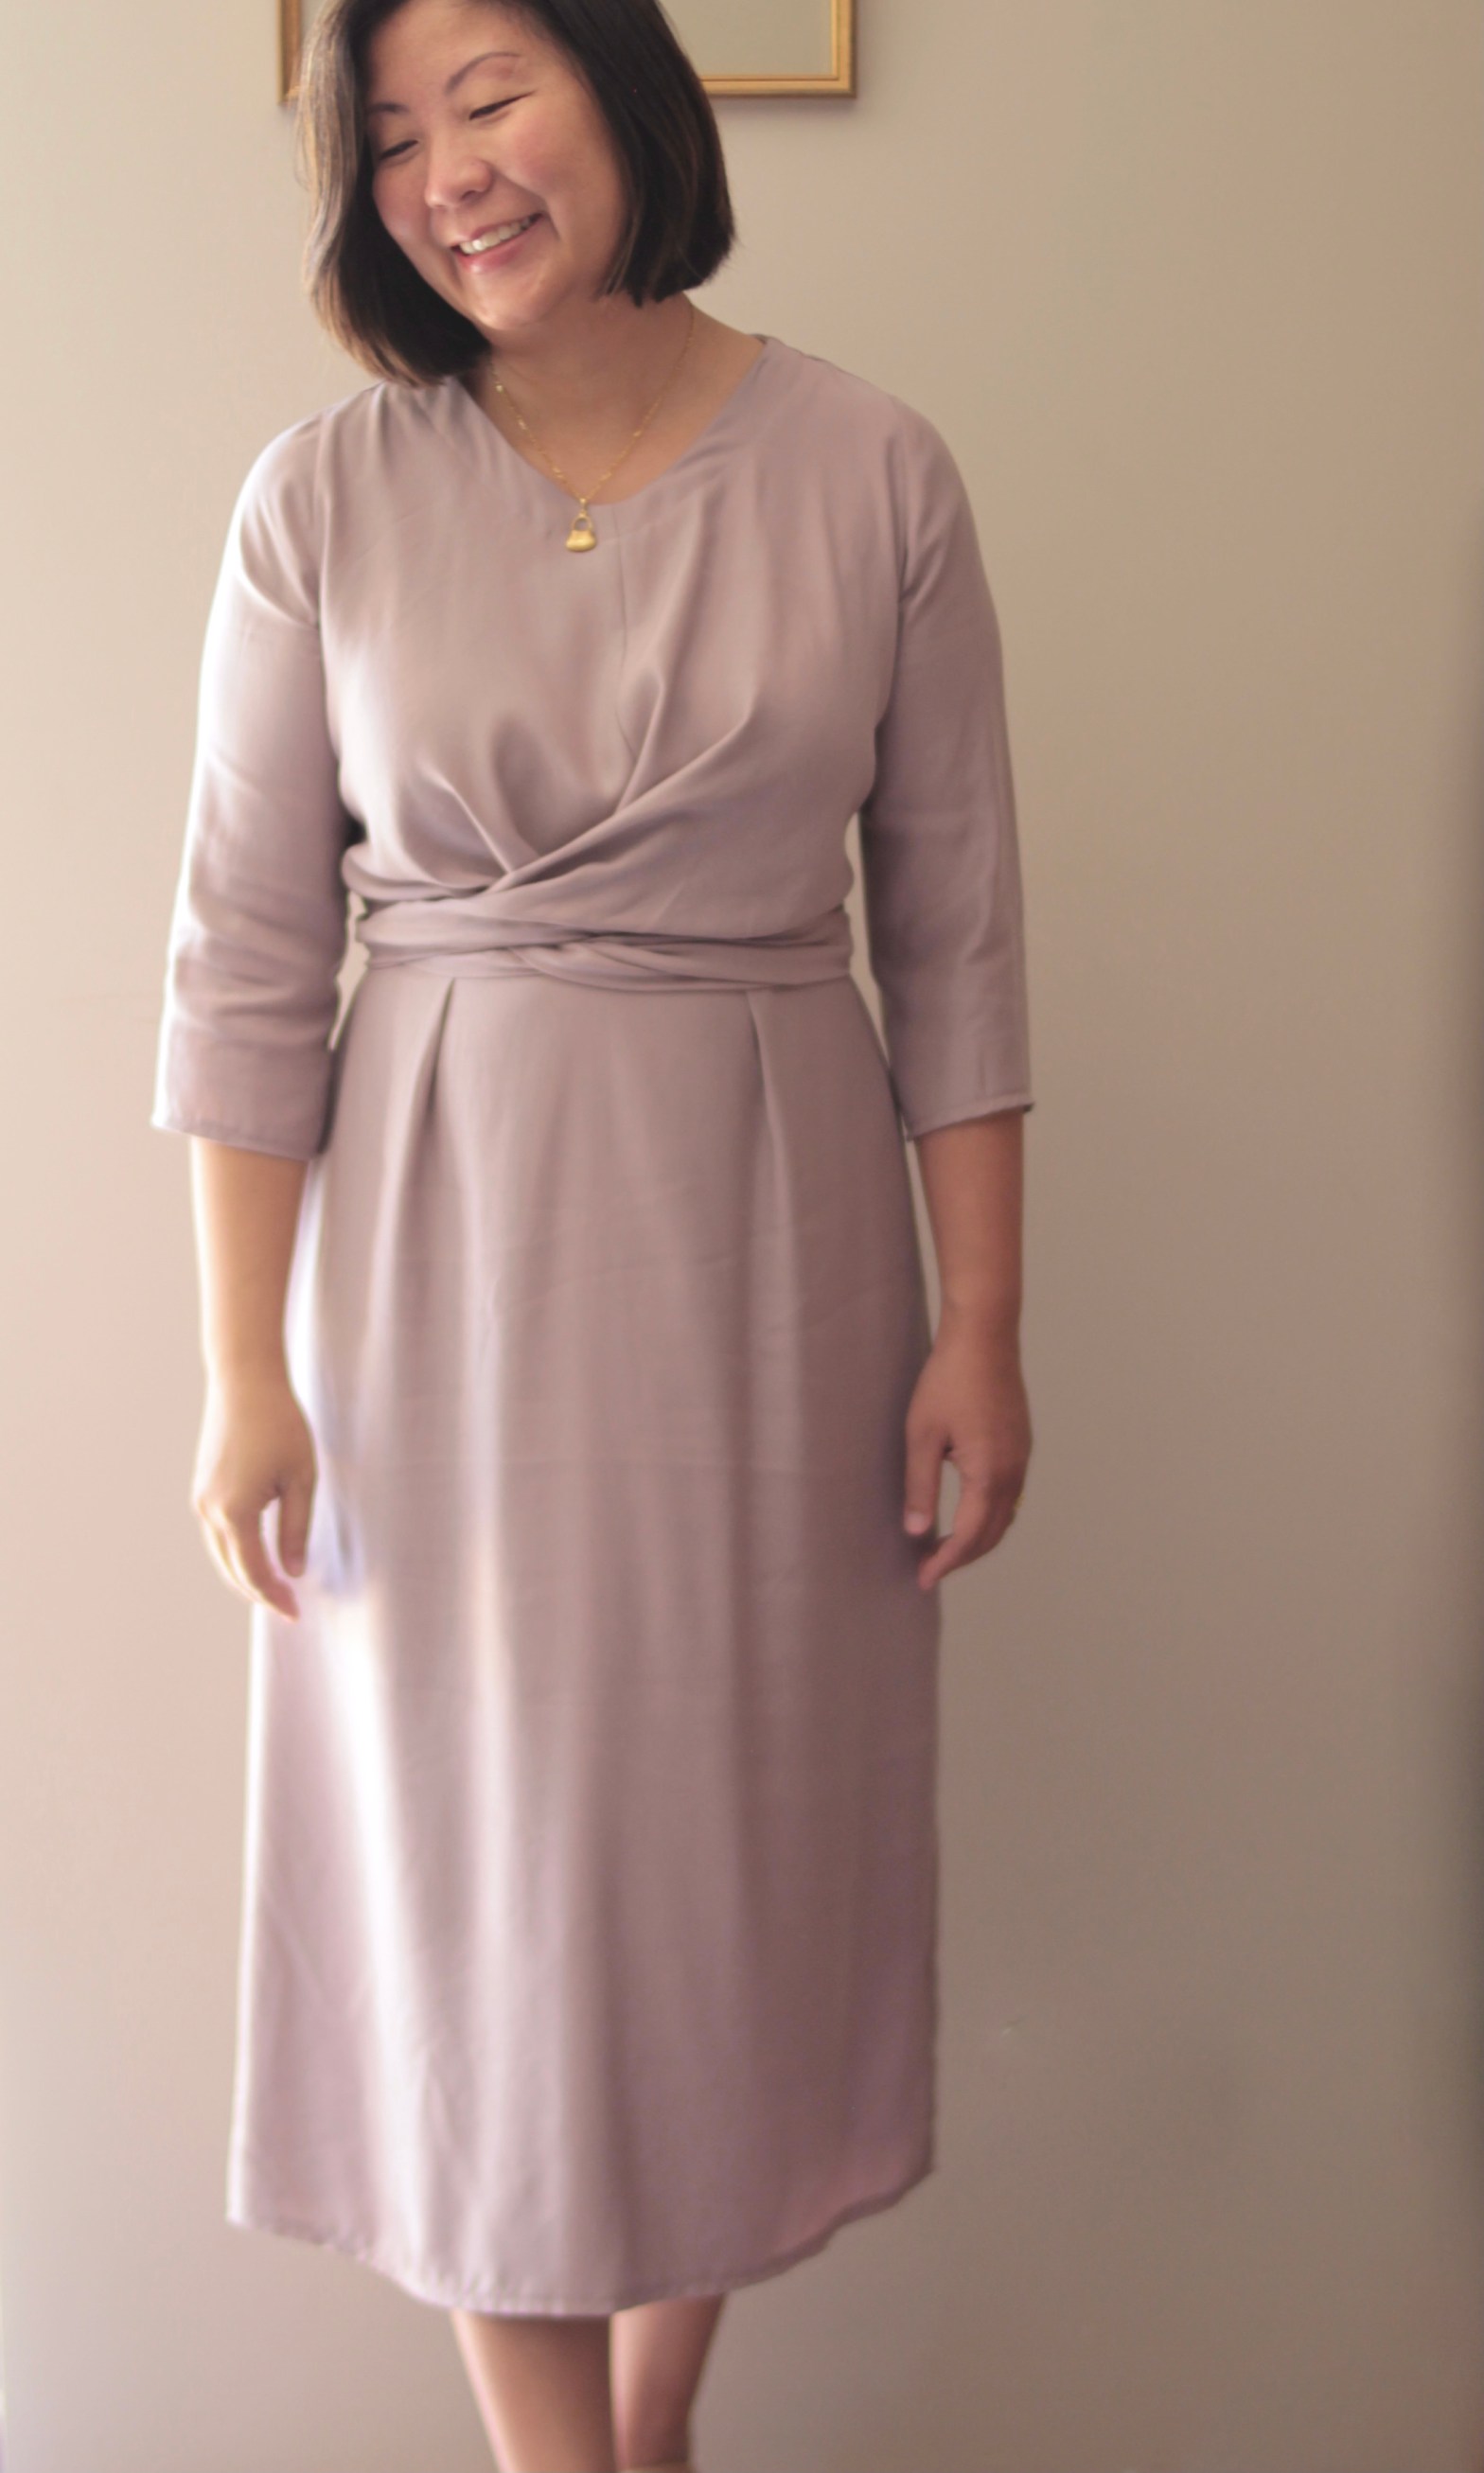
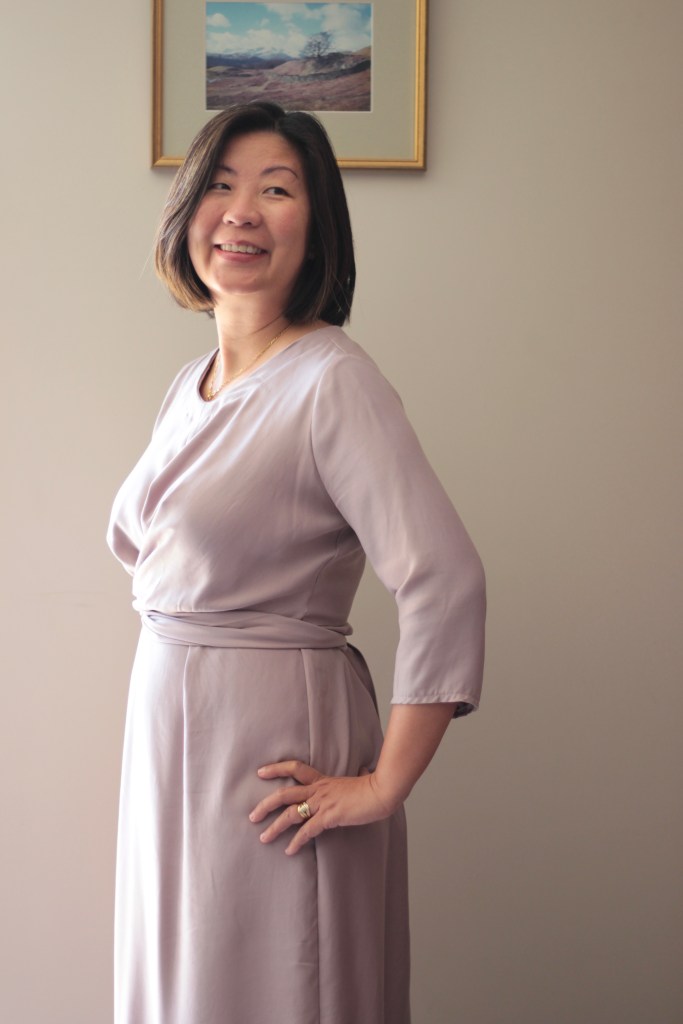
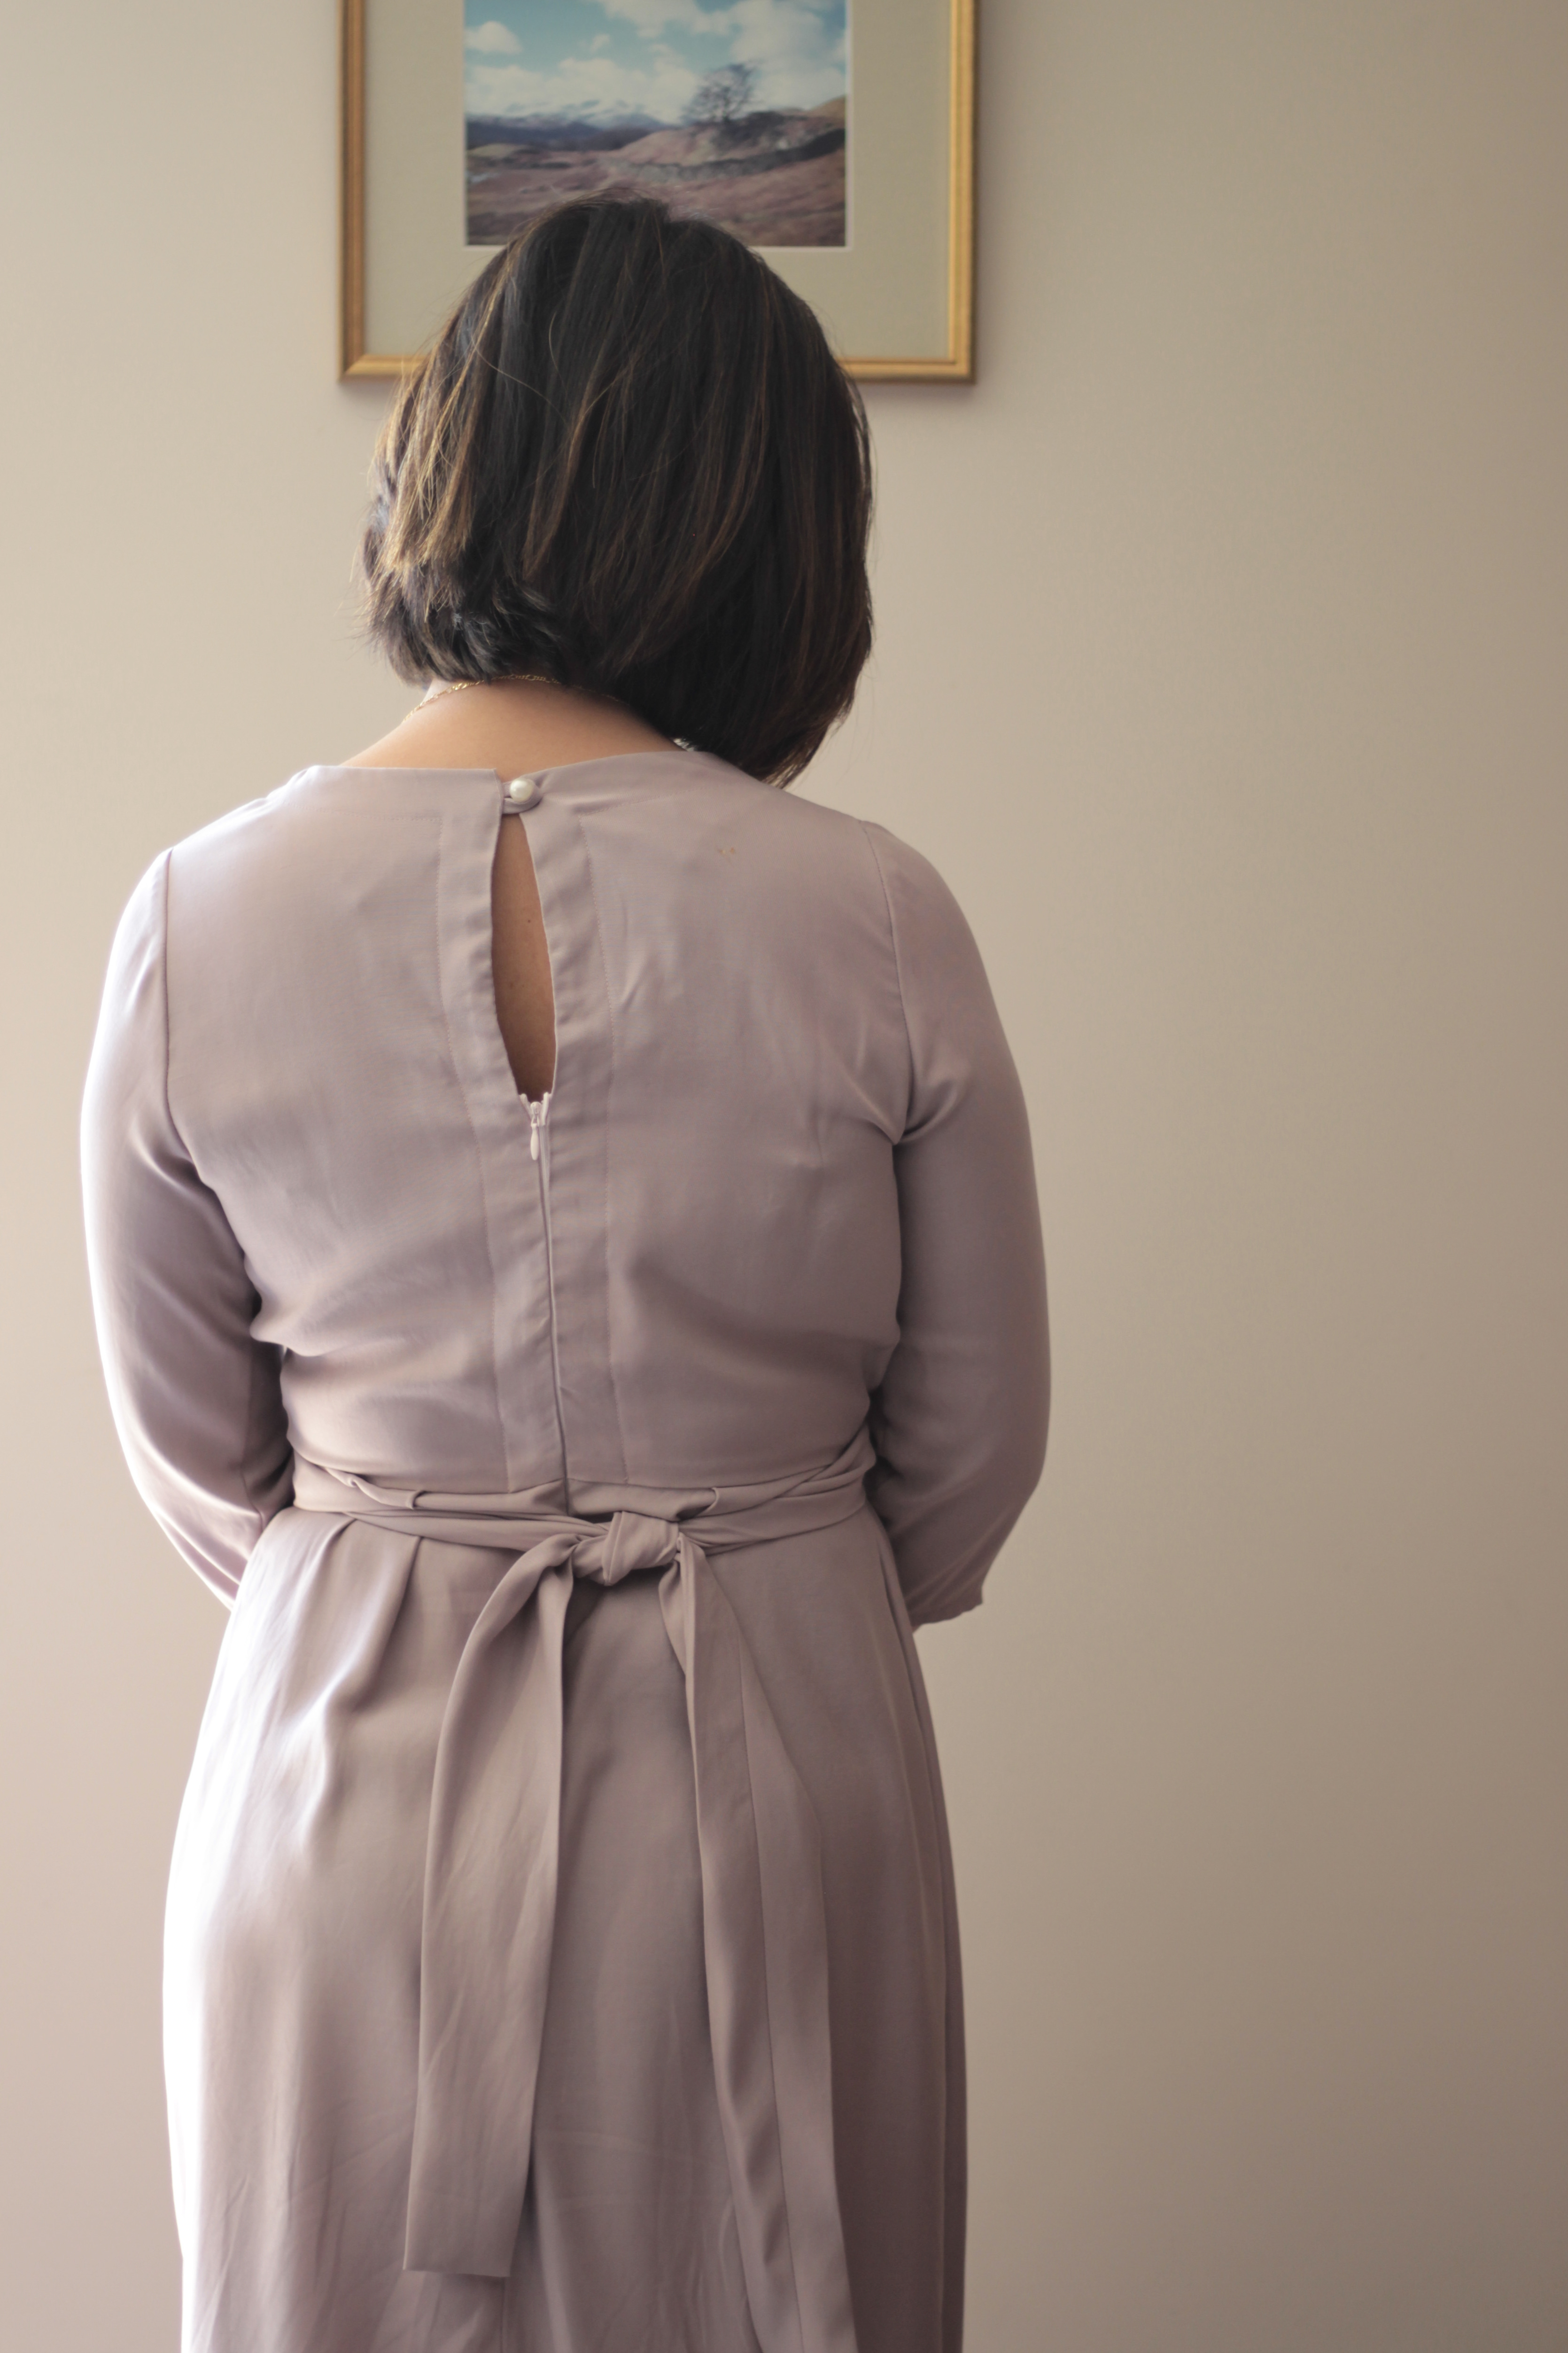
One of my favourite discoveries was the Meridian Dress by Papercut Patterns. The design is just beautiful with the wrap front bodice. It allows the wearer to adjust the bodice piece which is so handy for dinner parties and events where you need to look elegant but want to be comfortable as well.


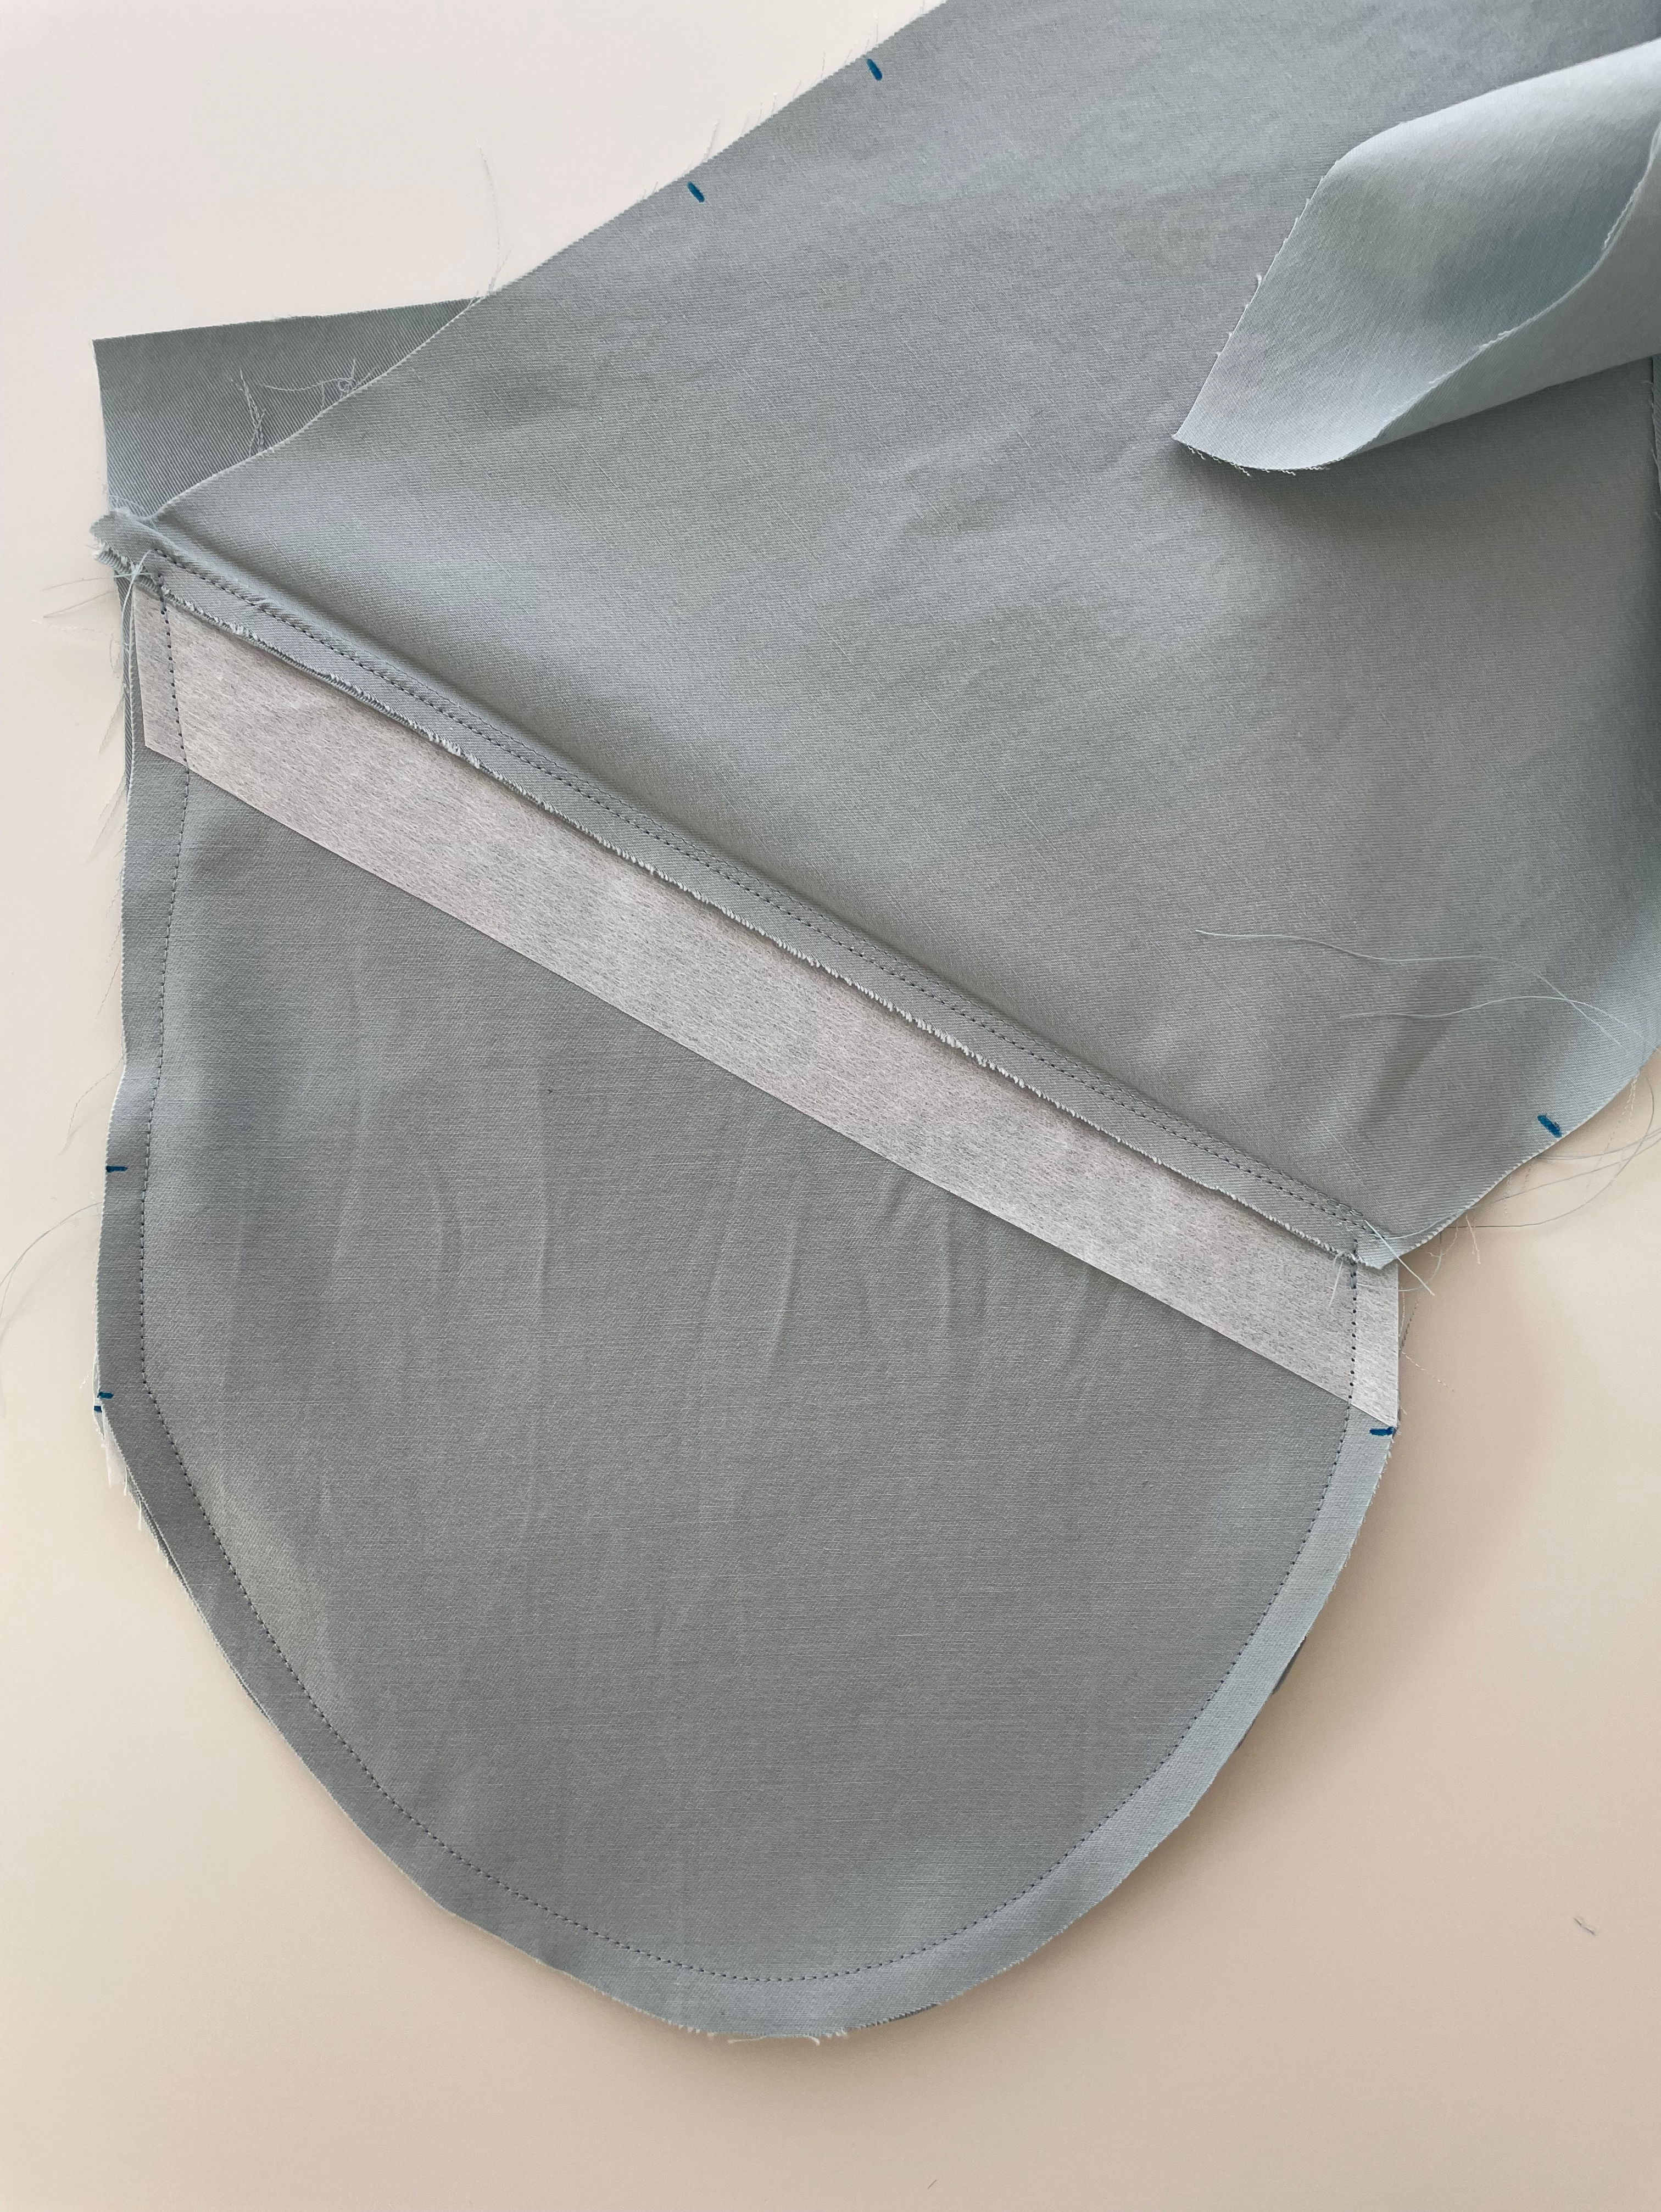
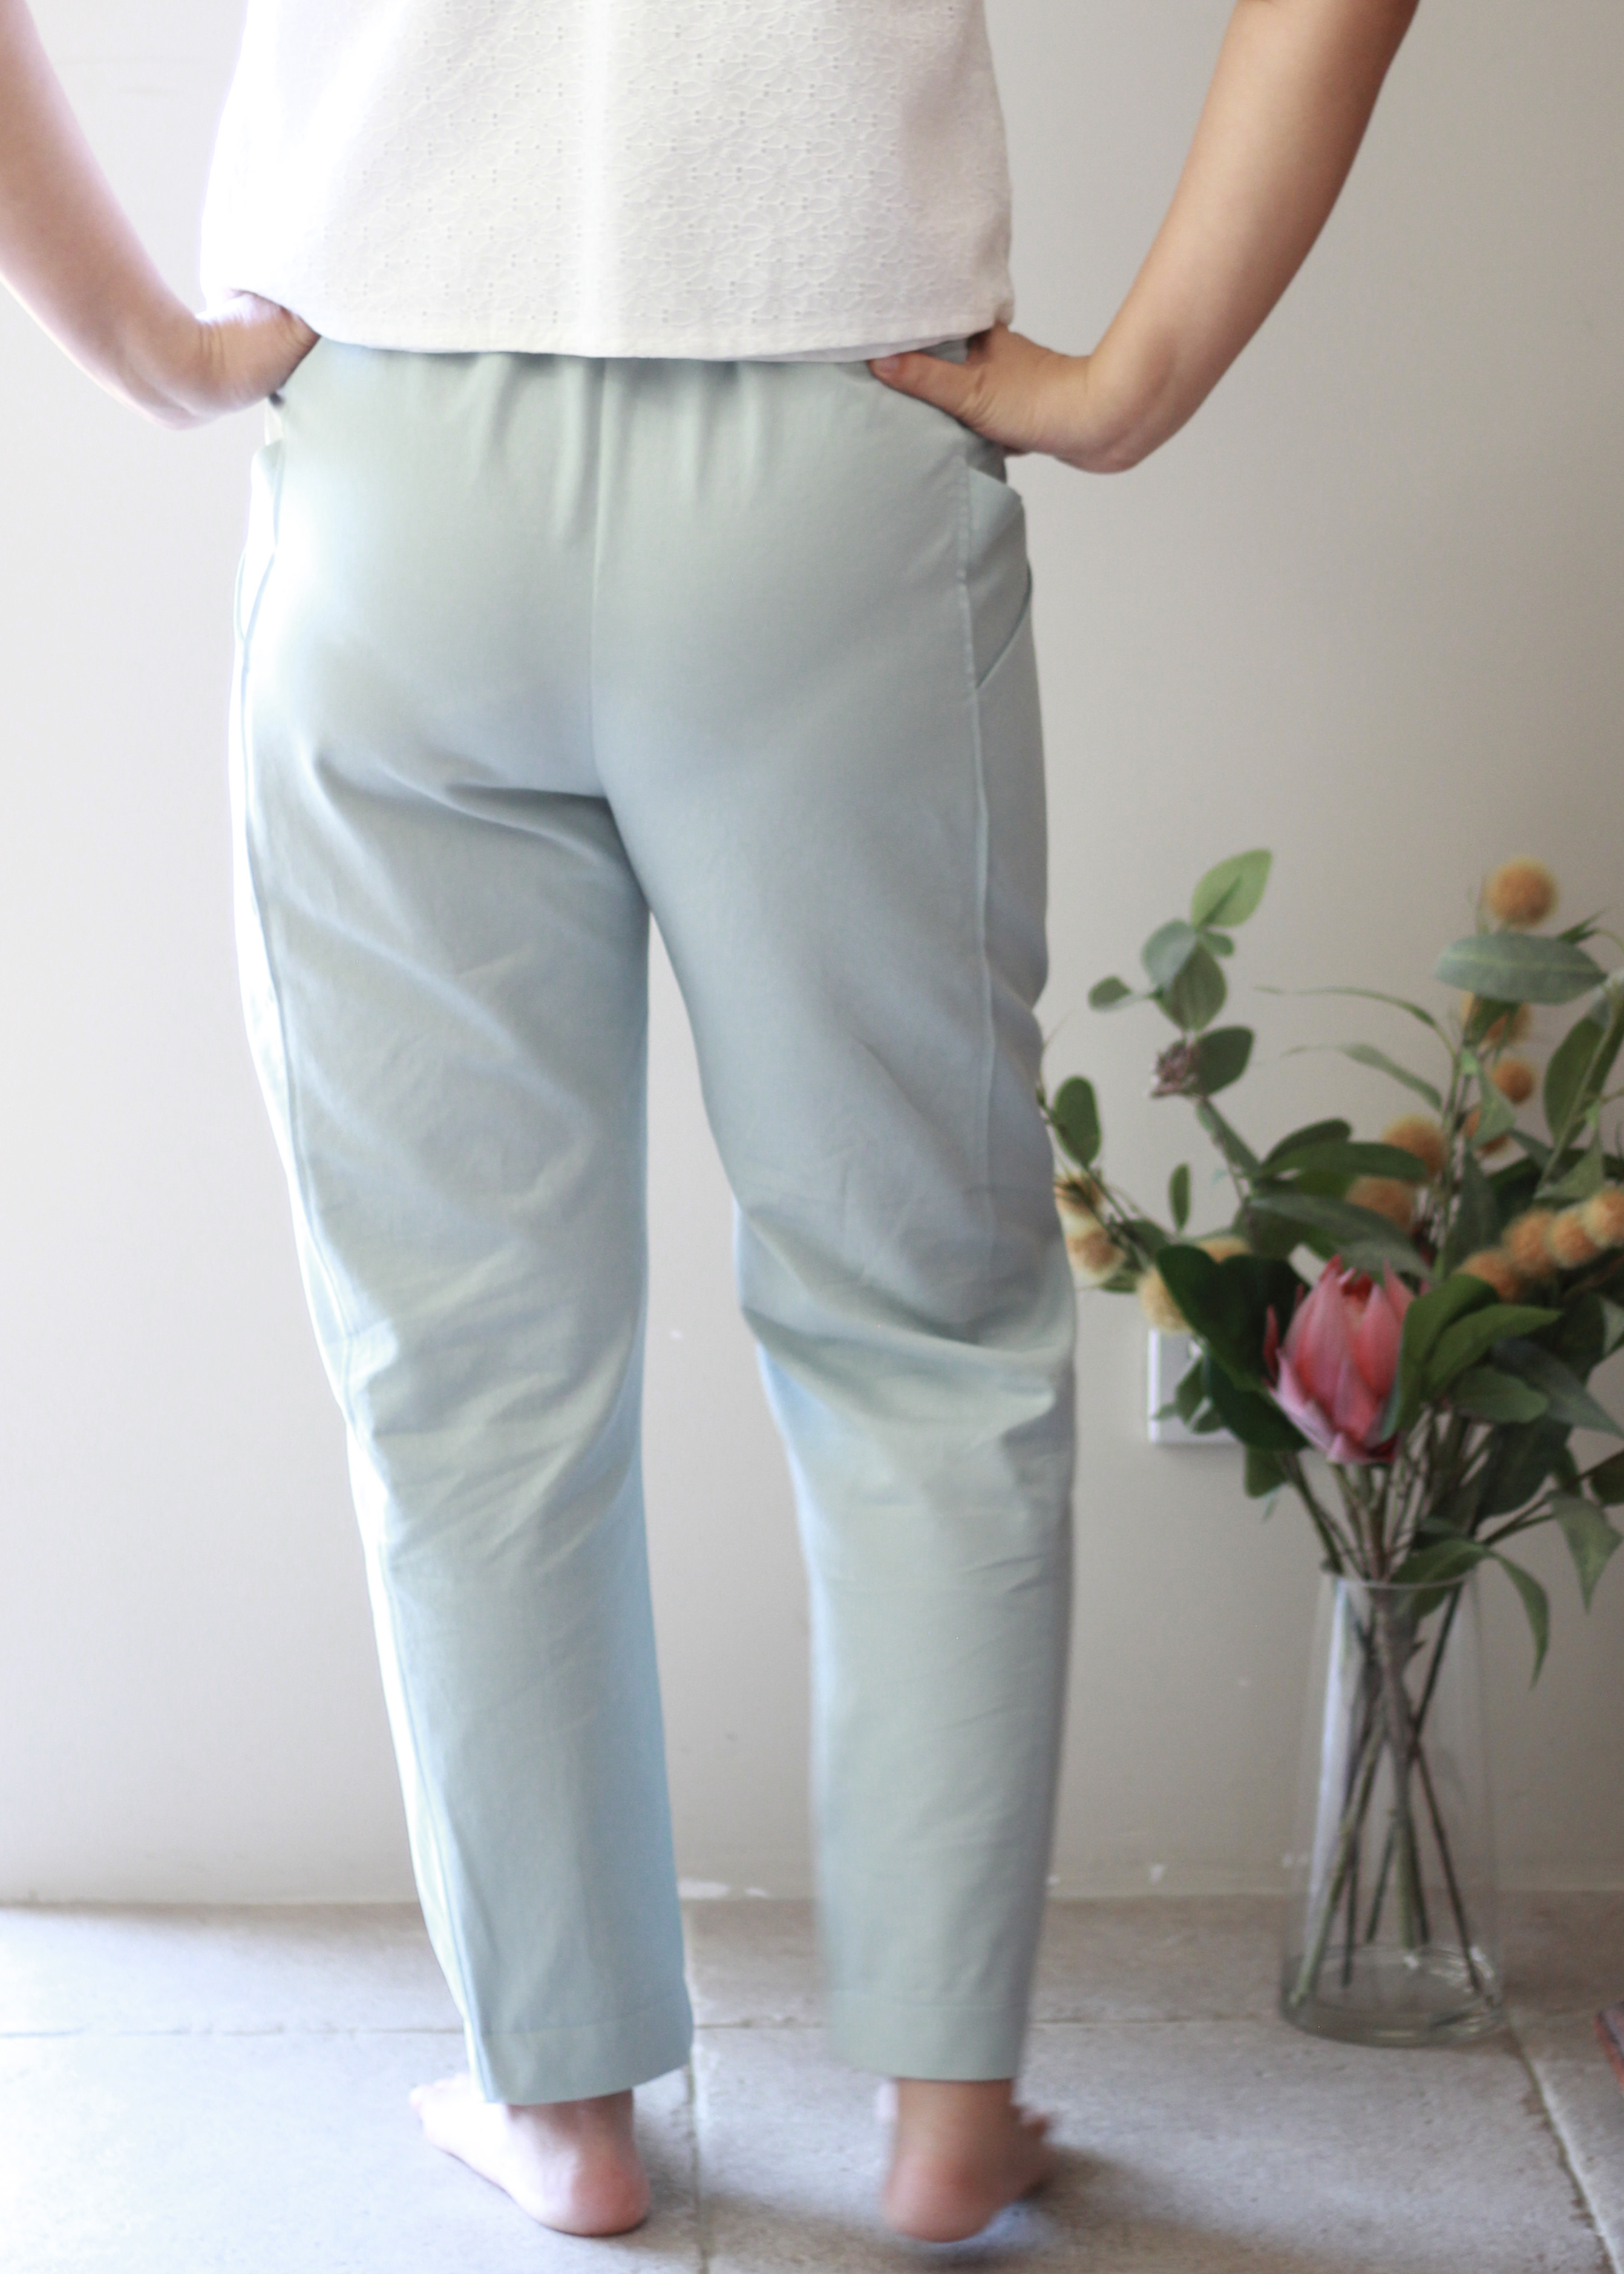
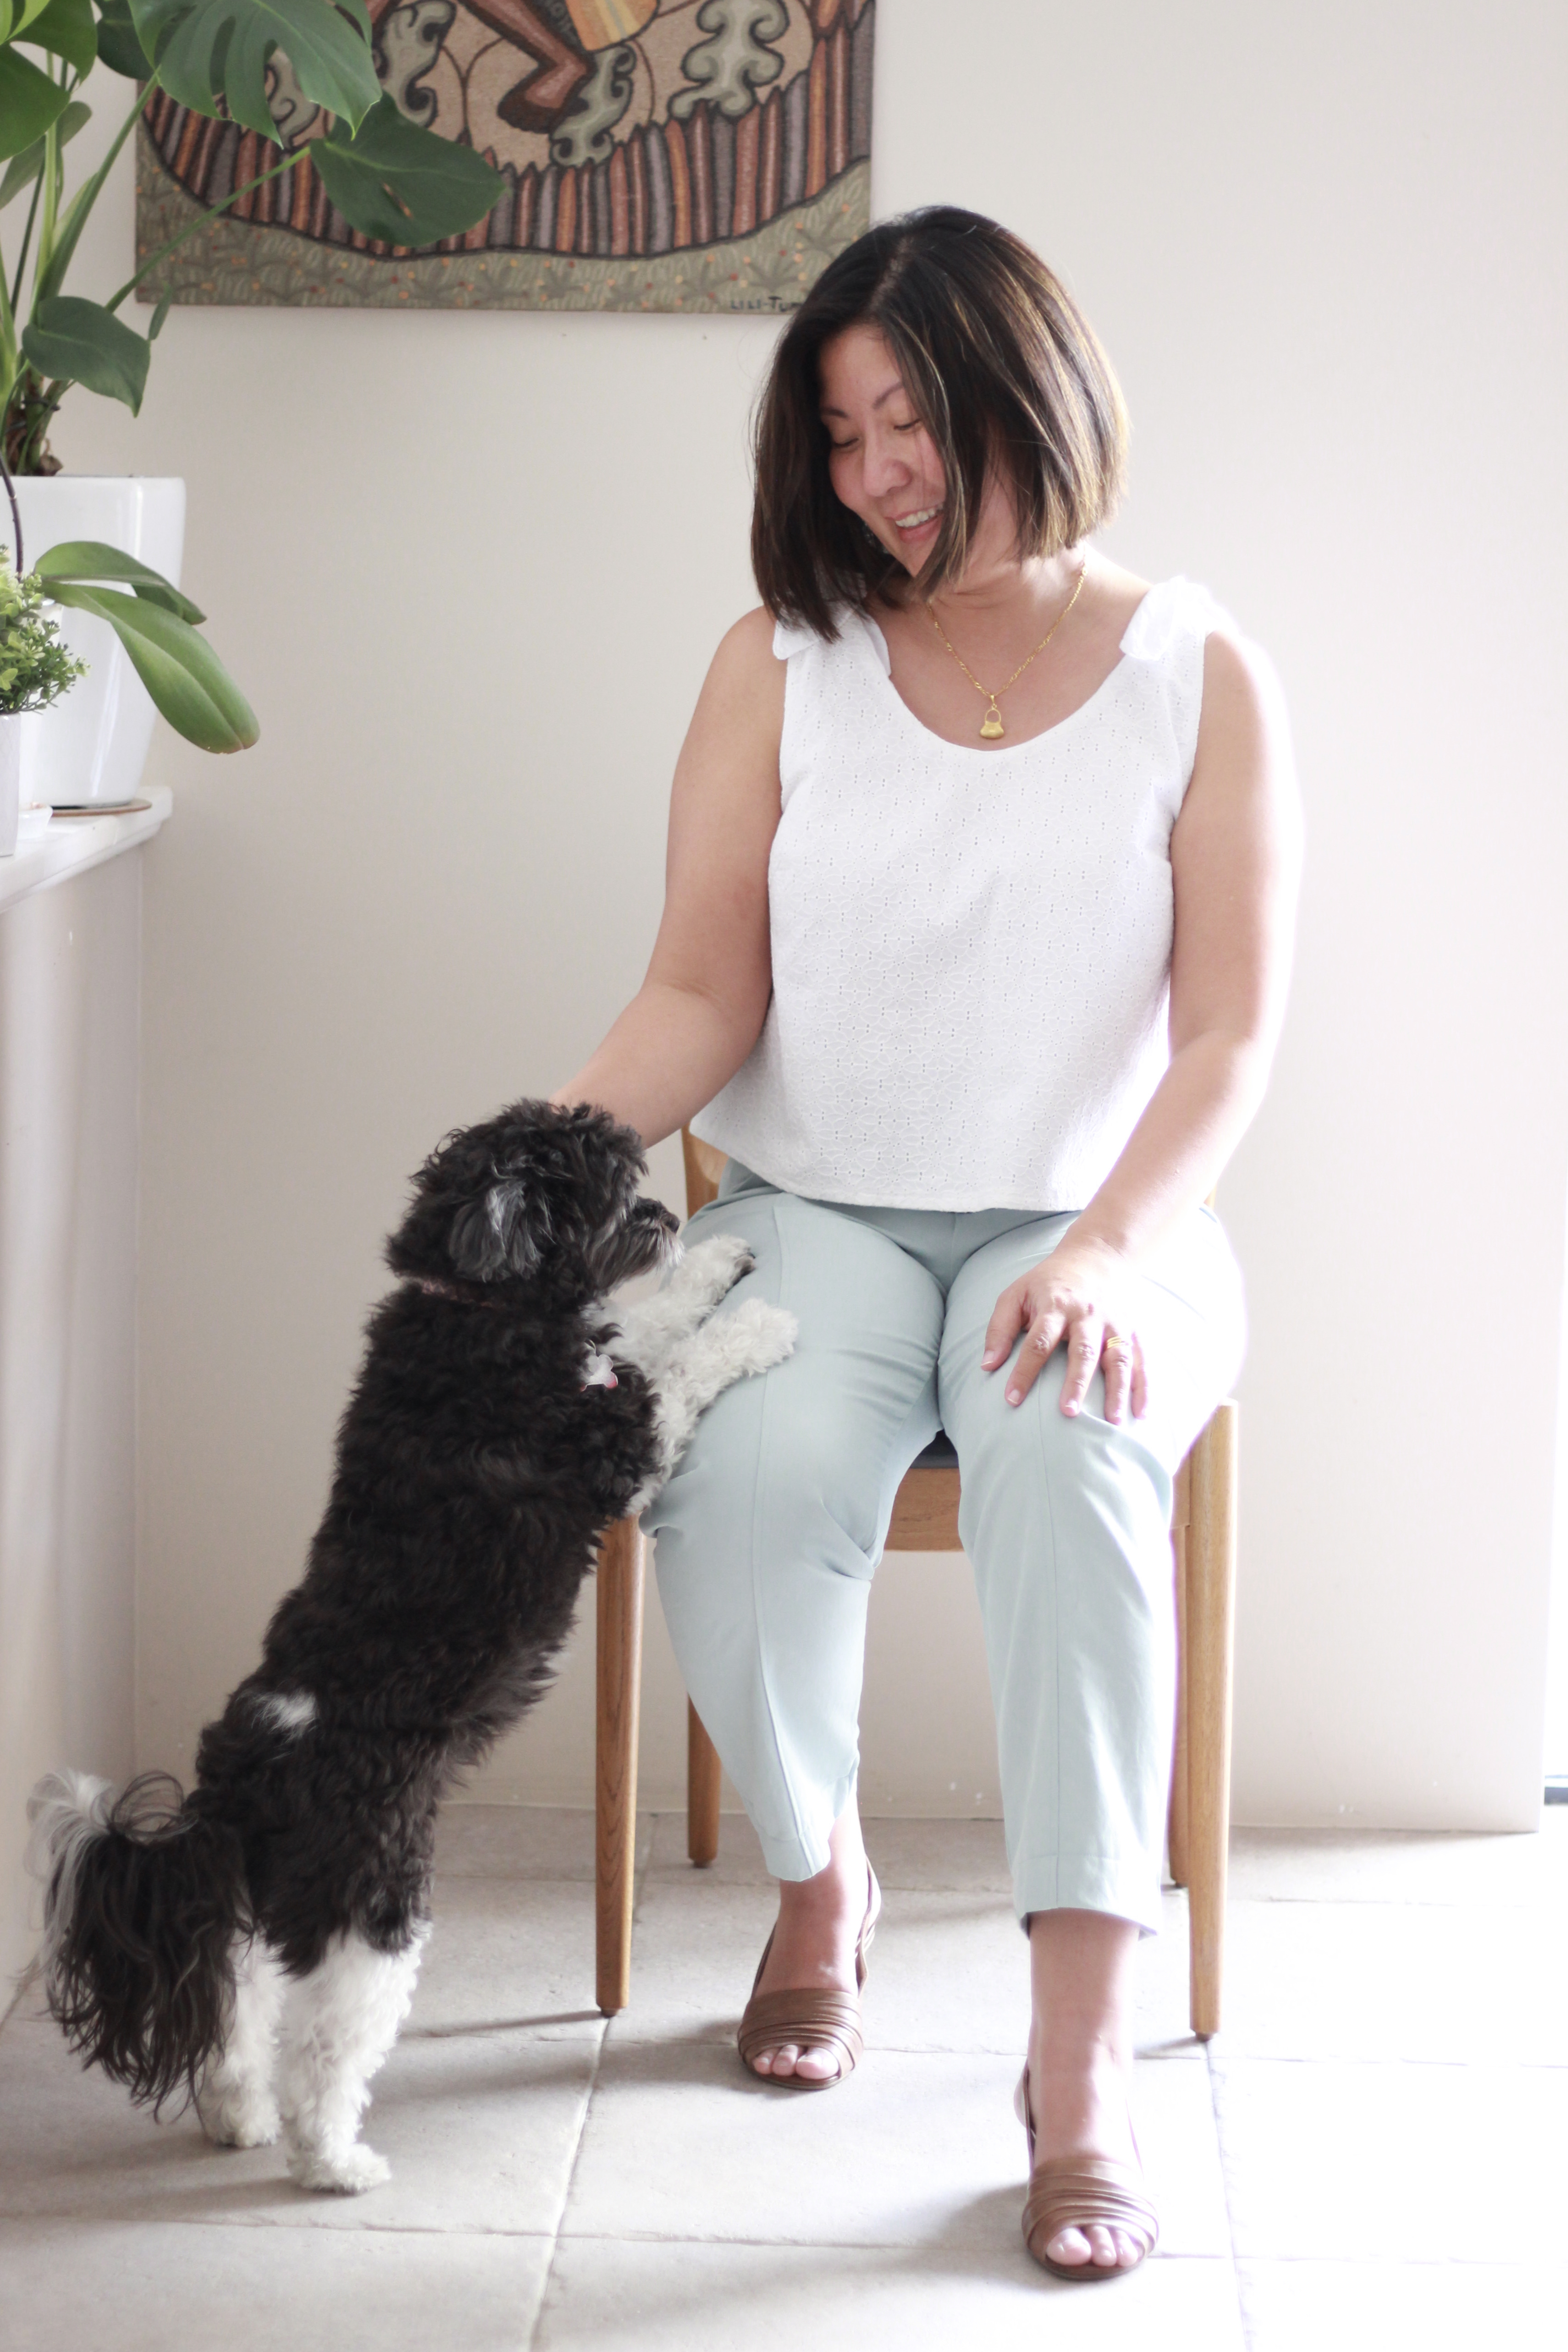
The Persephone Pants by Anna Allen Clothing was a pattern I bought in my previous Make Nine and I still haven’t made it. I toiled the pattern and I just kept finding reasons not to sew it. I think I wasn’t keen on the grey cotton drill that I bought for it, so I just kept putting other projects in front of it. I’ve now discovered cotton lyocell drill in the Maai Design collection, so my plan is to revisit this project with better fabric. It will get made!
Finally, the Dawn Jeans. I’ve only recently purchased this as I kept vacillating between the Dawn Jeans by Megan Nielsen Patterns and the Ginger Jeans by Closet Core Patterns. Then I started thinking that I don’t like wearing jeans anyway, so I put it off until finally deciding that I love the classic look of the Dawn. So, this will definitely be on my next Make Nine list.
I’m so grateful for a productive year of making and learning with these beautiful patterns. Most of all, I’m grateful for all the connections made with the sewing community. Hoping everyone is a blessed.
Thanks for reading and happy sewing!
x Em