When Sew to Grow put a call out for testers, I was quick to apply as I’ve been keen to challenge myself to sewing to a time frame and I have found testing to be invaluable experience especially when interacting with other more experienced sewers. Lindsey, the founder of Sew to Grow, is a sewing teacher so I find all her patterns have a quality of thoughtfulness and caters well for all skill levels from beginners or those who are trying to advance their skills in sewing. The Lanti Swing Dress was initially designed for her classes and with a beginner in mind. Now it’s been made available for everyone!
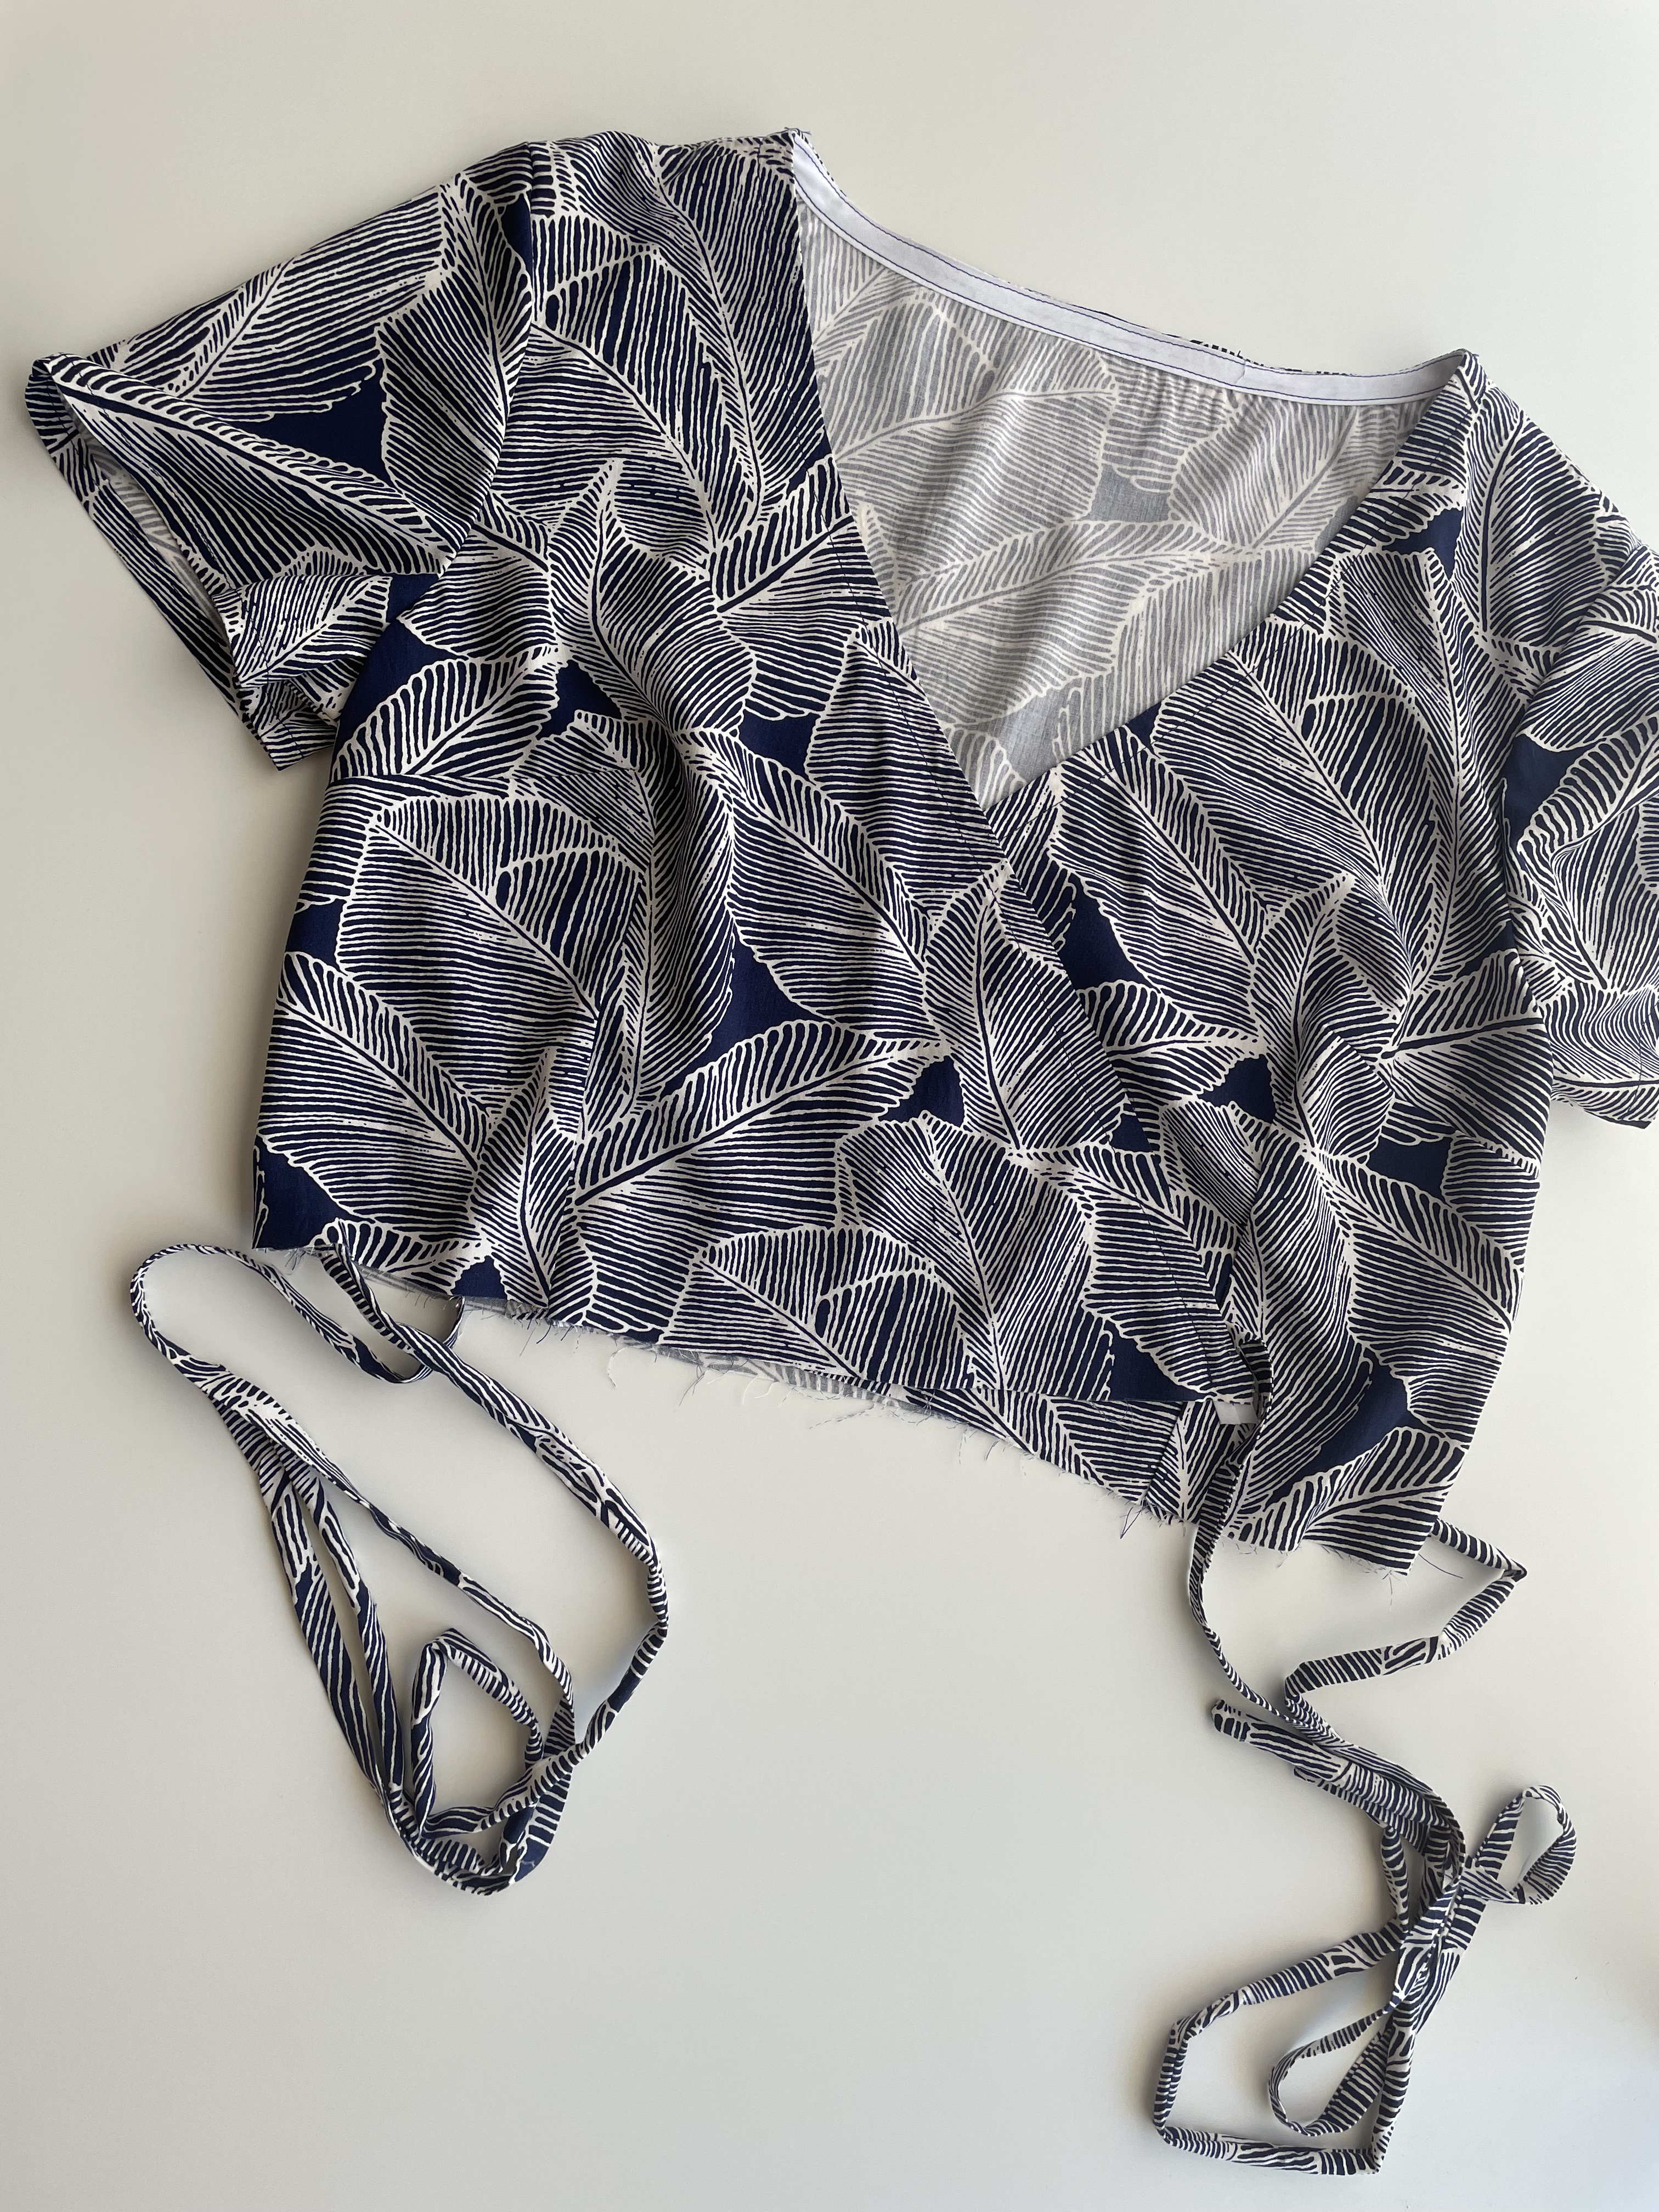
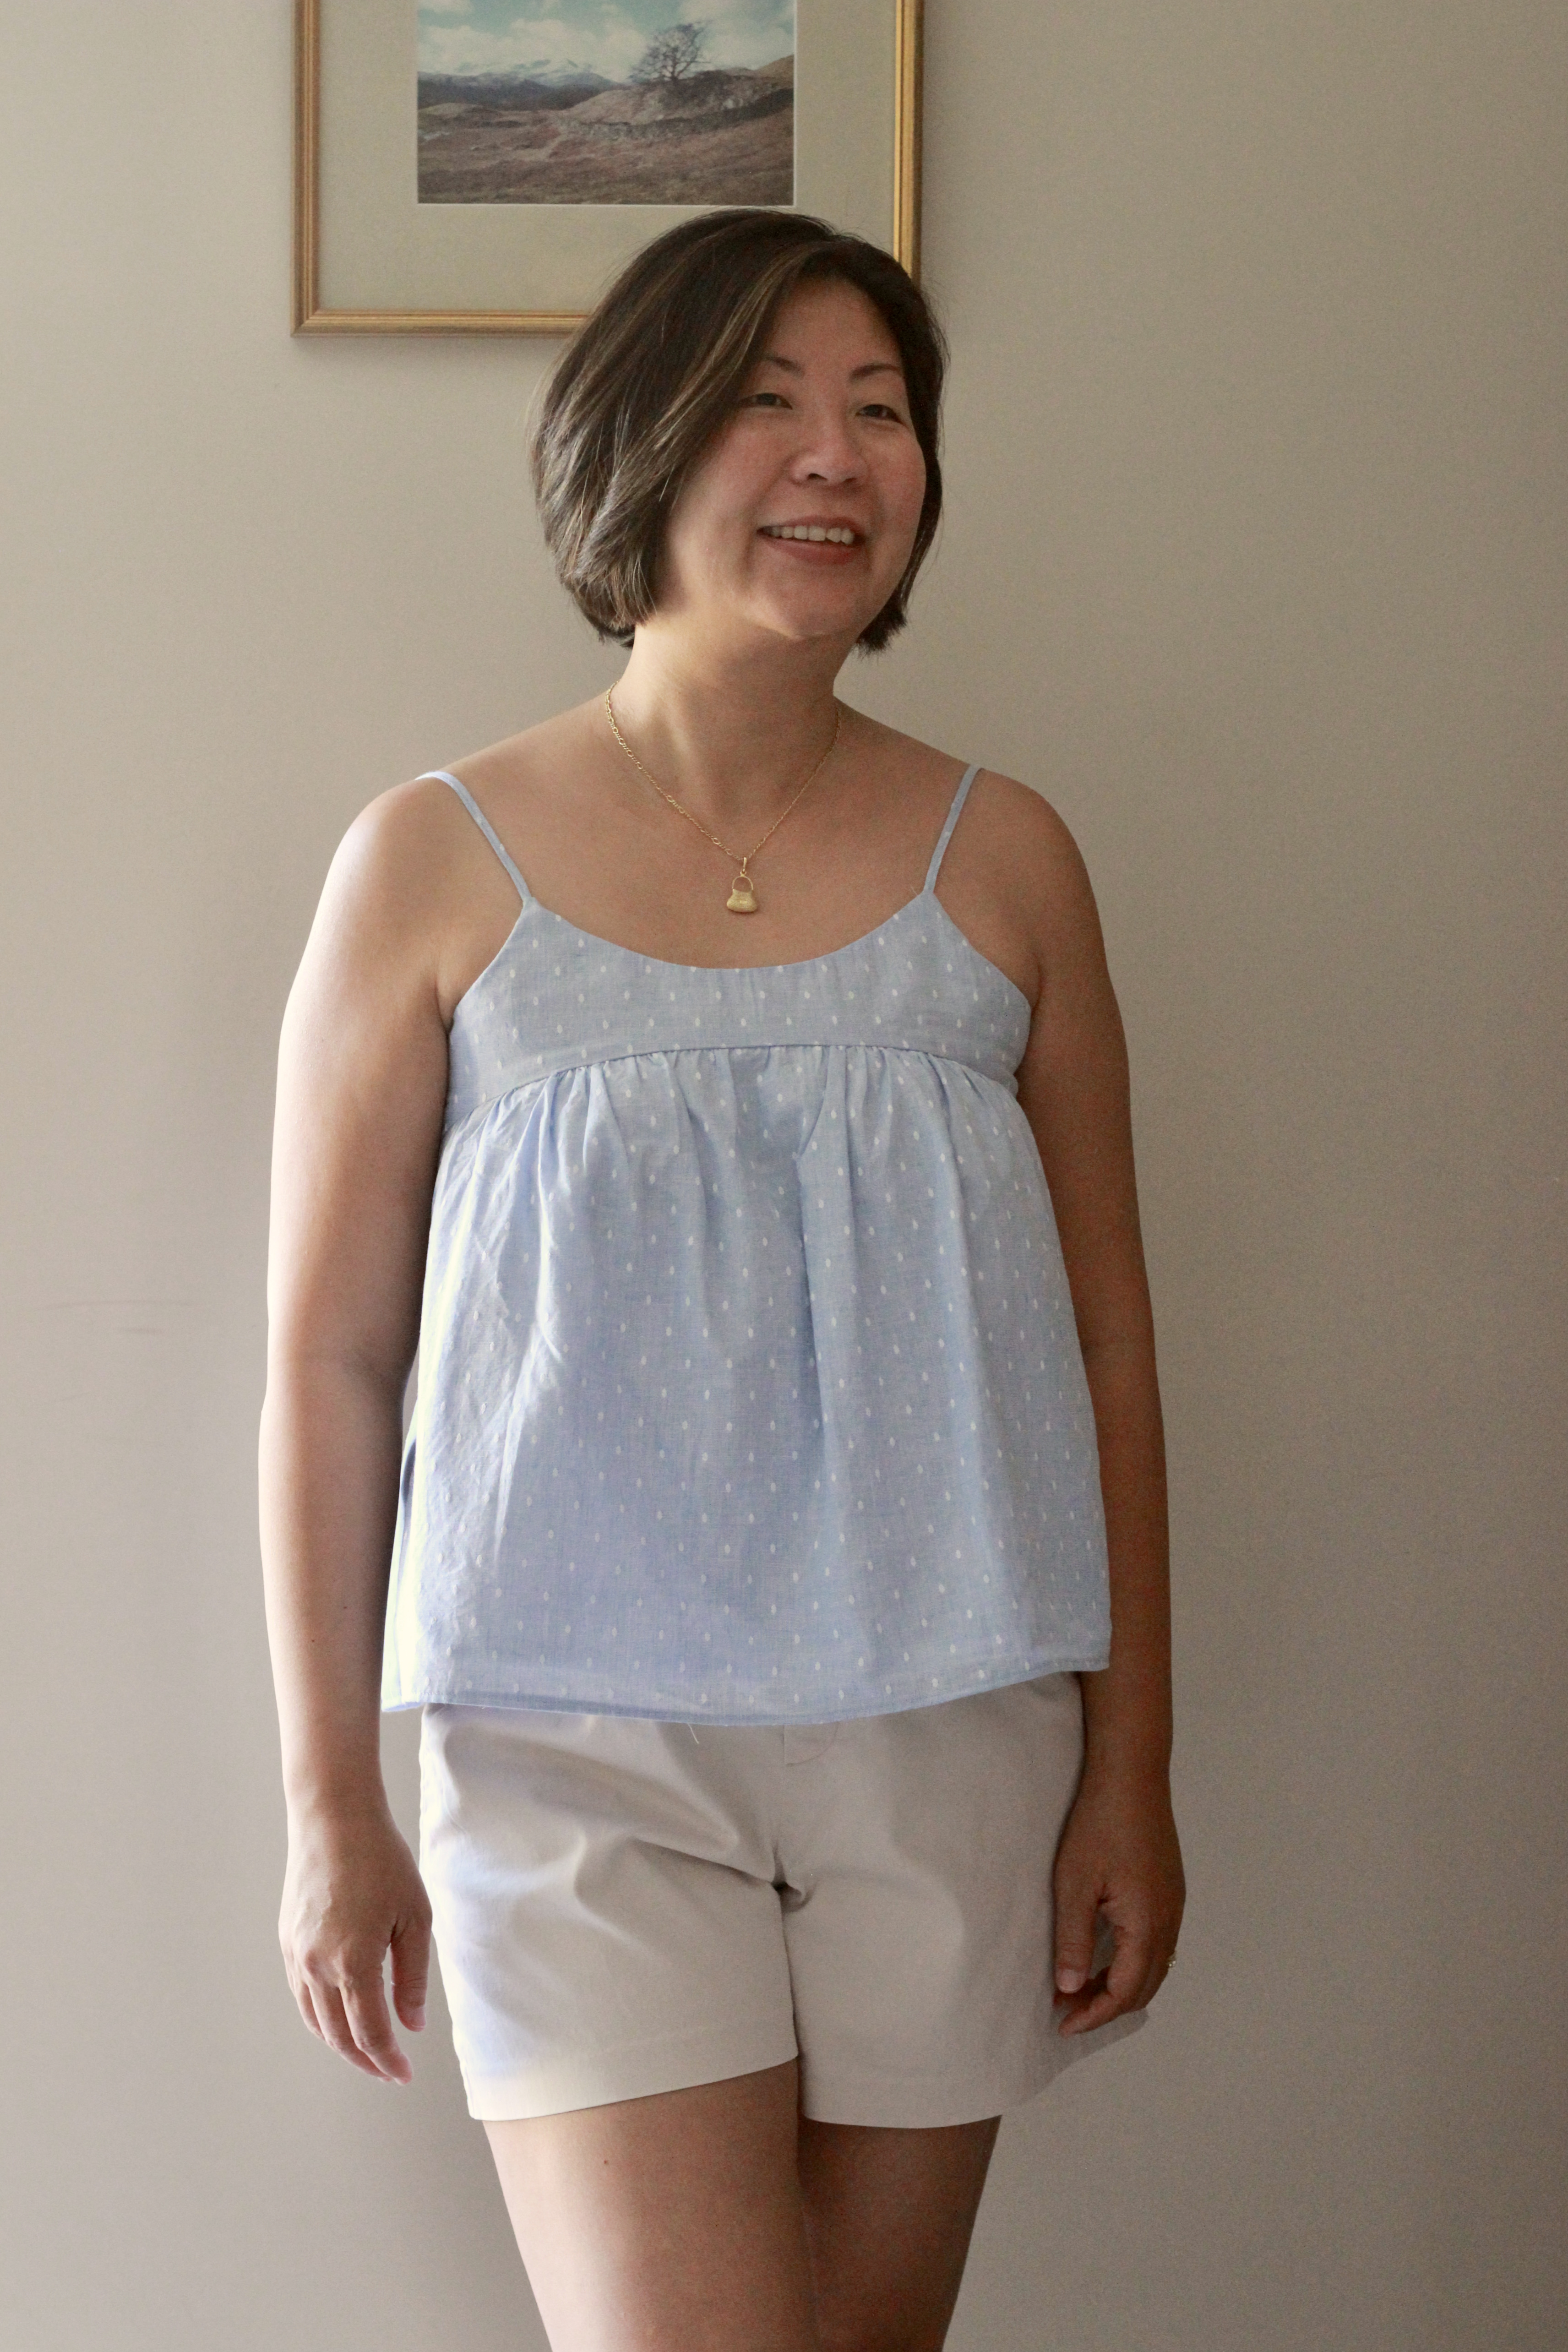
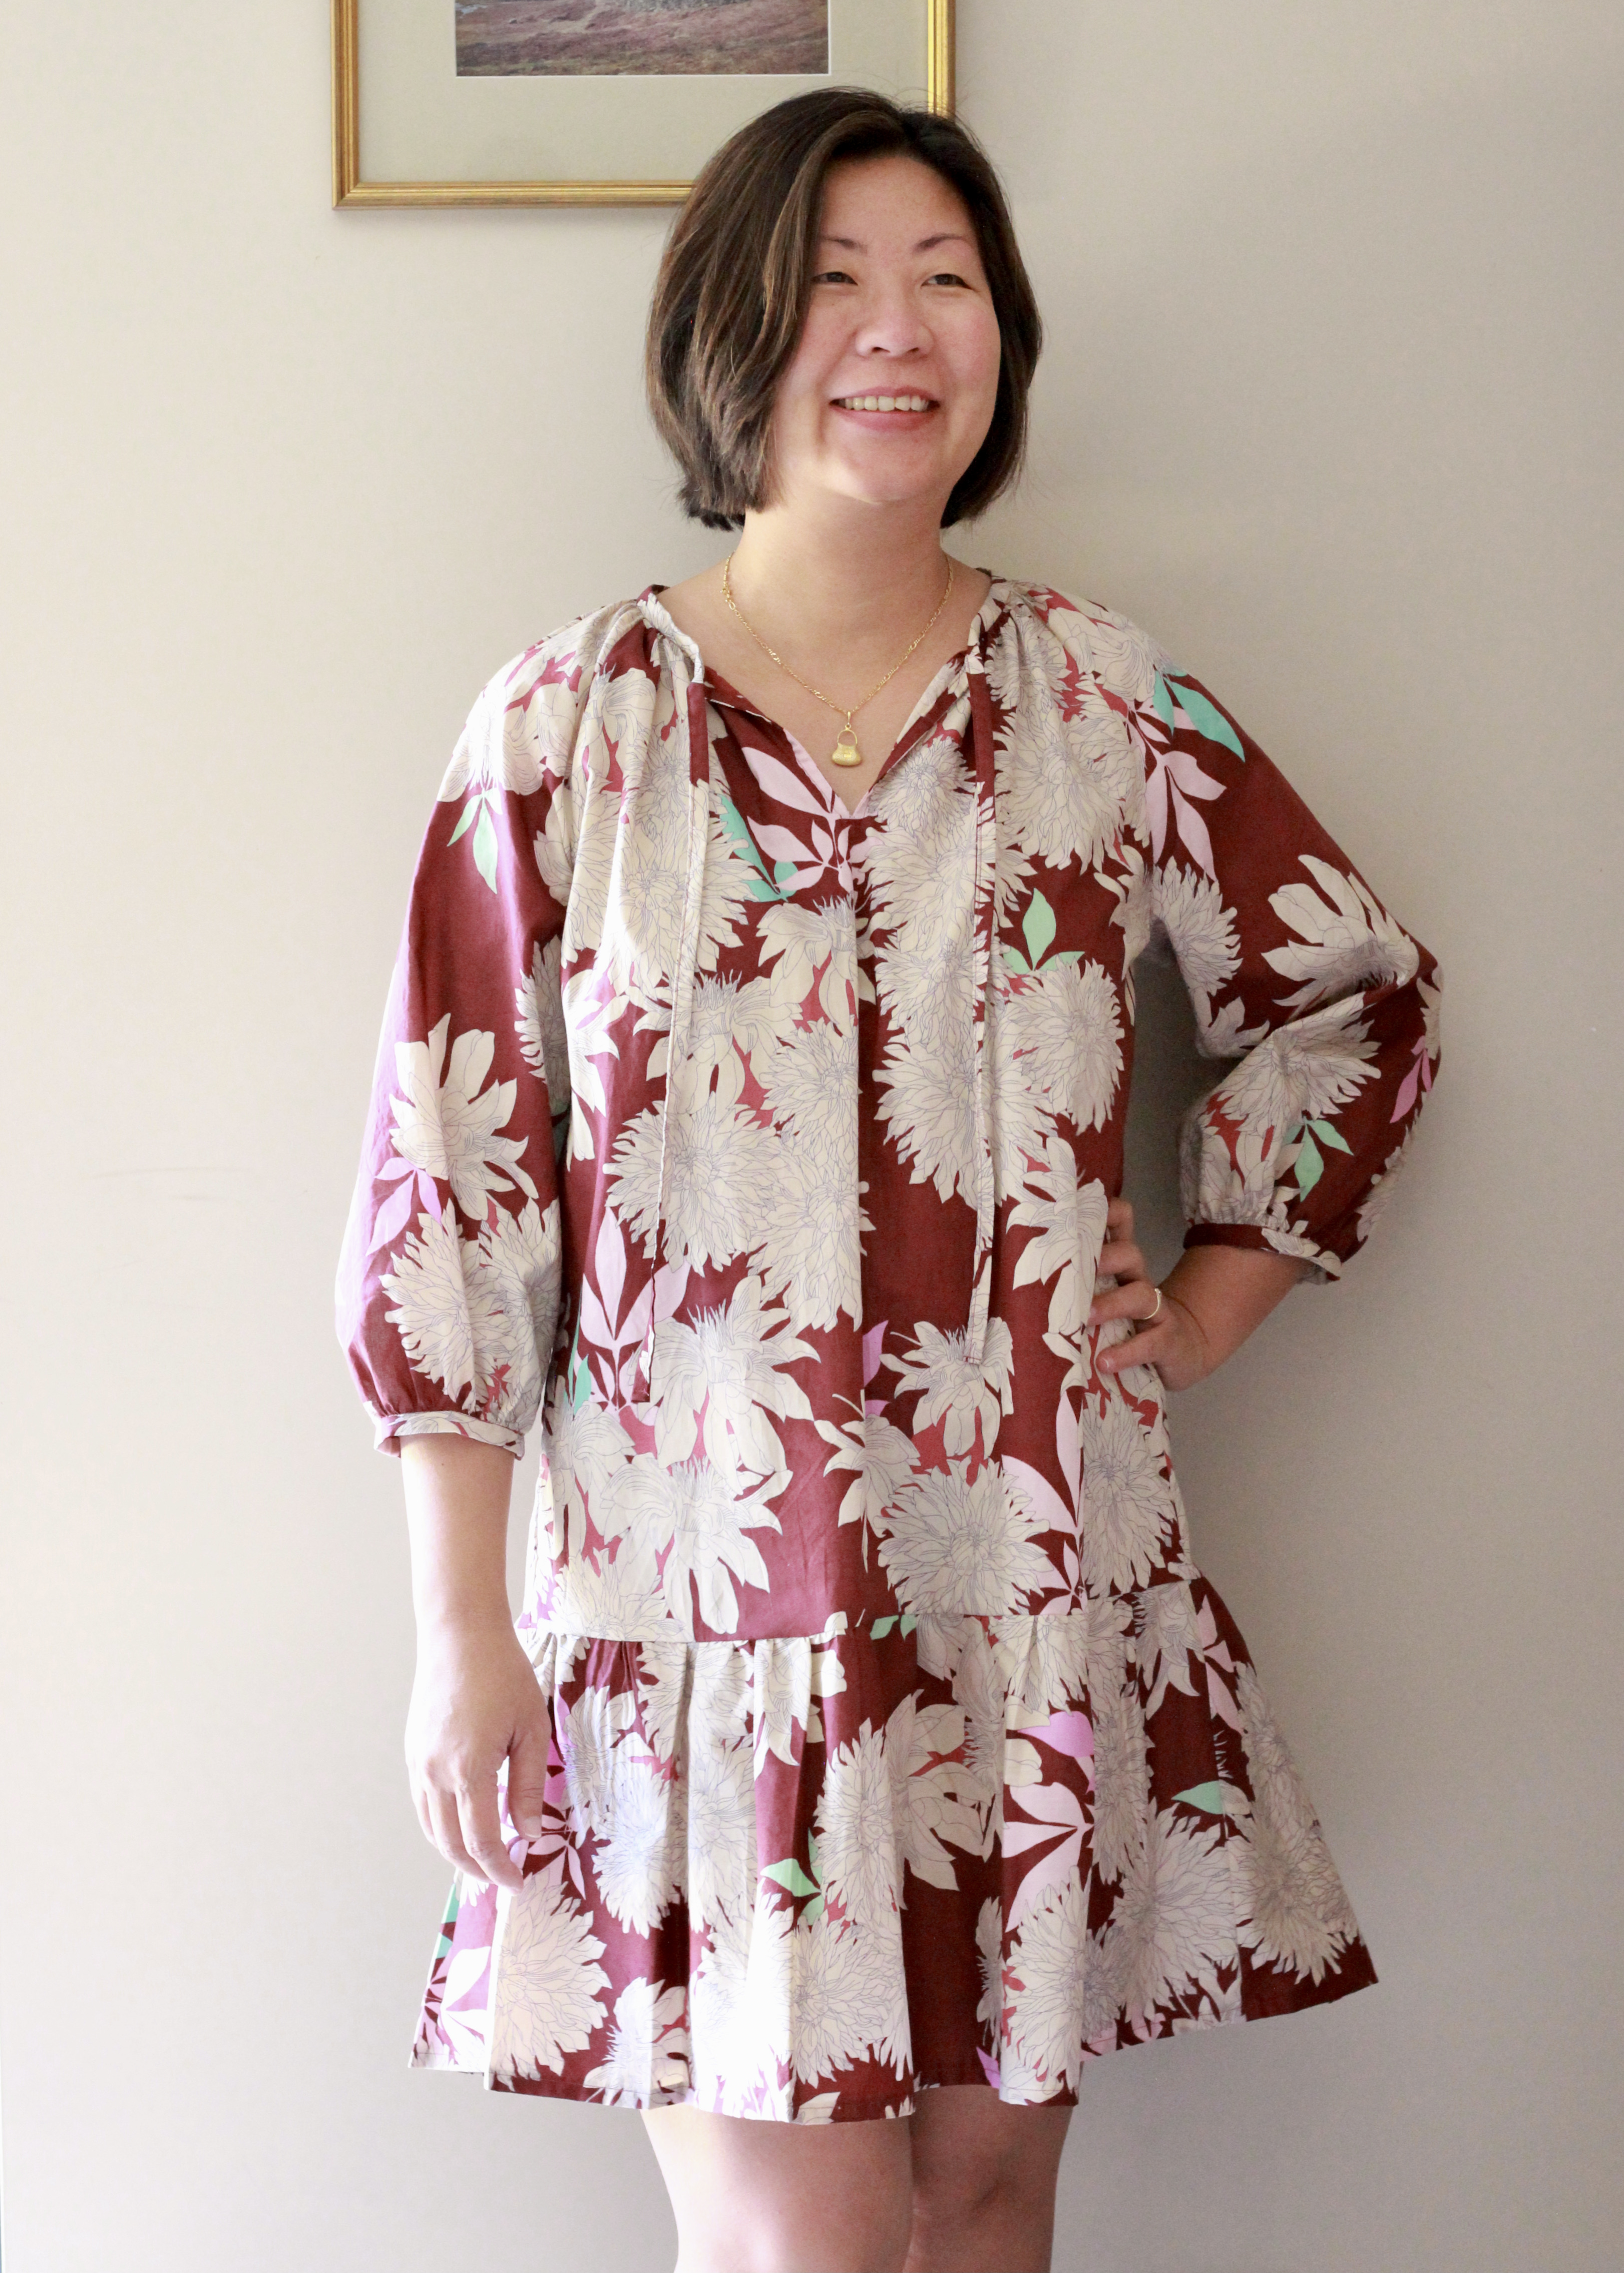
The Lanti Swing Dress is a versatile pattern that comes with three options. Option A is a smock dress, Option B is an A line dress and Option C is a blouse. There are also sleeve options for short sleeves with cuff or three-quarter sleeves with frill. This dress is also a great wardrobe basic with potential for hacks which is what I did with my second make.


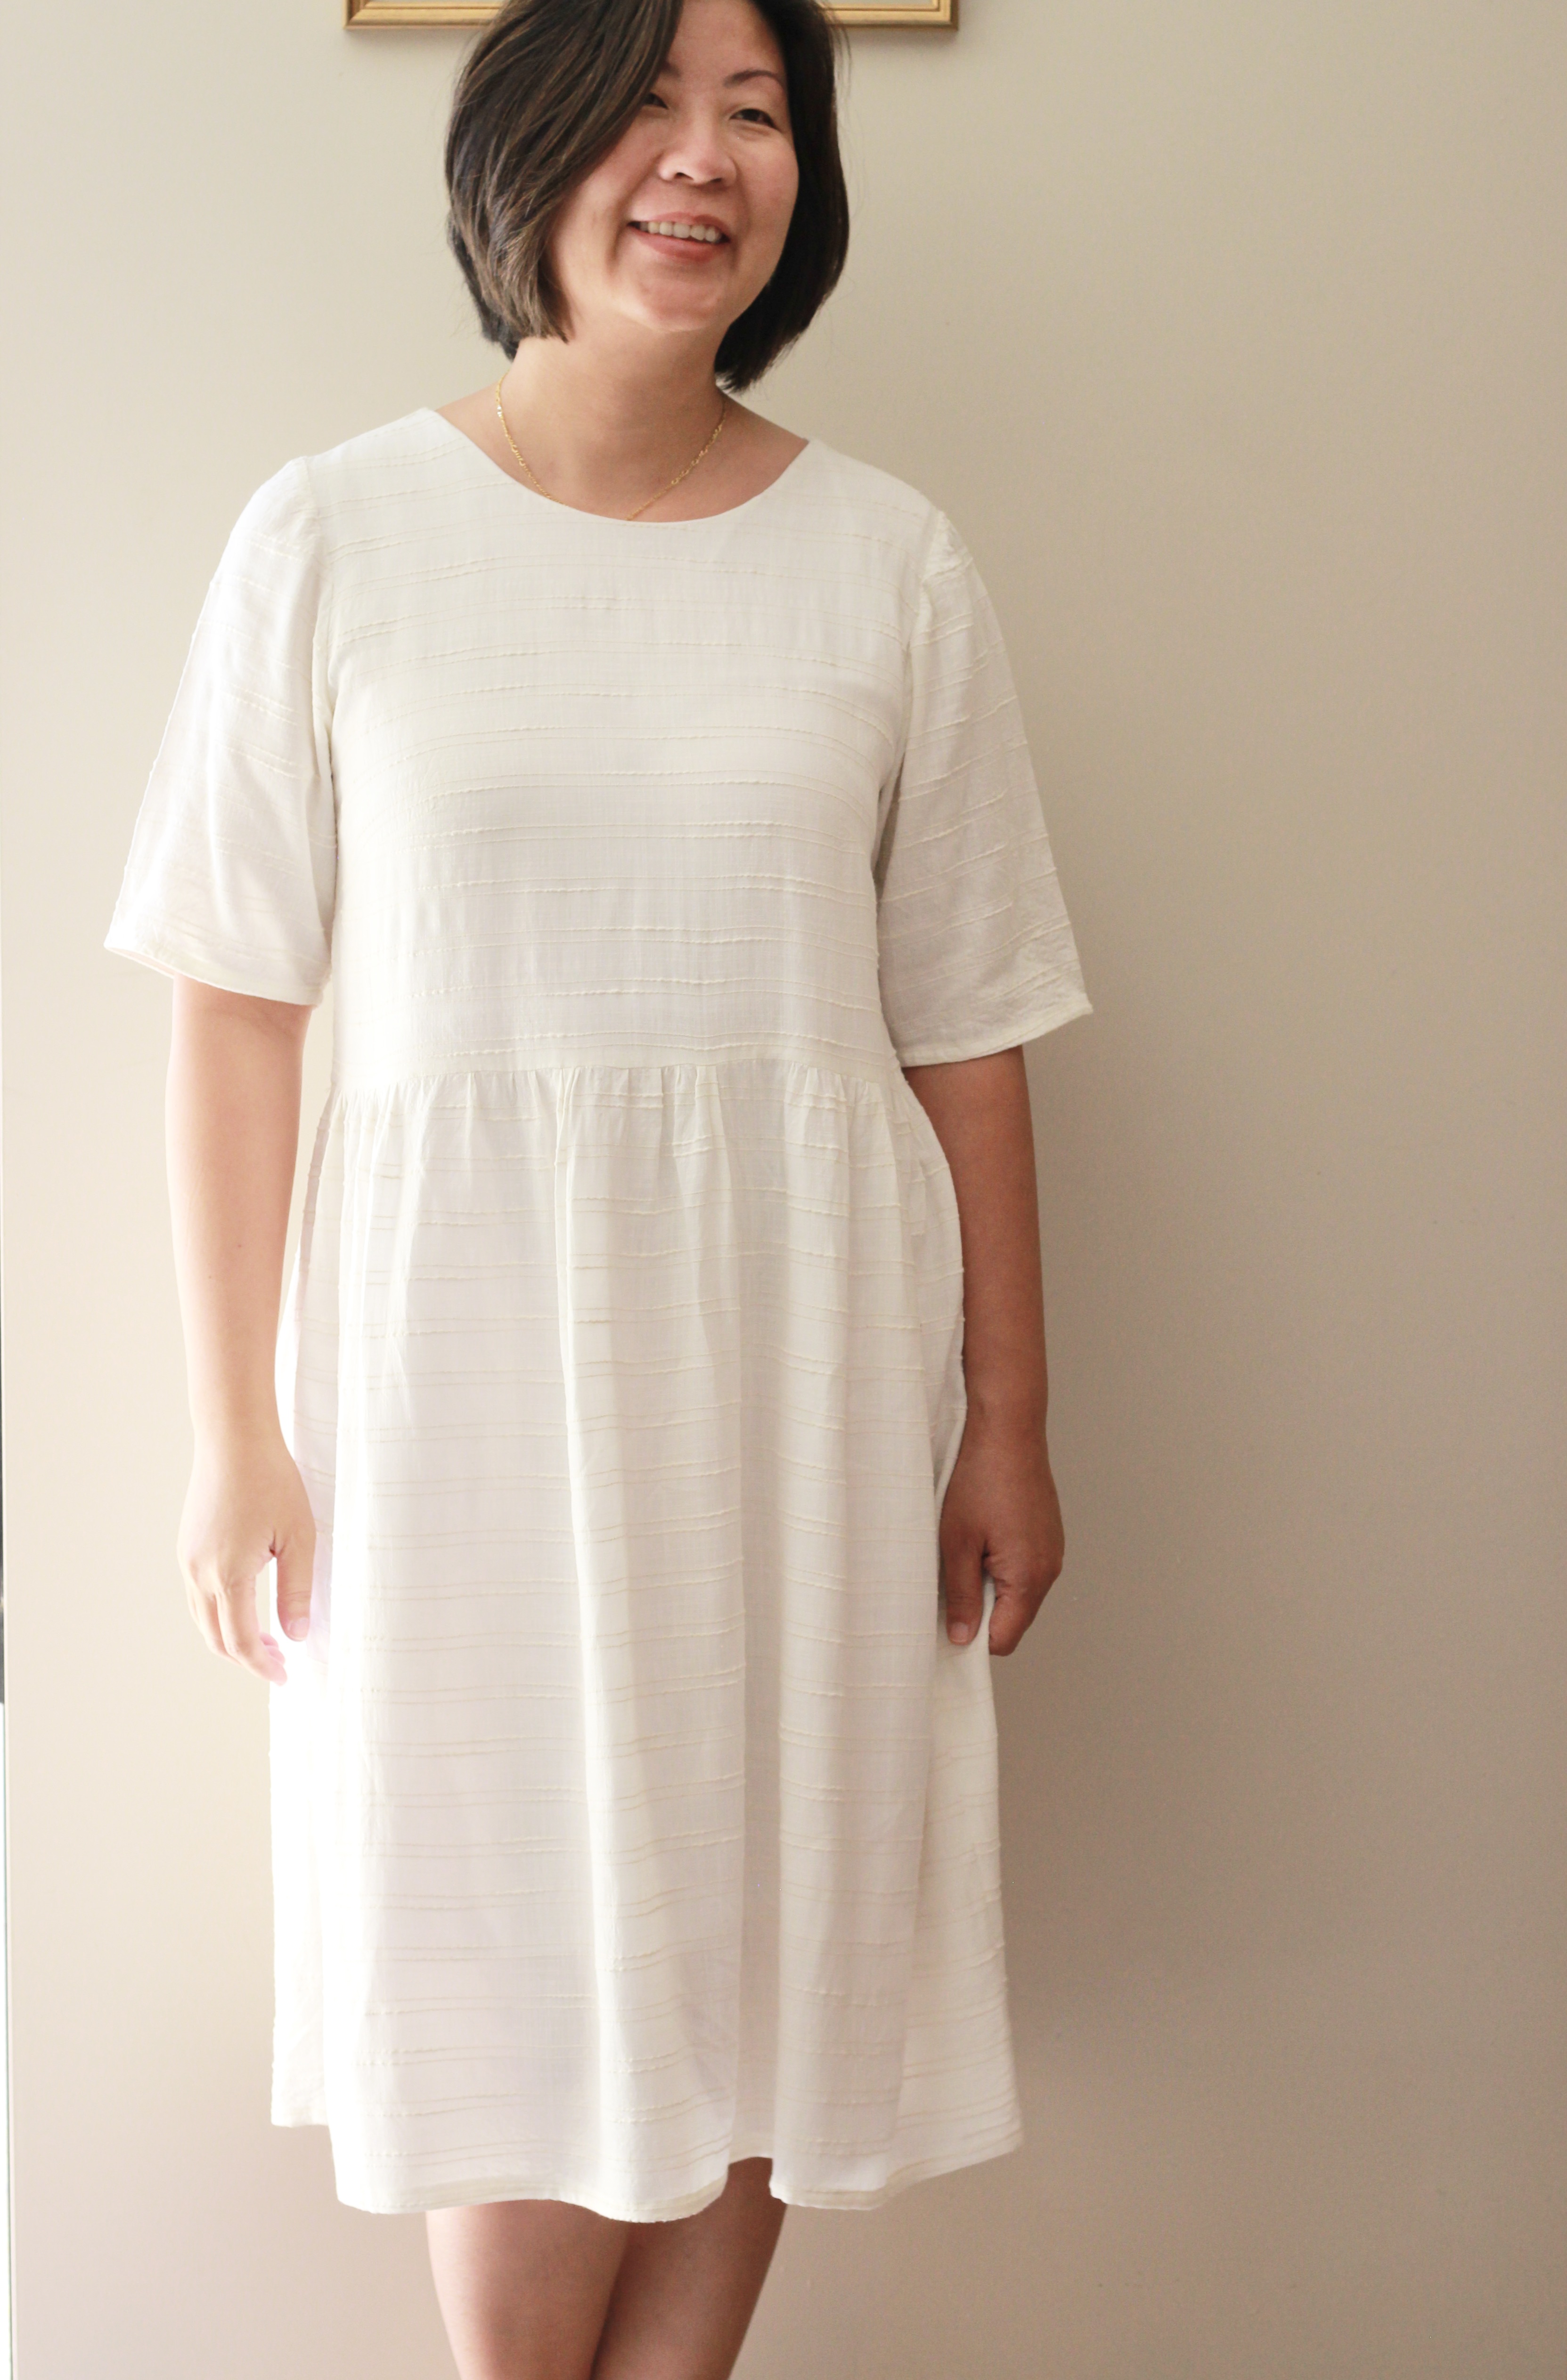
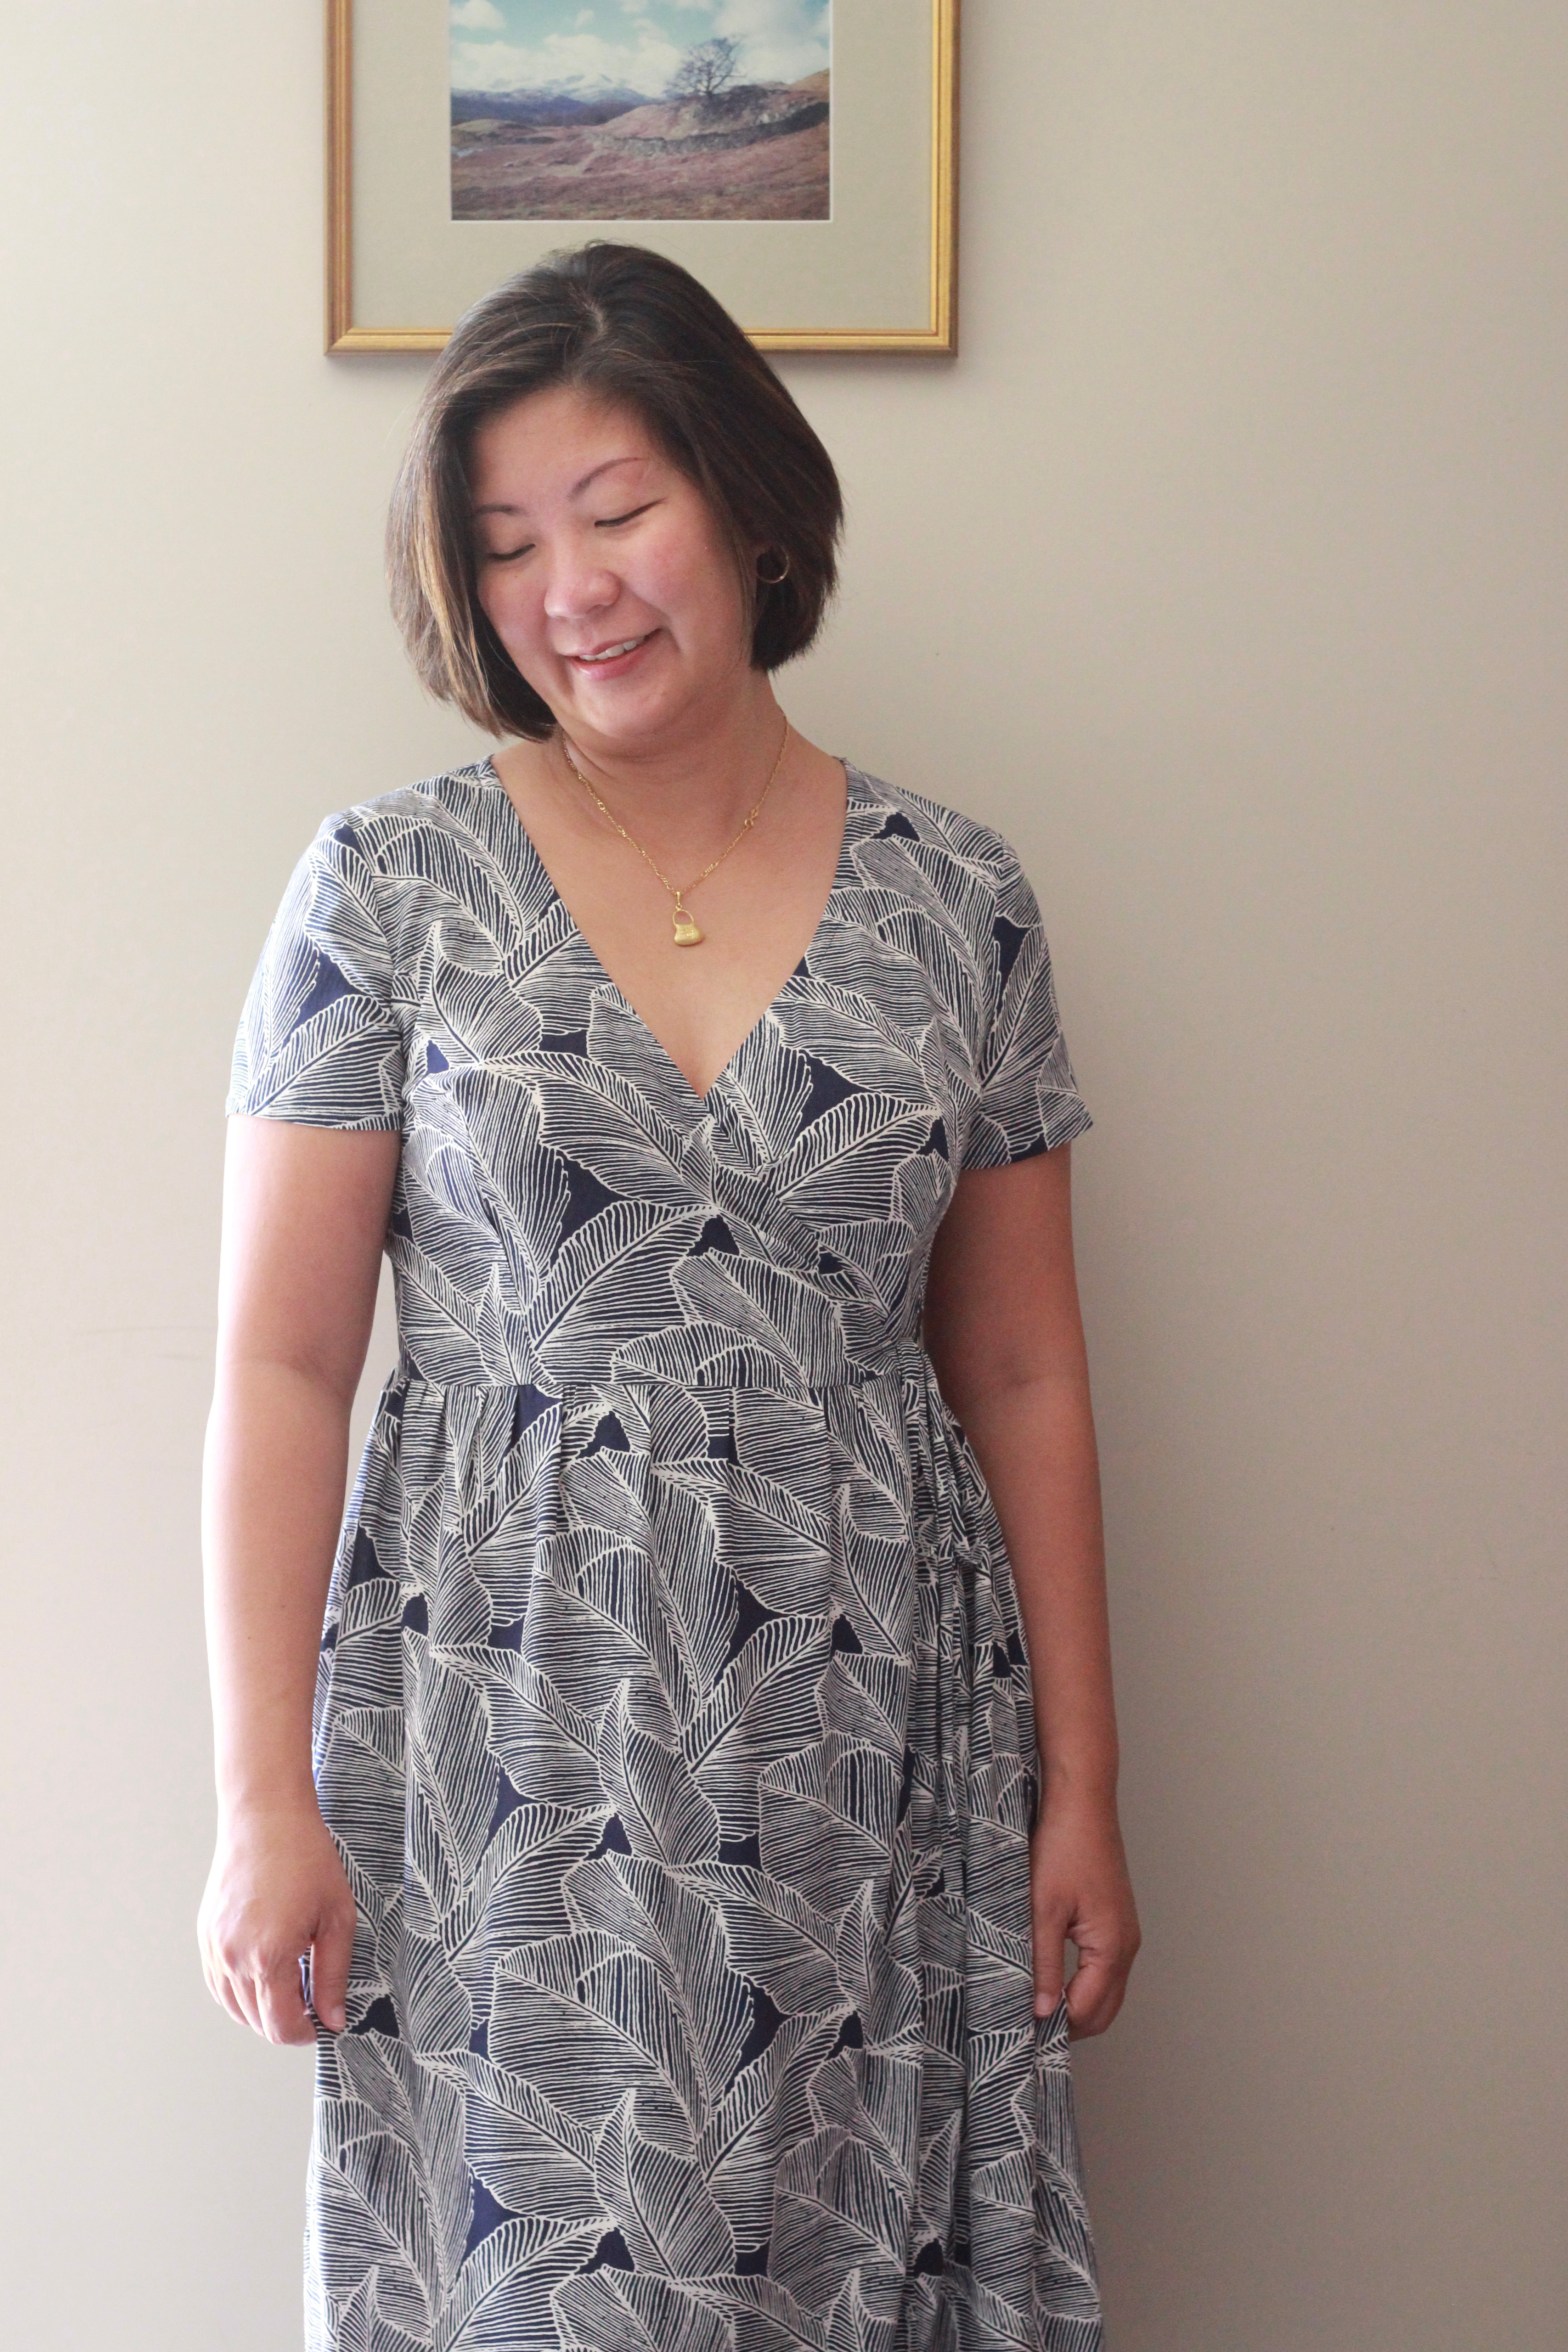
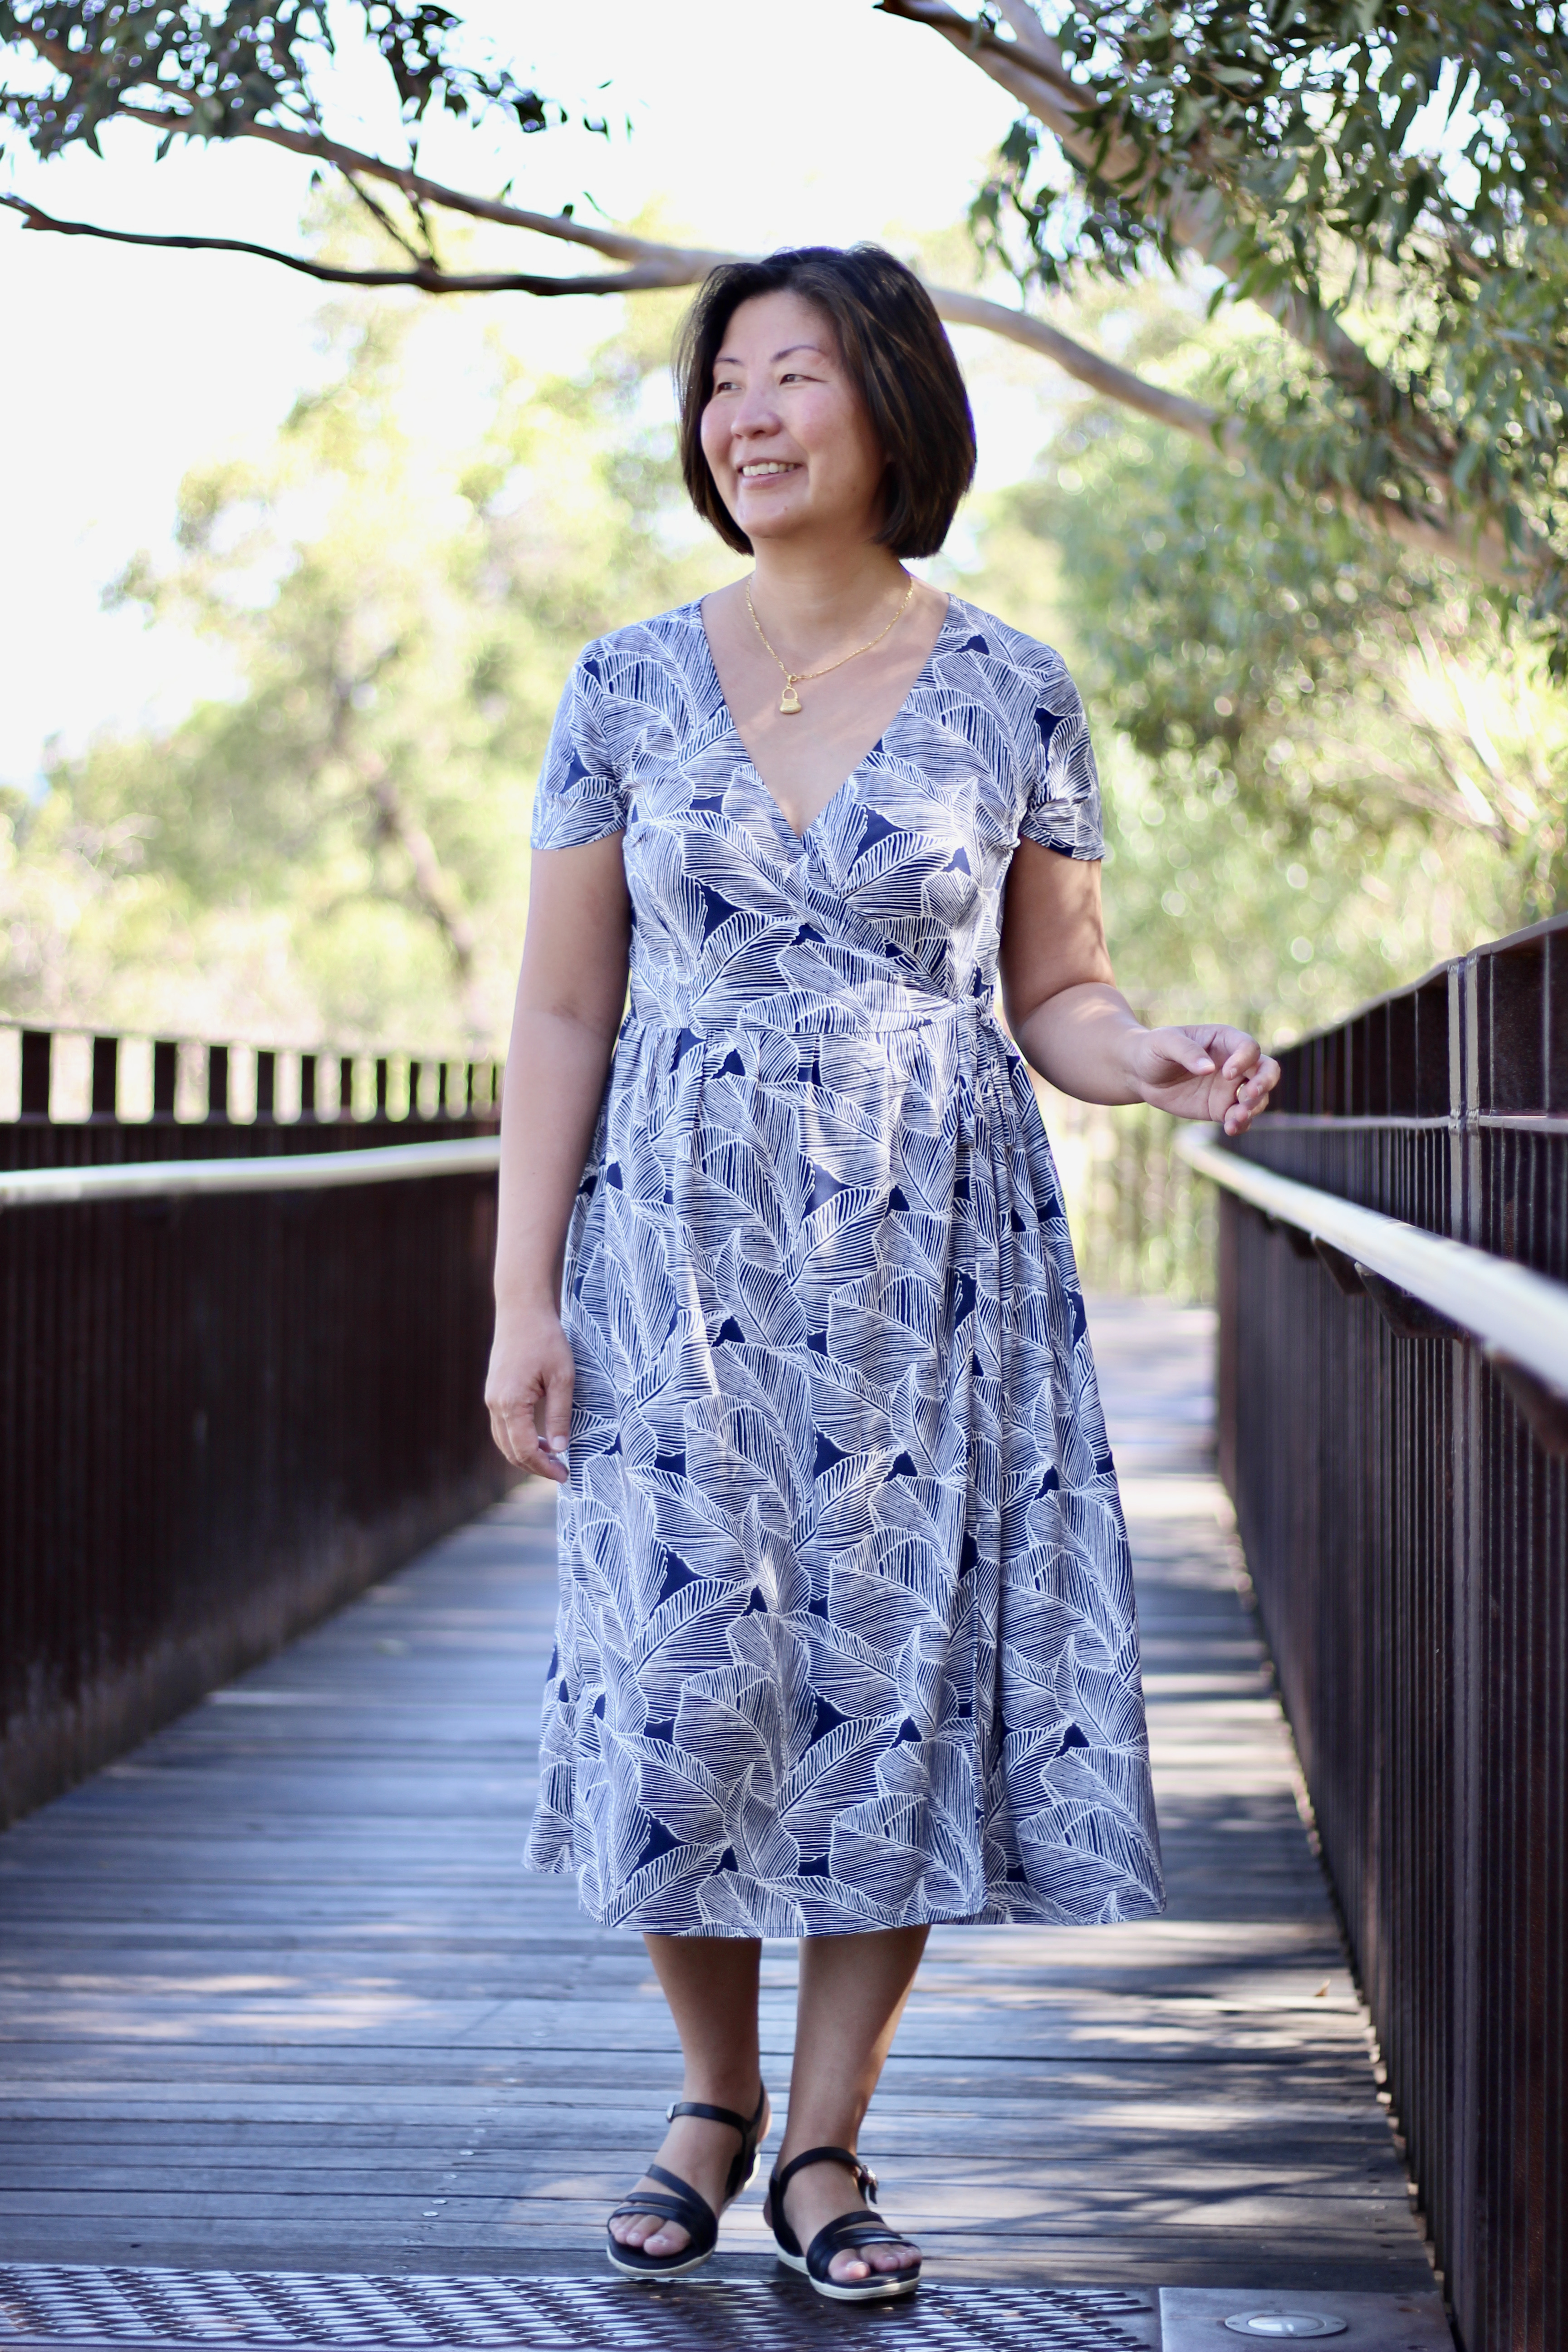
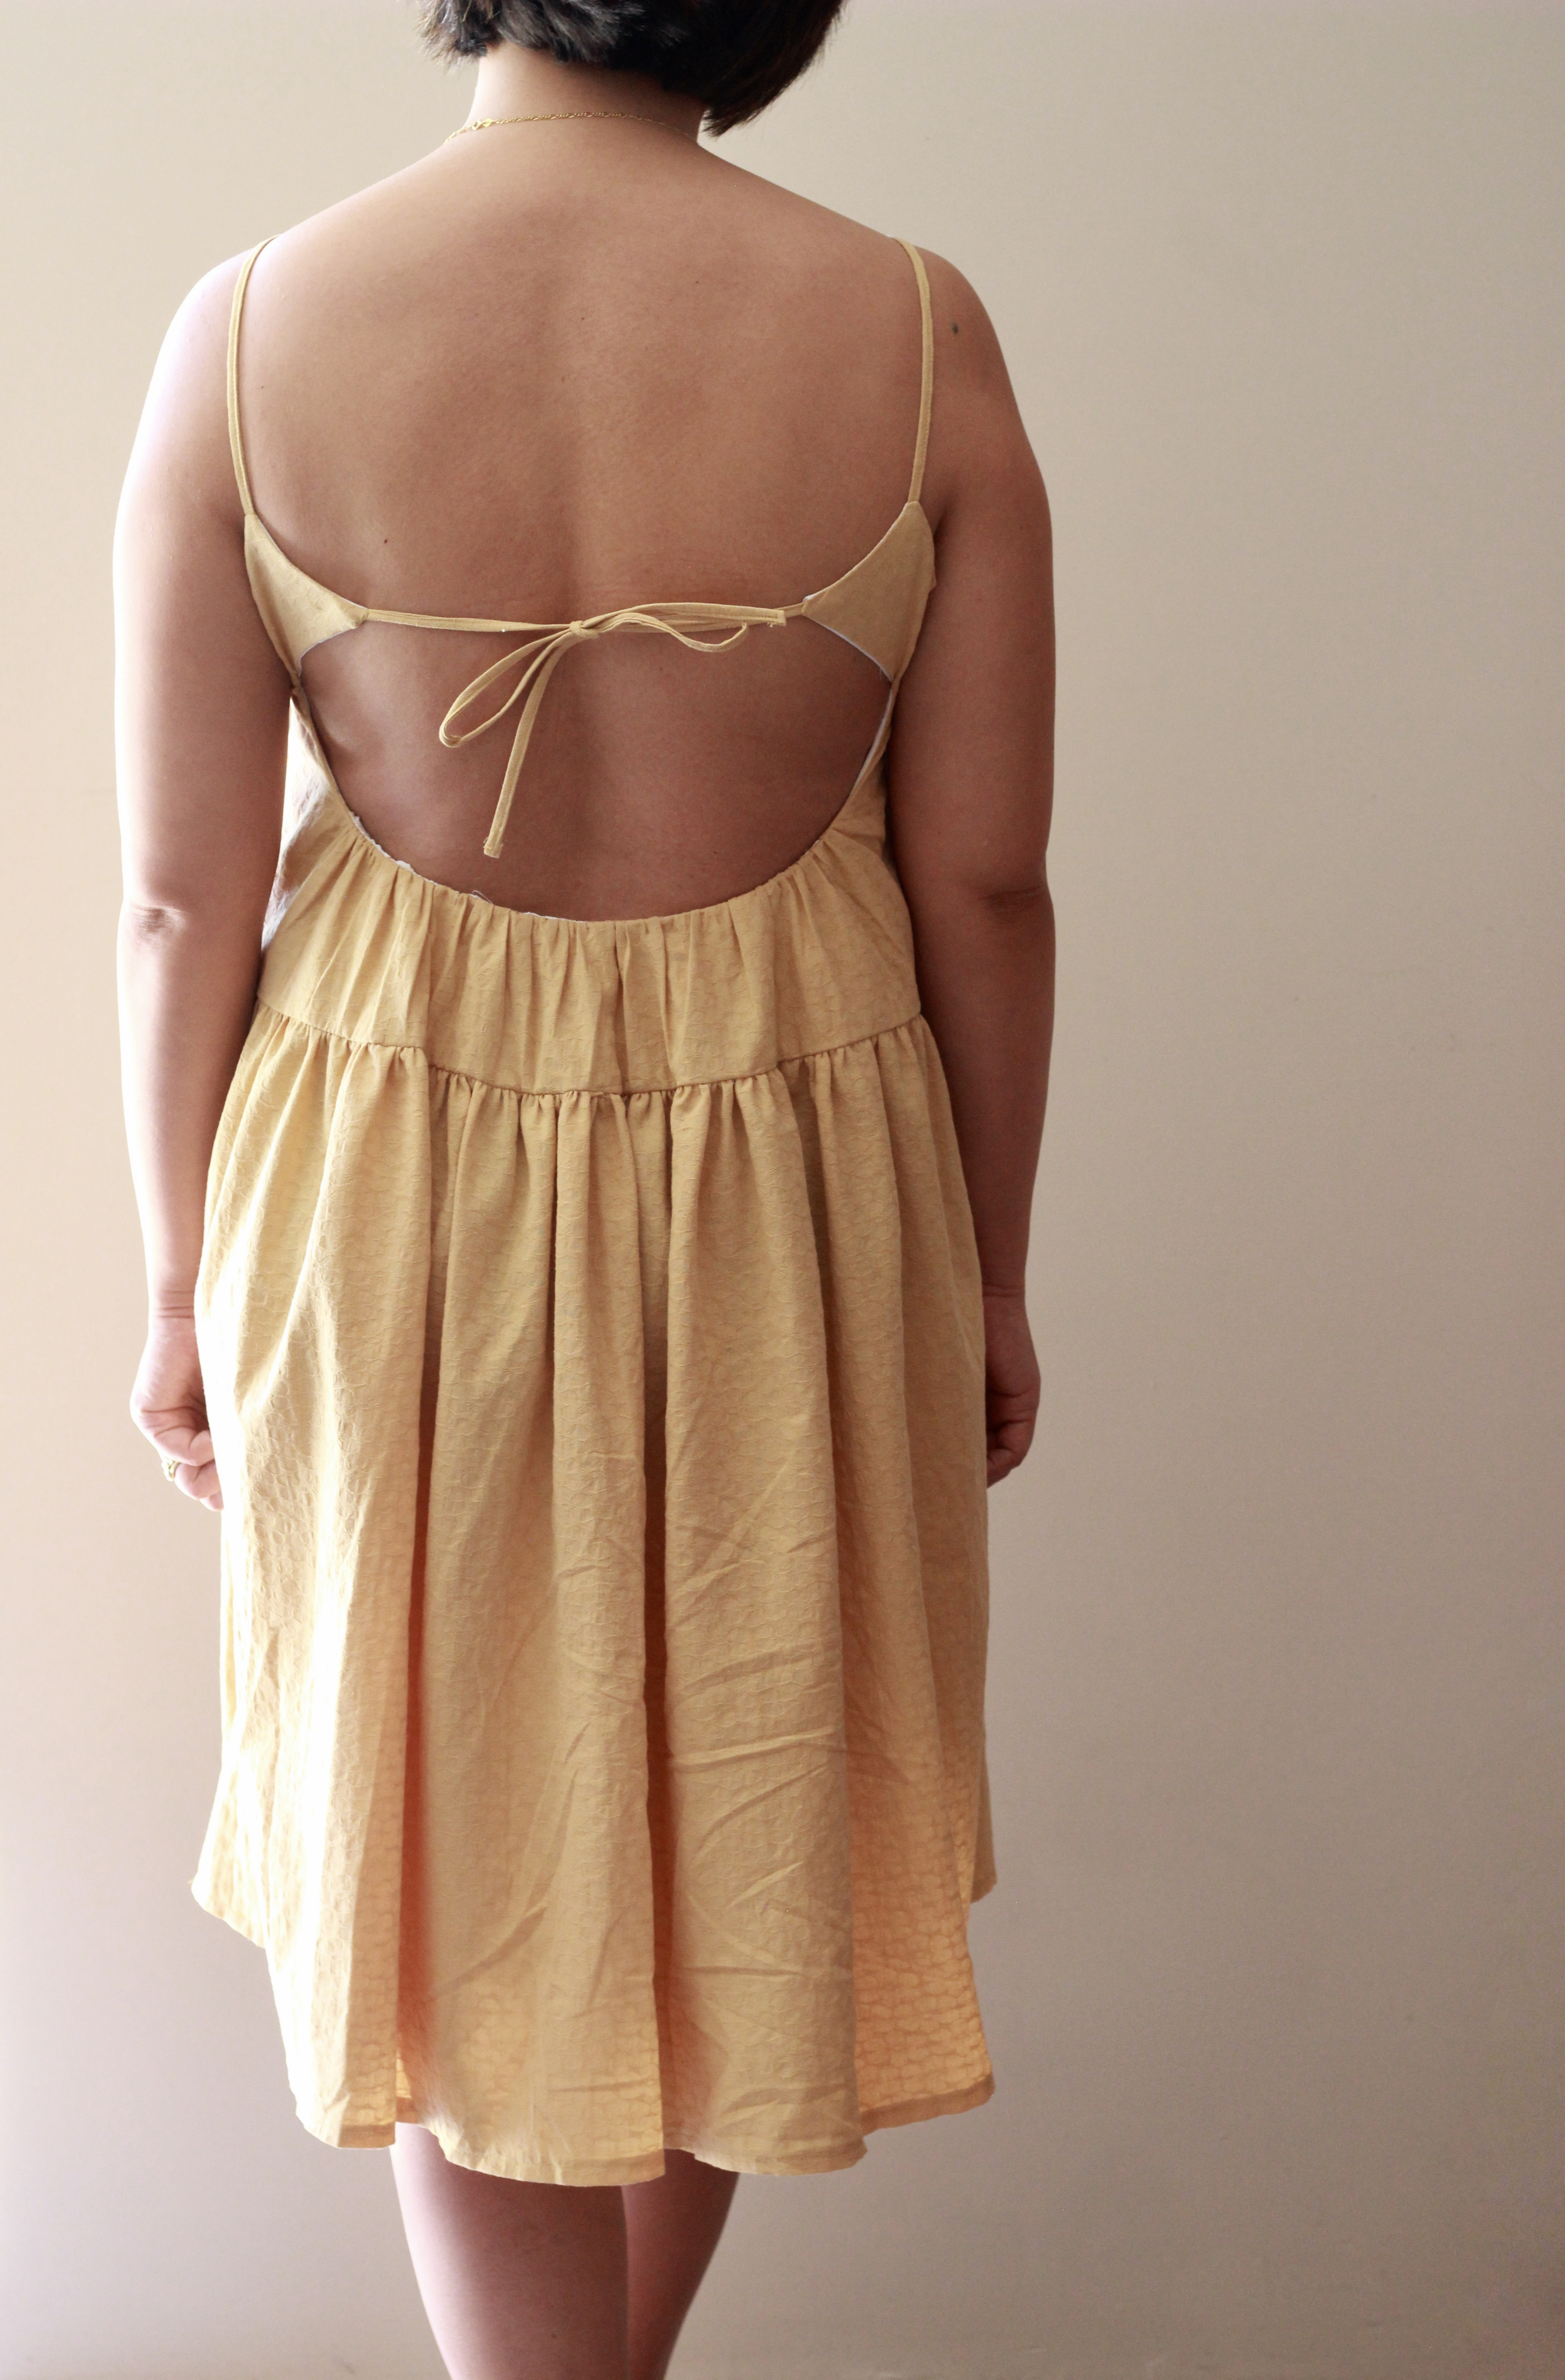
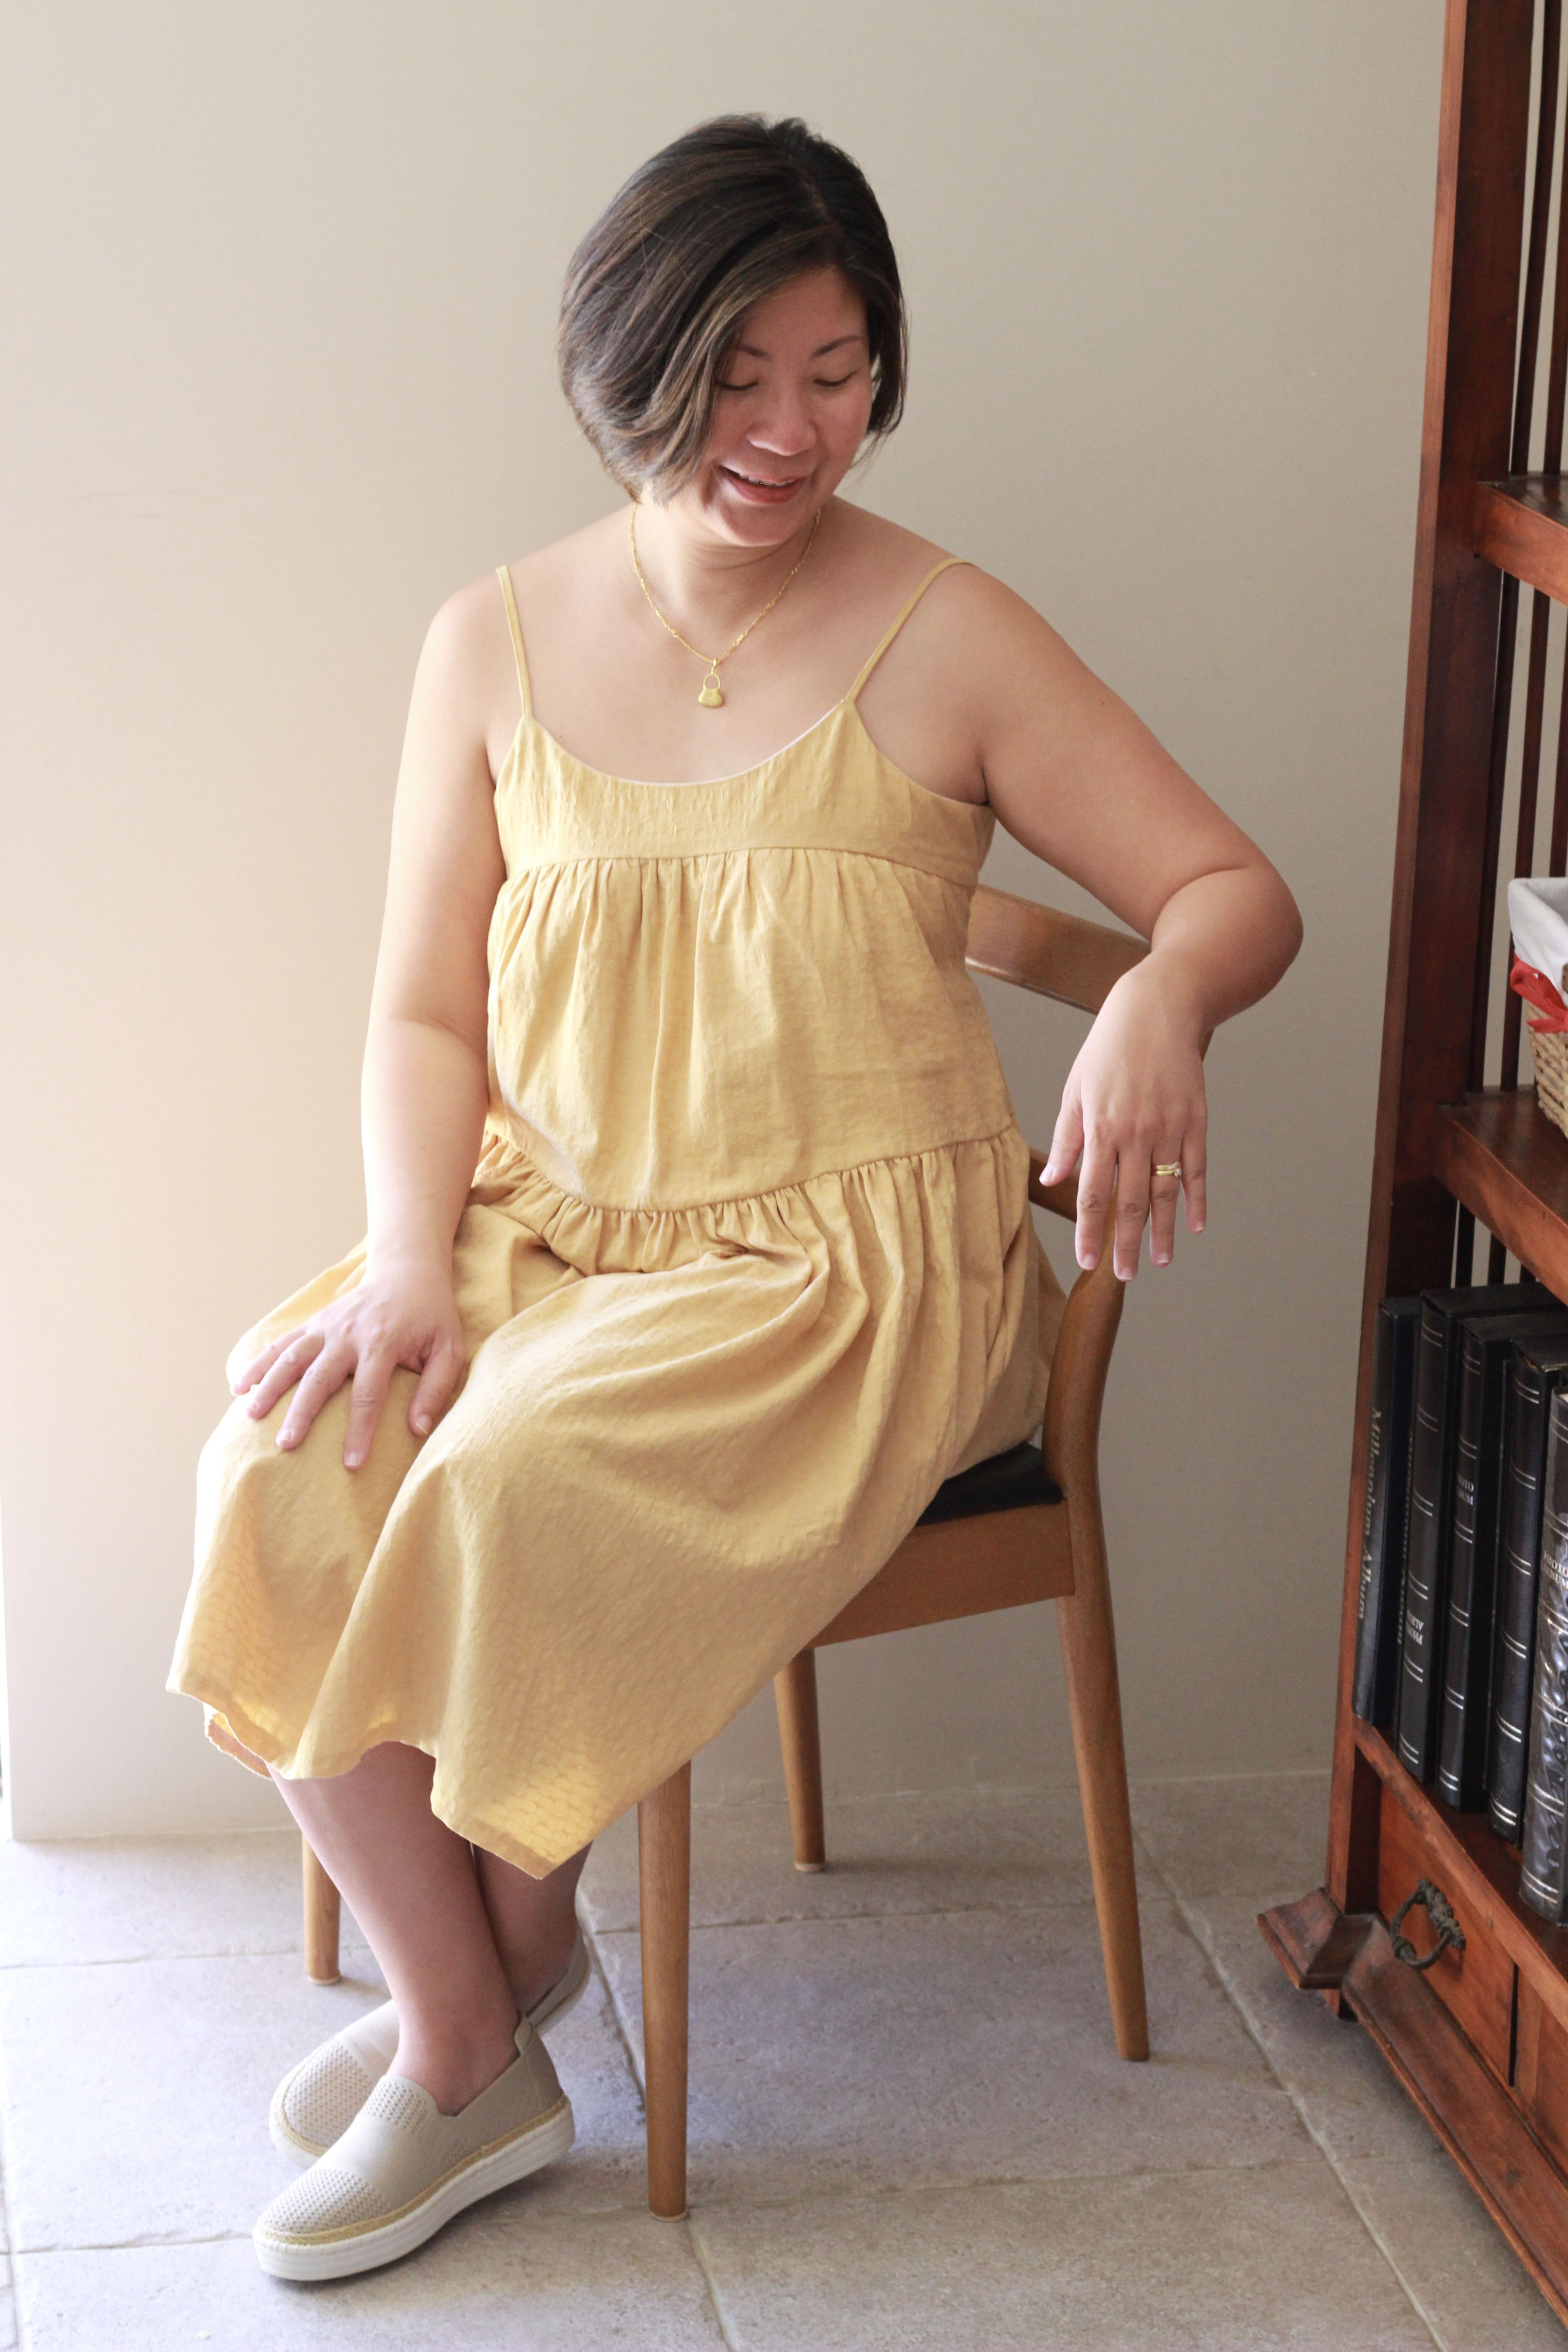
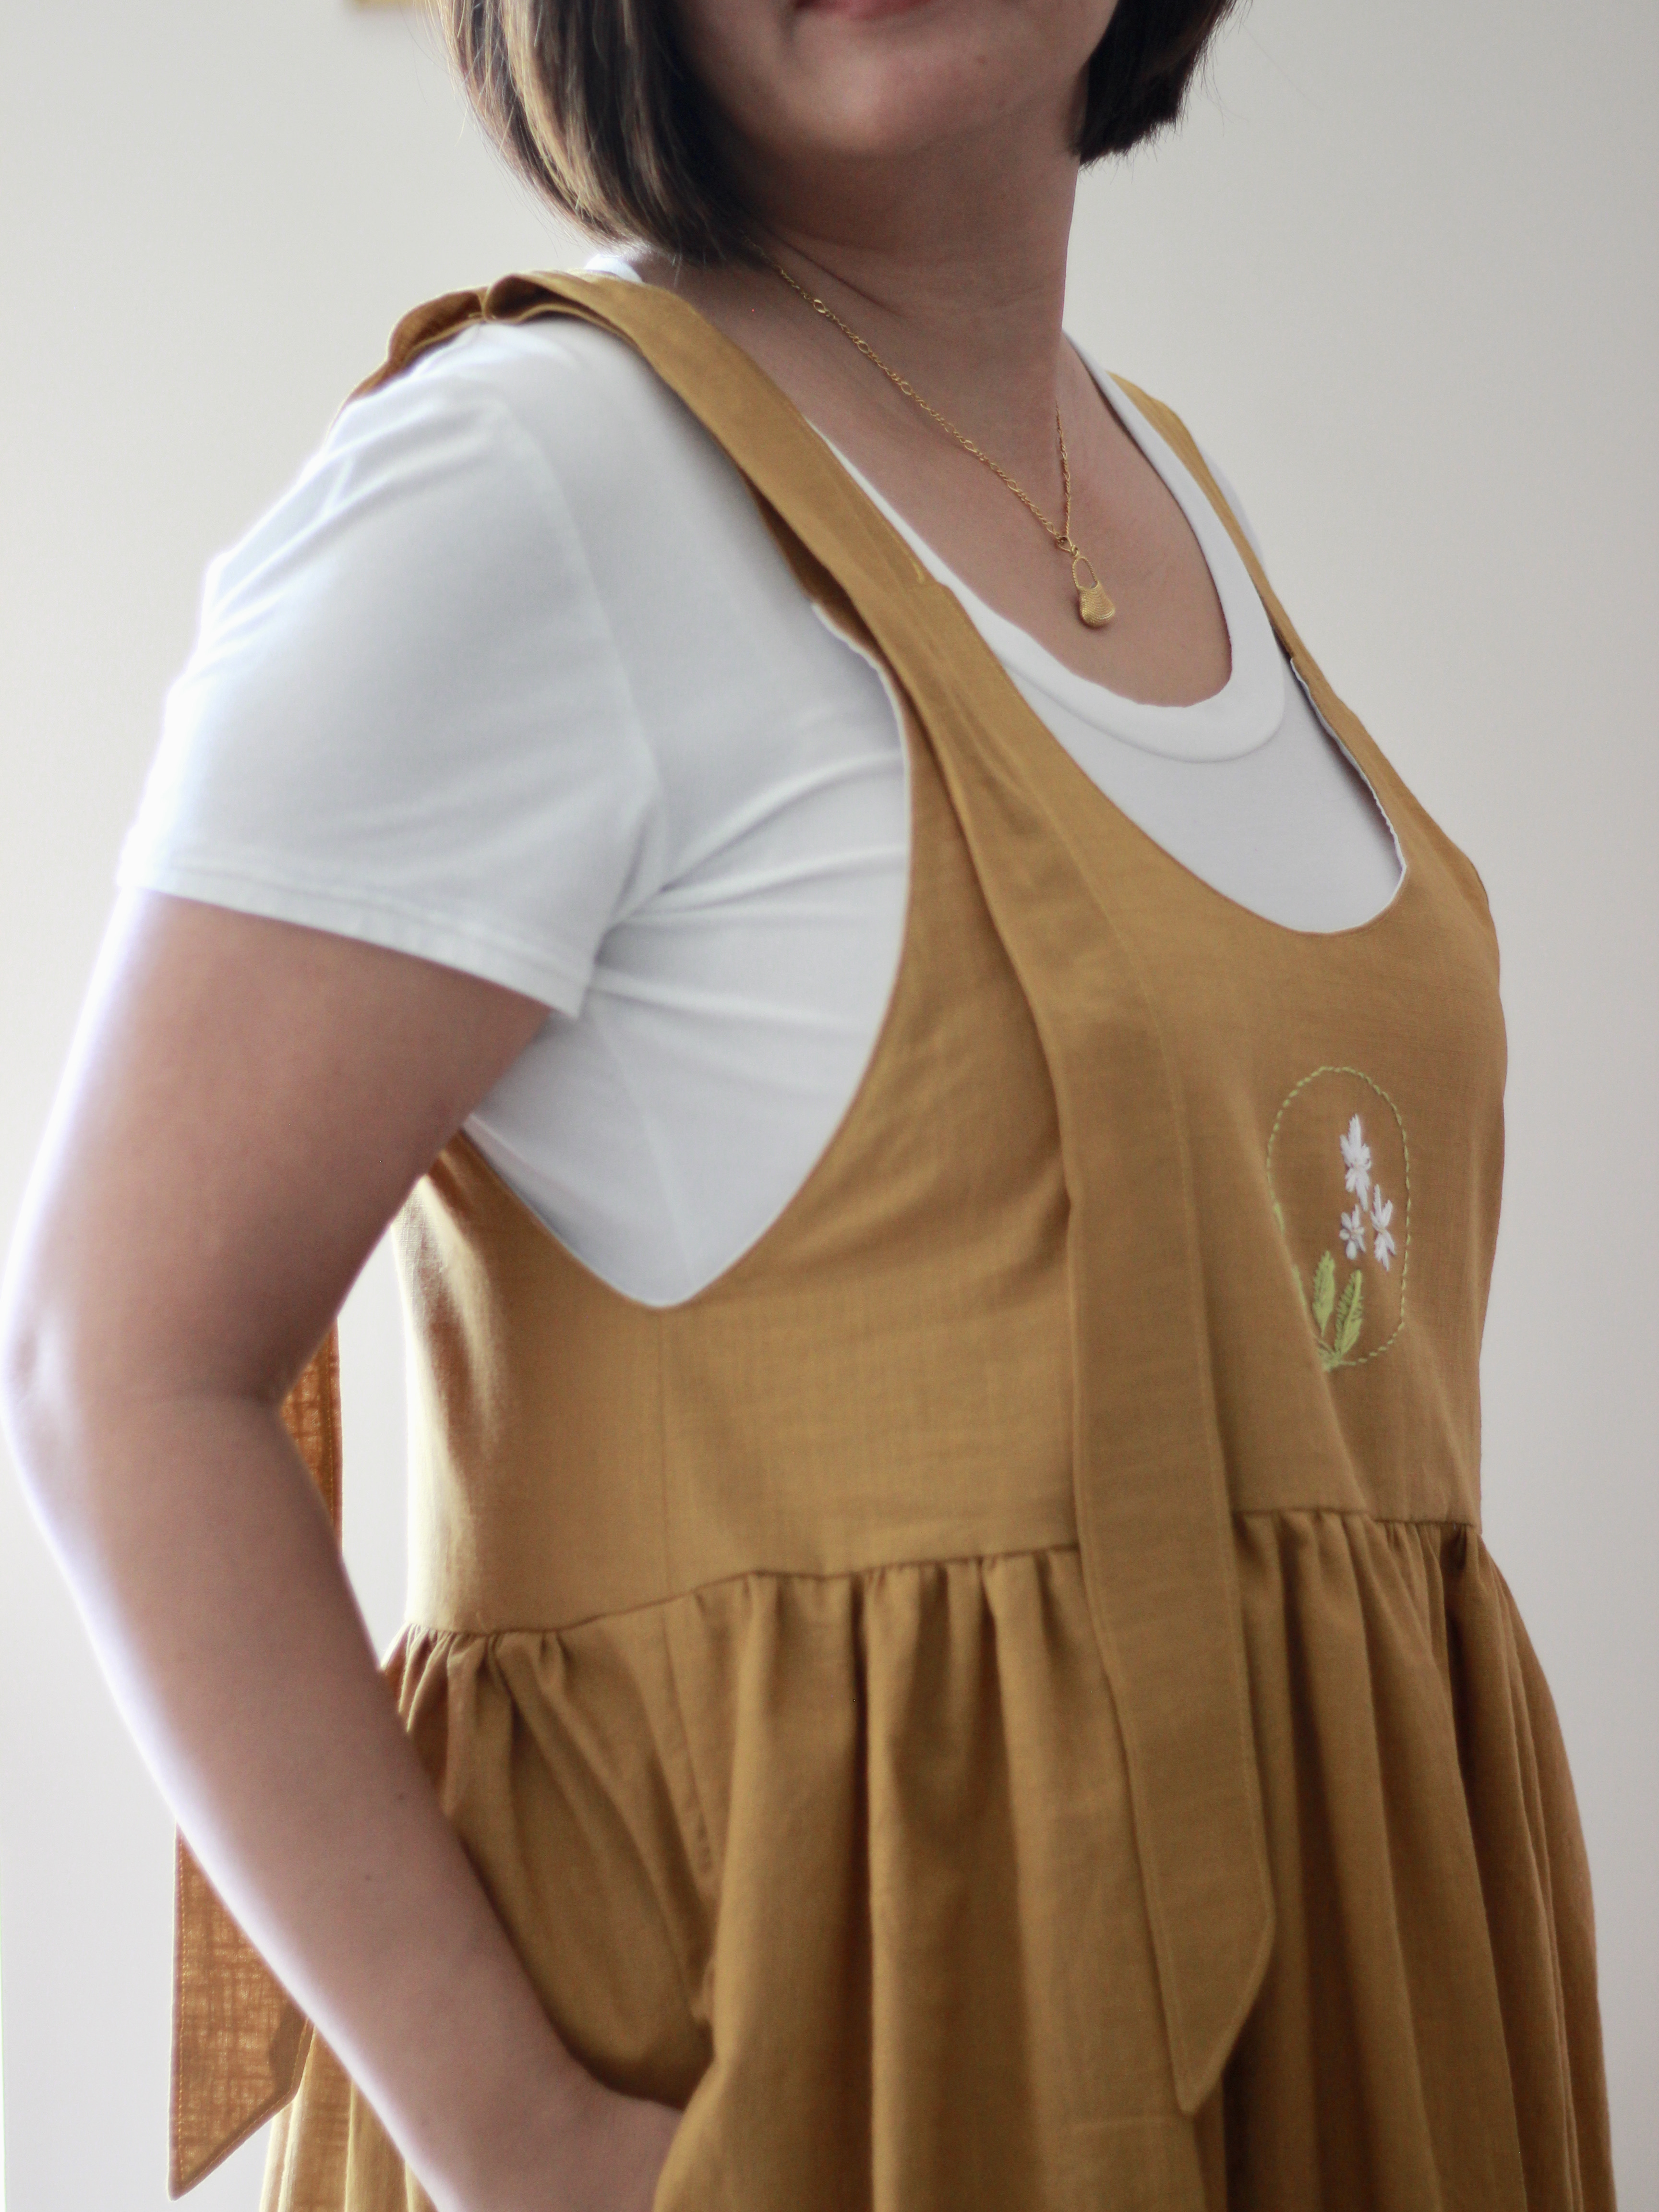
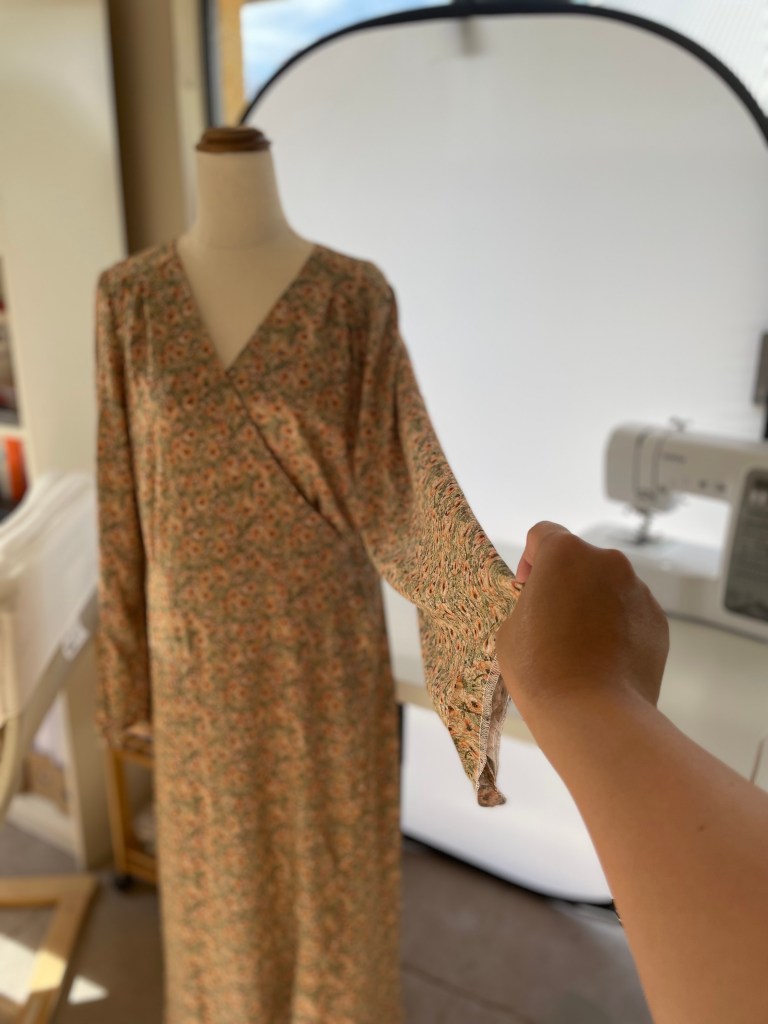
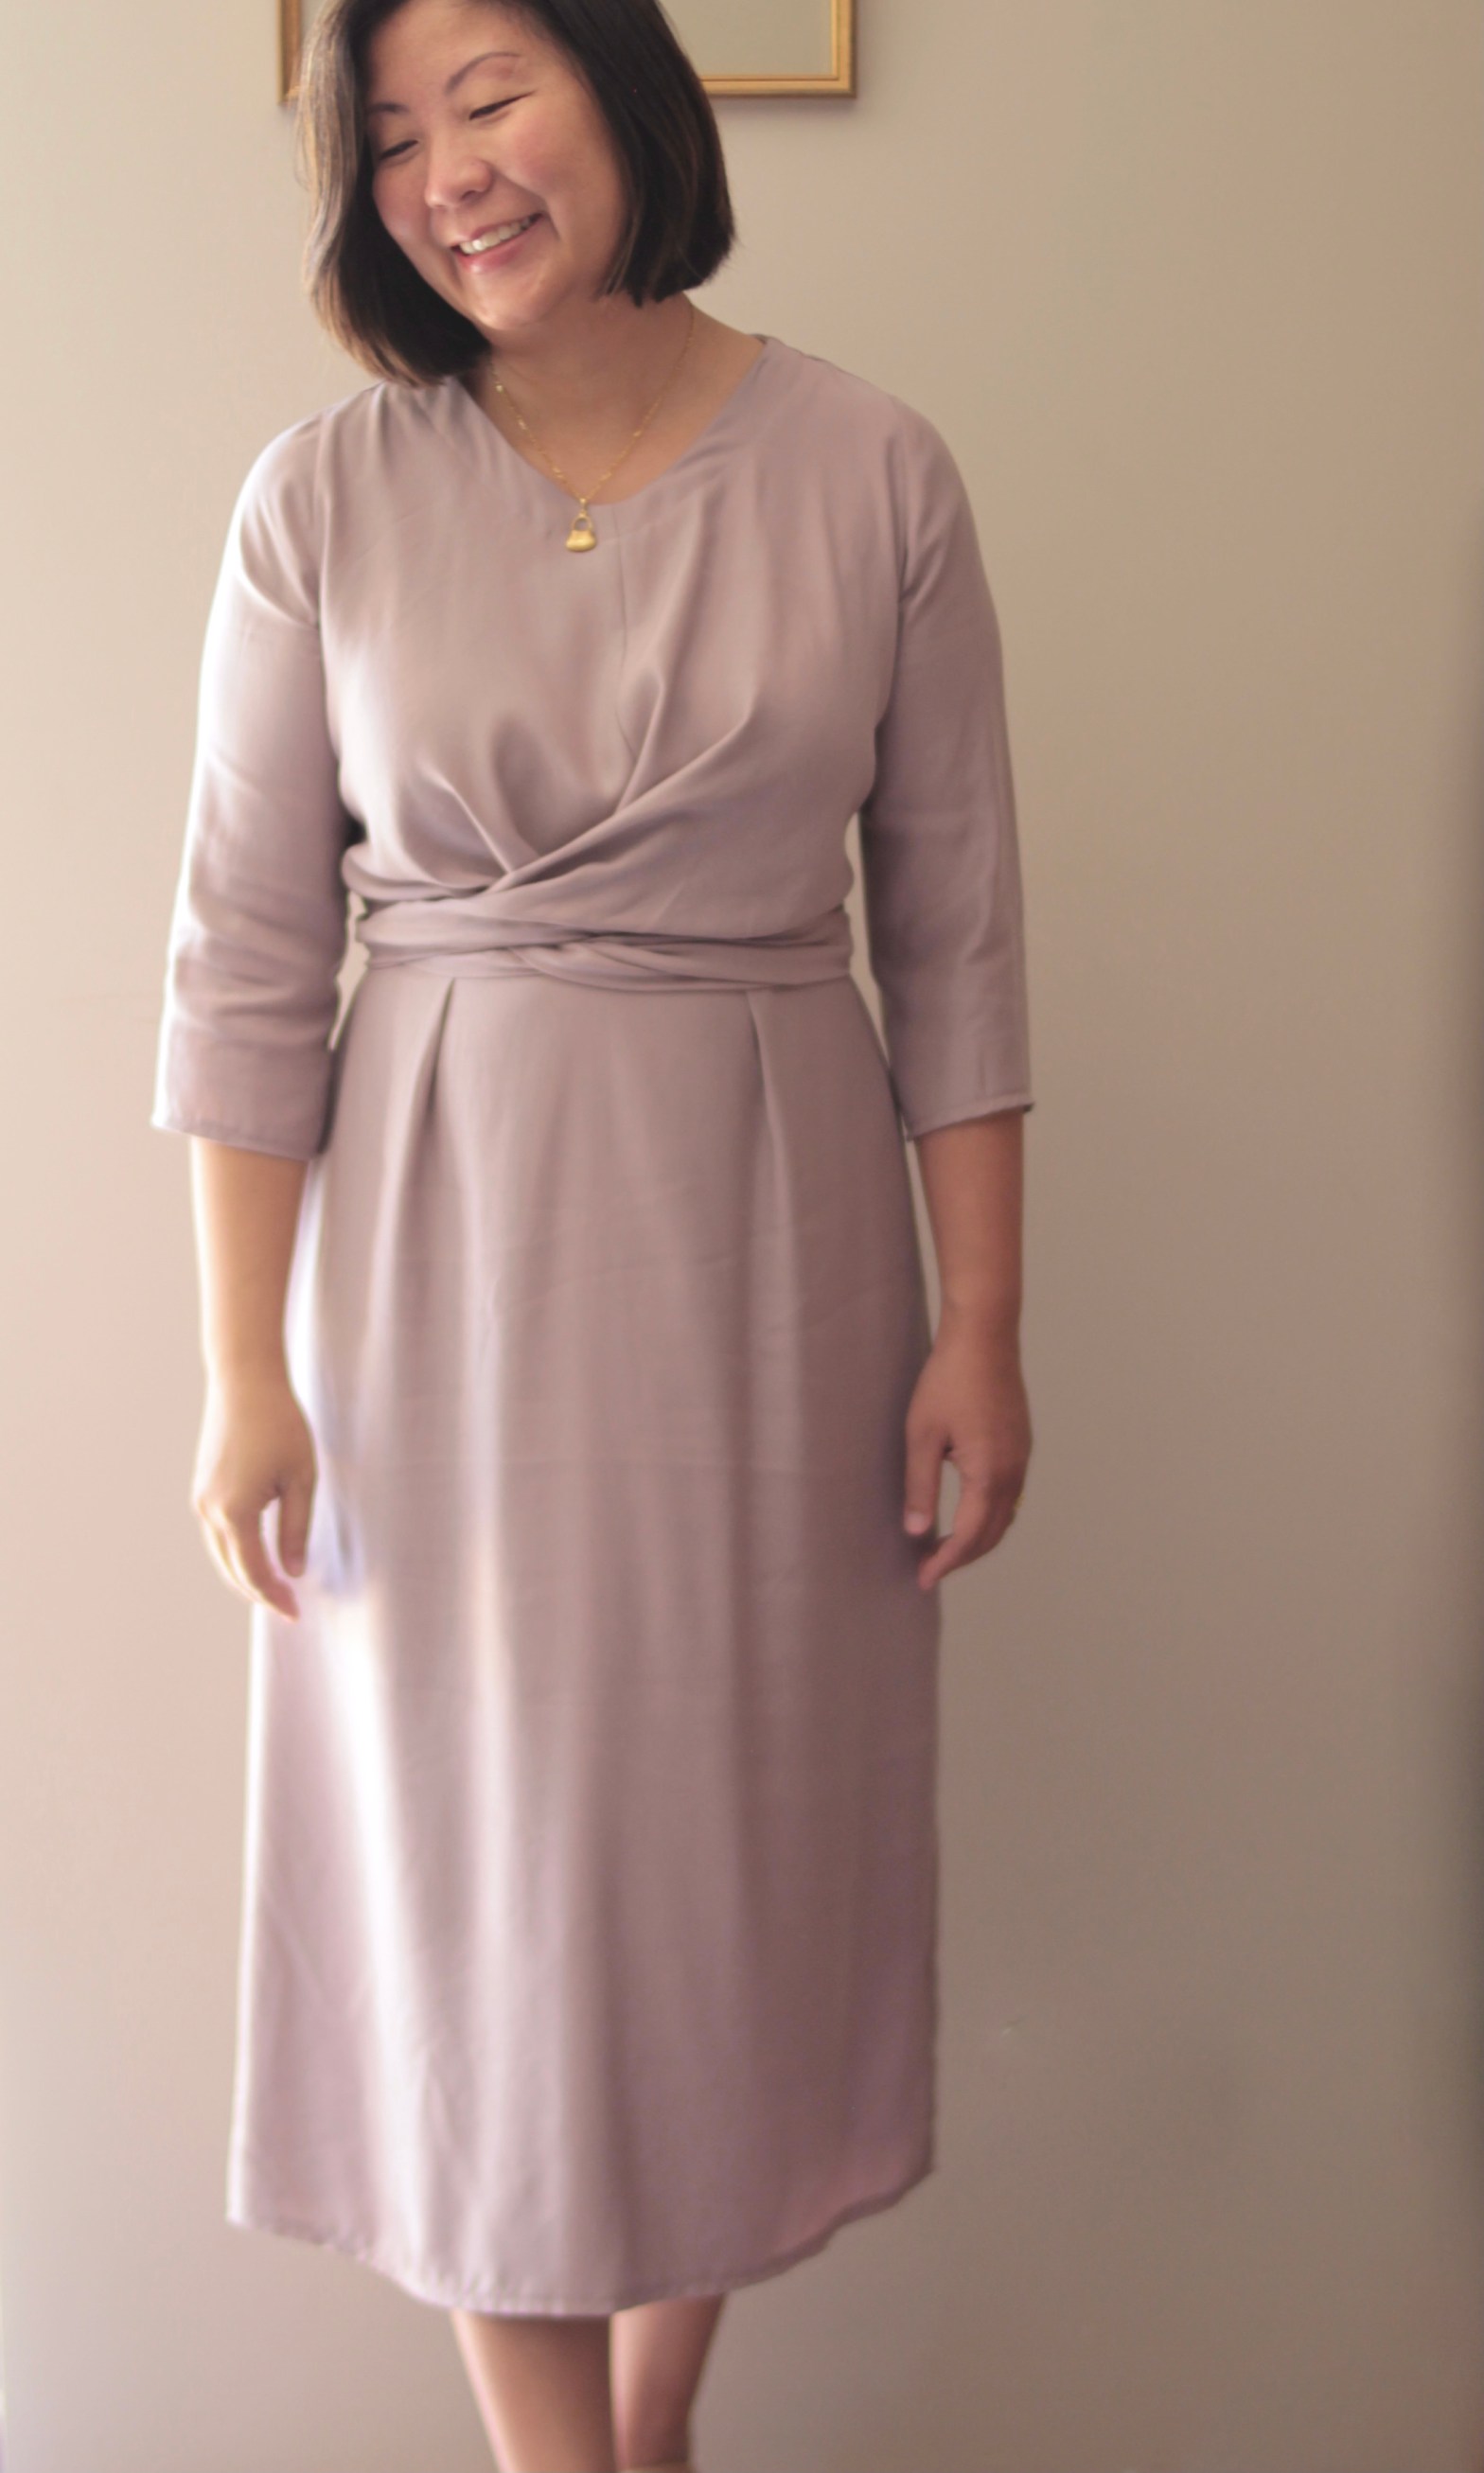
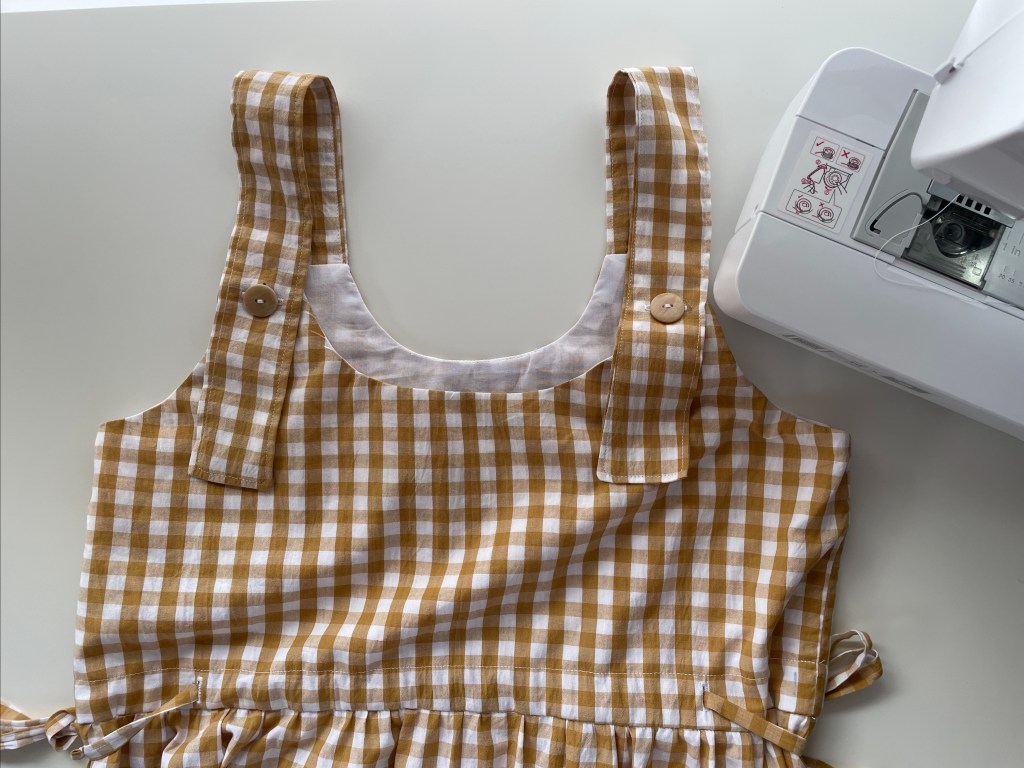
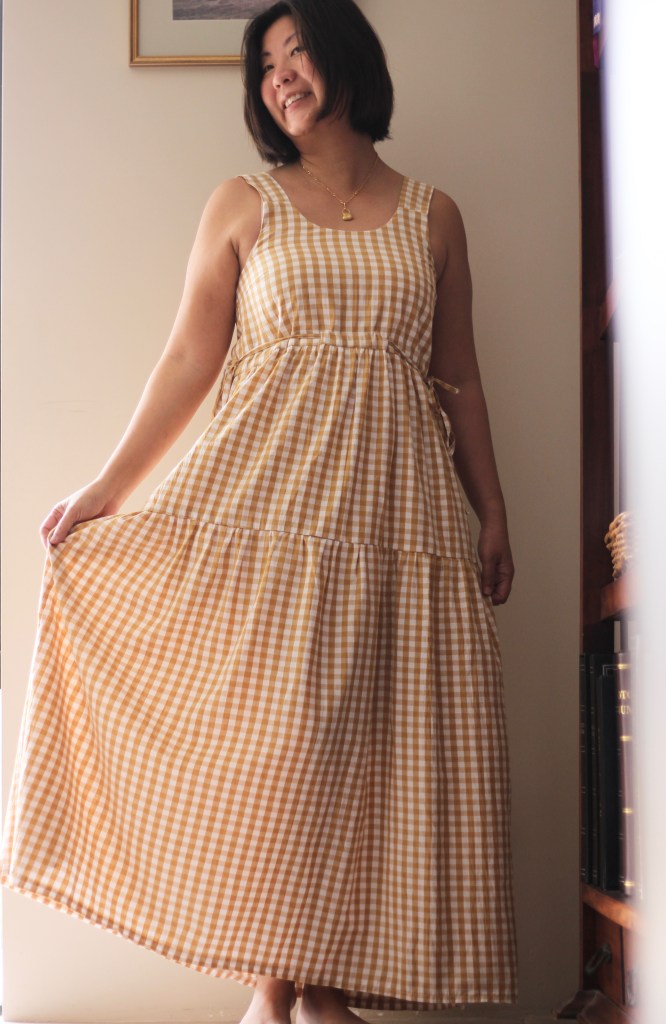
The first dress I made for the test was Option A and using the three-quarter sleeve but without the frill. I love making dresses but found that I lacked a neutral basic dress. The Lanti Swing Dress is a great core item dress which is designed to be versatile and a foundation piece for dressmaking. The fabric I used was a beautifully sheer flax coloured cotton which is lightly textured by a weave of beige coloured tread in a stripe pattern running horizontally. This dress can be styled with sandals for summer or layered with a jacket for autumn and spring. It can be left loose for a boho look or cinched at the waist with a belt for a stylish work outfit.

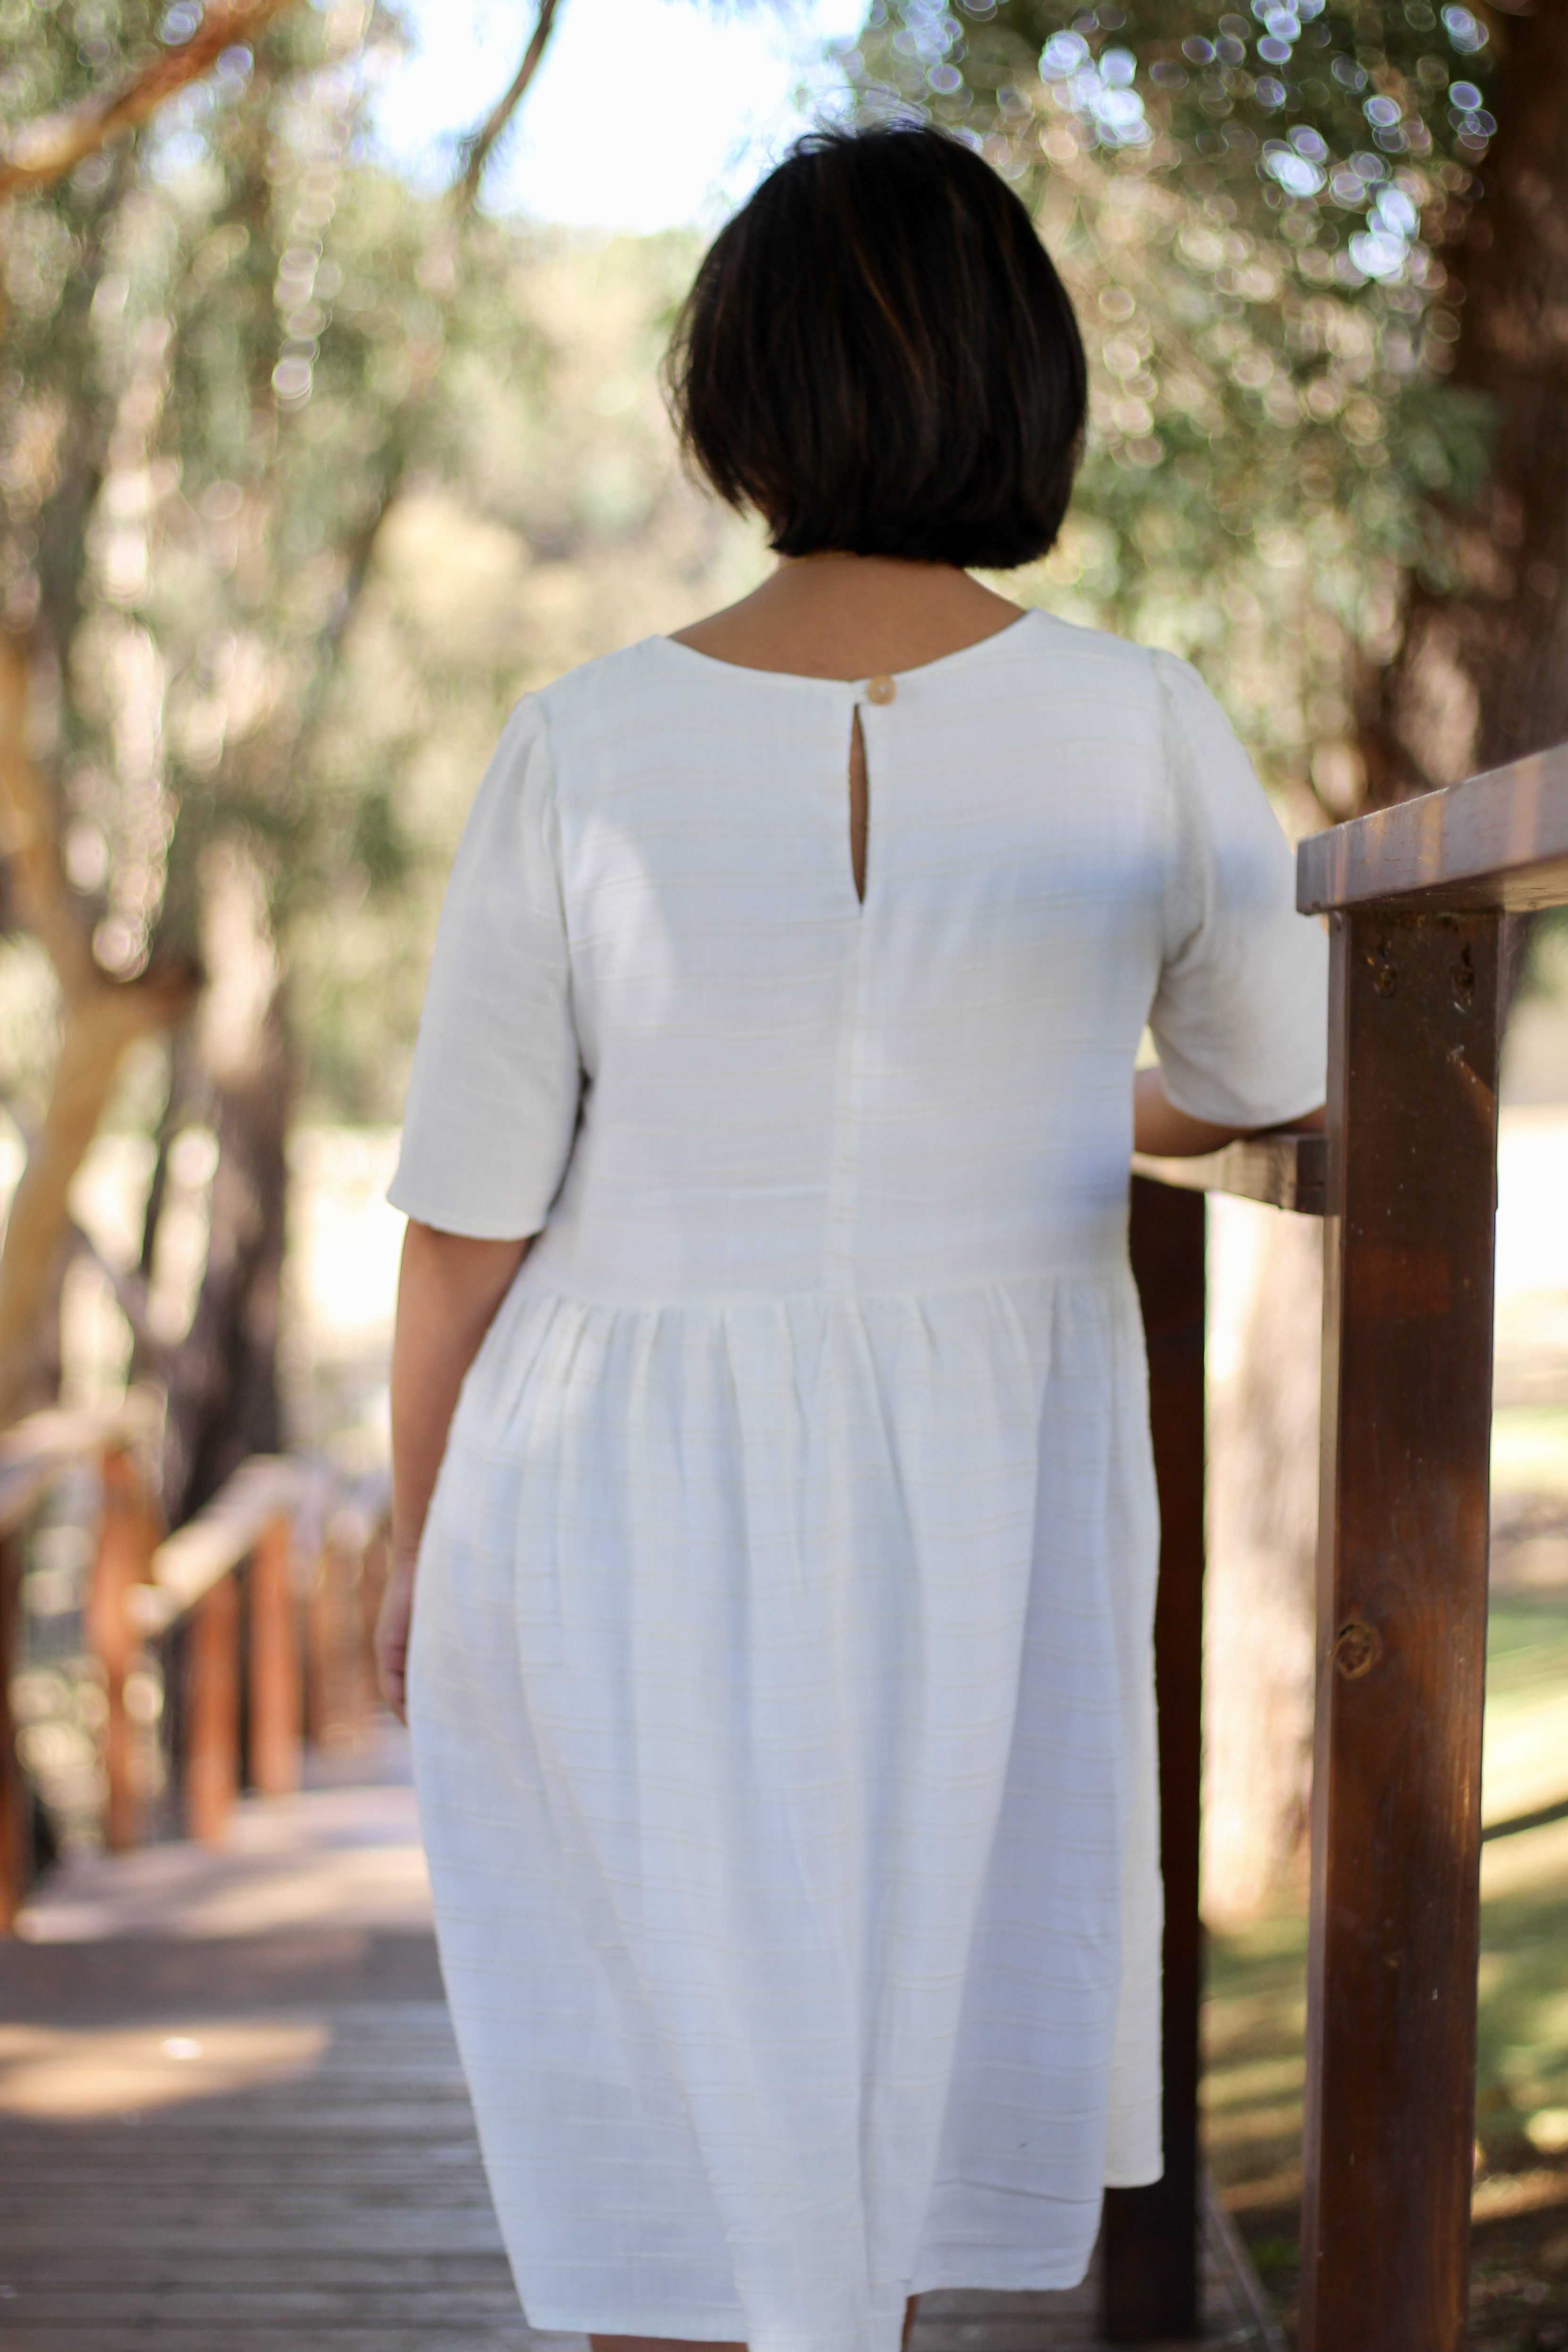

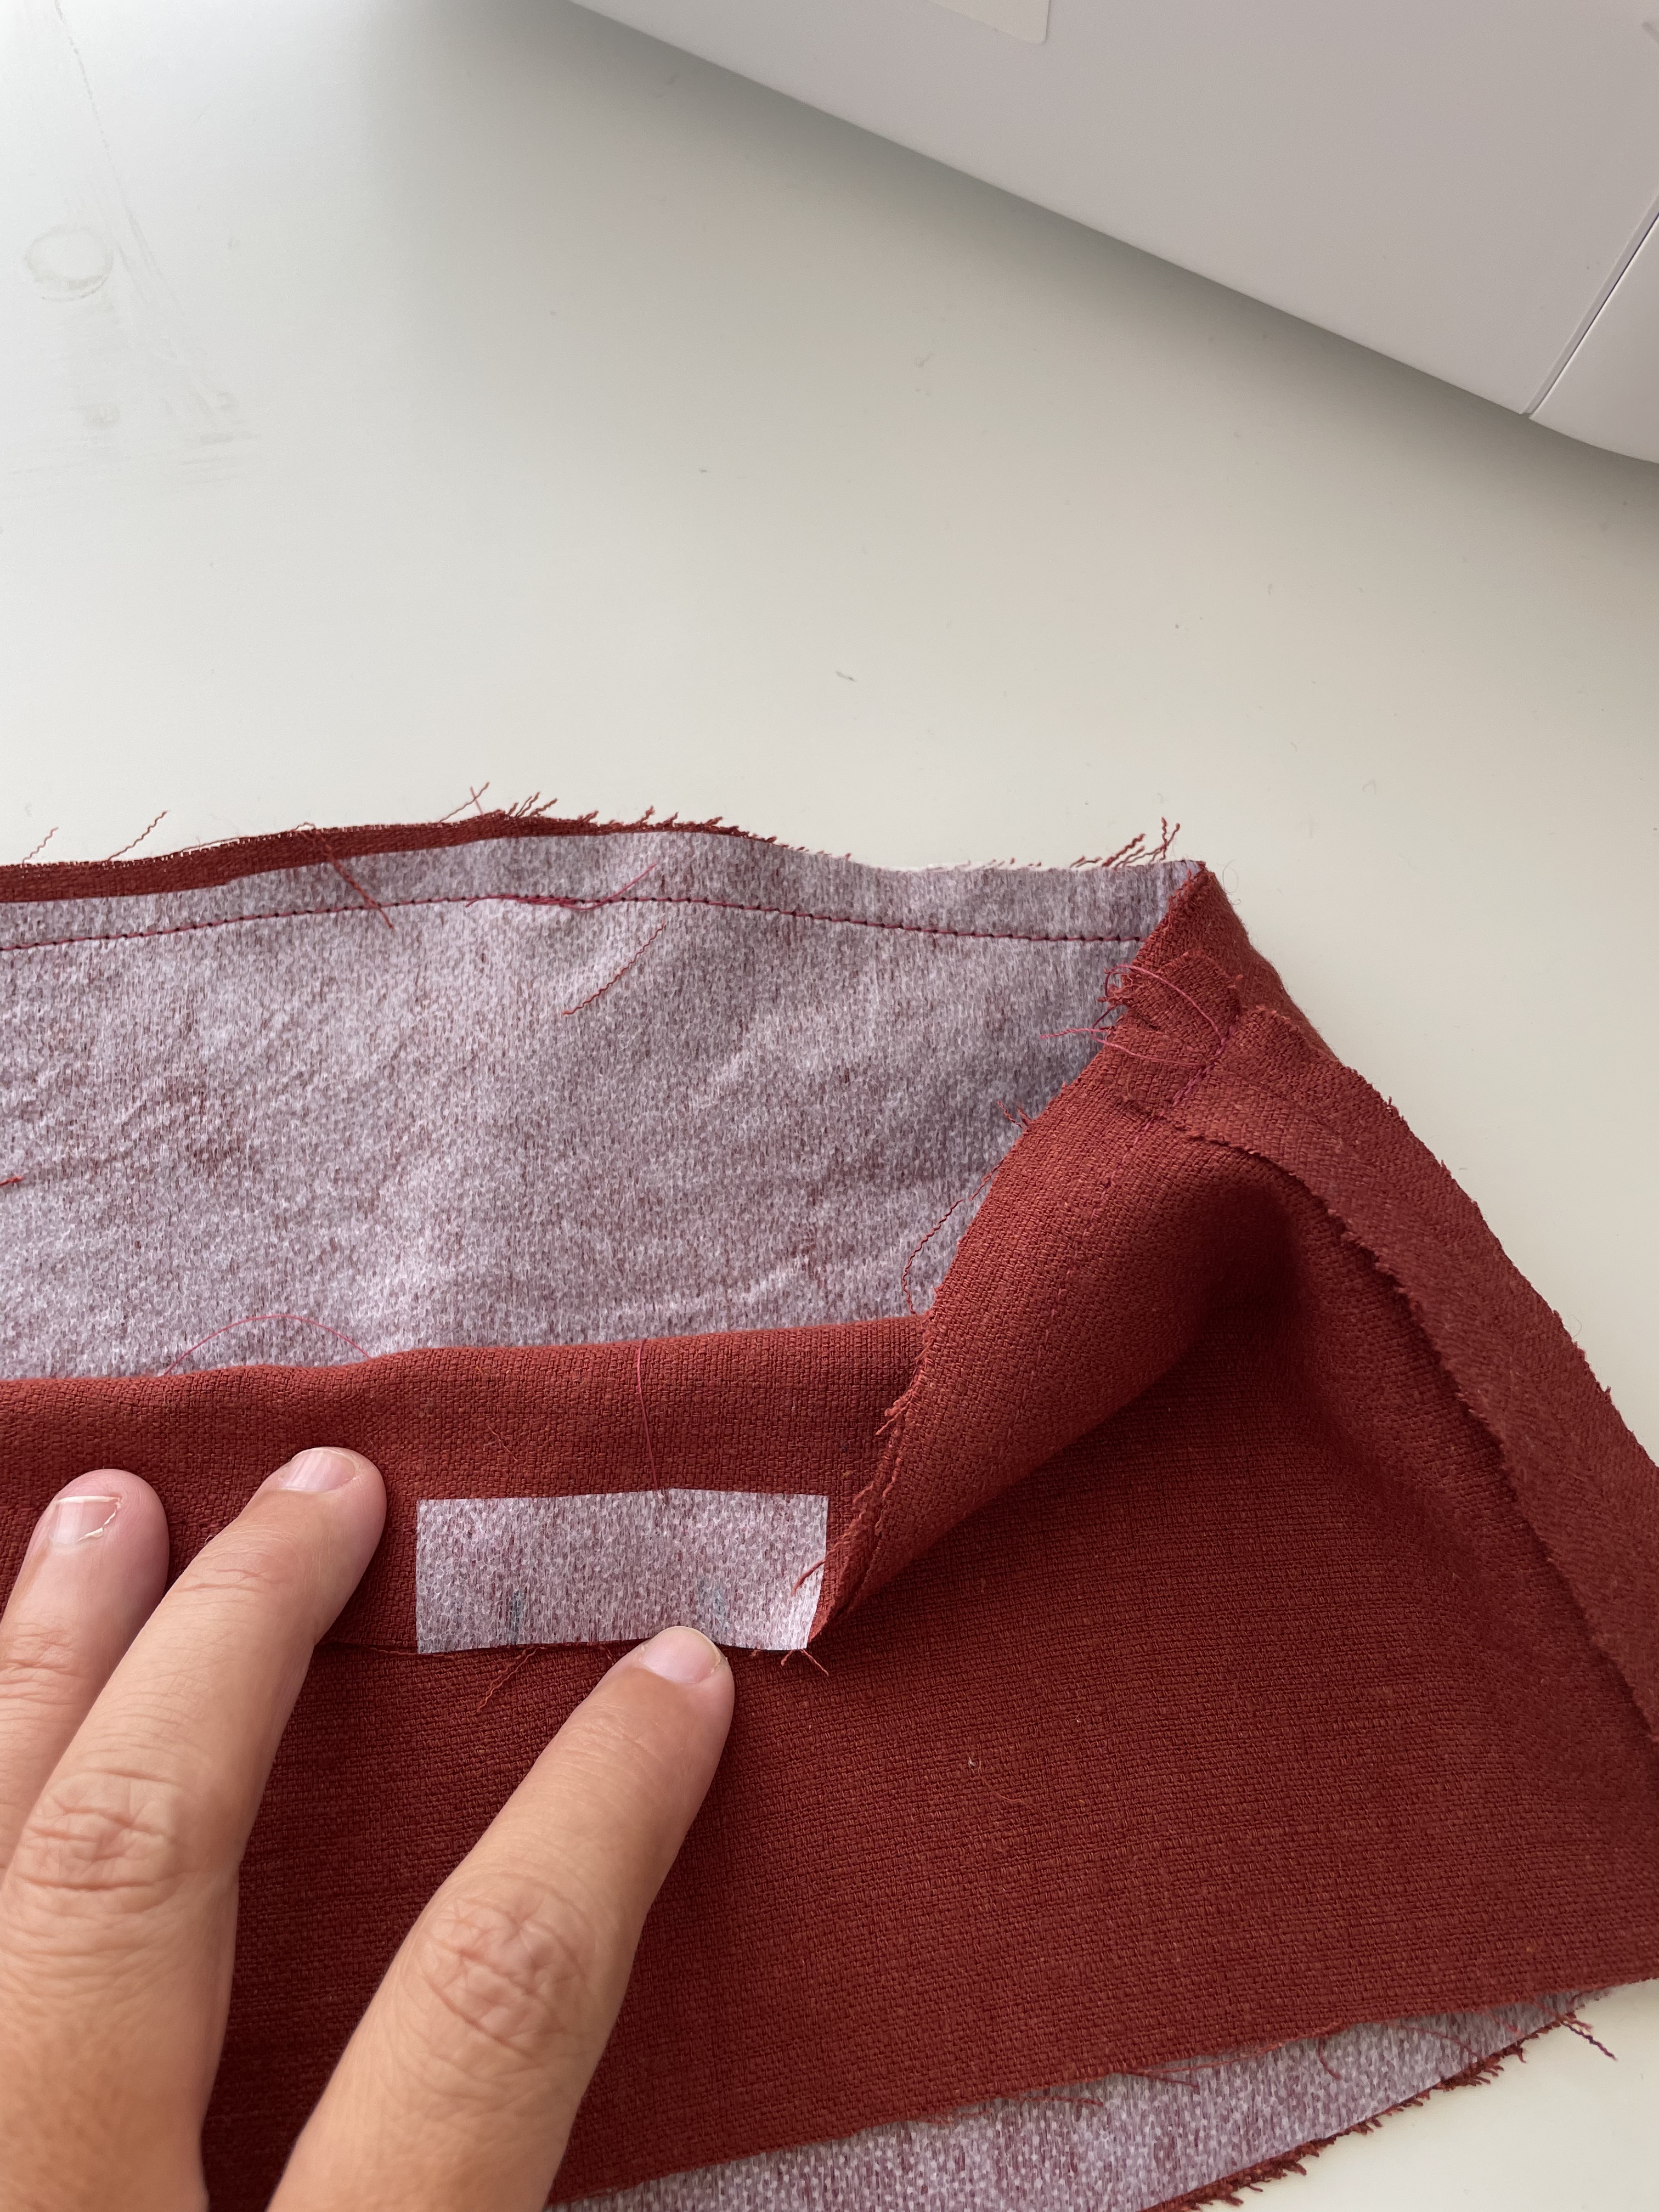
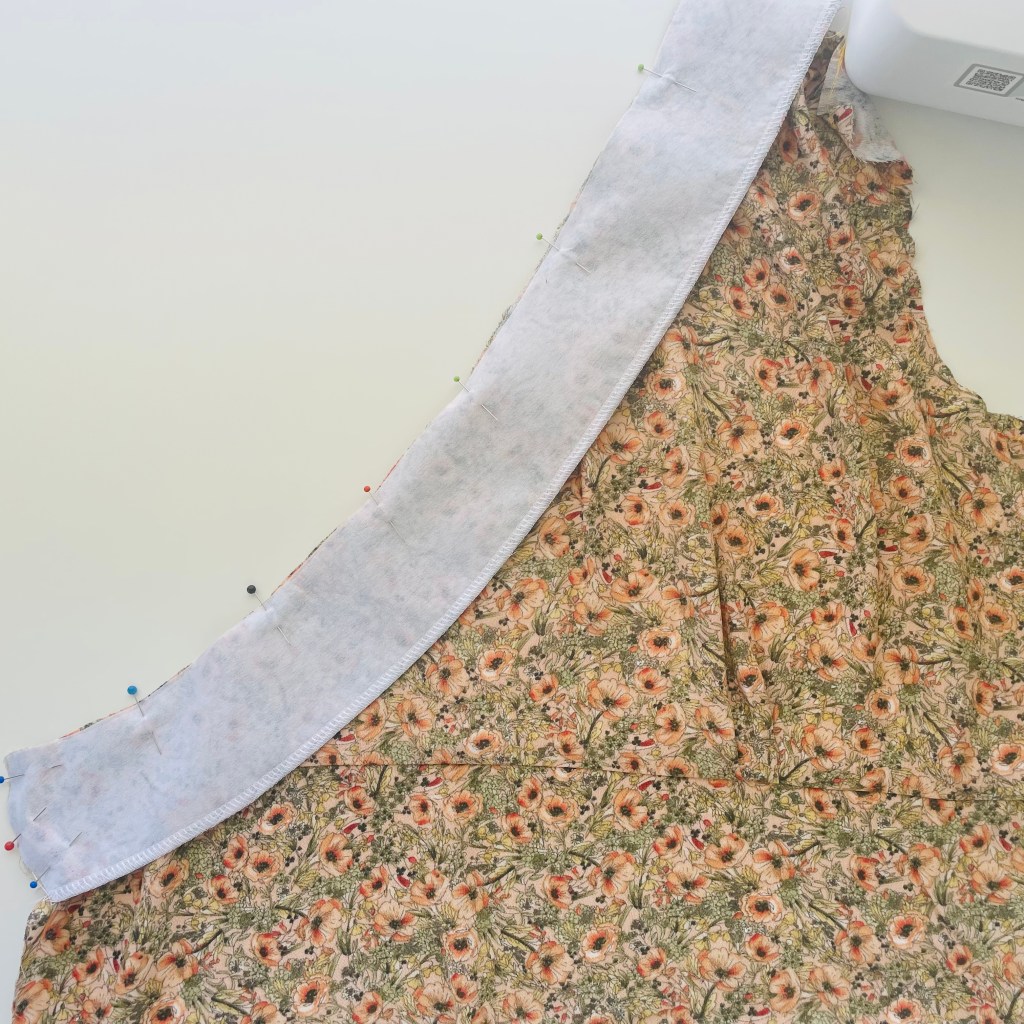
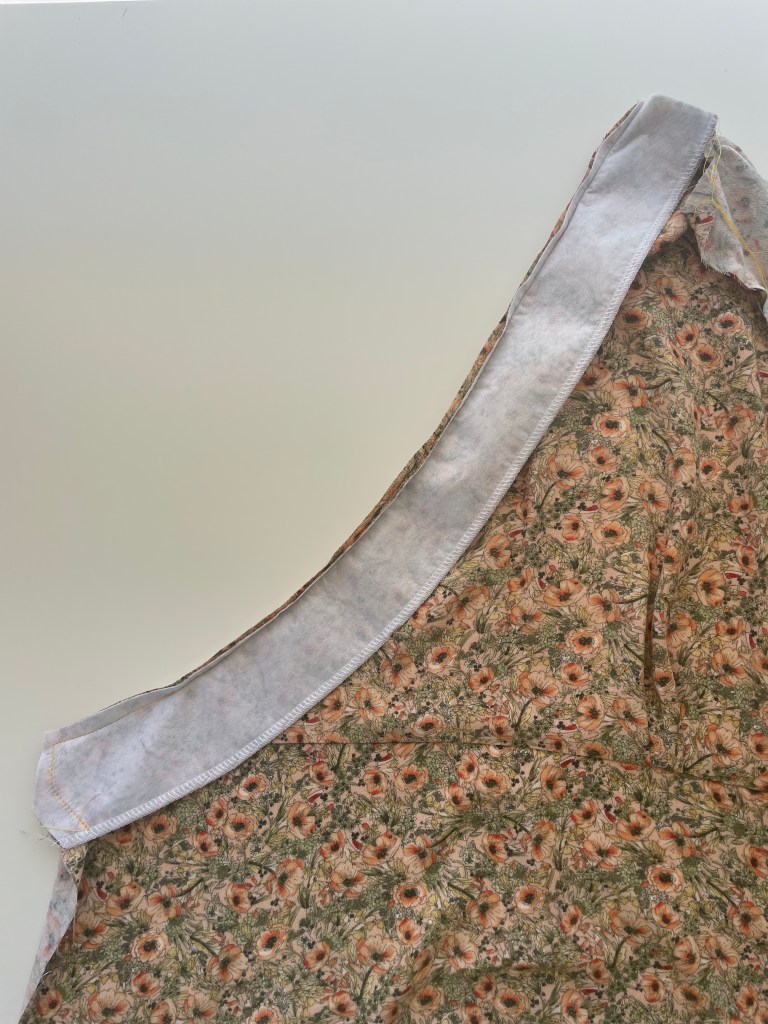
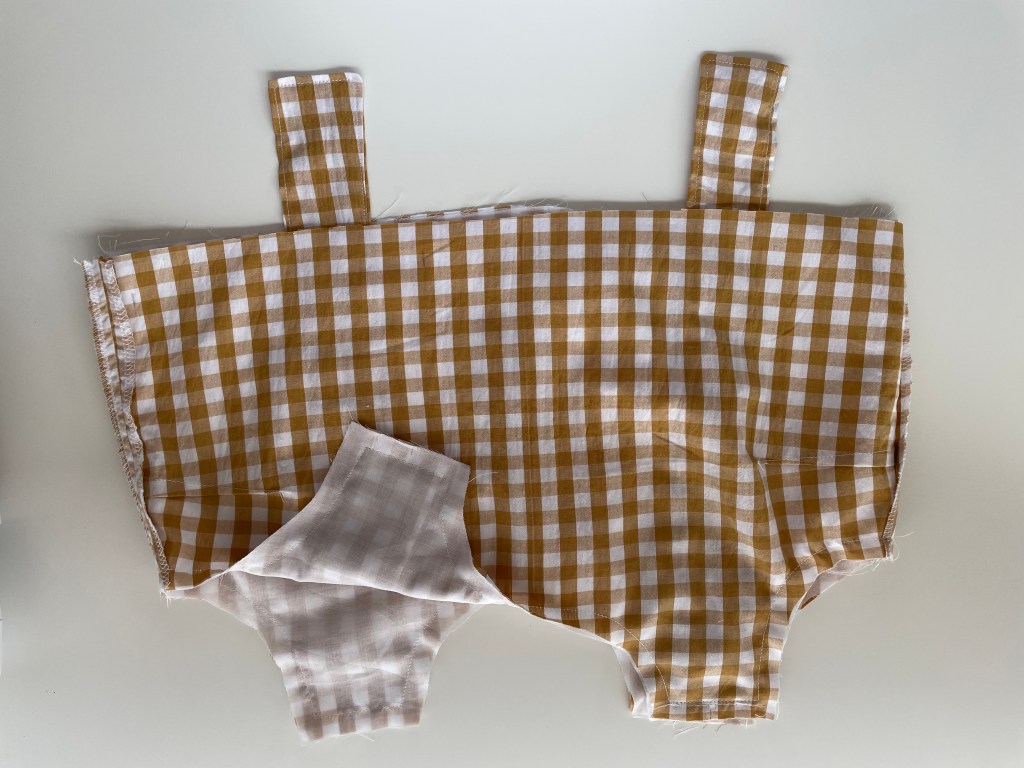
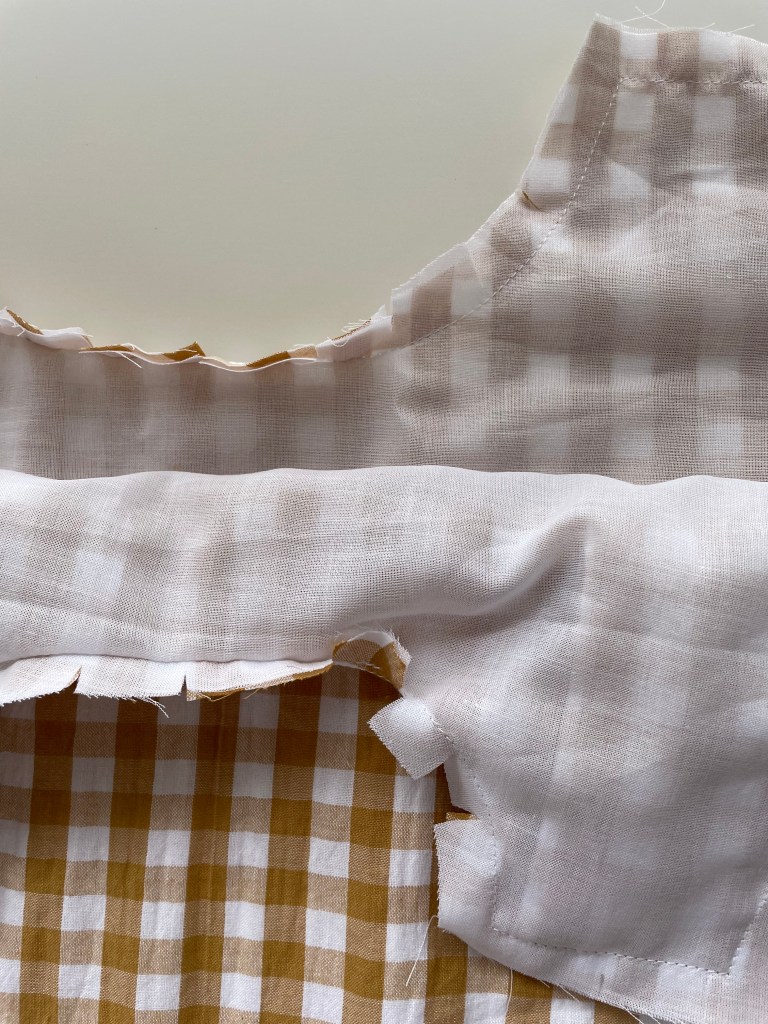
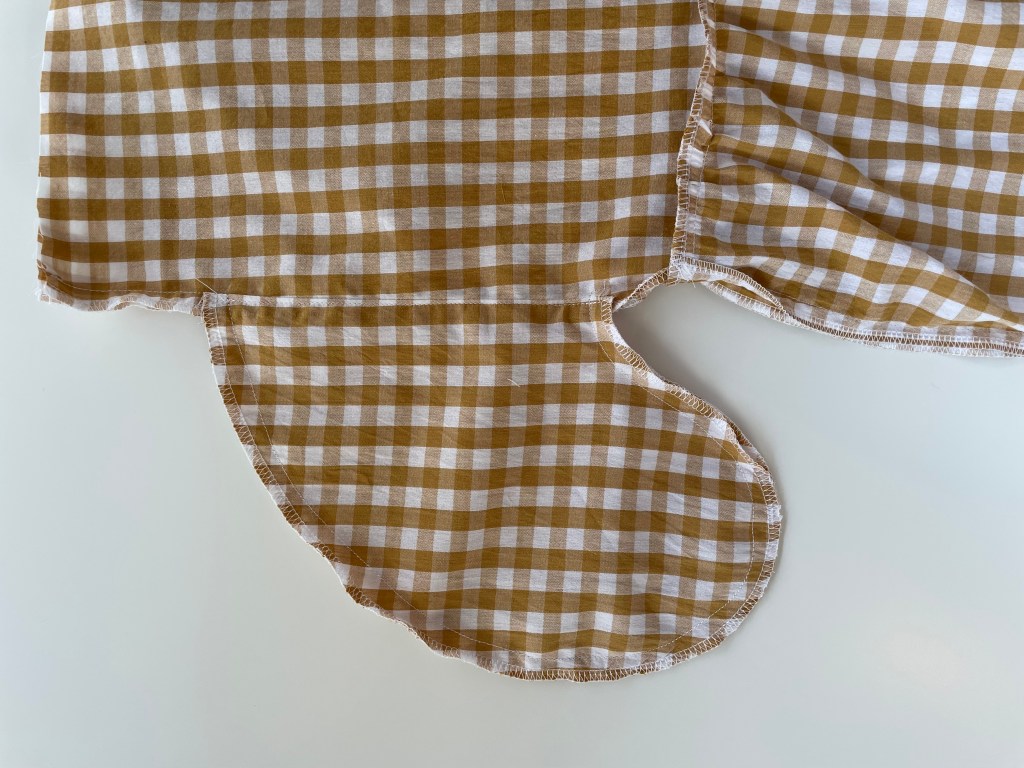
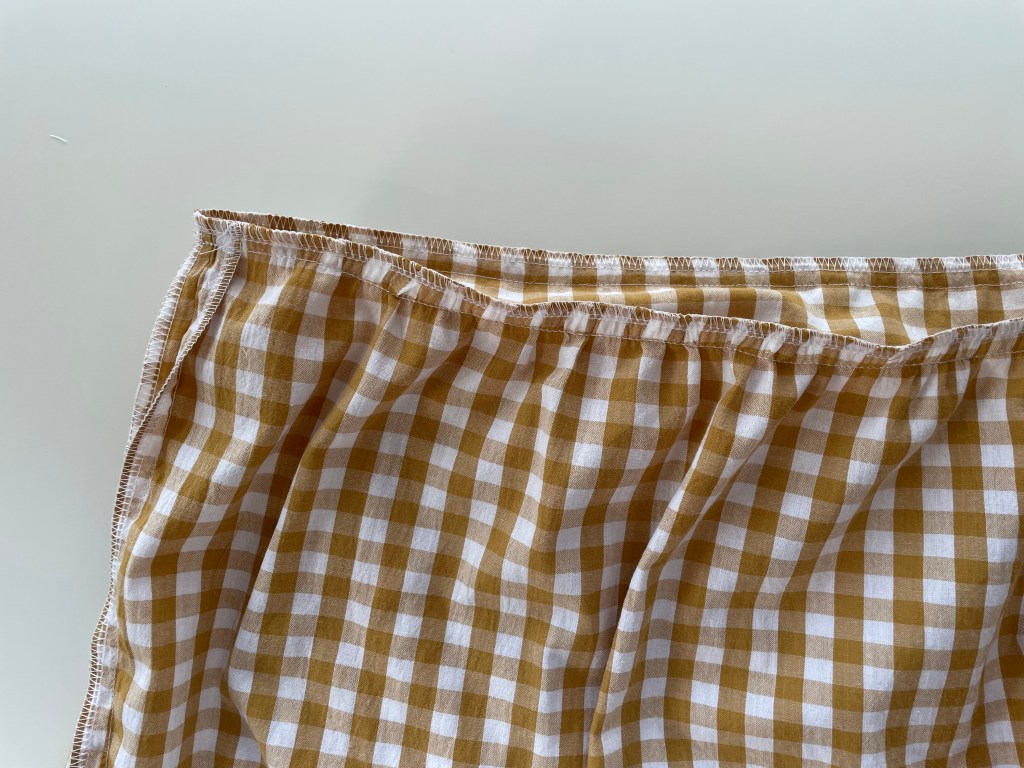
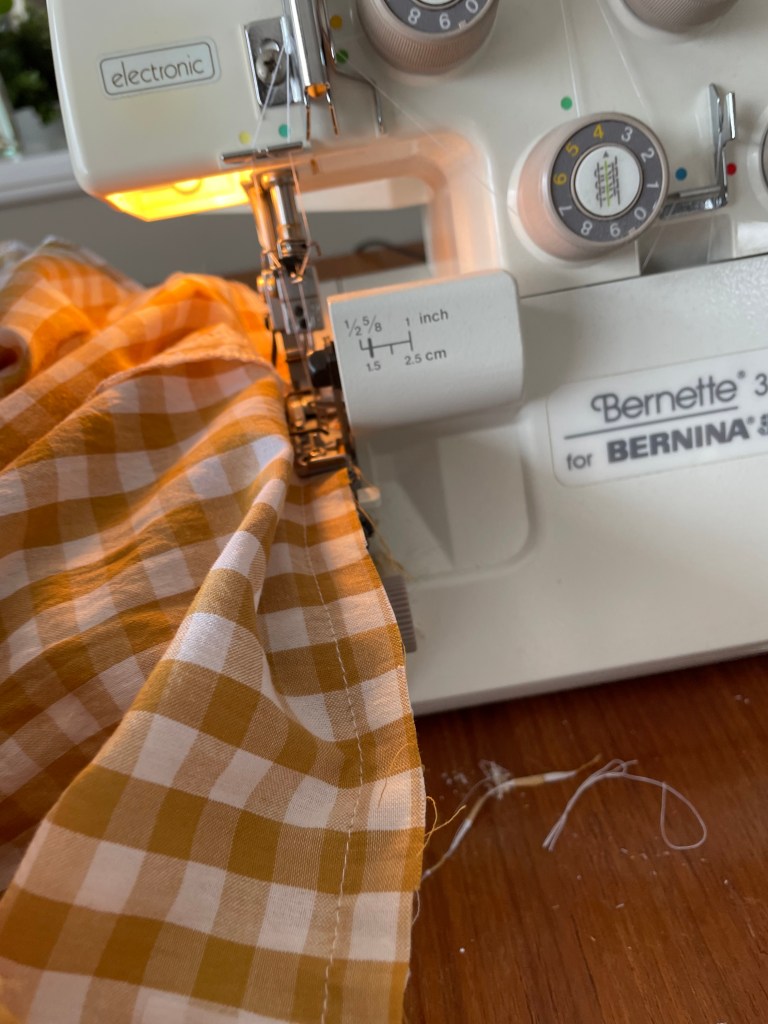
My test was for the size 12 as my measurements of 37.5-inch bust, 33-inch waist and 38-inch hips fit well into that category. There wasn’t any need for adjustments, but I left out the pockets and the sleeve frill. My fabric was very sheer so instead of a facing, I fully lined the dress with a muslin which also served as the first toile of the pattern. The Lanti Dress is a great dress to practice installing a lining as the closure is a simple button closure at the back so no tricky zippers to line. In order to line the dress, it’s a case of using the bodices and skirt pieces but with your lining fabric which is often a lighter weight fabric. The bodice pieces are sewn up and the same instructions given for attaching the facing were followed. Once the bodice outer shell and lining pieces are attached, it is turned the right way and the skirt shell and lining can be attached separately. I should also mention that I lengthened my outer shell hem by 2 inches.


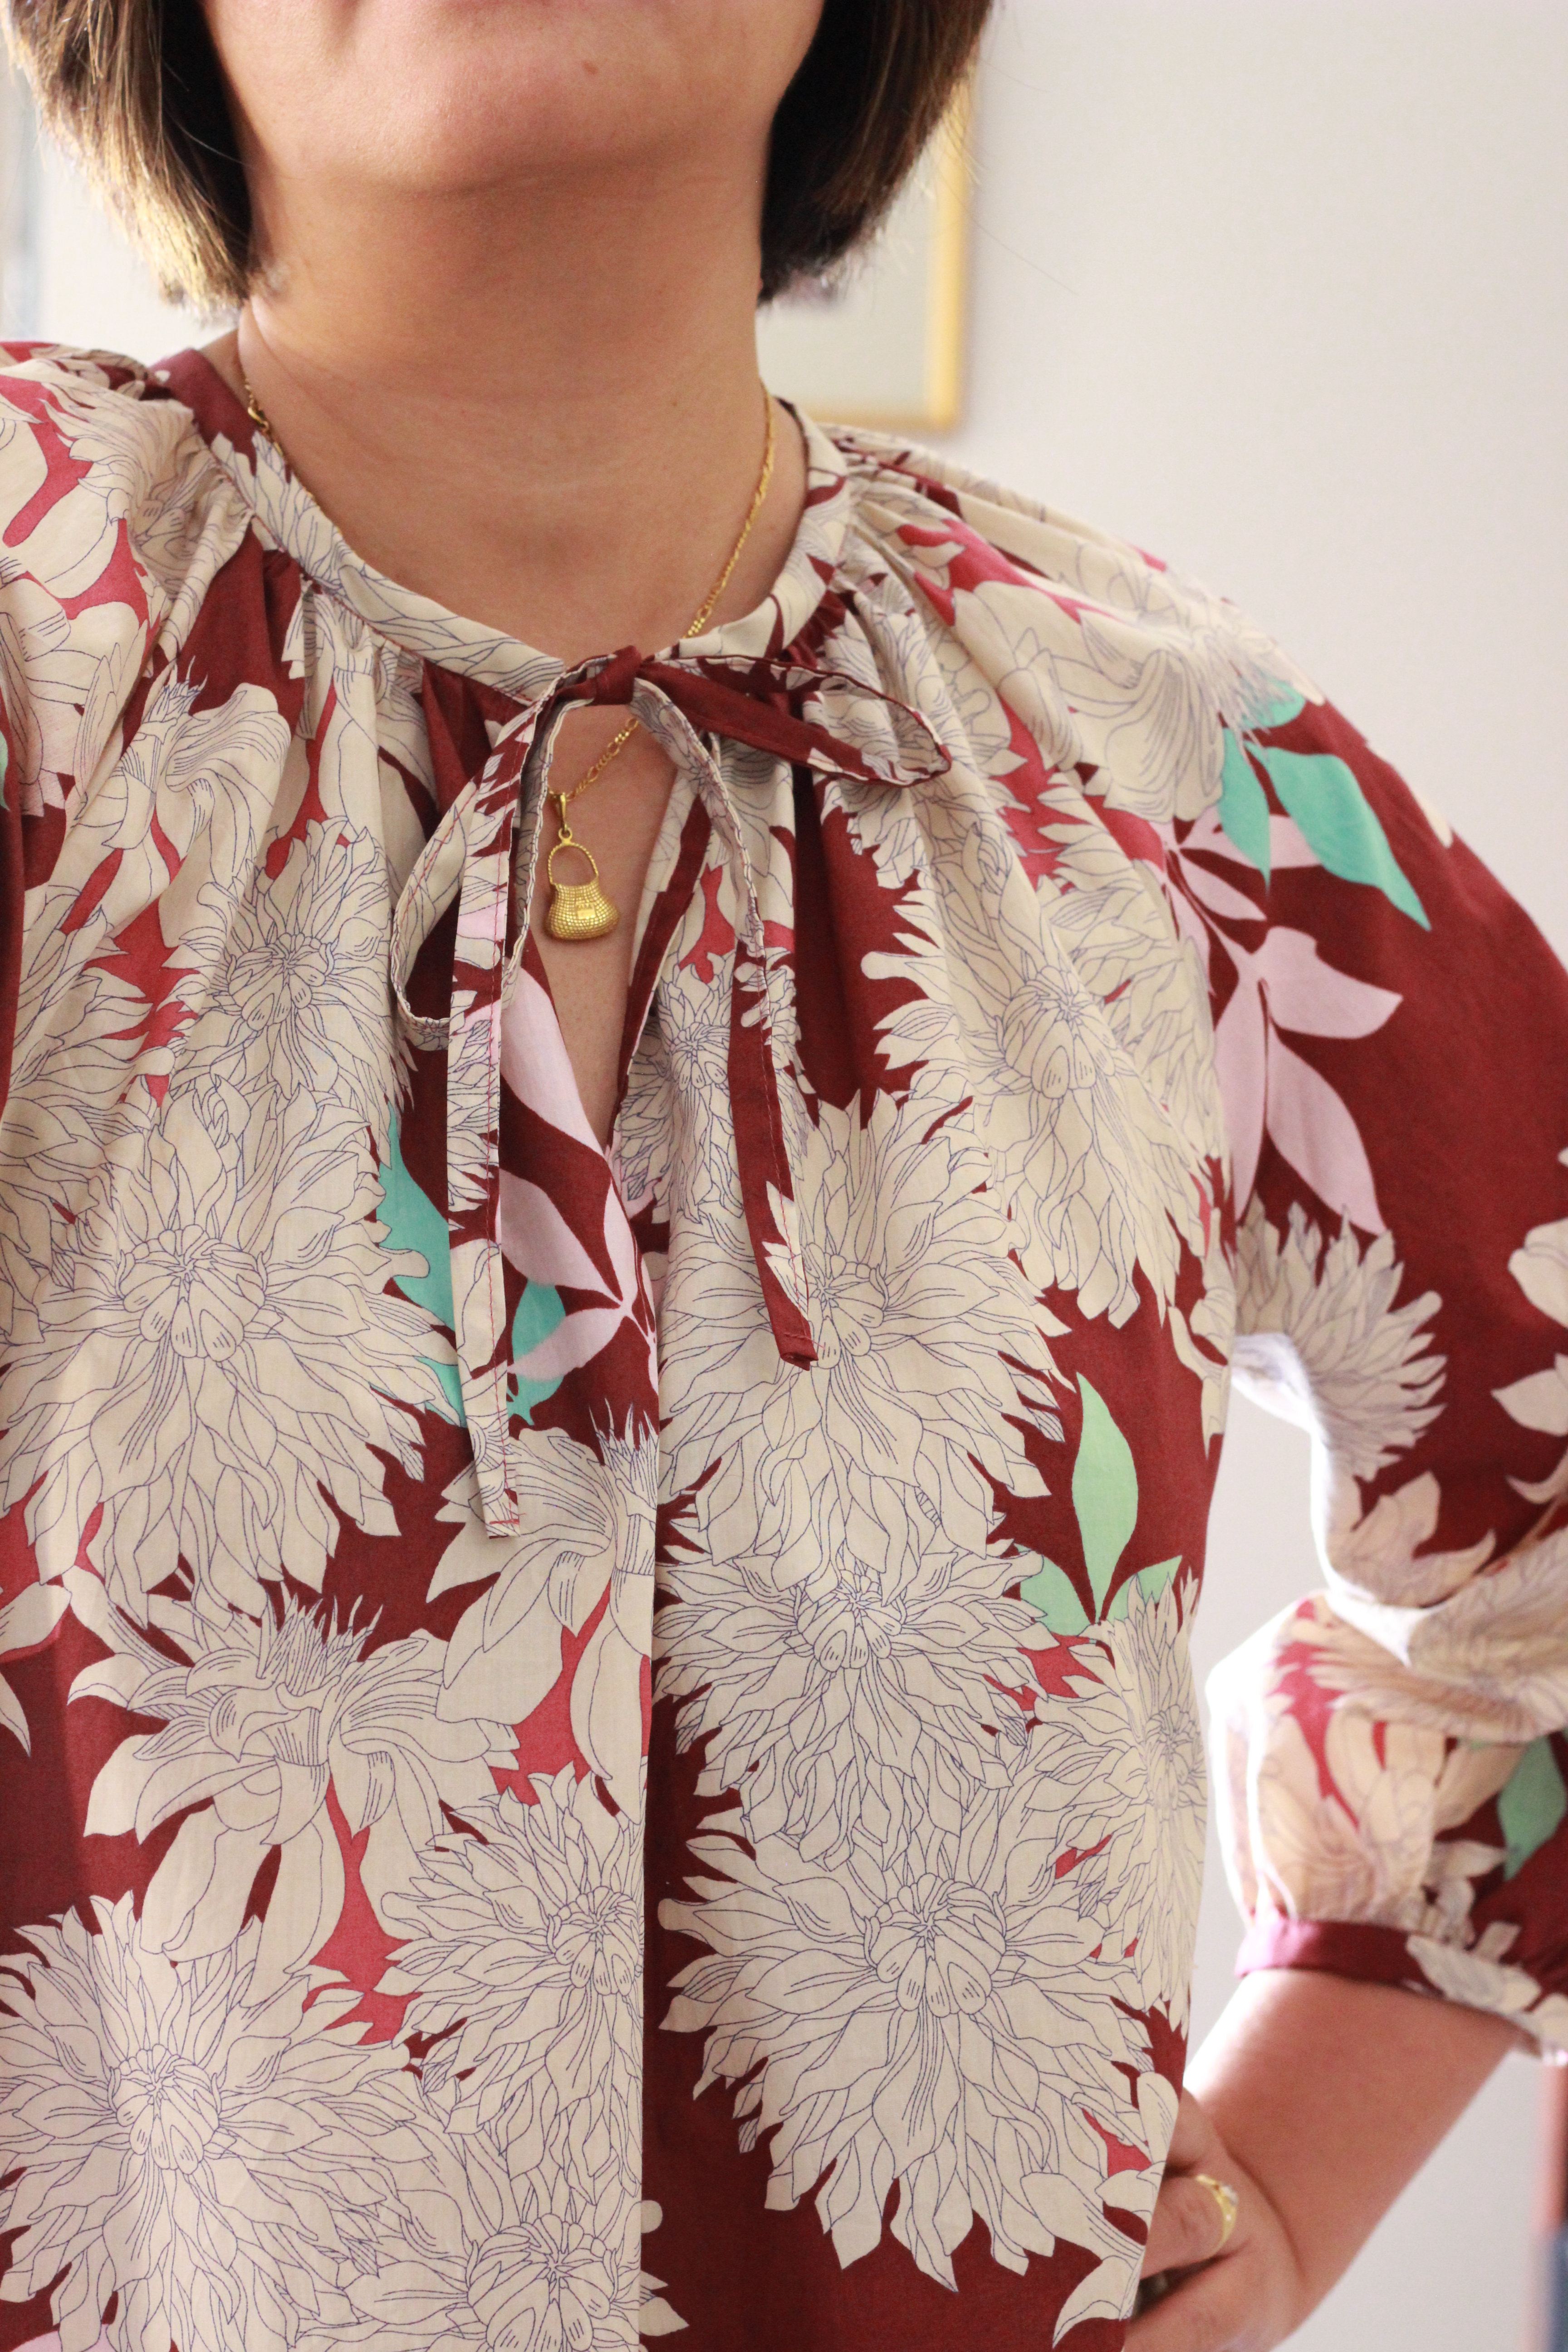
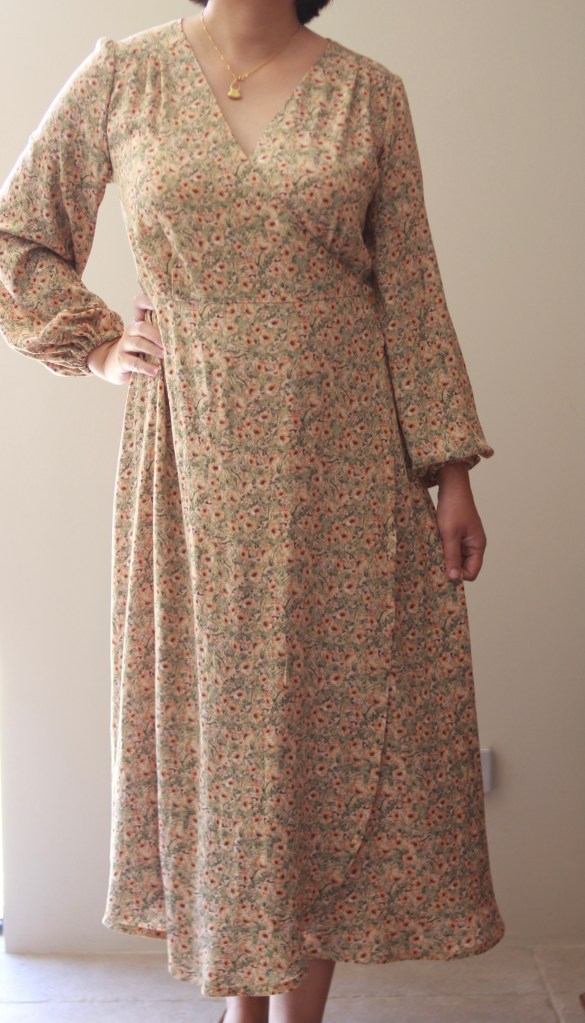
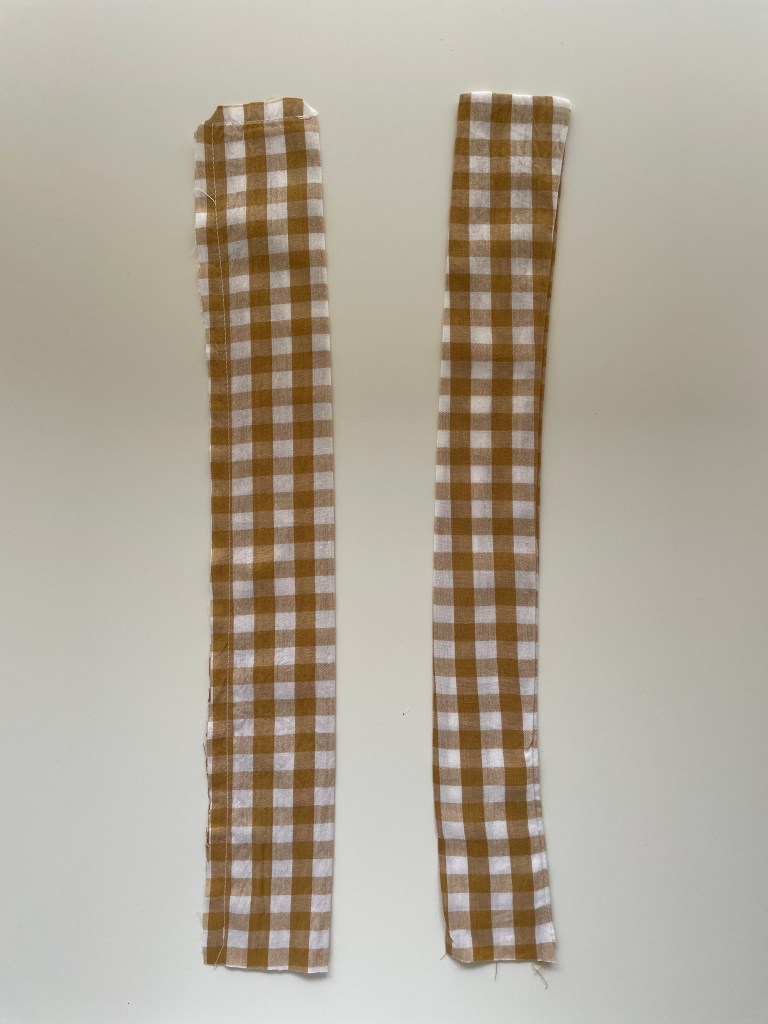
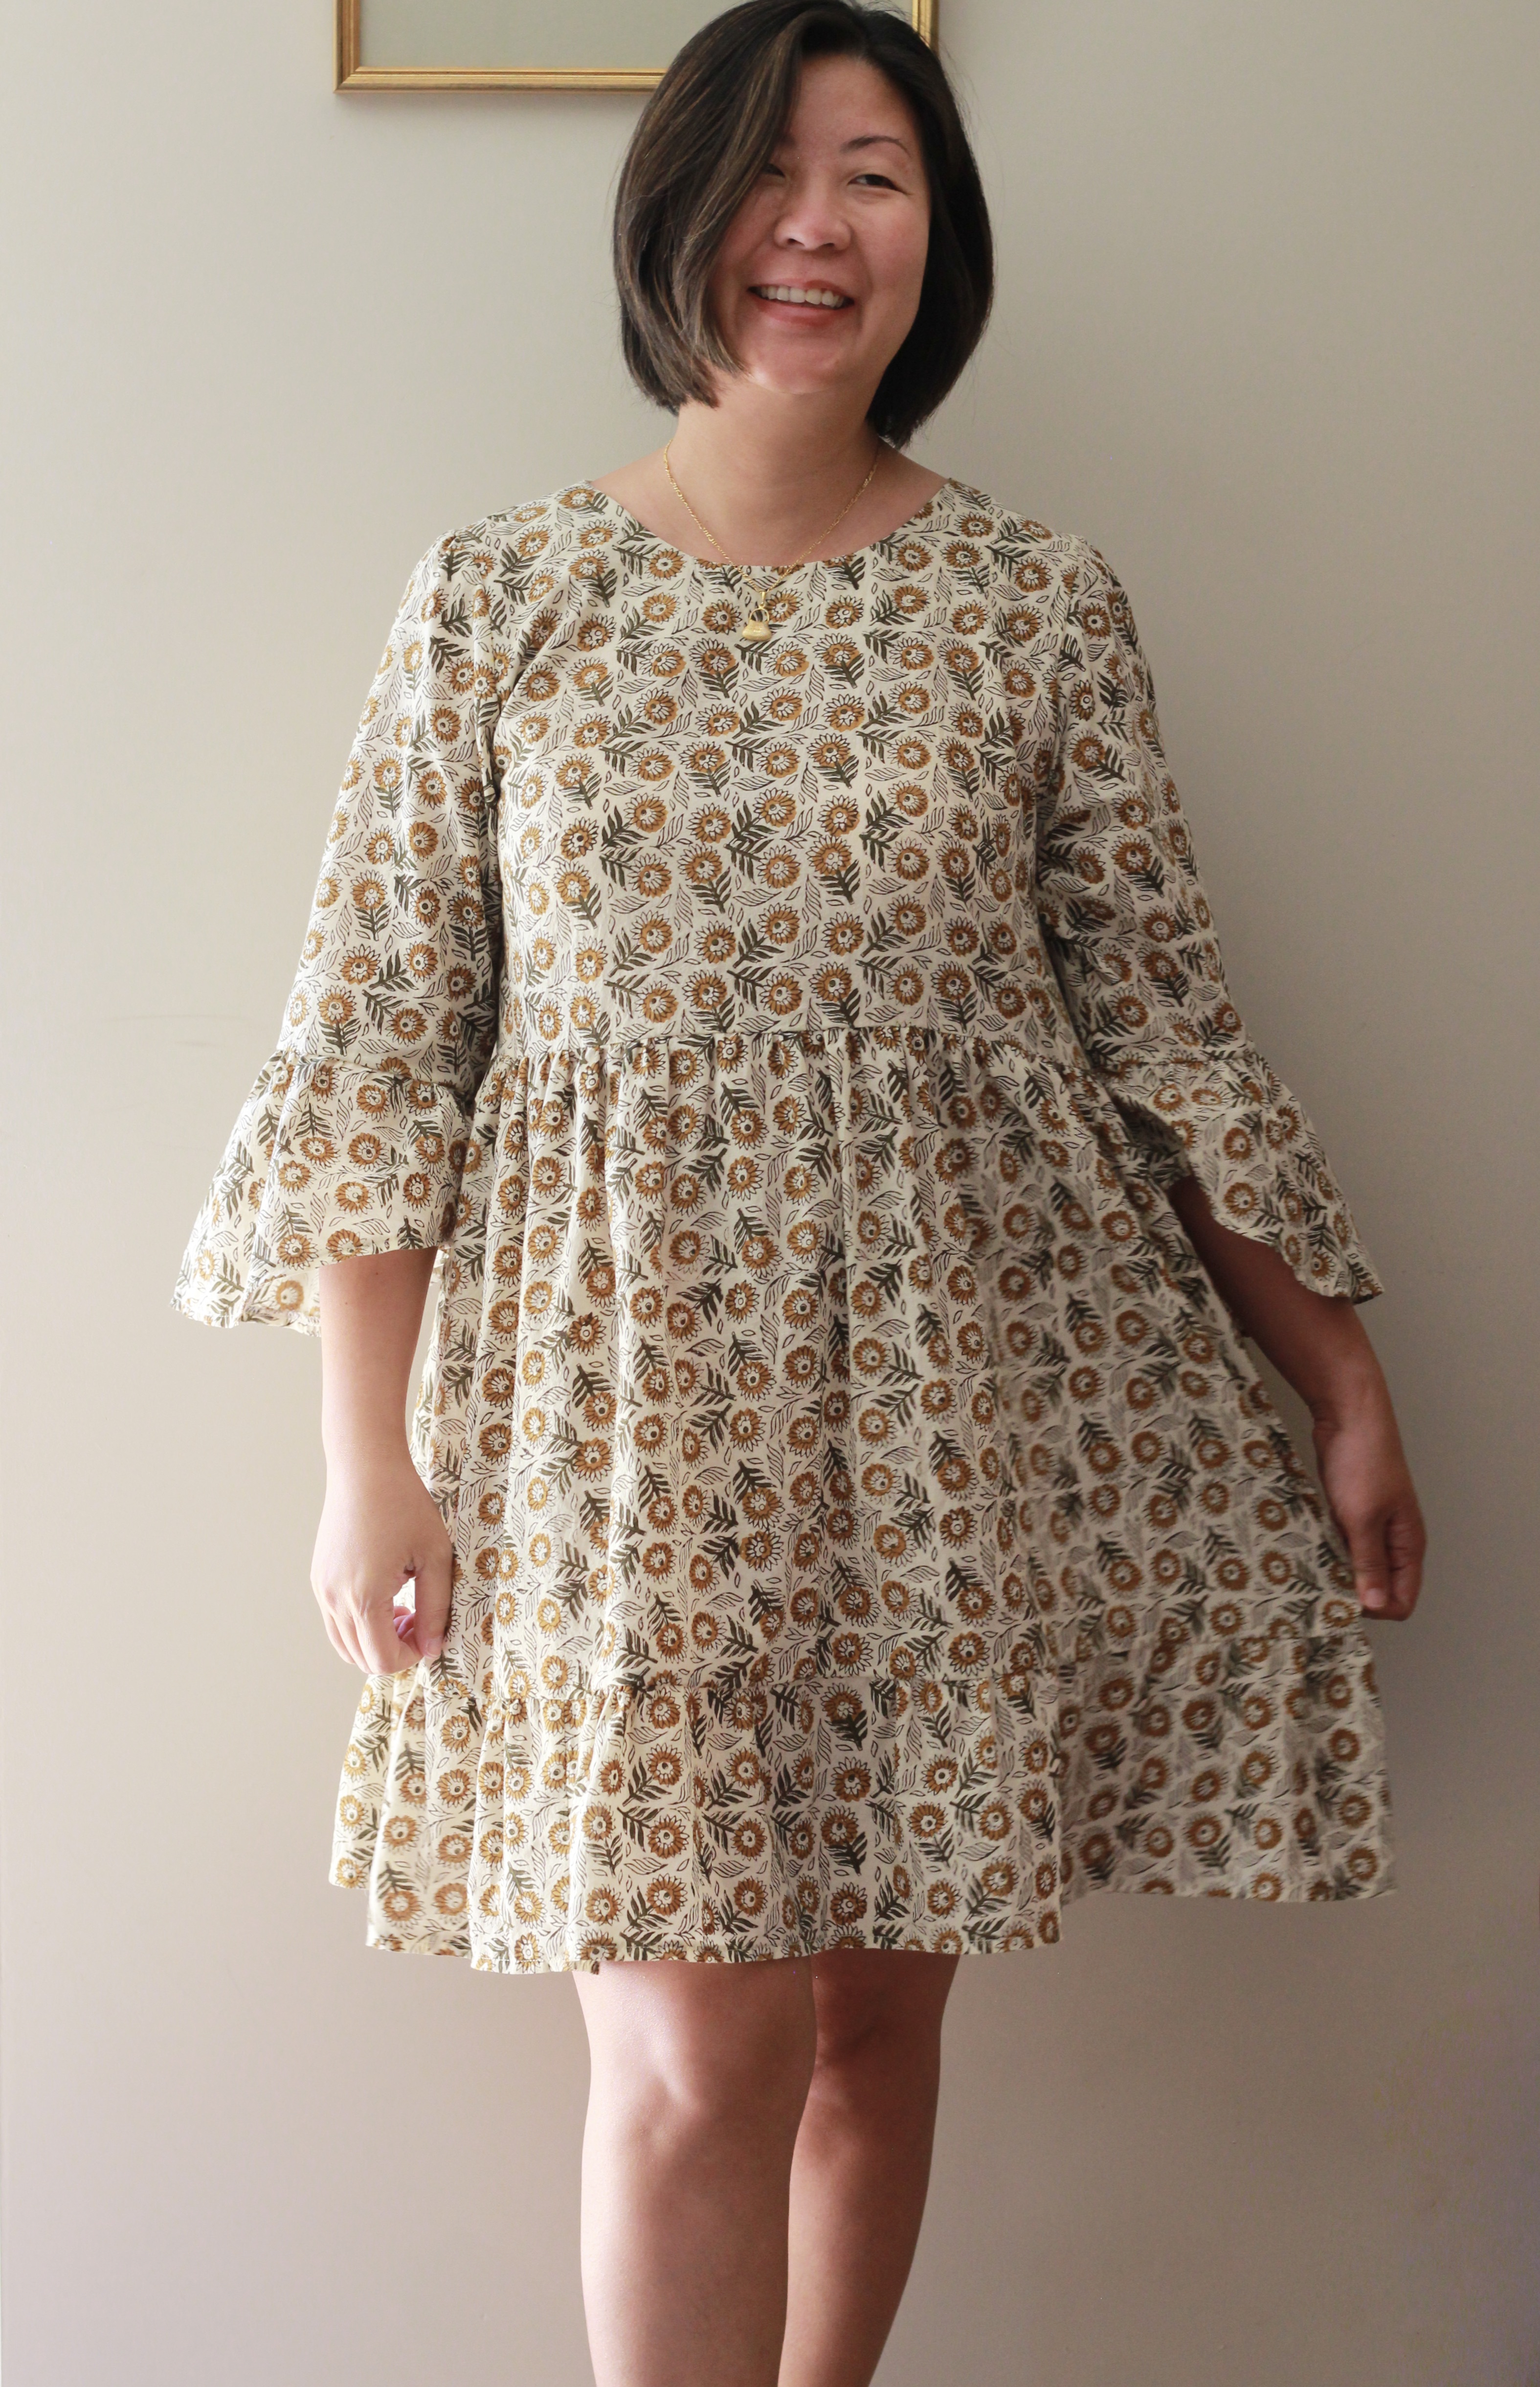
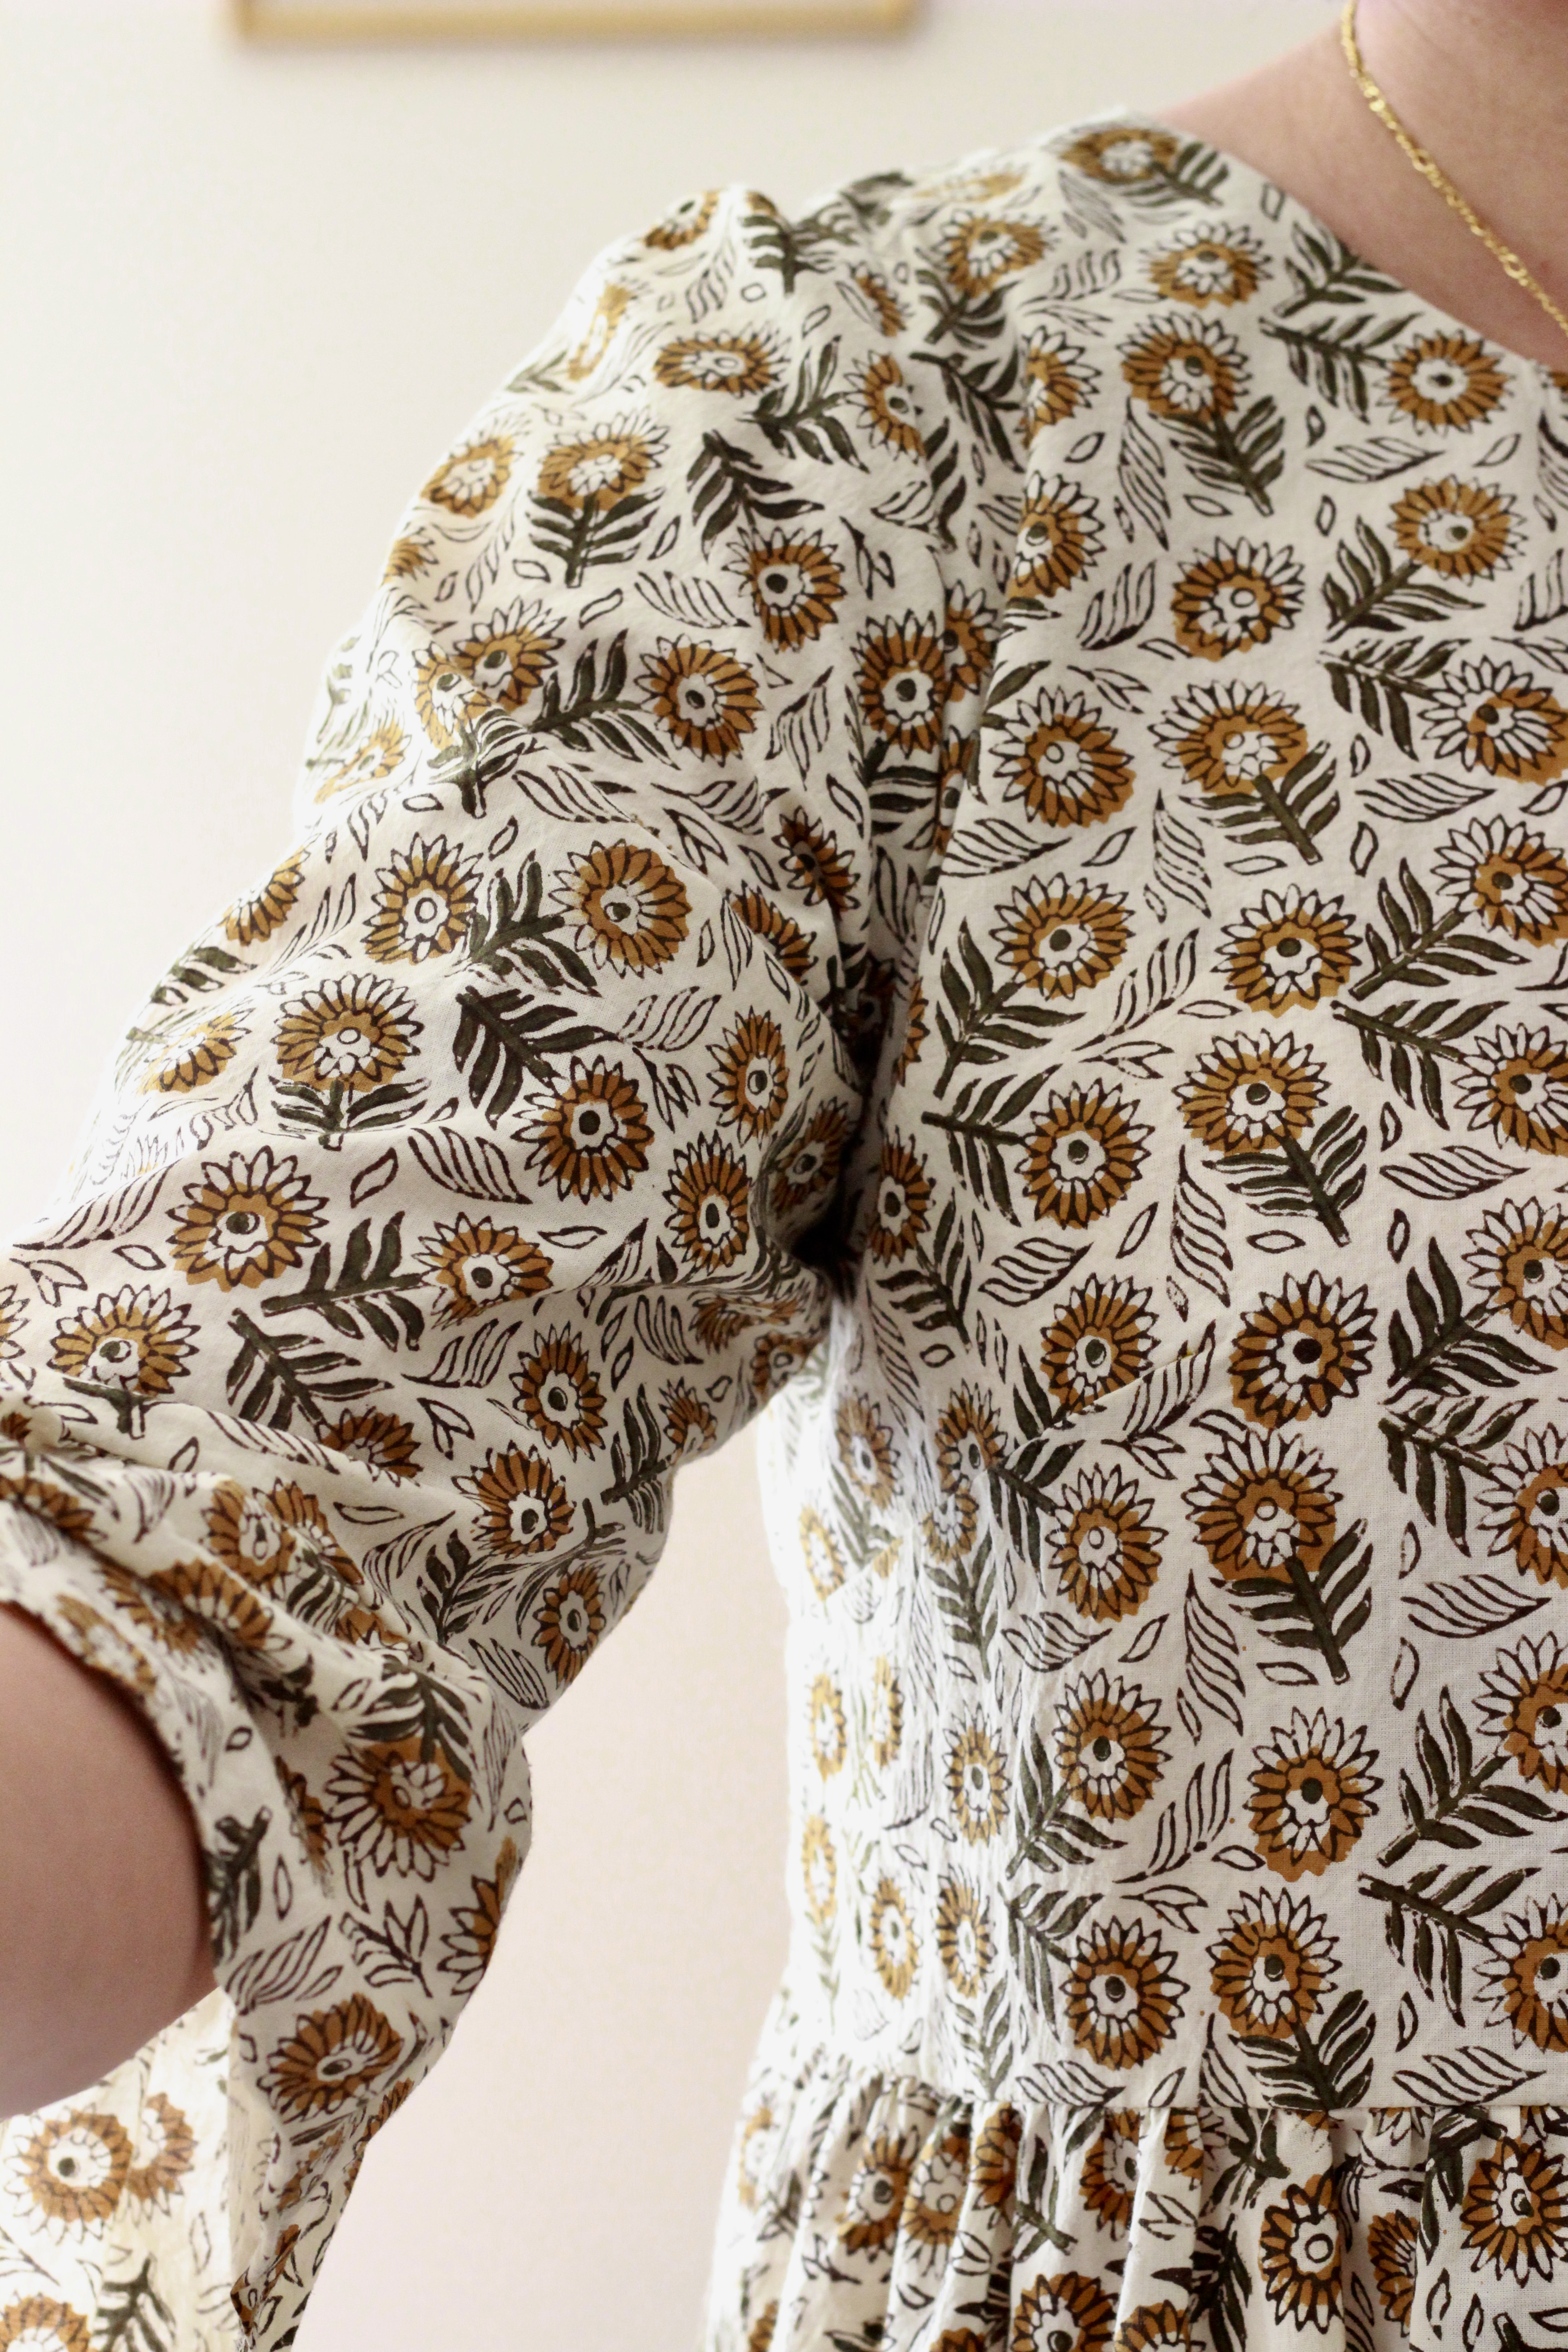
It was such a pleasure to sew that I made a second dress but this time with a fun hack and I wanted to try making those pretty frill sleeves. Again, the pattern is great to play with for a hack as it is drafted to be versatile. To make this hack, the bodice was shortened by 1 inch. The skirt was left the same width for the upper two-thirds and the bottom one-third was widened by 10 inches. This time the frills were added to the sleeves. The result is a fun party dress which can be dressed up or down.
It was so much fun to test for Lindsey of Sew to Grow and it was a lovely team of testers to join. She made it stress free and was always quick to give feedback when we needed it. It was also nice to have a bit of interaction with the other testers and see their beautiful creations. If you can, you should check them out.
Thanks for reading and happy sewing!
X Em